


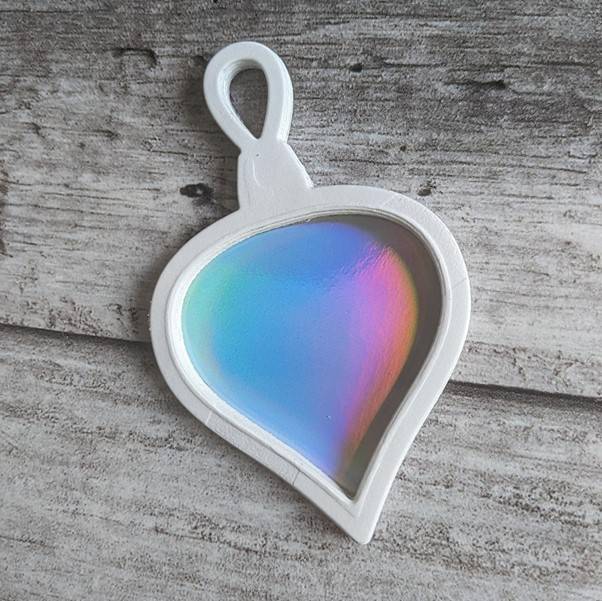
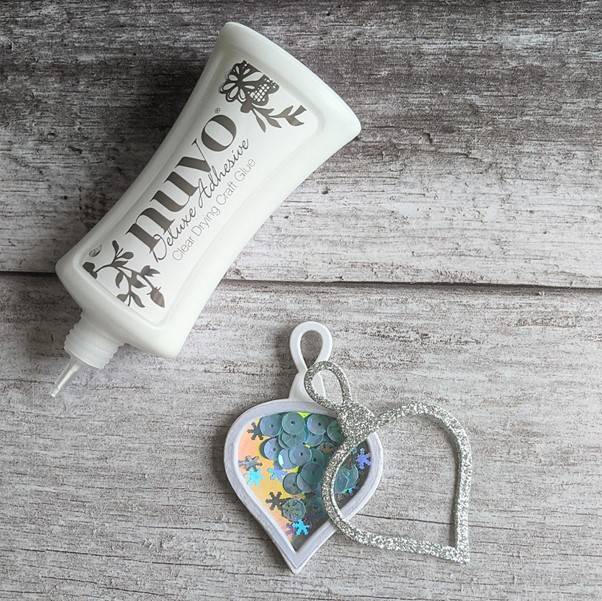
Hello fellow craft lovers! My name is Kate. I am a self-confessed ‘Tonic-a-holic’ who fell in love with all things Tonic from the very first bottle (of Nuvo Crystal Drops!) and it is my absolute privilege to have been asked to bring you this blog post. Today, I would like to share with you how I created this cute shaker element using the new ‘Advent Star Box’ Tonic Craft Kit.

To make the shaker, you will need the following:
- Advent Star Box Craft Kit
- Craft Perfect Heavy Weight Construction Acetate
- Nuvo ‘Starlit Snowflakes’ Pure Sheen Confetti
- Nuvo Deluxe Adhesive
- Washi Tape
- Fine Marker Pen
- Die Cutting Machine
- Scissors - (I used Tonic Studios Titanium Fine Control Crafters Snips)
Step 1

Position the largest and medium sized bauble dies inside one another, ensuring an even gap all around. Using your washi or low tack crafters tape, secure into place.
Step 2
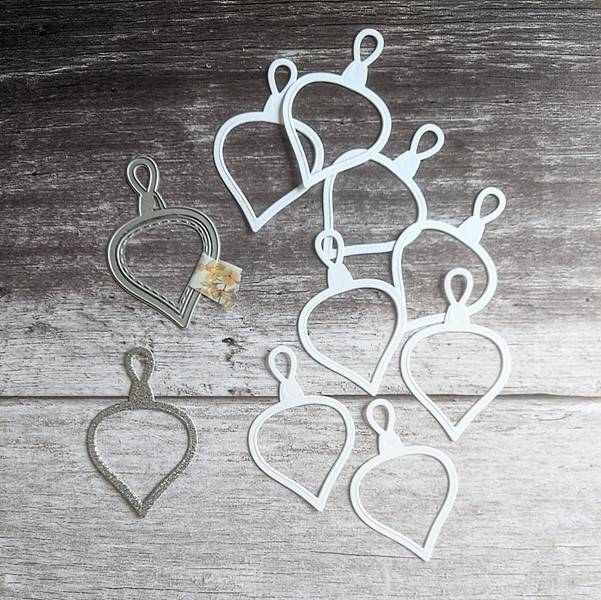
Using the ‘Smooth White 300gsm Card’ from your kit, cut out your taped bauble shape 8 times. Then do one more using the ‘Silver Screen’ Glitter Card.
(You may find that on the smooth finish card, the tape leaves a slight impression as it gets pressed through the die cutting machine. This doesn’t matter as you won’t be able to see any of them but it is important to die cut the shapes in exactly the same position each time as they are to be layered up. The textured finish of the glitter card hides any tape imprints).
Step 3
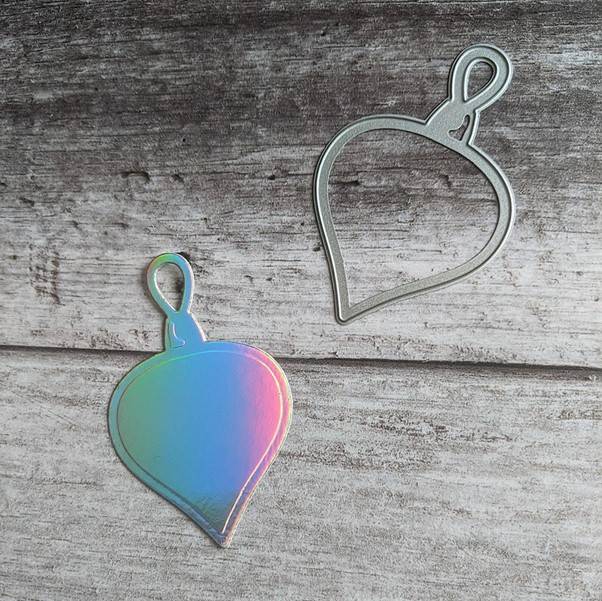
Remove the tape and using the largest bauble die, cut a solid bauble shape out of the ‘Marina Mist’ Iridescent Mirror Card.
Step 4
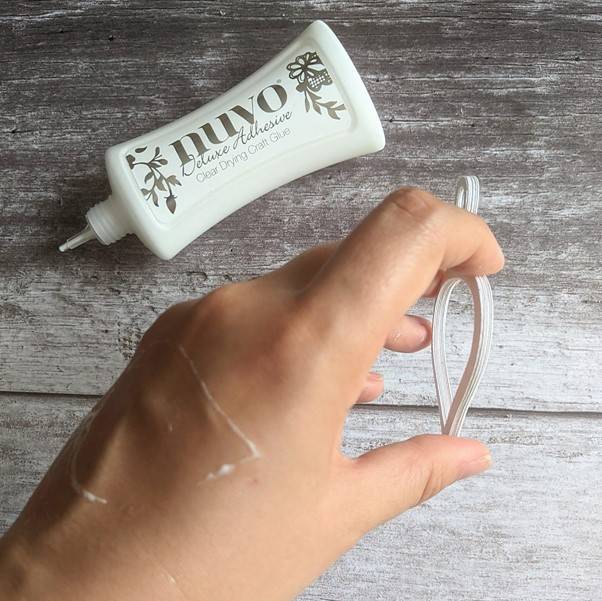
You’re now going to create the ‘well’ for your shaker to hold all of those beautiful sparkly bits. Using some strong clear drying glue (Nuvo Deluxe Adhesive is perfect for this job) glue together all of your white cardstock layers, one on top of the other, making sure your layers align perfectly. A top tip for you is to make sure that there is a good covering of glue all around, leaving no gaps (otherwise those sneaky sequins can find a way of escaping!) But you also need to be careful that you don’t get too much adhesive squeezing out the sides so I tend to remove some of the excess glue before sticking the next piece on top. - As you can see the back of the hand is a handy place to do this (if you’ll excuse the terrible pun!)
Step 5
Next up, glue your stacked-up outline onto the solid mirror card bauble shape and set aside to dry while we move onto the next bit. (To allow for the layers to properly stick together, I recommend placing a bit of even weight on top, like a heavy book or acrylic stamping block).
Step 6
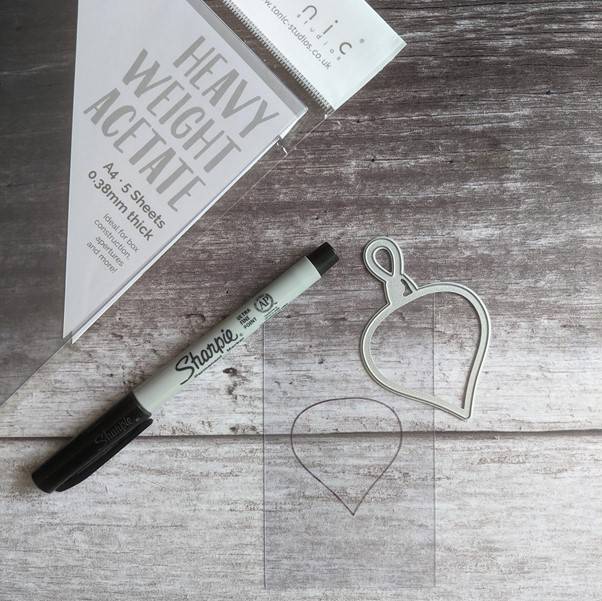
Using a marker pen, draw around the inside of your bauble die shape onto a piece of acetate. (The Tonic Craft Perfect Acetate has a removable protective layer which is ideal for this because you can remove your drawn outline afterwards).
Step 7
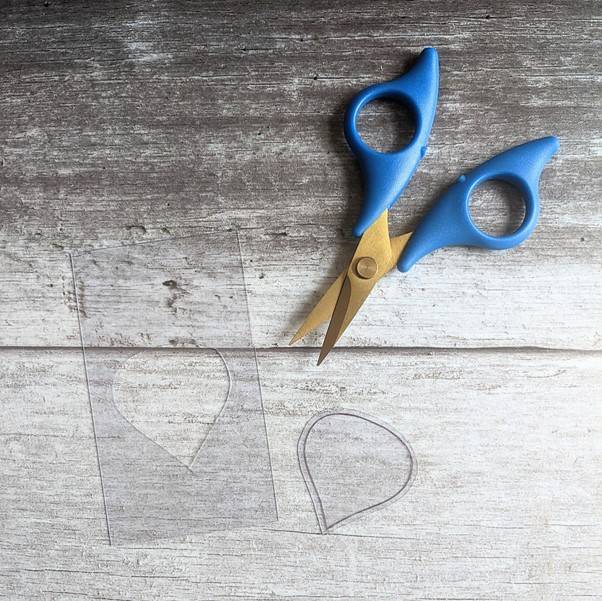
Next up you need to cut around your outline, leaving approx a 2-3mm gap.
Step 8
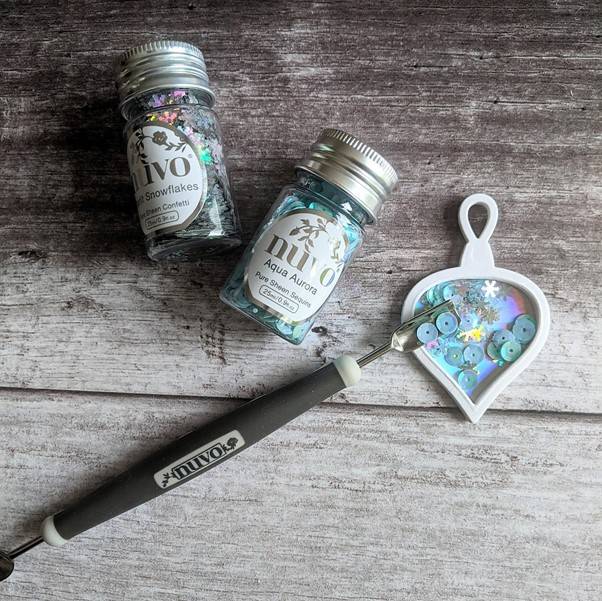
Now it’s time to fill your bauble with some gorgeous sparkly bits and give your shaker it’s shake!! You will get a random pot in your craft kit, here I have used the pale blue ‘Aqua Arora’ sequins that I got in my kit and I have also added some ‘Starlit Snowflakes’ confetti from the recent ‘Santa’s Workshop’ trend.
Step 9
To stop those sequins from doing the grand escape, next up you’re going to attach your acetate ‘lid’...Again you need enough adhesive to go all the way around to create a seal but try not to go too heavy on the glue otherwise you might find it it squishes out on the inside of your shaker and although it may ensure nothing gets out, you may also find your shaker has less shake...more stuck!
Remove the protective layer from the acetate and then glue on your sparkly top layer.
Step 10
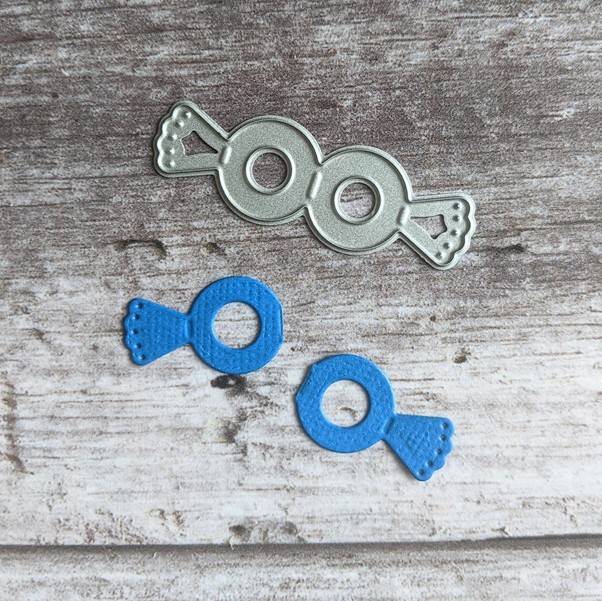
Finally, you might want to add some extra decoration or embellishment to the outside of your bauble. For mine, I have used the small die in the picture above and cut it from the ‘French Blue’ Classic Card. I then cut it into two along the centre line...
Step 11
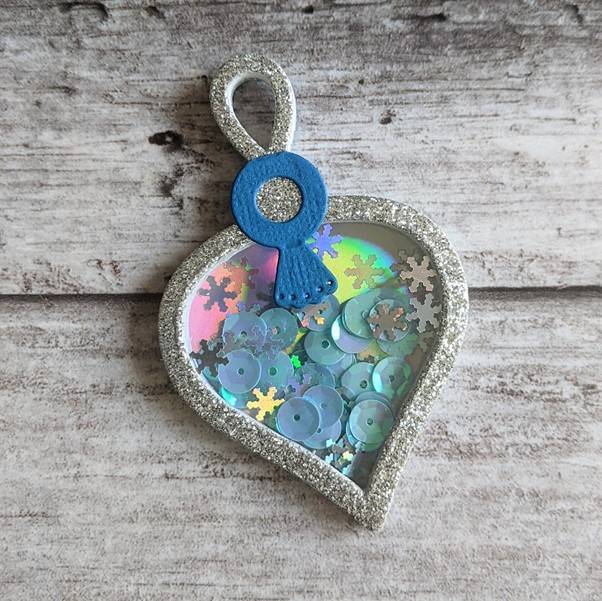
...and added one of the pieces onto here.
Step 12
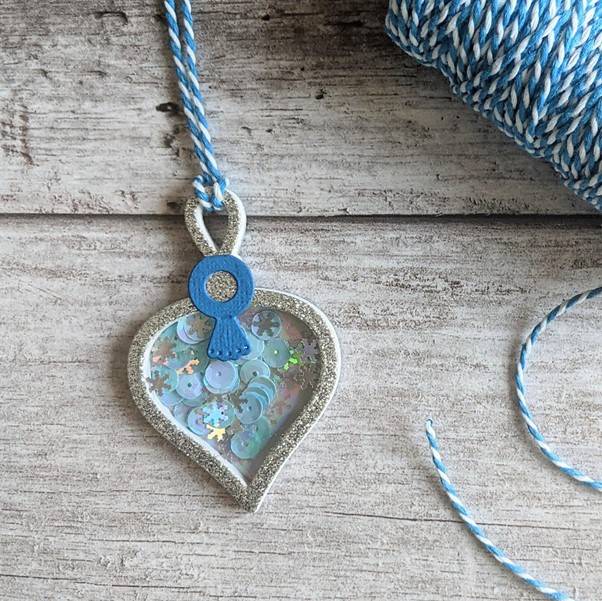
Now all is left to do is attach some of the Craft Perfect Baker’s Twine to the top of your bauble and decide what you would like to do with your cute little shaker. (If you're anything like me, first I need to give it it’s obligatory shake (or five) just to enjoy that fabulous sound (and ensure no escapees!)
Step 13
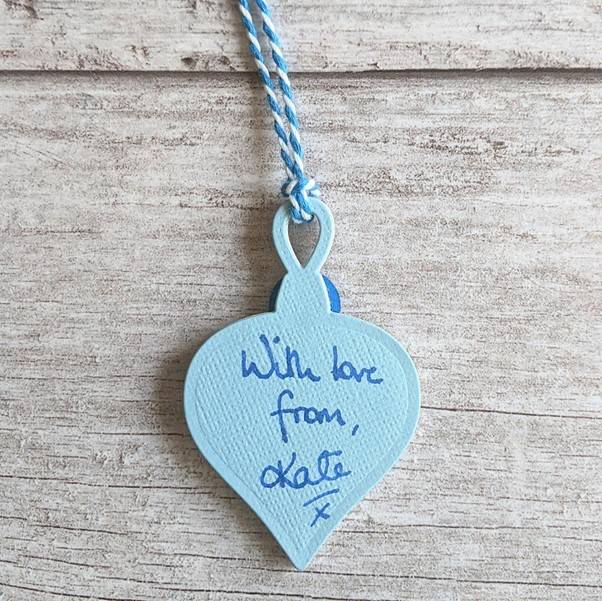
It could be used as a cute little gift tag (I added a further ‘solid shape’ layer on the back just to tidy it all up)...
Step 14
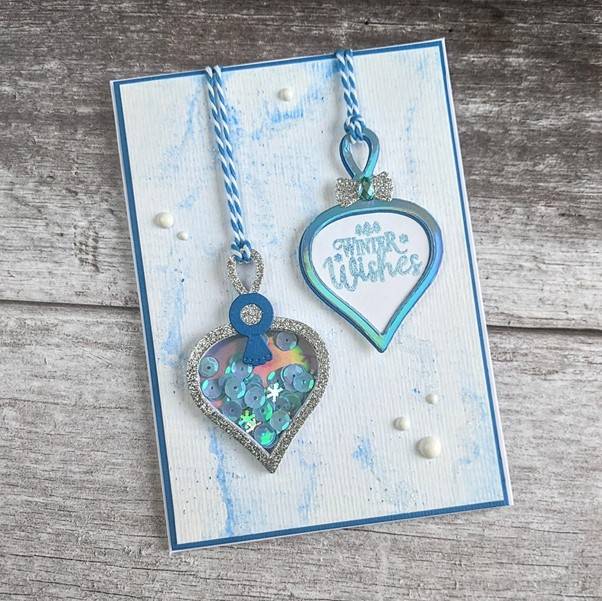
...or it could be added as an embellishment onto a card!
Lots of possibilities. I hope this has given you some inspiration to “shake it, shake it” and thank you so much for reading my post.
Happy crafting!
Kate x
Buy The Craft Project
