


Learn three ways to get a smooth blend with colouring Pencils
The brand new Nuvo Colour Pencils from Tonic Studios have a lovely creamy texture and are highly pigmented. They have a rich wax core and can be used on their own or to add extra detail to alcohol marker projects.
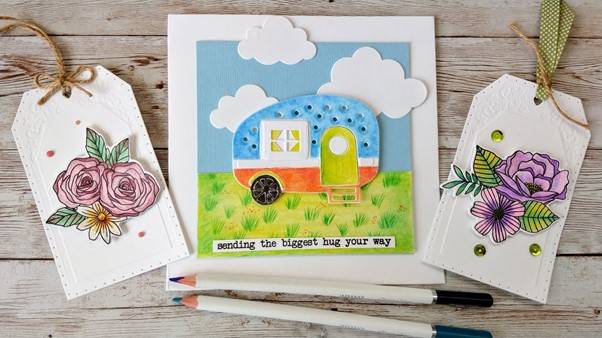
I have used pencils from both the Brilliantly Vibrant and Hair and Skin Tones sets for these cards showing three different ways to blend them. The pencils can be used to lay down colour and left as such but you can also use different techniques to get a smoother blend.
Using Baby Oil with Paper Stumps

You will need the following:
- Craft Perfect 6x6 white card
- A4 300gsm Bright White Smooth card
- Craft Perfect Arctic Blue card
- Cloud dies from Shoot for the Stars Stamp Club
- Sentiment stamp from Compassion and Poppies Stamp Club
Step 1
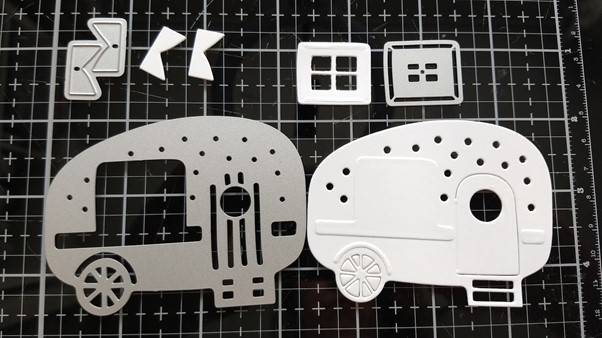
Die cut the caravan, window and curtails from white card.
Step 2
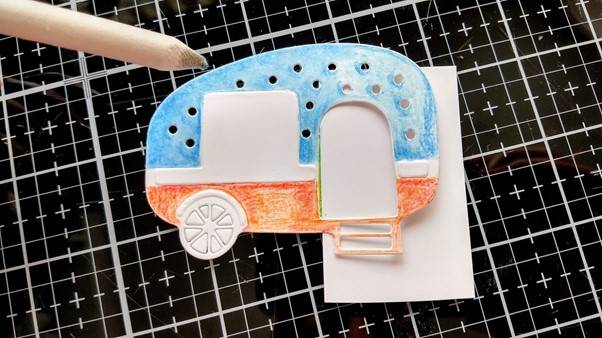
Protect the door with a little piece of card while colouring the caravan.
Colour the top with the Scuba Blue pencil adding extra shading as shown.
Colour the bottom with Tangerine Tango and add shading.
Colour the door and curtails with Lemon Grass and add shading.
Step 3
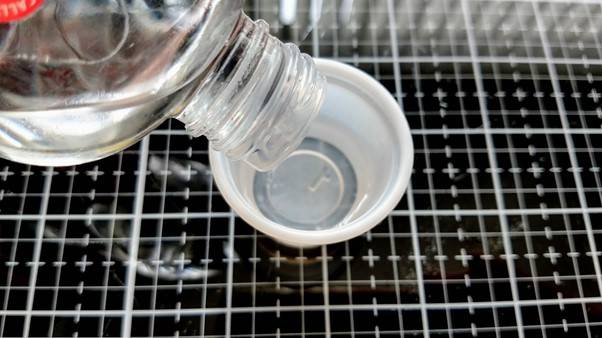
Pour a little baby oil into a small container to use with the paper stump.
Step 4
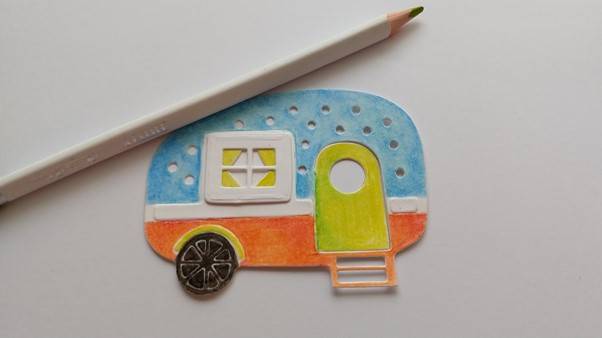
Dip the tip of the paper stump into the oil and blend the colours together using small circular motions. Clean the tip of the stump between each different colour blend. You can use sandpaper to clean or sharpen the stump if necessary.
Add the colour to the wheel and wheel arch and repeat the oil blending.
Step 5
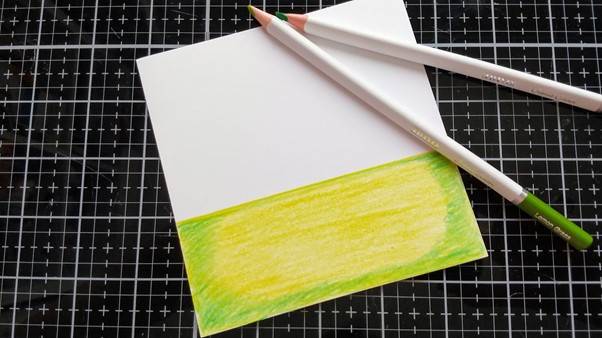
Colour a piece of white card with the Lemon Grass and Imperial Jade pencils and blend with the oil.
Step 6

Add flicks of Imperial Jade to resemble grass. Trim and glue to a 12cm square piece of Arctic Blue card.
Step 7
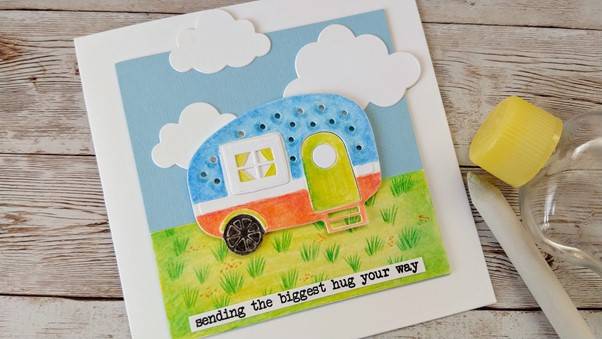
Glue die cut clouds to the blue card and add the caravan on 3D foam pads. Glue a stamped sentiment along the bottom of the card.
Buy The Craft Project
