


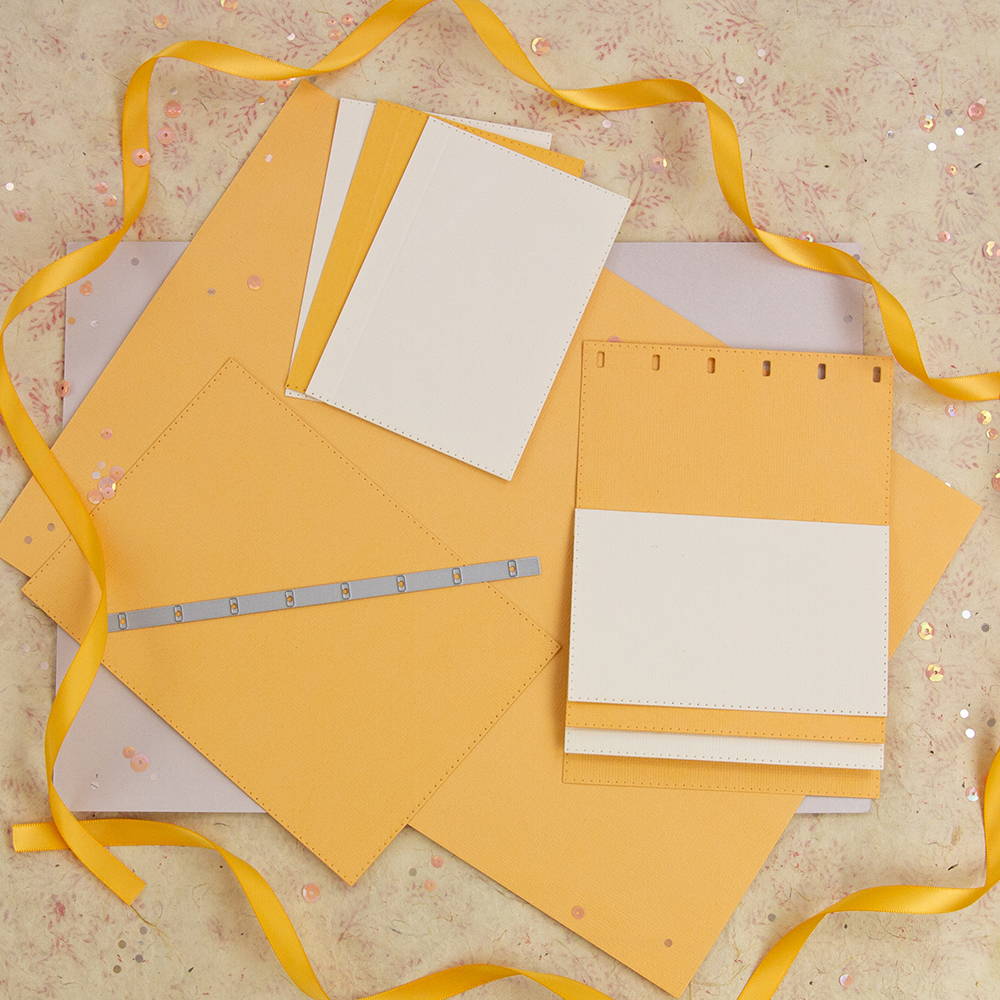
What you will need:
Cream 300gsm card
Craft Perfect - Ivory white
Craft Perfect - Apricot orange
Craft Perfect - Polished gold
Craft Perfect - Bright White
Peach Blossom ink pad
DSTape
Nuvo Deluxe Adhesive
Score board and Precision Glide Folder
2 brads
Bakers twine
Thin ribbon
Stencil & die set from kit.
Making the book
Step 1
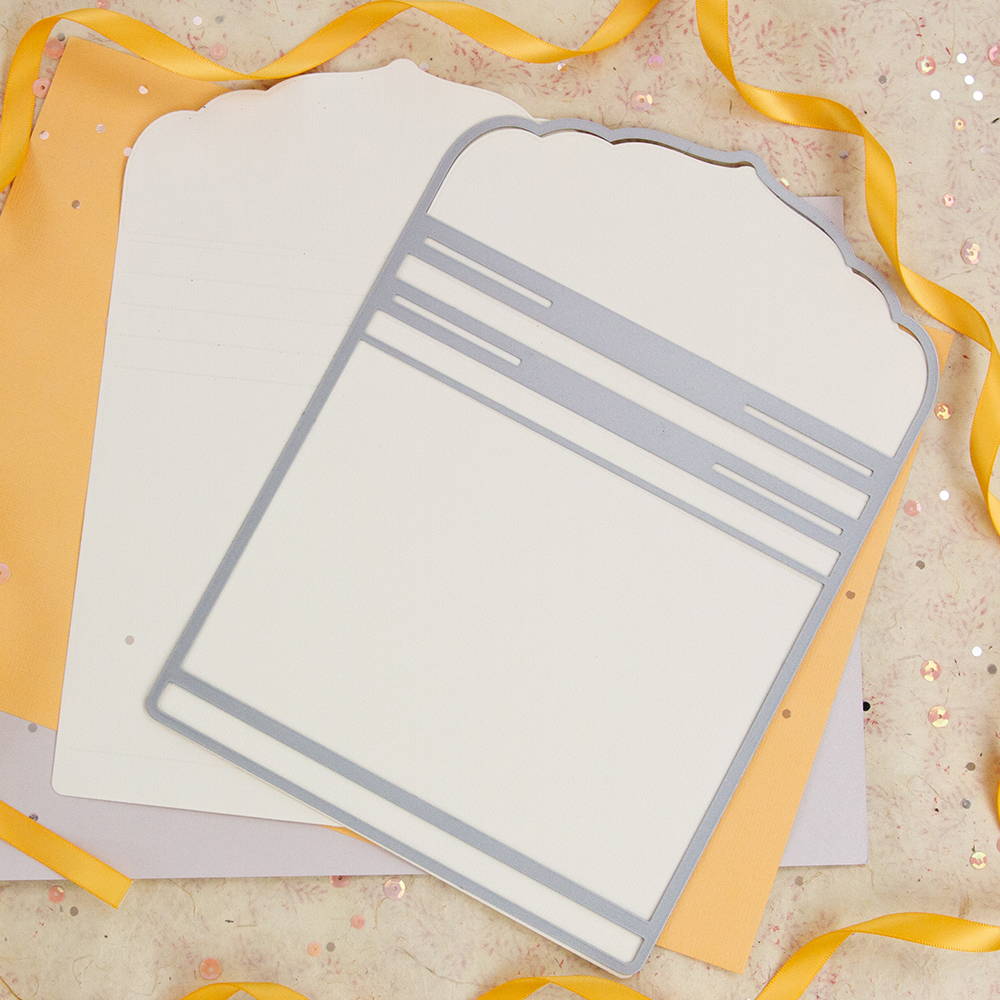
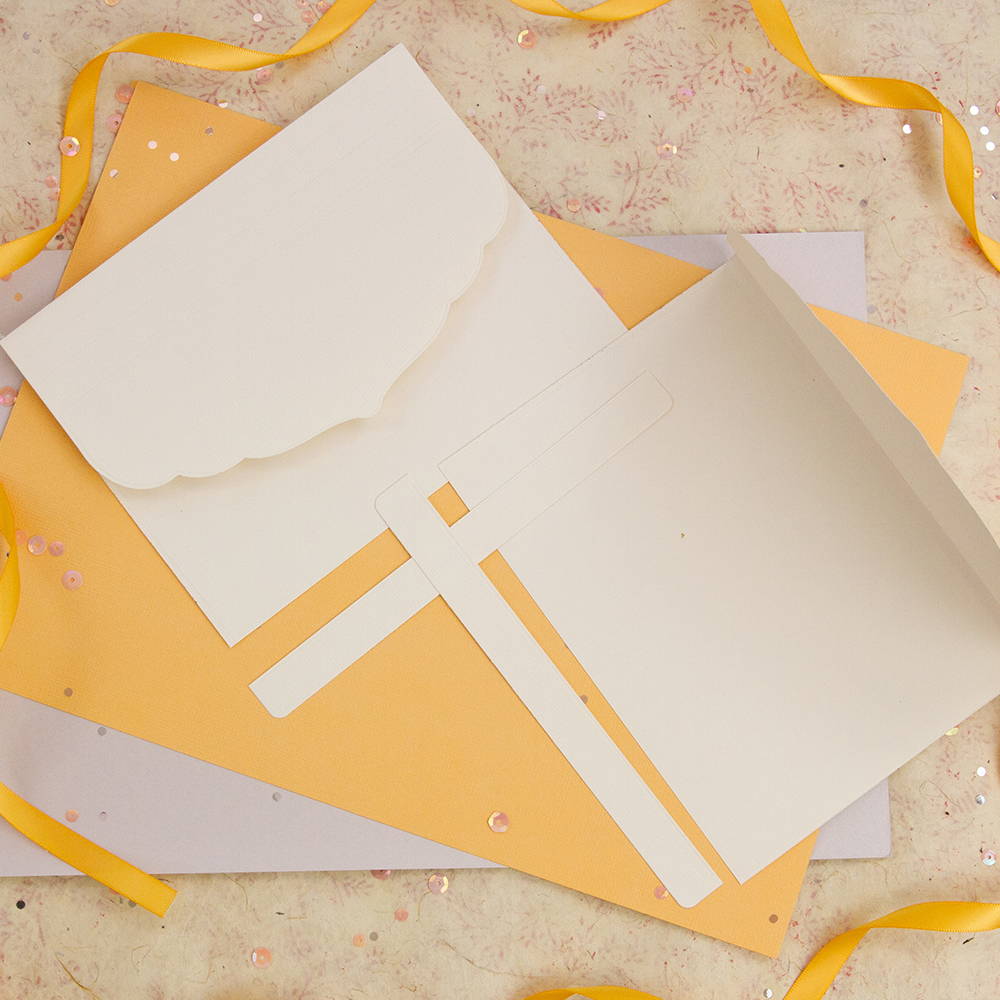
Cut 2 main base dies from 300gsm card, trim off the end strips off both pieces, then fold the first and last score lines on each one and glue the 2 back pages together to make a gatefold cover.
Step 2
Using Ivory white Craft Perfect cut 2 main base dies, trim away the score lines and end strips and use them to line the inside of your pages to strengthen and hide any joins (do this for each page)
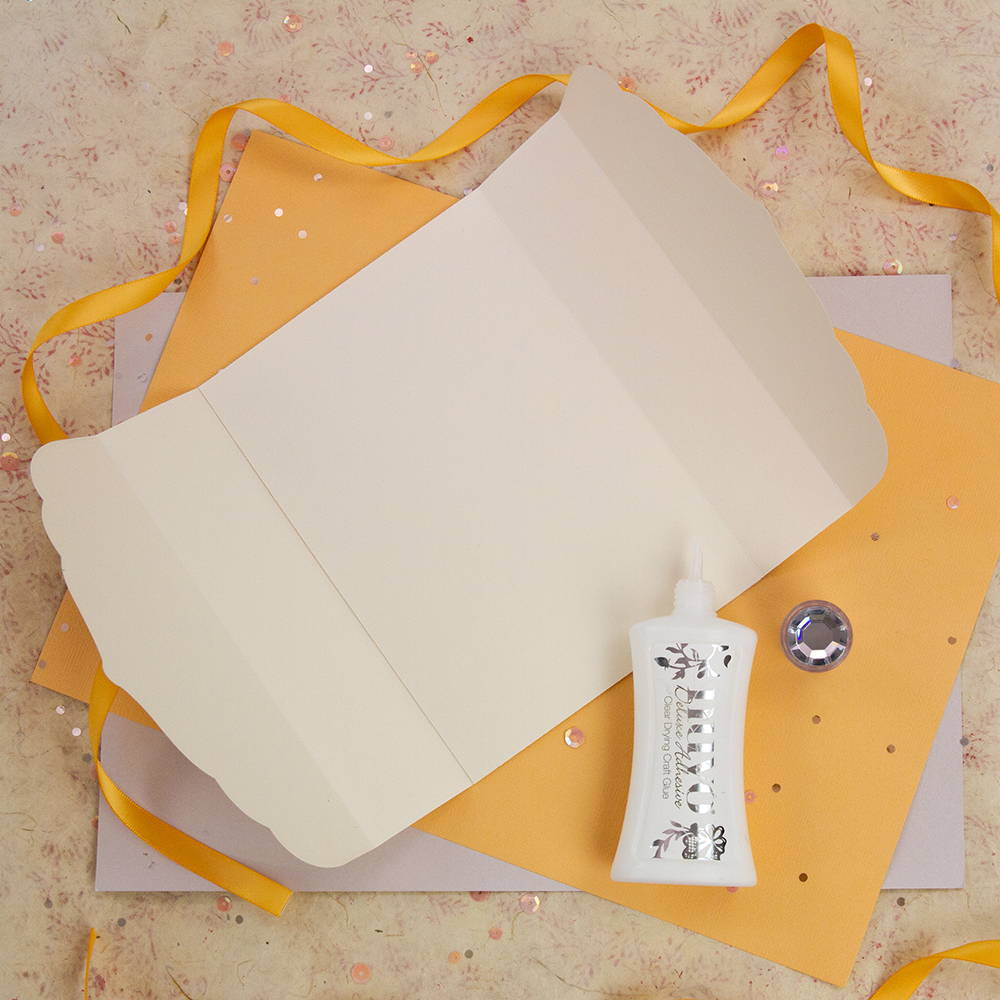
Step 3
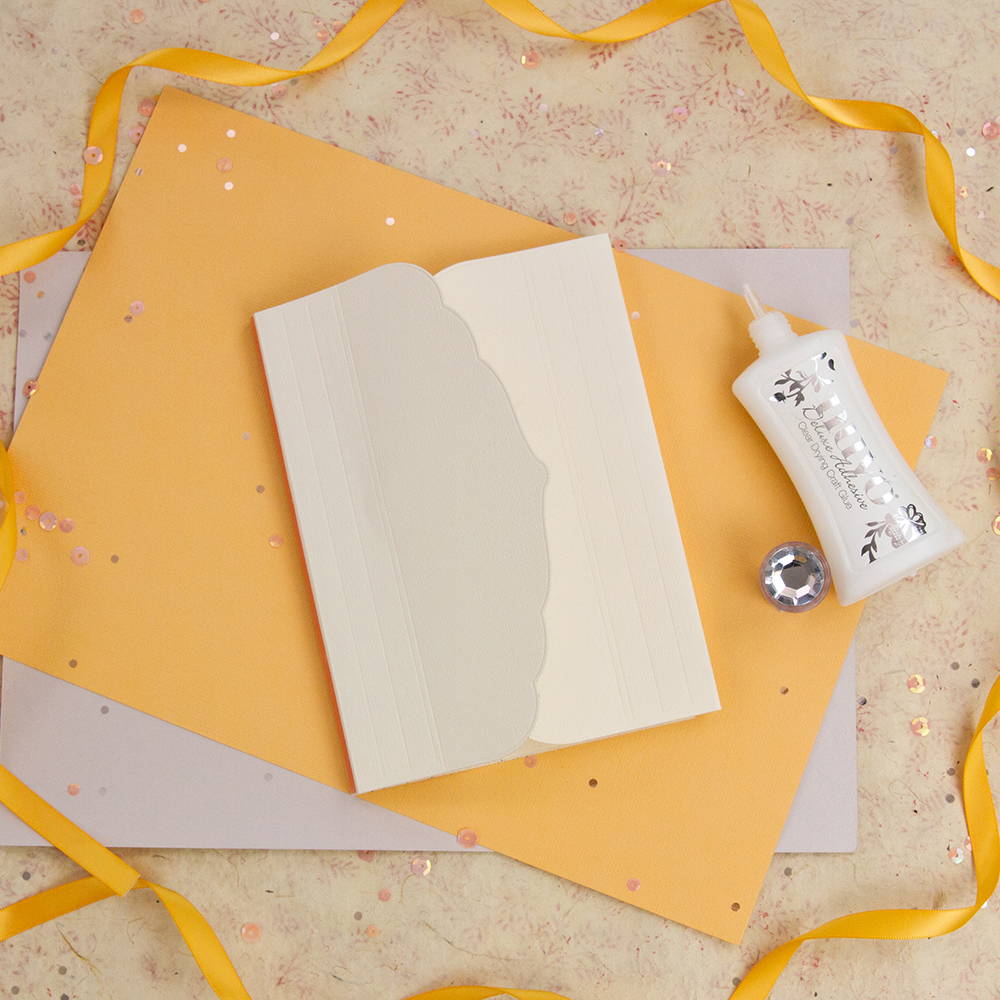
Cut 2 main base dies from Ivory white CP 216gsm , on the Left side fold up the end strip then fold the next 2 score lines to form the spine, add adhesive tape.
Step 4
On the Right hand side cut off the end strip and fold the next score line then glue together along the end strip, (again line inside) fold right under left flap.
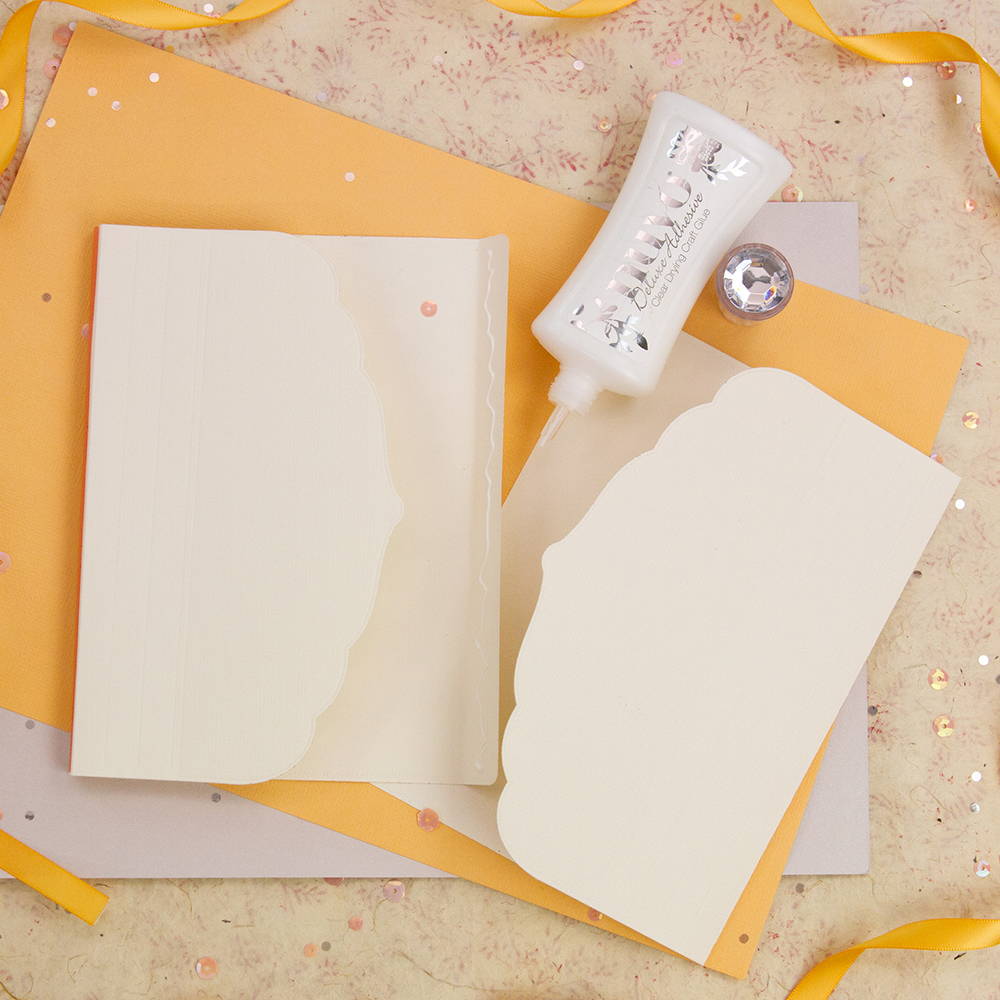
Step 5
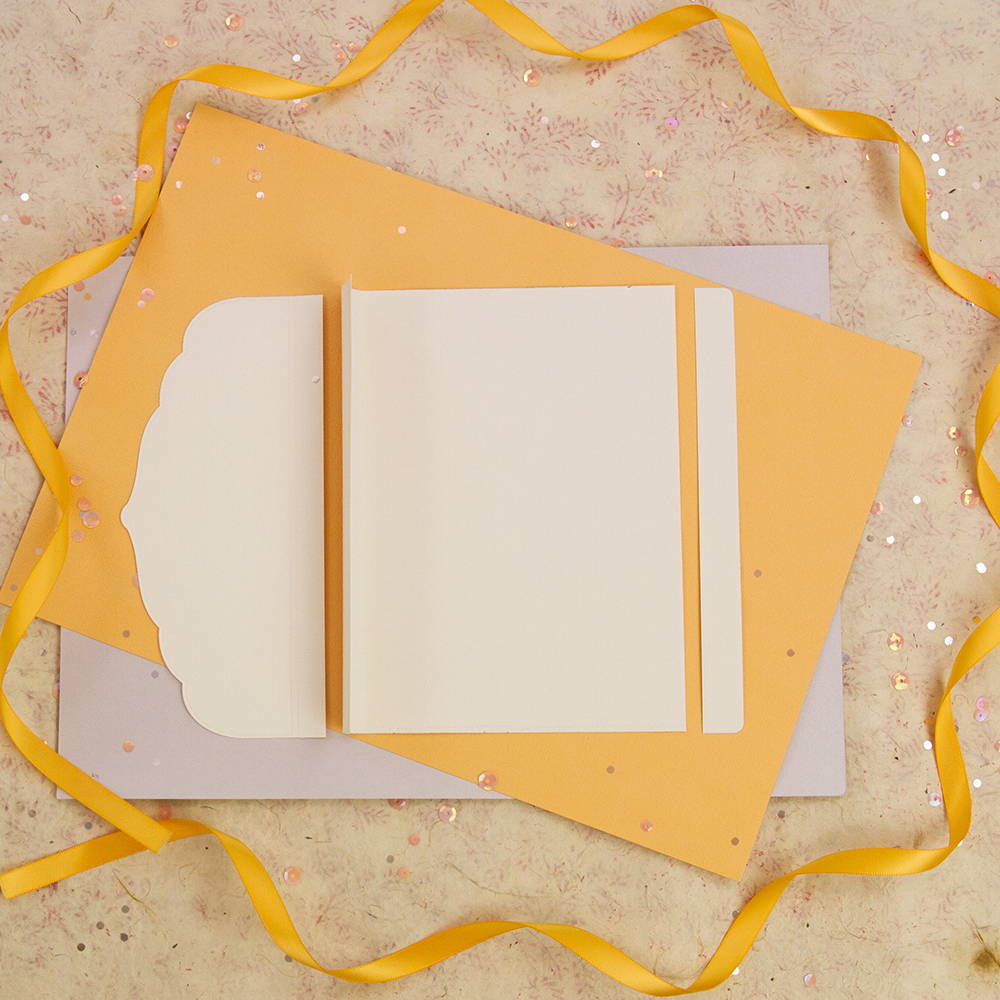
For the middle page cut 2 main dies from Ivory White and trim the end strip off both and then fold the next 2 score lines on both.
Step 6
Glue the 2 back pages together. add adhesive tape to left side only for the spine.
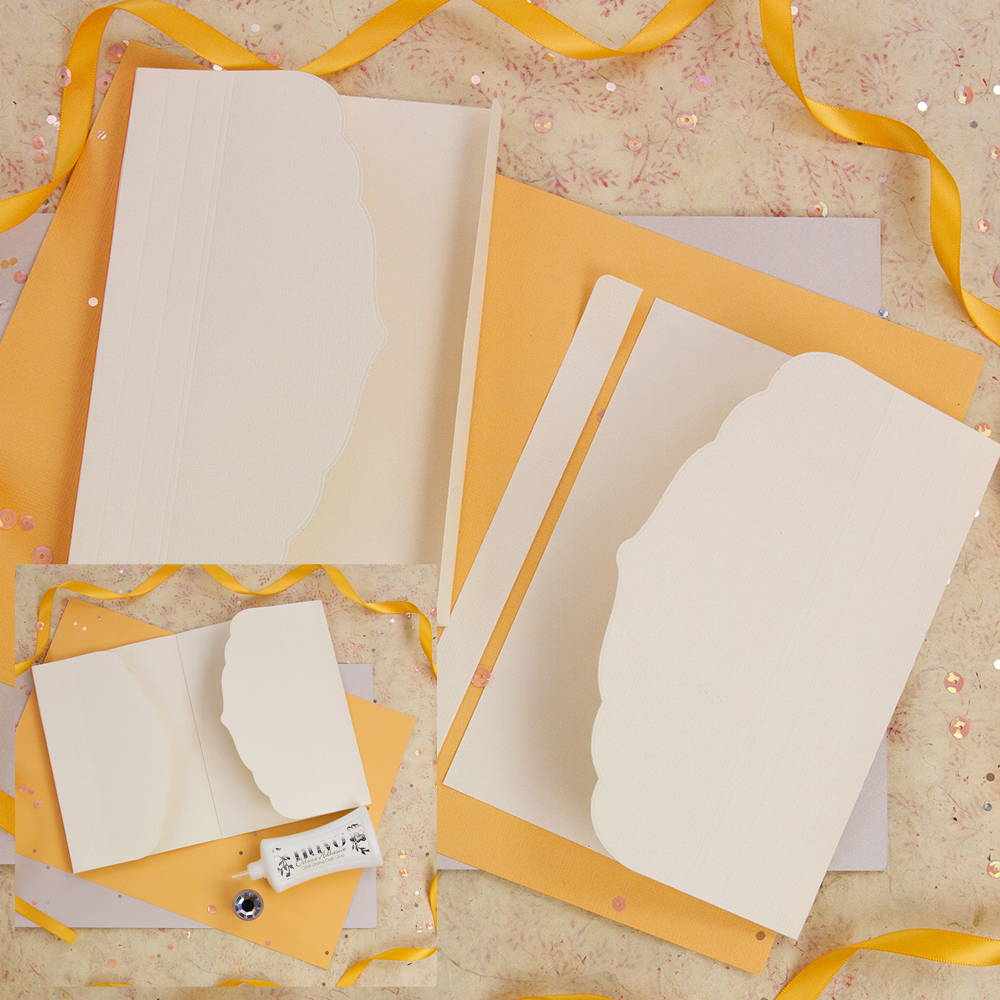
Step 7
First page, cut 2 main base dies form Ivory white, on one trim off the shaped flap at the second score line and trim off the end strip and fold to make a spine and add adhesive tape
Step 8
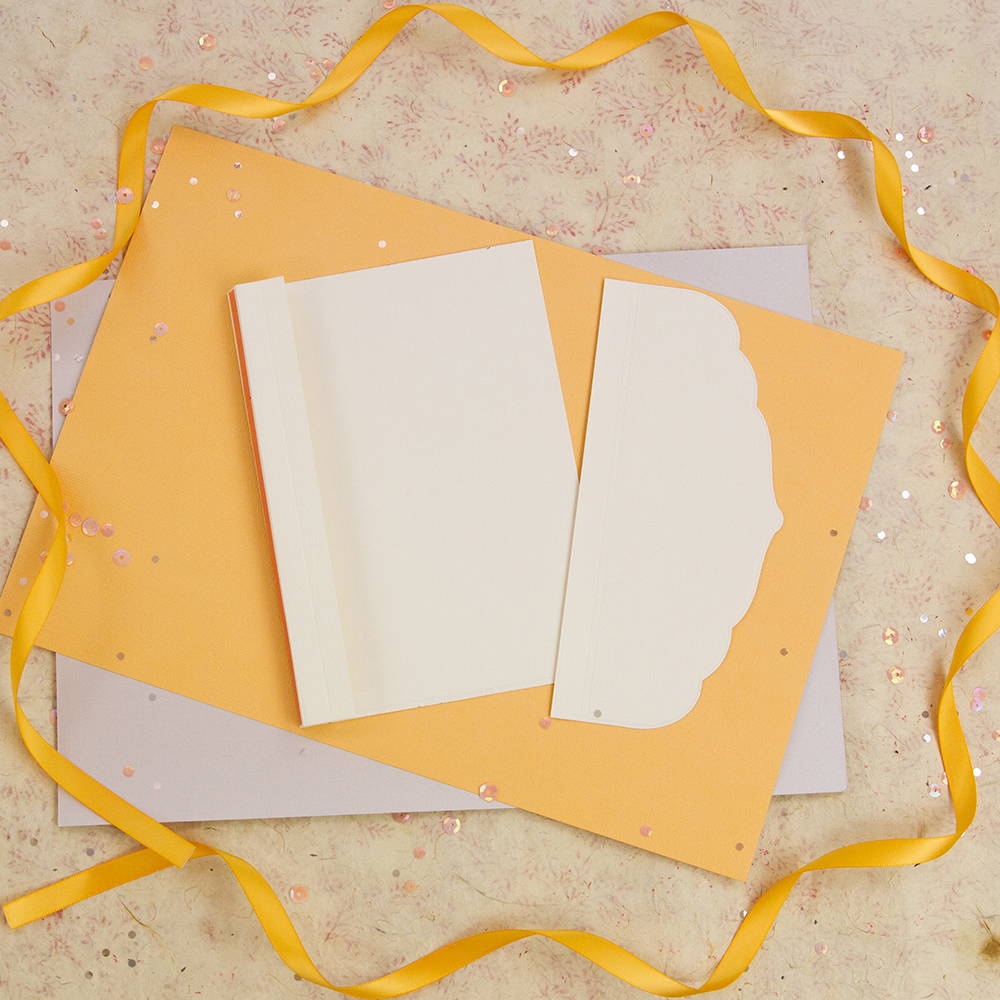
On the next page trim off the shaped flap at the second score line then trim off the rest of the score lines and the end strip, glue together on the extra score lines and line insides. Glue the 2 flaps together for a pocket, add your orange panel before adding on your pocket.
Step 9
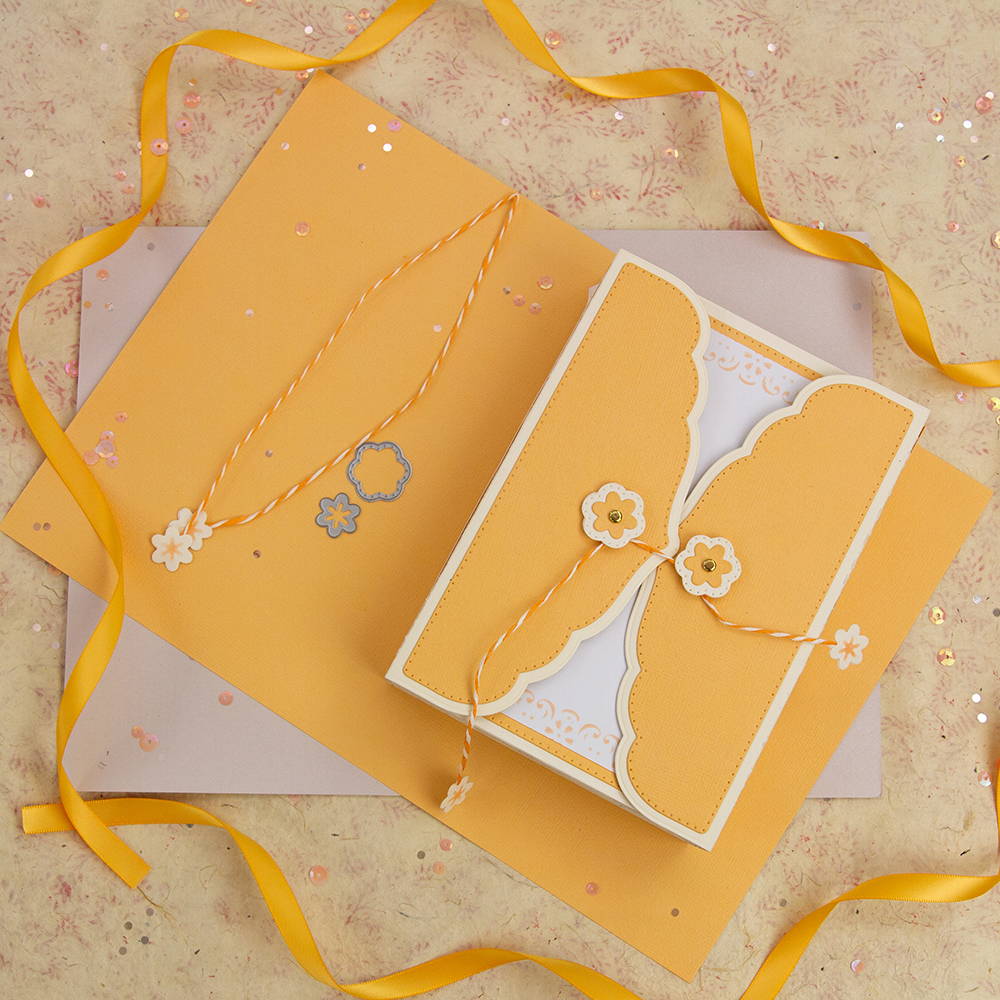
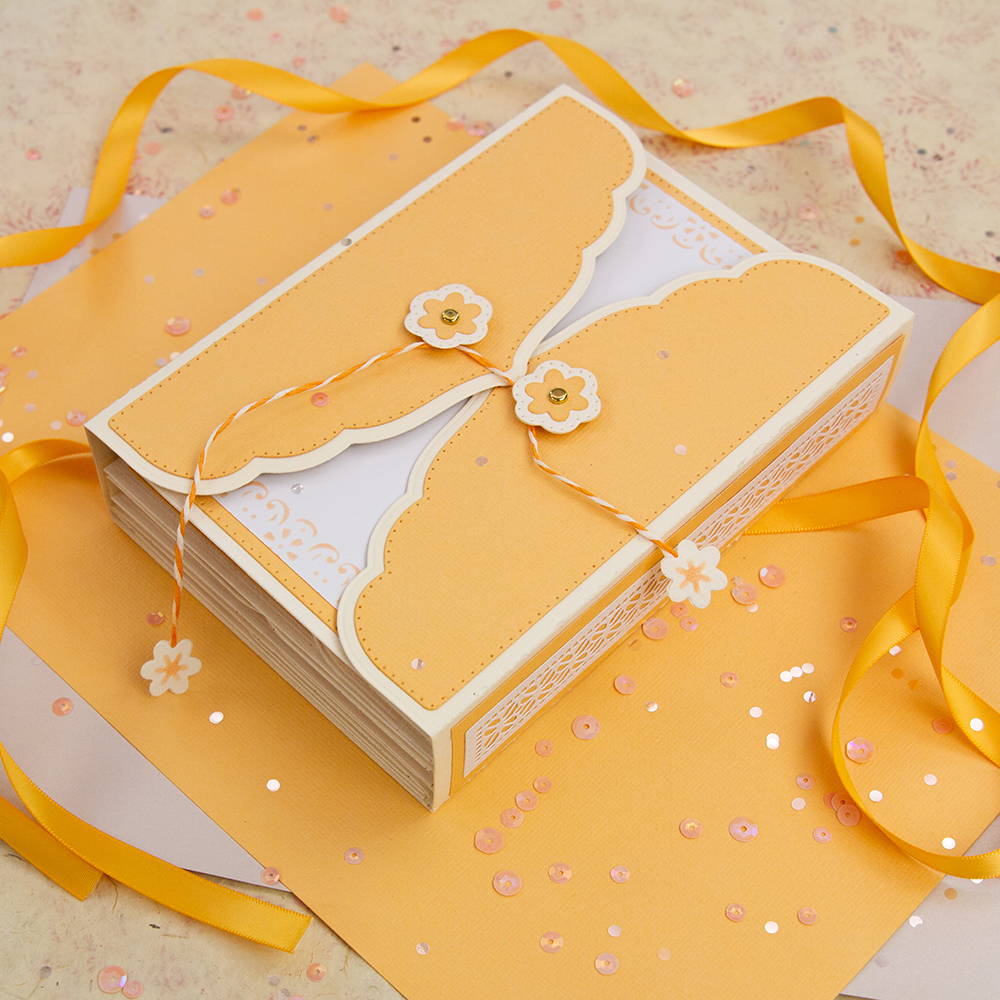
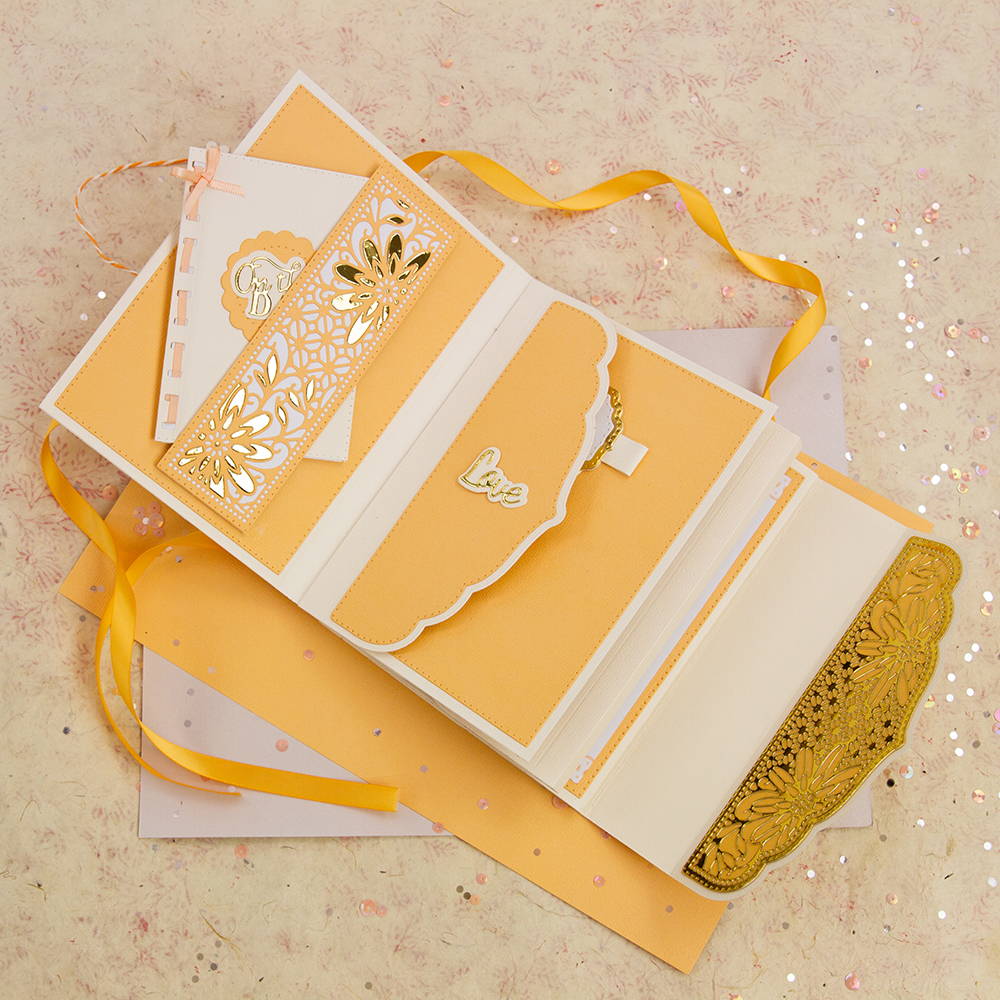
Decorate all your pages first , remove double sided tape and add pages to your base album adding the last back page first. then line up and add the others on top. To decorate the cover, glue your flowers together and position and mark on your front orange panel.
Adding Decoration
Step 1
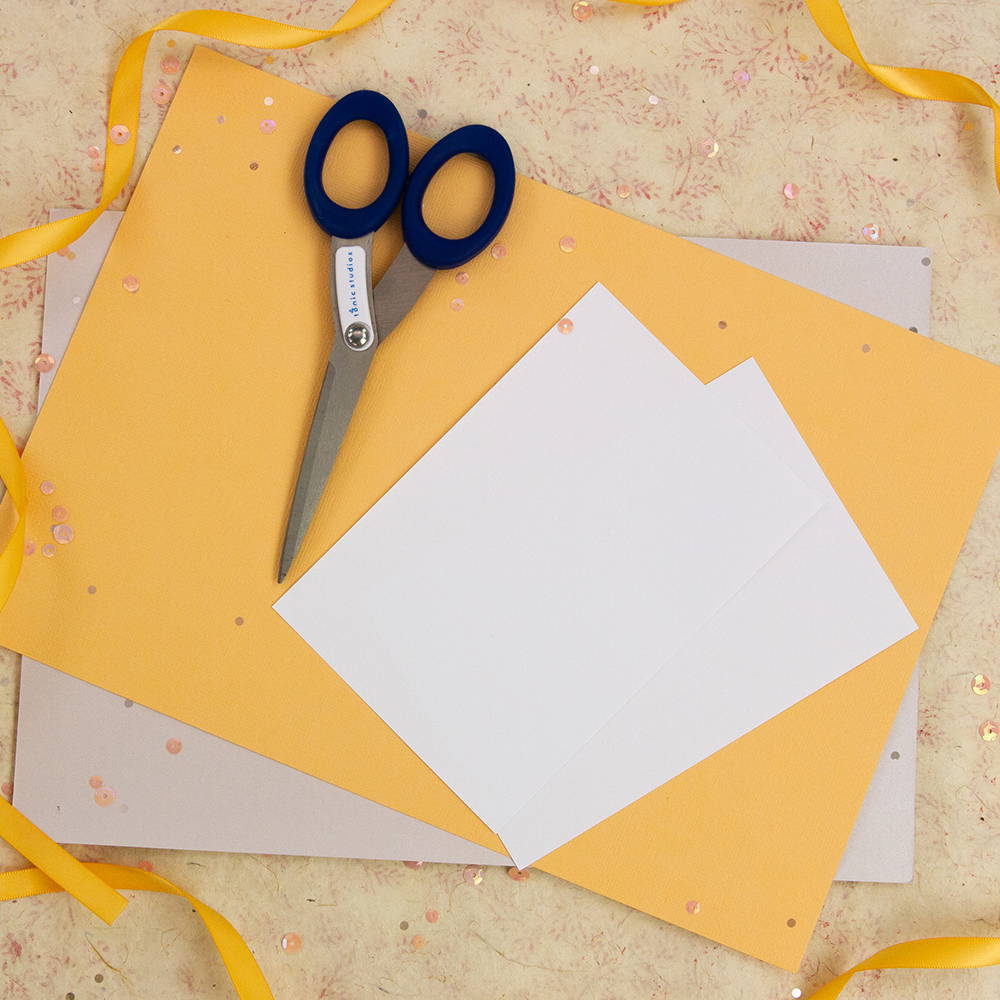
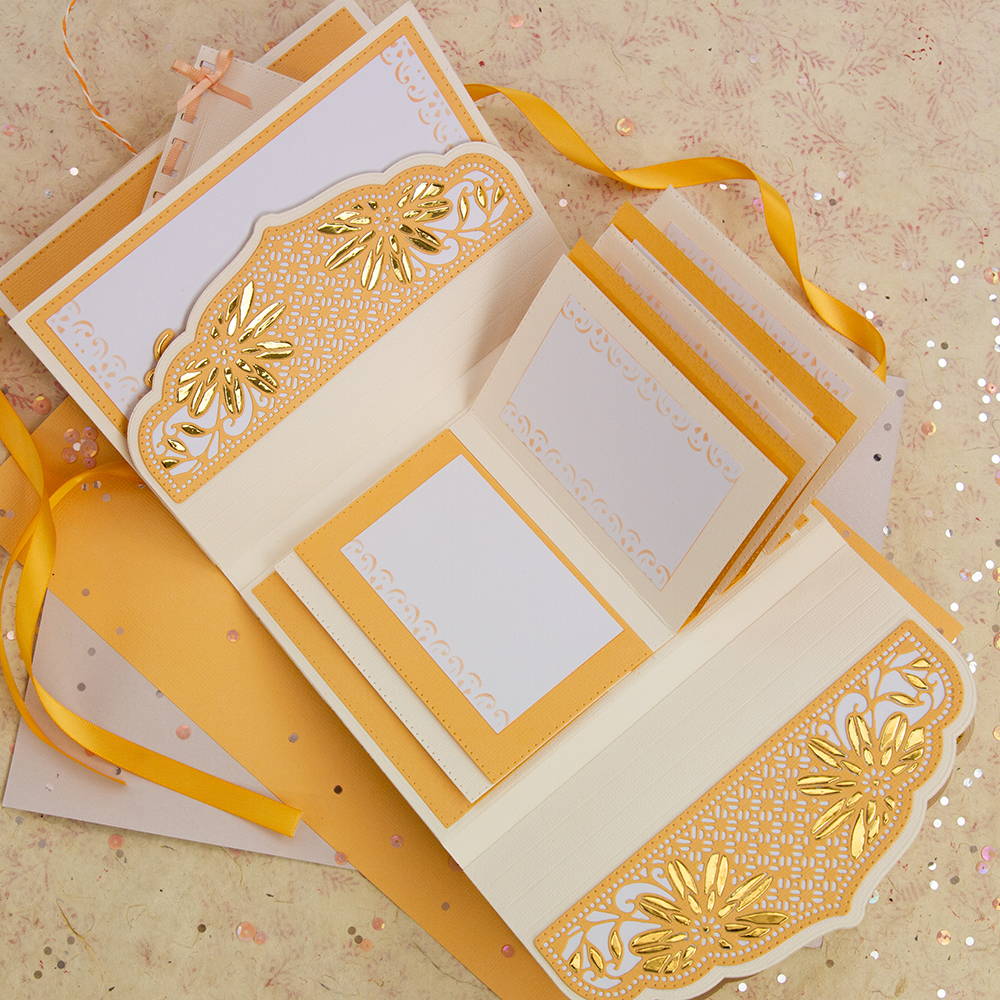
Cut 12 Apricot orange panels. For the Photo mounts cut 8 pieces of white card 10.5cm x 15.5cm
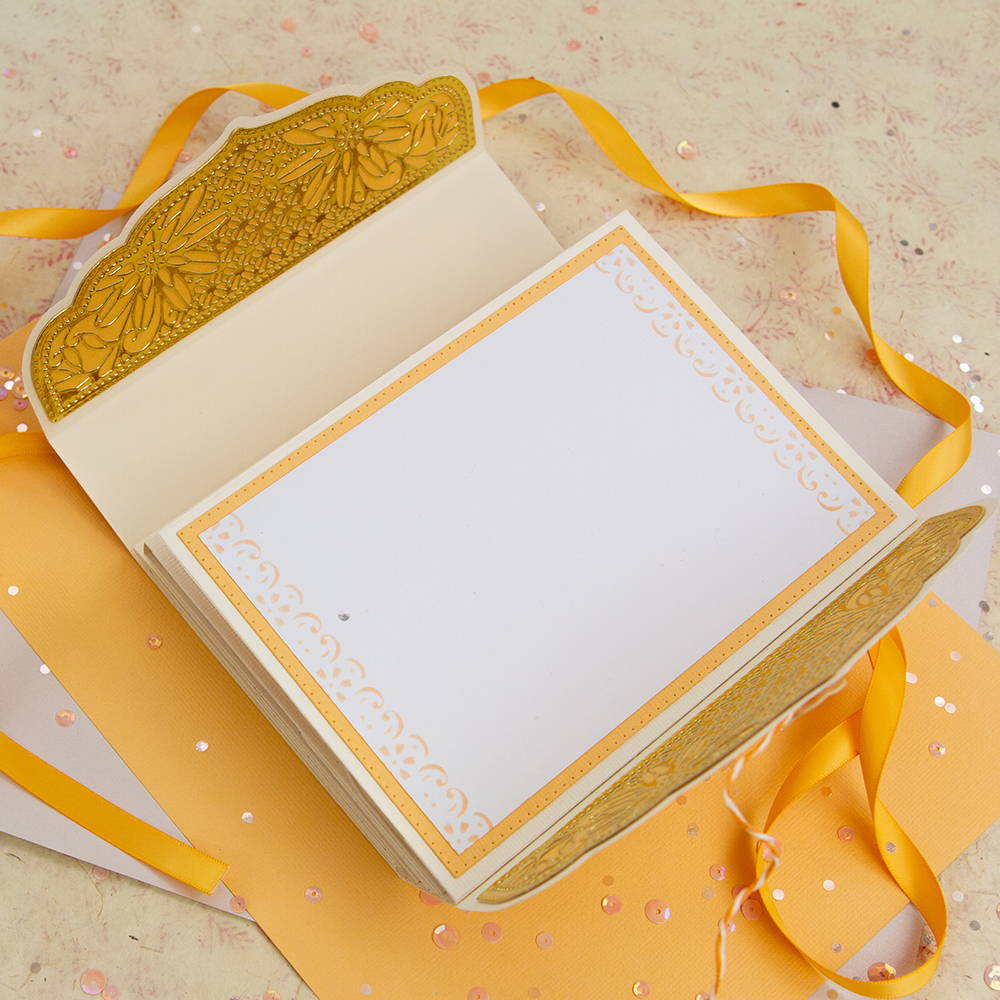
Step 2
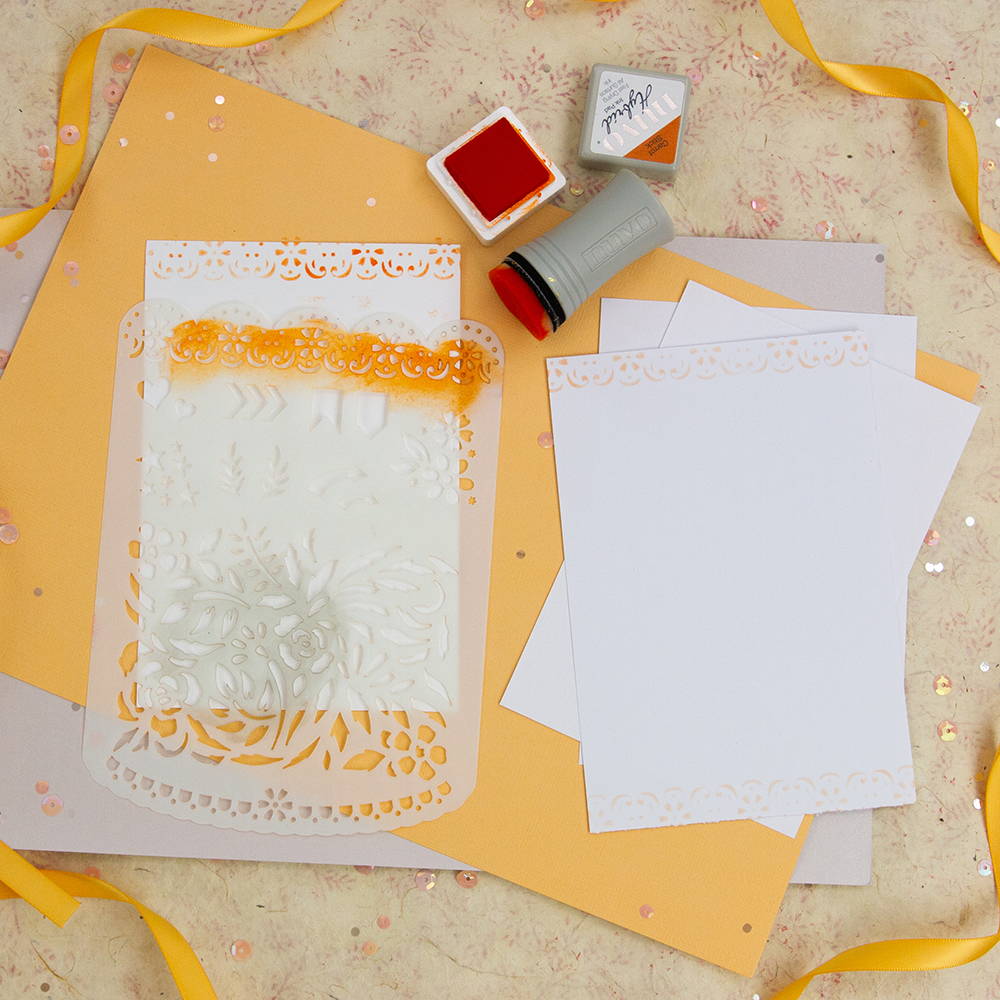
Use ink & your stencil to decorate tops & bottoms, glue onto panels.
Step 3
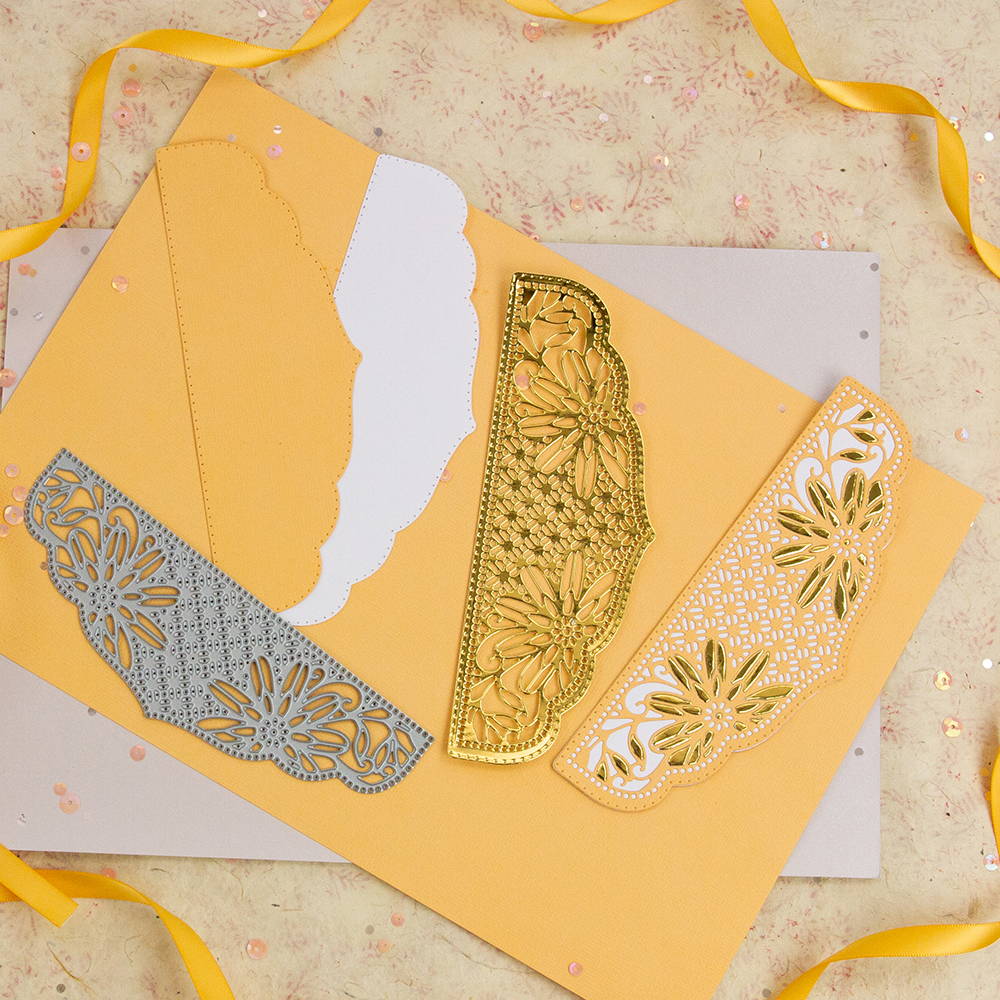
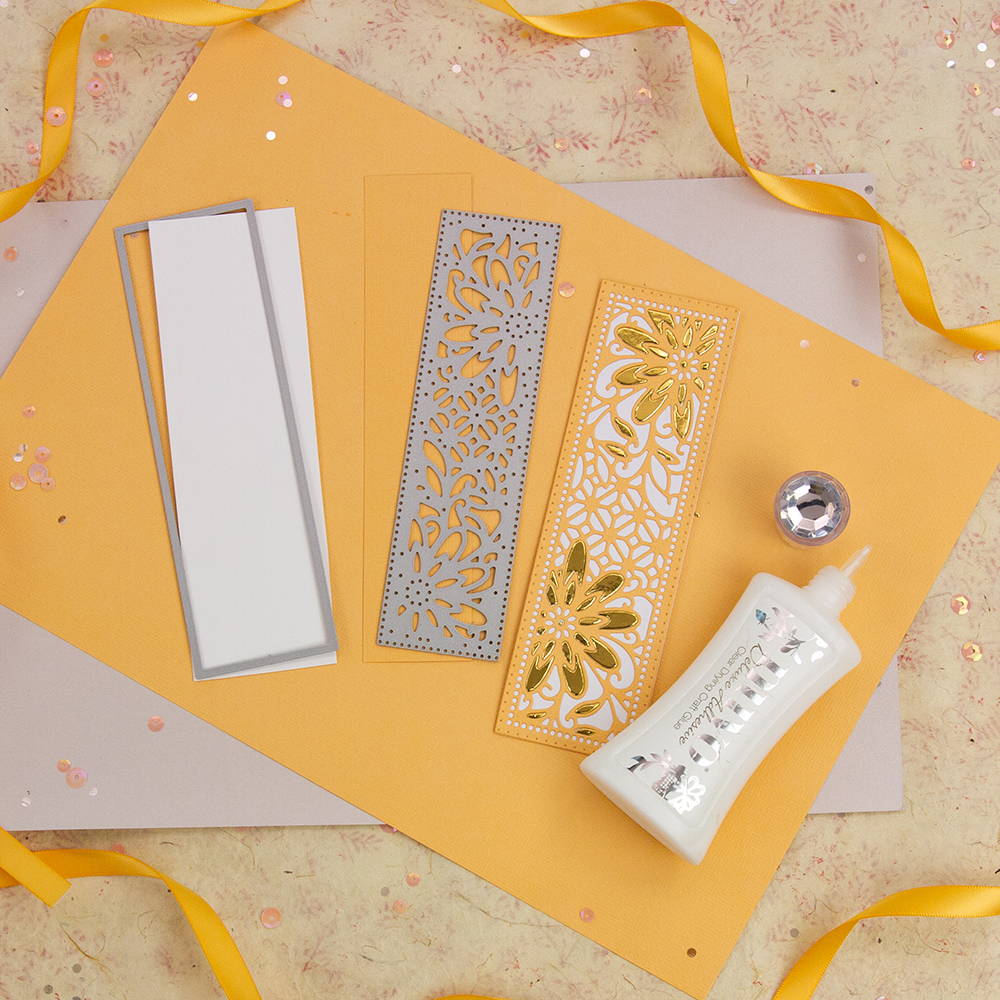
Cut 13 x orange, 4 x gold & 2 x white flap panels, cut the detail out of the orange panels and glue onto white. Cut out the detail from 2 x gold and use to paper piece. the die cut pieces will be used on other pages
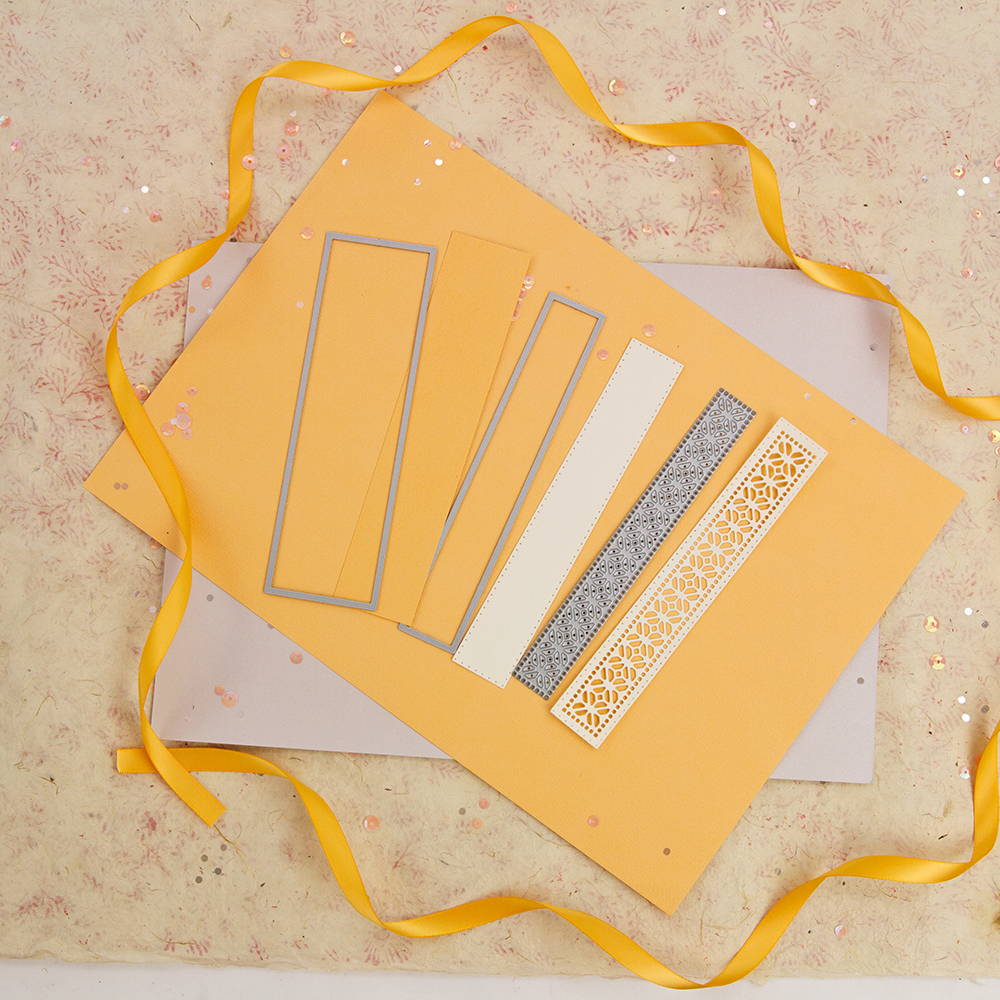
Step 4

Cut the thin border base from orange then the base and detail from ivory white and glue together.
Step 5
Cut the thick border base from white , then base and detail from orange, glue together and cut from gold to paper piece
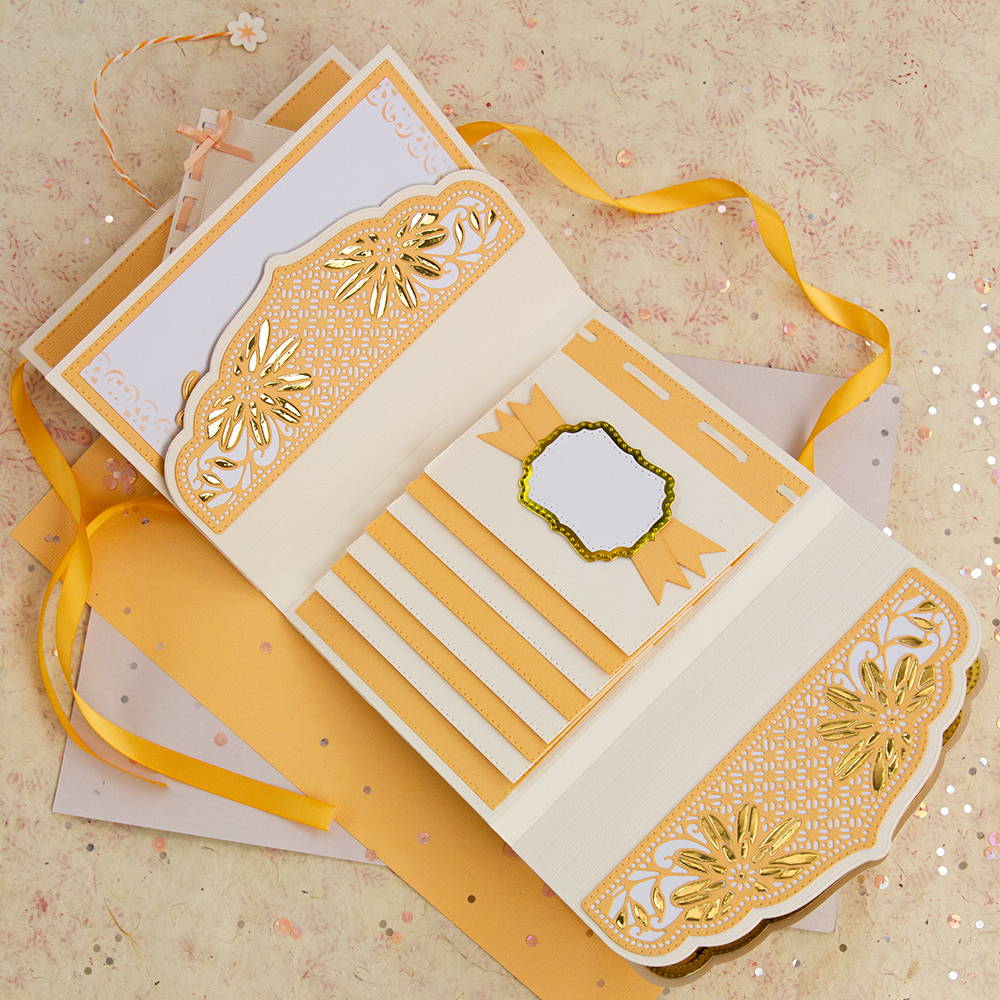
Step 6
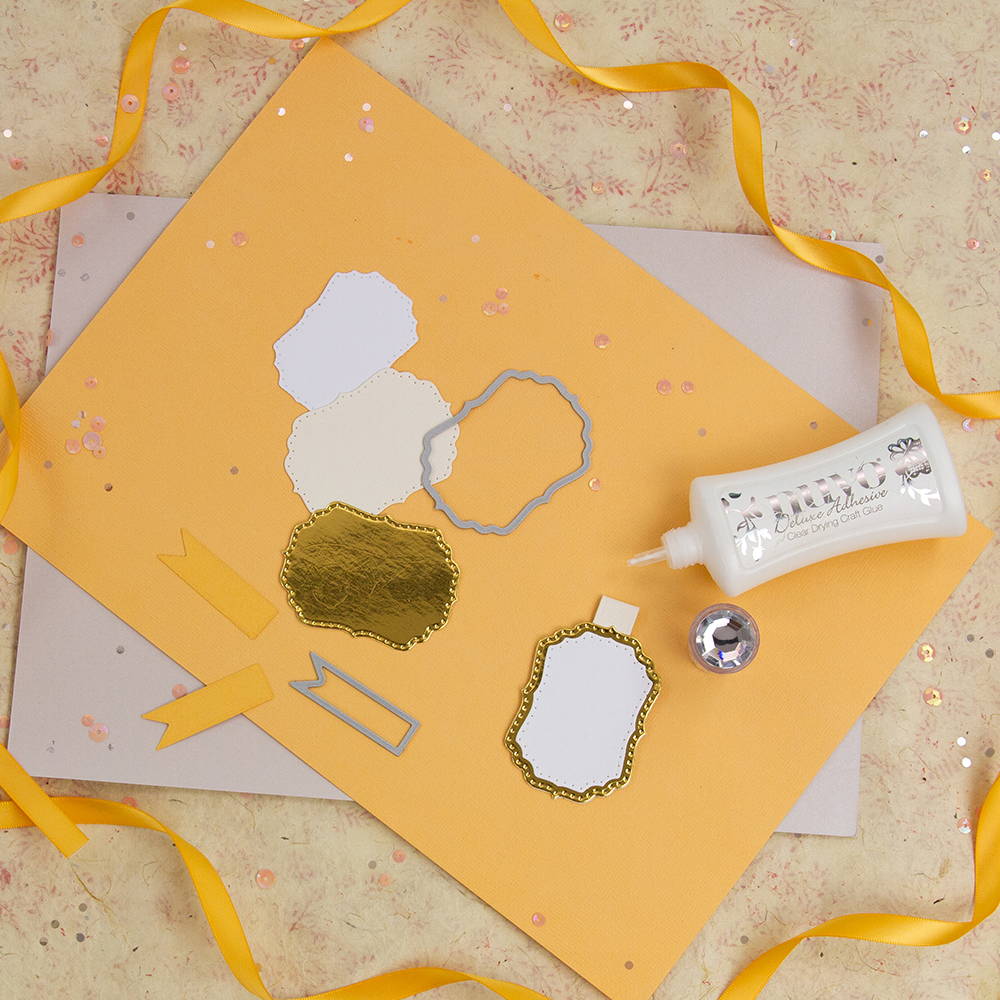
Cut gold and ivory white base tag dies, then cut a banner die. fold in half and sandwich between these two layers to form a loop then cut the smaller layer from white and add to the front
Step 7
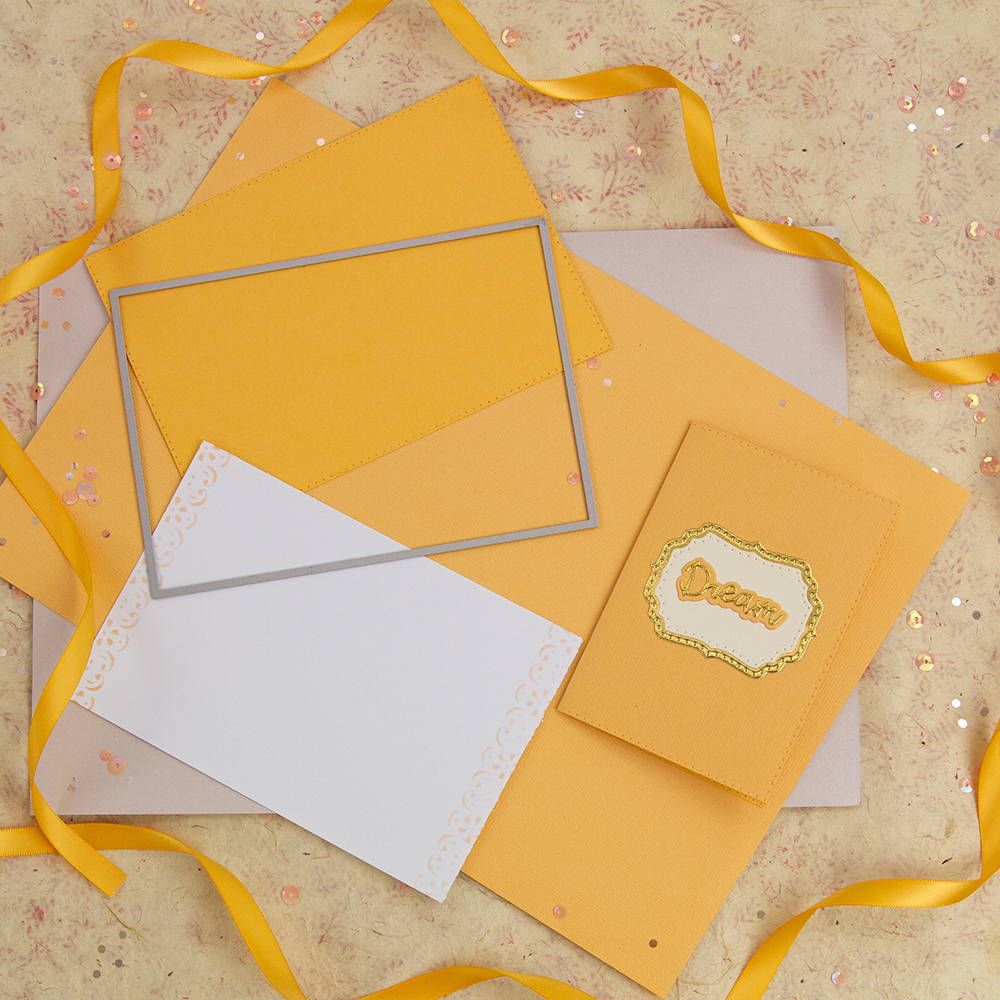
Booklets: cut an orange base layer die and fold in half to make a booklet, add white photo panels inside and a sentiment tag to the front
Step 8
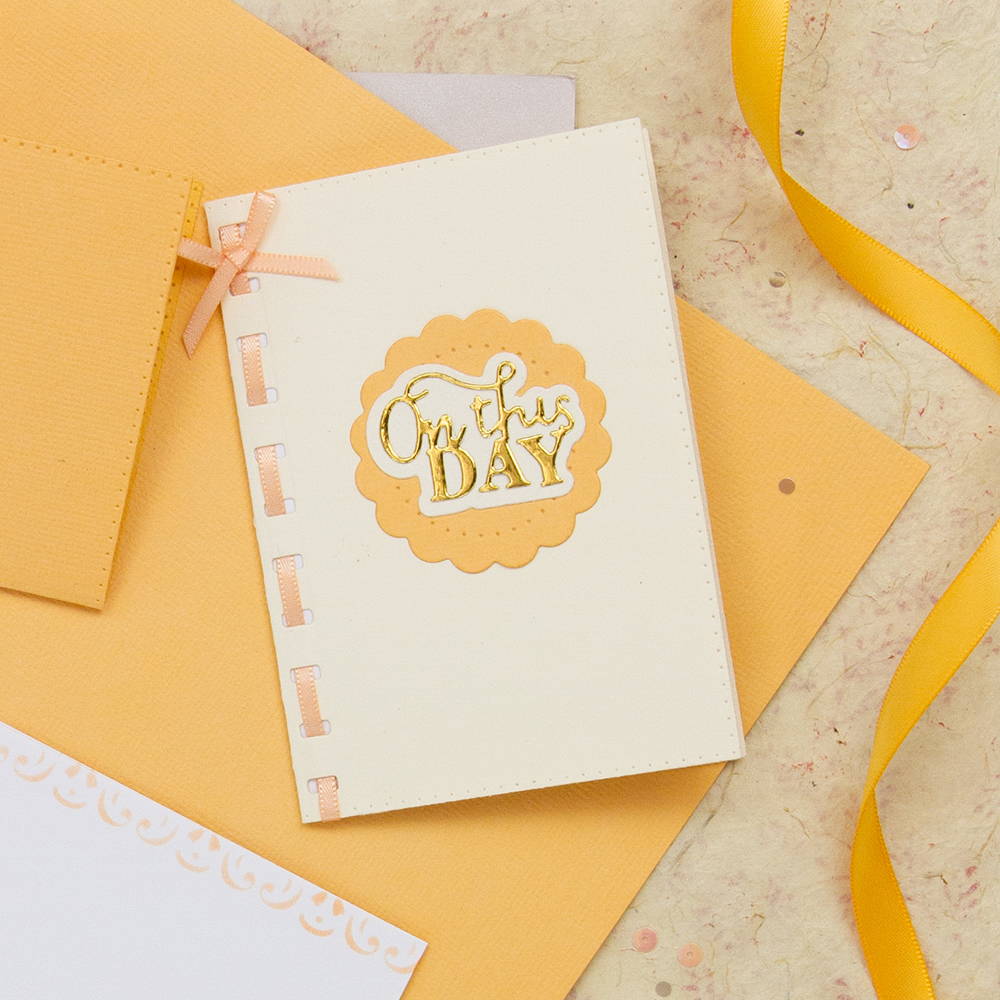
Make another one from ivory white. before adding photo panels, cut the hole strip on the front to thread ribbon through and secure. Then add photo panels, a sentiment and a bow
Step 9
For the flip photo panel cut 2 x ivory white & 2 x orange layer panels and cut in half, score 1cm on raw edge side. On a full orange panel cut out the hole die along the top to thread ribbon and secure on the reverse. Starting at the base with ivory white fold the score line and glue to the base panel leaving 1cm from the bottom. Alternate the colours line up to the last colour and glue in place. Finish with an ivory white on top.
Step 10

Cut and ink white photo panels 9 x 5.5cm and glue inside making sure they are hidden under the flip panels, cut a sentiment ,tag and banners and add to the top layer.
Step 11

For the front cover closure cut 4 x large ivory white flowers, 2 x small orange flowers. Cut 4 x ivory white small flowers. Sandwich the ends of the twine between 2 flowers
Step 12
Cut 2x pieces of orange to 3.5cm x 16.5cm, then cut 2 x ivory white base & detail thin border strips. glue on to panels for the sides

Buy The Craft Project
