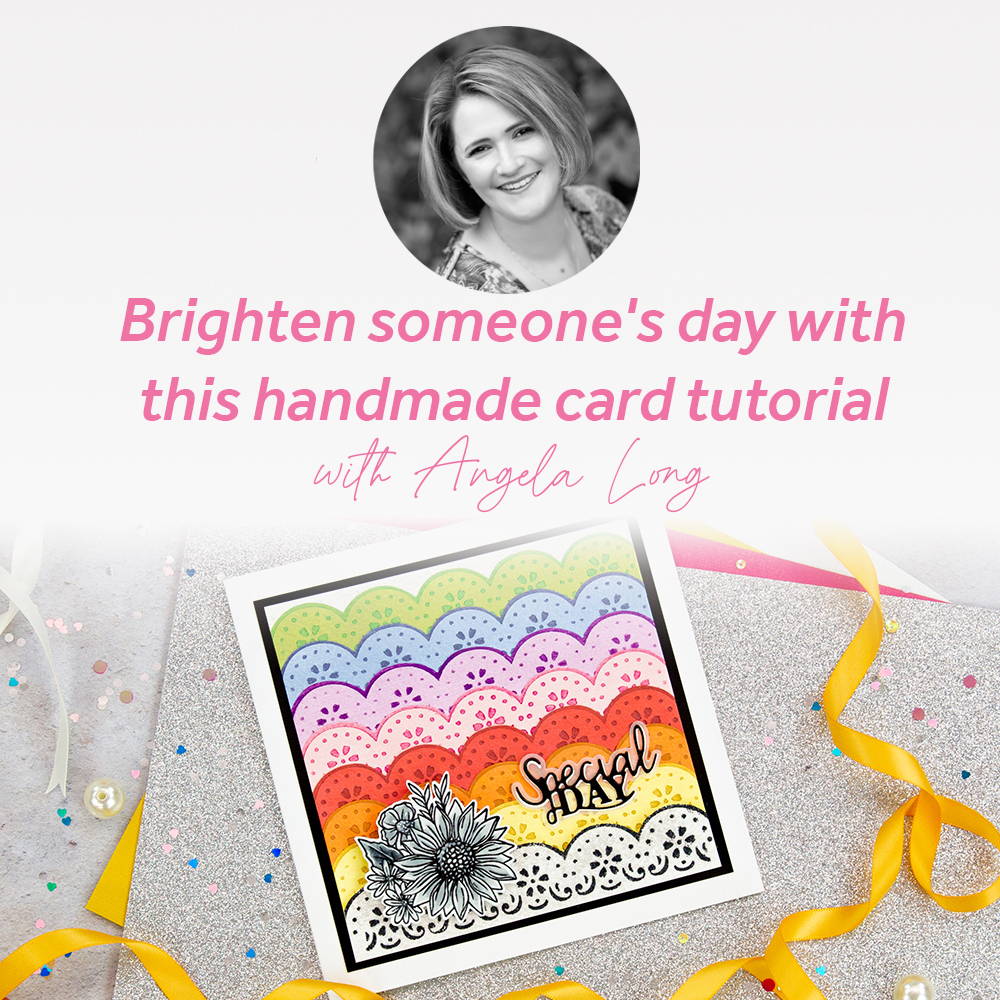
 Gem Rewards

What you will need:
- Stencil,stamps and dies from magazine
- Tangerine Die Cutting Machine
- Stamping Platform
- Tonic Magnetic Crafters Platform, Glass Mat or Easy Clean Mat
- Scissors
- White 6x6” card base
- White watercolour cardstock
- White smooth cardstock
- Craft Perfect Mirror Card - Glossy Black
- Vellum
- Nuvo Deluxe Adhesive- Craft Perfect dimensional foam pads
- Craft Perfect Double Sided Tissue Tape
- Nuvo Precision Blender Brushes
- Washi tape
- White gel pen
- Nuvo Hybrid Ink - Black Shadow
- Nuvo Clear Mark Embossing Pad & Nuvo Embossing Powder - Clear (both optional)
- Glacier paste
Step 1
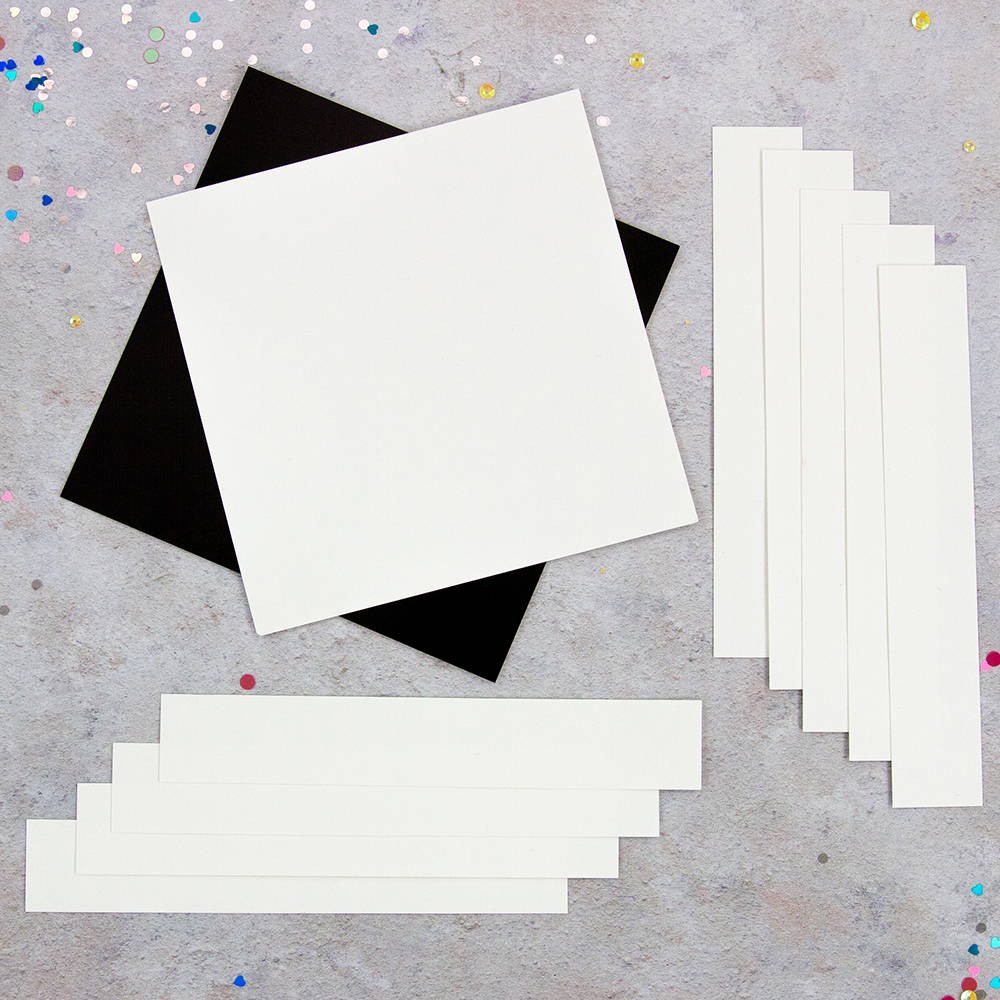
From your smooth white cardstock, cut a 5x5” square base
From your Glossy Black Mirror Card cut a 5 ¼ x 5 ¼ “ square
From your white watercolour cardstock cut x9 6 x 1” strips
Step 2
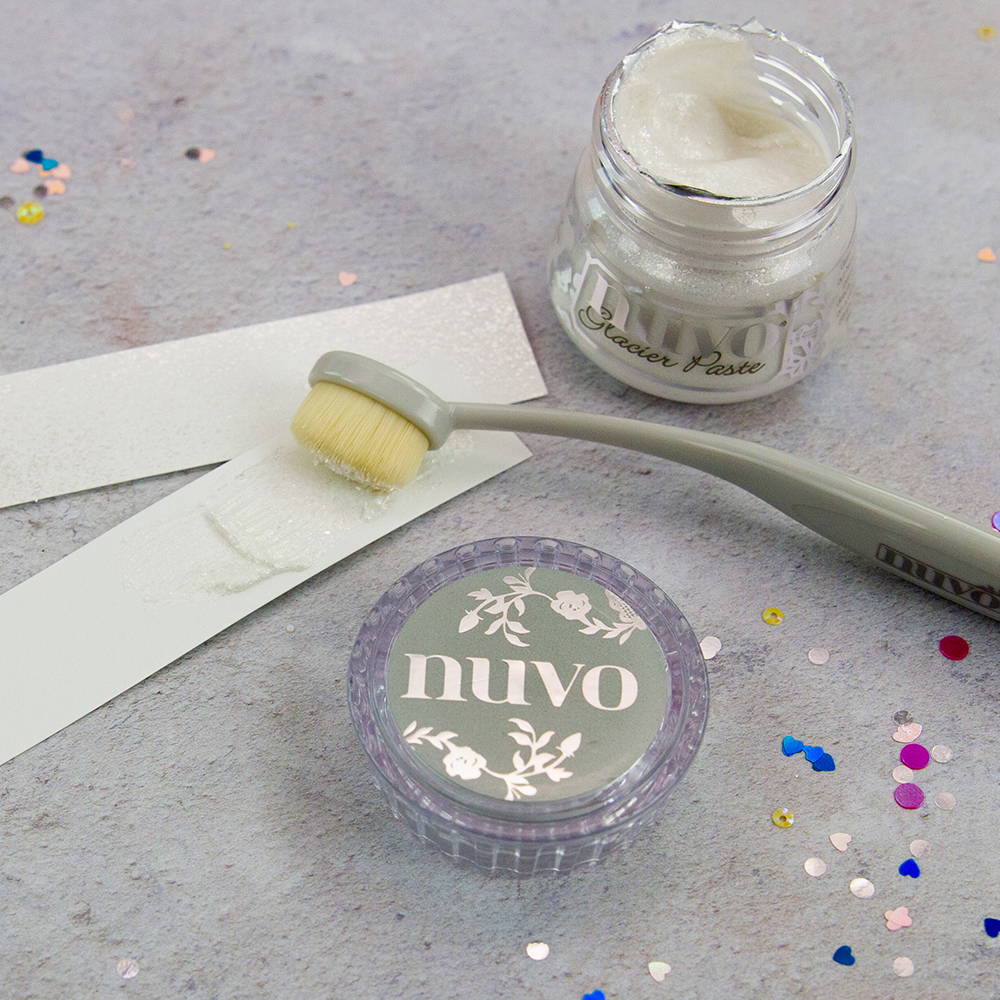
Using a blending brush, apply glacier paste to x2 of your strips
Step 3
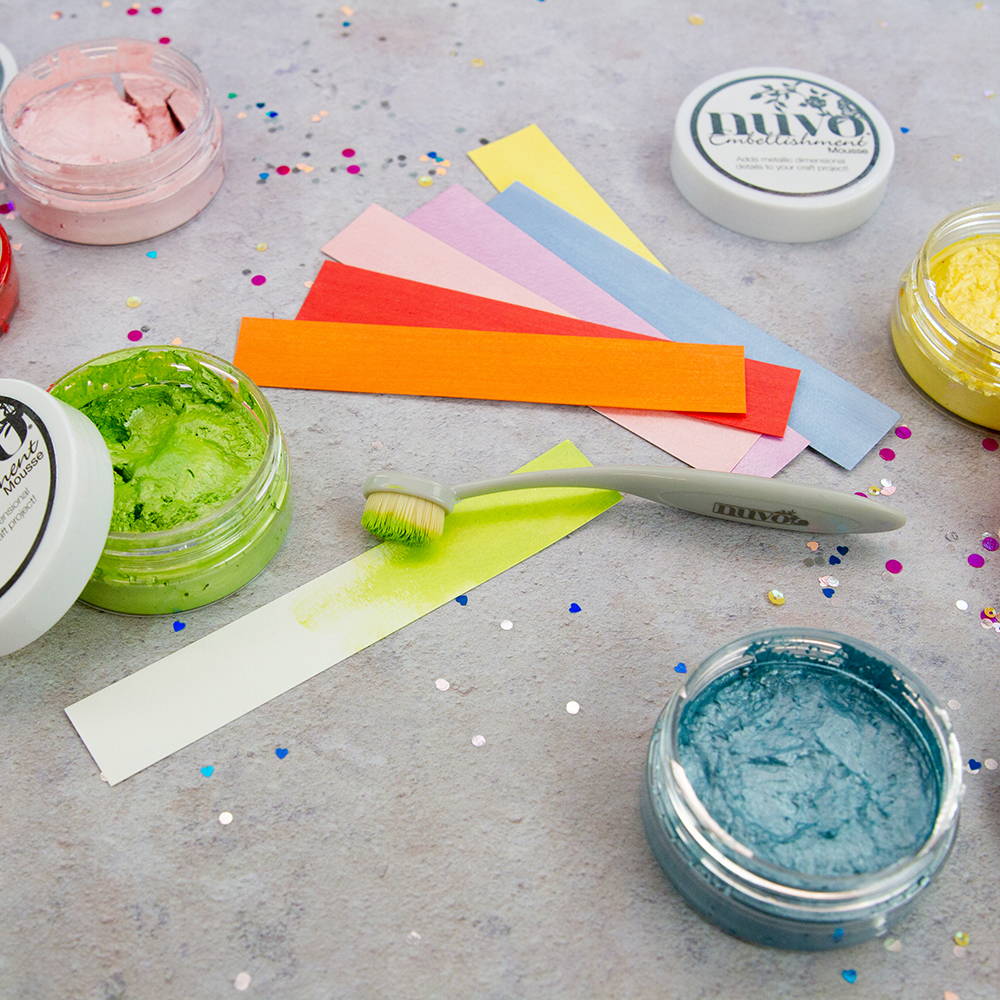
Using a blending brush, apply your lighter colour embellishment mousses to the remaining x7 strips. Set aside to dry.
Step 4
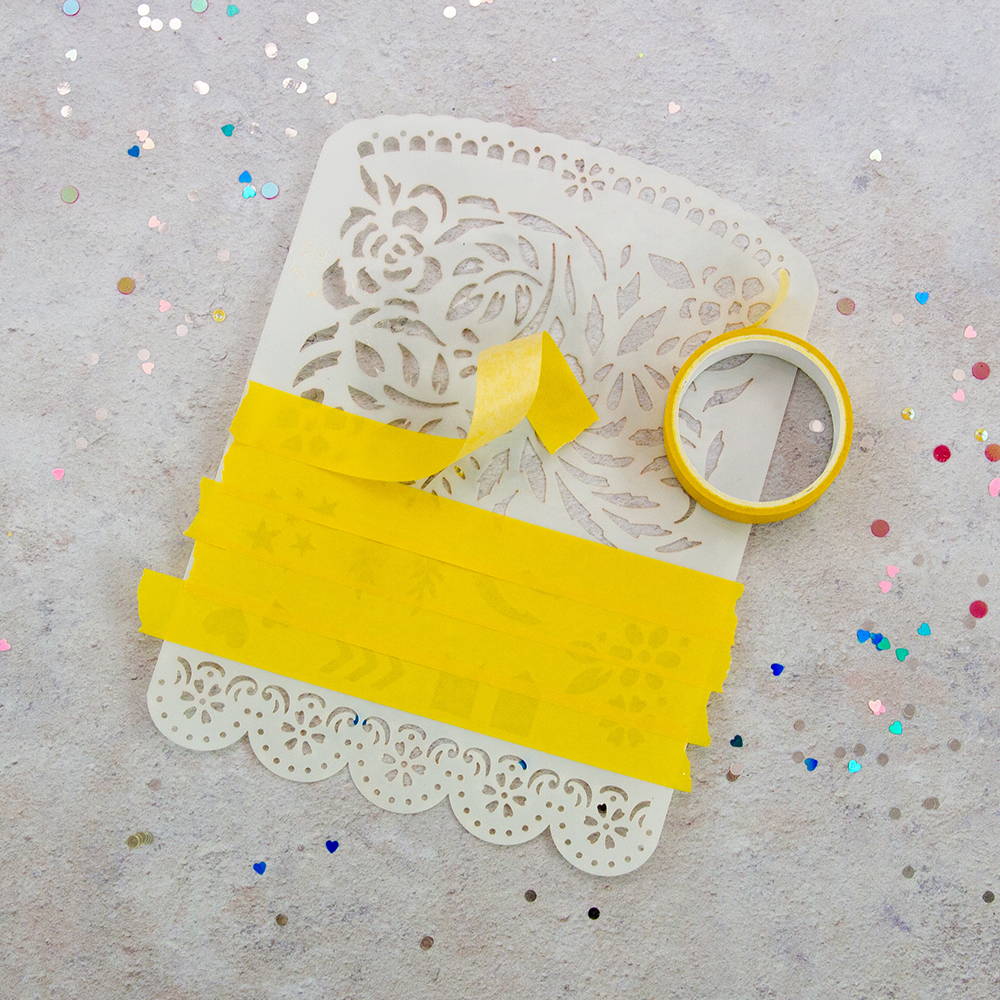
Using your washi tape, cover the immediate parts of the stencil that are next to the lacy scalloped edge (as shown). This will last the entire project and will ensure no accidental stencilling of ‘unwanted’ patterns.
Step 5
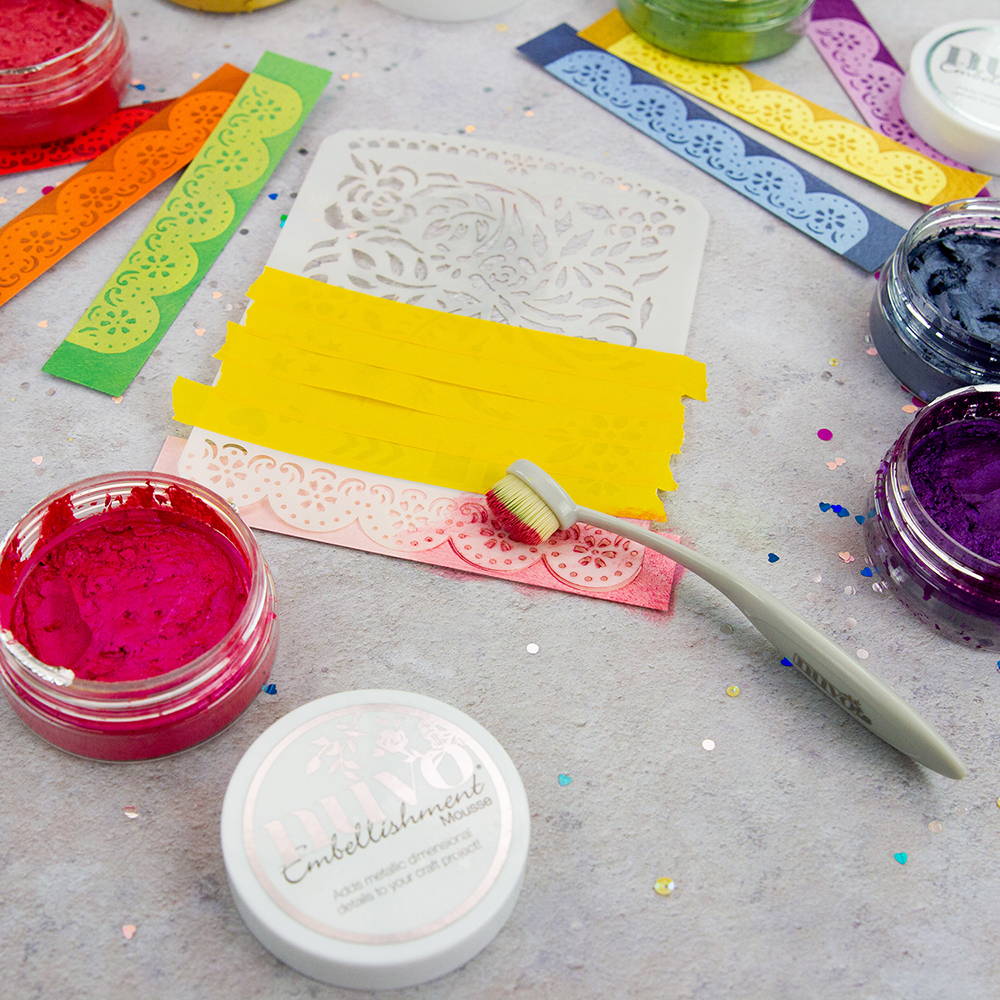
Using a blending brush, stencil over the scalloped edge part of the stencil using the coordinating darker shade. (Ensure to give your stencil a quick wipe with a damp cloth or baby wipe in between colours). Leave to dry
Step 6
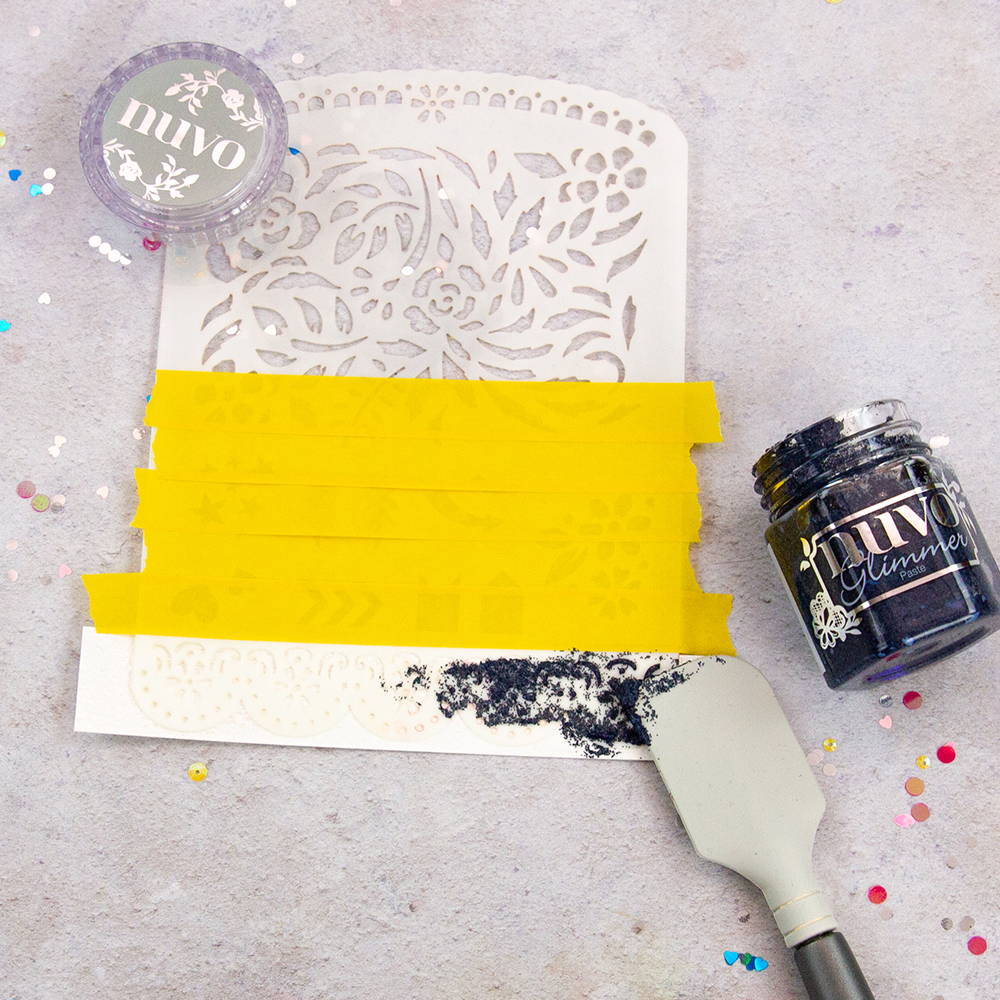
On one of your glacier paste pieces, stencil over the top in a contrasting glimmer paste.
Step 7
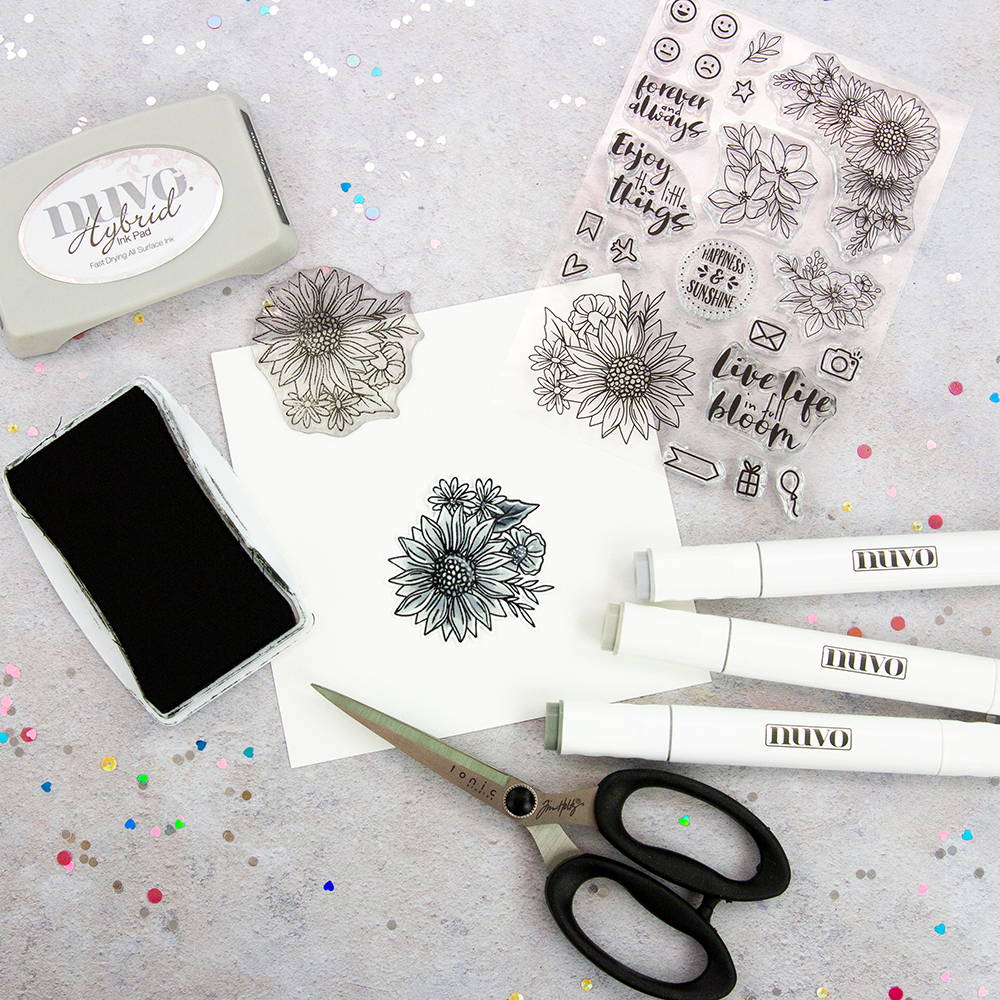
Stamp out the flower stamp in black or grey ink. Using your alcohol markers, colour in and add white highlights using a gel pen if desired.
Fussy cut around your stamped image, leaving a thin white border
Step 8
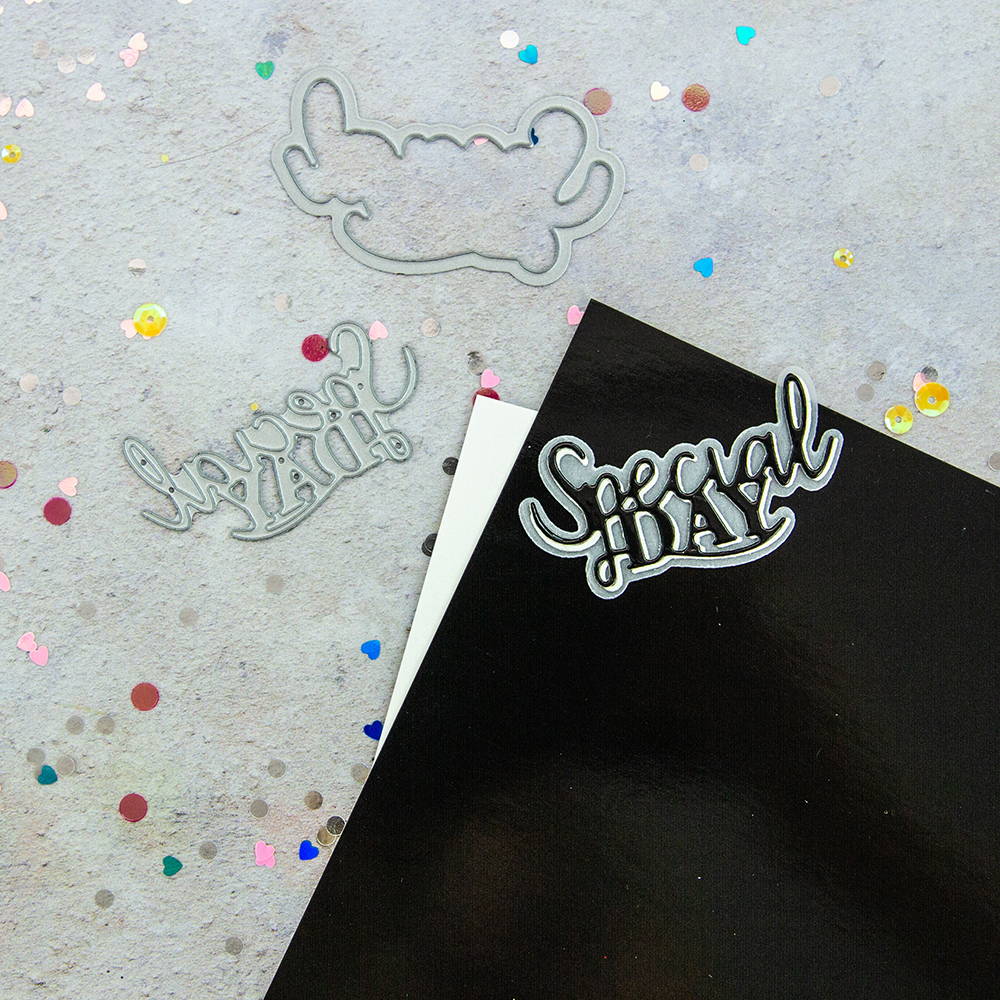
Cut the ‘Special Day’ sentiment from both white & glossy black cardstock
and the coordinating sentiment background out of vellum.
Glue to create a drop shadow effect and attach this to the vellum background surround.
Step 9
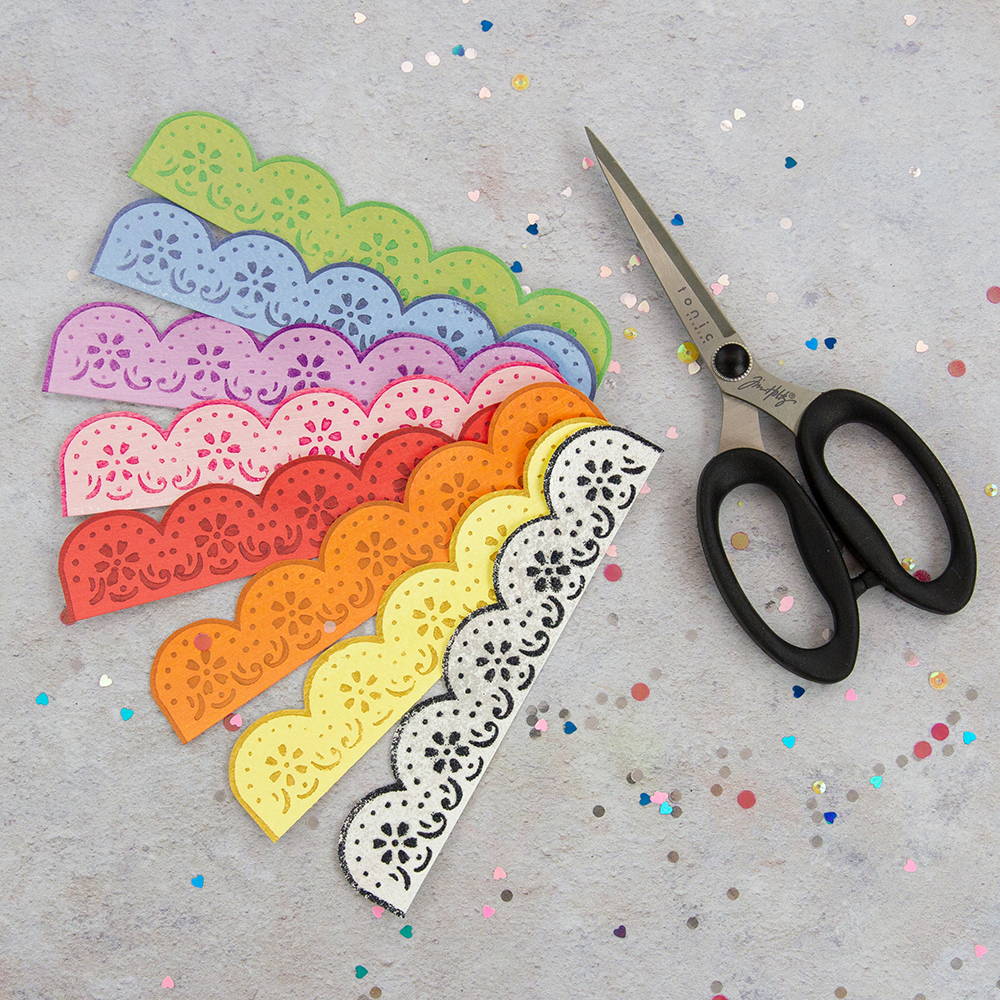
Fussy cut around all 8 stencilled strips, leaving a thin darker border around the scalloped edge.
Step 10
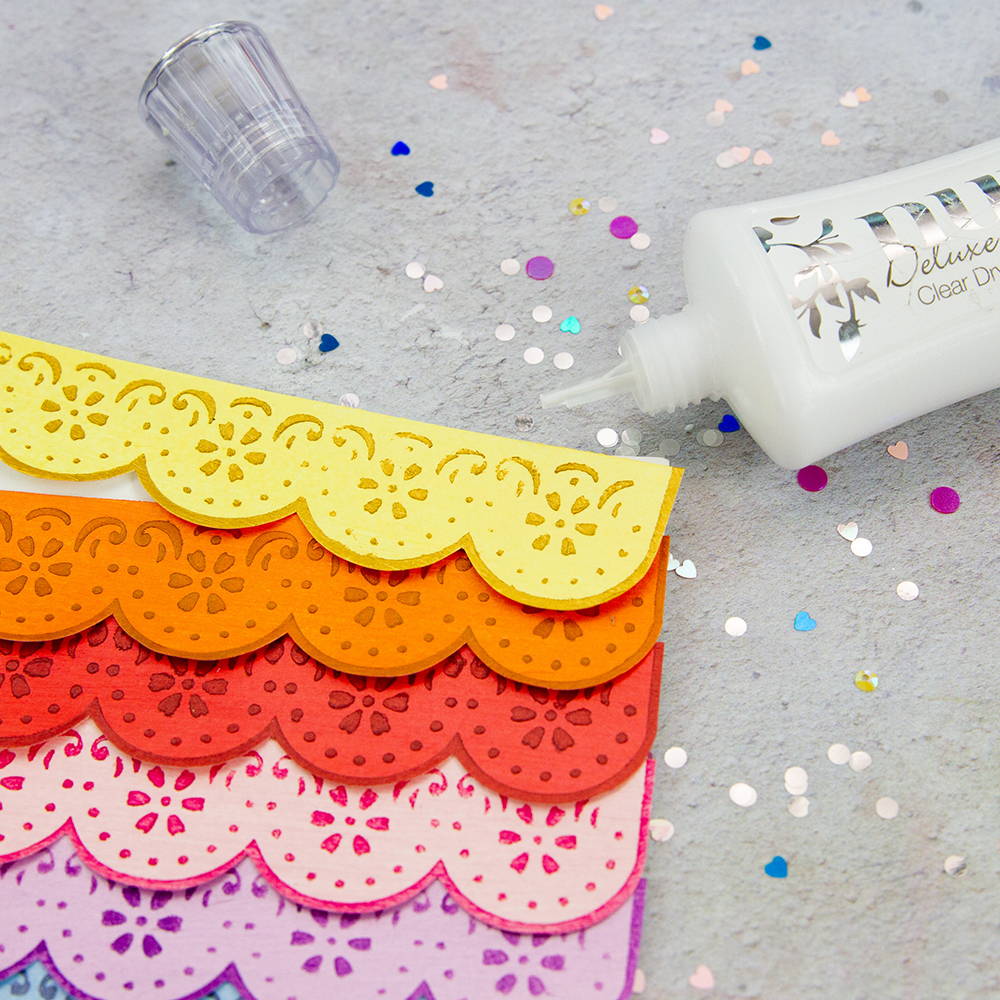
At the very top of your 5x5” panel, attach the remaining glacier paste strip. Then begin to overlay all of the coloured fussy cut strips in a rainbow order. Leave the remaining ‘stencilled’ glacier paste strip (this will be attached using foam pads).
Step 11
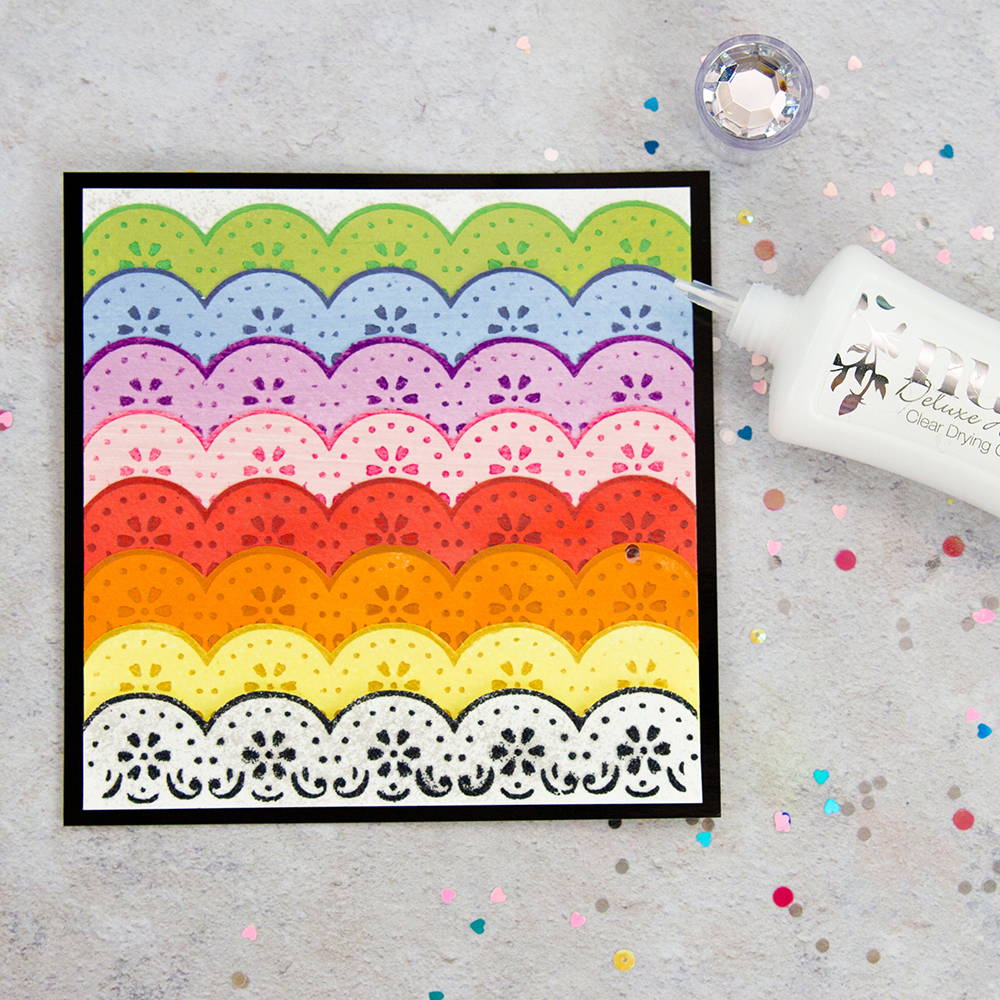
Trim the edges of your panel. Attach the bottom strip using foam pads for a bit of extra dimension and then trim the final edges. Next, attach the panel to the 5¼ x 5¼ glossy black base.
Step 12
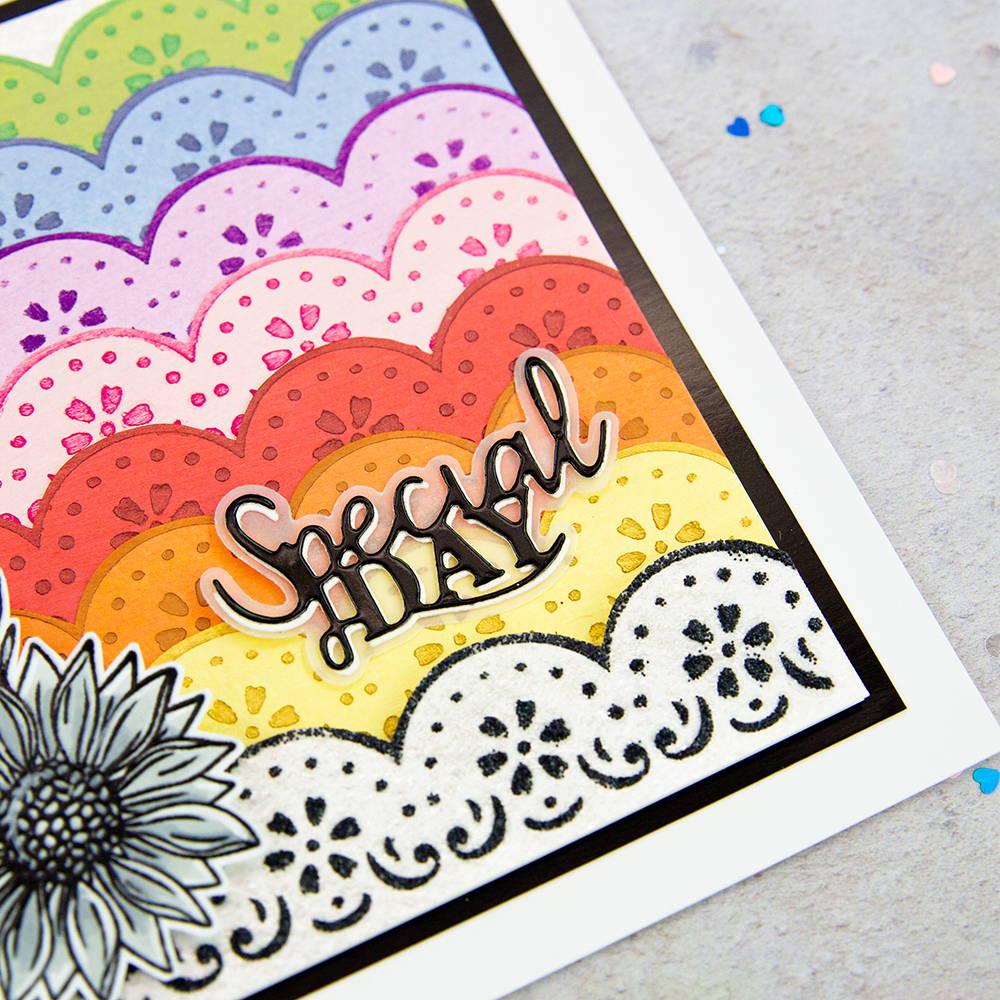
Attach your panel to your cardbase and then attach the stamped flower image using foam pads. To finish, add the sentiment using double sided tissue tape.
Buy The Craft Project