 Gem Rewards


What You Will Need
- A flower for all seasons stamp and die set
- Craft perfect A4 classic card- bright white
- Nuvo hybrid ink pad- black shadow
- Stamping block or stamp platform
- Paper trimmer or scissors
- Ruler
- Craft perfect dimensional foam tape
- Nuvo deluxe adhesive
- Precision Glide Folder
- Tangerine die cutting machine
- Perfect Pastels Alcohol marker set
- Washi tape
- Glass mat
Step 1
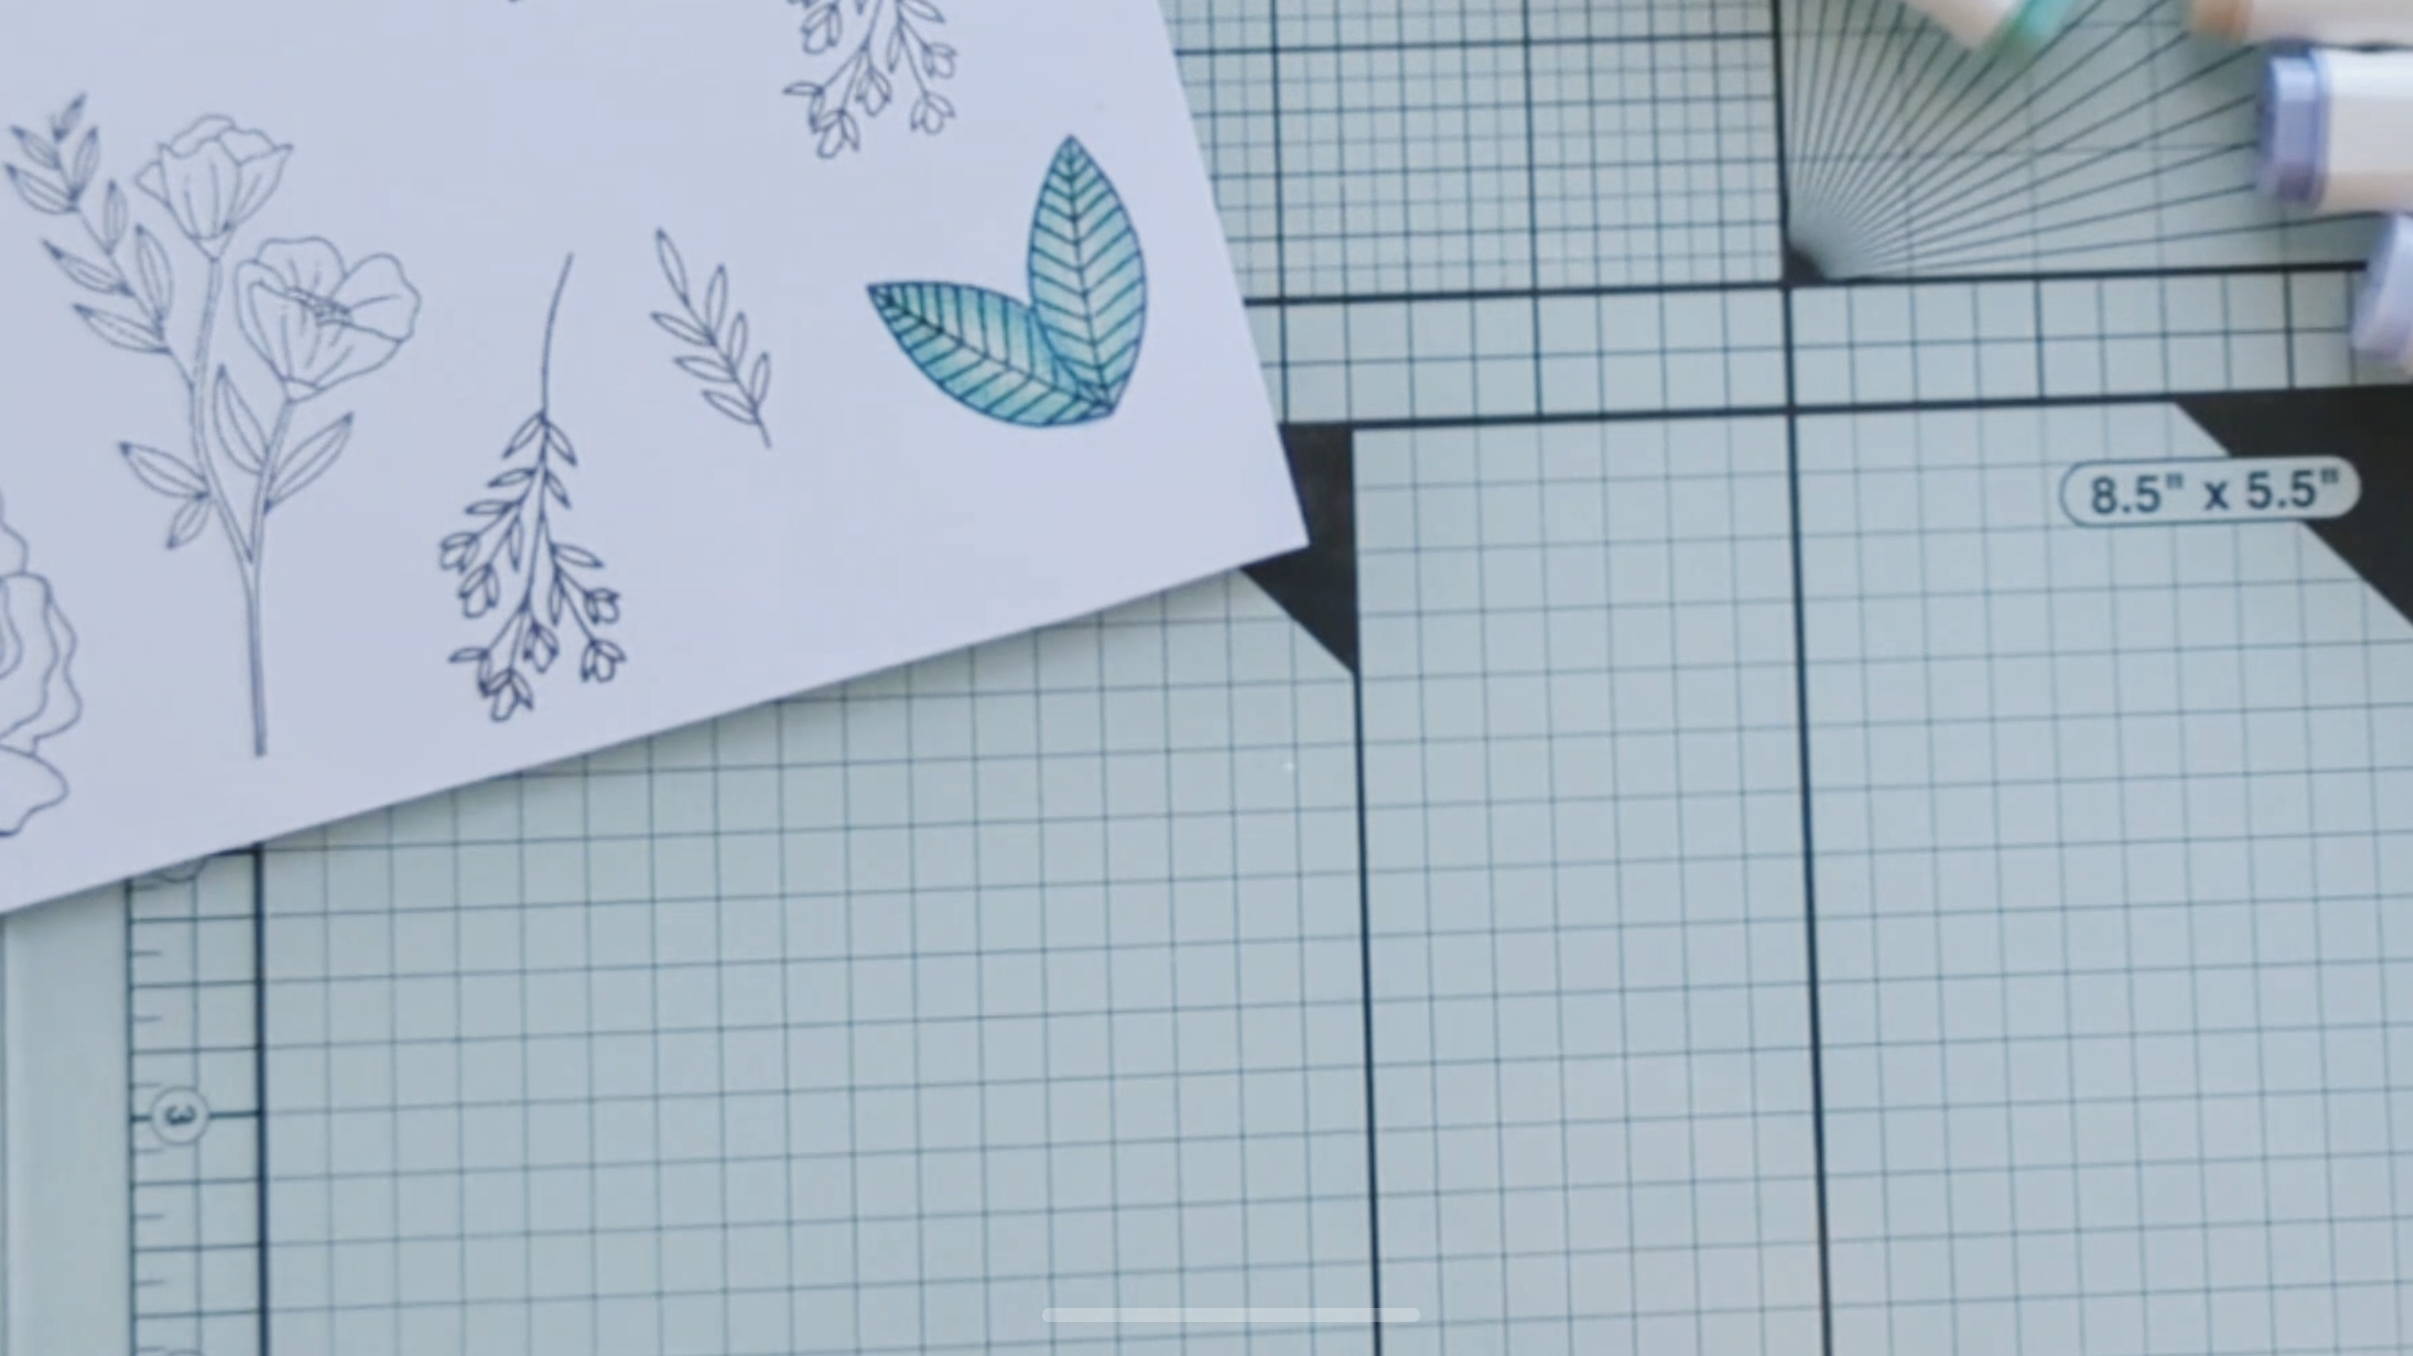
In my video I am using a small stamping platform, so I have to cut my
paper in order to fit it. Cut your paper, if needed, to fit onto your platform.
Step 2

At the bottom of the stamp set, are two large bundled flowers. We will be
using the one on the right, the two leaves directly above it, the small tiny
leaf branch with 7 little leaves on it, and the two floral stems on the right of
the stamp set, next to the sentiments. See *photo 1*
Step 3

Attach stamps onto the platform in any order to fill up space on the paper.
Leave a small gap between each stamp as we will be stamping a few more
times with the smaller ones.

Step 4

Saturate the stamps well with your black ink, close your platform and apply
firm pressure along the top of the stamp platform several times before
opening and checking your ink impression. If needed, reapply ink and
restamp.
Step 5
Since I have two identical size papers, I leave my stamps in the same
position and swap out the stamp card, with the other blank card. Repeat
step 5. If you did not have to cut your paper and have one sheet of paper,
stamp images twice.
Step 6

Now, take out the two larger floral pieces and leave the 3 remaining ones.
Arrange onto a stamp platform to be able to ink onto the white space on the
paper. Repeat step 5.
Step 7
If you have two pieces of paper like me, swap out the paper after inking
and restamp the next sheet. If you have one sheet of paper, stamp images
twice.
Step 8
Using the same stamps, arrange onto the platform to stamp in another
white space area. We will be restamping this onto both sheets of paper.
Repeat step 5. If using one sheet, stamp images twice.
Step 9

Now remove all but the stem with 7 leaves. Stamp this image two more
times and you will be done stamping!
Step 10
I'll be using the Nuvo Alcohol Markers set in Perfect Pastels. We will start
coloring the large double leaves along with the two large leaves on the
largest floral piece. Grab the markers in:
Forget me not blue- 427
Pillow Mint- 359
Aqua Spray- 360
Step 11

Outline the inner sides of the leaves like shown. It's one line thick as if I'm
tracing just inside the leaf. I suggest doing one stamped image at a time.
Step 12

Using the pillow mint, trace over the blue lines that you just drew, then
make an outline directly next to the line you just traced. Then slowly color
moving the marker up and down as if coloring between the two lines lightly
and then coloring over to the blue line again. This helps blend the two
colors together as the inks are wet.
Step 13
Use the Aqua spray marker to color in the white space of the leaf. You don't
have to worry about blending as this and the pillow mint are very close in
color.
Step 14

Repeat steps 13-15 for the remaining 6 double leaves, and the 4 large
leaves on the large floral stamp pieces.
Step 15

Next, using the Persian lime marker, color in the tiny stems with the 7
leaves.
Step 16

For the second largest floral piece, color in the leaves in pillow mint. Also
color in the remaining leaves on the largest floral piece.
Step 17

Lastly, color in the remaining leaves using forget me not blue, then color
over the blue with pillow mint.
Step 18

Now we will move on to coloring the flowers. We will start on the largest
flower on the large floral stamp. Using sweet blossom pink, color in the
small spaces that are at the end of the petals like shown.
Step 19

Next, beginning on the inner part of the petals, make small strokes from
bottom to top lifting lightly as if flicking the marker up. The bottom of the
petal will be all pink while there will be small strokes on the middle and
some of the top of the petals. Do this with all petals using smaller strokes
for the smaller spaces.
Step 20

Grab the sand castle marker and lightly color over the ends of the petals
that are pink to change the color to a more coral pink. Using the same
marker, color over the pinks on the petal and color in the remaining white
space moving in an up and down motion while coloring. Color over it a
second time if lines need a little more blending. Repeat with remaining
petals.
Step 21
repeat steps 20-22 for the exact same flower that has not been colored.
Step 22

Staying on the same stamp piece where we colored the coral flower, we will
begin to color the fllower next to it. Using the marker sand castle, we will
use light strokes coloring from the center of the petal, outwards for all
petals. Then color over with the same marker one more time using the
same coloring technique.
Step 23

Use the marker in Lemon drops to color over the sand castle color and
remaining white parts of the petals. Repeat for the other flower that is like
this one.
Step 24

Next we will color in the second largest piece. For the petals we will be
using the same technique of coloring from the bottom of the petal with light
strokes upwards using forget me not blue. Then we will color over this blue
and remaining white parts of the petals in skylight blue.

Step 25

For the next piece, instead of copying the same color we will use purple
instead. We will do step 26 but use Violet breeze in place of forget me not
blue and lavender sky in place of skylight blue.
Step 26
For the rest of the tiny flowers you can choose pretty much any color you
like! I used lavender sky, lemon drops, skylight blue, sand castle and then
used sweet blossom on one then colored over it in sand castle as well.
Step 27

Now that we have finished coloring, it's time to cut everything out! Using the
corresponding dies. Match up each piece and place a small piece of washi
tape to prevent the die from moving. Then die cut using a die cut machine.
Step 28
Cut out all pieces using the dies.
Step 29

Now that we have all our pieces cut, we can set them aside. Now we can
start on our card base. Grab a new sheet of cardstock paper
Step 30
Fold the paper in half horizontally and crease using a paper crease to give
it a smooth fold line.
Step 31

We will be making a square card base that will be about 5 ½" x 5 ½". Using
a paper trimmer or scissors, cut off remaining paper after it's been
measured.
Step 32

Using that extra paper we just cut off, use the paper trimmer to cut off a one
inch piece of the end of the paper like shown. This piece will have our
sentiment later and will be the center focal point of the card. The florals will
be arranged behind it.
Step 33

Now it's time to arrange the florals. You can arrange it any way you like or
copy my method, whichever you prefer. Using the small paper piece we just
cut, place the two largest floral pieces behind the left and right ends.
Position like shown. Do not use any glue during this process.
Step 34
Use two small pieces of washi tape and place under the floral pieces to
connect it to the middle paper. This will help as we arrange the other pieces
around it.
Step 35
The next step is a bit harder to explain, but hopefully the photo helps as to
where each floral piece goes. Arrange like shown: See *photo 28*
Step 36
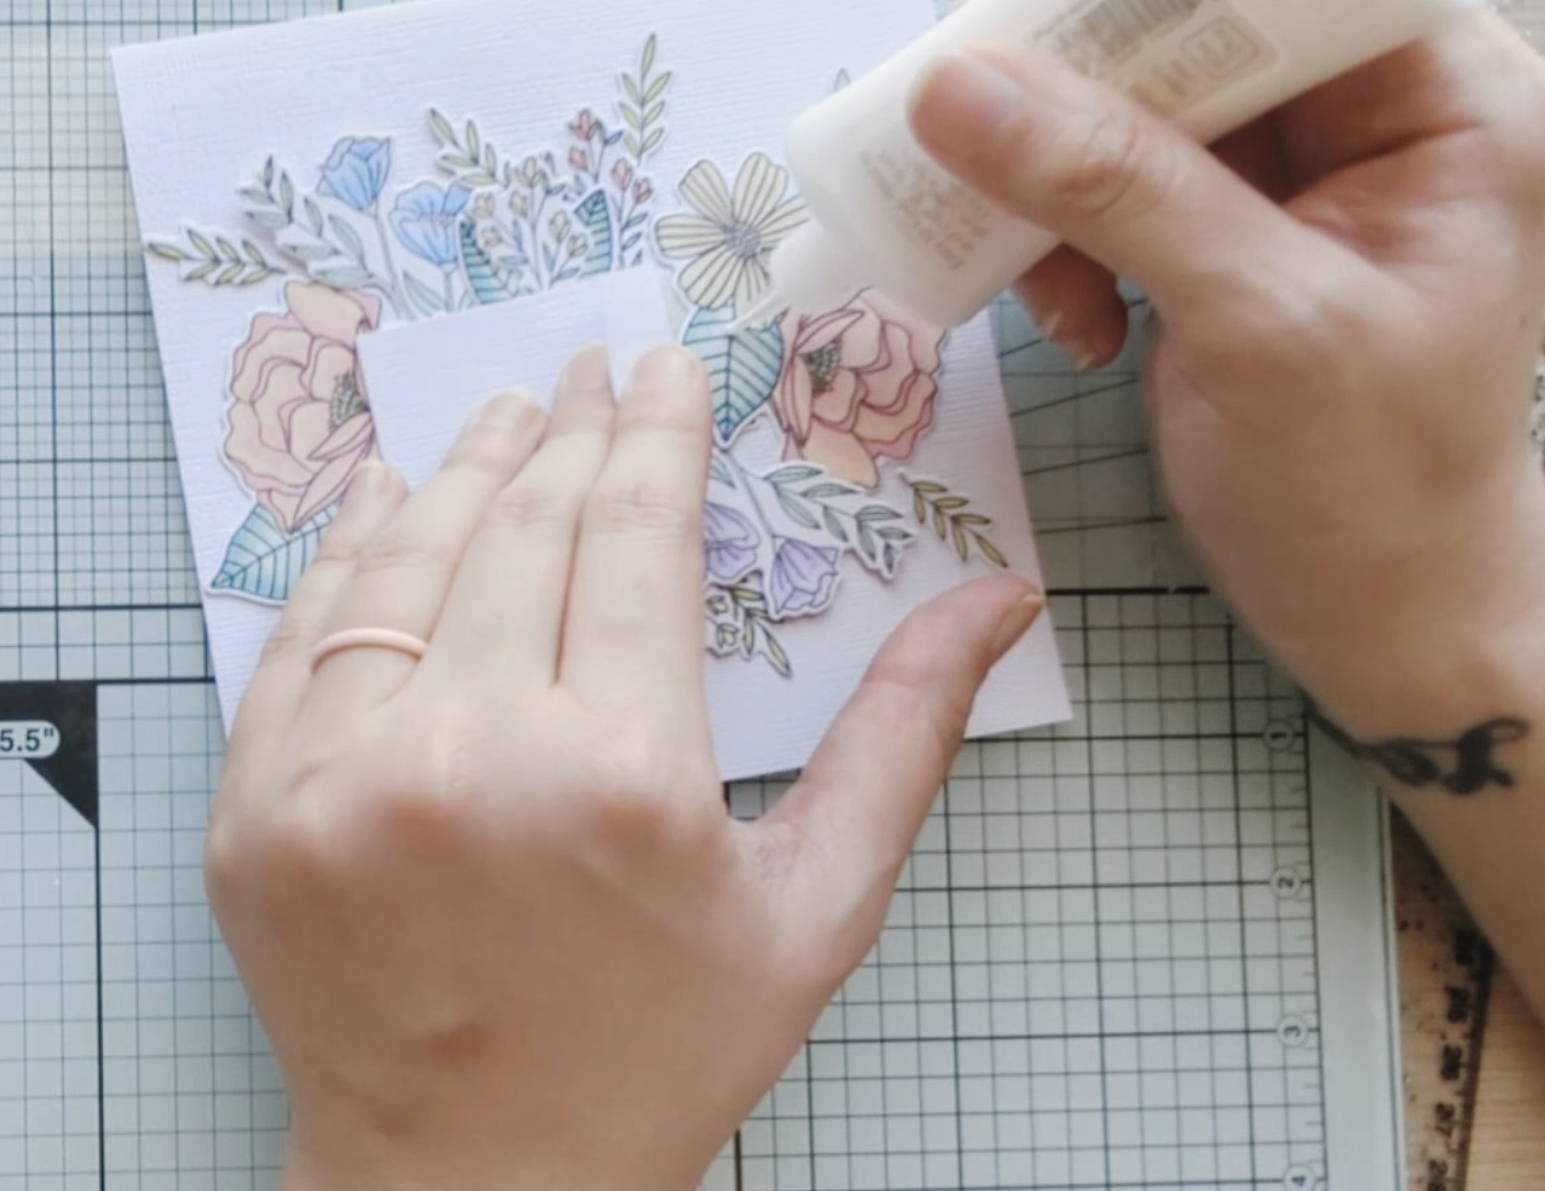
Once arranged, you can go ahead and lift the left and right corners of the
white paper piece and place a small glue dot onto the floral pieces. Just
one will help hold it in place, but also give us the ability to move it if we
mess up without damaging the entire stamp piece.
Step 37

Staying on the same stamp piece where we colored the coral flower, we will
begin to color the fllower next to it. Using the marker sand castle, we will
use light strokes coloring from the center of the petal, outwards for all
petals. Then color over with the same marker one more time using the
same coloring technique.

Step 38

Now we will glue down our second largest floral pieces. Position where you
like it best. Then hold it to flip the entire paper piece over. You can now
place a small glue drop at the bottom stem of this floral piece. Repeat for
the exact same floral piece on the opposite end.
Step 39

Now we will fill in the empty spaces with the small branch of leaves and the
small floral bunch. I used one branch of leaves on each of these spaces
and added one floral bunch behind it like shown, do this to both sides.
Step 40

Next, I placed a branch of leaves on the left and right of what we just glued
down in step 40. Do this for both sides.
Step 41

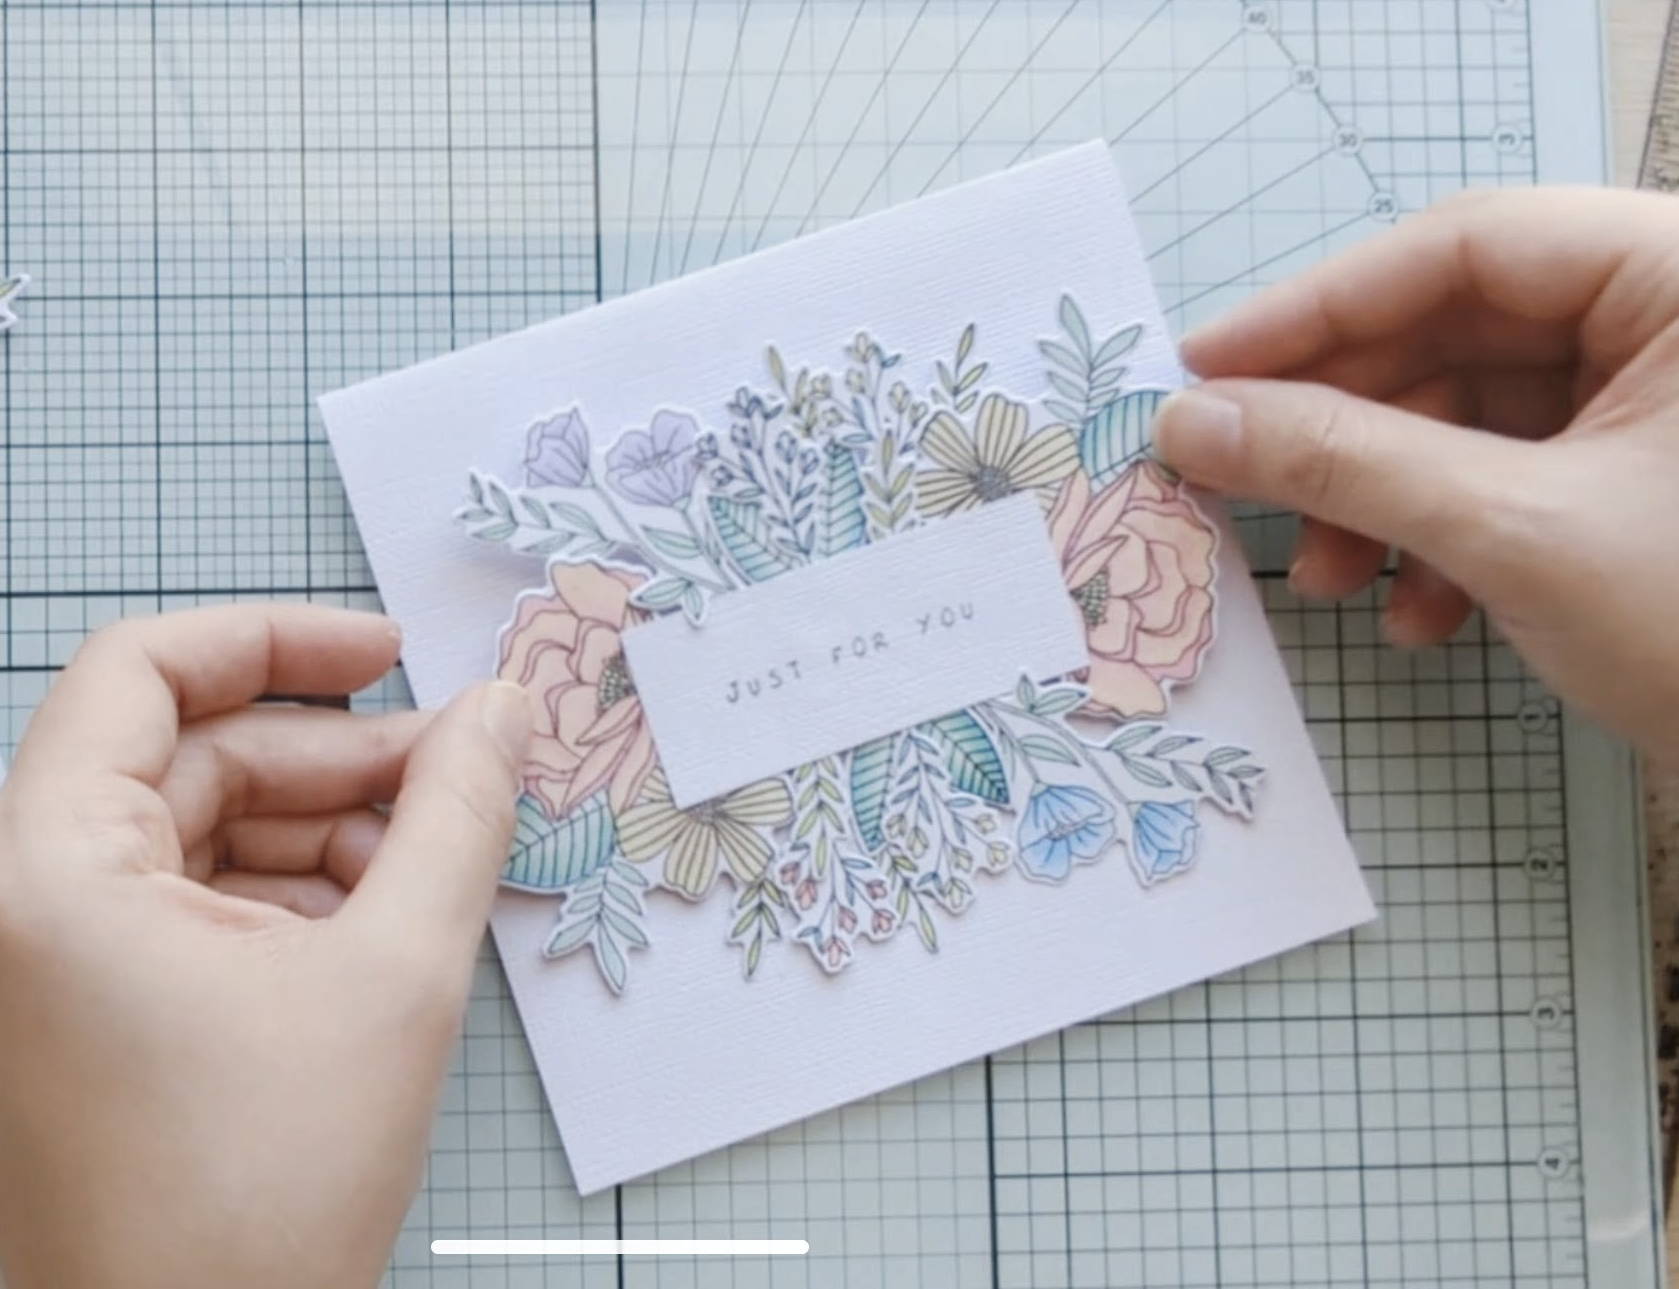
Now that we have our arrangement done, we can grab our attention "just
for you" and place it on a stamp block or platform. Saturate with black ink
and stamp it in the center of the white paper piece.

Now that we have our arrangement done, we can grab our attention "just
for you" and place it on a stamp block or platform. Saturate with black ink
and stamp it in the center of the white paper piece. Press firmly to make
sure the ink comes out evenly. (If you mess up this step don't worry! Just
cut out another piece of paper and glue directly on top and restamp)

Step 42

Grab your foam tape and flip your arrangement over. You'll be placing the
foam in the center where it will be behind the white paper piece.
Step 43
Grab your card base and determine how you would like it to open. I did
mine where the opening was at the bottom so I can lift the card top
upwards. Then eyeball the center of the front of the card base and press
the arrangement down to adhere to the card base.
Step 44

Next, grab that leftover paper piece we initially cut off when creating the
card base. It's the perfect size to create a pocket for inside the card! At the
fold line, go ahead and cut it with a trimmer or scissors.

Step 45

Grab your foam tape and flip your arrangement over. You'll be placing the
foam in the center where it will be behind the white paper piece.
Step 46

Now we have a pocket with the right and top open! You can add an extra
note, pictures, gift card, money and more inside! Let's go ahead and
decorate this pocket with an extra piece of stamp leftovers using one of the
floral bunches. Glue it in the center of this pocket.
Step 47
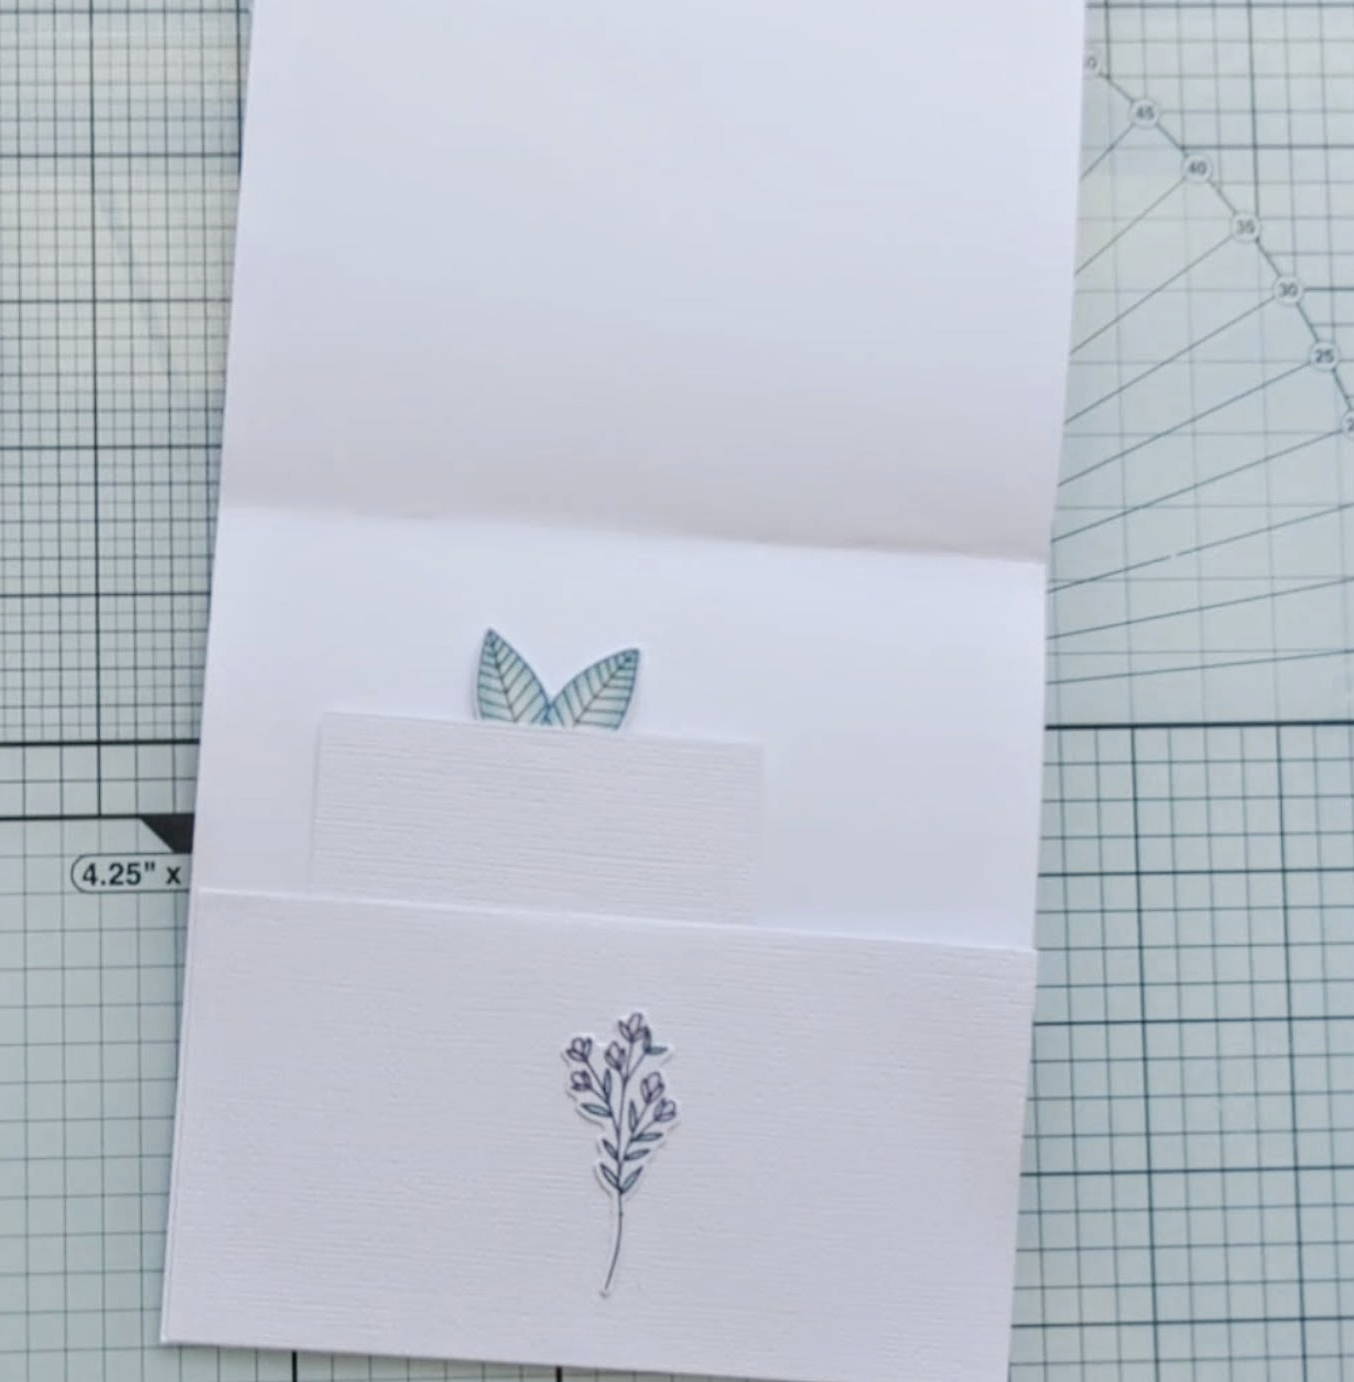
Grab the extra piece of paper we cut off to create the pocket piece. This is
a perfect addition for the pocket! Before we add it in, let's add one of the
double leaves in the center of the paper like shown. Just a small bit of glue
will hold it well.
Step 48

Add any finishing touches you'd like, now we are done! Enjoy!
Crafting Essentials