 Gem Rewards

I’d been hoping Tonic would make a 3D camera gift box for quite some time, and they did not disappoint!! I LOVE how this box looks assembled, and I’ve made mine as an ornament for my craft room! :D Hope this SBS construction is helpful :D Christine
Step 1
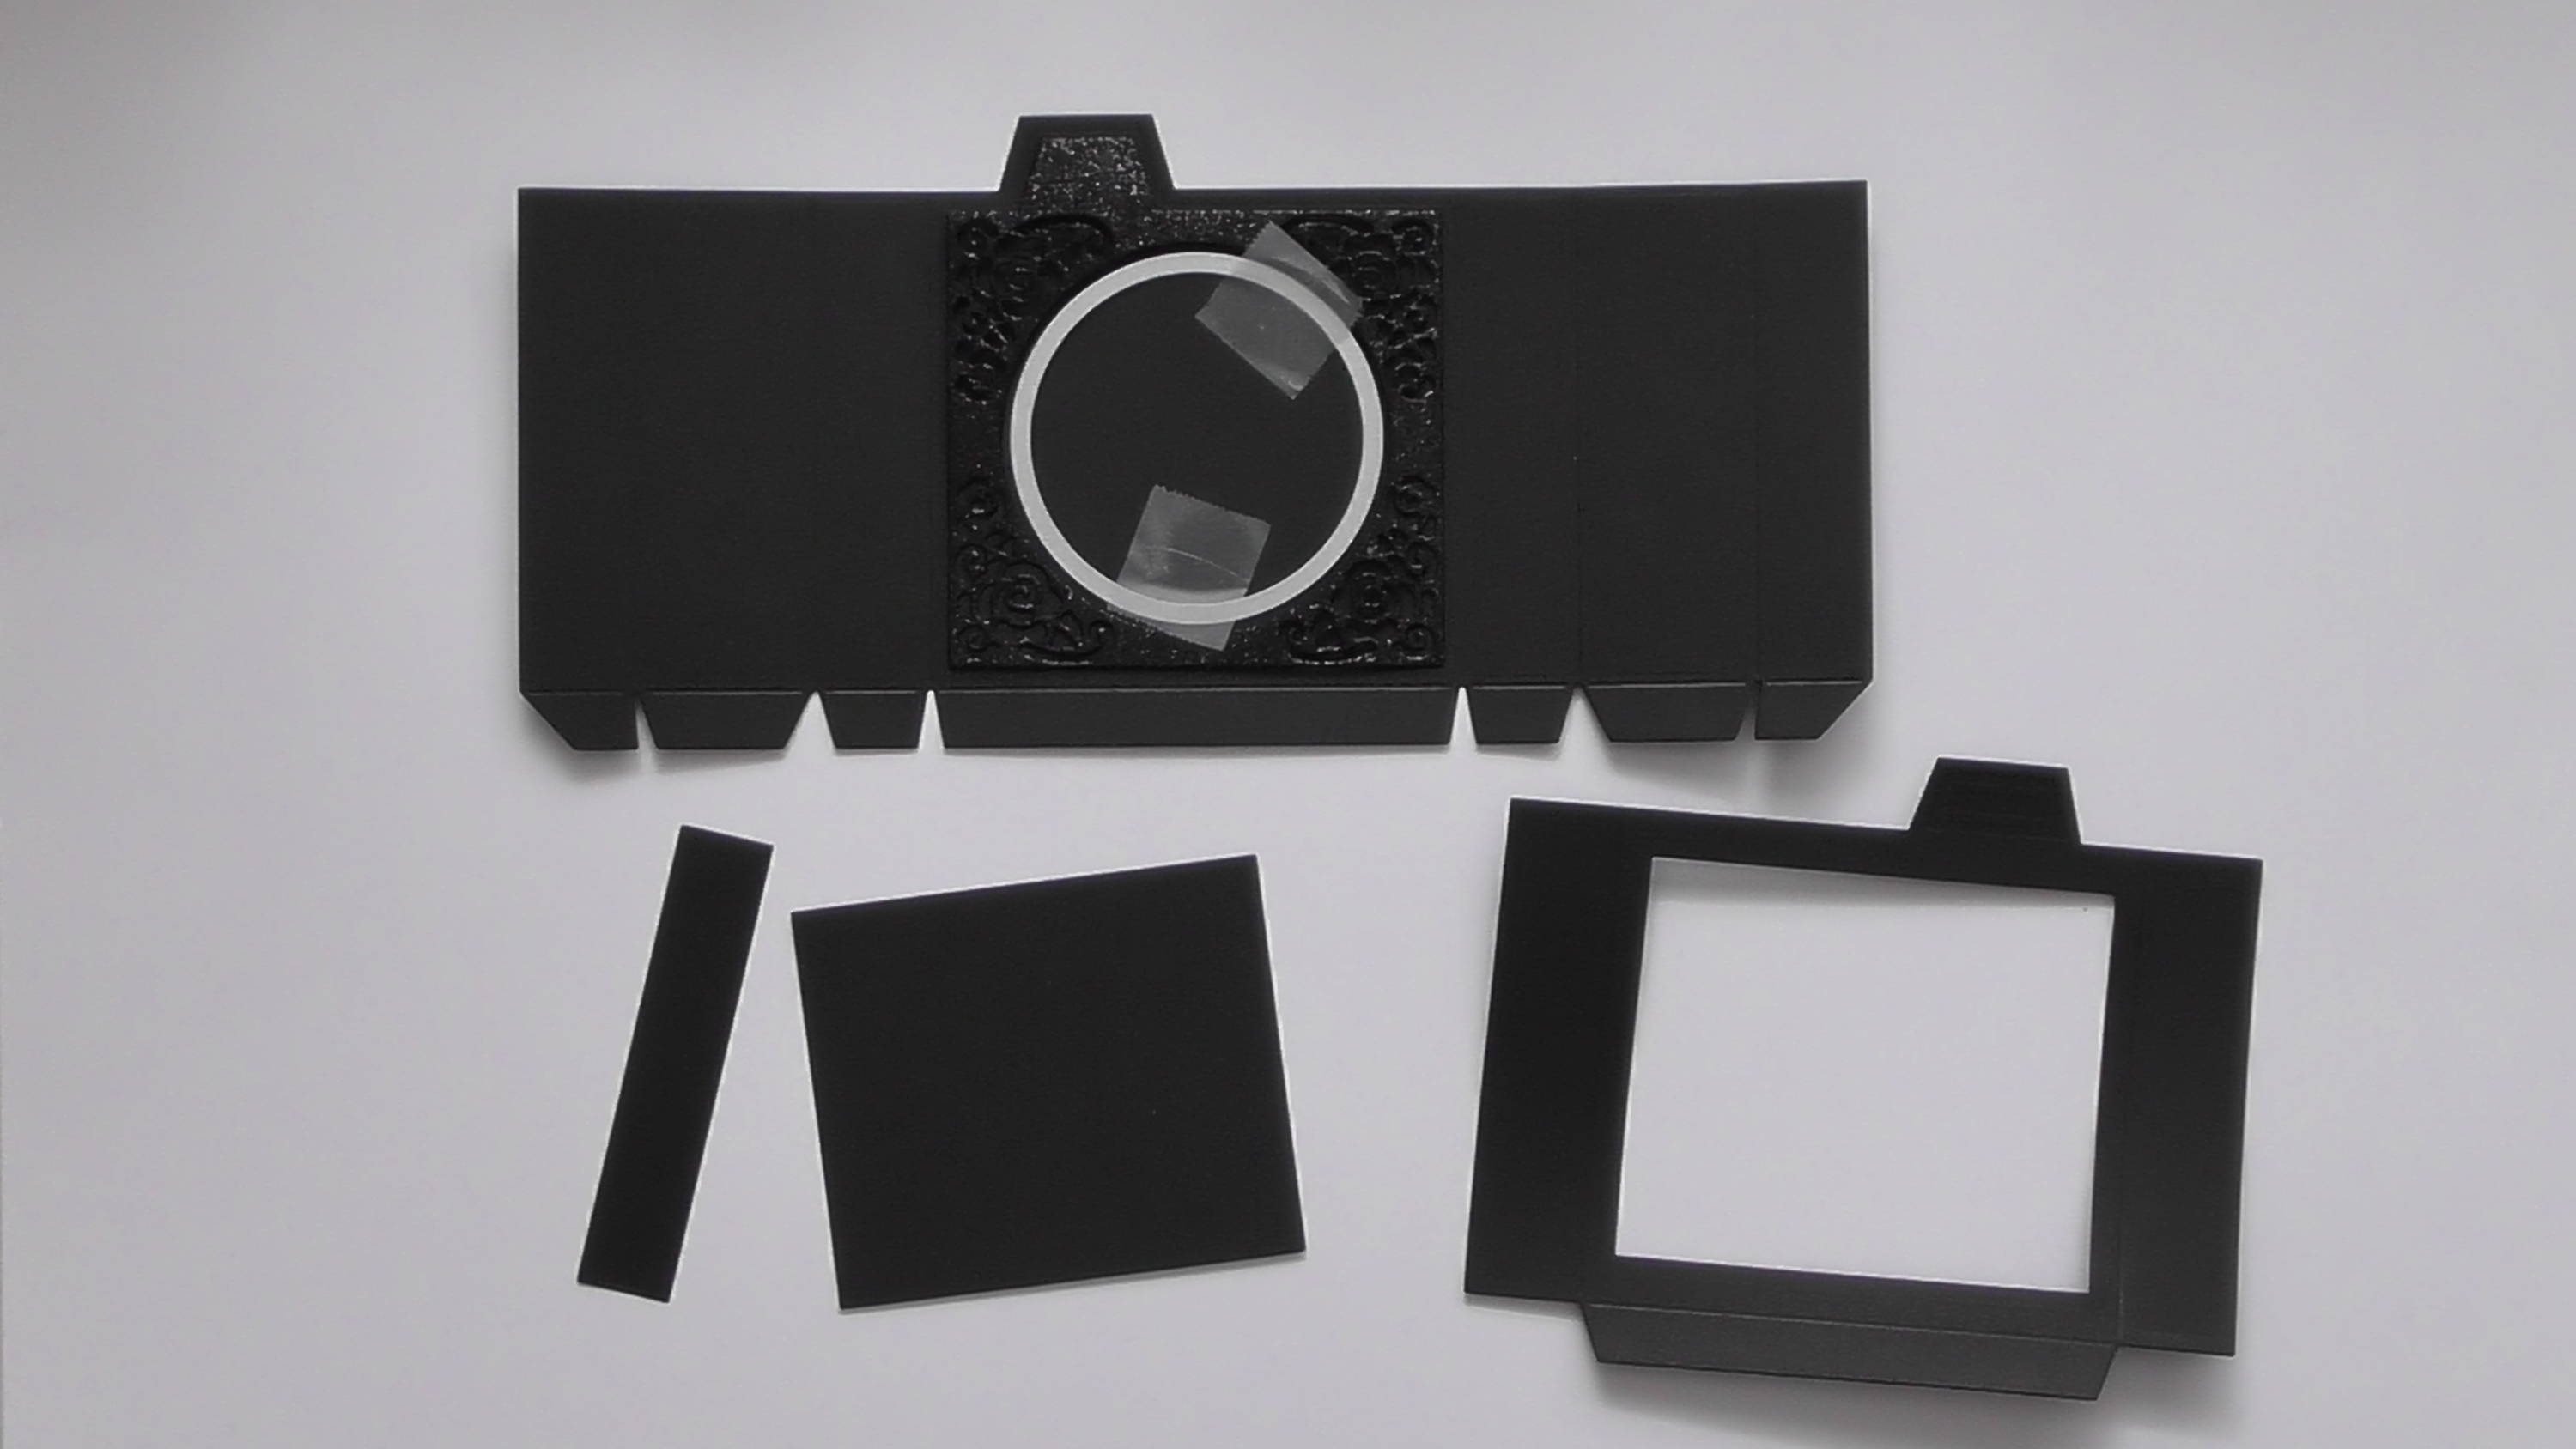
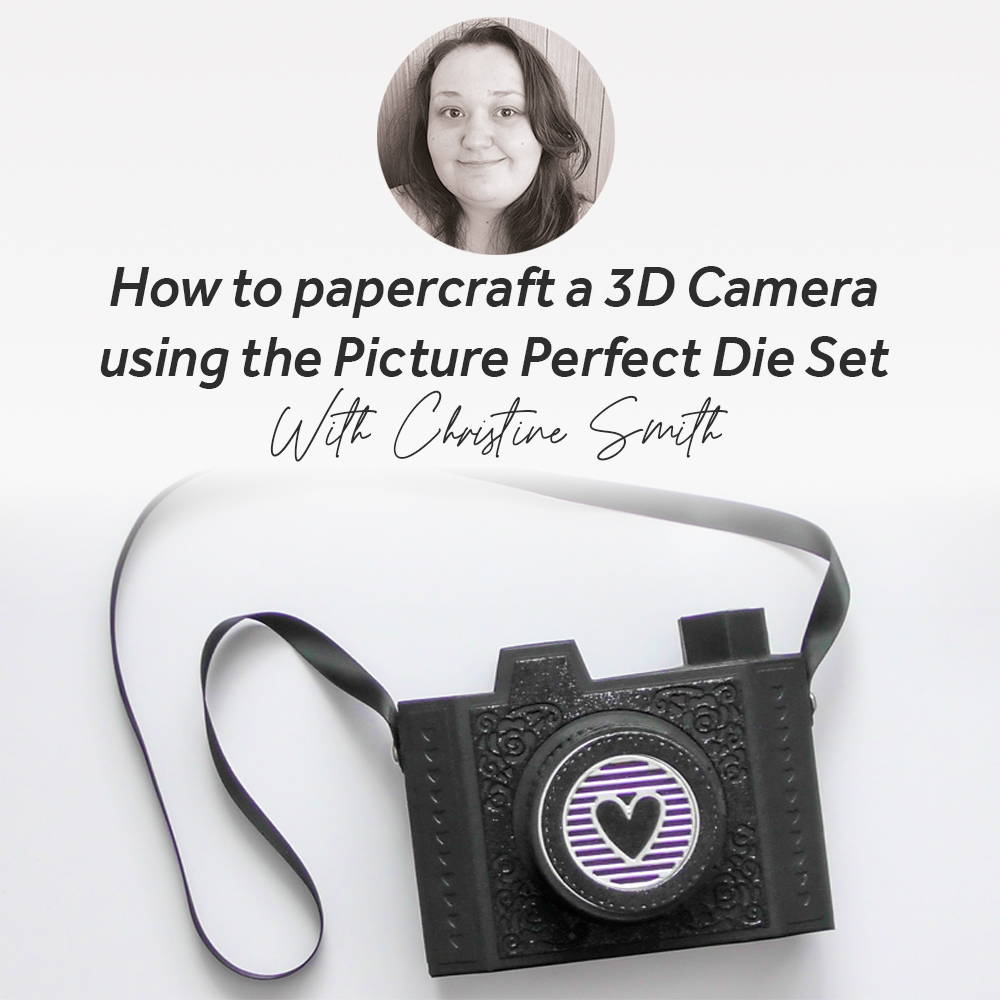
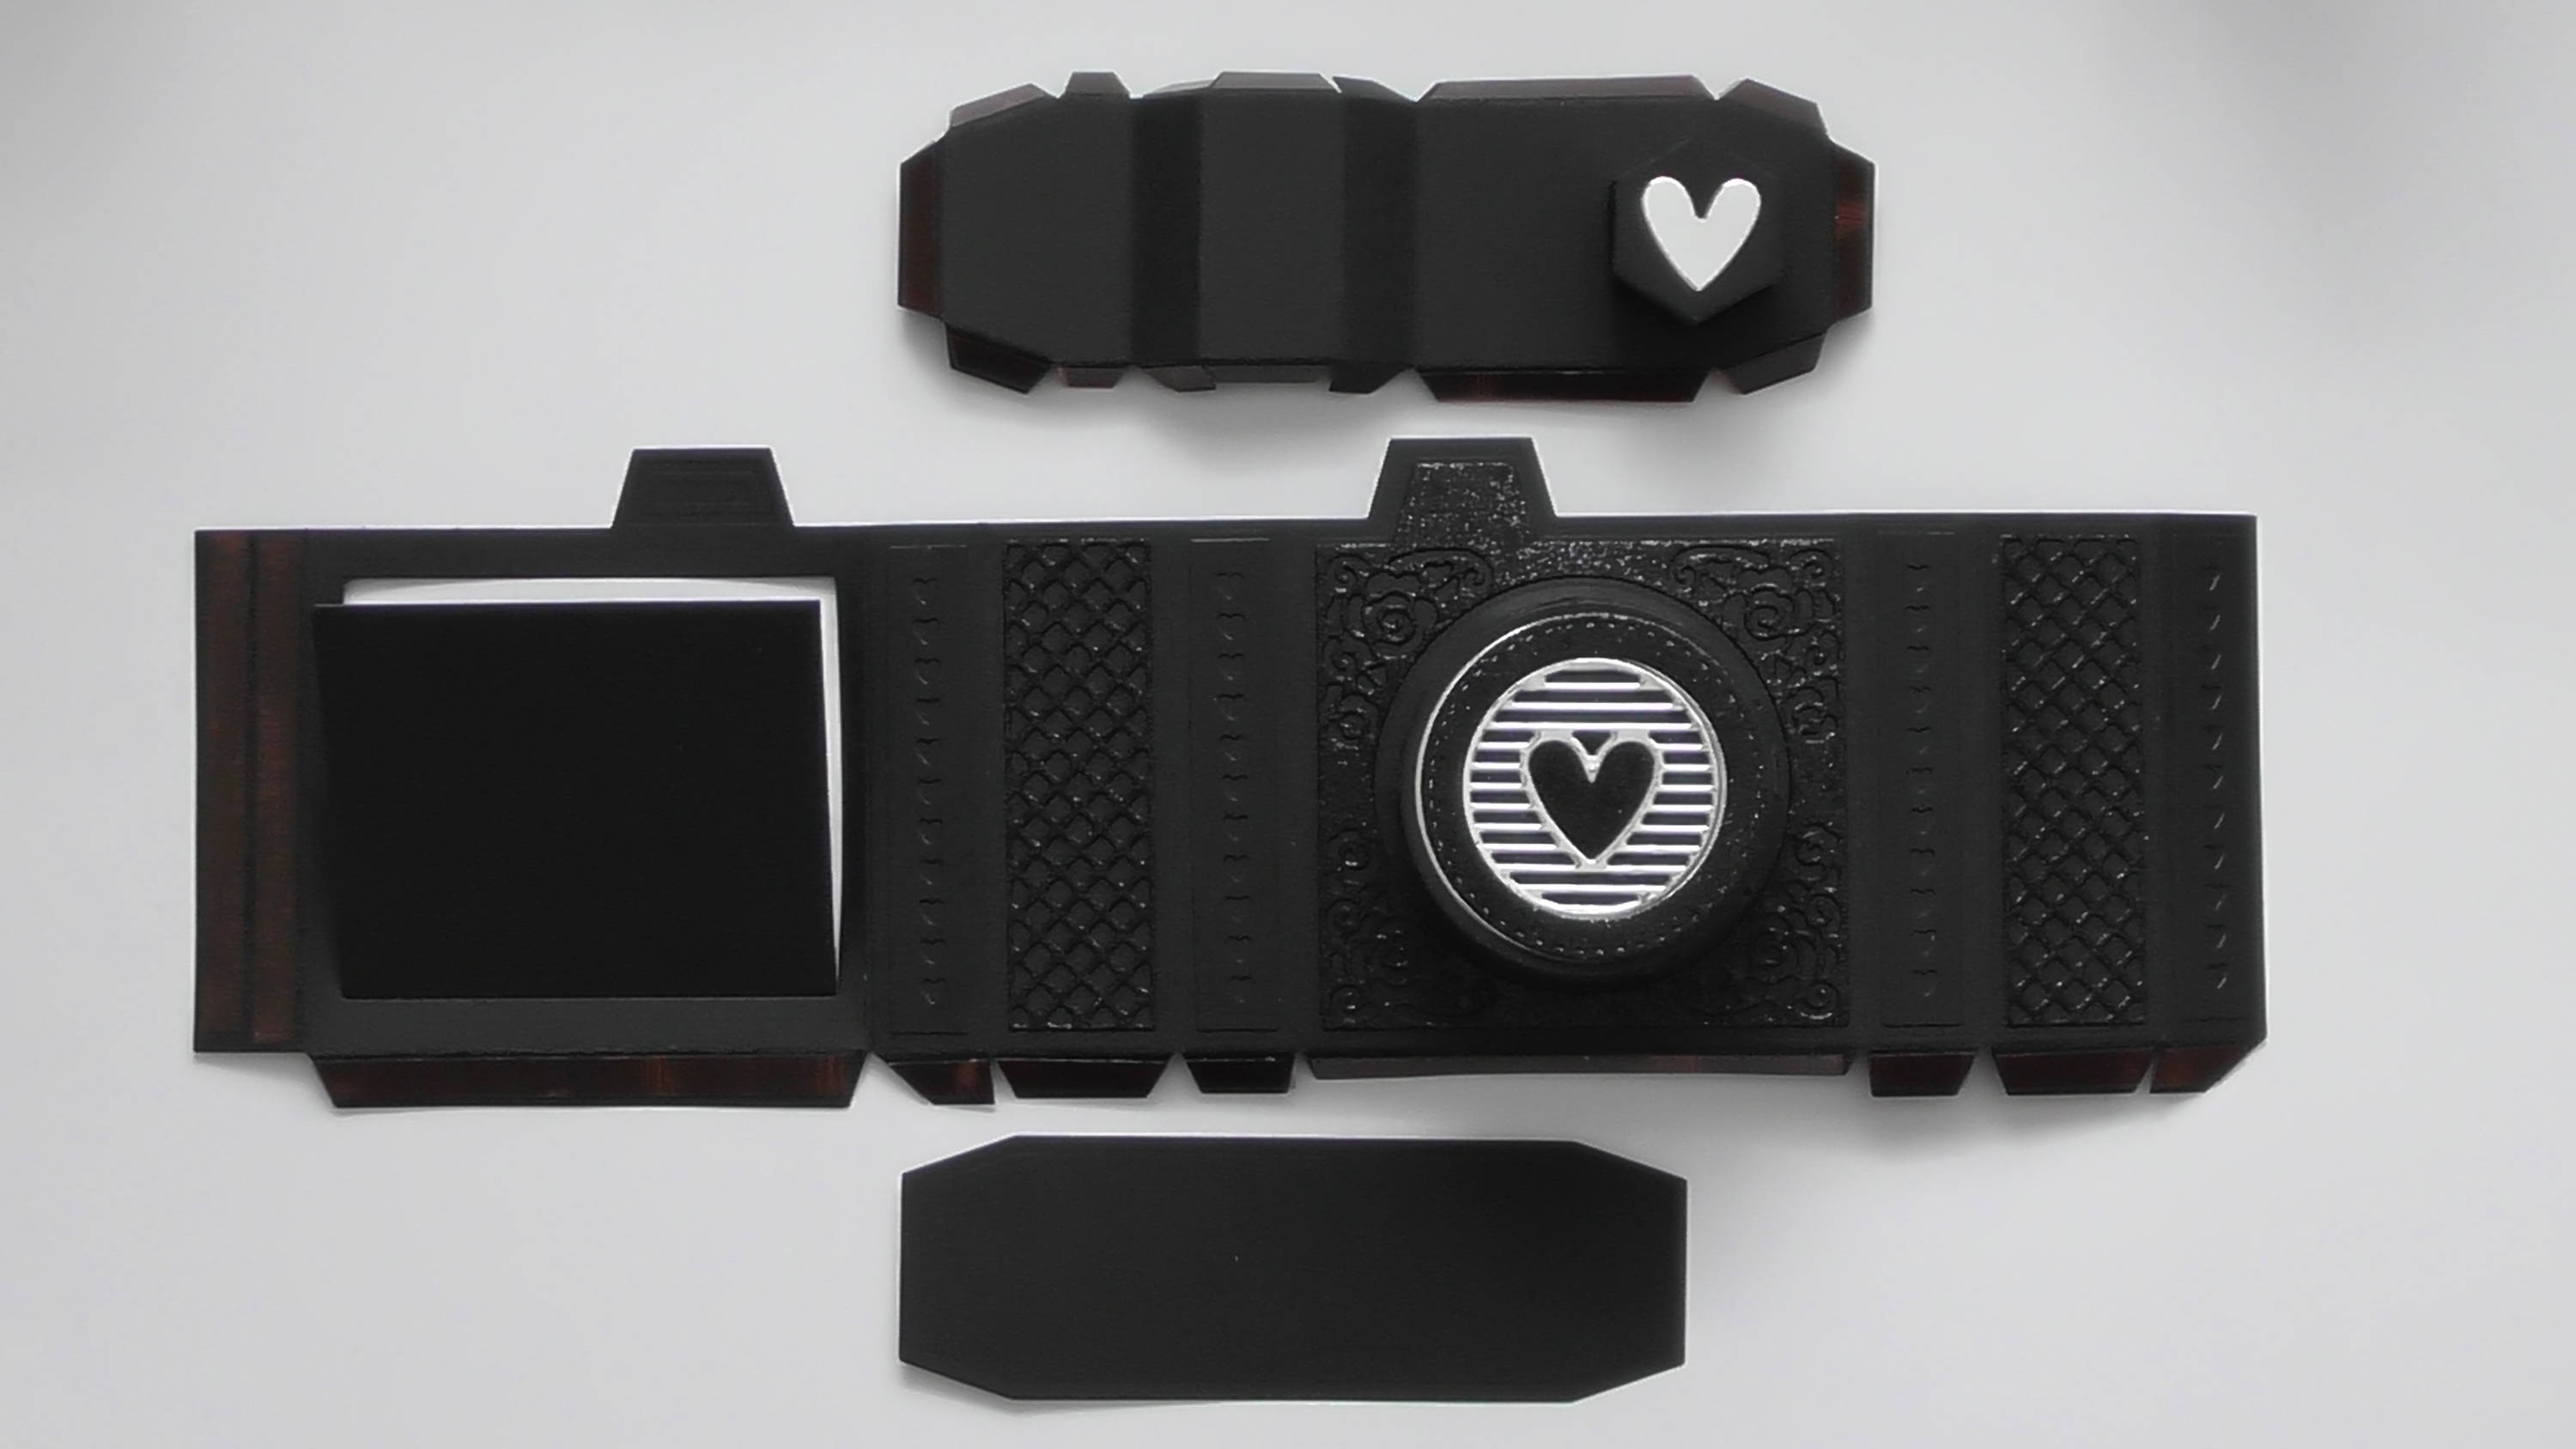
Die-cut the main pieces for the camera, and use the decorative front panel to guide where you need to cut the circle in the largest piece
Step 2
to give you this piece, that you can then proceed to decorate with whichever combination of panels you like.
Step 3
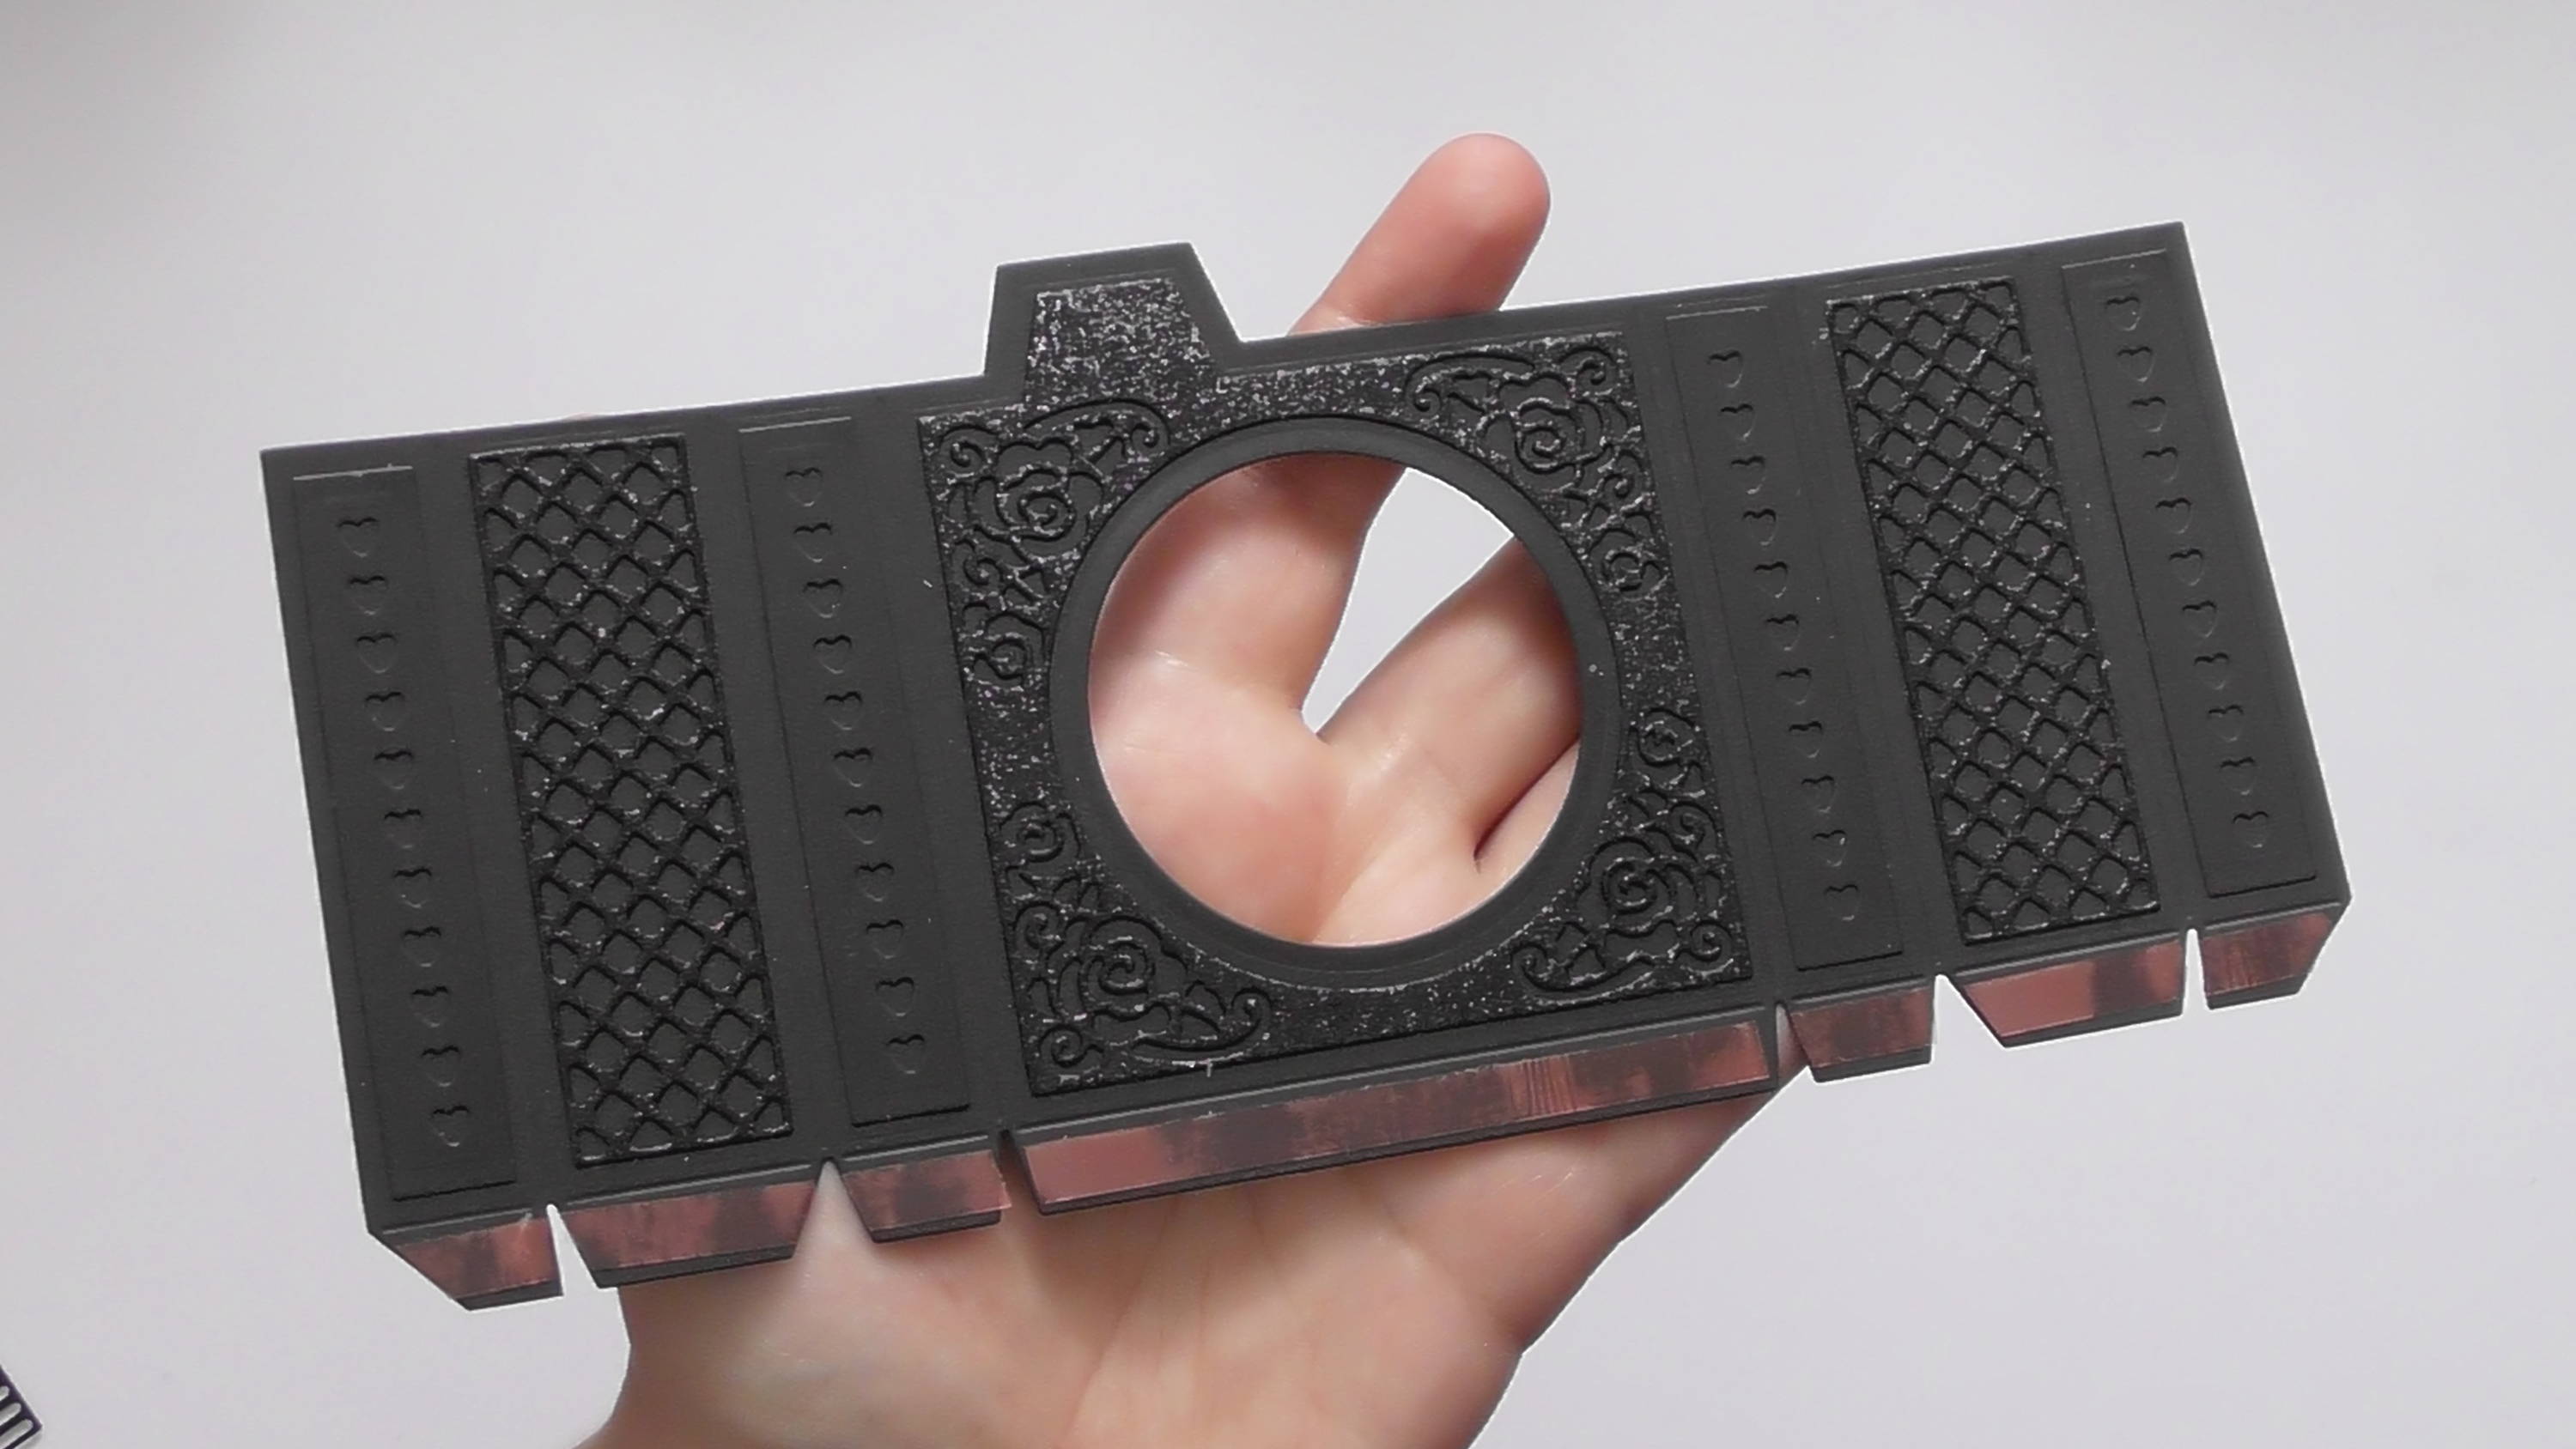
For the top of the camera, you need the piece with all the glue tabs, and you’ll need to cut the small hexagon out of the end shown, so that the button (bottom right die-cut) has somewhere to attach to.
Step 4
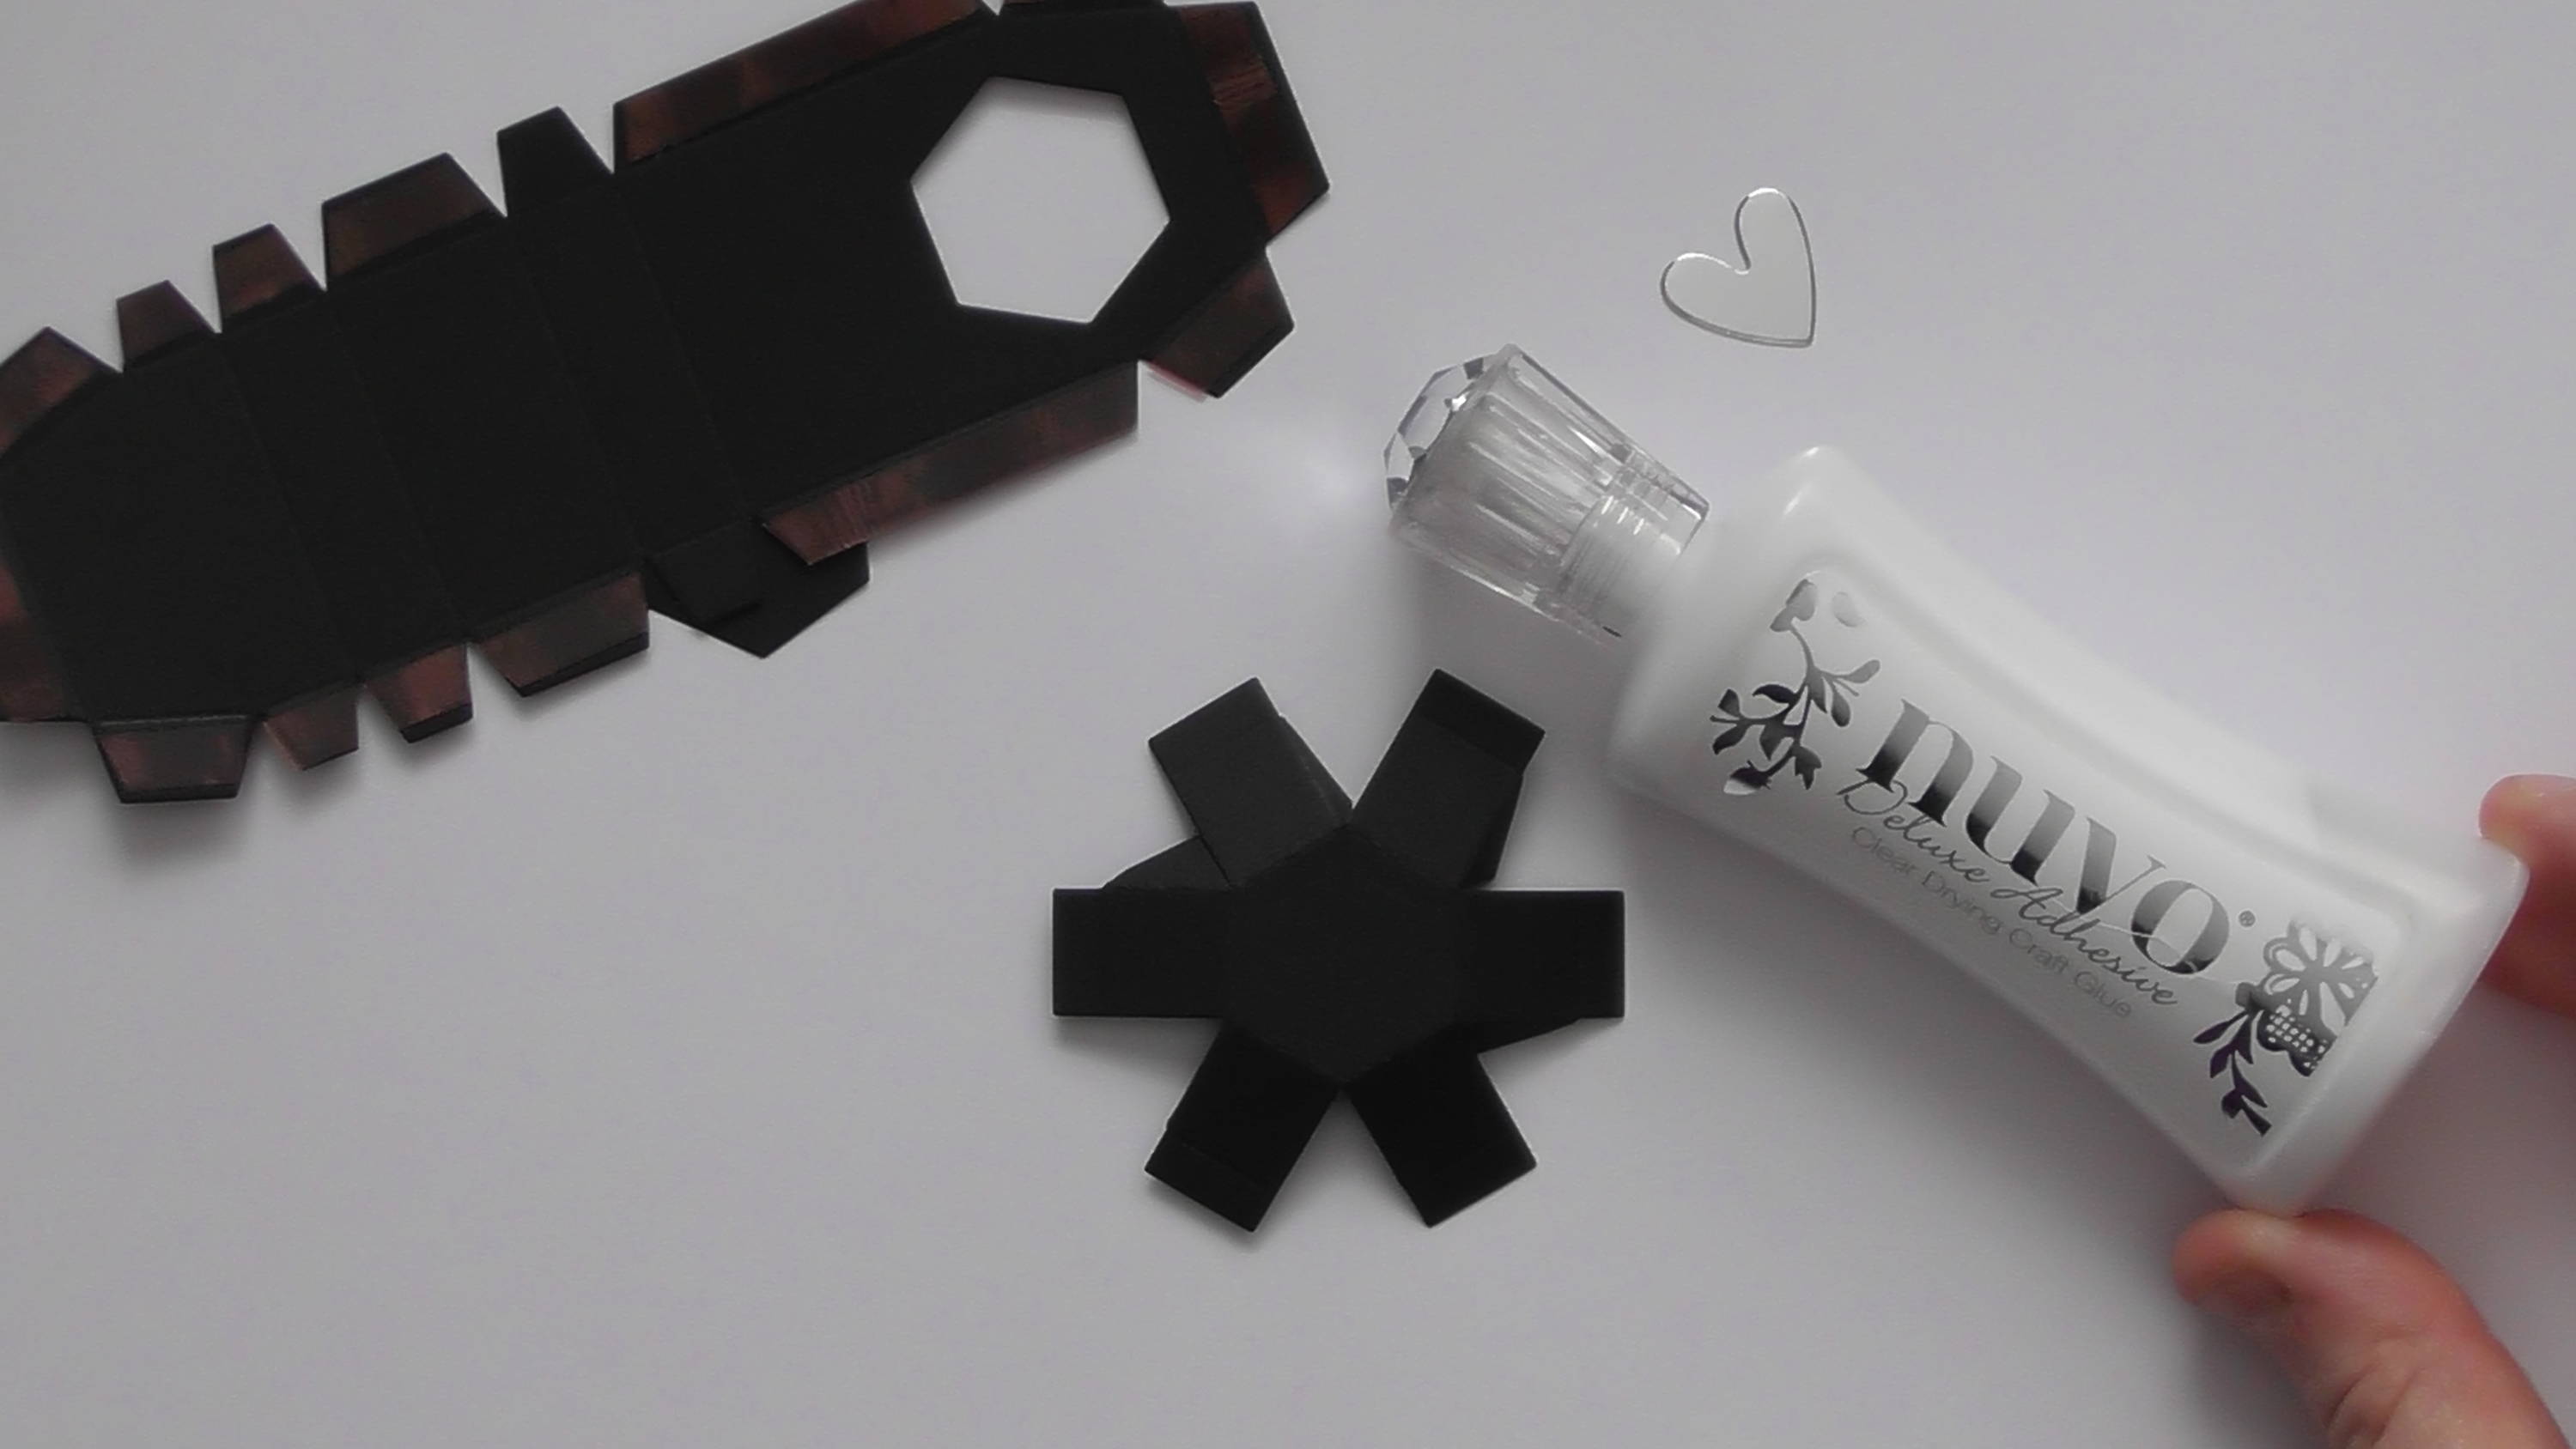
You can then use wet glue to stick the button together to give.
Step 5
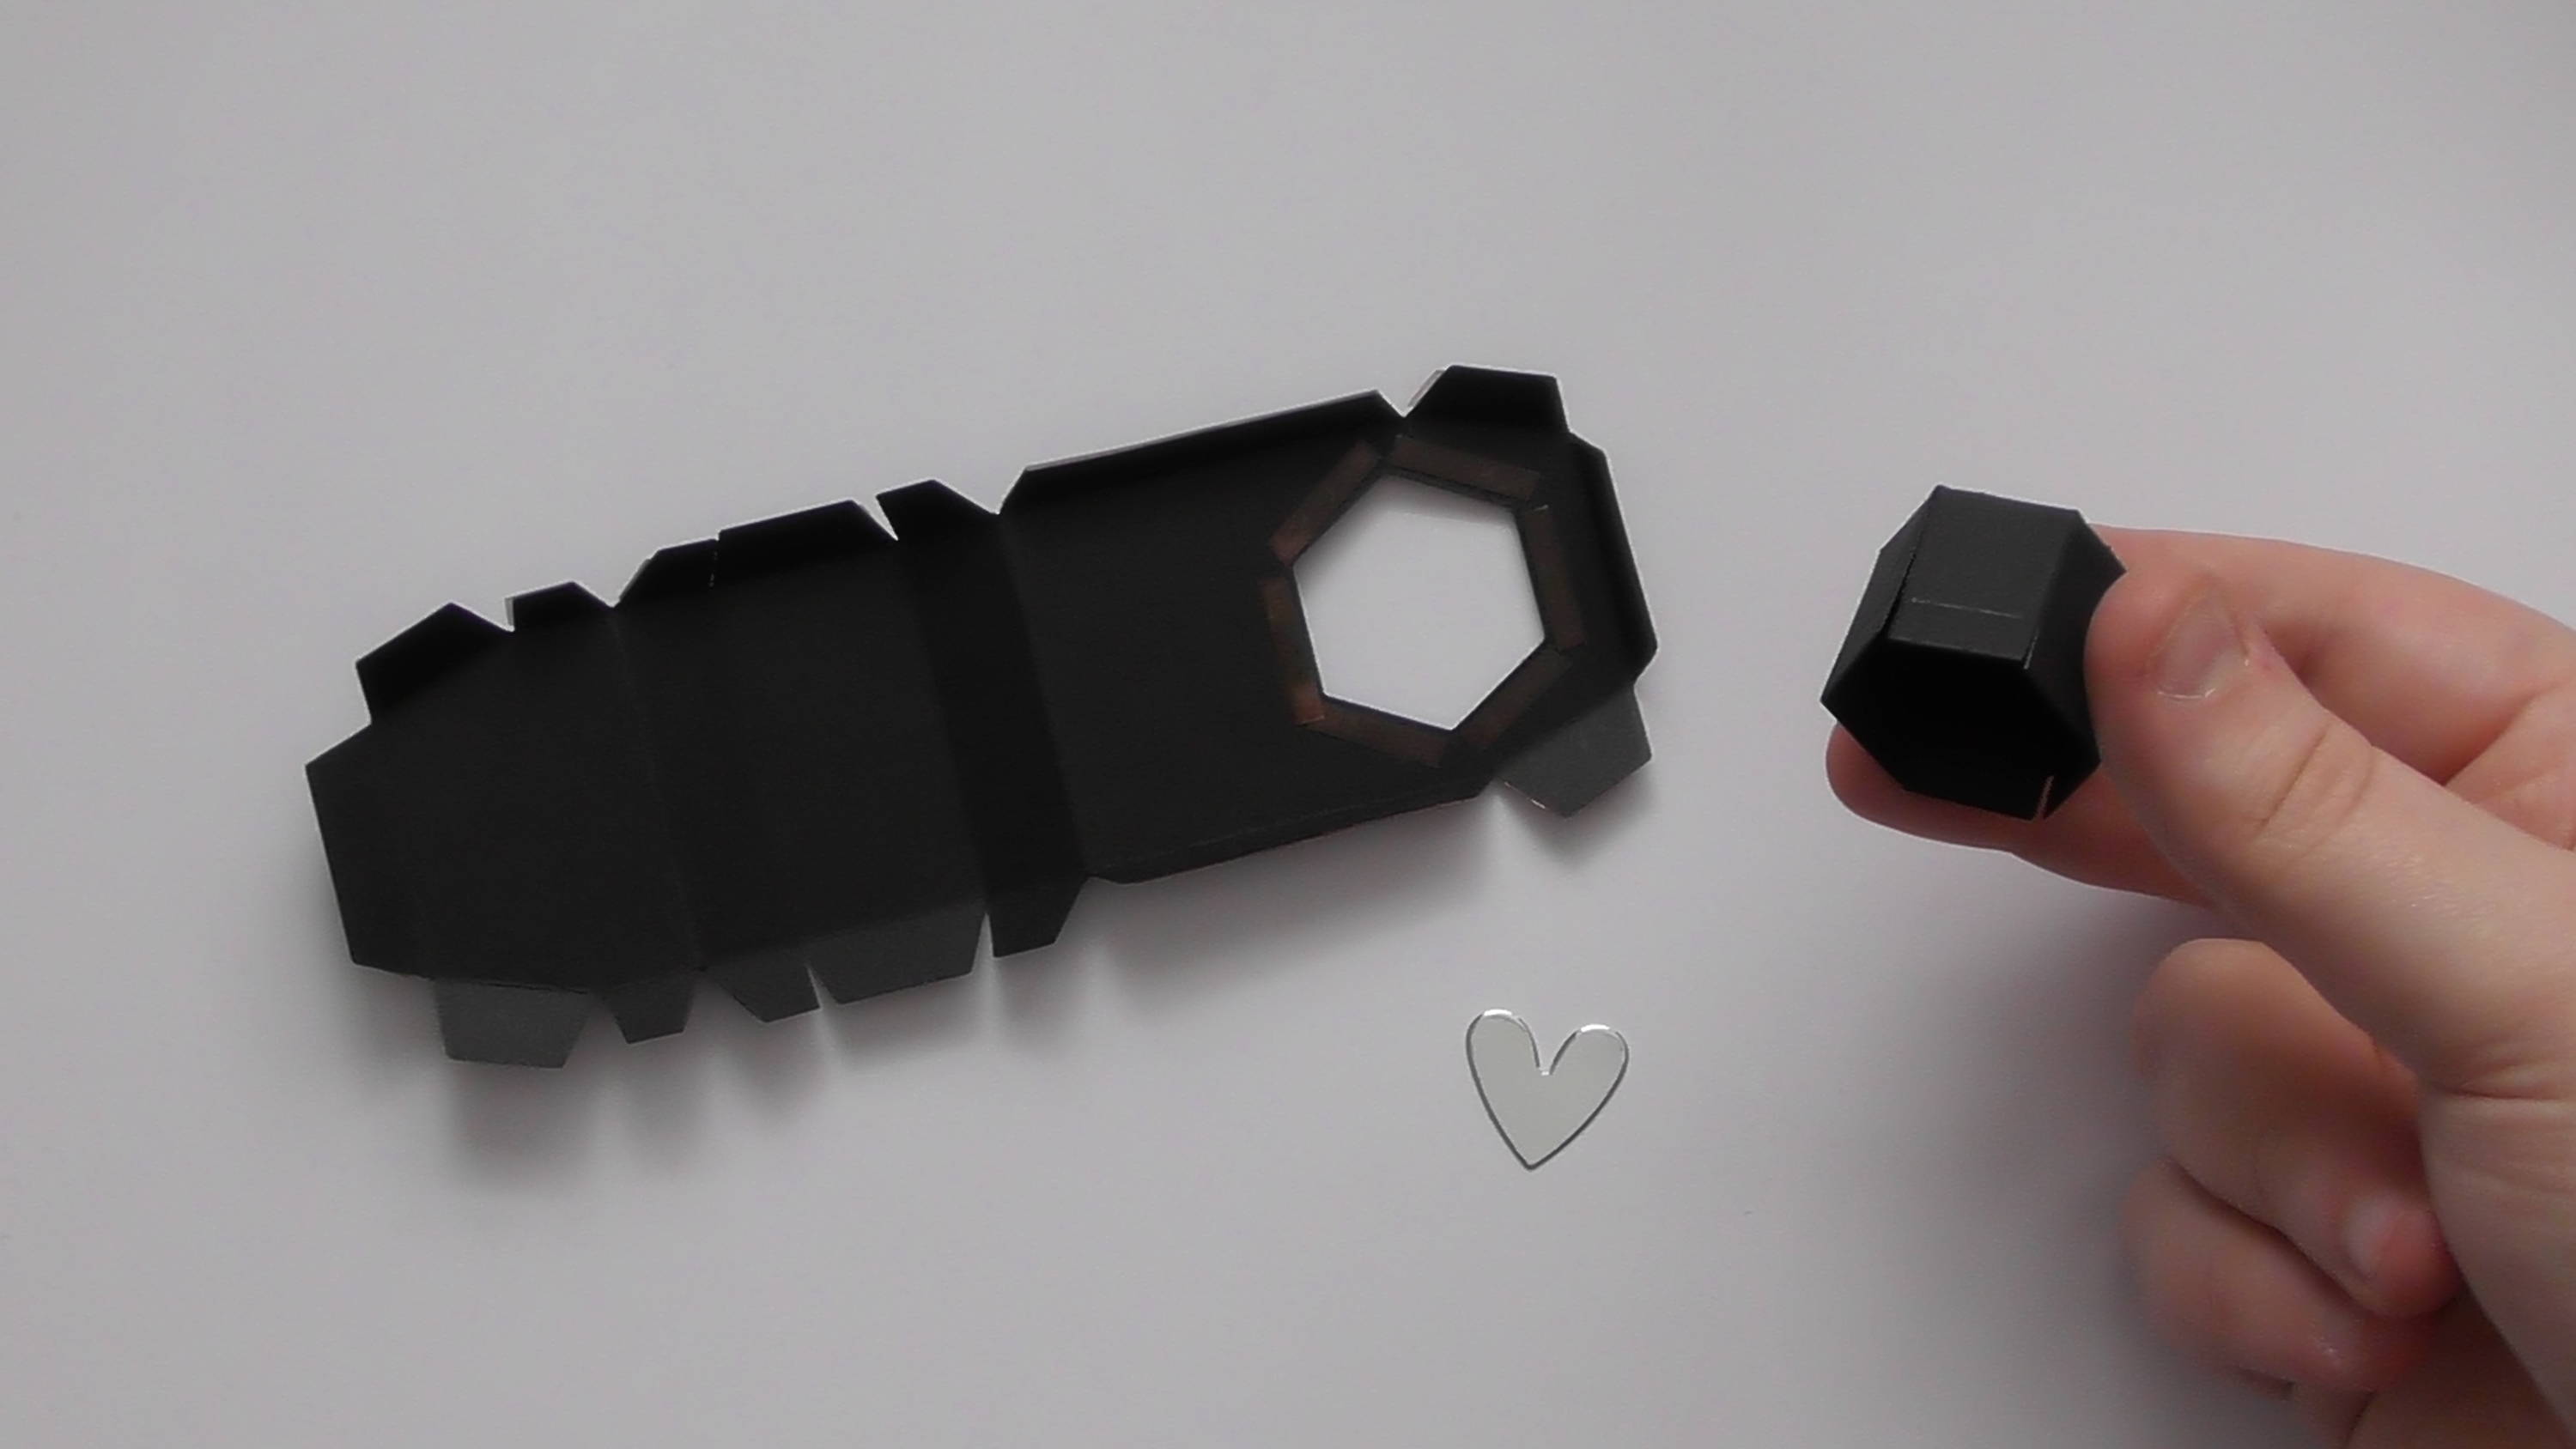
this, and to secure this, instead of adding glue/tape to the button tabs, add it behind the hexagon aperture and secure the button
Step 6
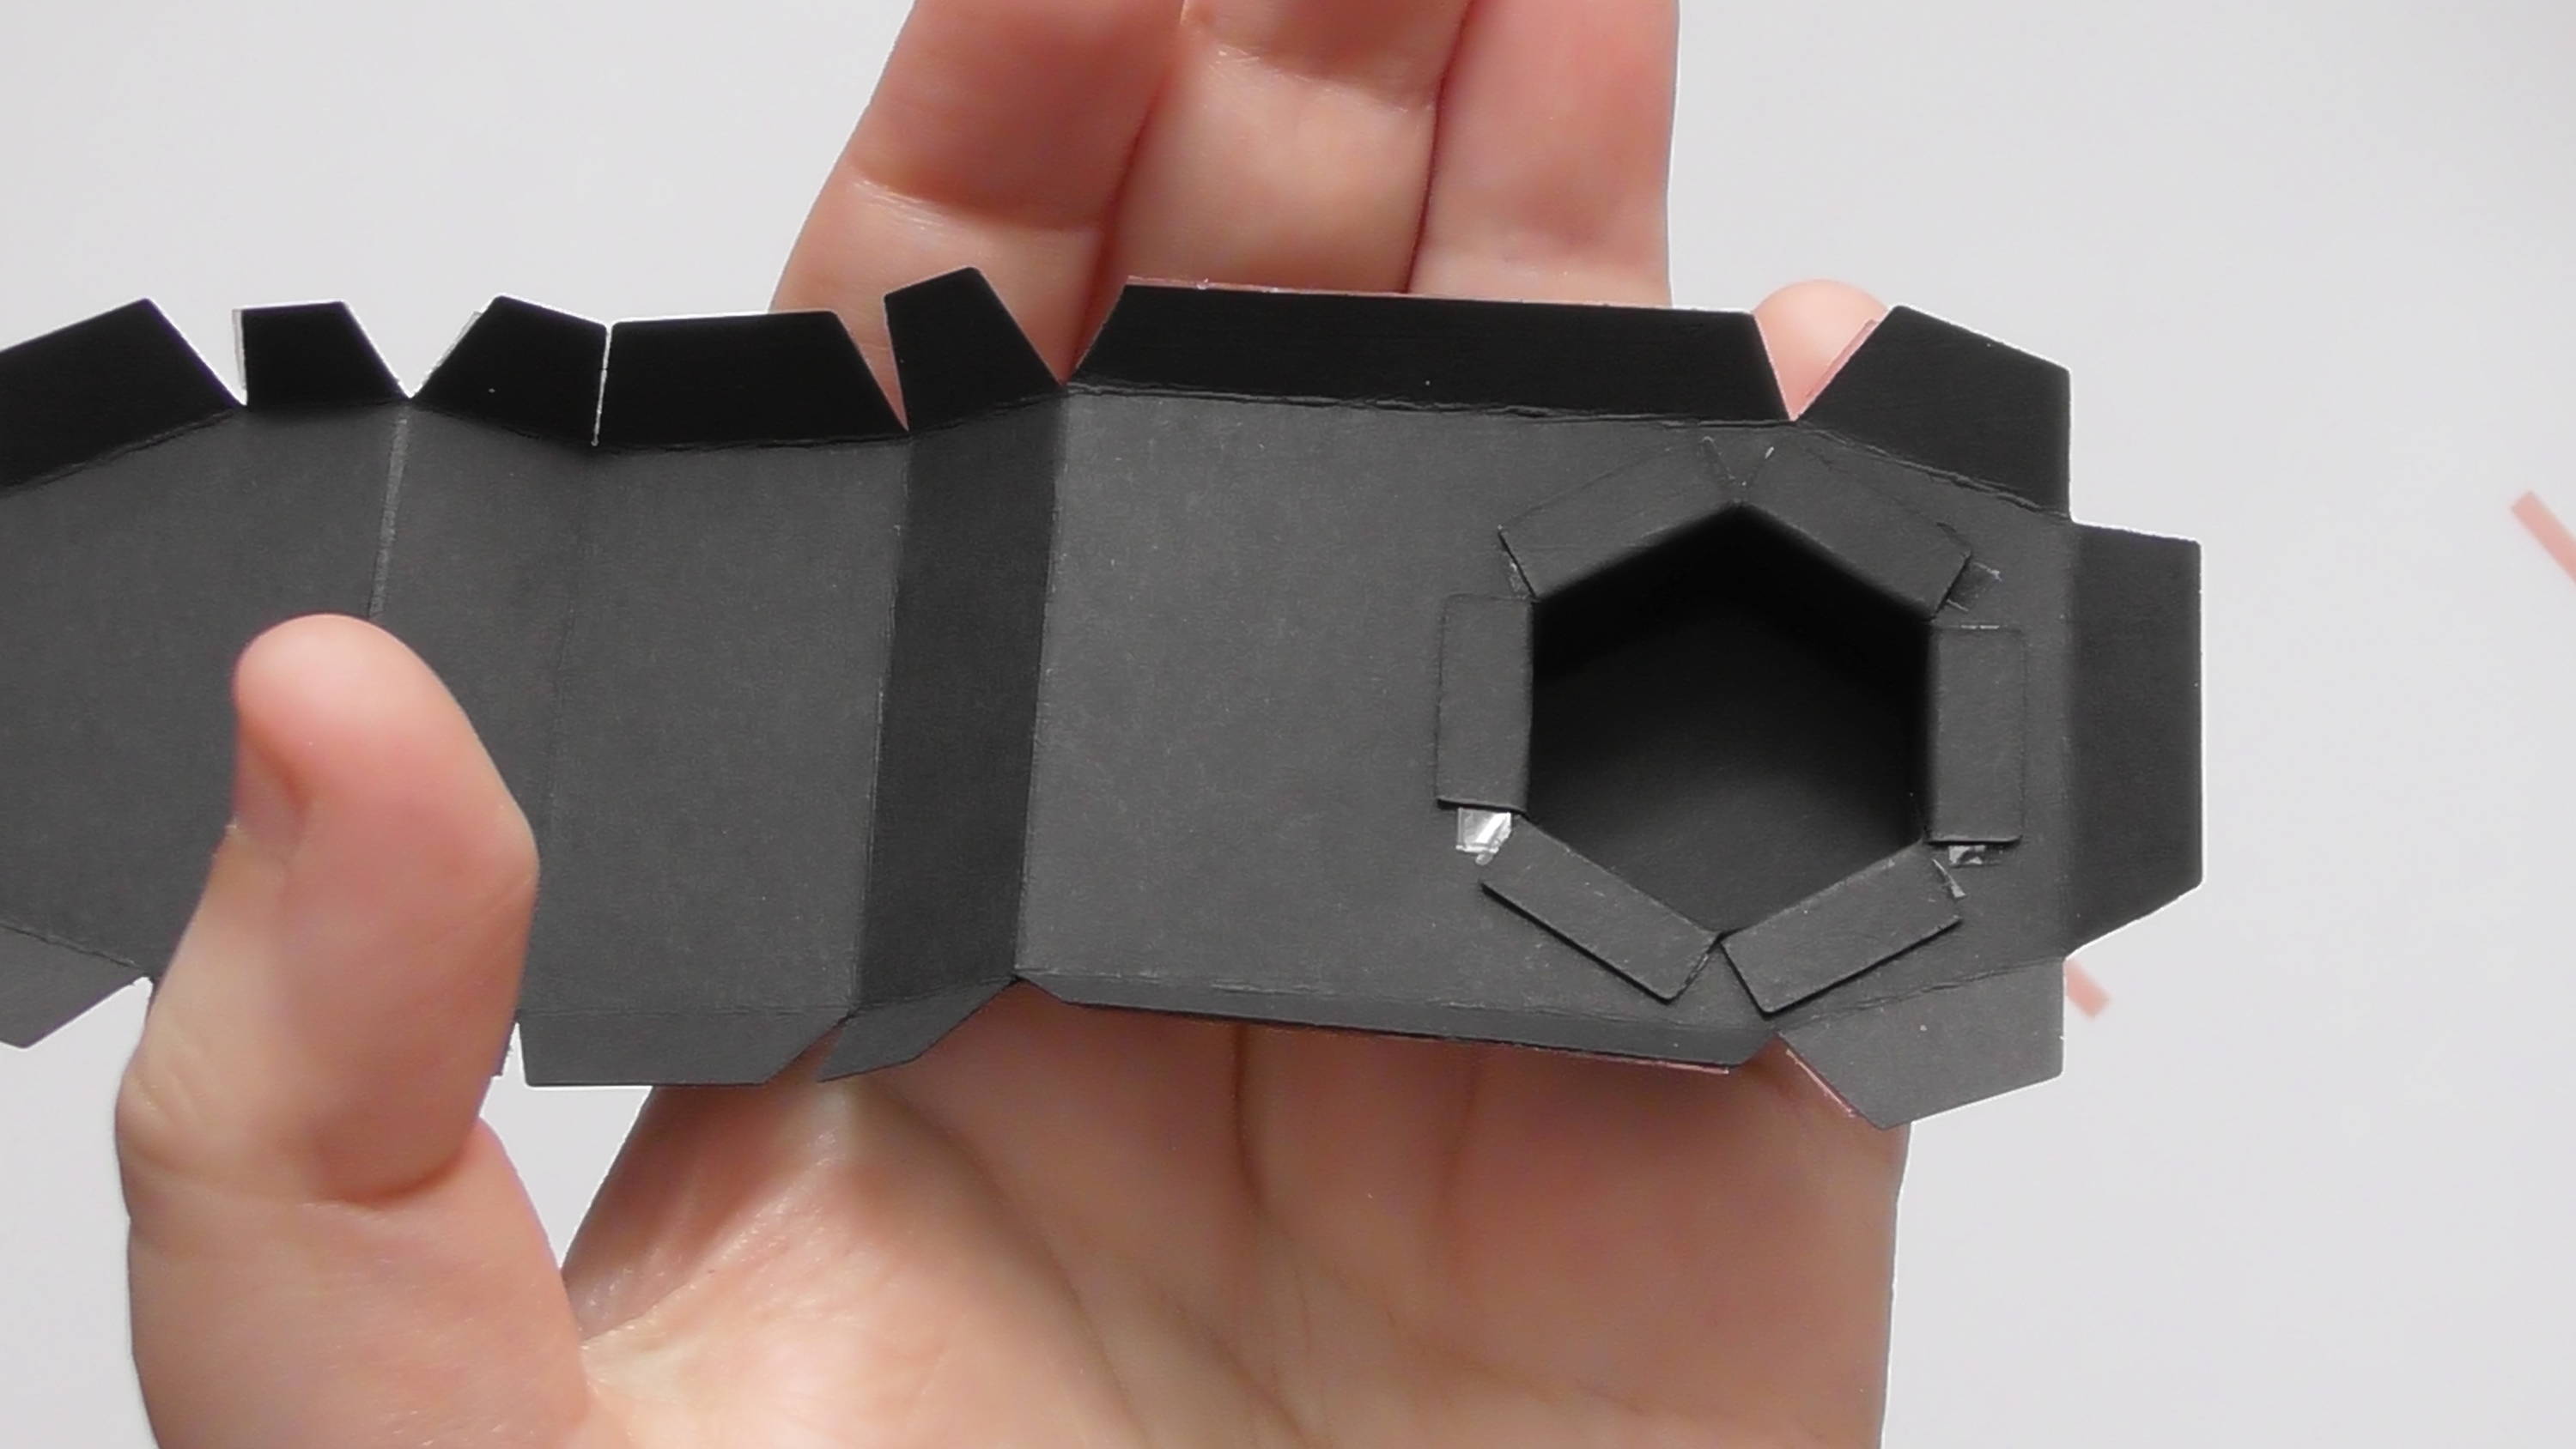
like this :D If you have any excess adhesive showing you can add anti-static powder to stop it being sticky.
Step 7
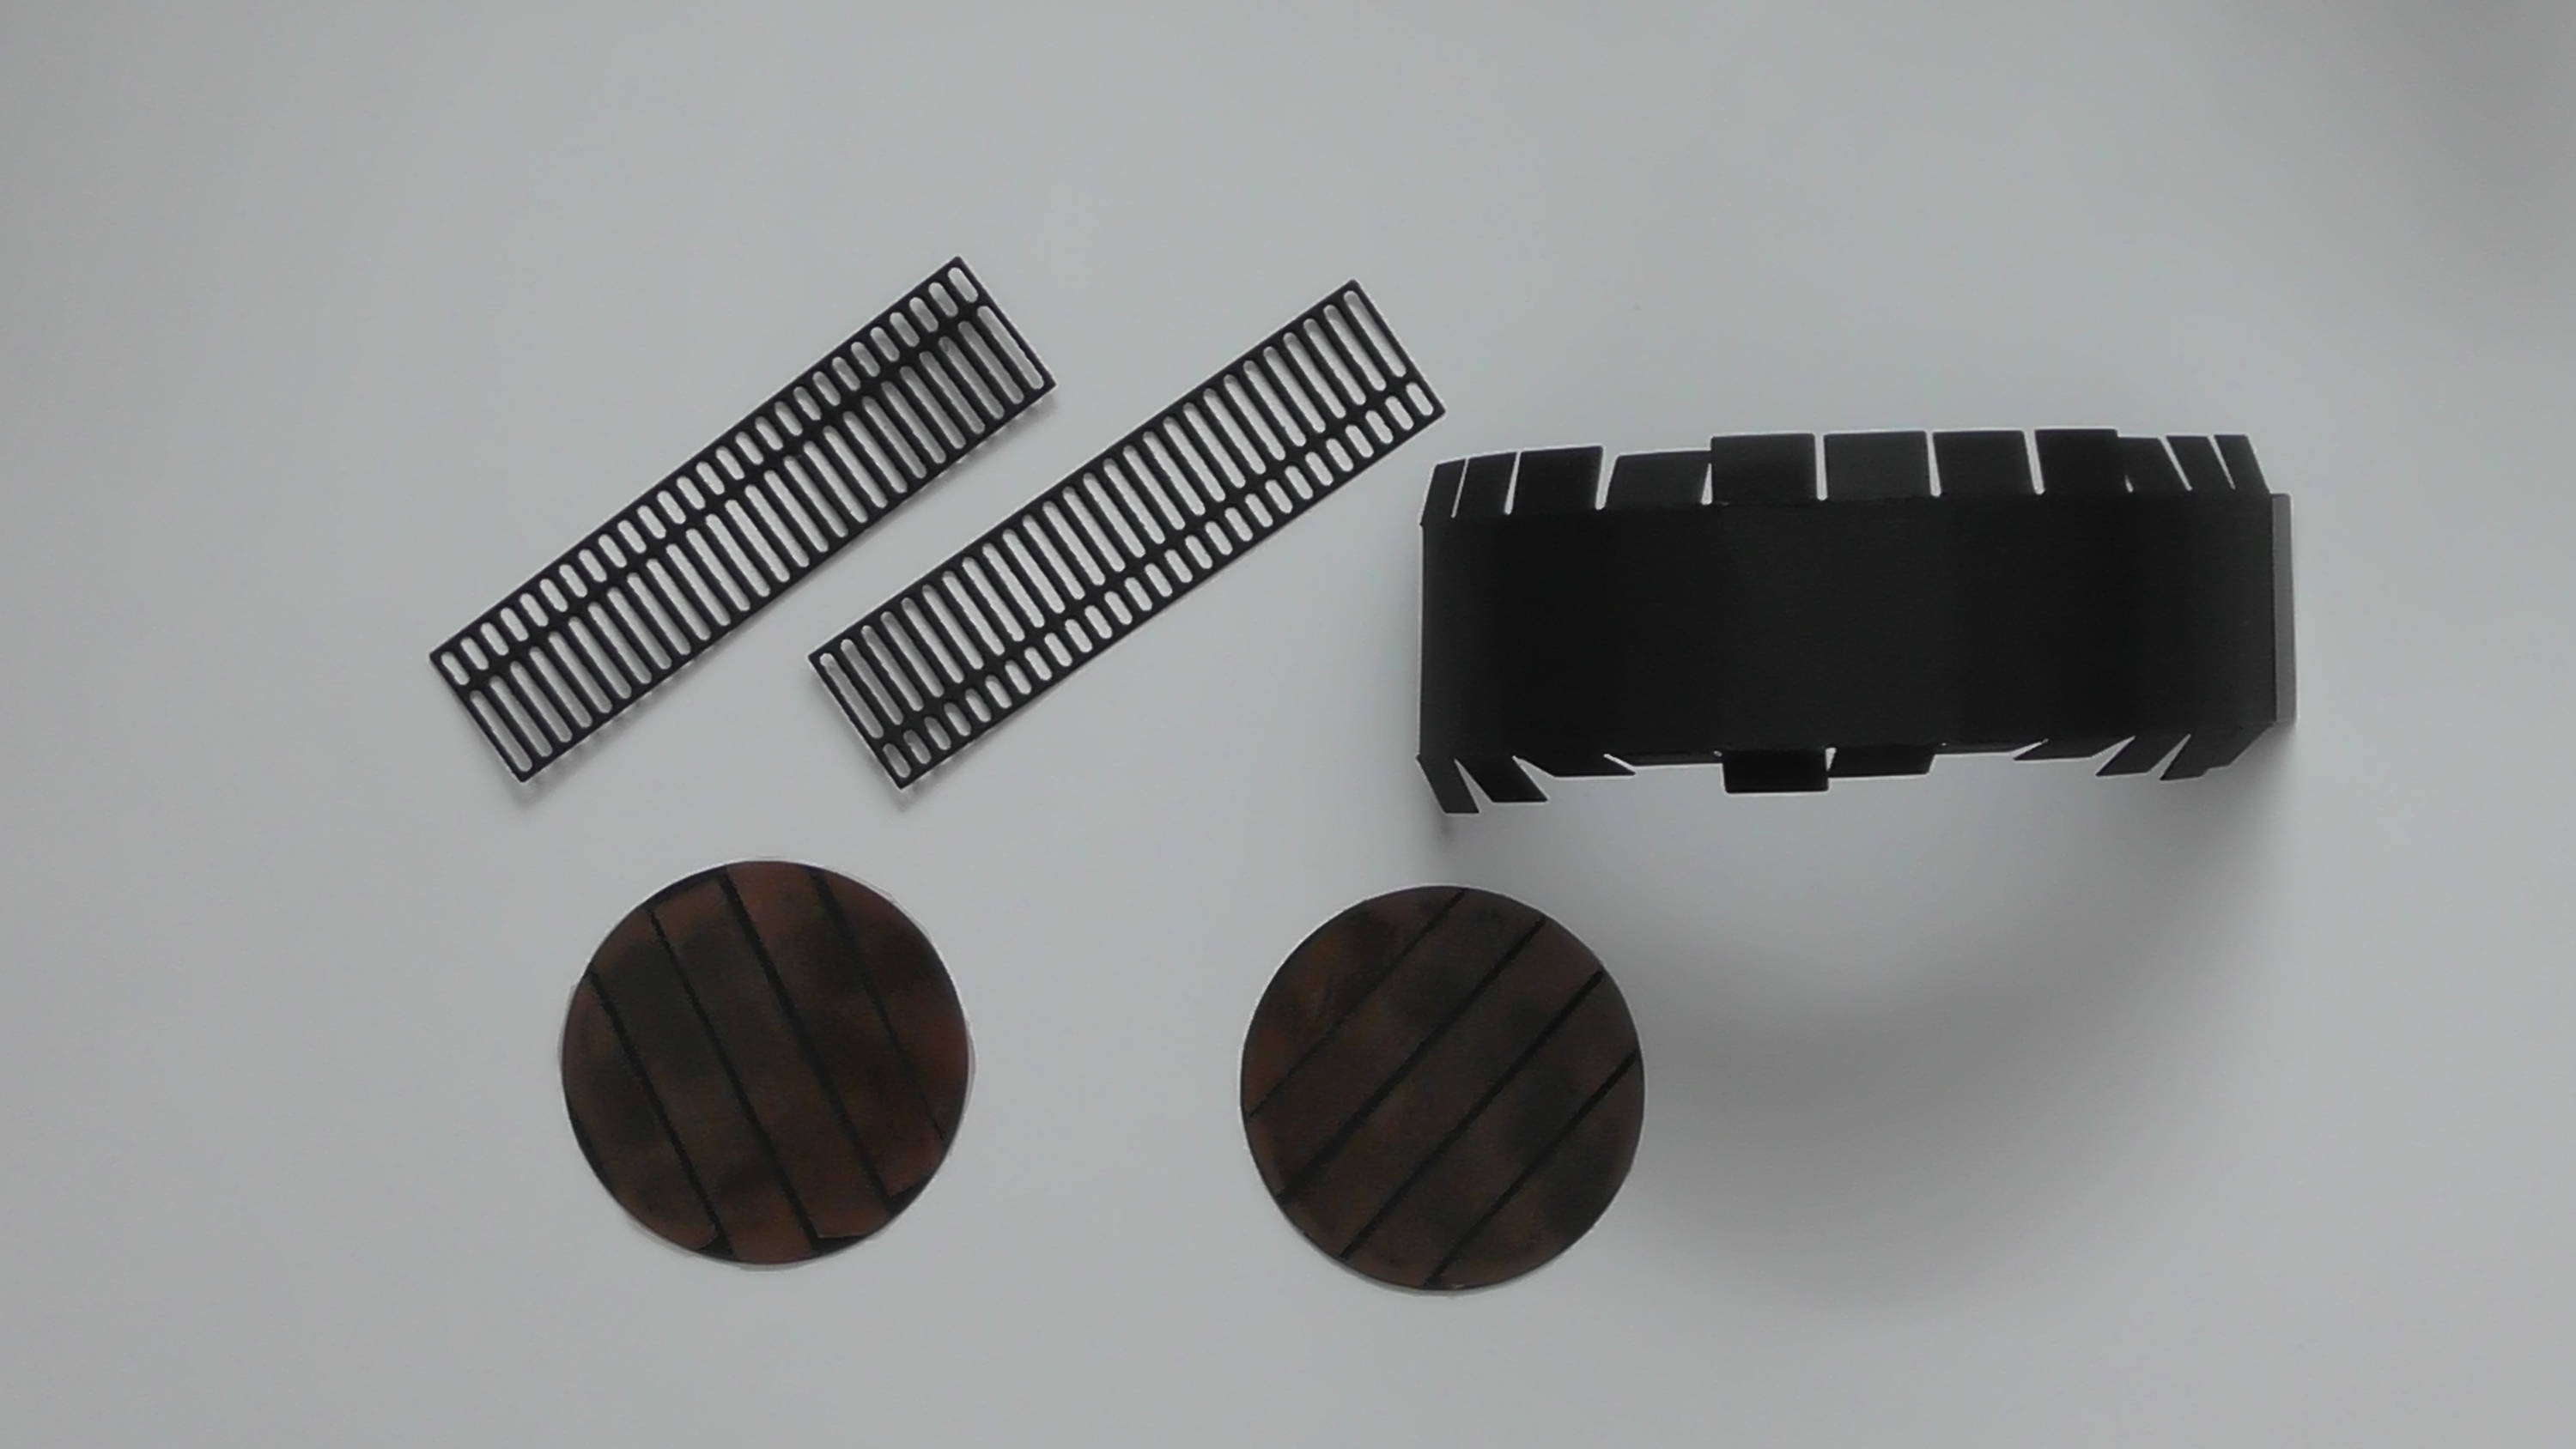
Now we need these pieces for the lens of the camera, and you’ll see instead of adding tape to the multiple glue tabs on the long pieces, I’ve added it to the back of the 2 circles.
Step 8

Remove the backing off the tape on one circle and push it inside the tube so that the adhesive is towards the tabs. Then simply press the tabs down, I recommend sticking opposites first to get it level.
Step 9
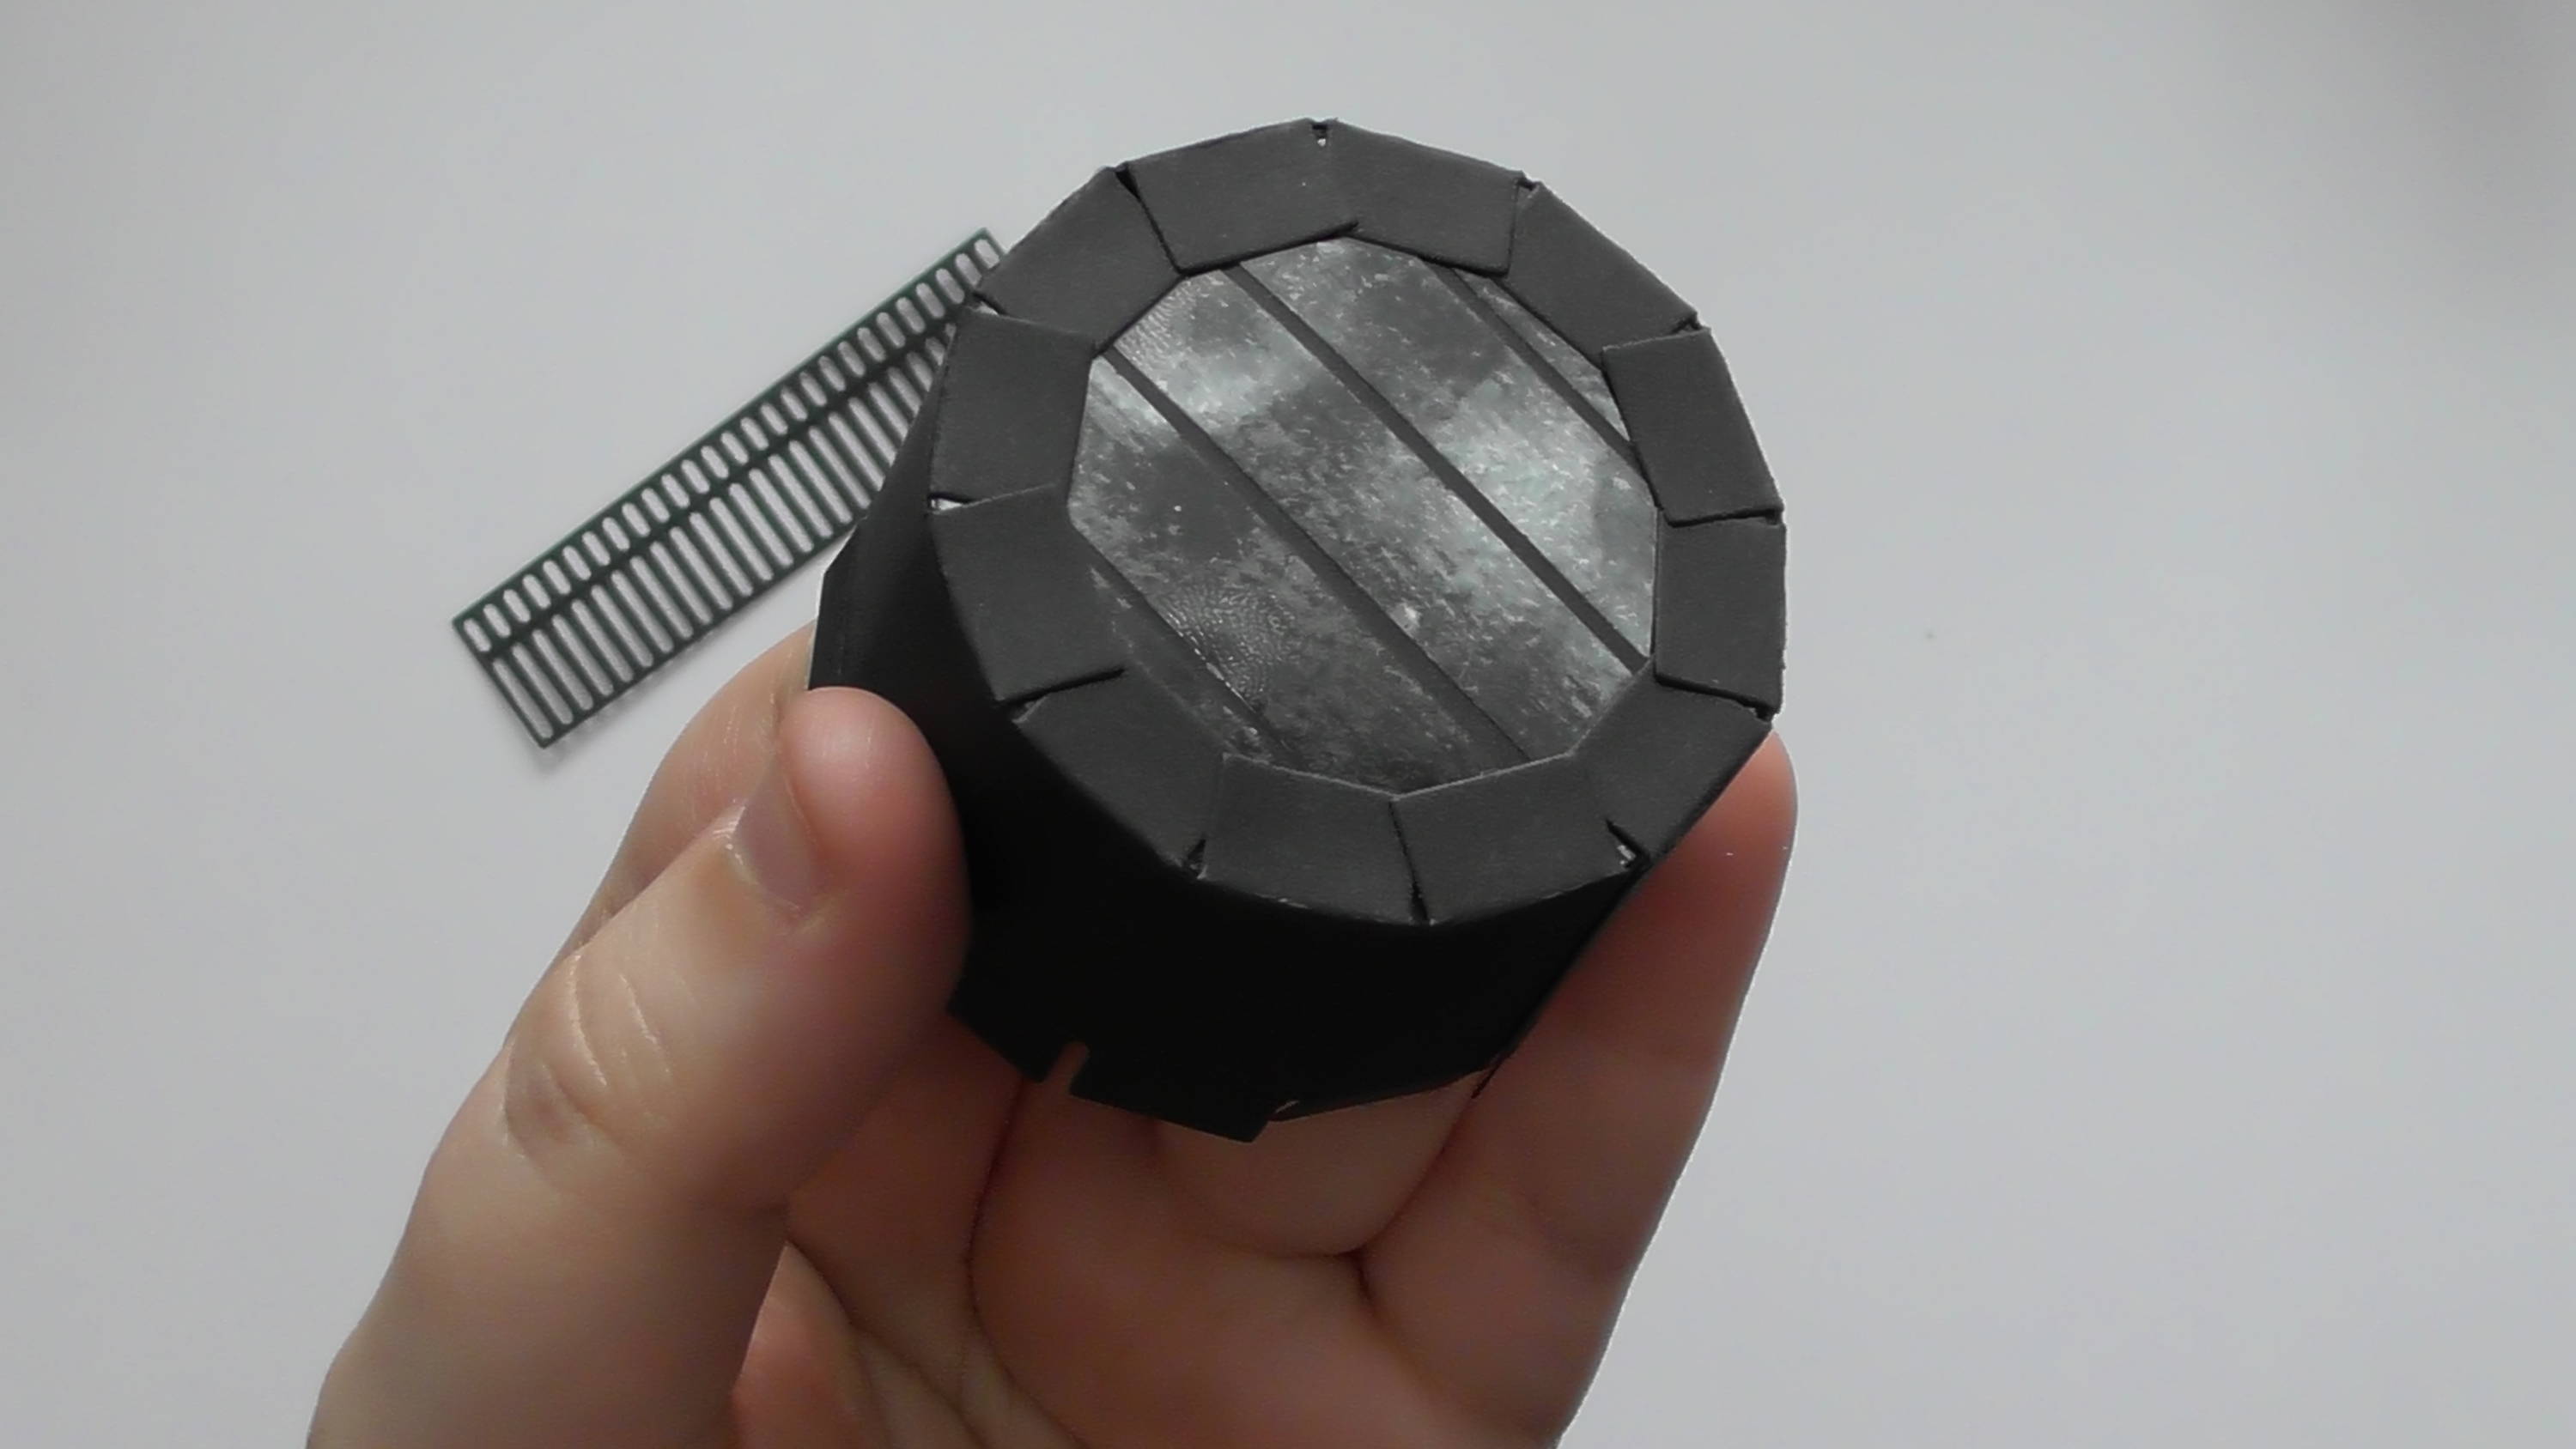
then you can push them all in like this, and you can now add the second circle covered in adhesive over this.
Step 10

And you can add your extra decoration. See instructions inside packaging for alternative lens.
Step 11
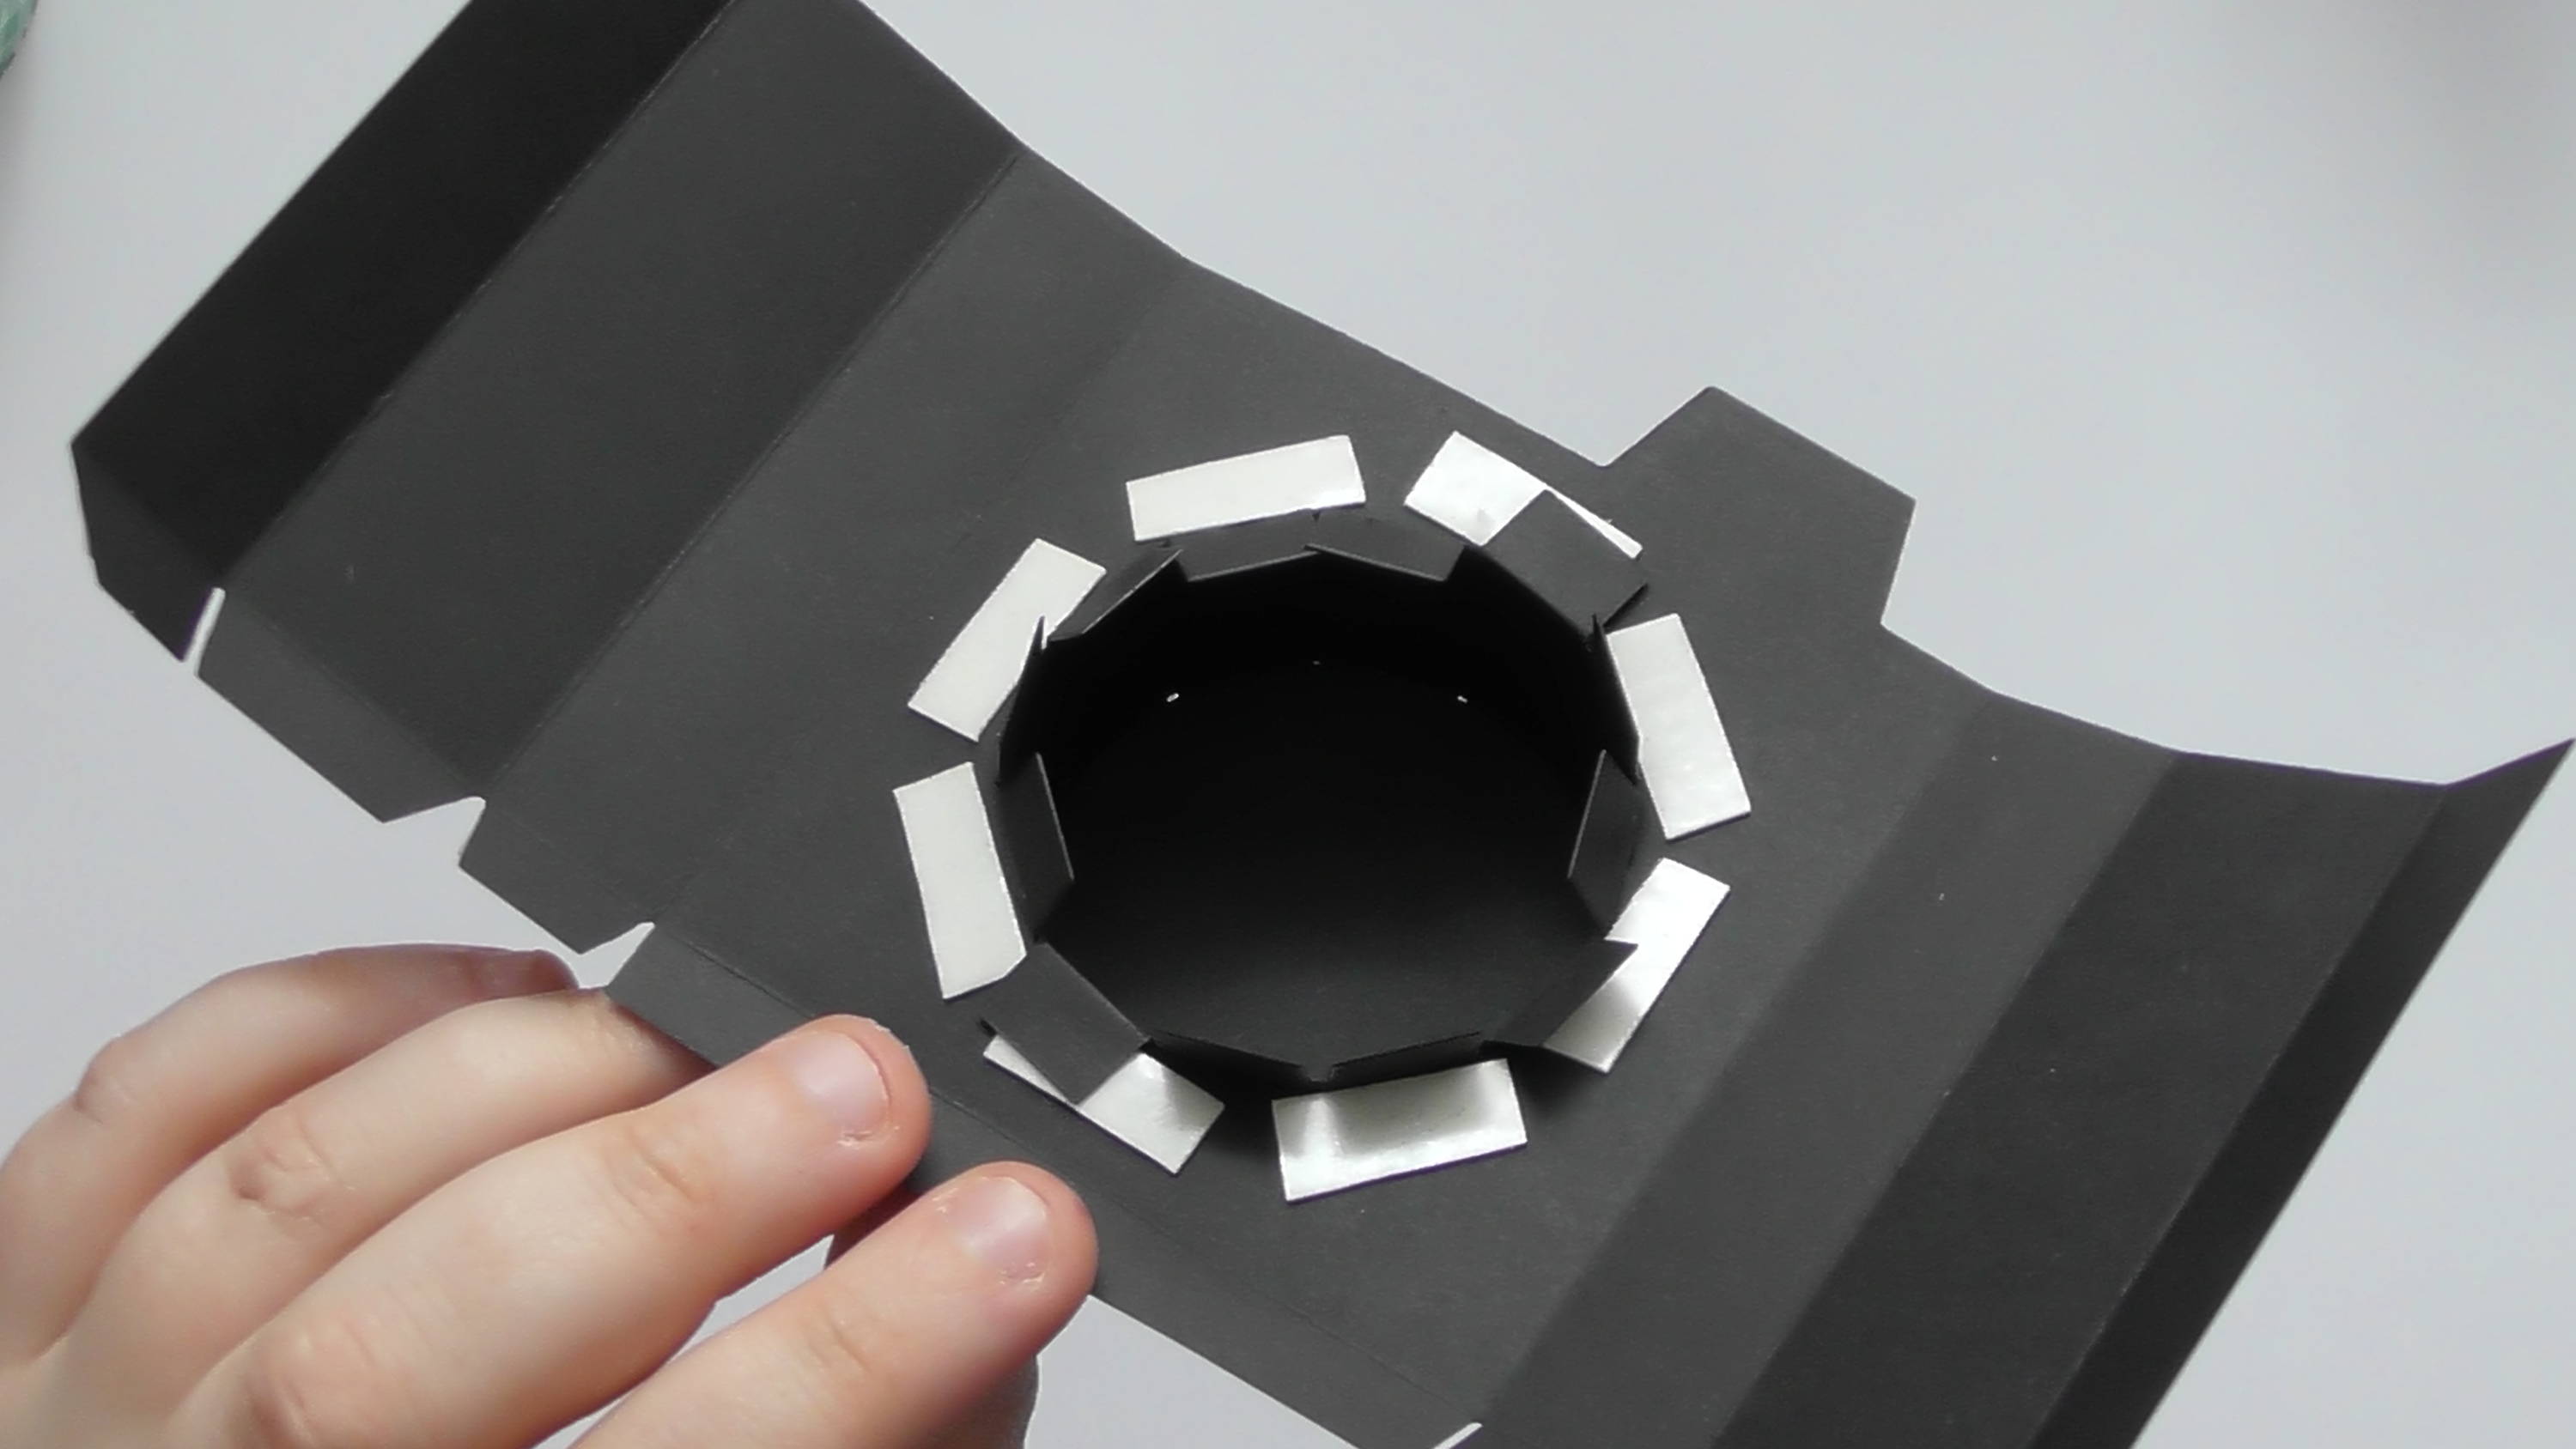
Now we need to add the lens to the body of the camera, I recommend using some foam tape for this, as I think it makes the front look neater. Again we’re going with the method of adding the adhesive to the perimeter of the aperture rather than all the little tabs, but this time we’re splaying the tabs outwards as shown to hold the lens in place.
Step 12
Your lens will now be perfectly attached, and again if you have any exposed adhesive on the inside, just use your anti-static tool to remove the stickiness.
Step 13
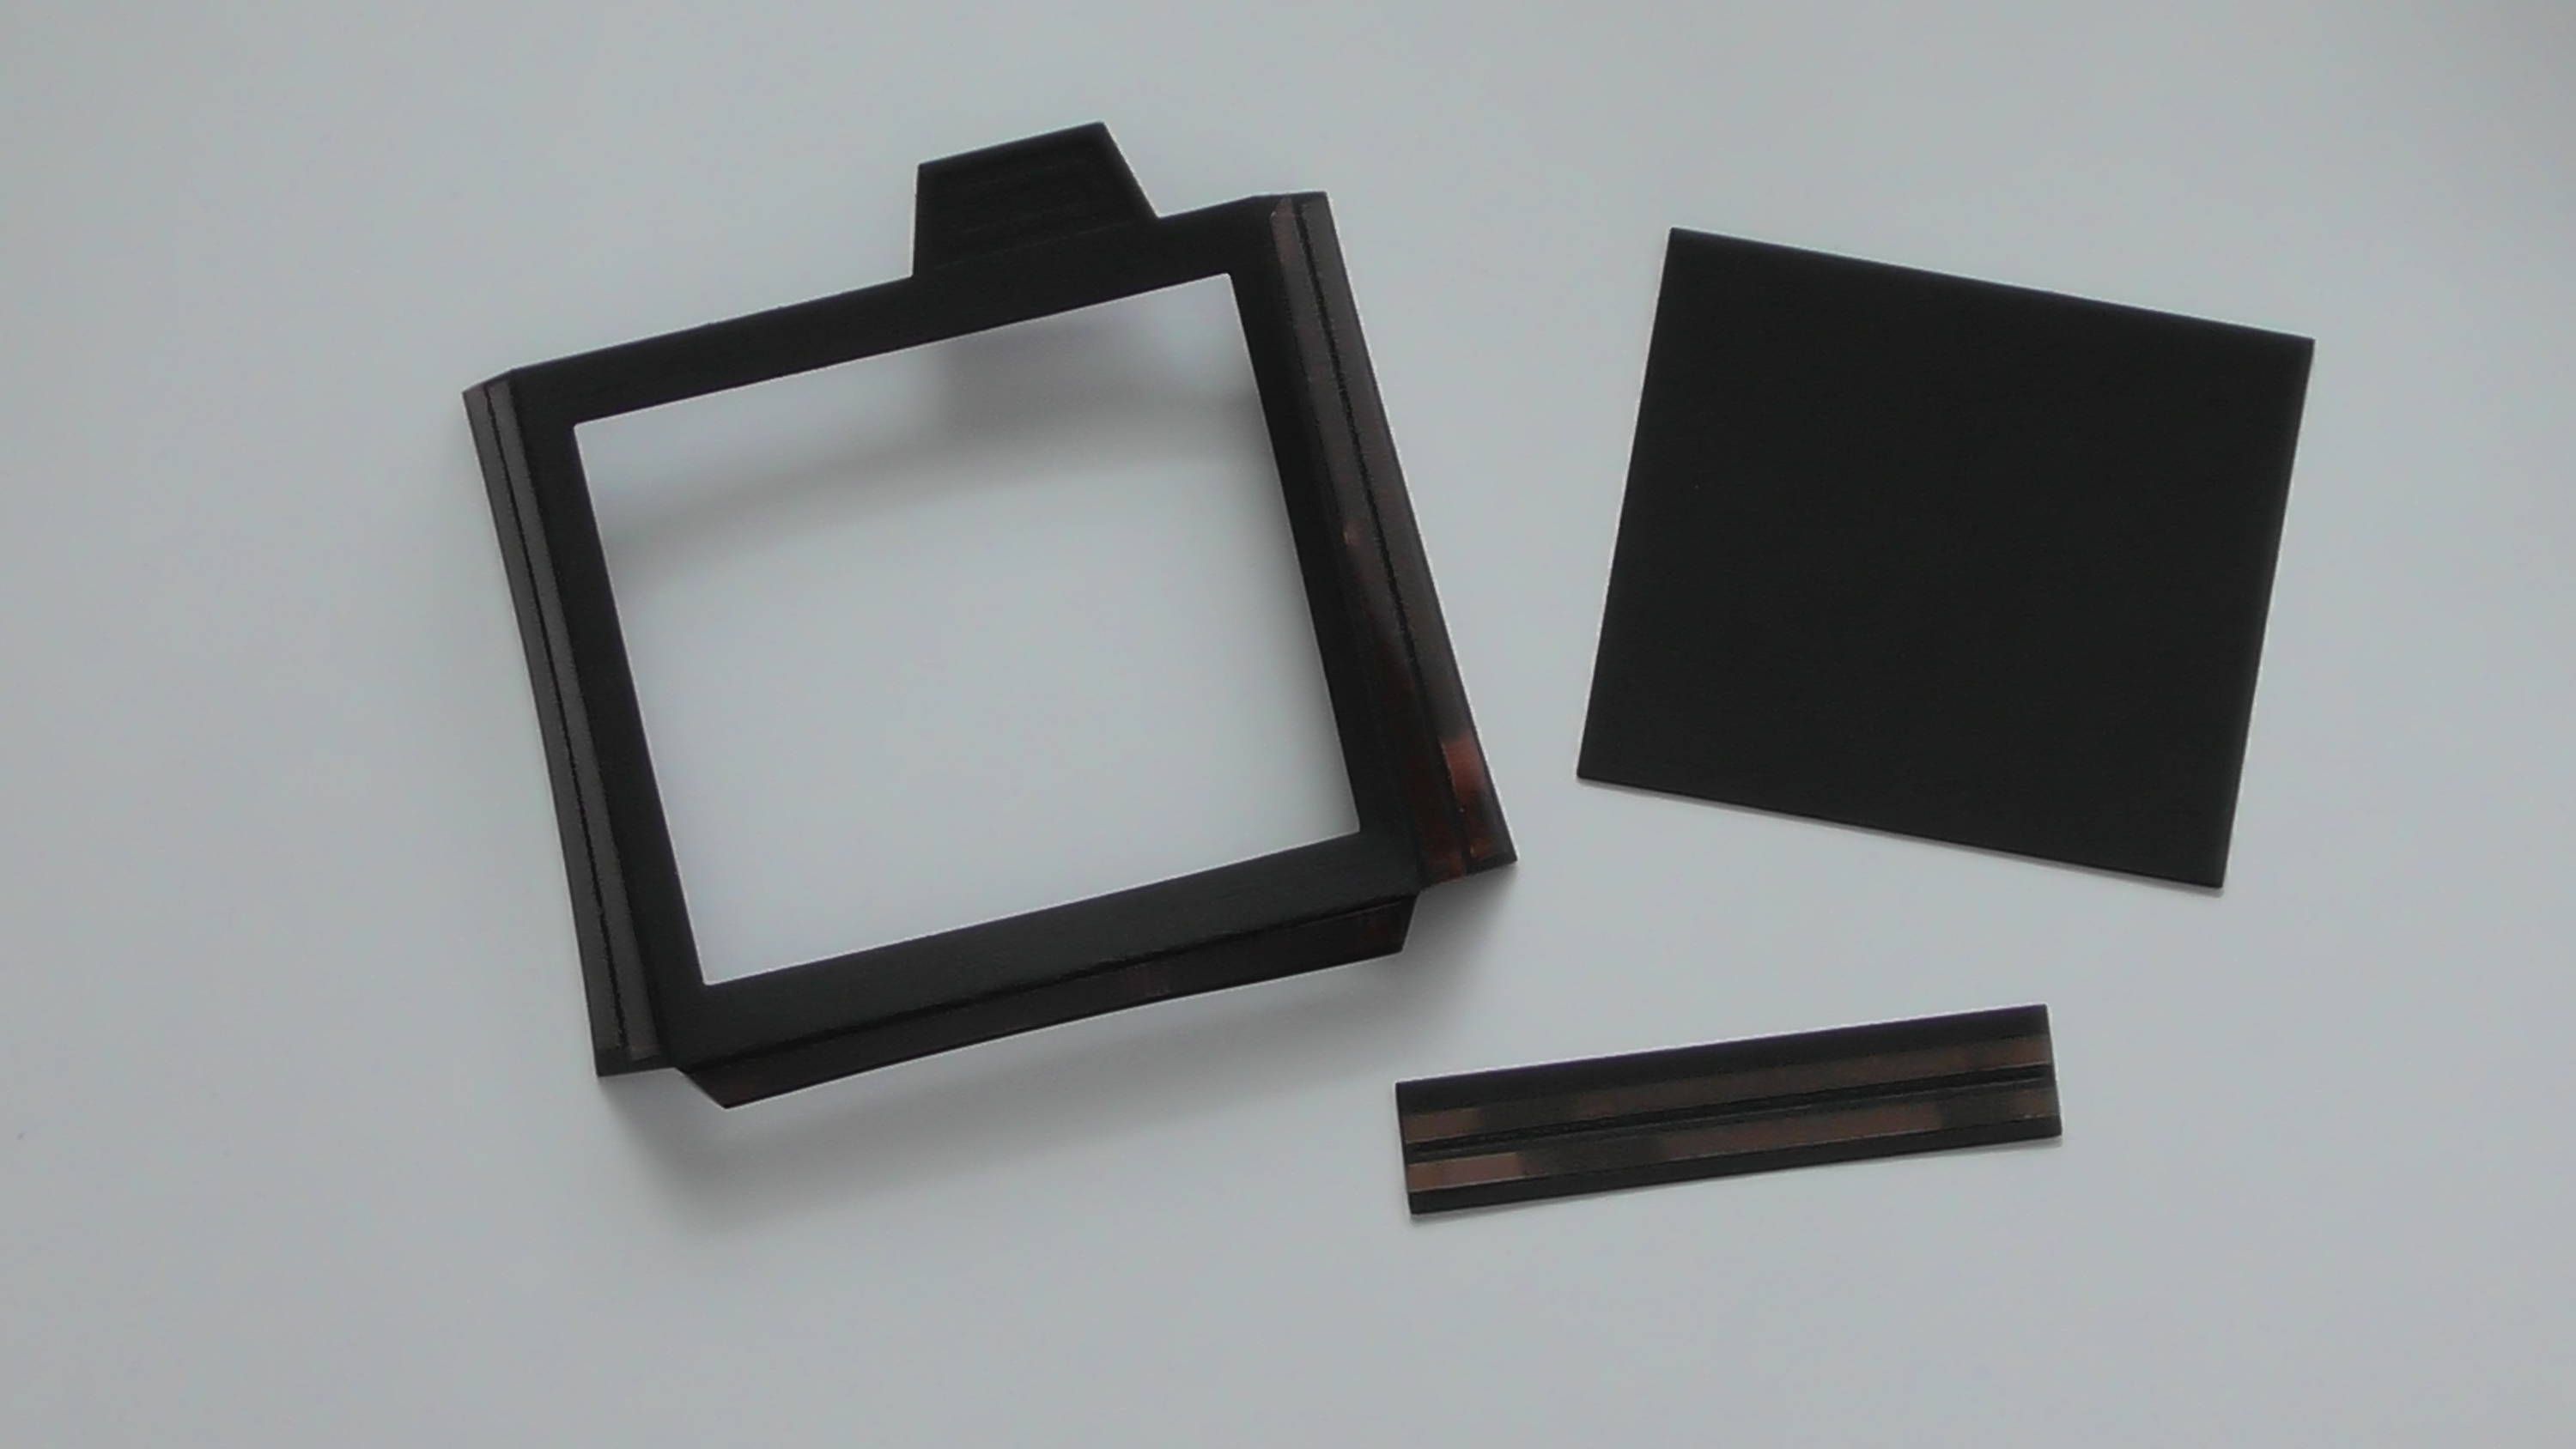
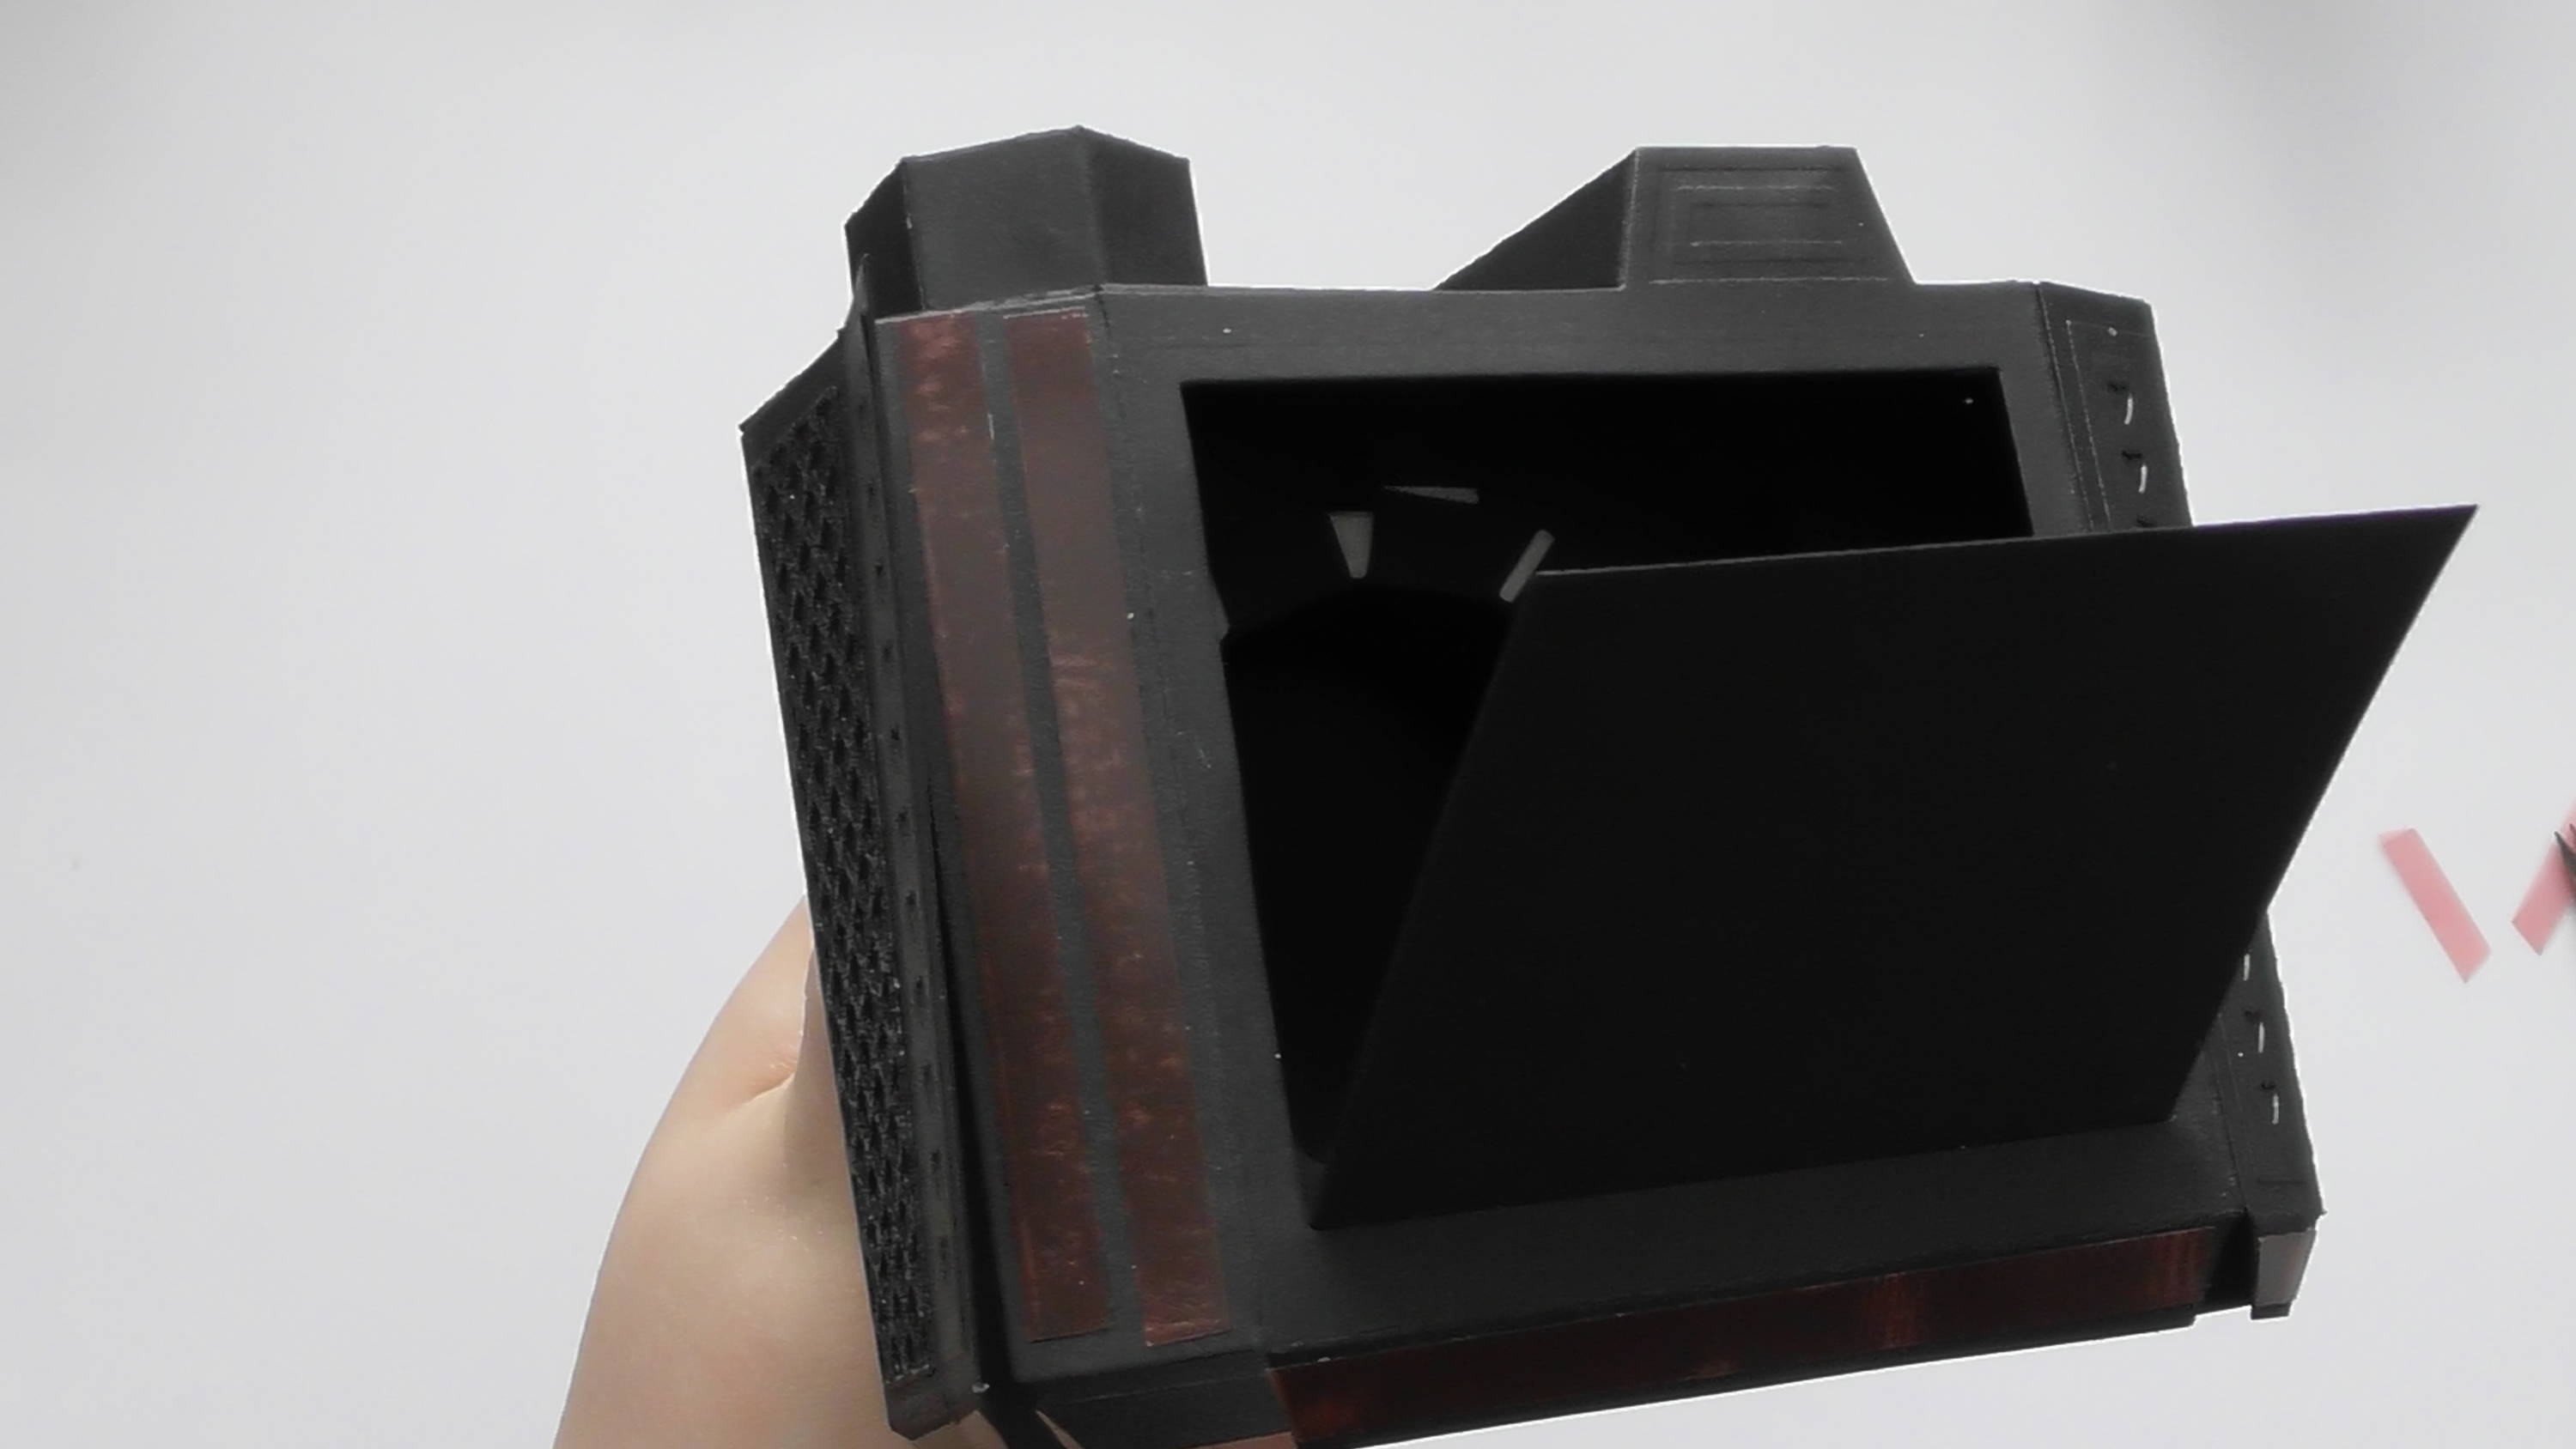
For the back of the camera, you’ll need to cut a rectangle out of the back panel, so that you can access the inside. You want to keep this rectangle as it’ll be the back door, and you’ll also need the hinge die-cut too so enable you to attach it again.
Step 14

Add the hinge at the bottom of the aperture as shown, then simply replace the rectangle back into the aperture securing it to the top of the hinge
Step 15
We can now start the main assembly, you need to top of the camera from steps 3-6, the main body piece which we can now add the back panel too, and you’ll also need to die-cut the bottom piece too.
Step 16

Pre-fold all the score lines to help with assembly, and you’ll see the main shape come together and you can start to stick it all together with the glue tabs, incorporating the top of the camera.
Step 17
For this side seams, I stuck the front panel over the back to give a neater finish :D It also means you can stick all the decorative panels onto that main front piece too.
Step 18
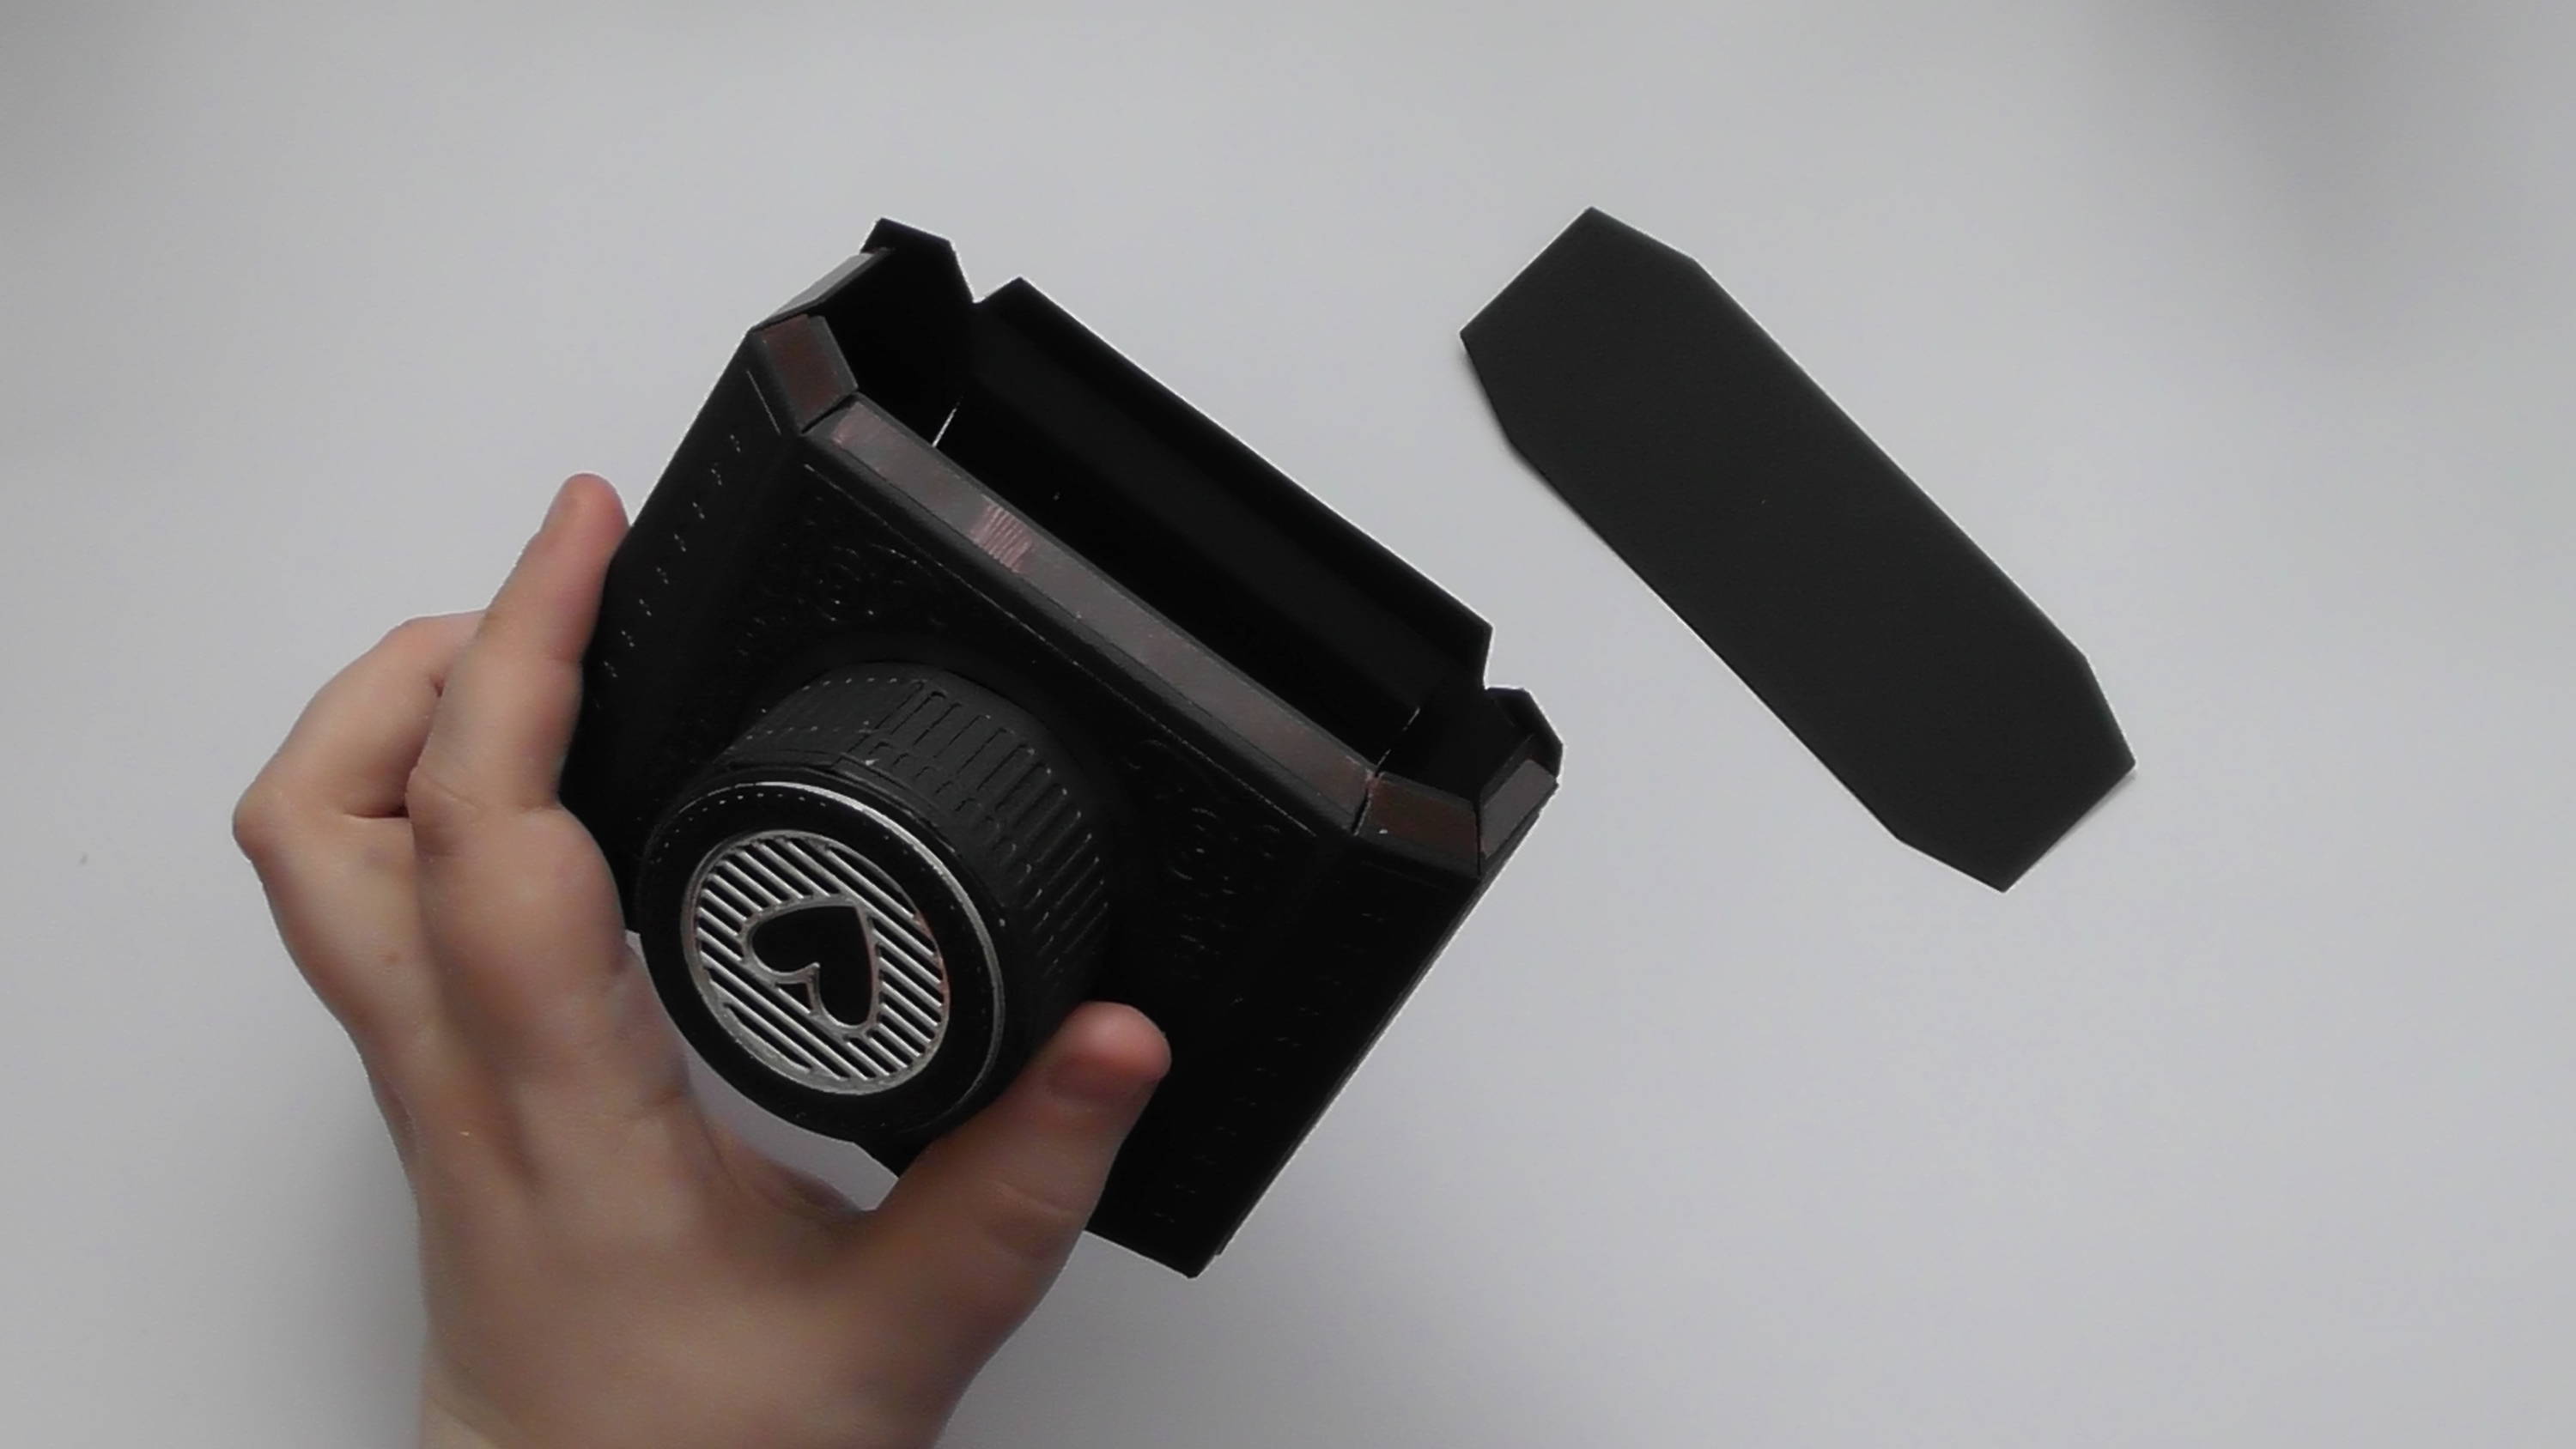
Then once the main body is put together, you can add on the base with the remaining glue tabs.
Step 19
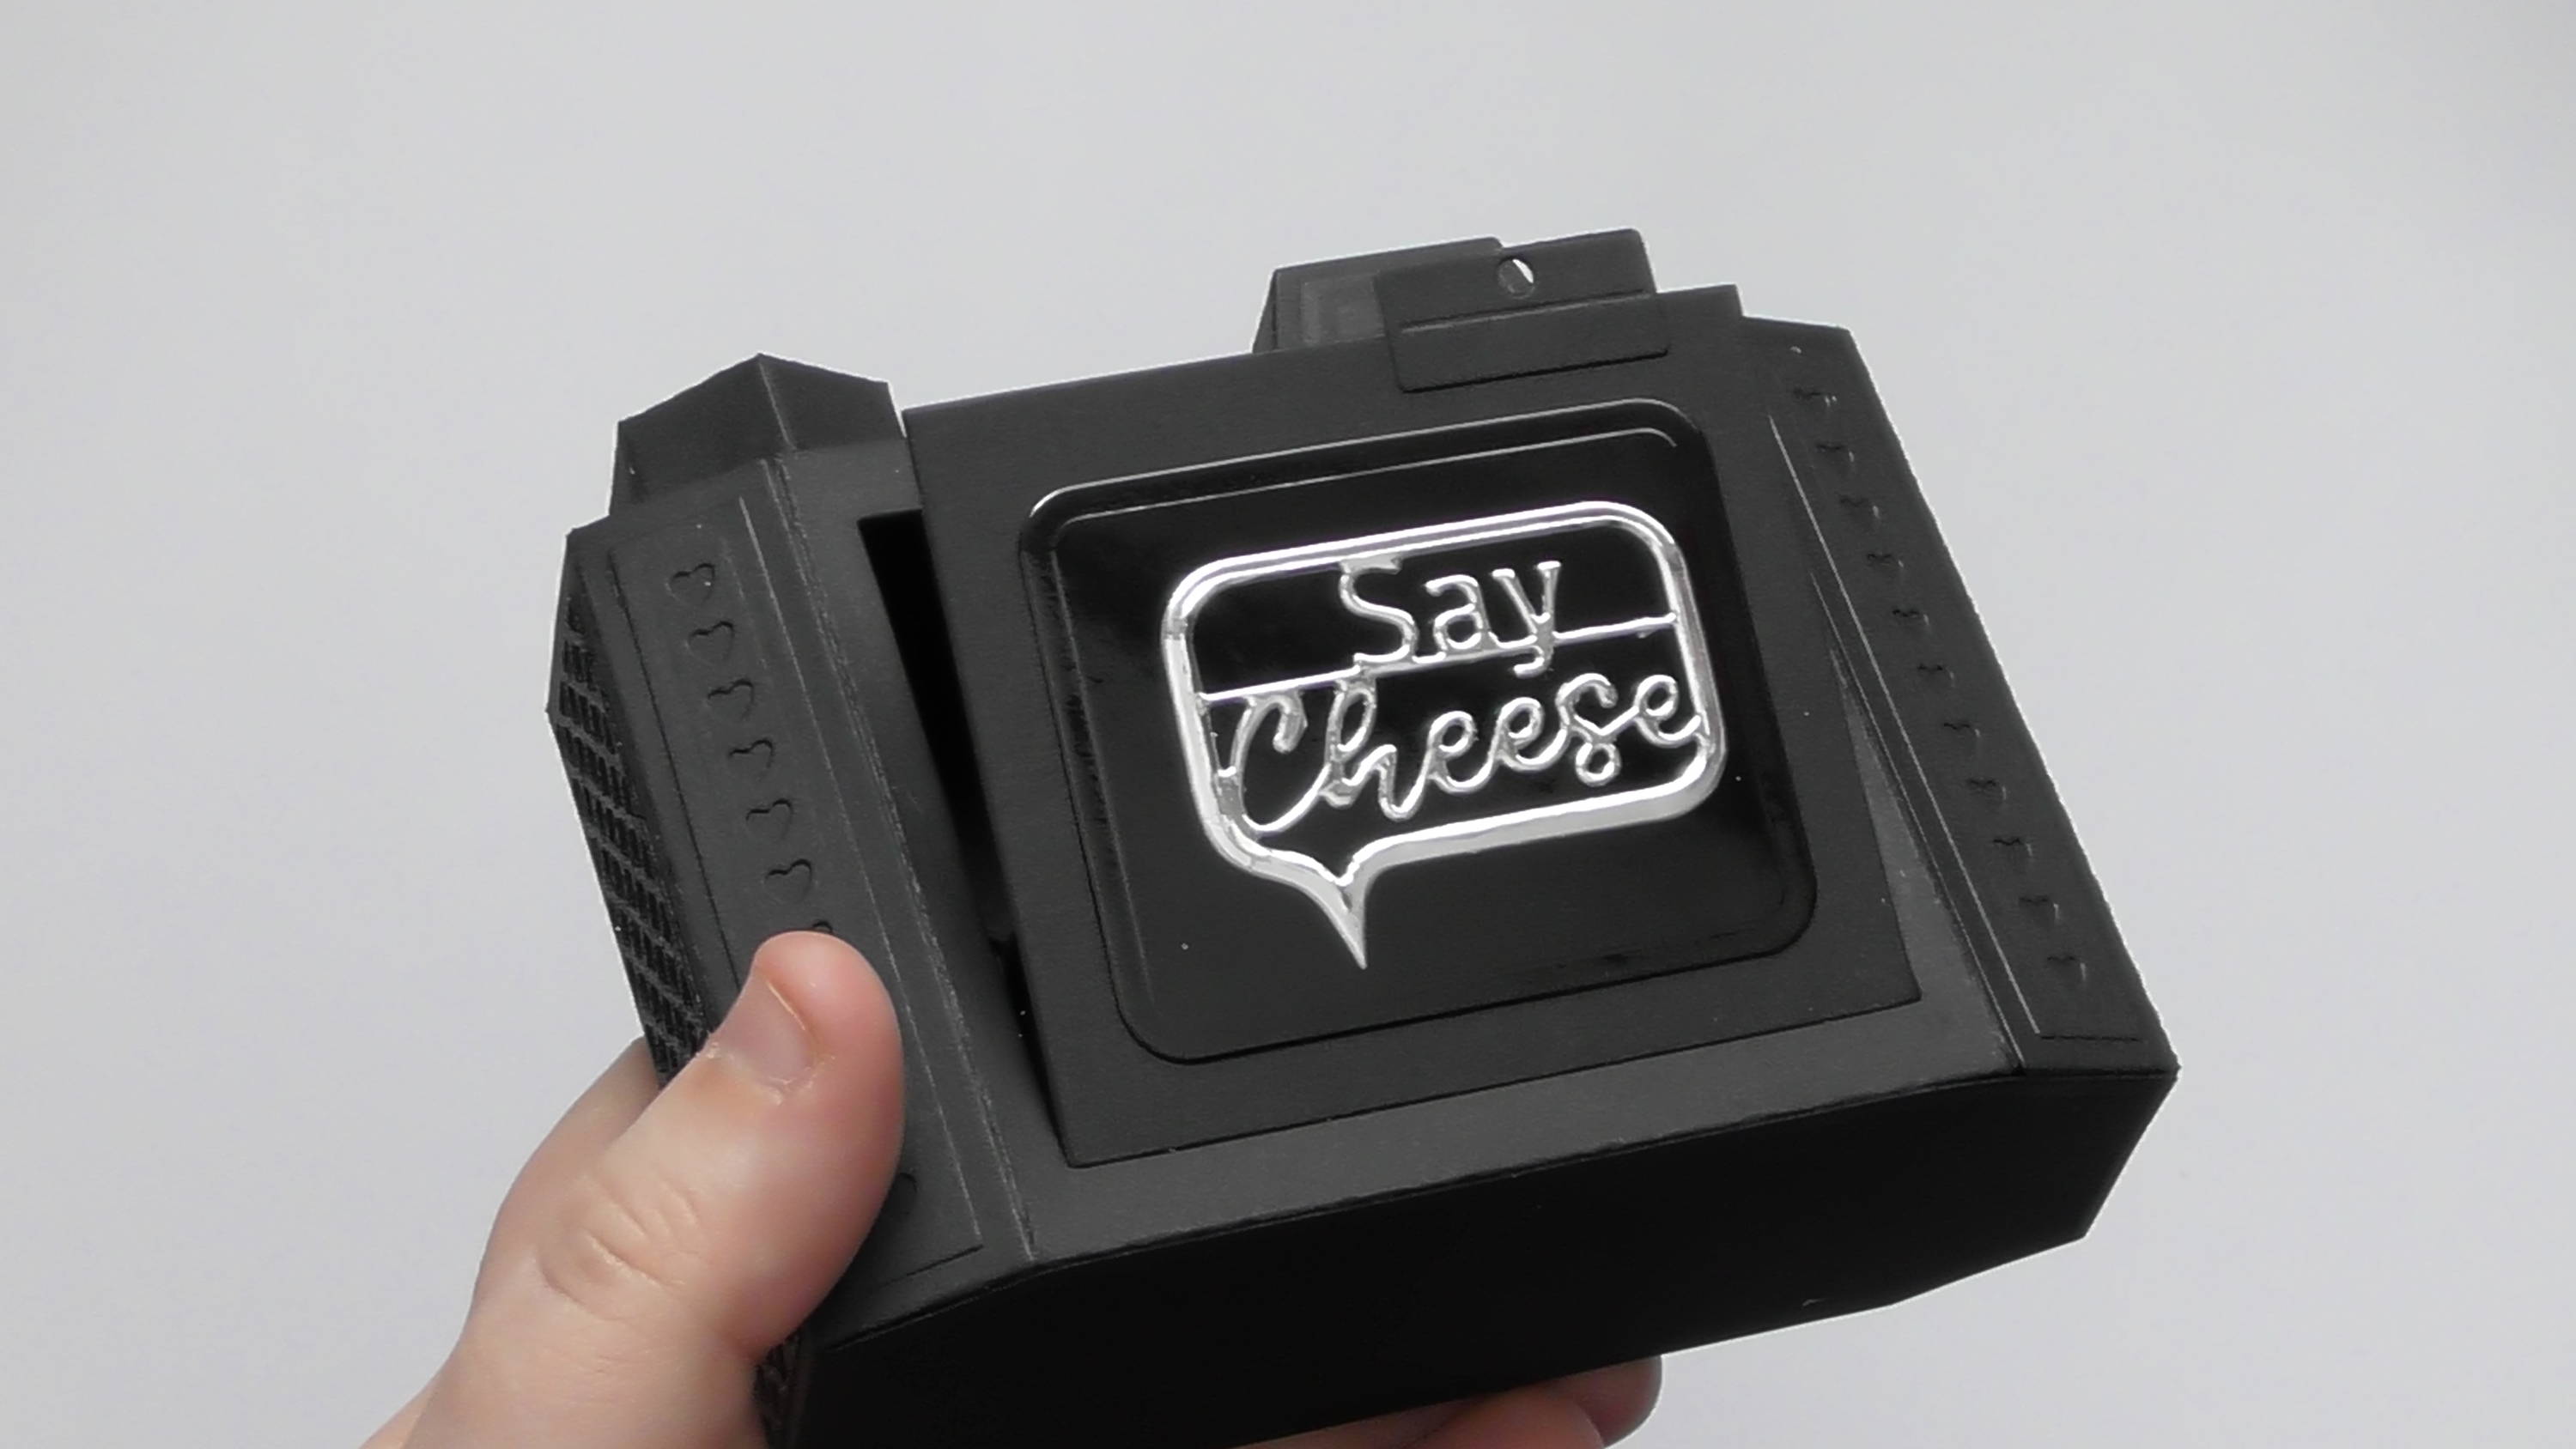
I think the Black Gloss mirror card from Craft Perfect makes the perfect LCD screen, and those speech bubble sentiments just finish it off nicely.
Step 20

As an extra design feature, why not add a neck strap. I used the Craft Perfect 9mm black ribbon for this, add some red liner tape to each end of your chosen length and fold it over to make it nice and strong.
Step 21
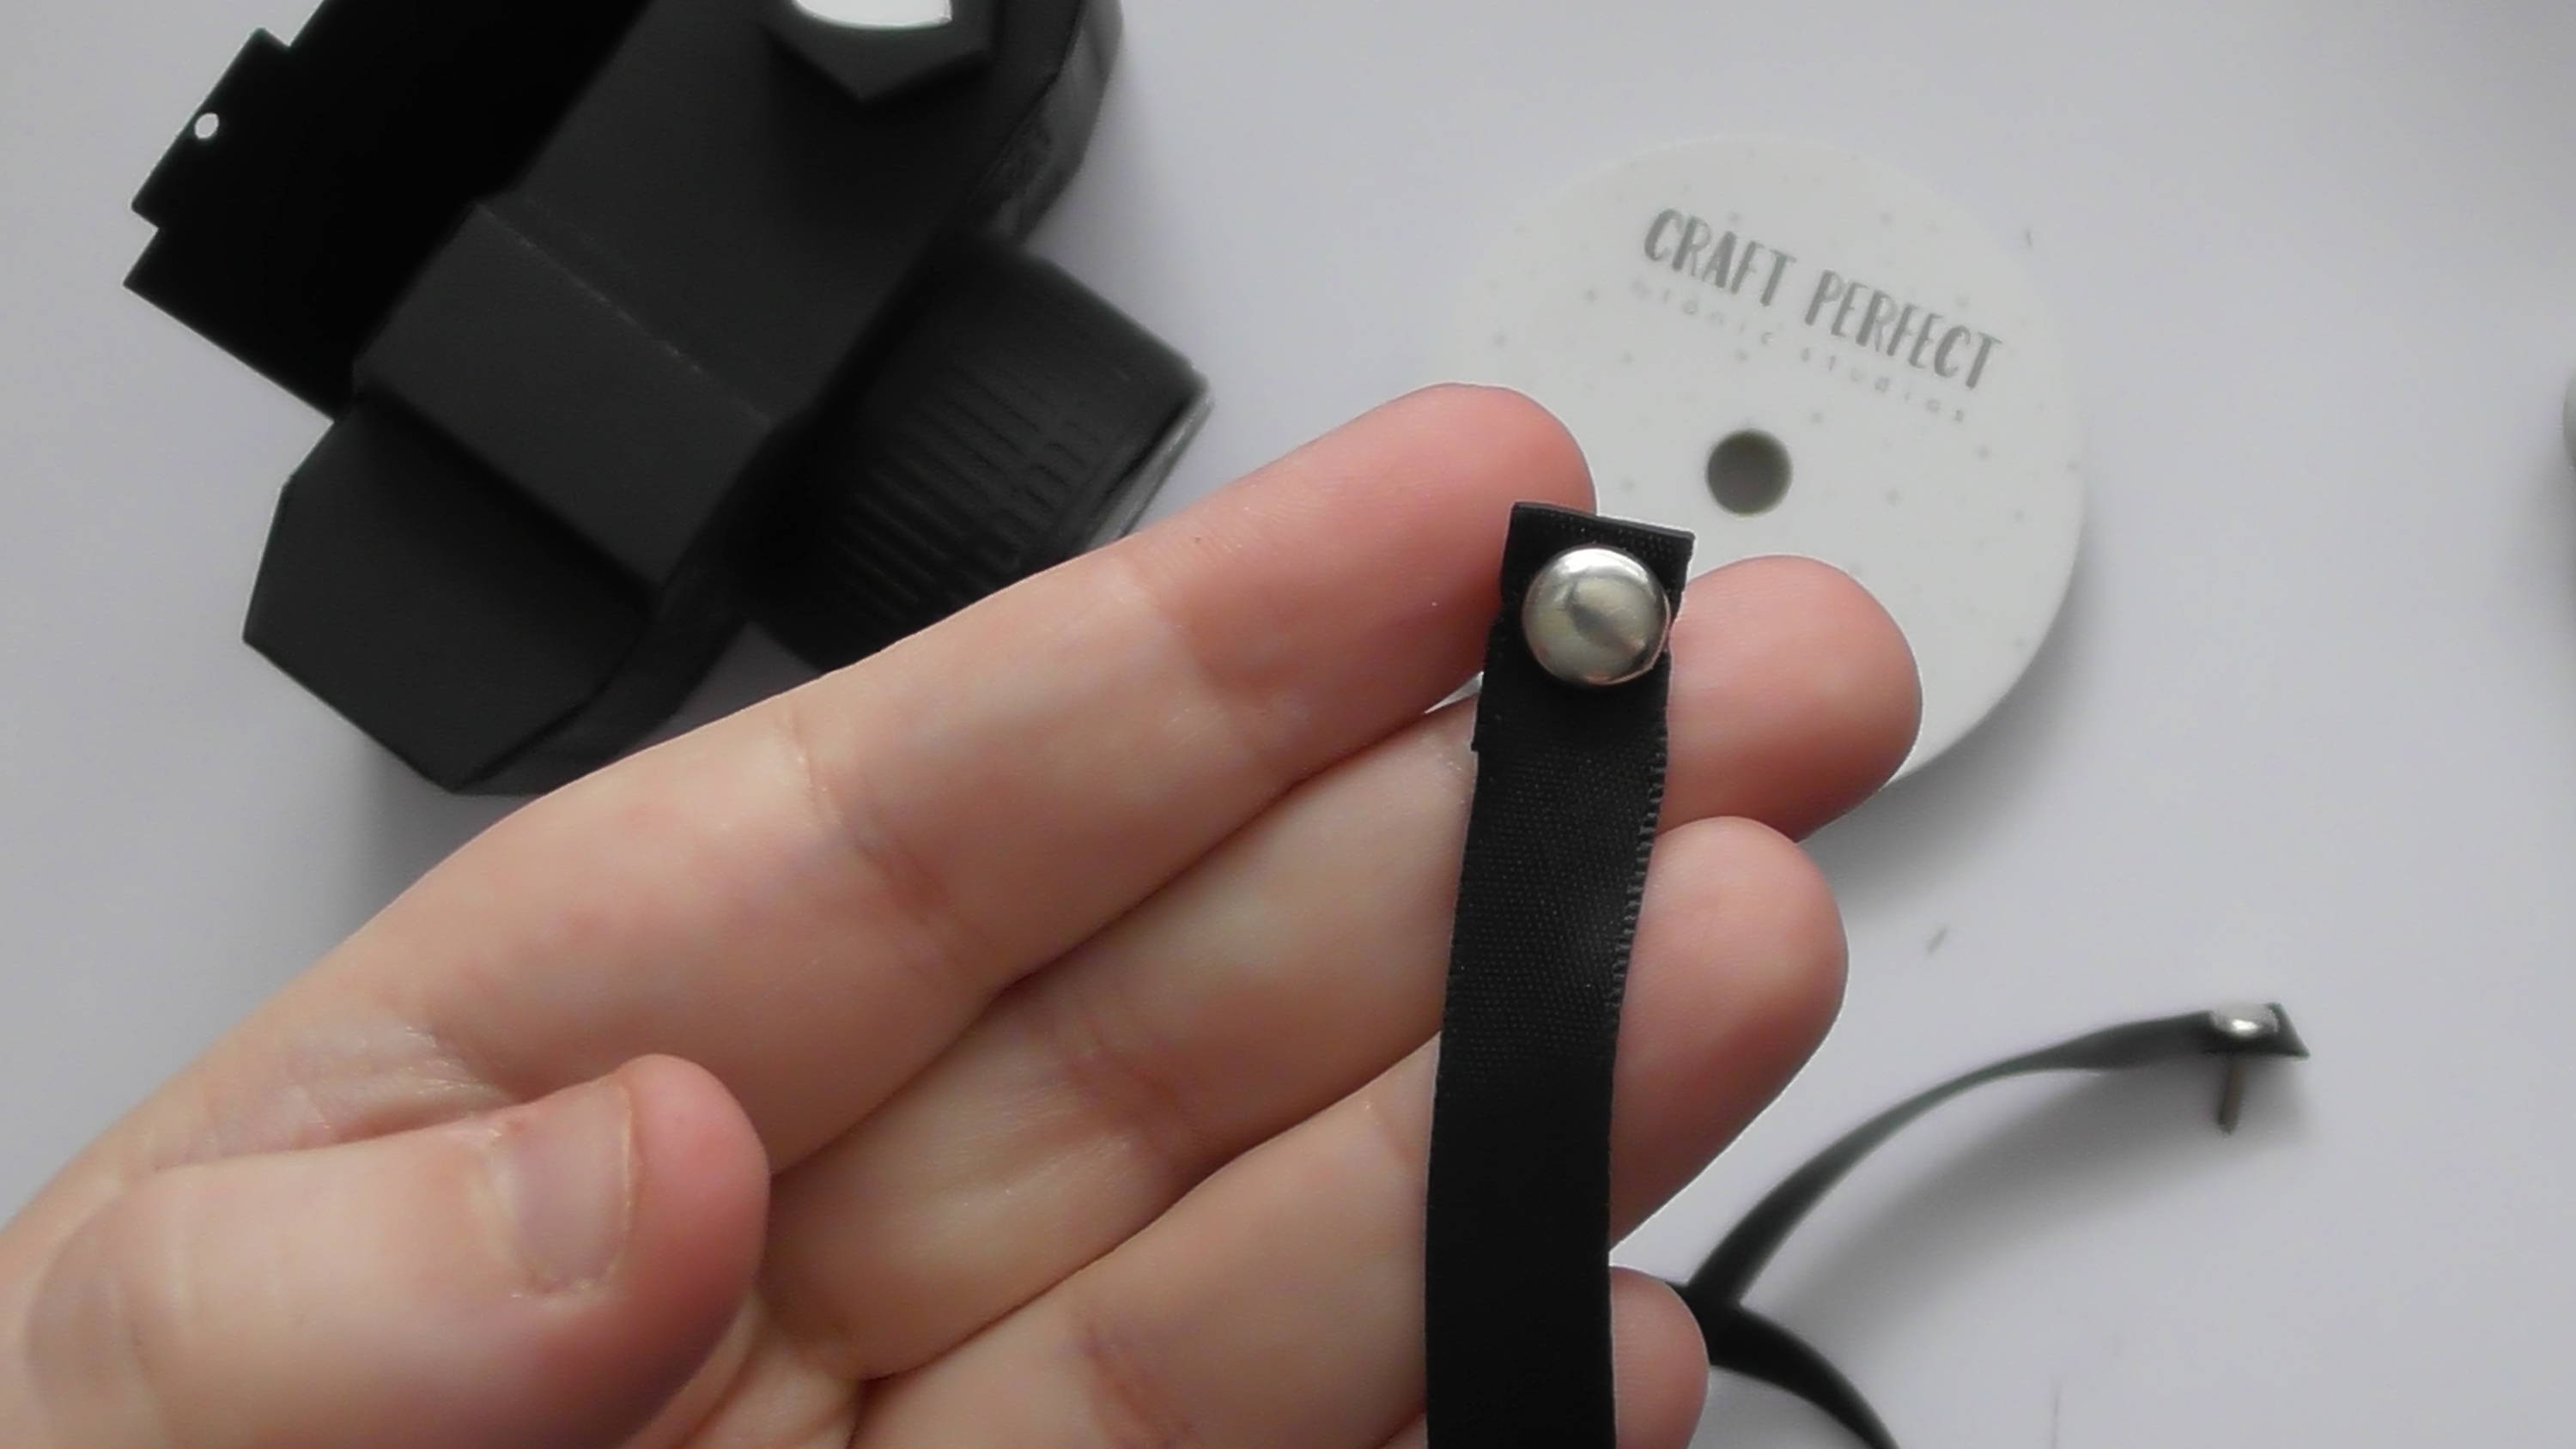
then use your craft pick to make a hole and add a silver brad to each end
Step 22
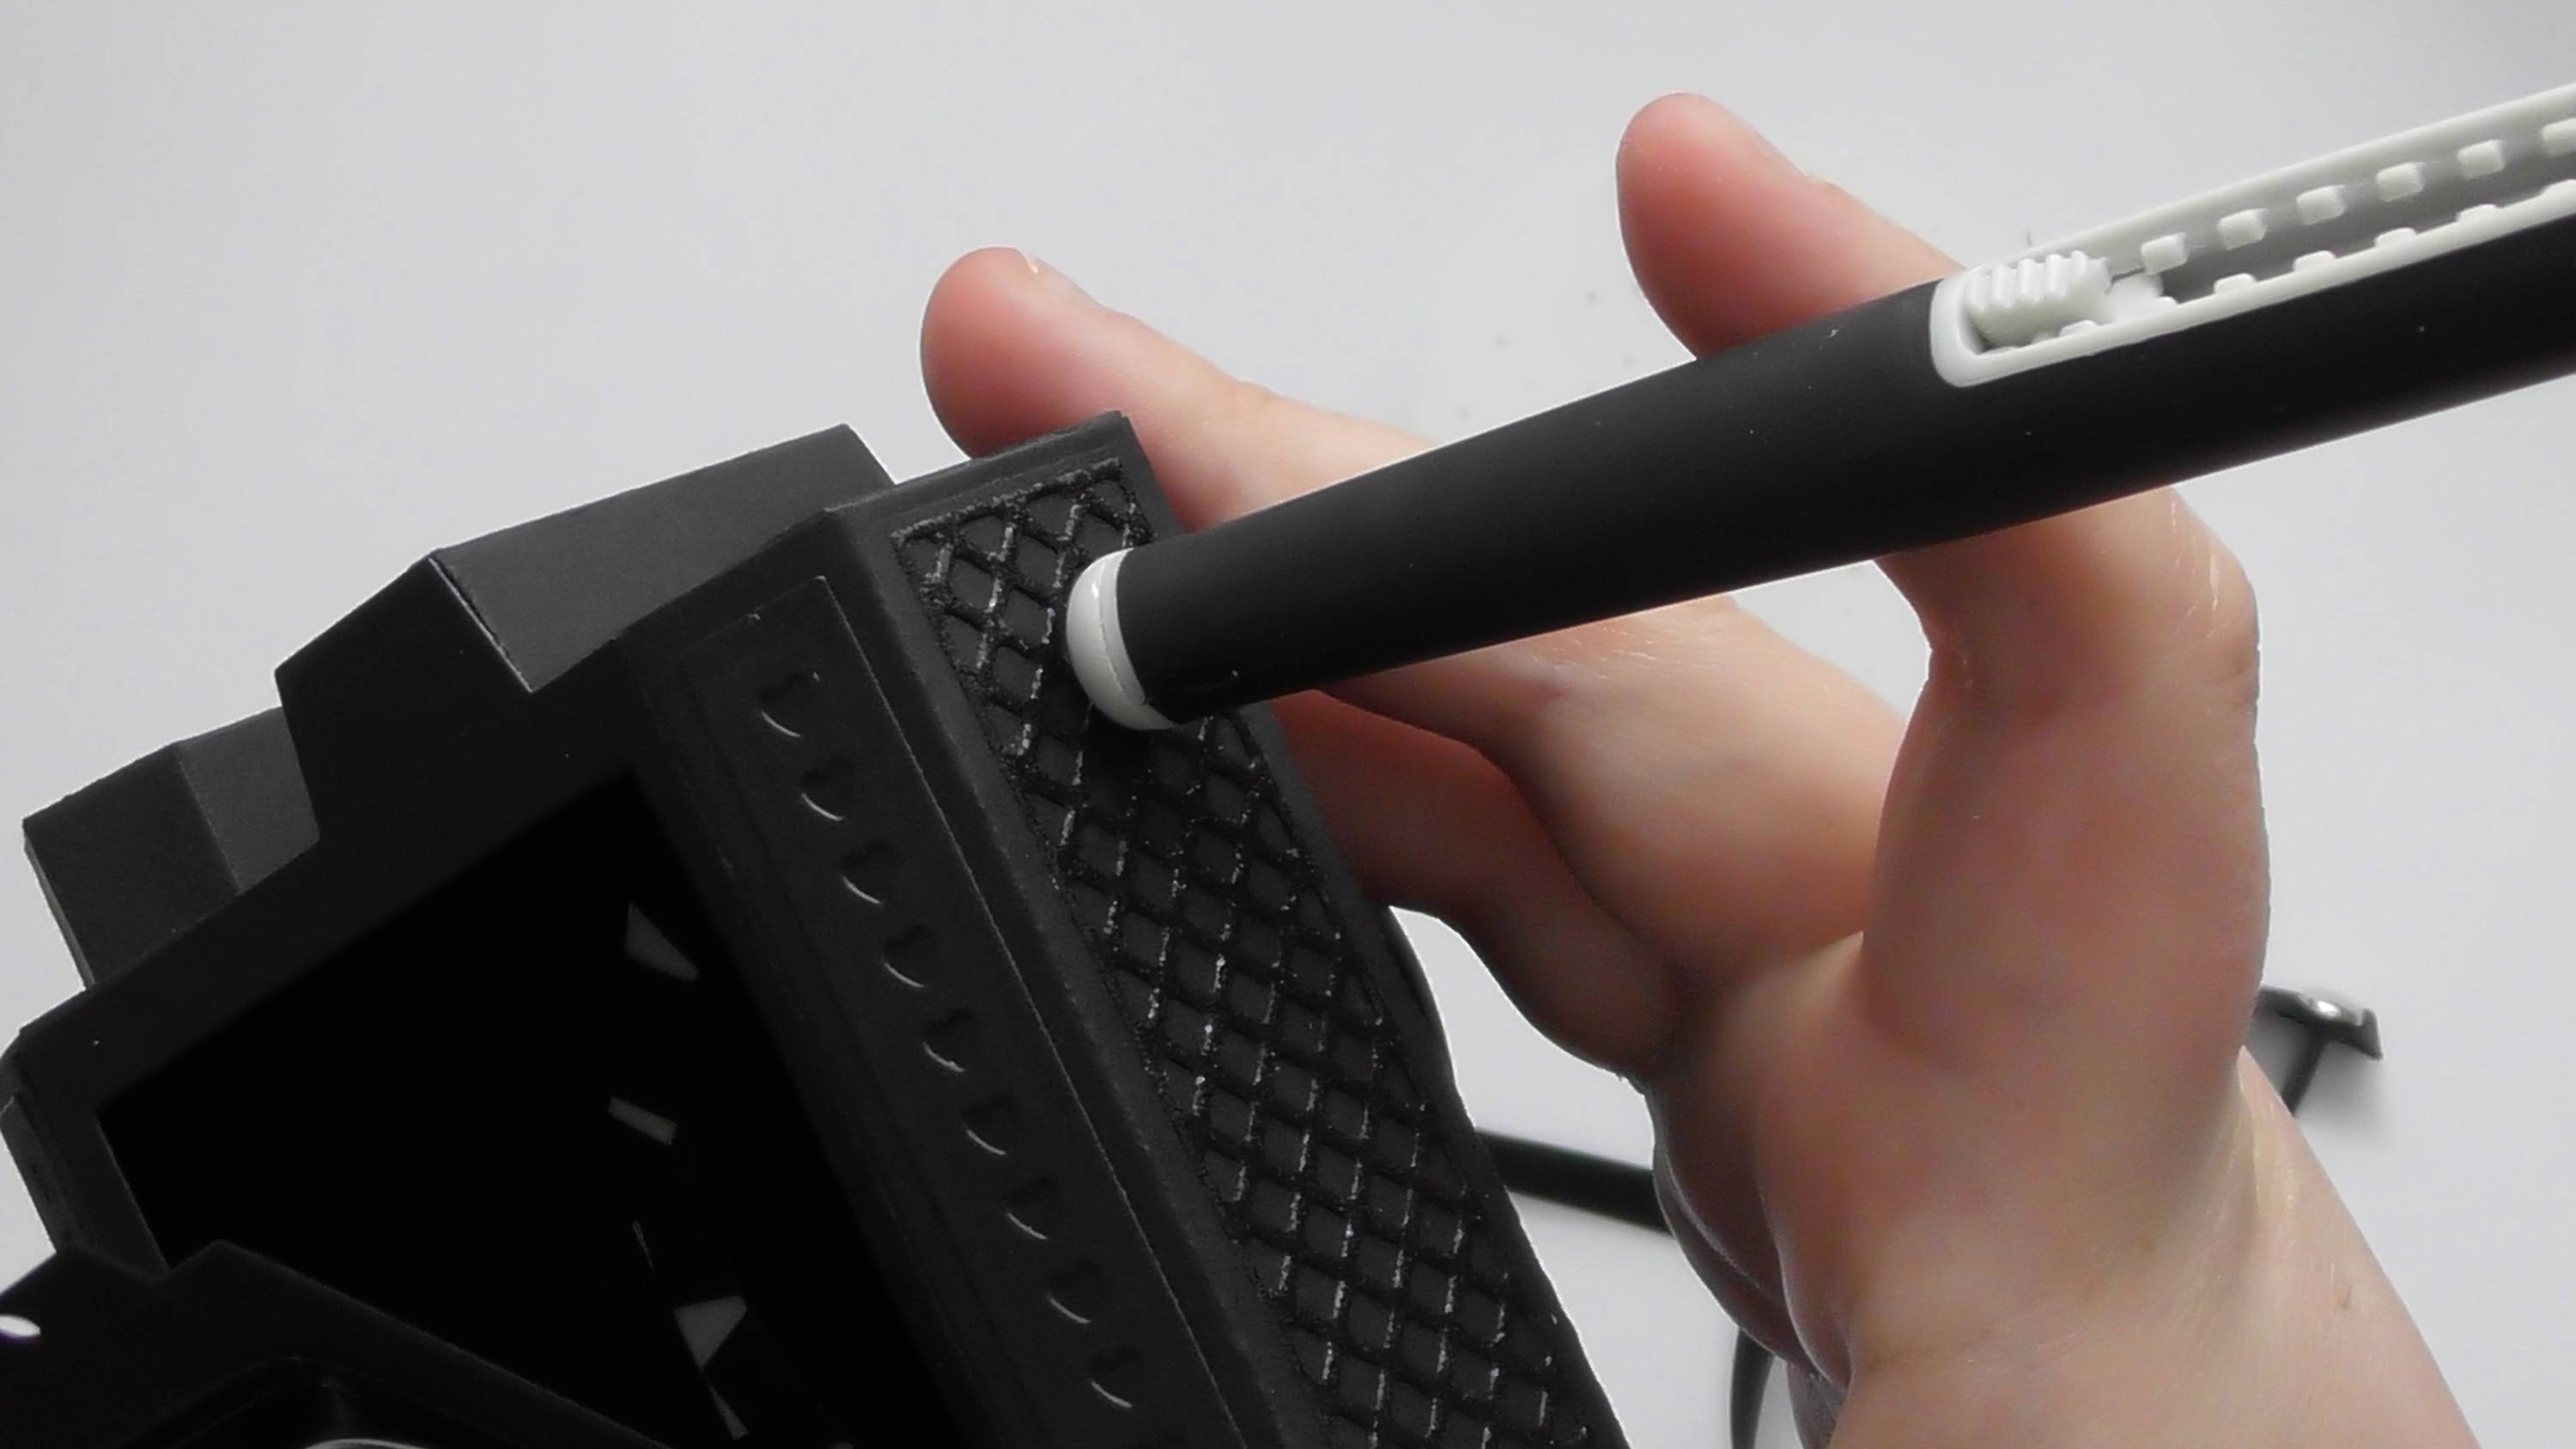
To attach it to the camera body, I picked the second full diamond down in my decorative panels and poked a hole on each side
Step 23

Then I just splayed the brad legs on the inside to secure it in place.
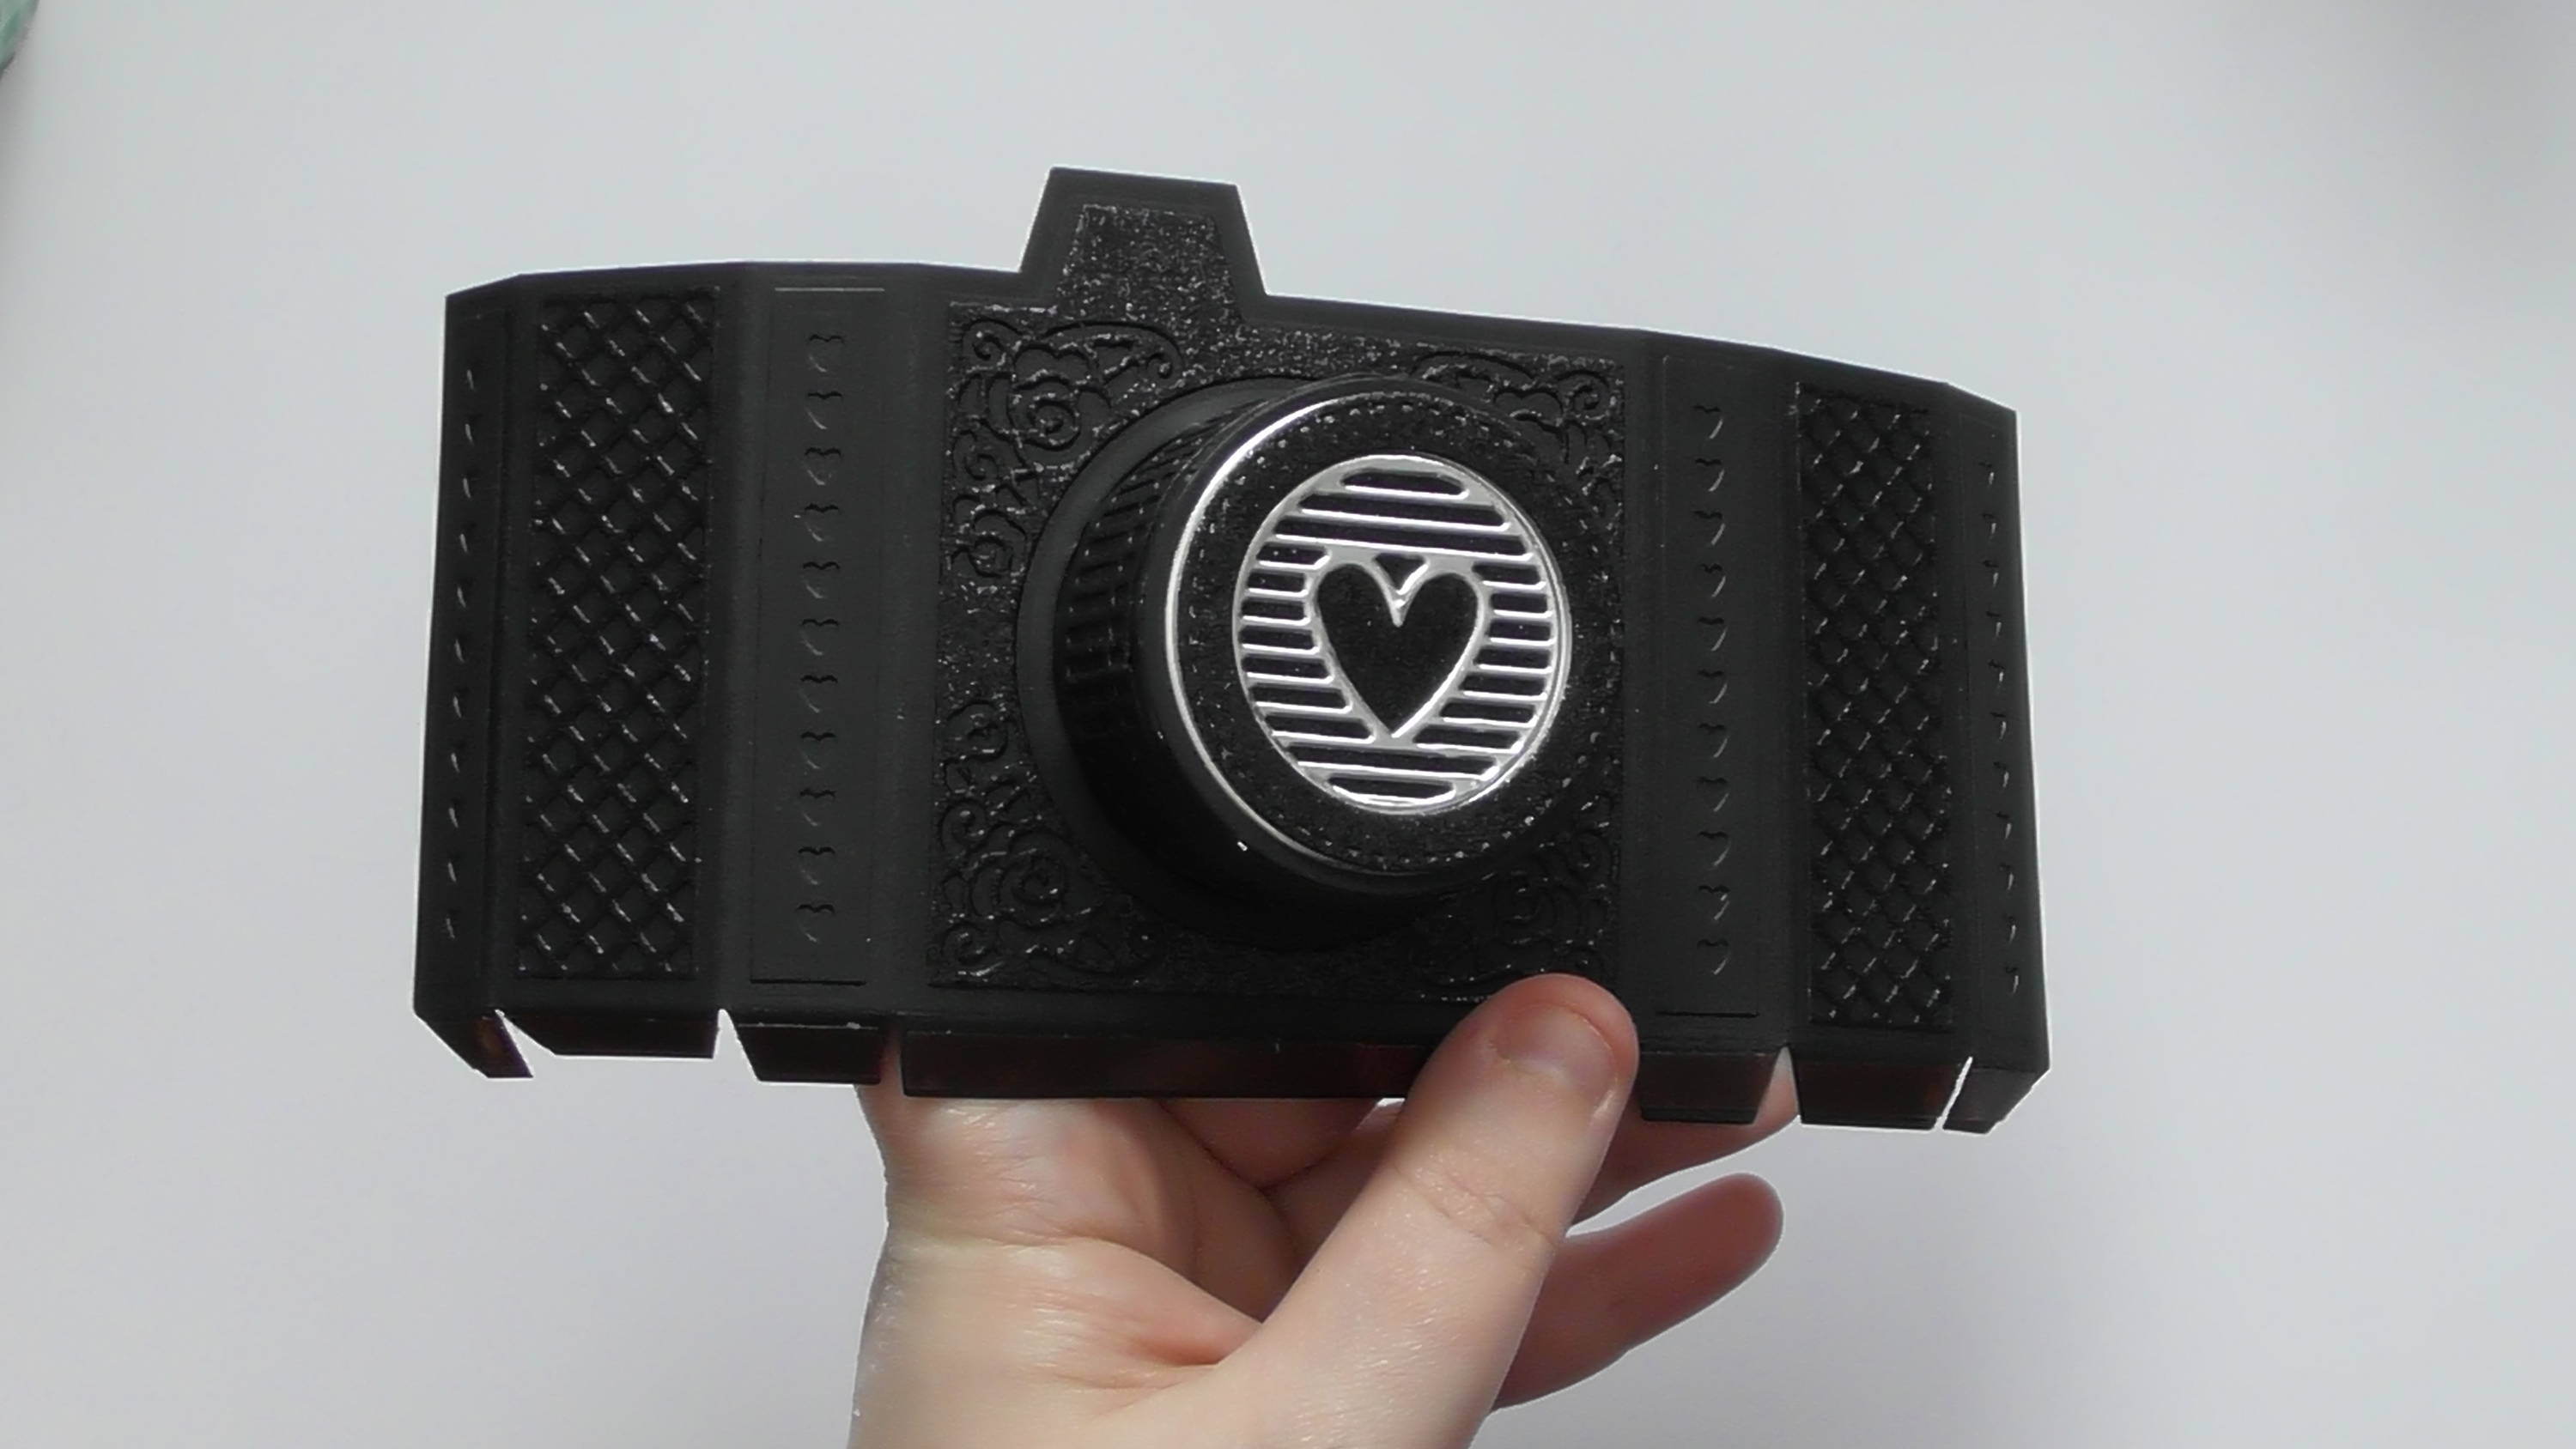
Step 24

And there you have your finished camera with neck strap :D BUT you can also add a concertina inside if you’d like as well.
Step 25
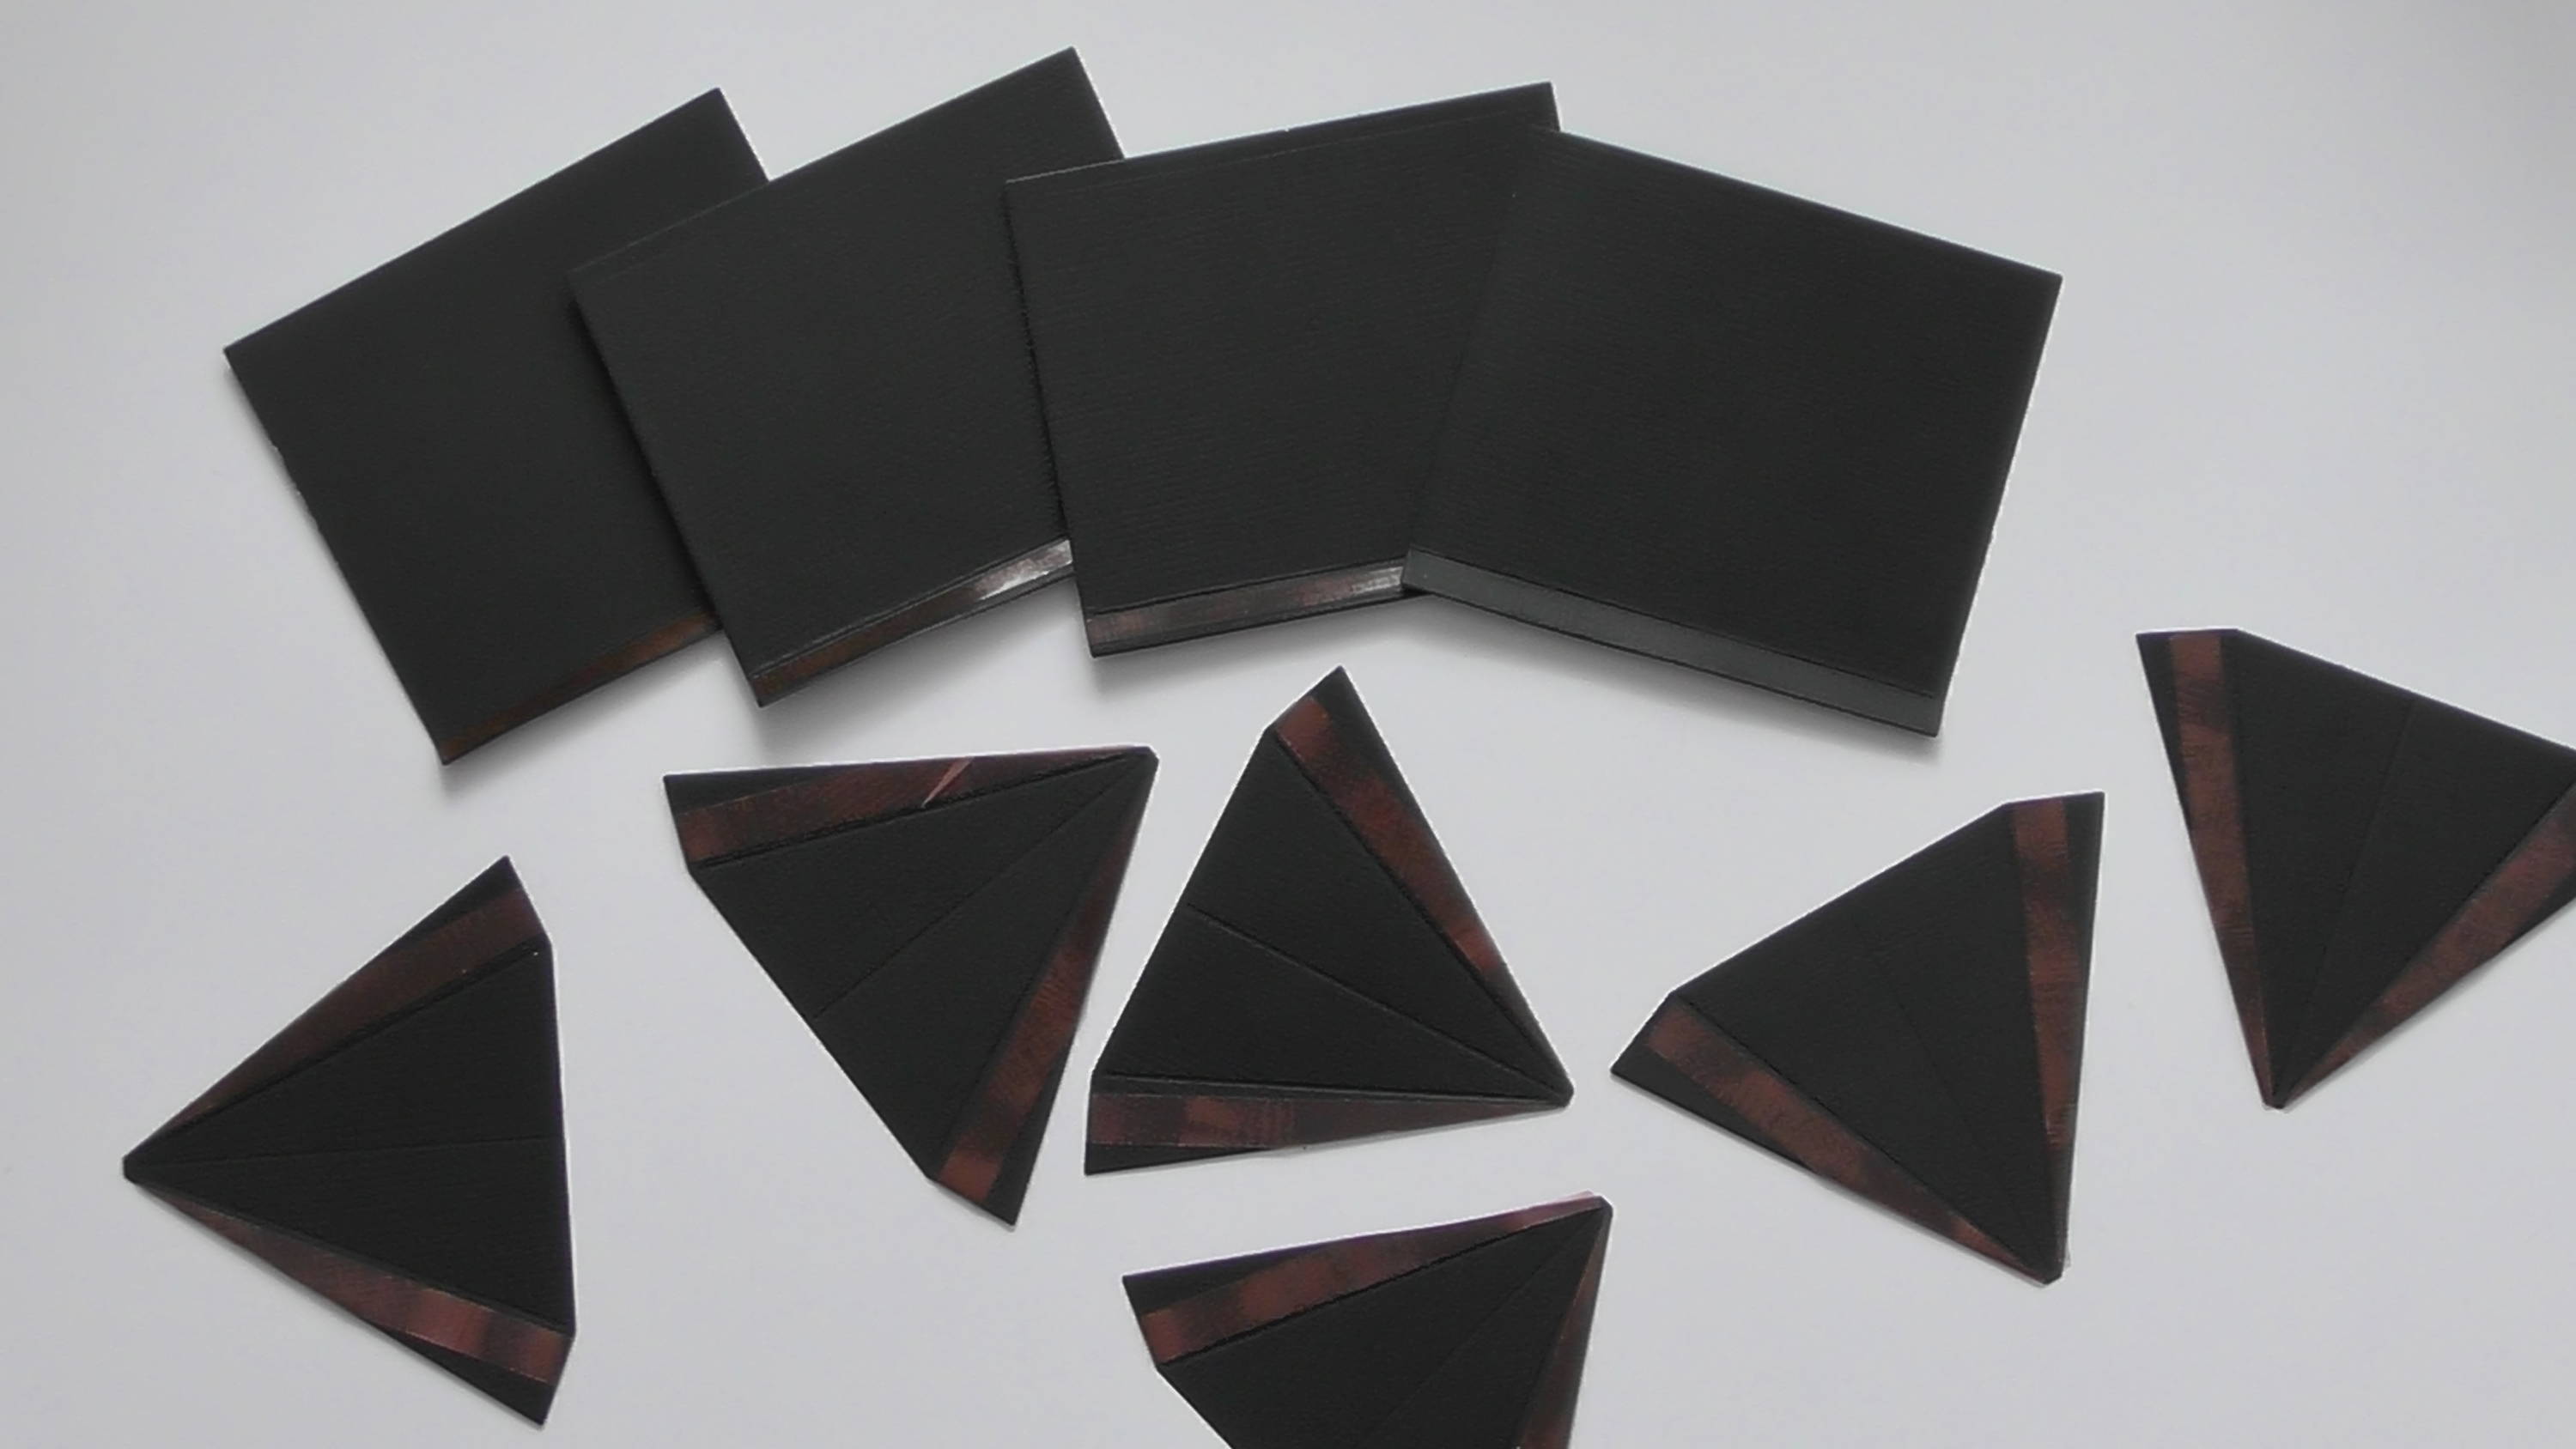
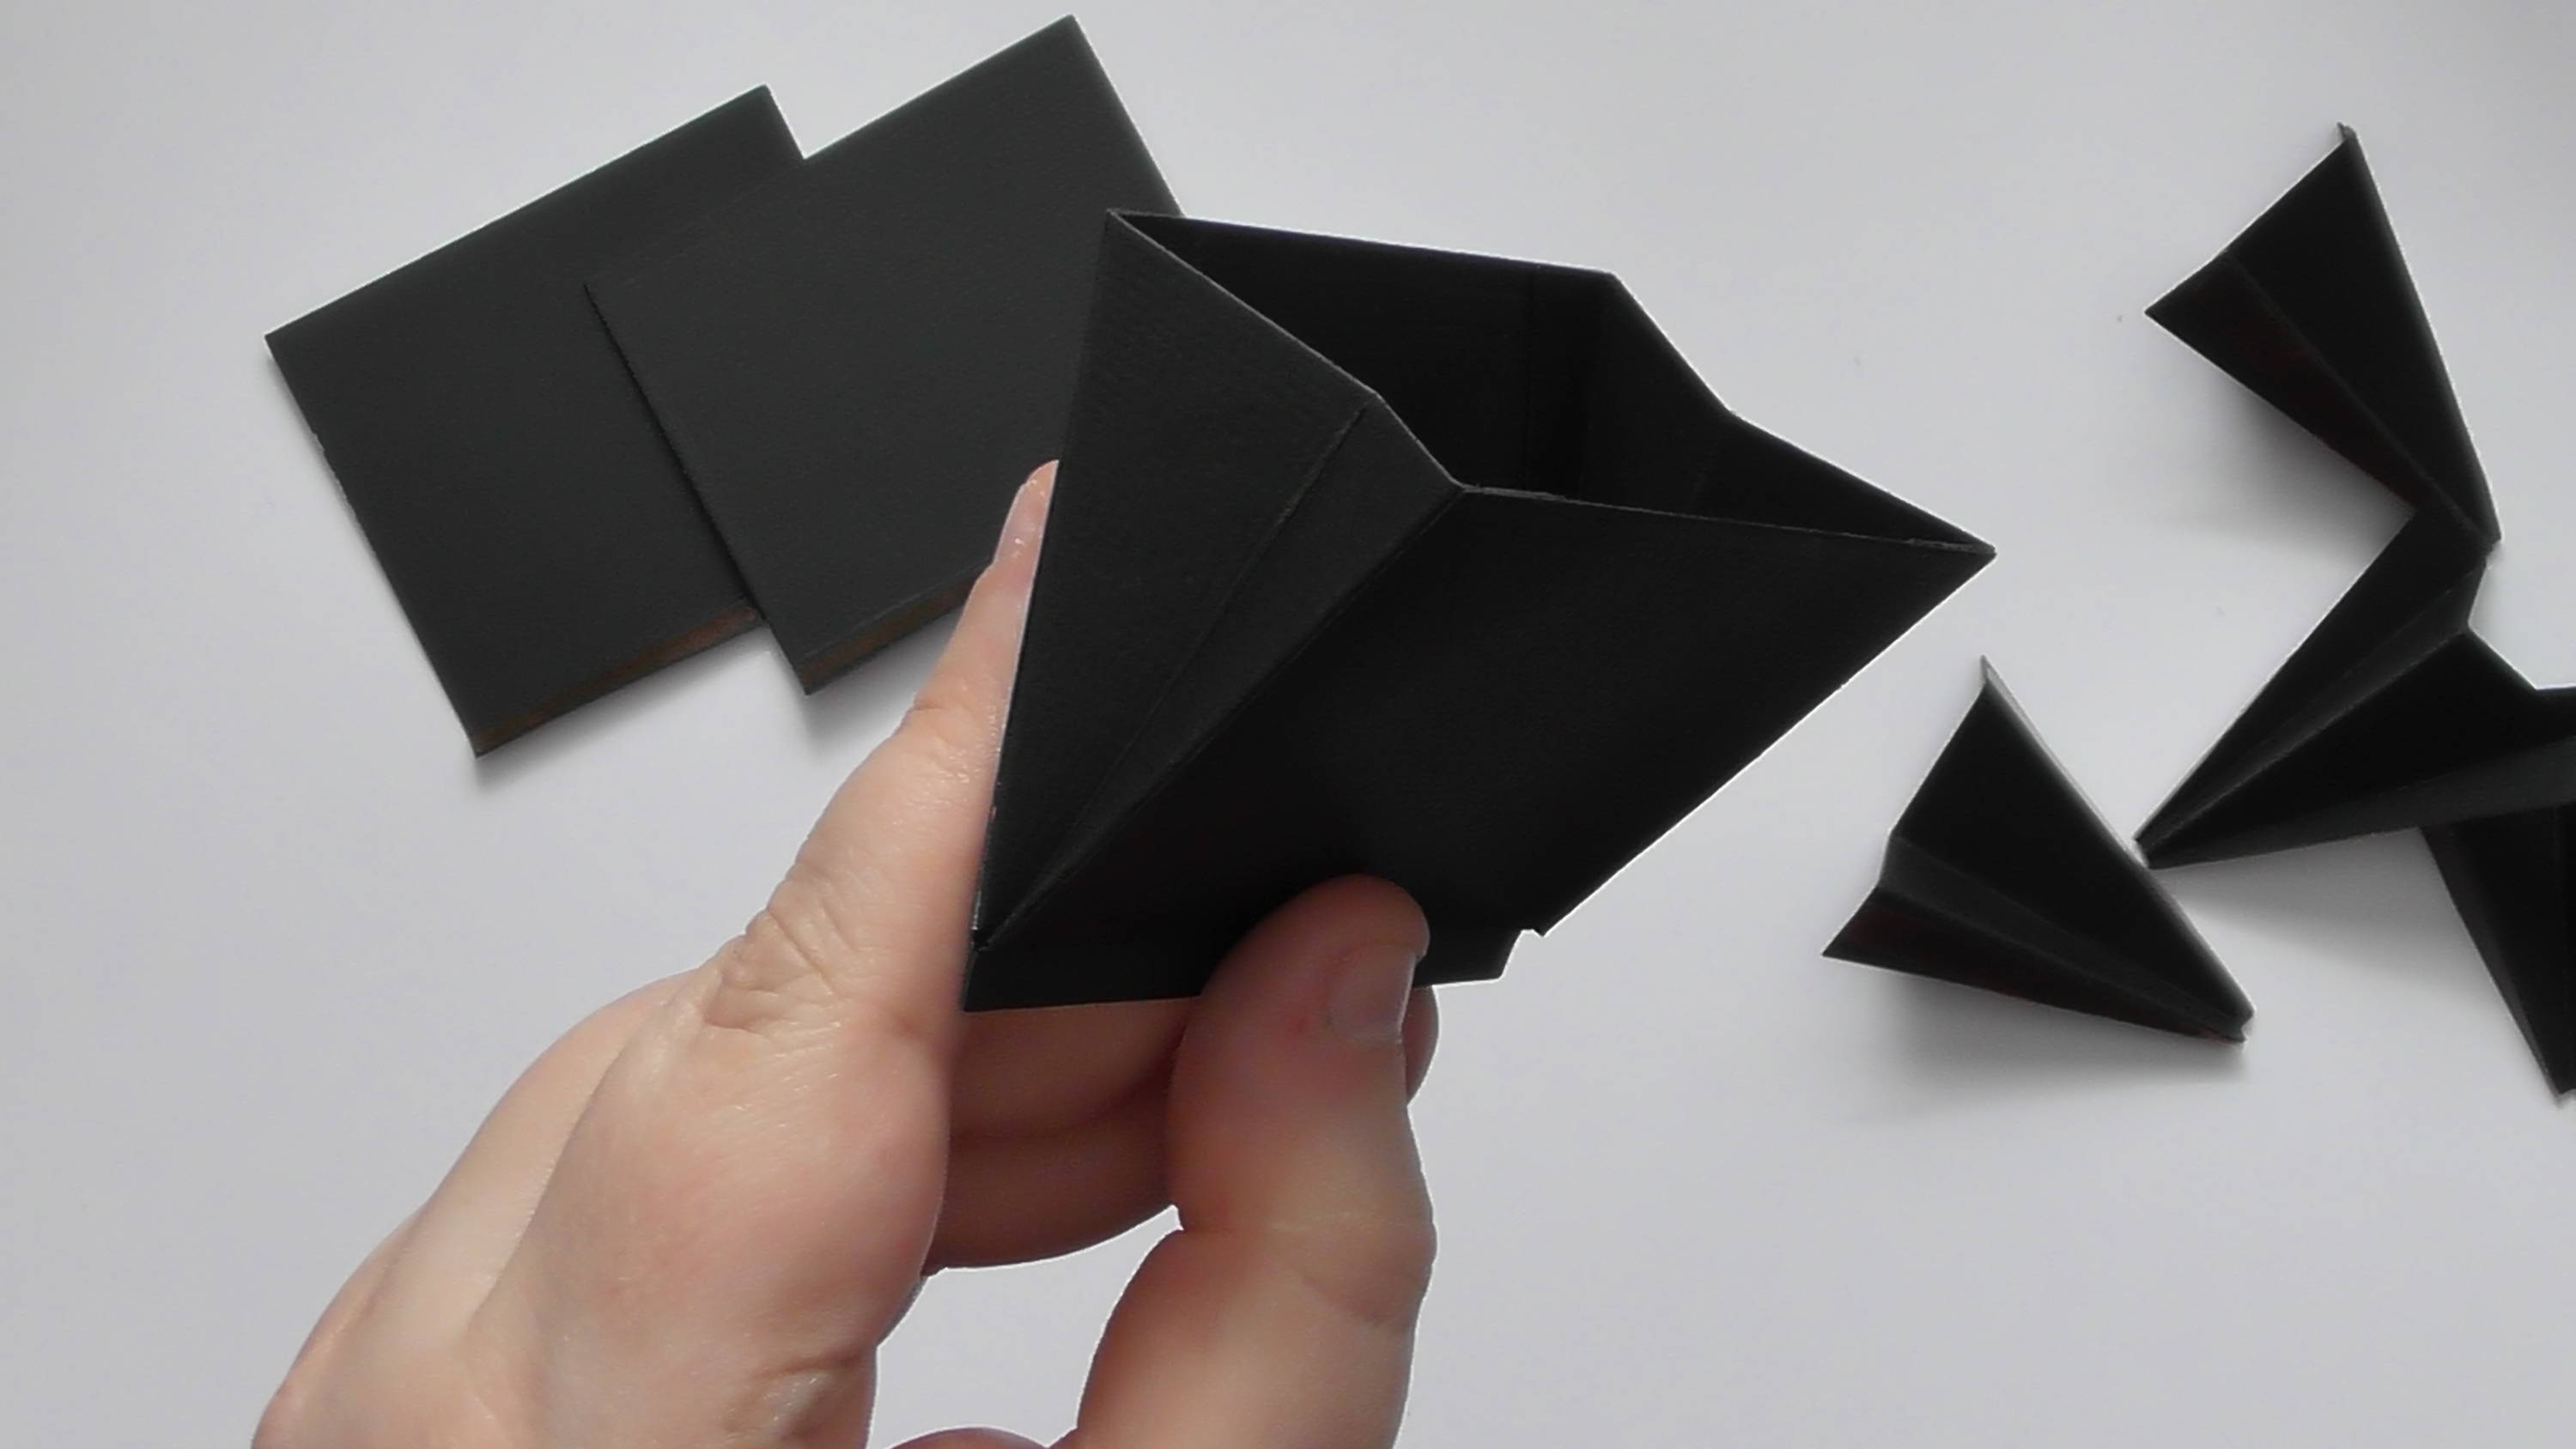
For the simplest concertina, die-cut 6 of the scored triangle pieces, and 4 of the scored rectangles (you can multiply this up if you want to).
Step 26
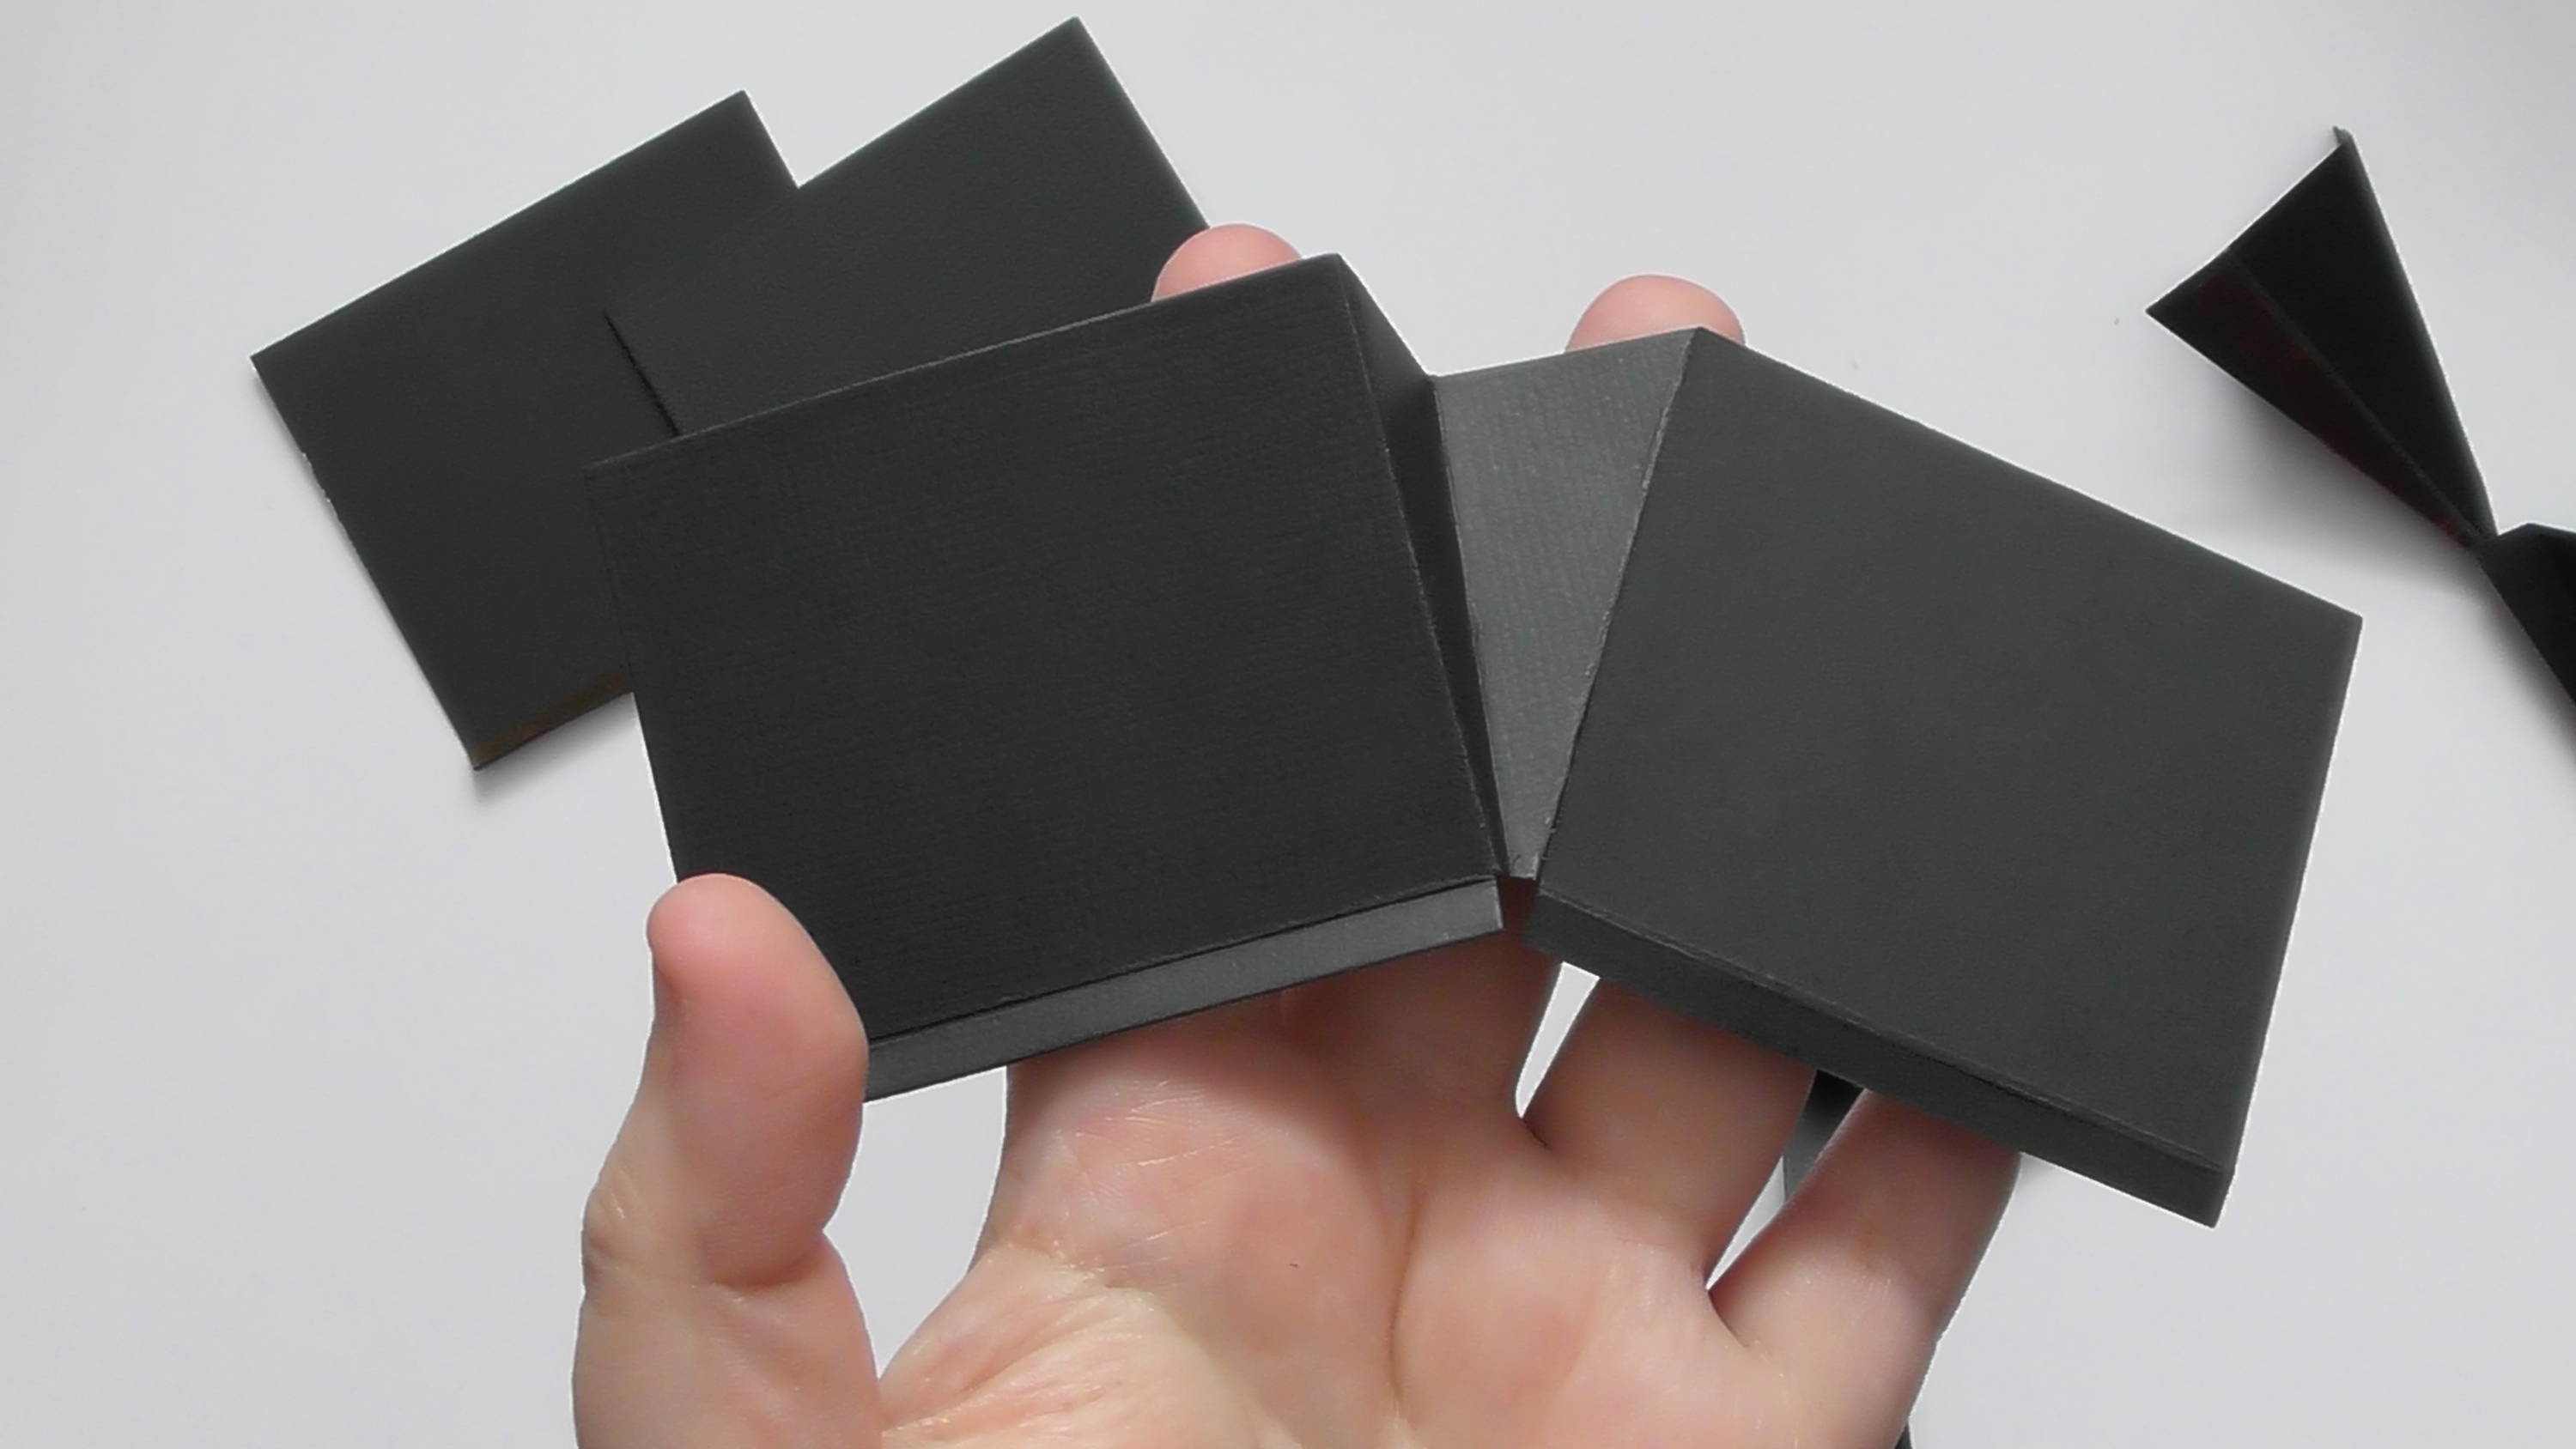
Add one of the gussets between 2 of the rectangles as shown, making sure the scores on the rectangles are at the bottom.
Step 27
Then add one to the other side too to make one concertina pocket.
Step 28
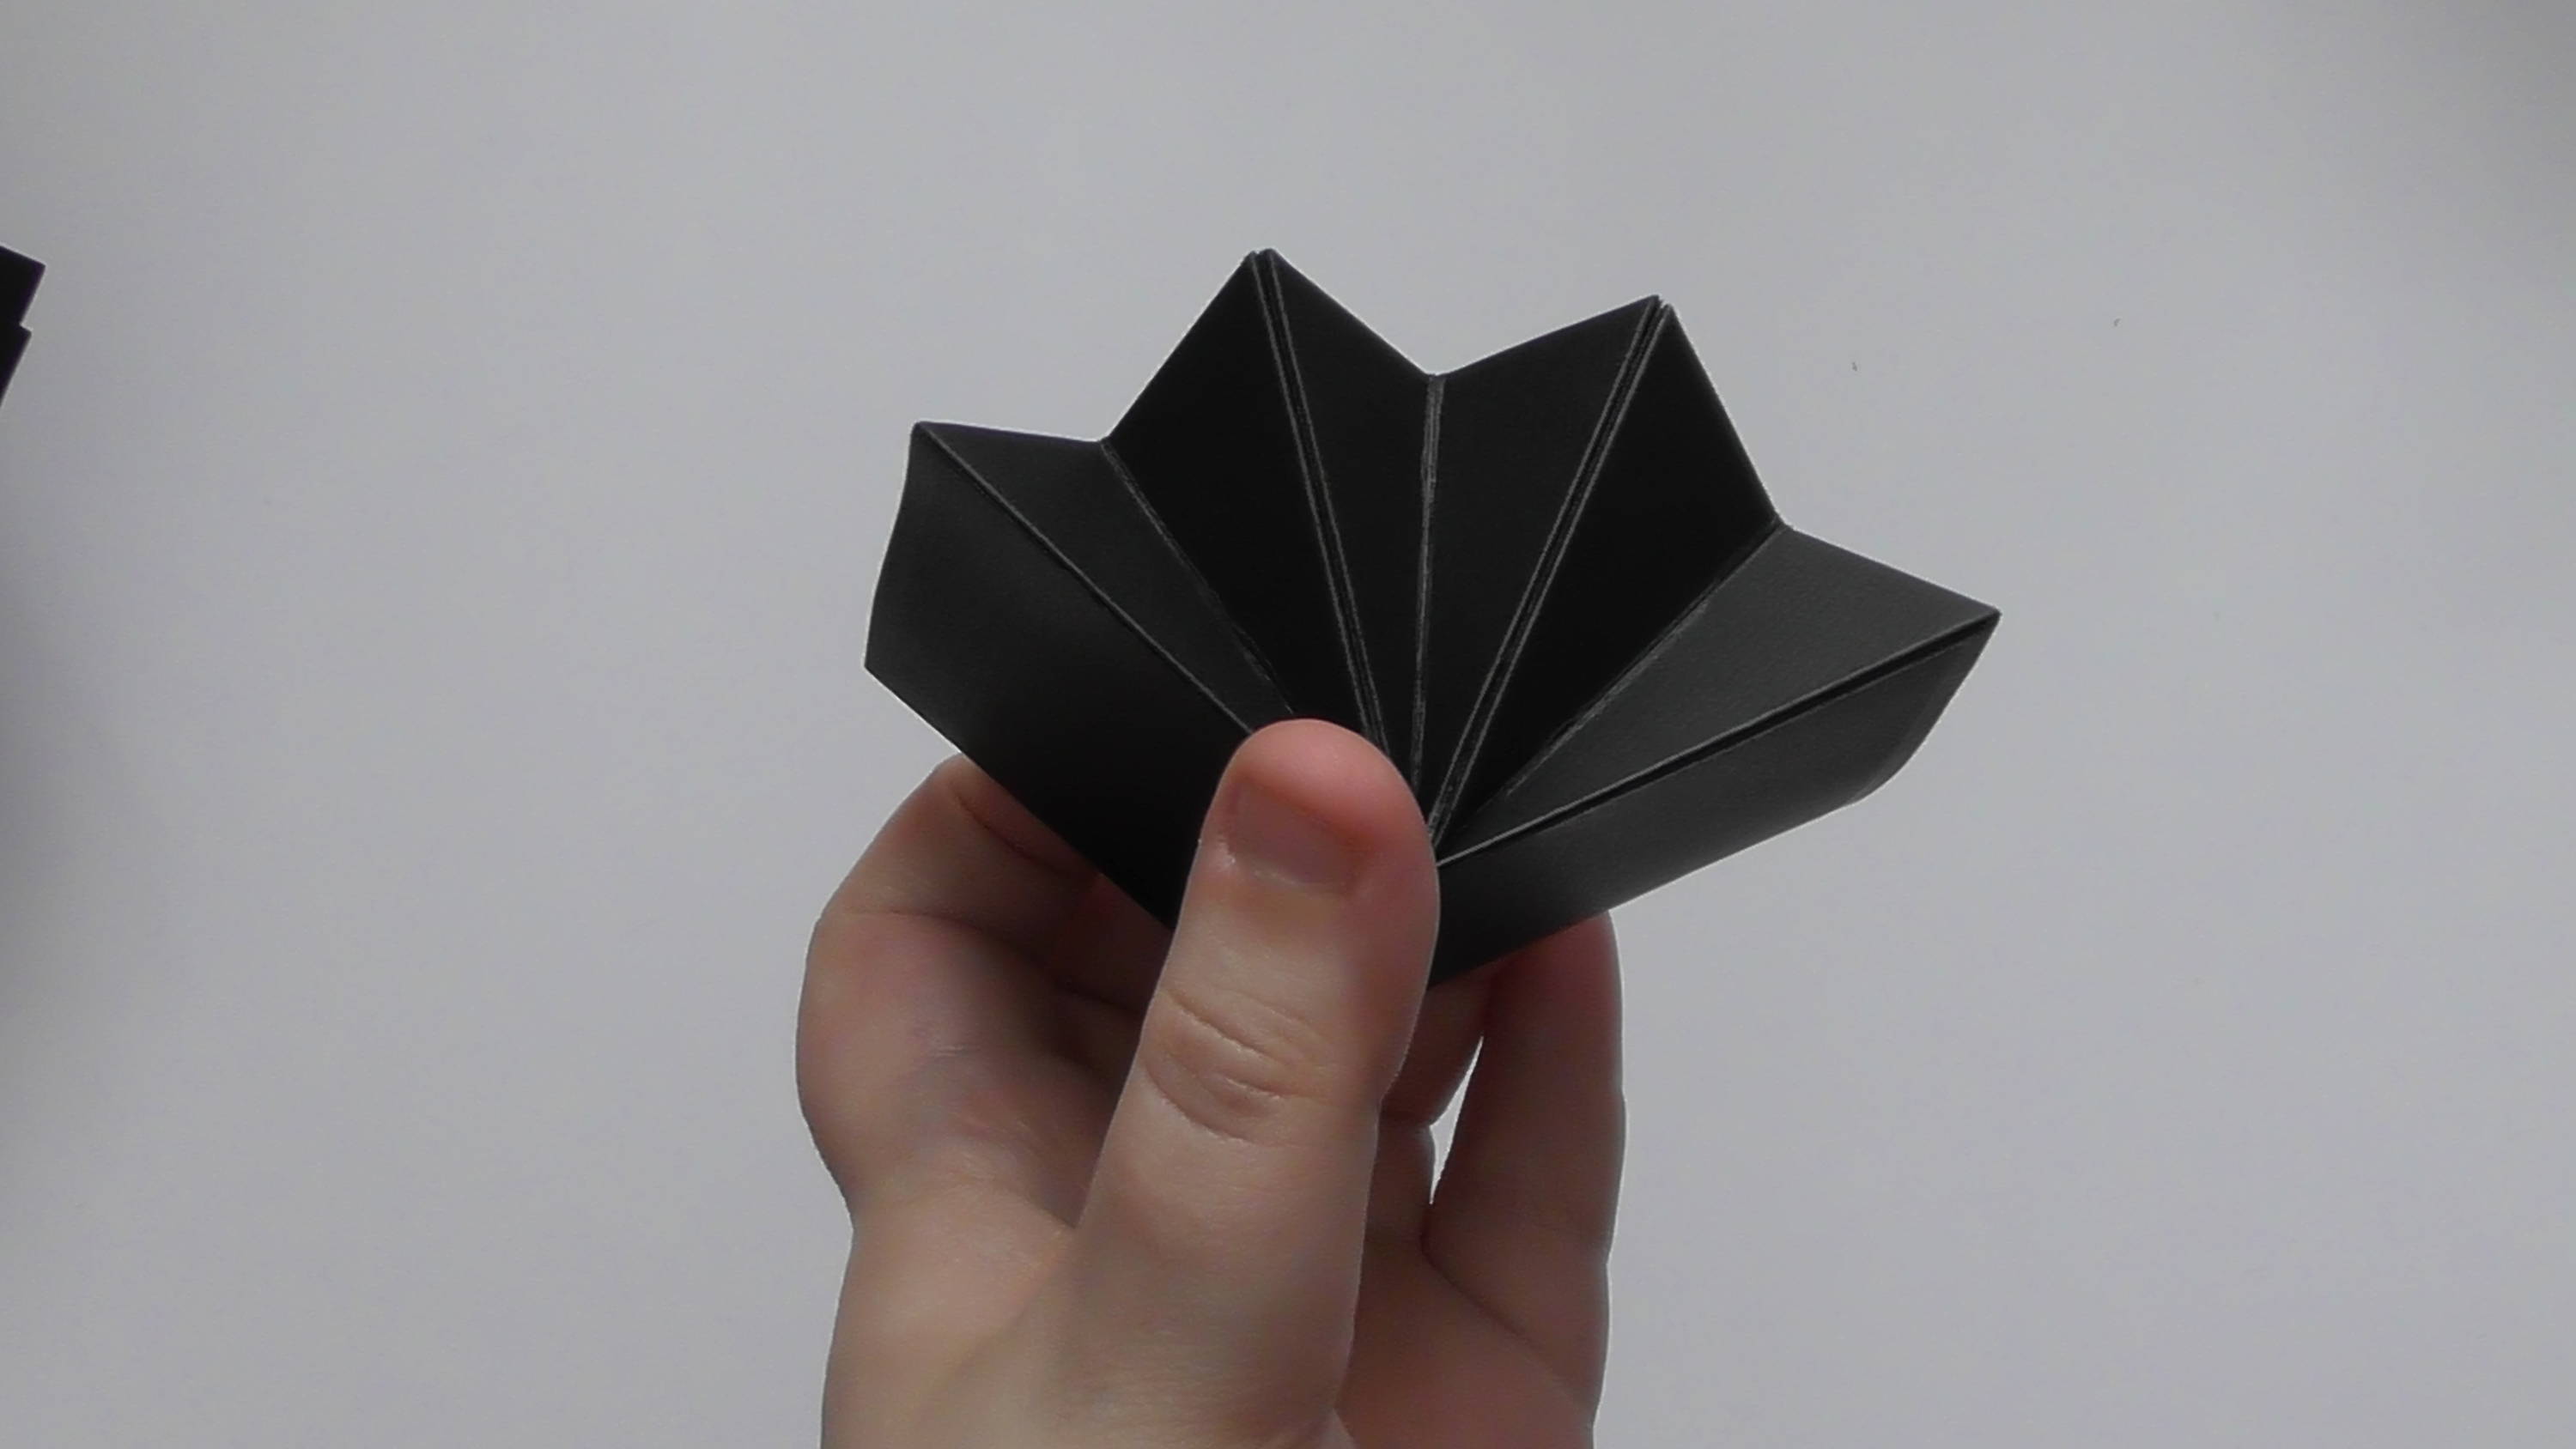
keep adding to this with all the pieces you can to give this little concertina. To add this to your camera, simply stick one rectangle to the inside of the camera door that we added in step 14 :D You will want to make sure you’ve added you neck strap before you add this in though.
Buy The Craft Project