 Gem Rewards

I could not believe it when I saw this Typewriter die set! What an ingenious bit of papercraft engineering! And the fact that it has a kinetic element too just blew me away! You can actually make the paper roll in and out and leave it whatever length you like too so the message can keep on going as the recipient pulls the paper out, then even better, they can roll the paper back in too :D I’ve made mine for my craft room as décor, so I left my paper blank, but you could have so much fun add a secret message, and you even have space in the back to add a gift too :D Hope this SBS construction was helpful! Christine xxx
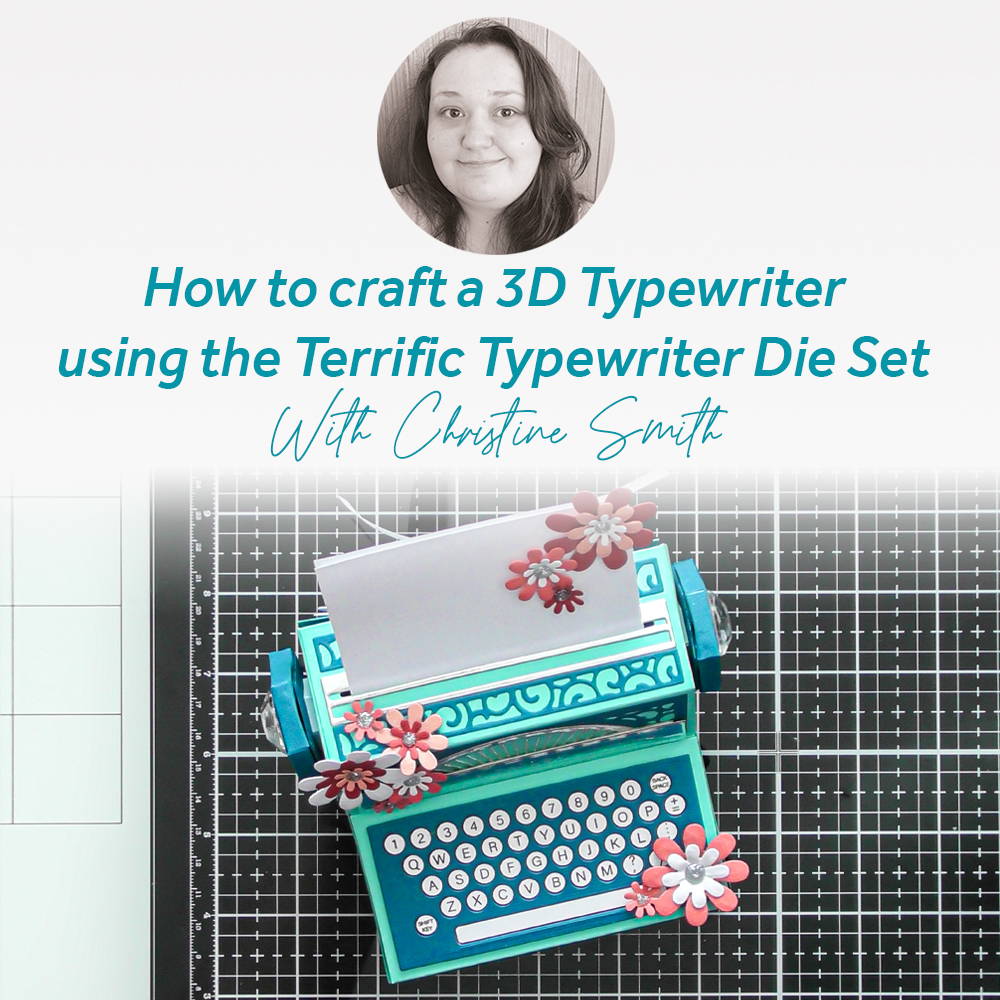
Step 1
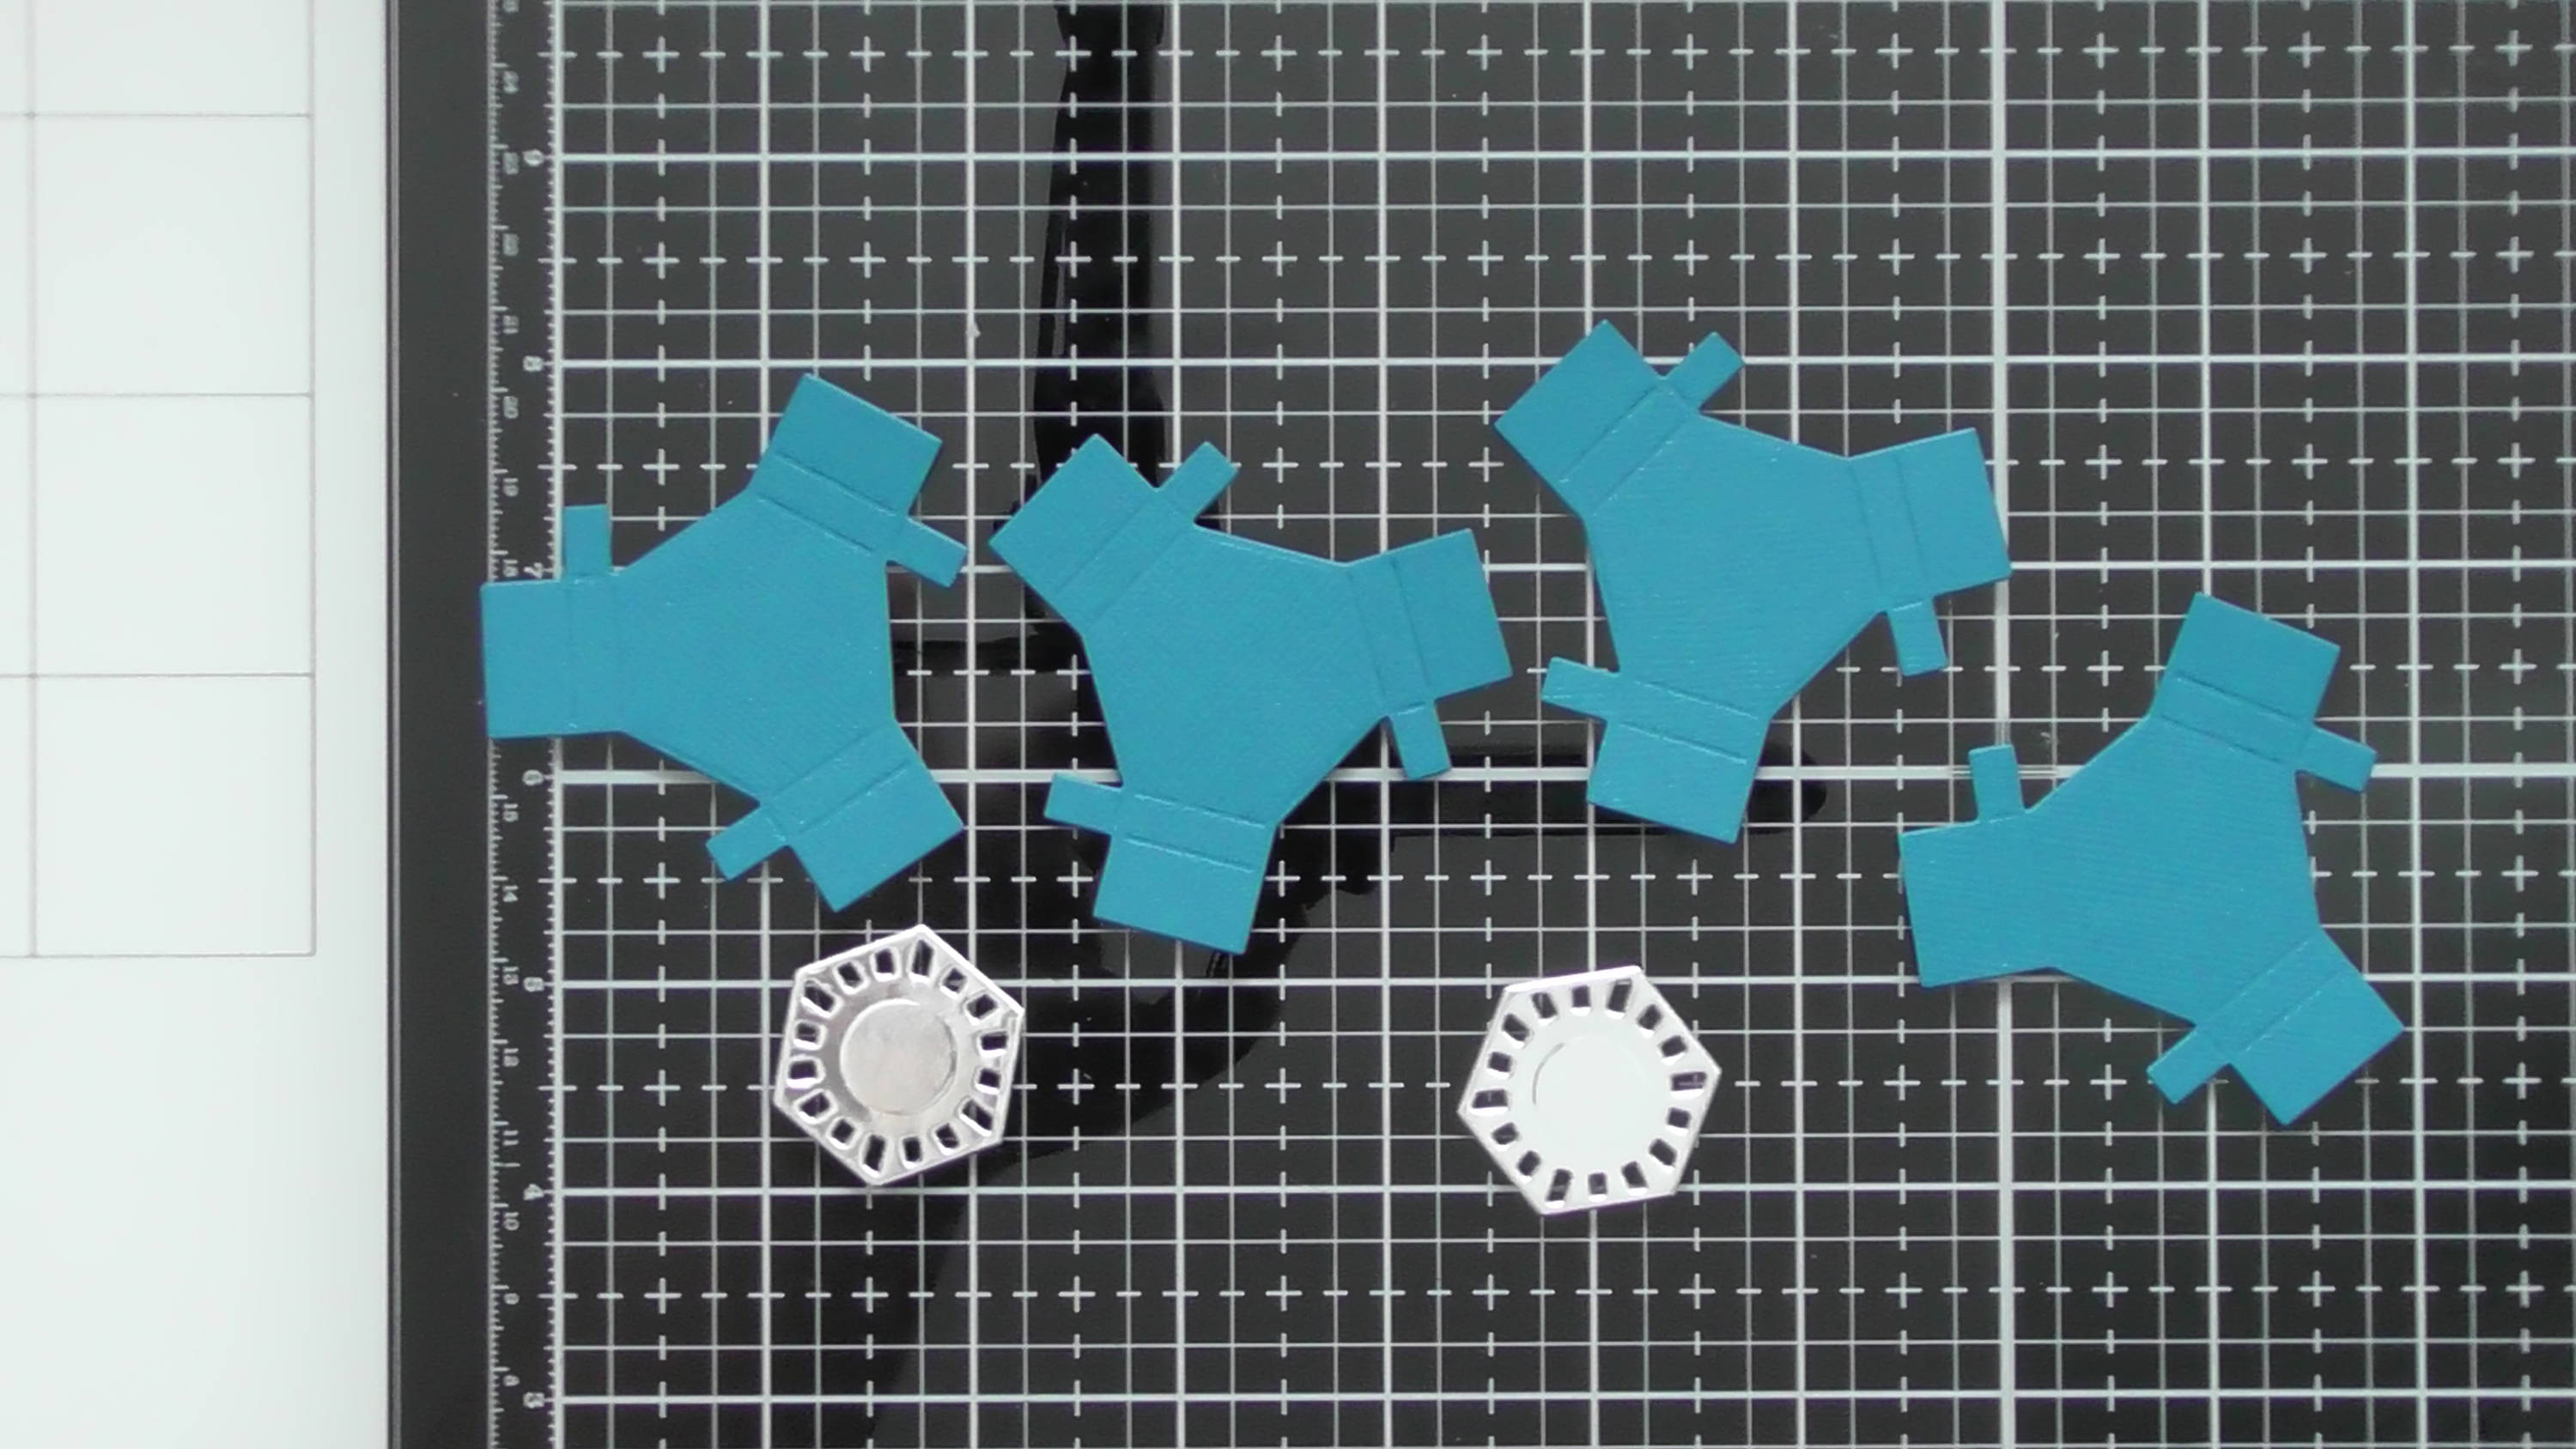
For the main body of the typewriter, you’ll need all the pieces shown.
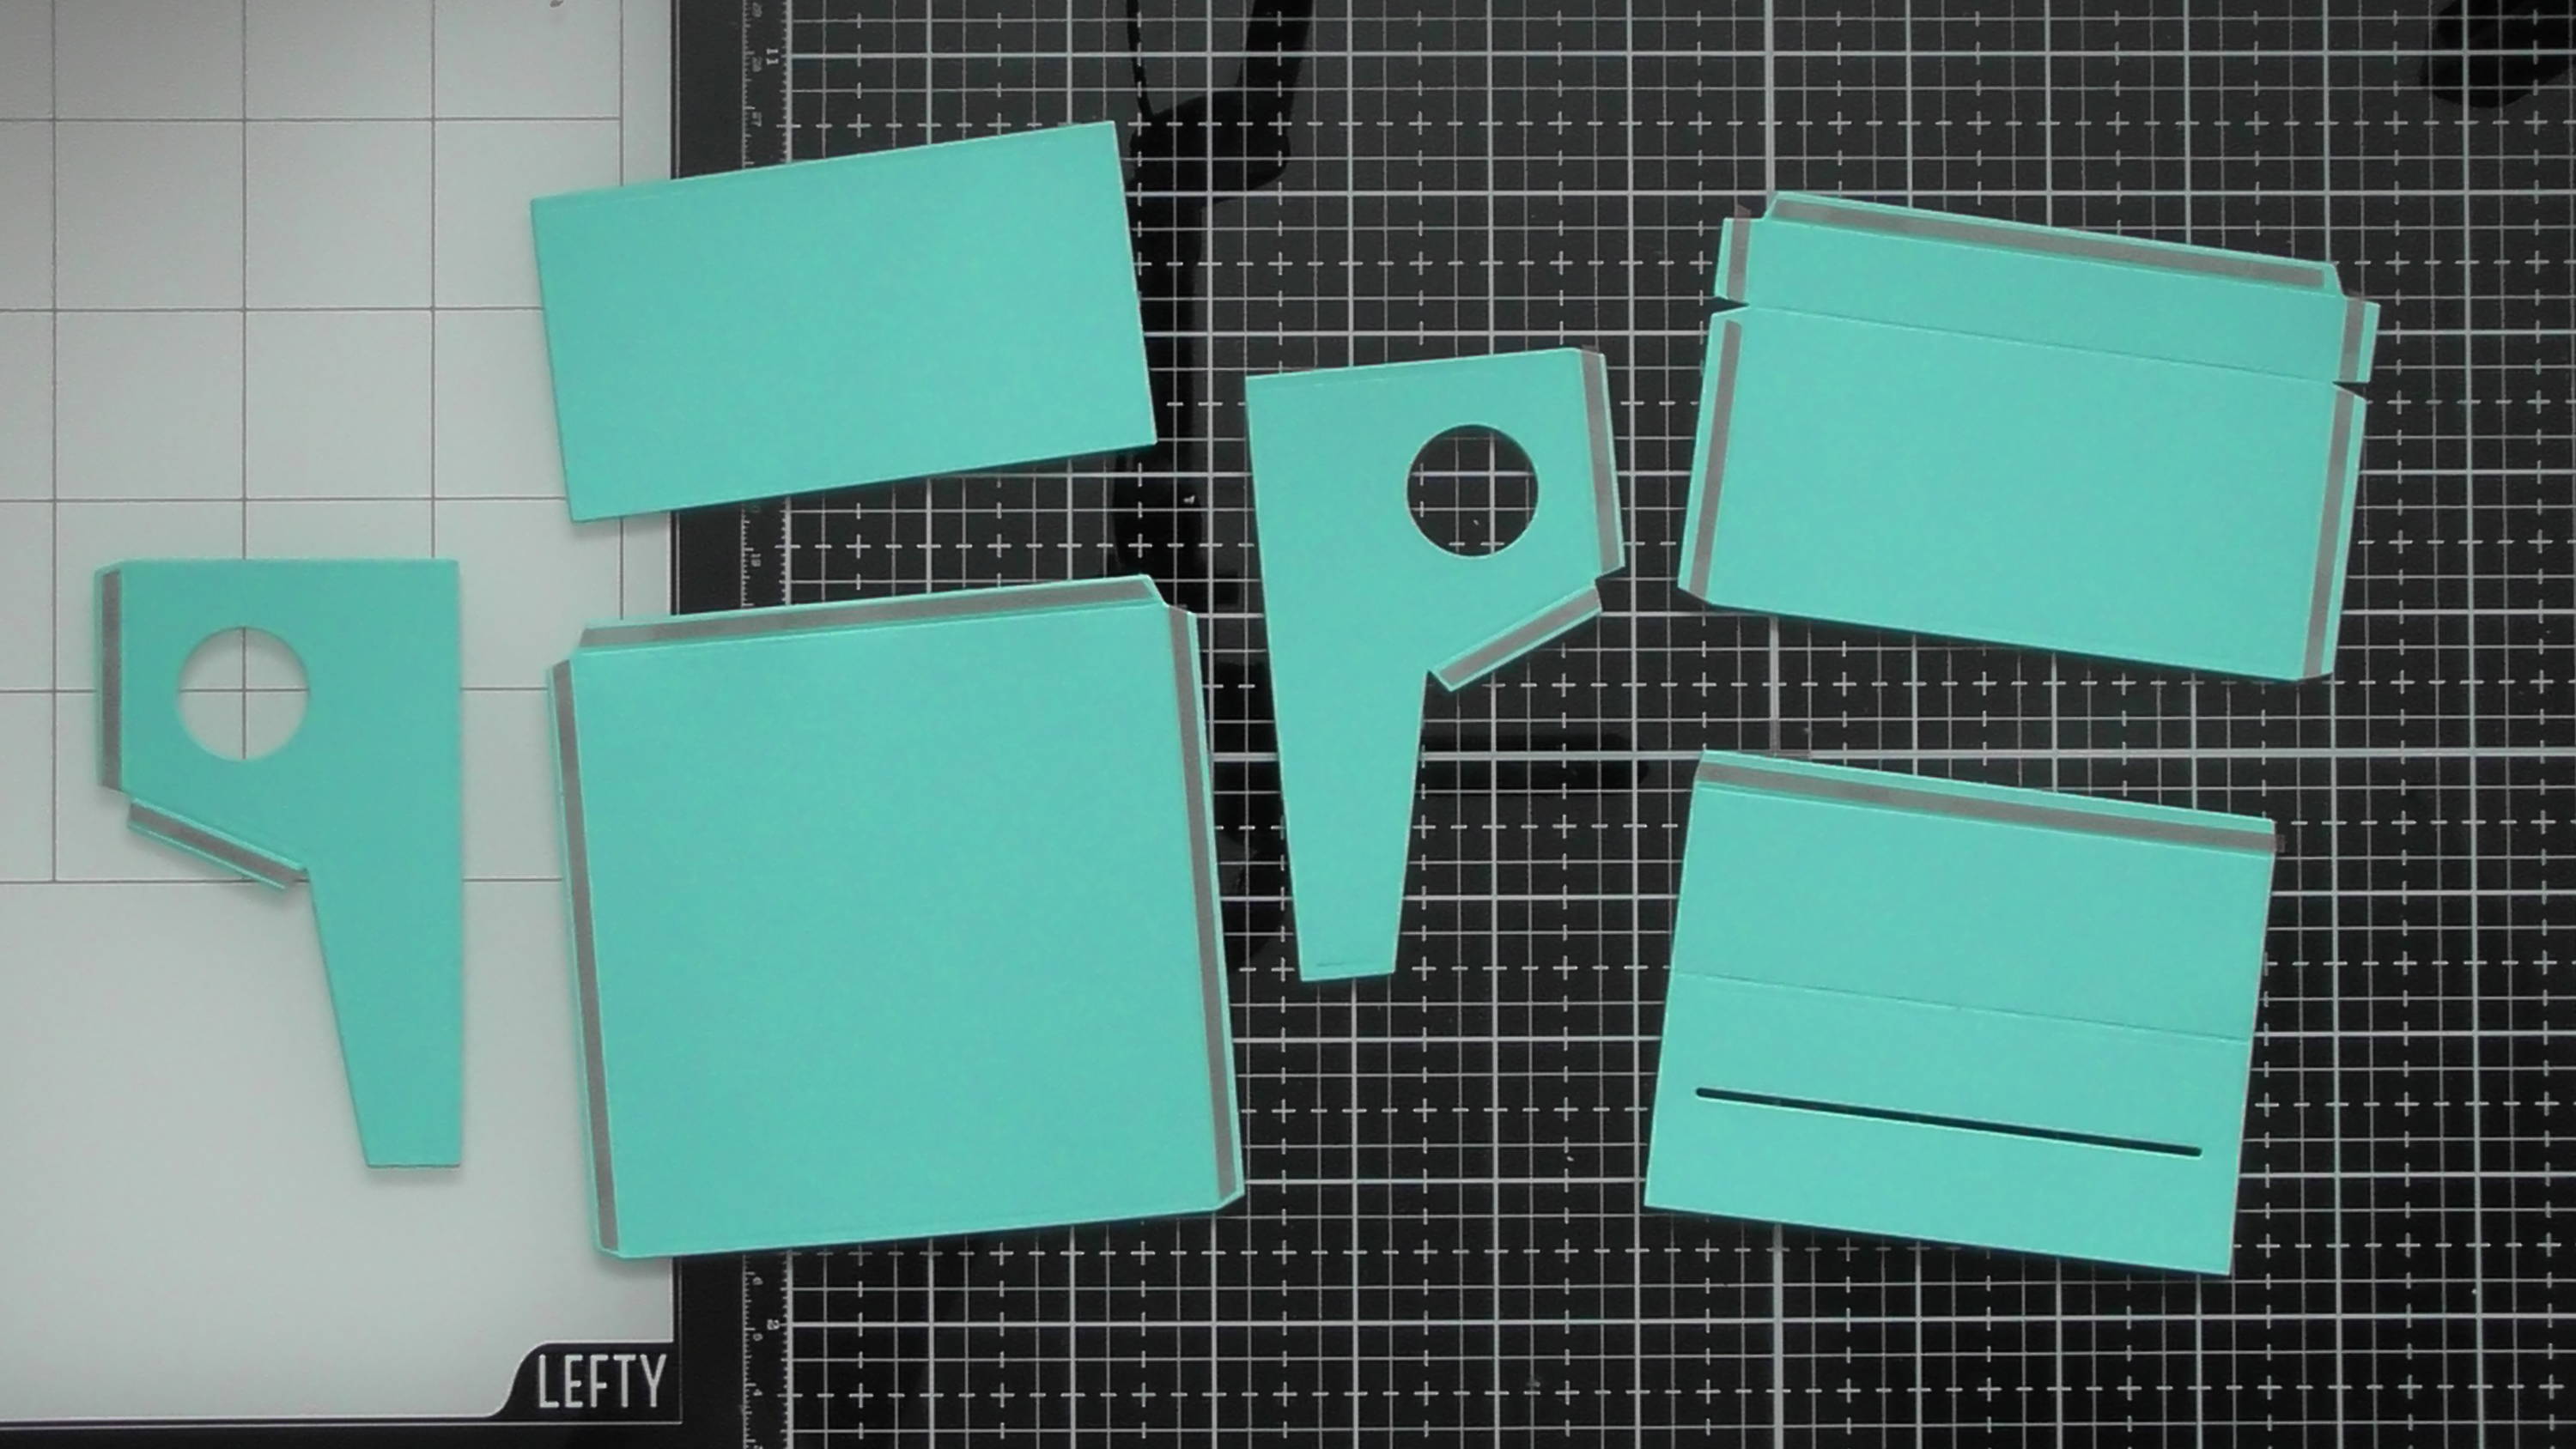
Step 2
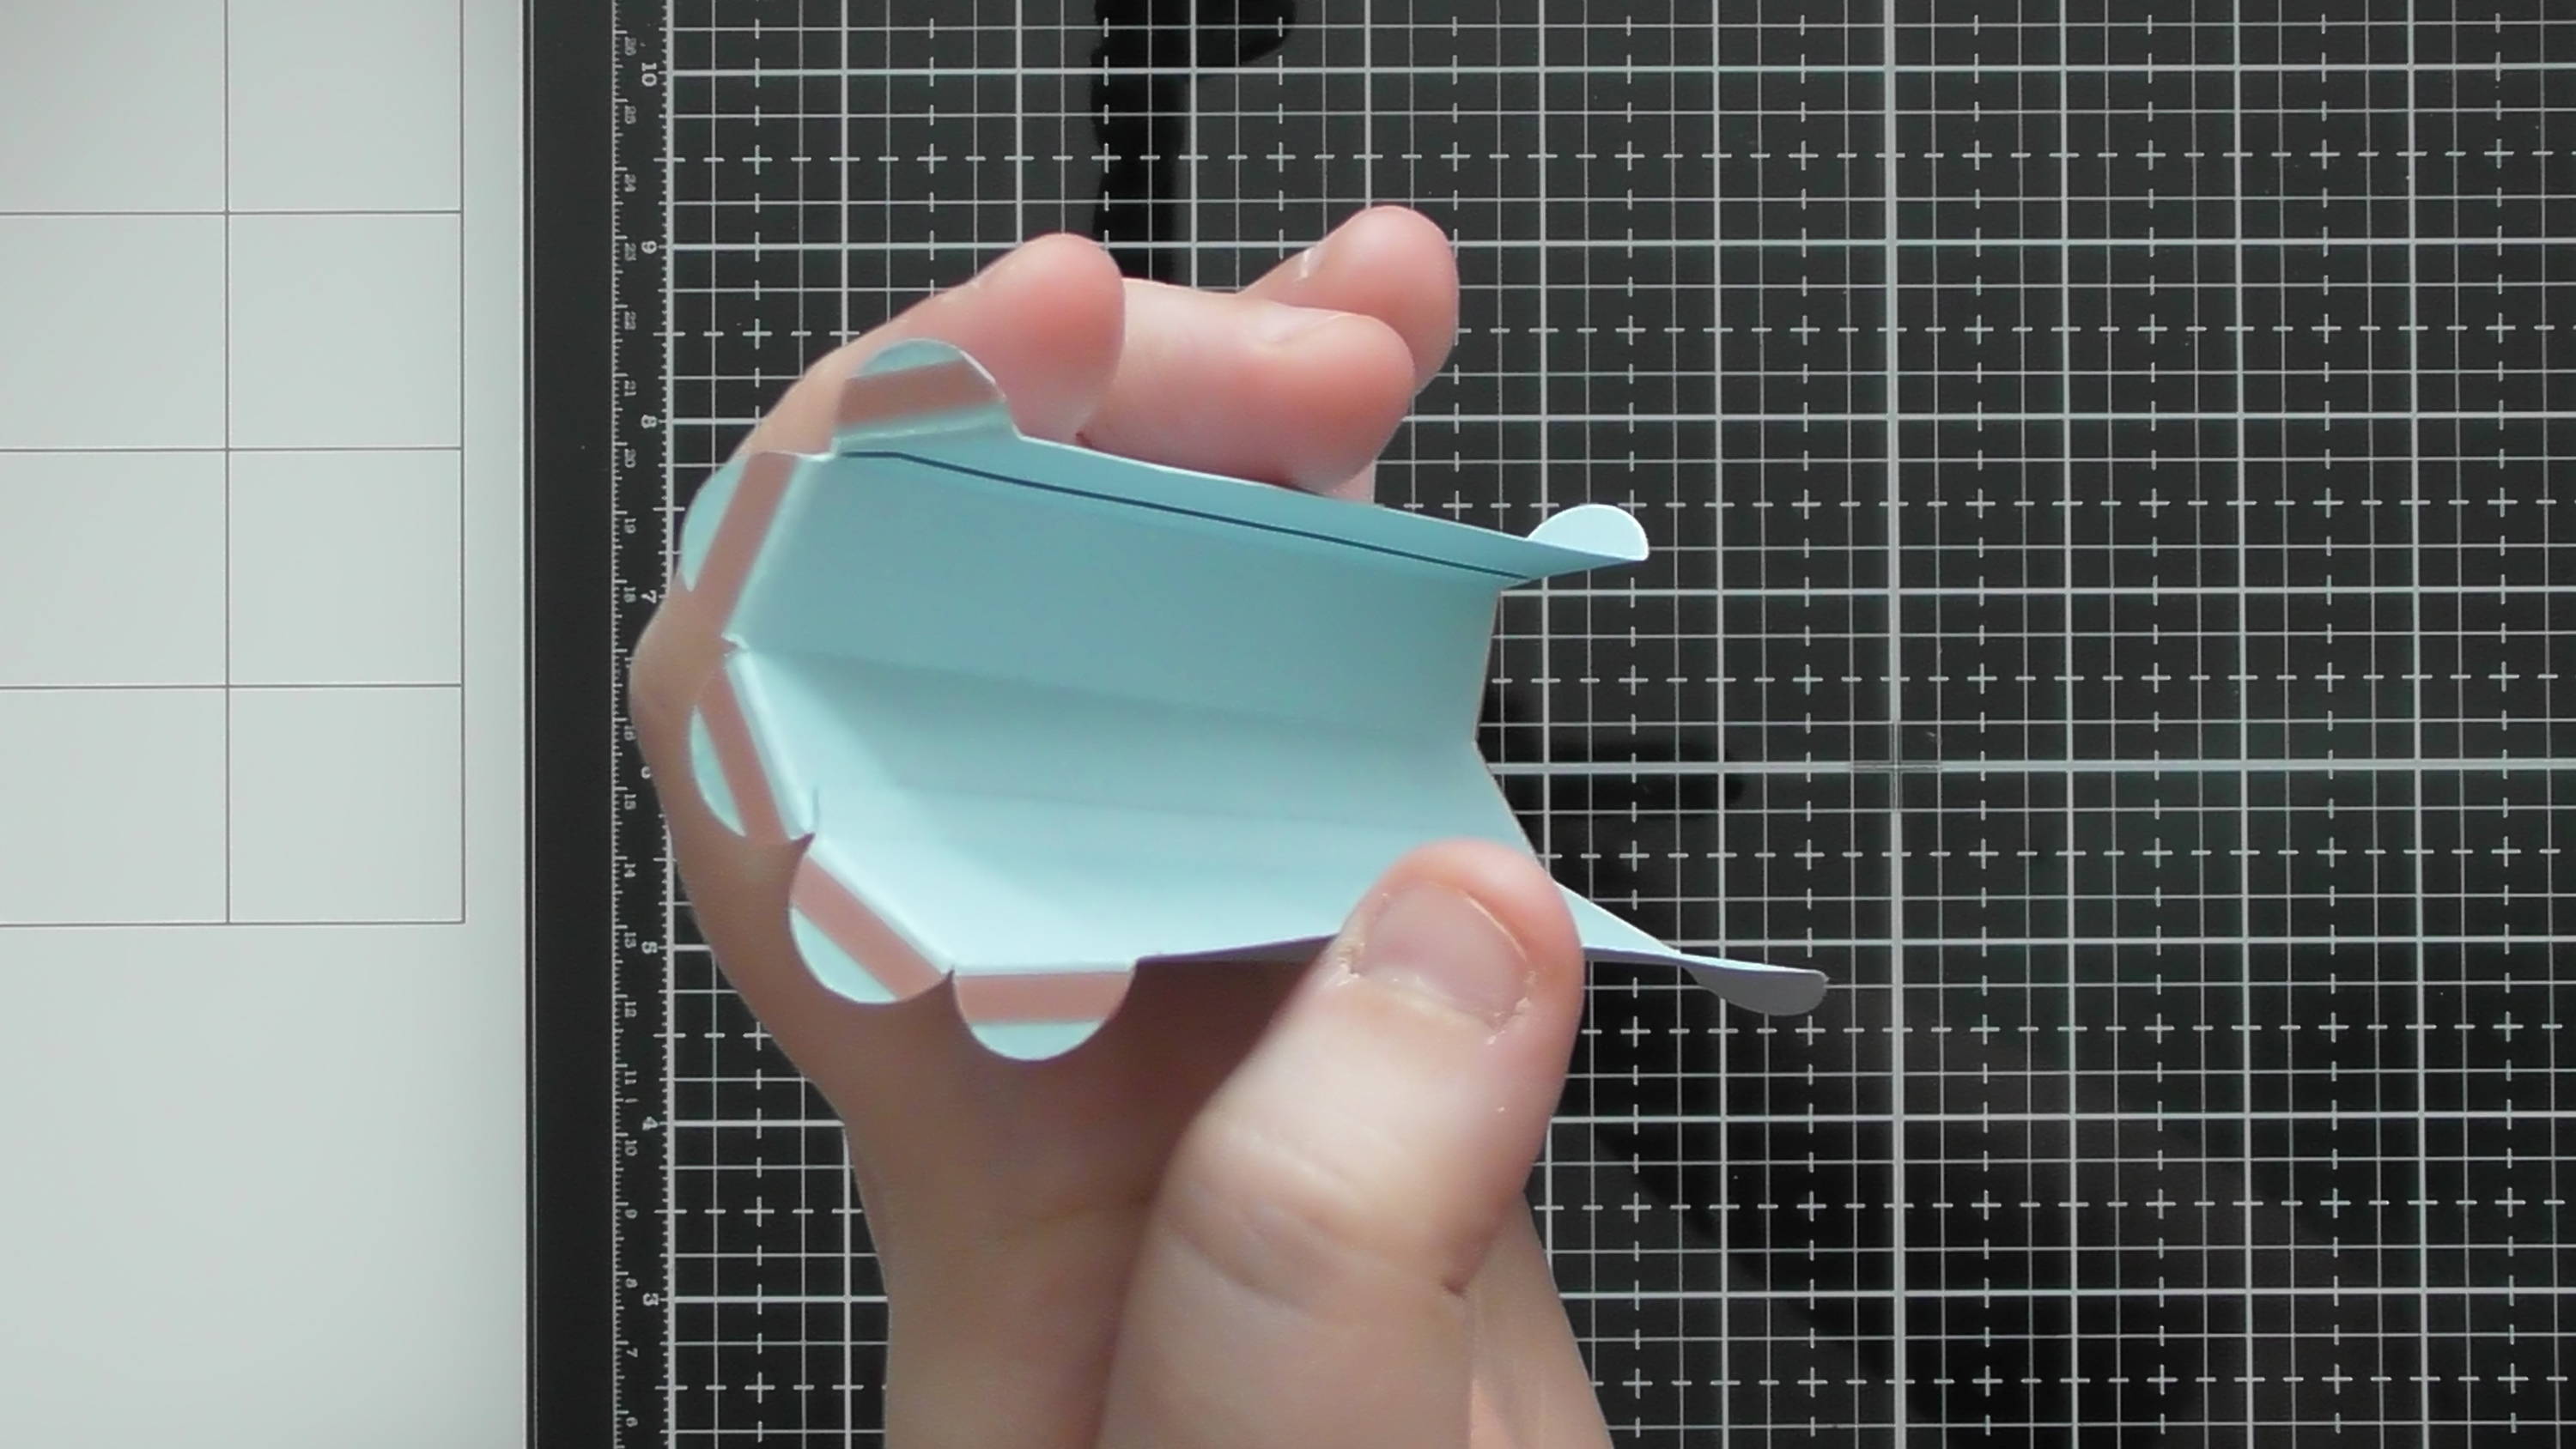
and you’ll need to attach them to give this shaped net of the box.
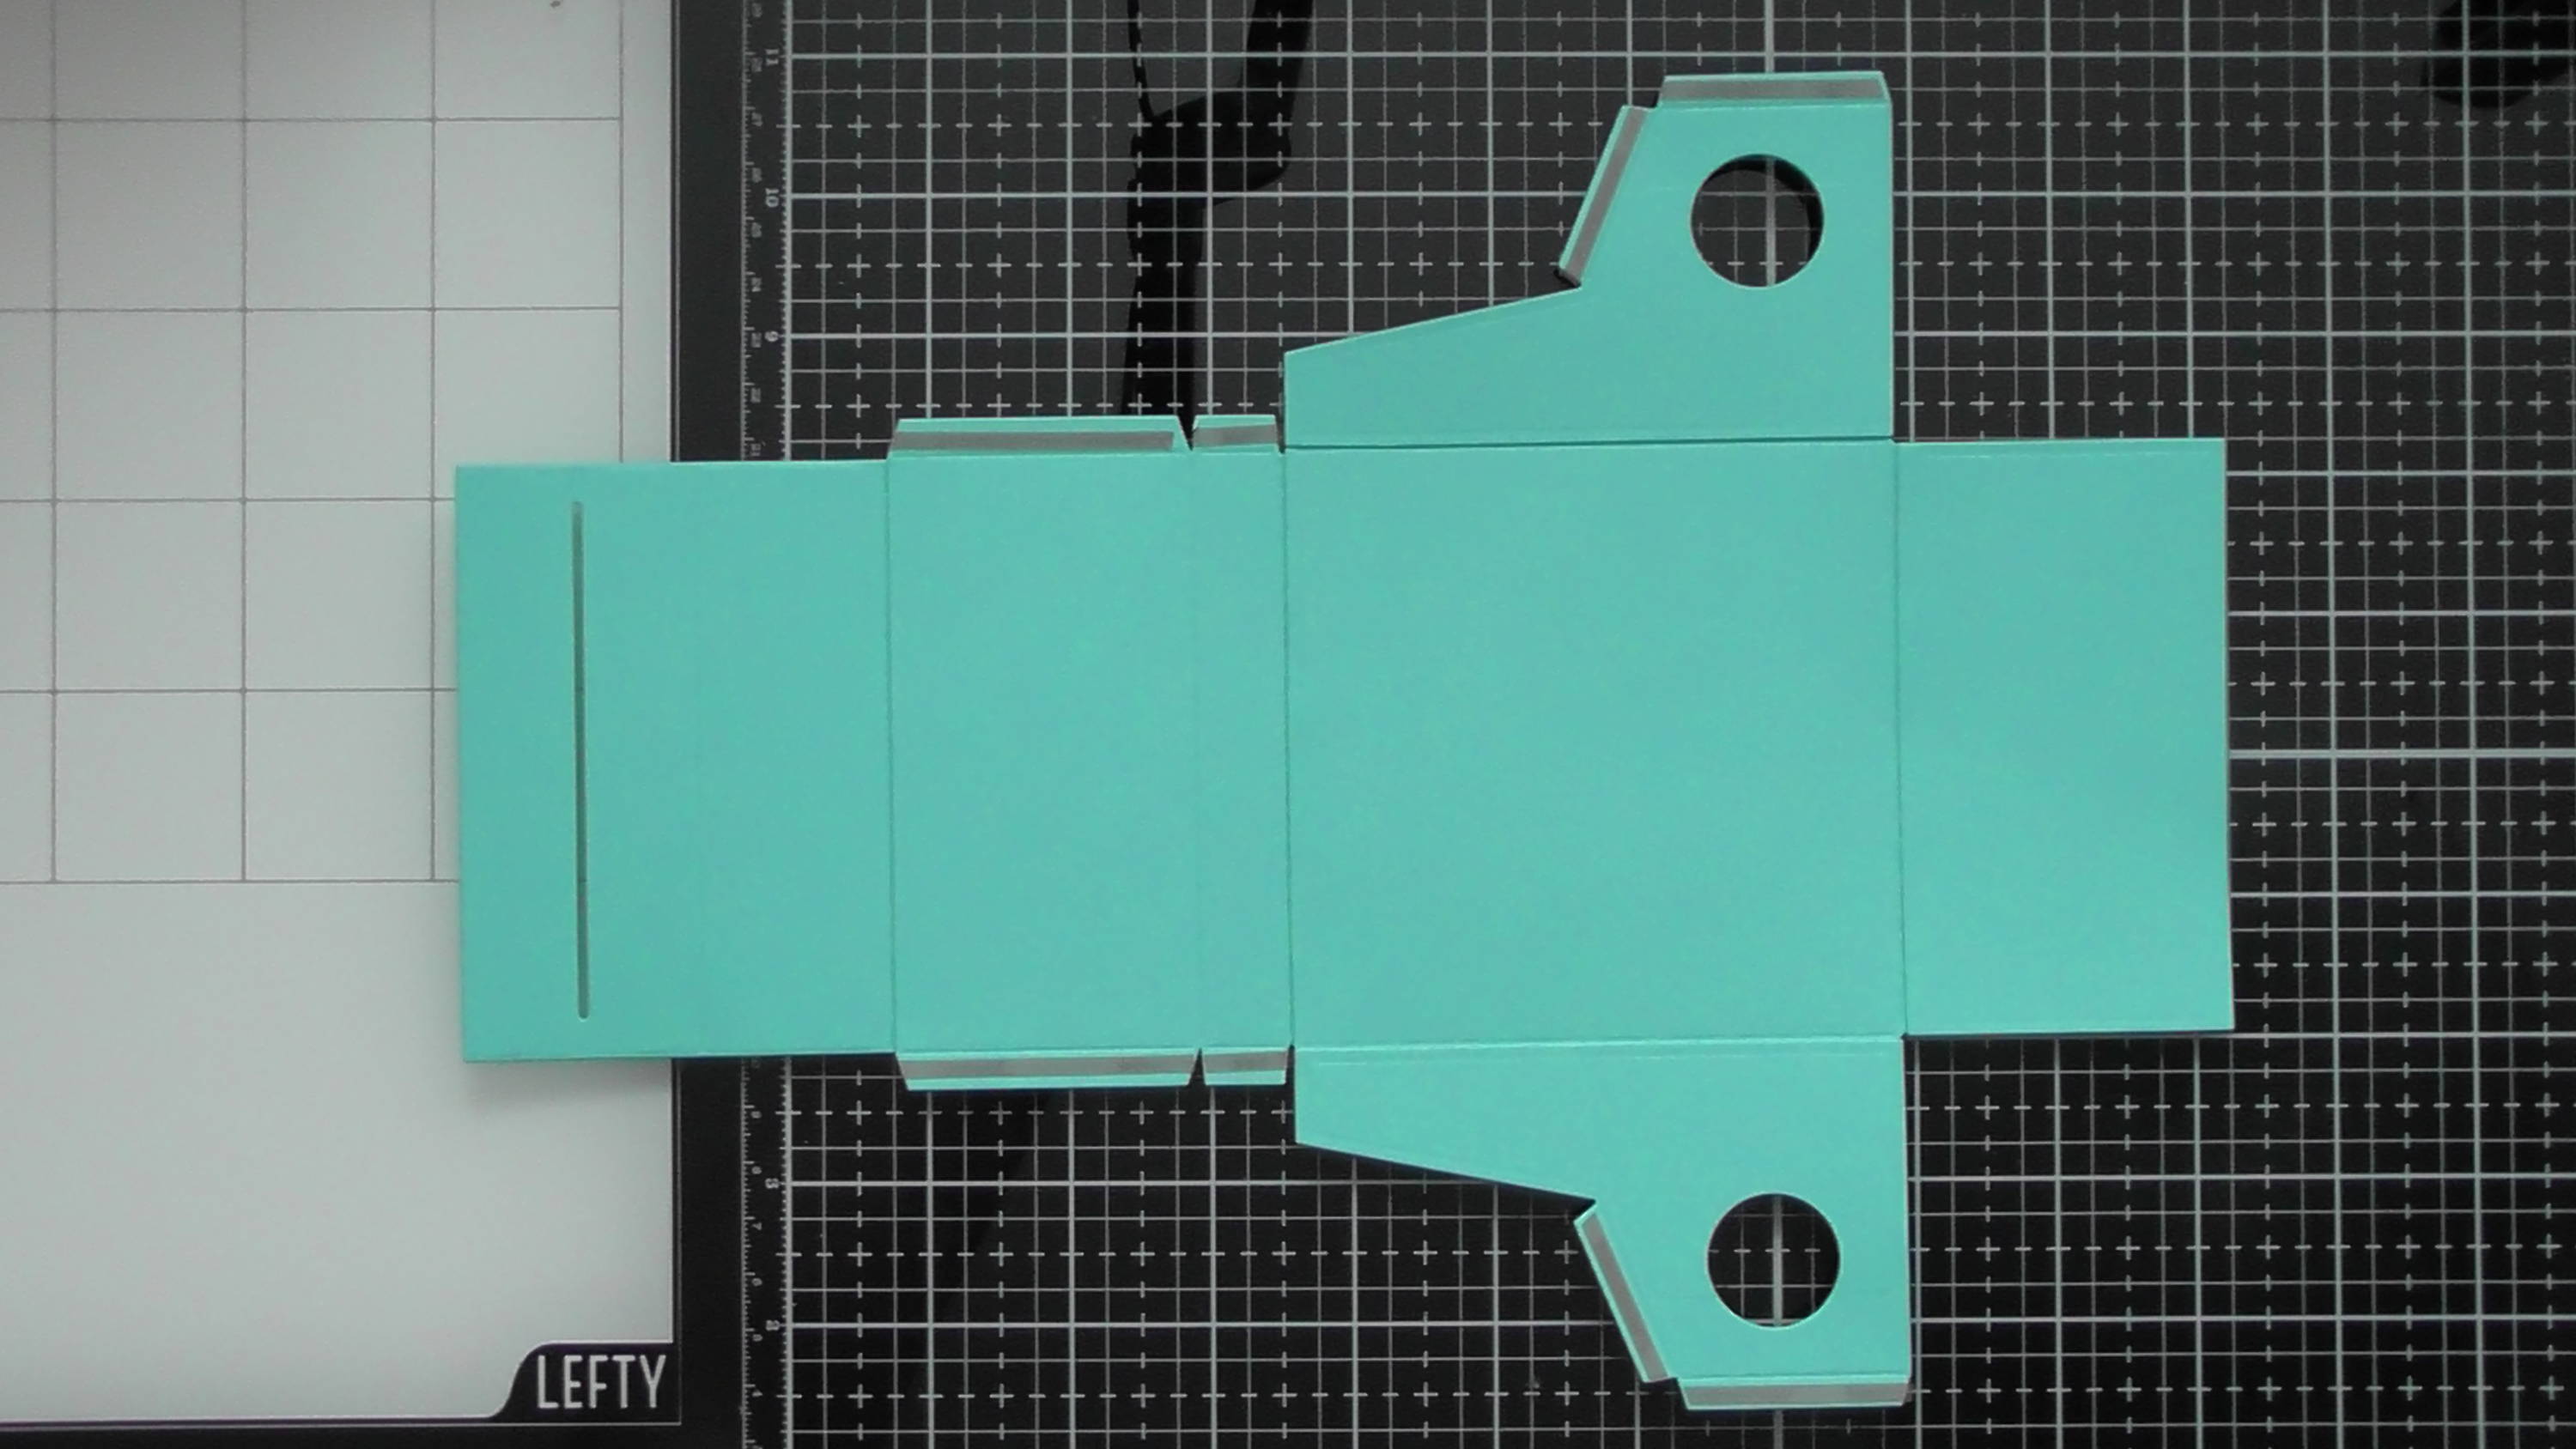
Step 3

You’ll then need all your decorative pieces as shown.
Step 4
add them all while the typewriter is flat like this so they adhere well, and pay particular attention to way up I’ve put pieces, that way everything is the right way up when it all comes together.
Step 5
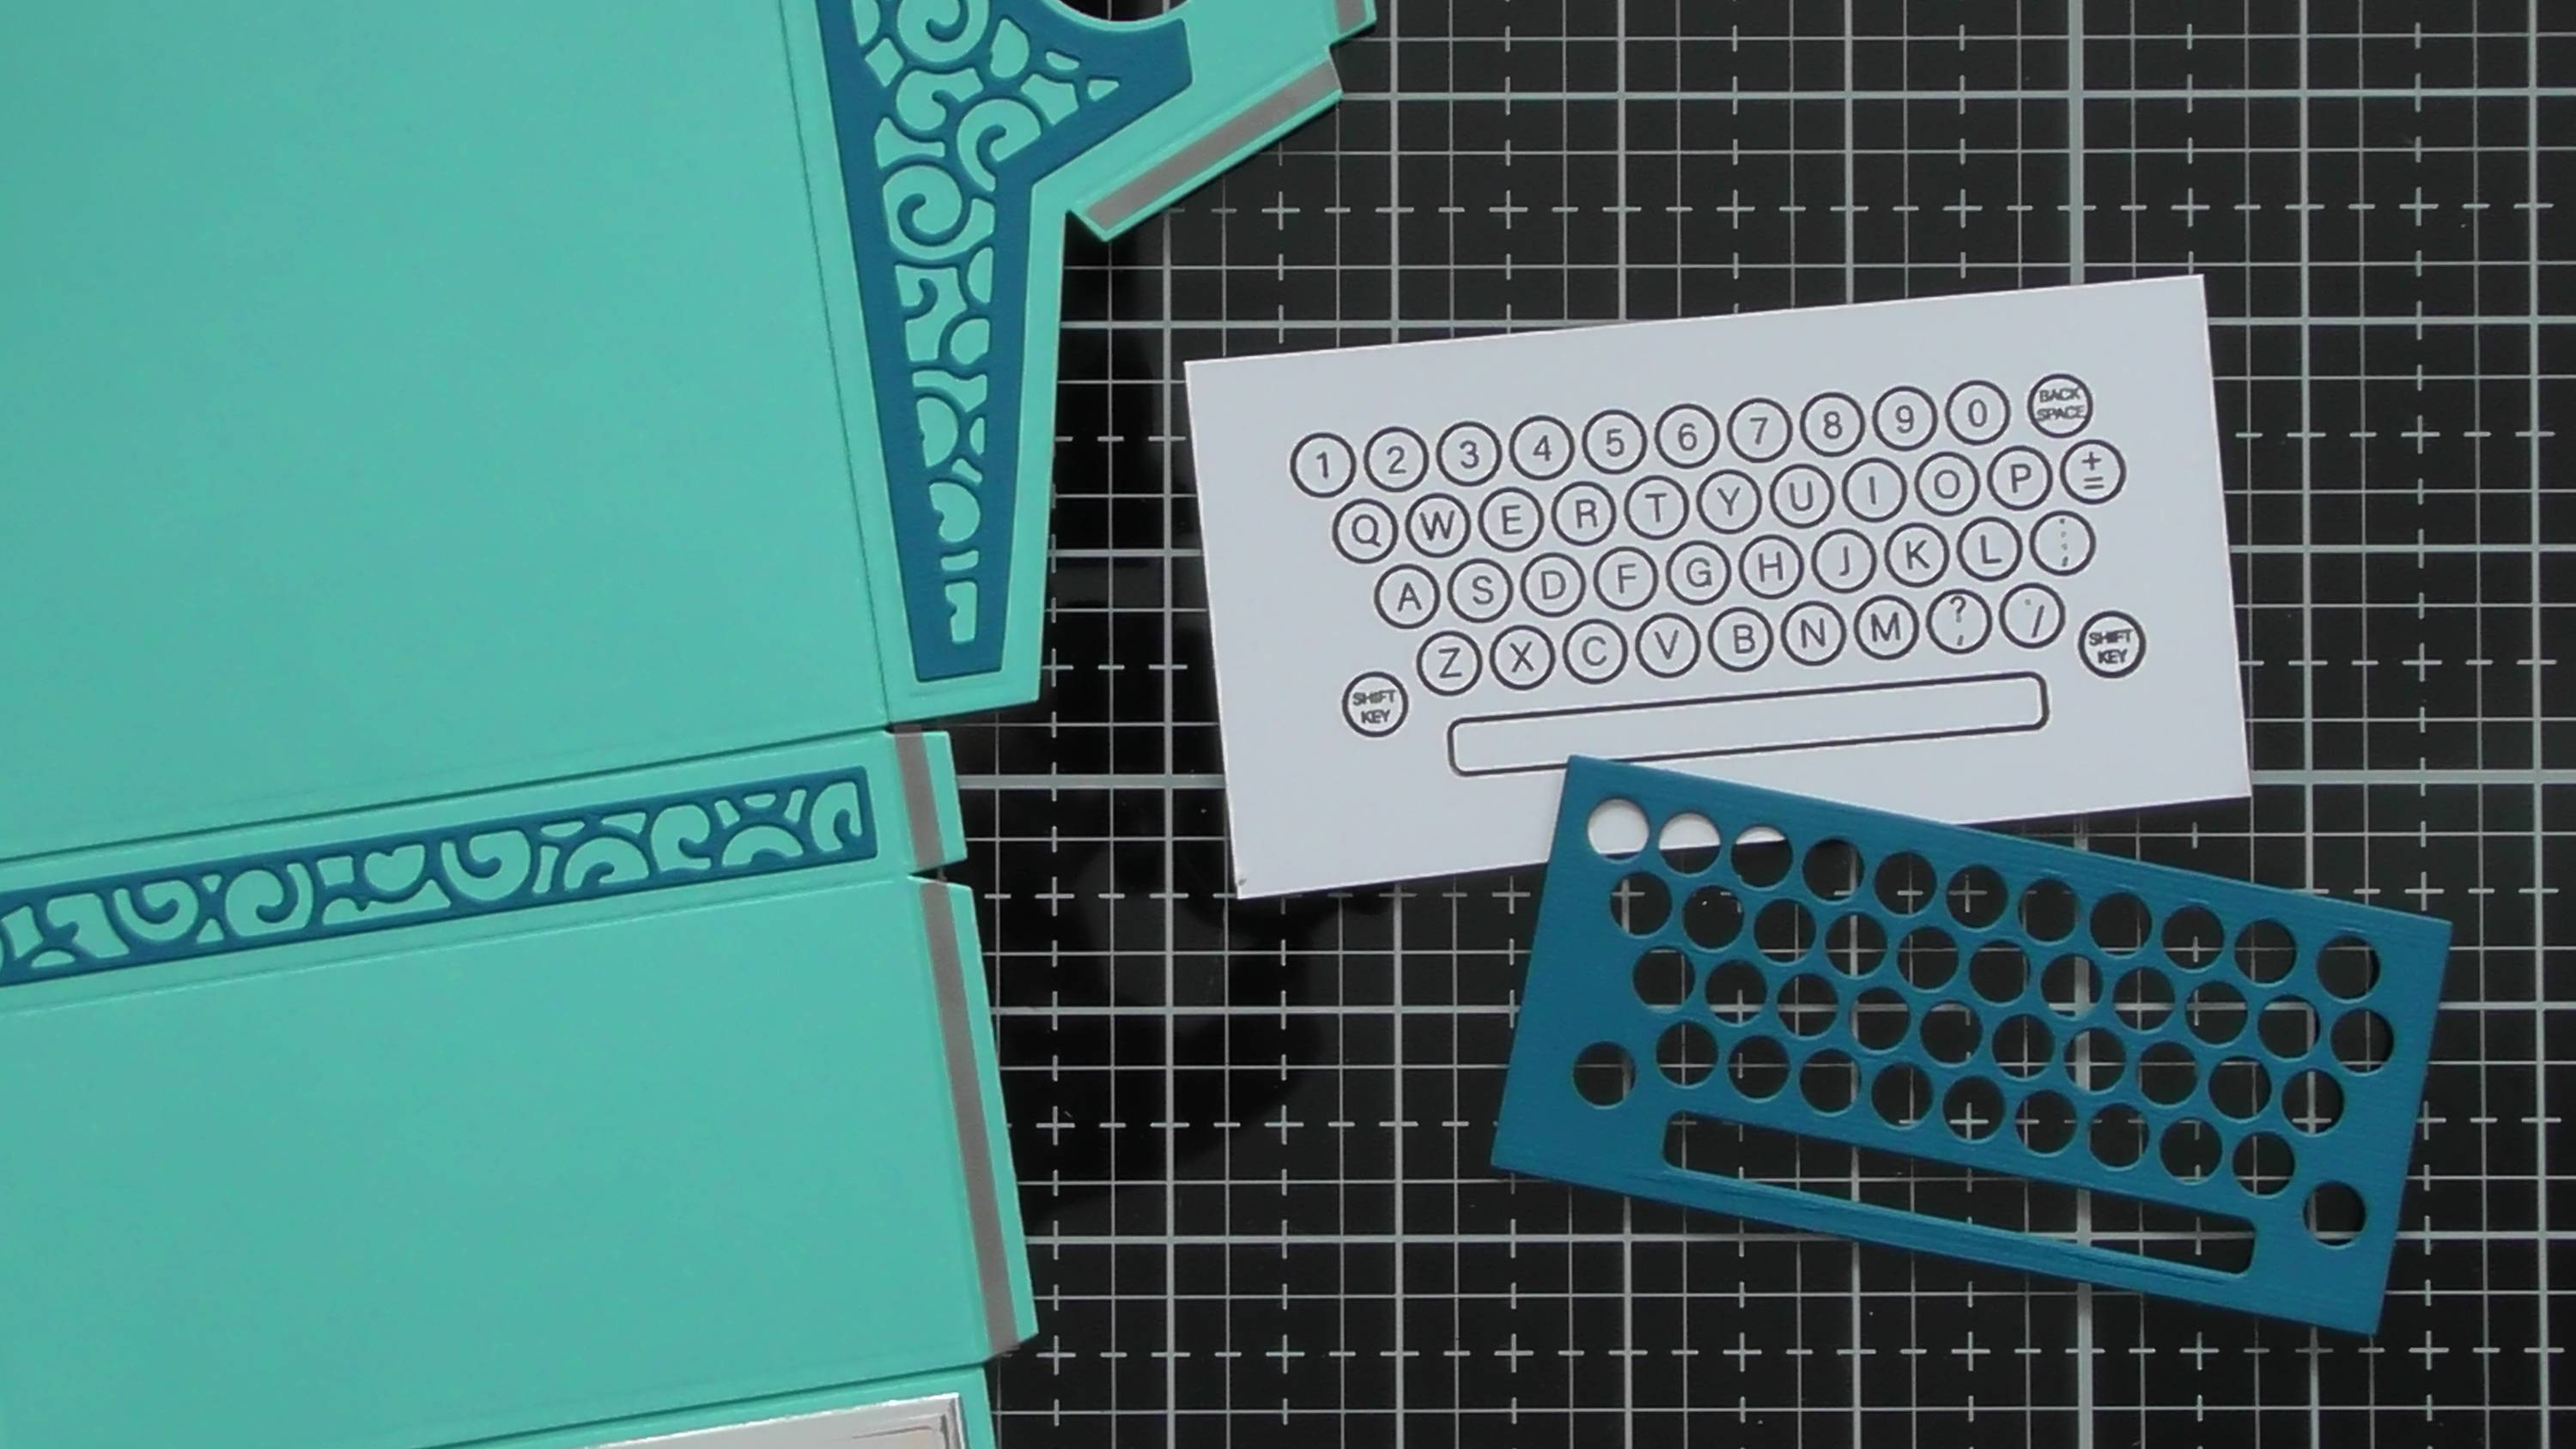
You have 2 choices for the keyboard, for this one I chose the stamped design, but the die-set comes with the debossing die which looks fab too.
Step 6
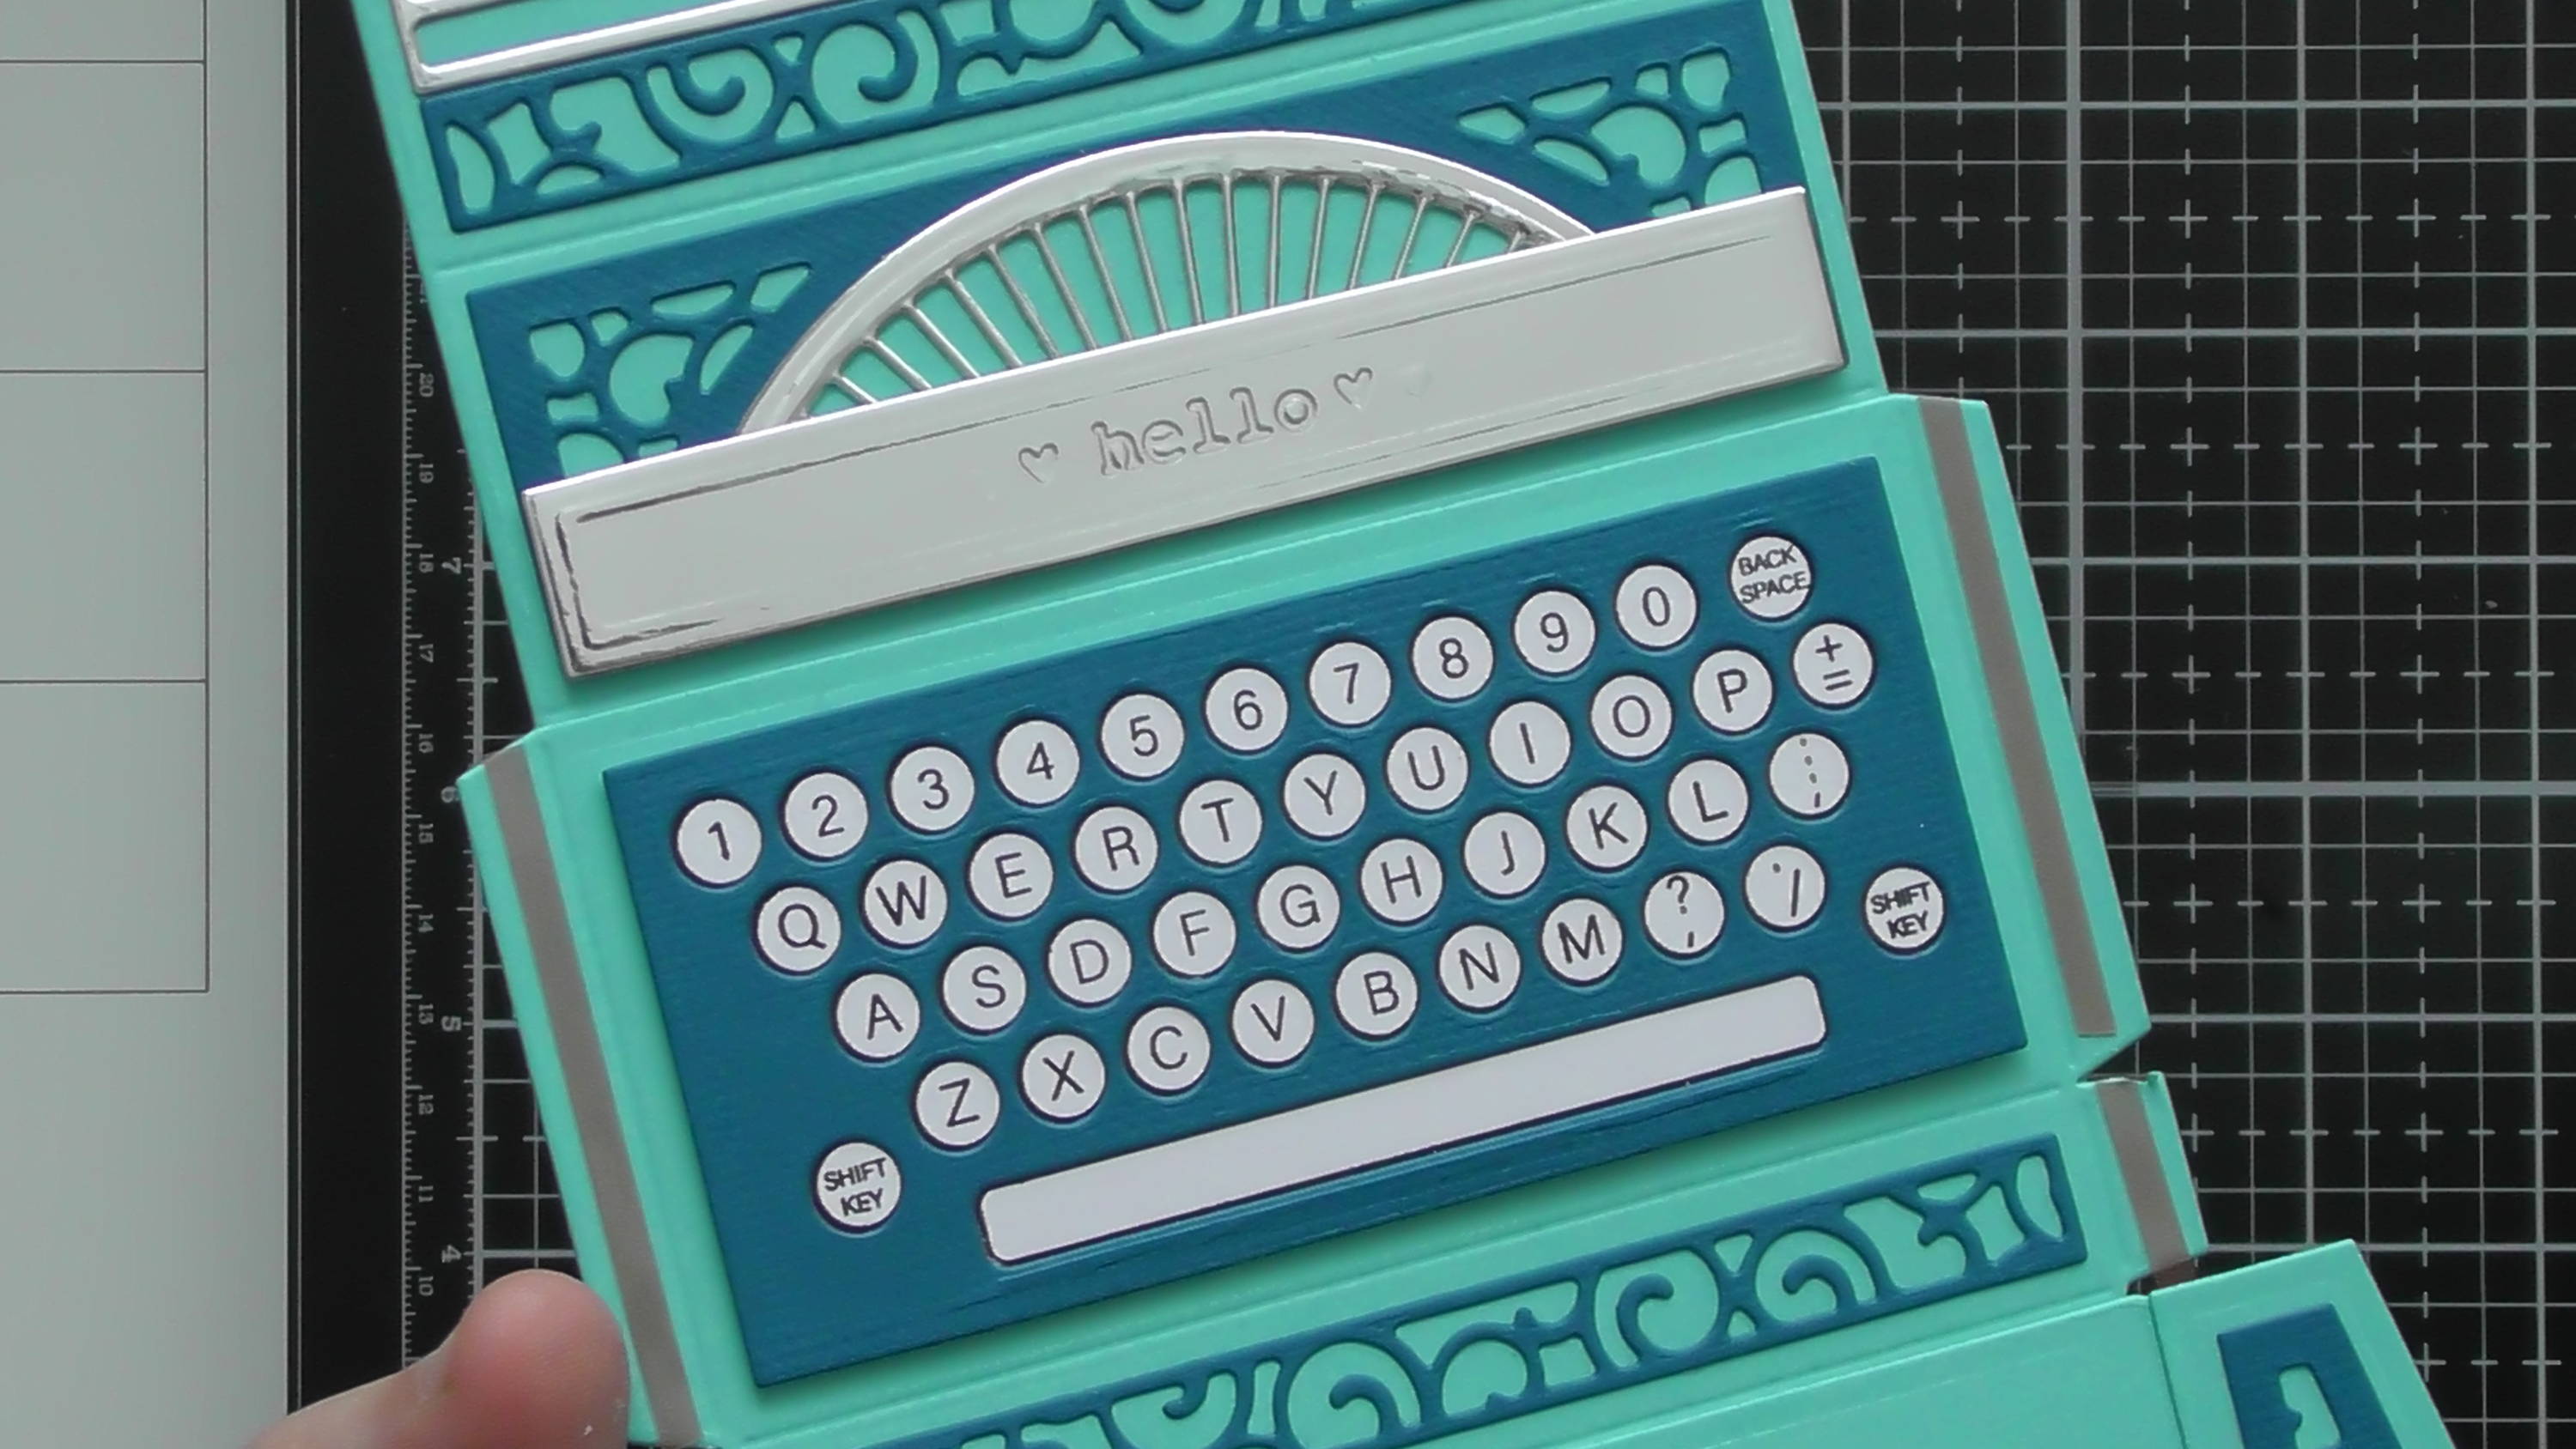
I stuck the turquoise piece flat to the stamped image, trimmed around the edge to remove the excess, then added it to the typewriter with 3D foam, again note which way up I added this.
Step 7
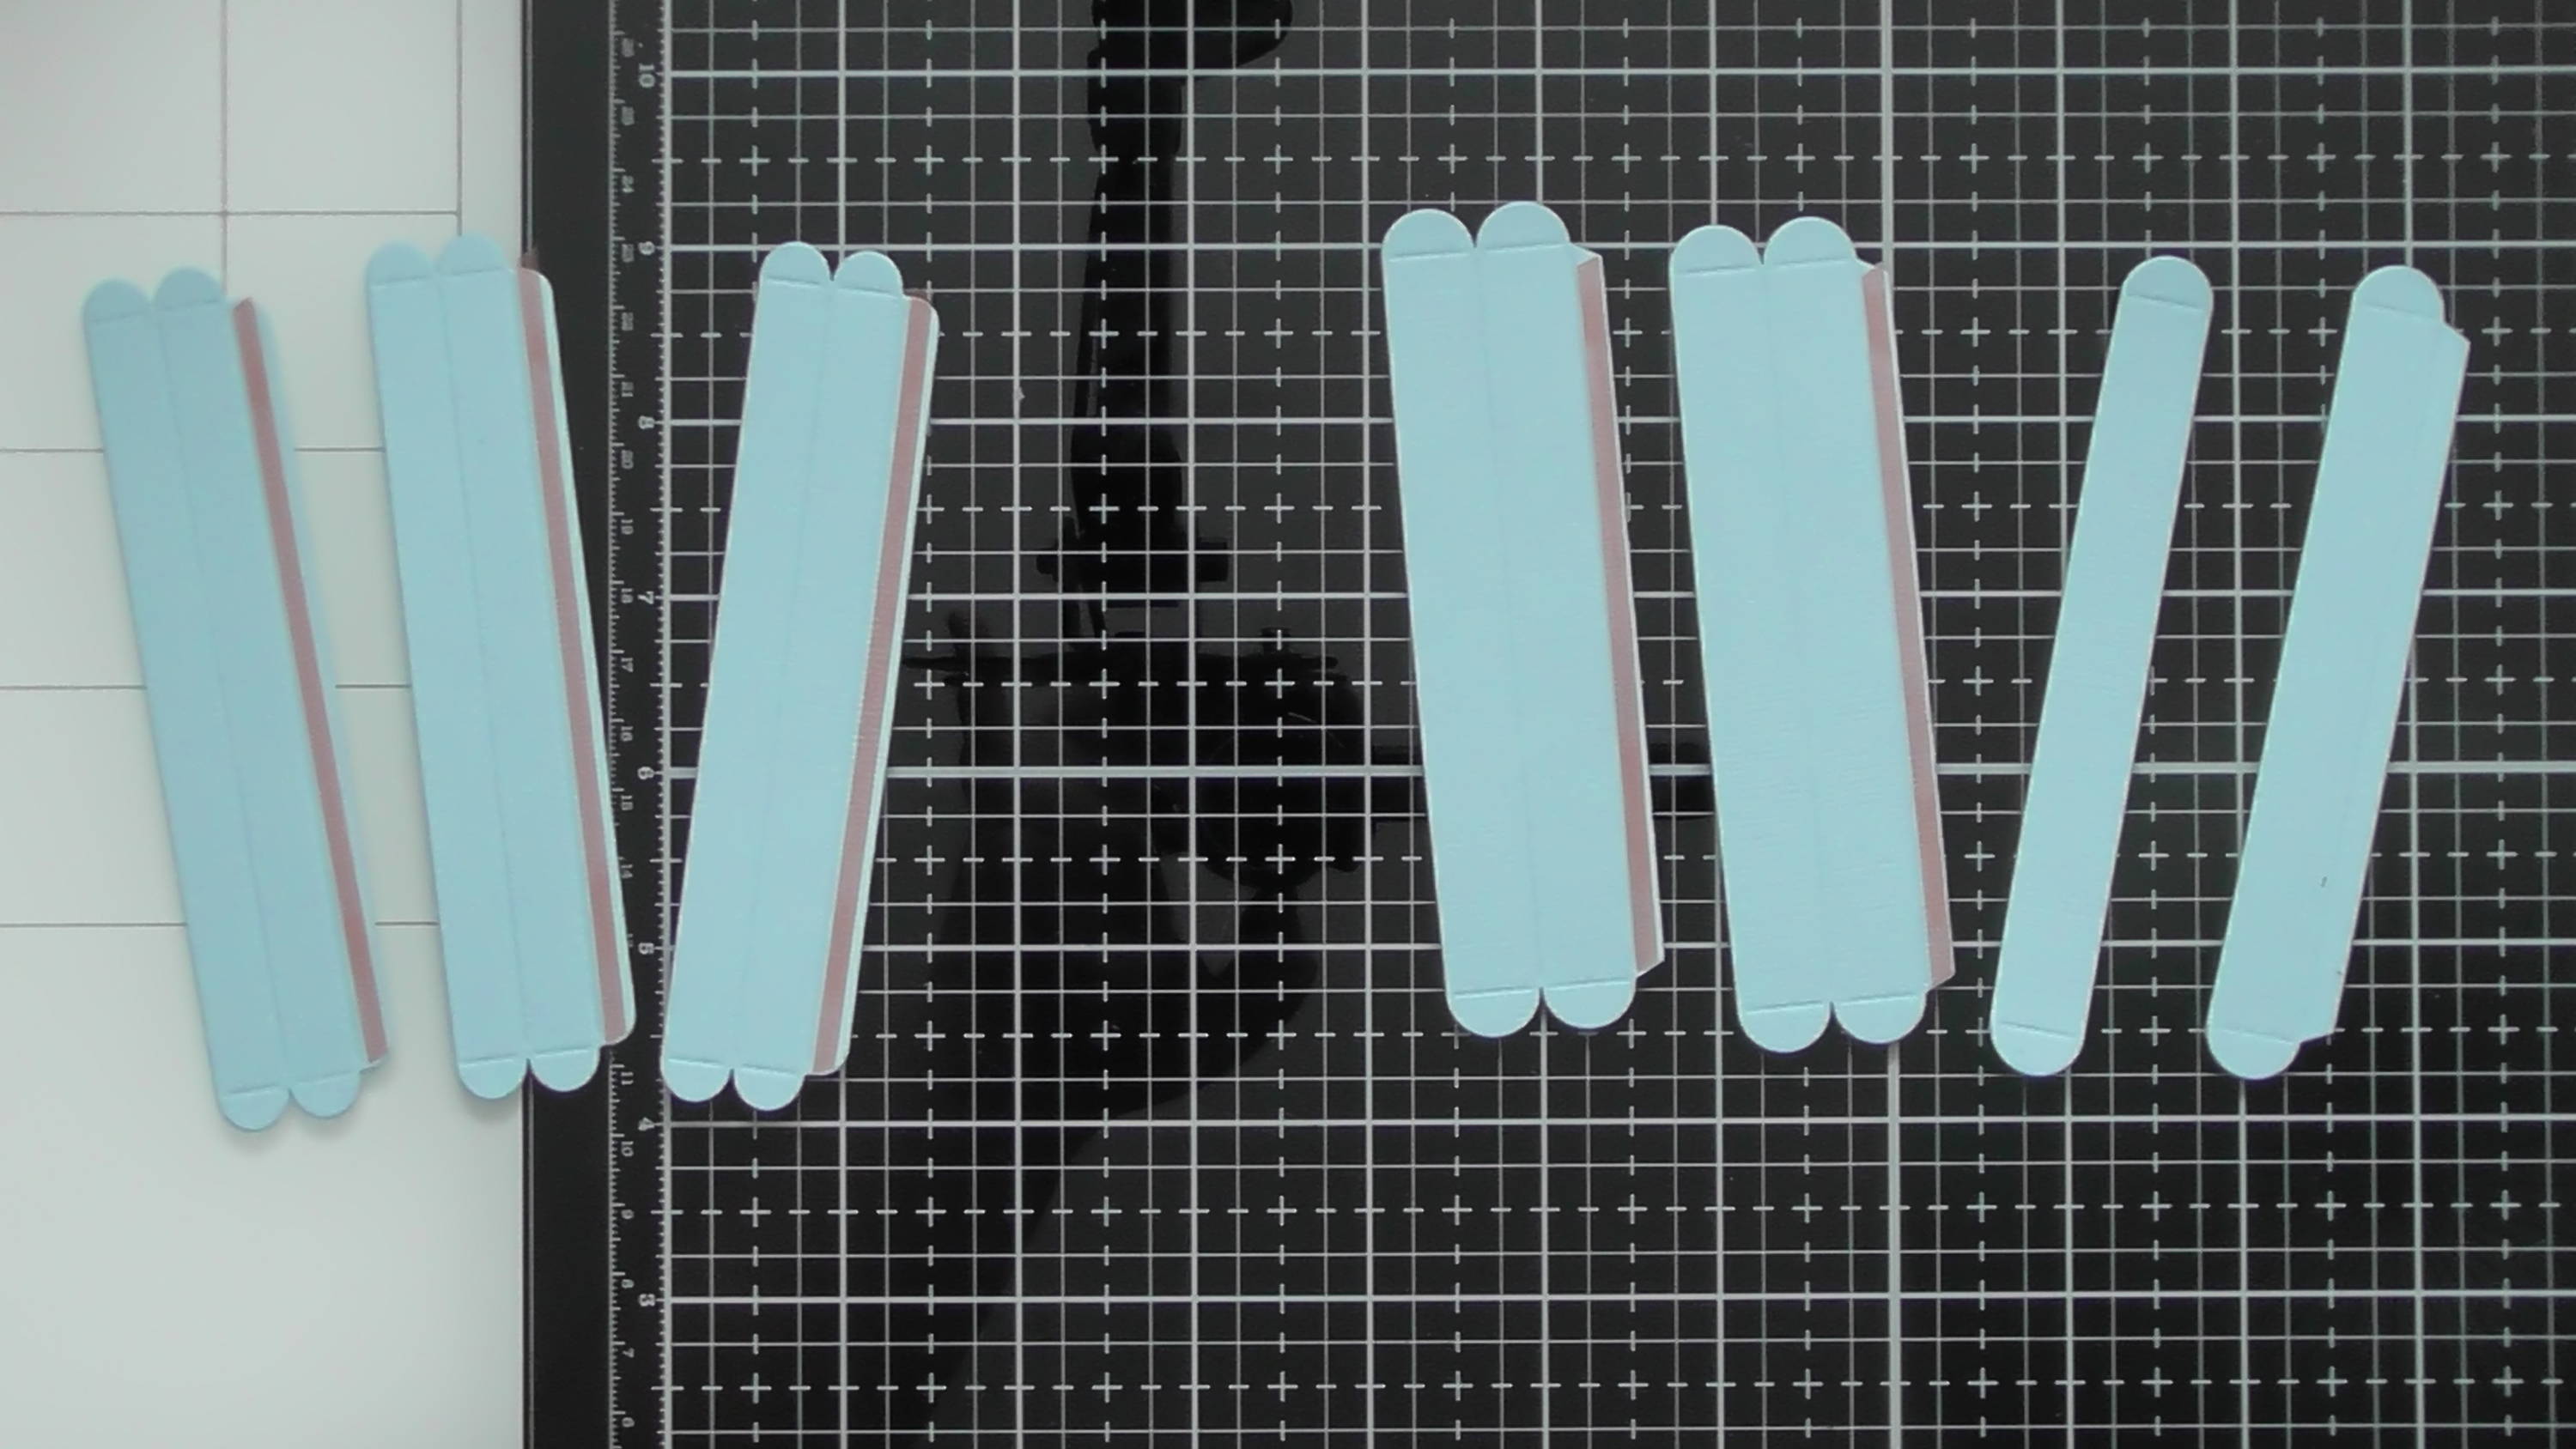
You’ll need the pieces above to create the inner and outer ‘spindles’ for the mechanism to roll the paper in and out, notice the piece on the far right, we can discard this.
Step 8
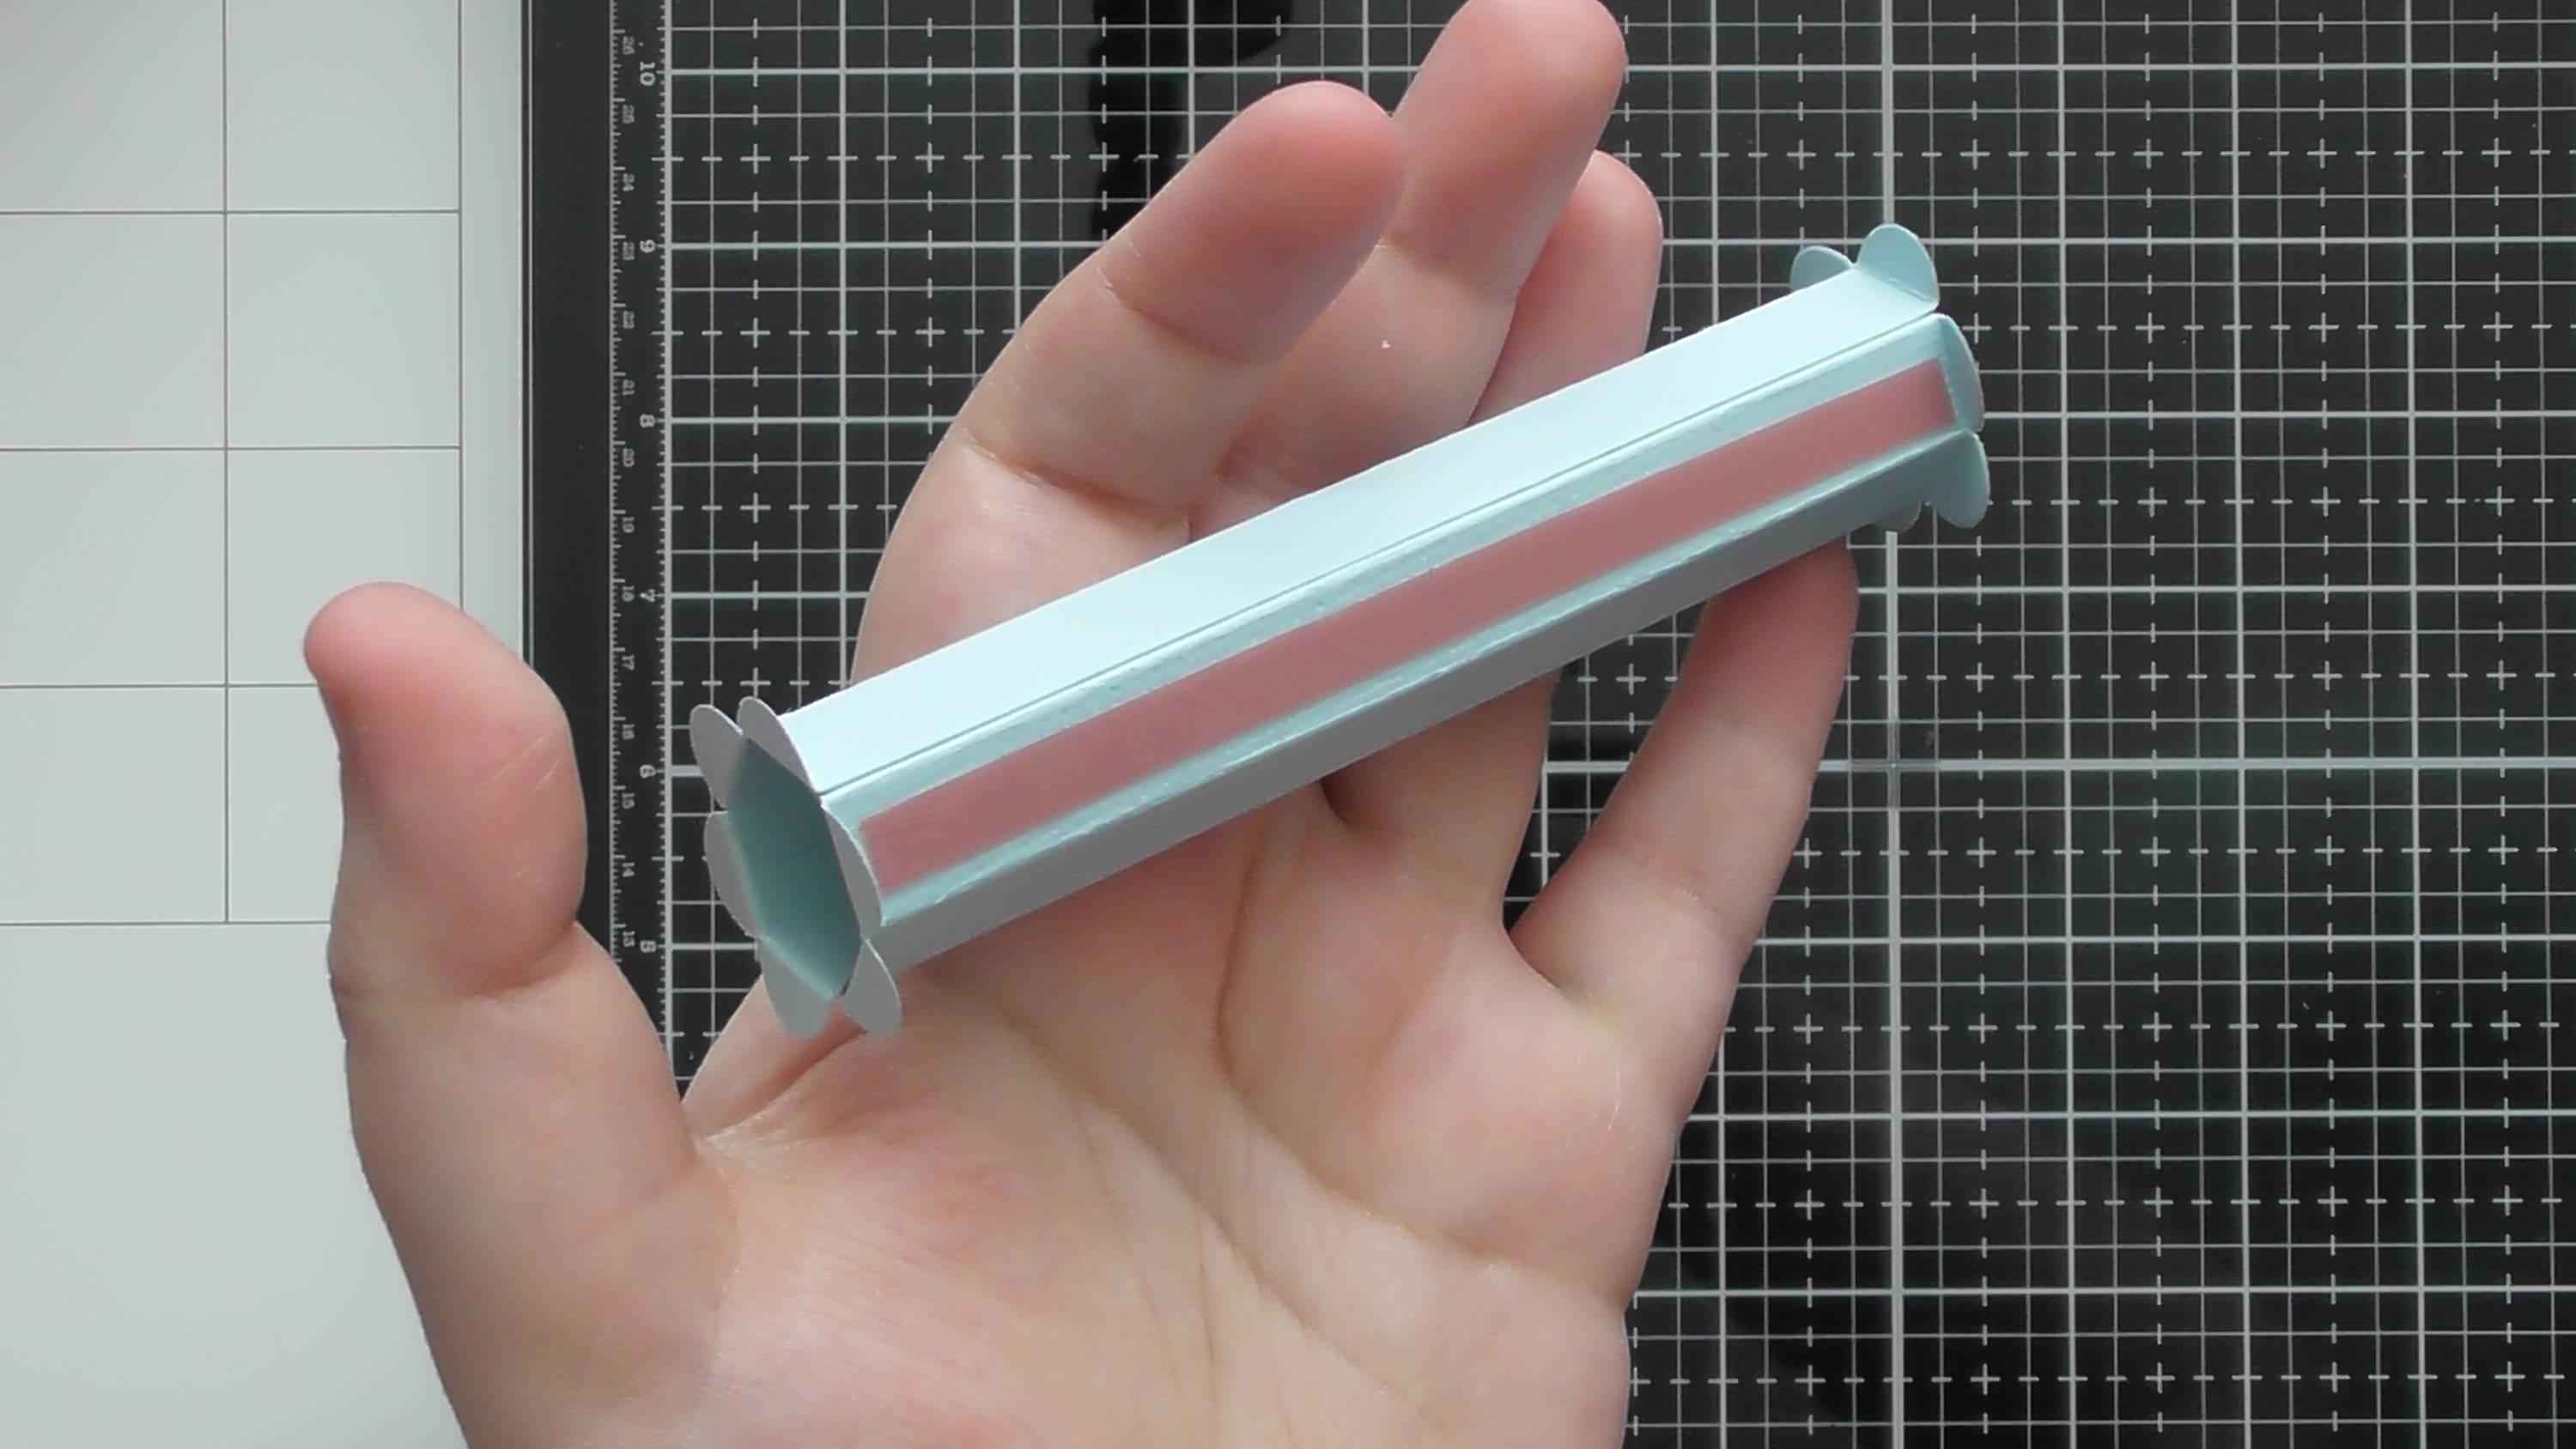
For the inner spindle, you want it to be complete, and you also want to add a strip of red liner tape to add the paper onto too.
Step 9
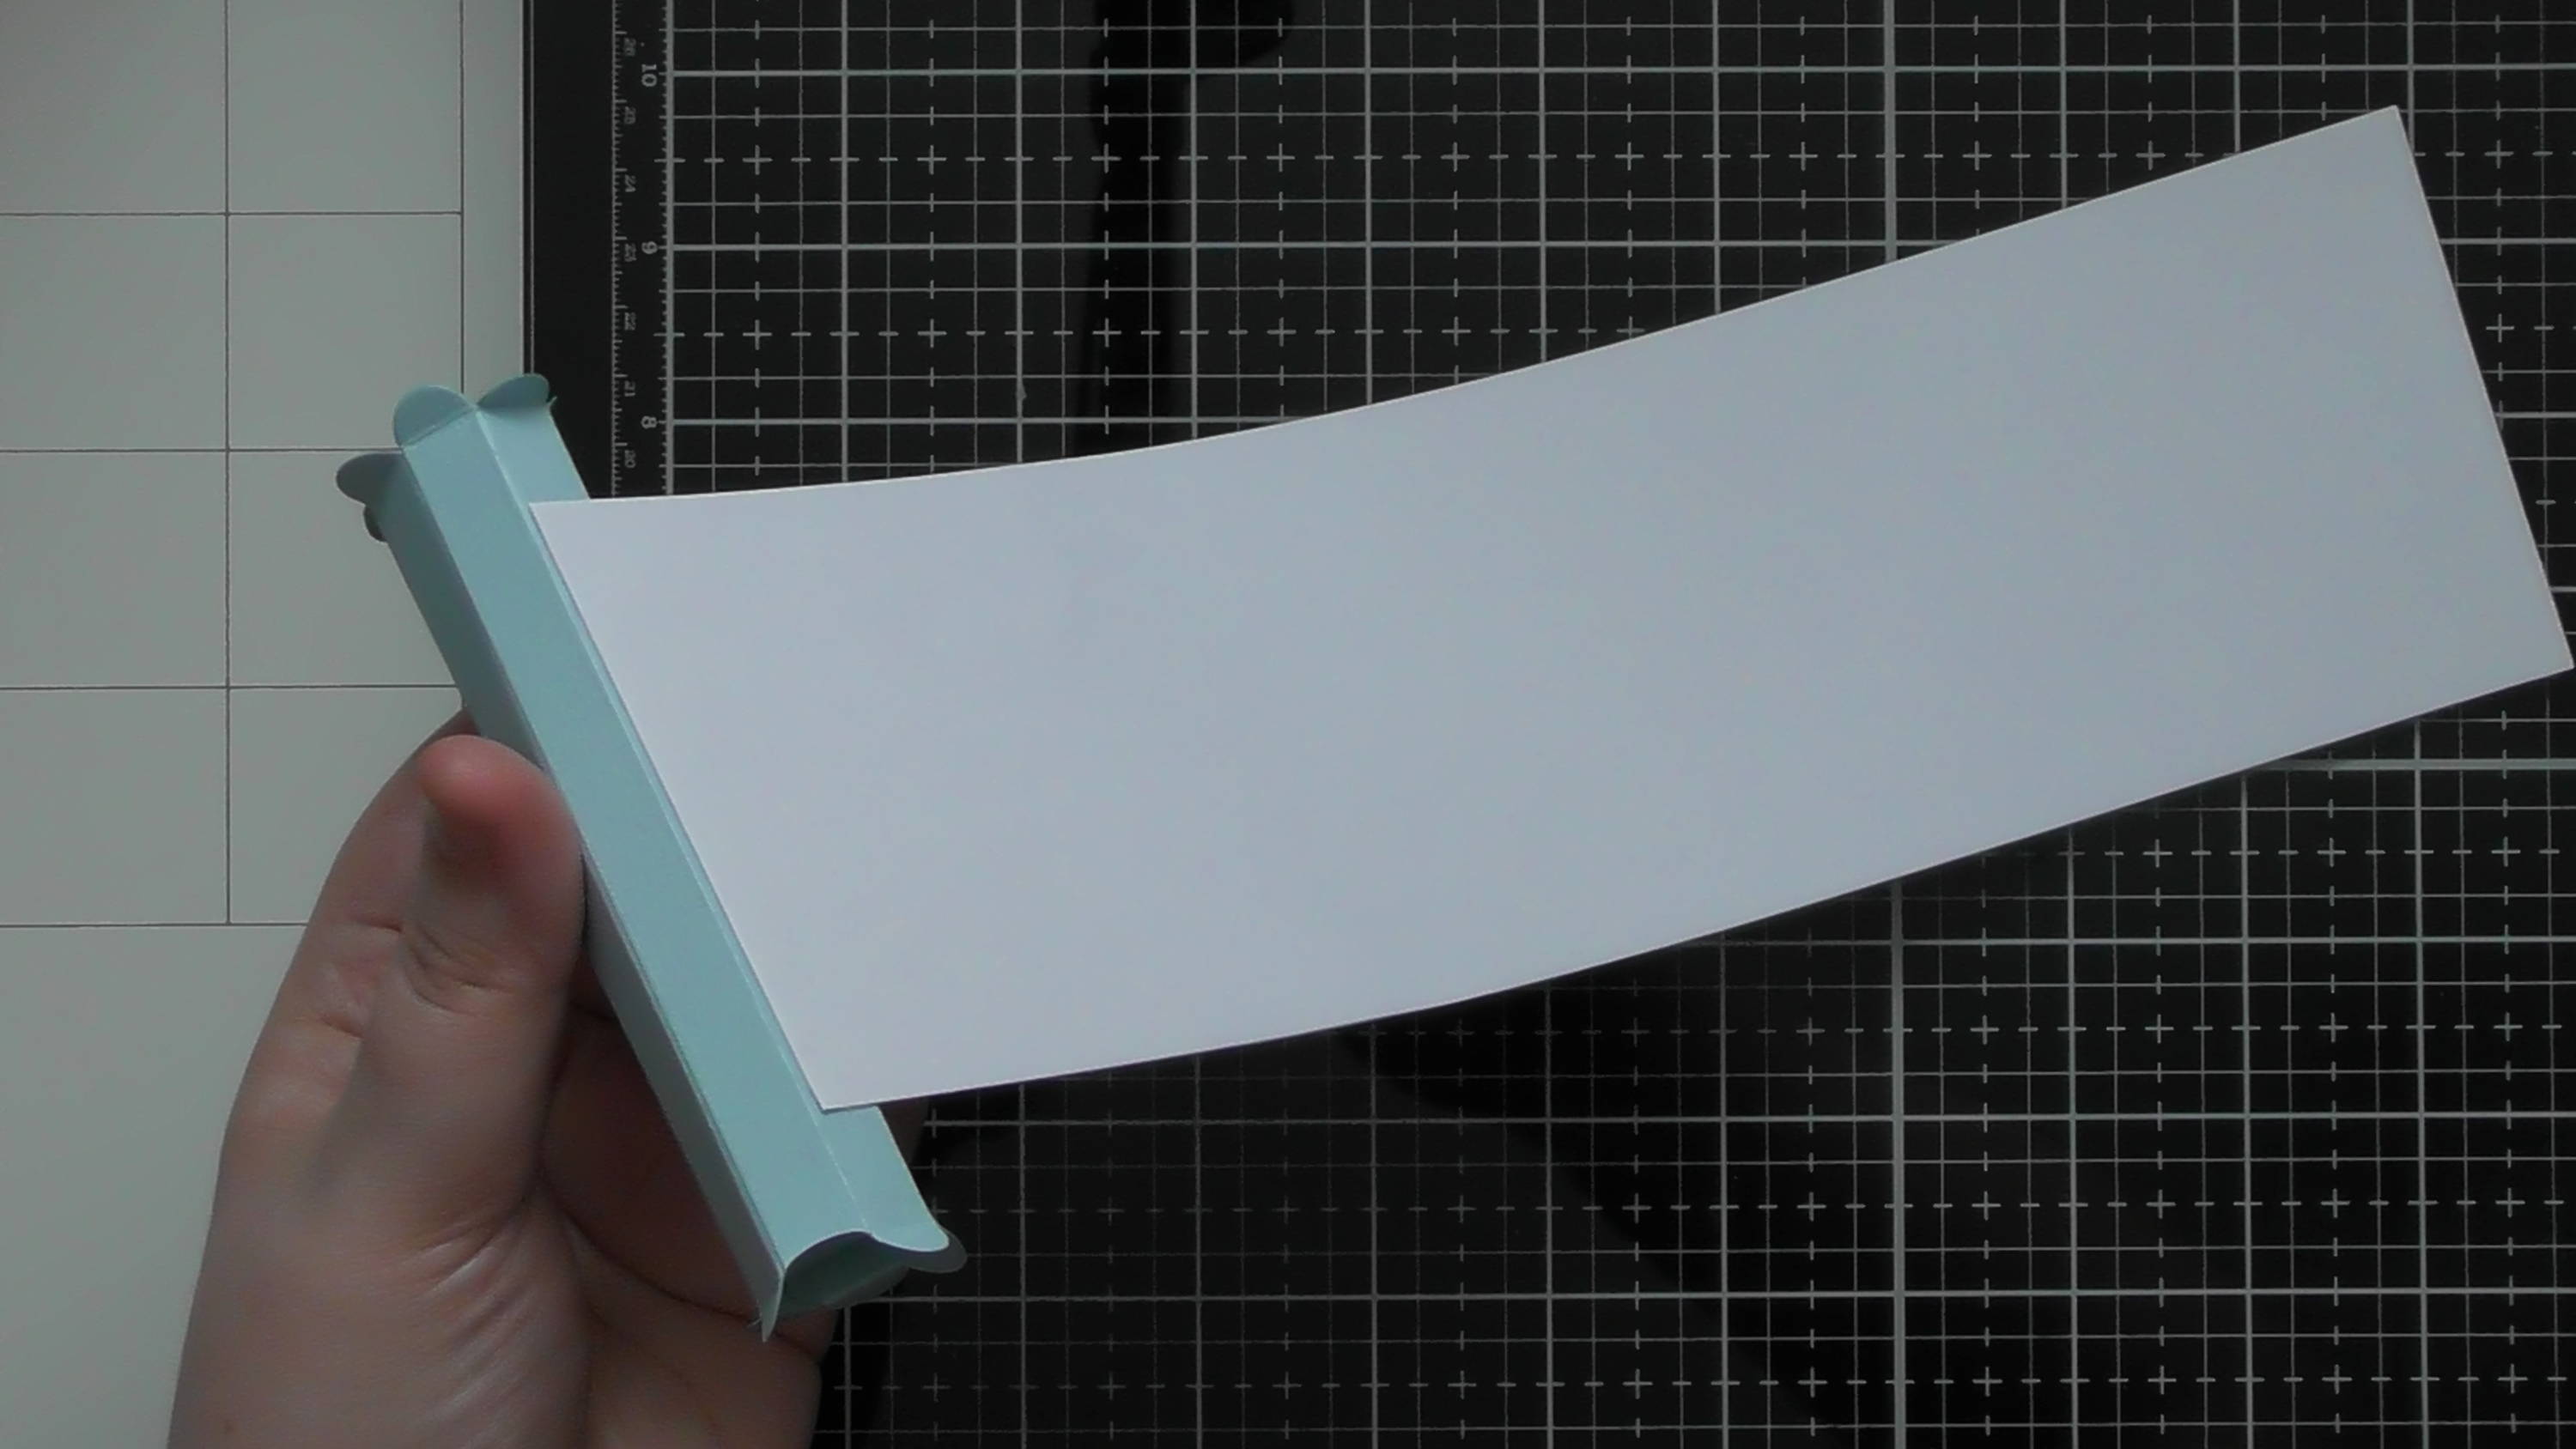
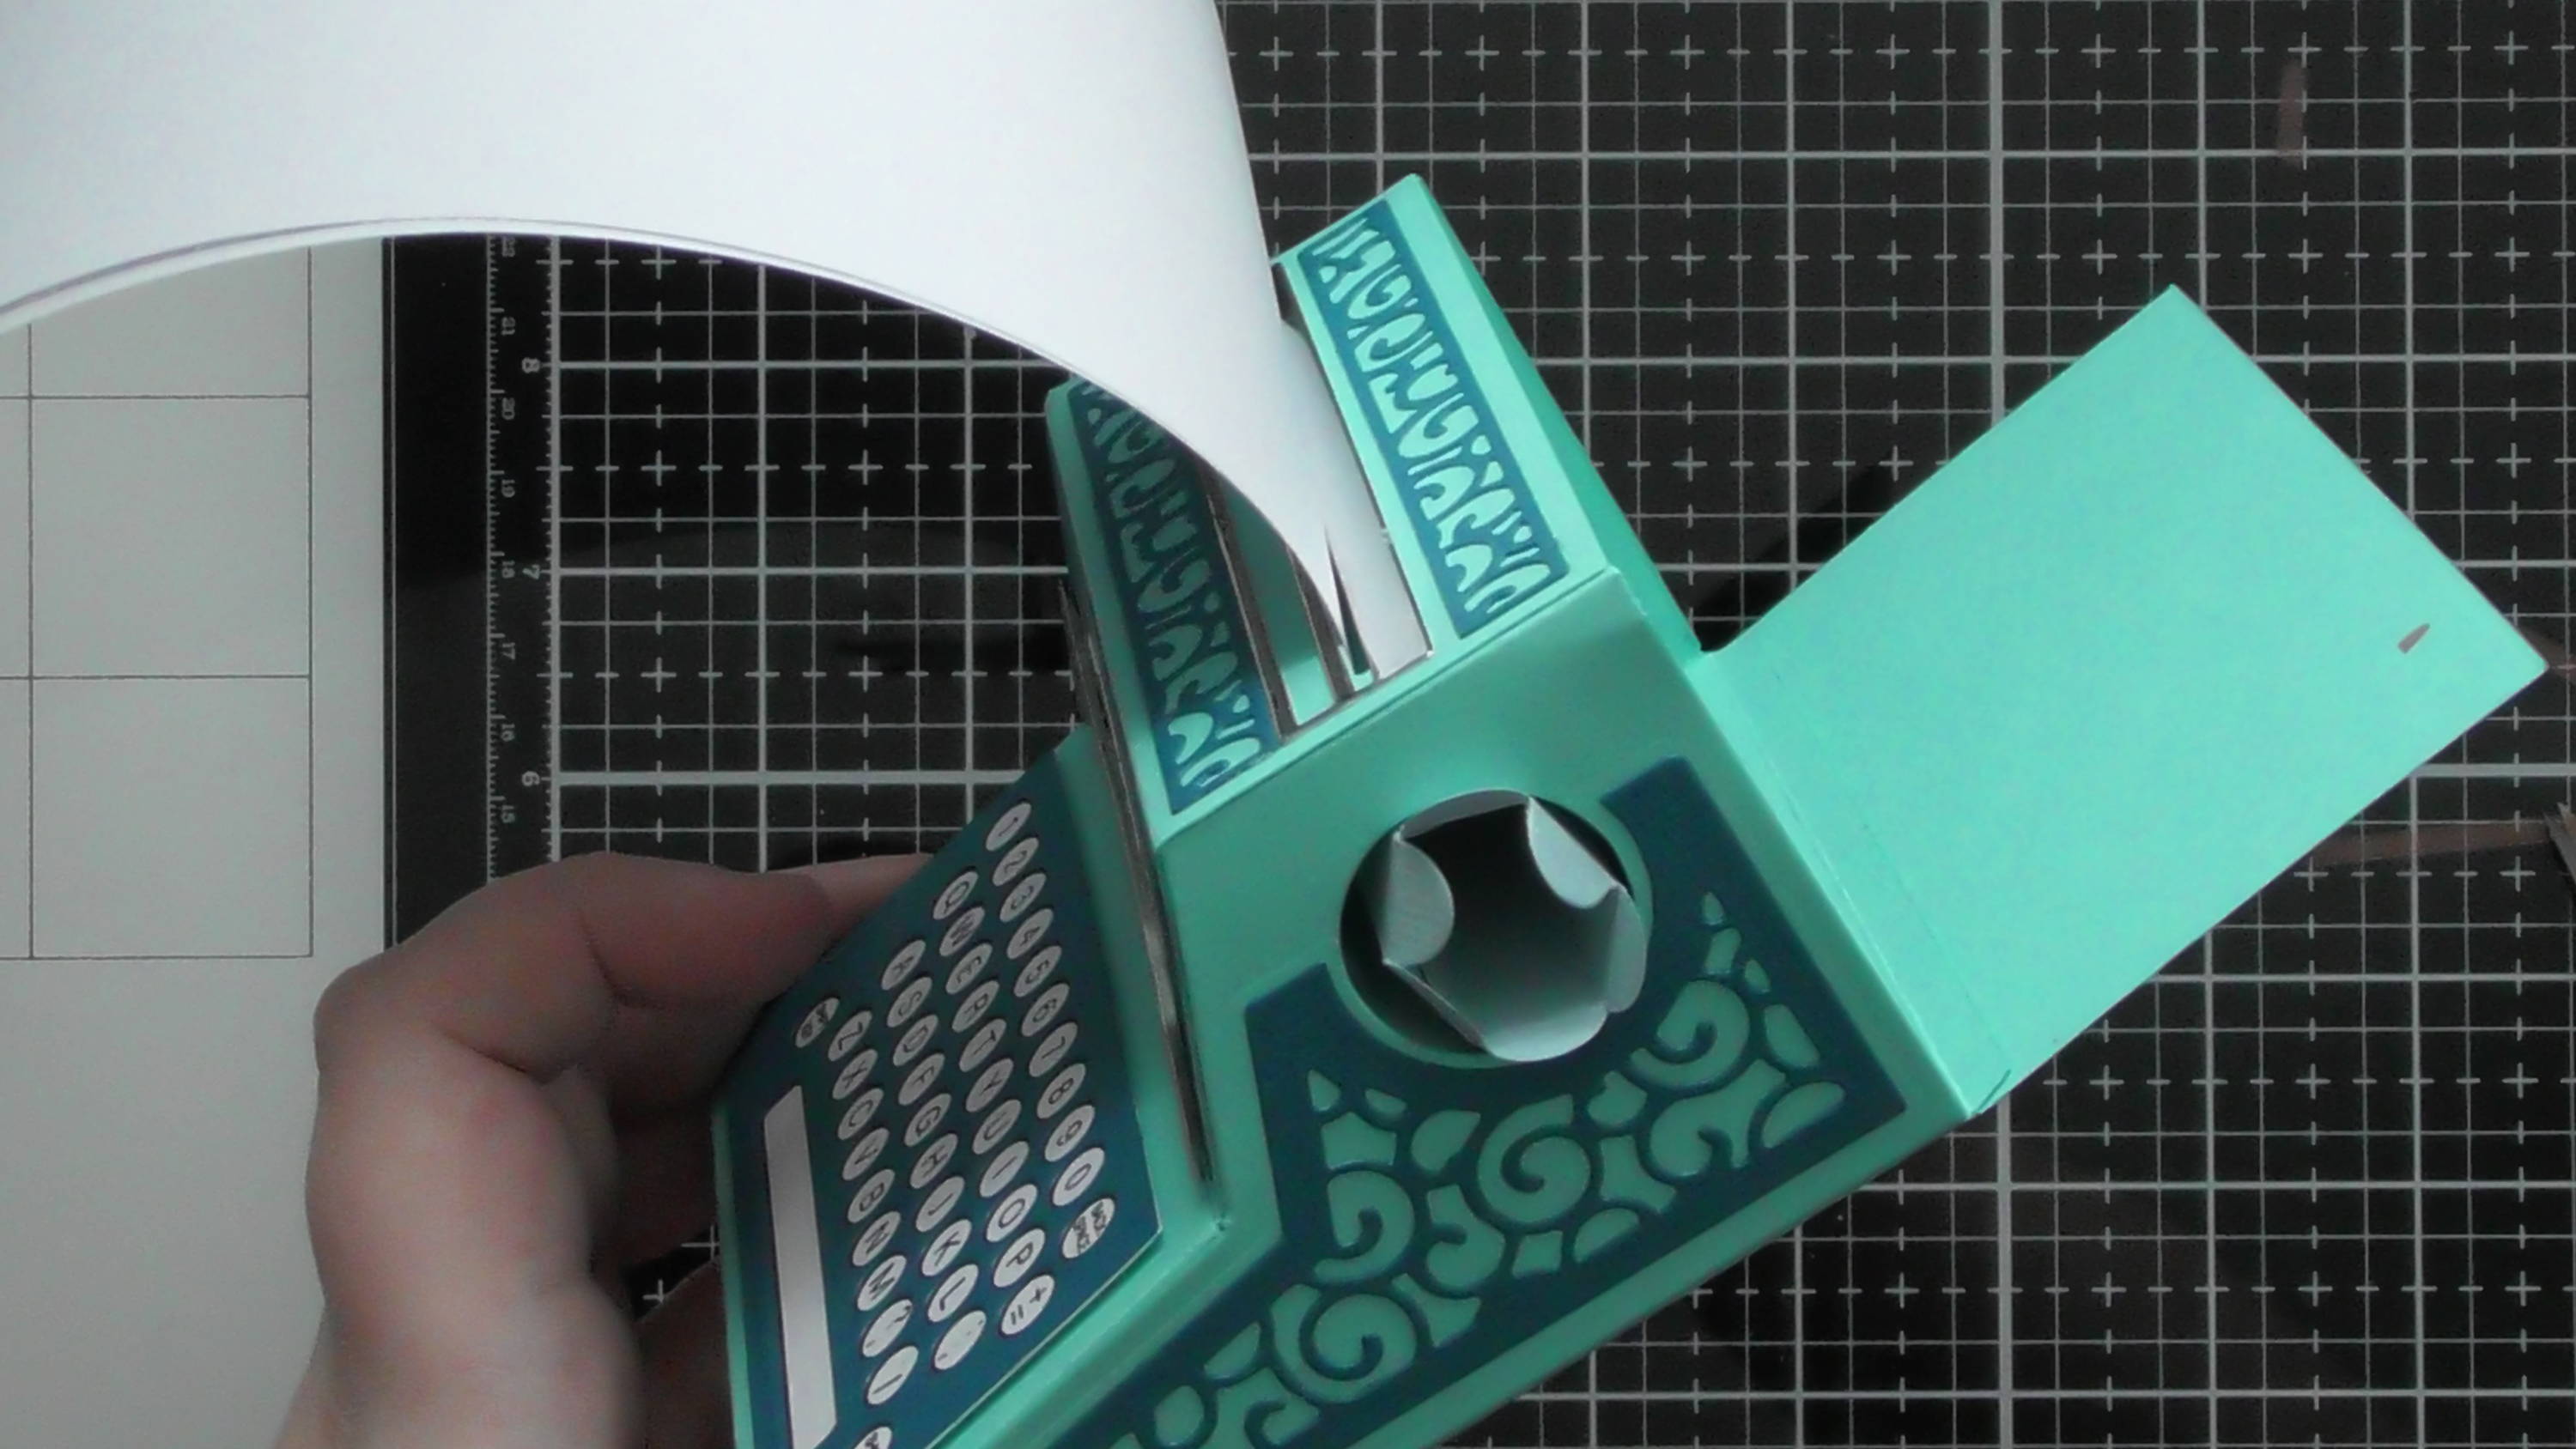
For the paper, cut a piece to 8.5 cm wide, and this can be any length you like, I’ve kept it the longest dimension of the A4 and it still winds in perfectly, it also means you could add a longer hidden message too if you wanted too.
Step 10
For the outer spindle, this will basically be the place for the paper to wind into and be protected from whatever other gift you might want to put inside, but before we add this to the main body, let’s make the handles for the inner spindle.
Step 11
For the 2 handles you’ll need the pieces shown.
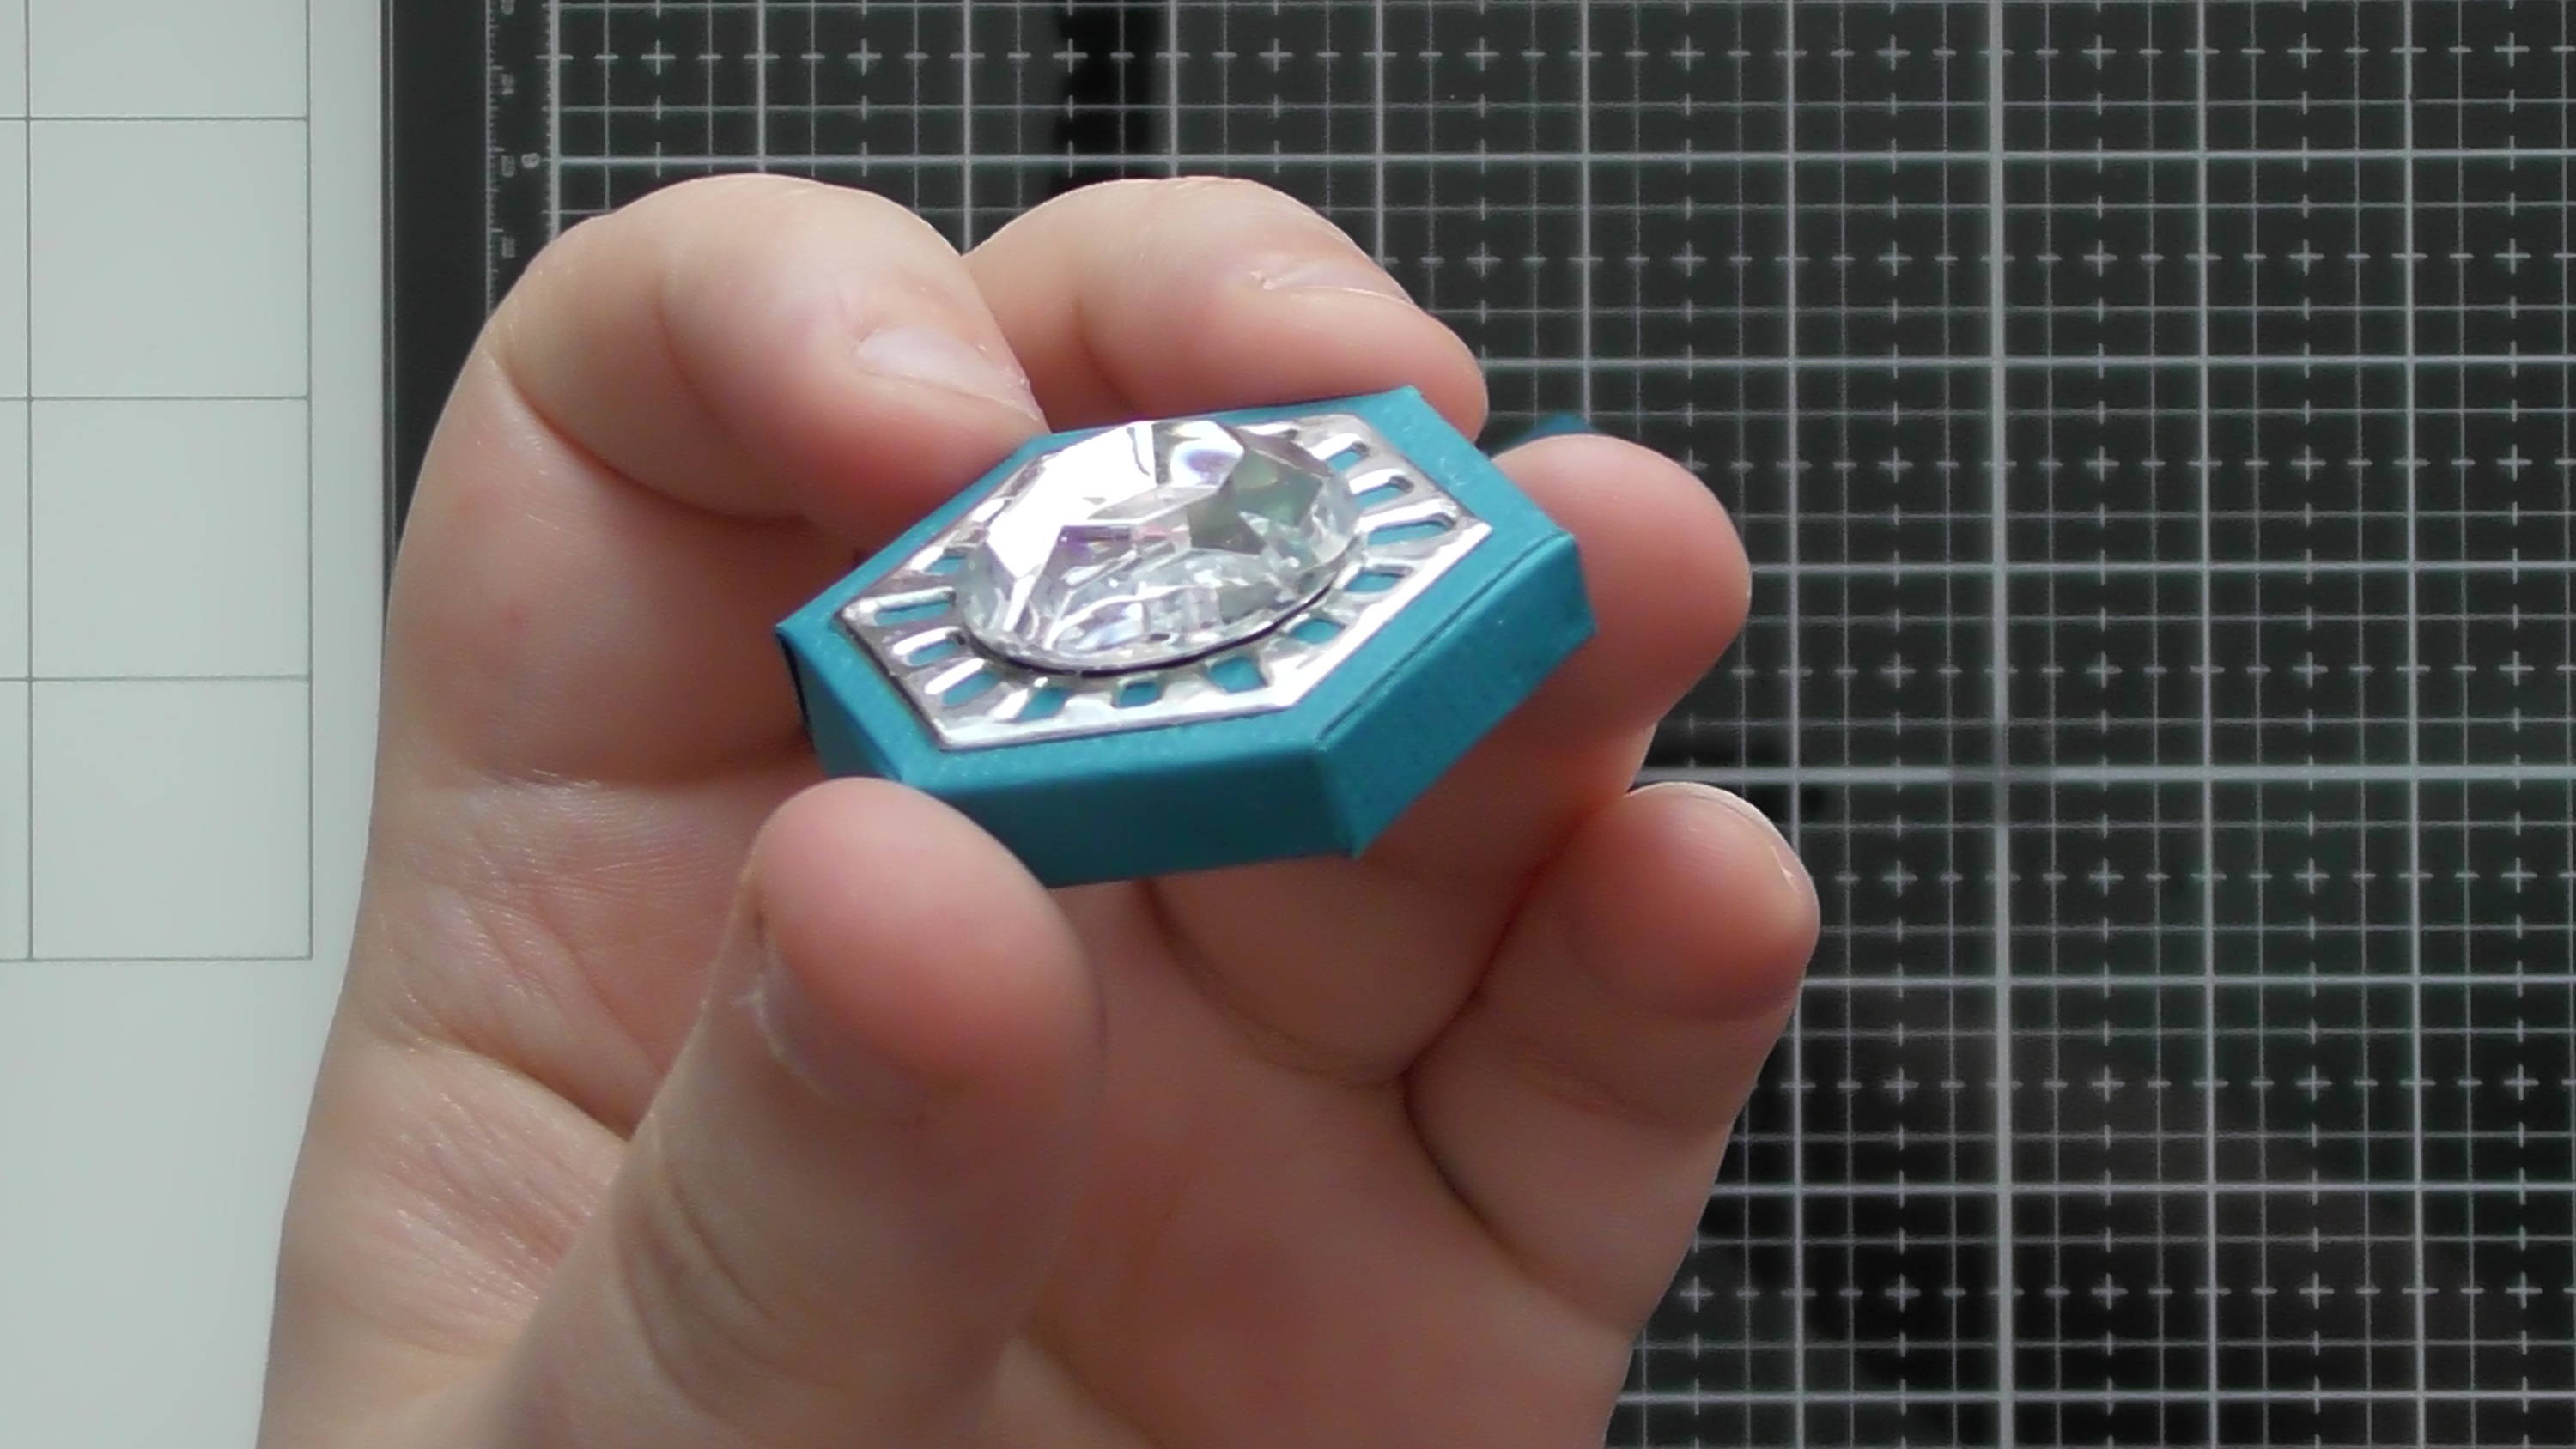
Step 12

and you’ll need to stick each pair together like this :D I’ve also made use of one of the gems off an old Nuvo product too.
Step 13
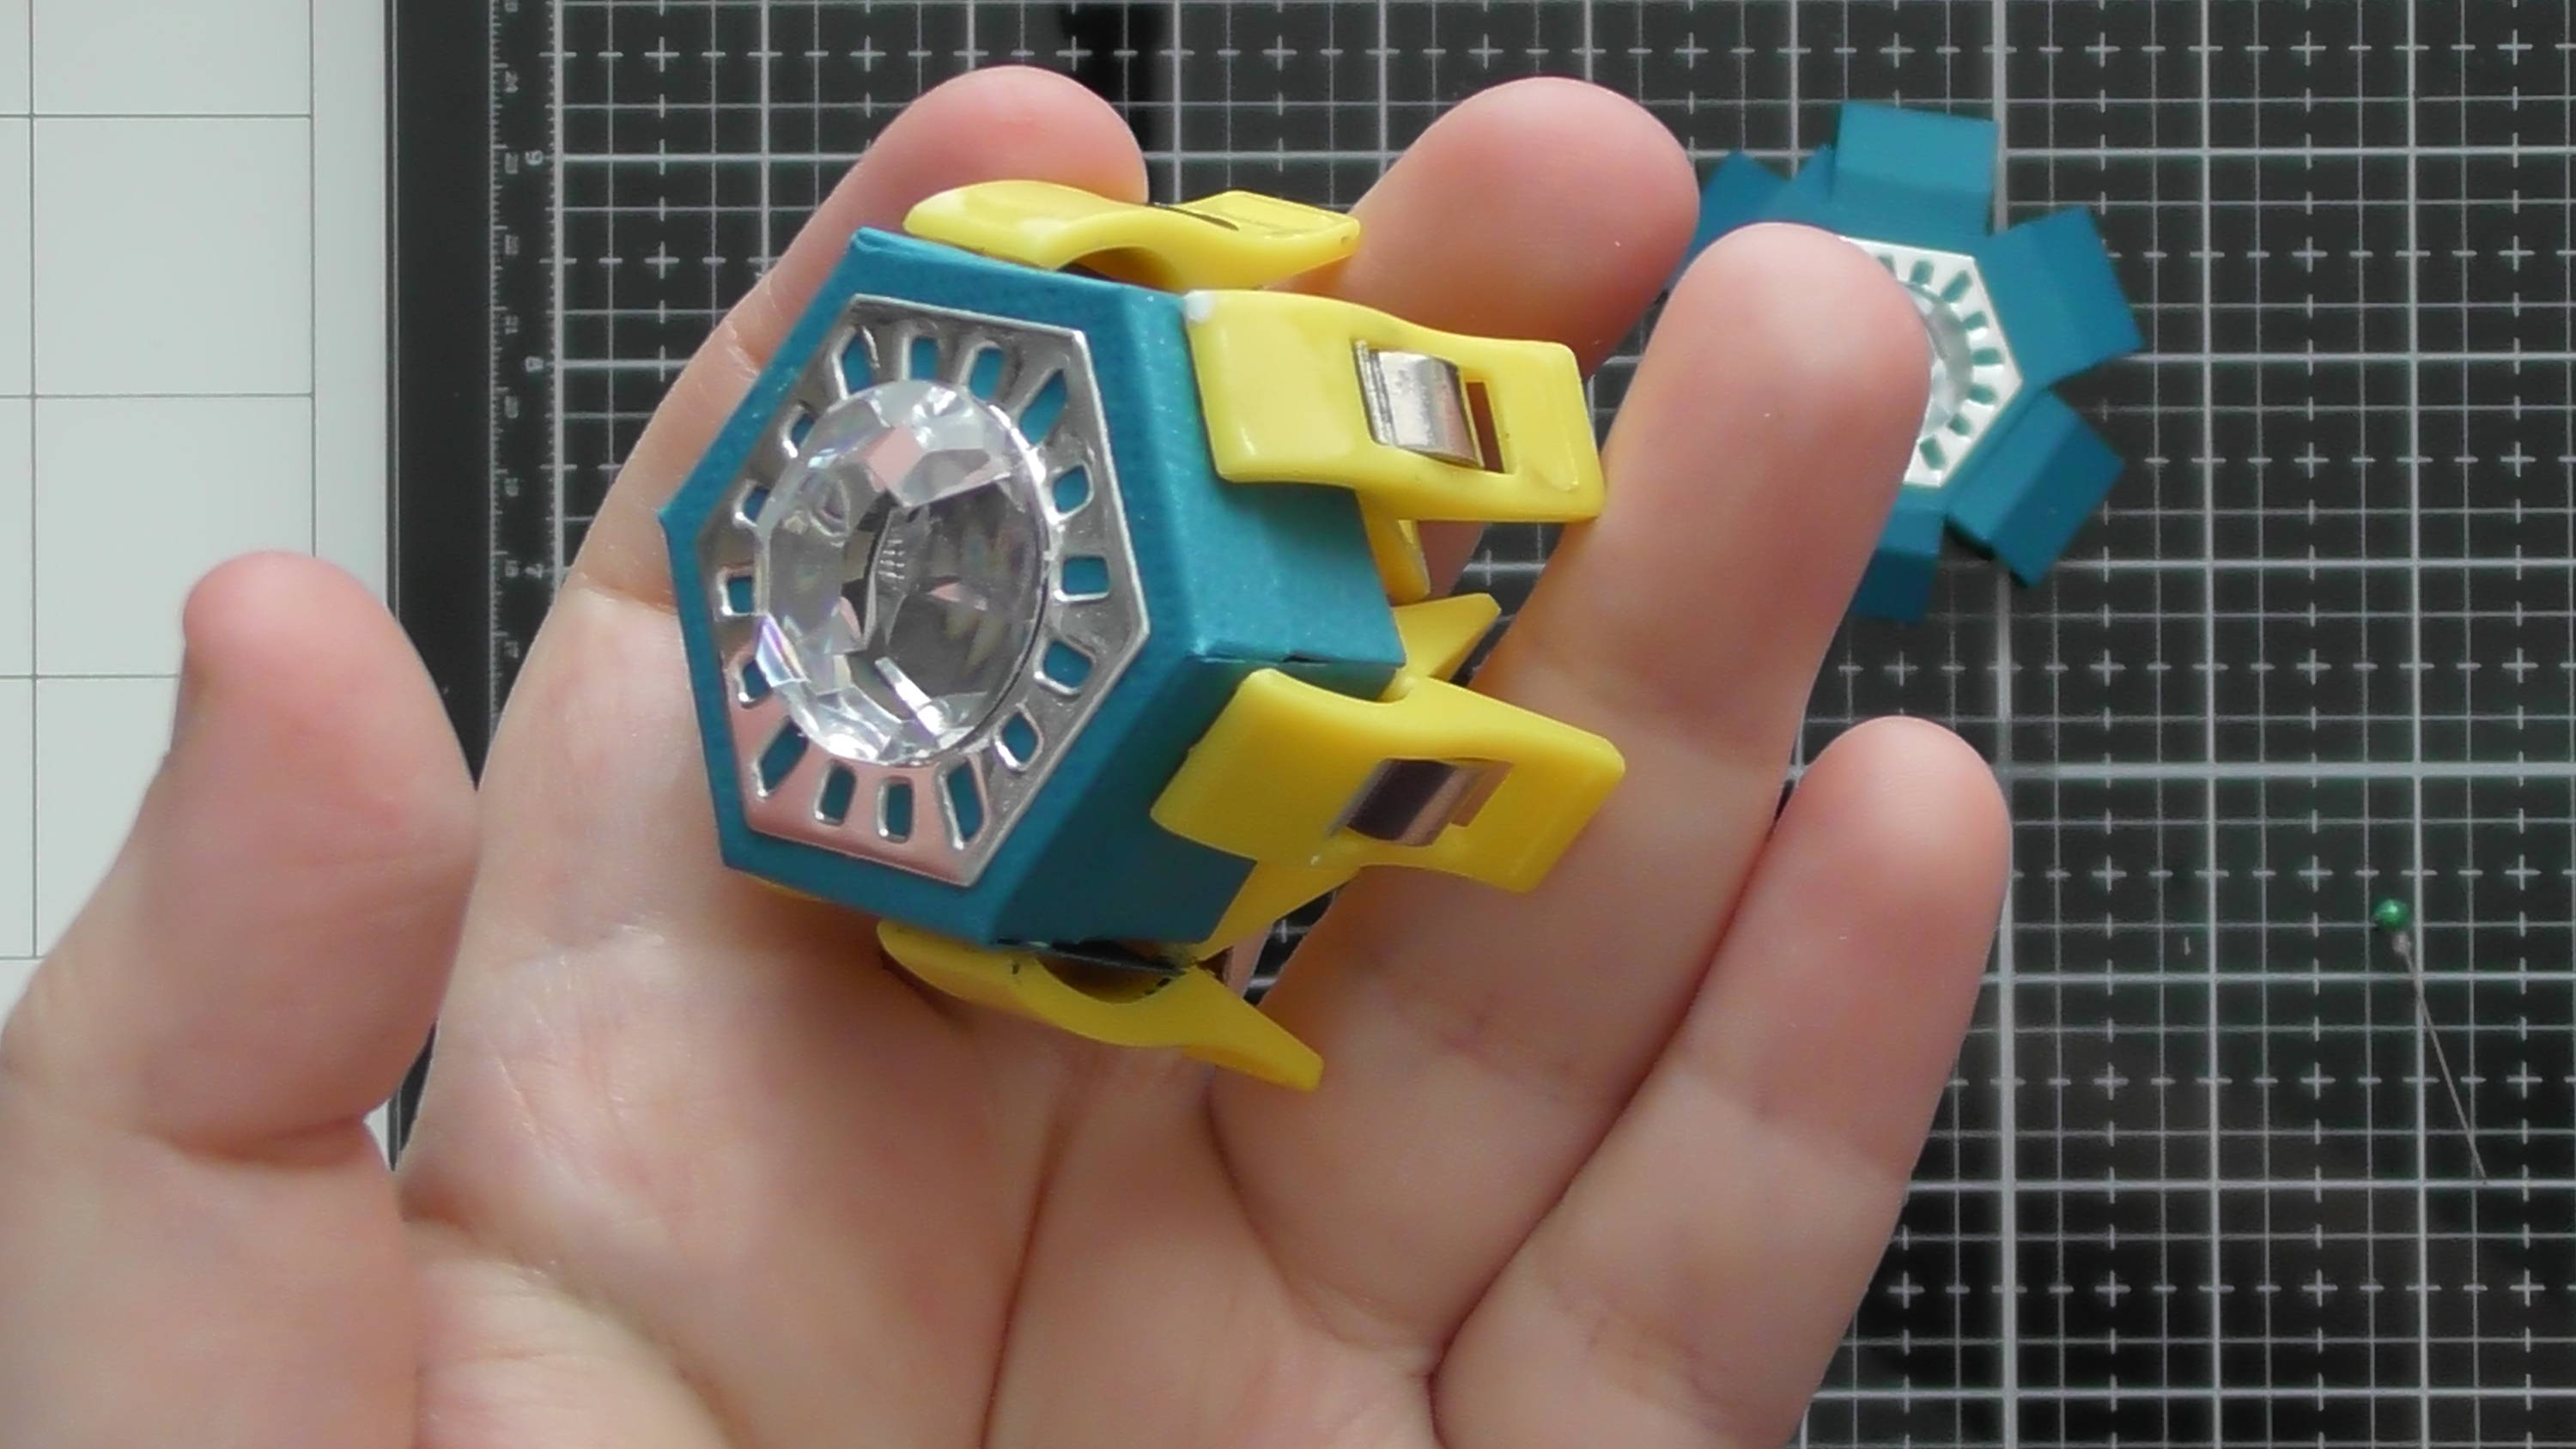
Little pegs/clips held tremendously when constructing these.
Step 14
You’ll end up with 2 handles like this.
Step 15
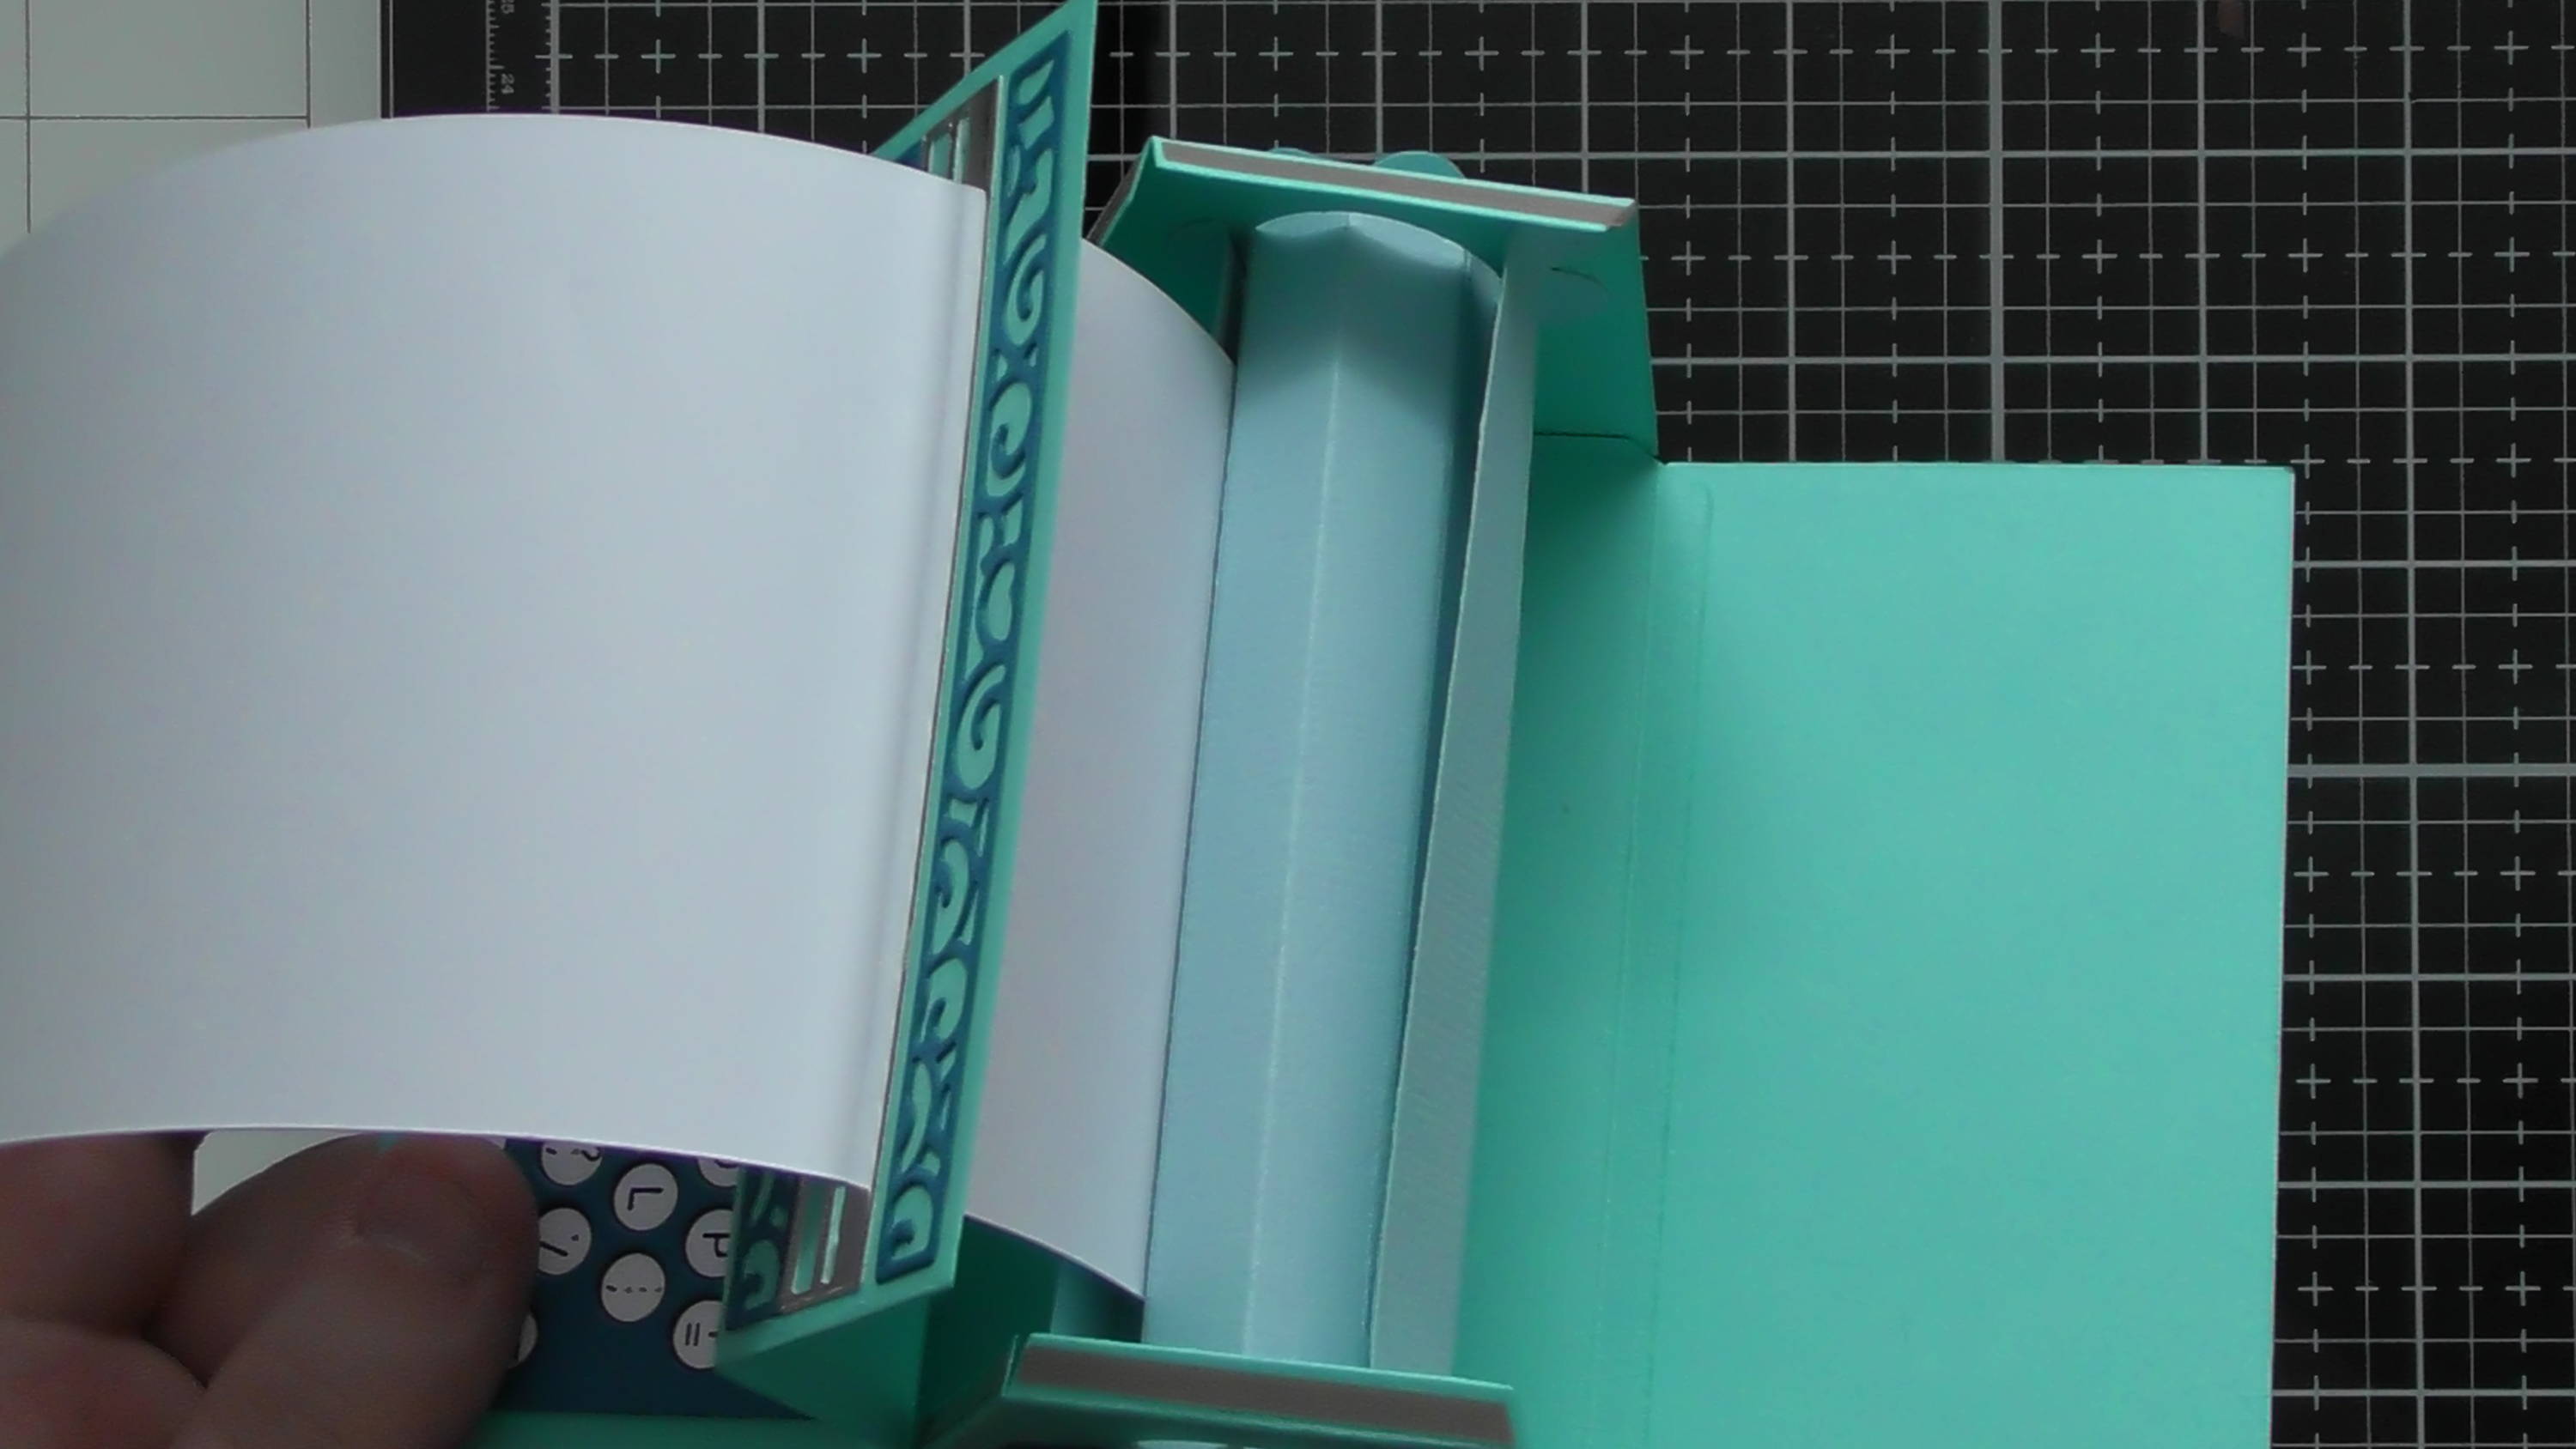
Now we can go back to the main construction, use the glue tabs to get your typewriter to this stage, leaving those last 2 glue tabs on each side un-stuck while we add the mechanism.
Step 16
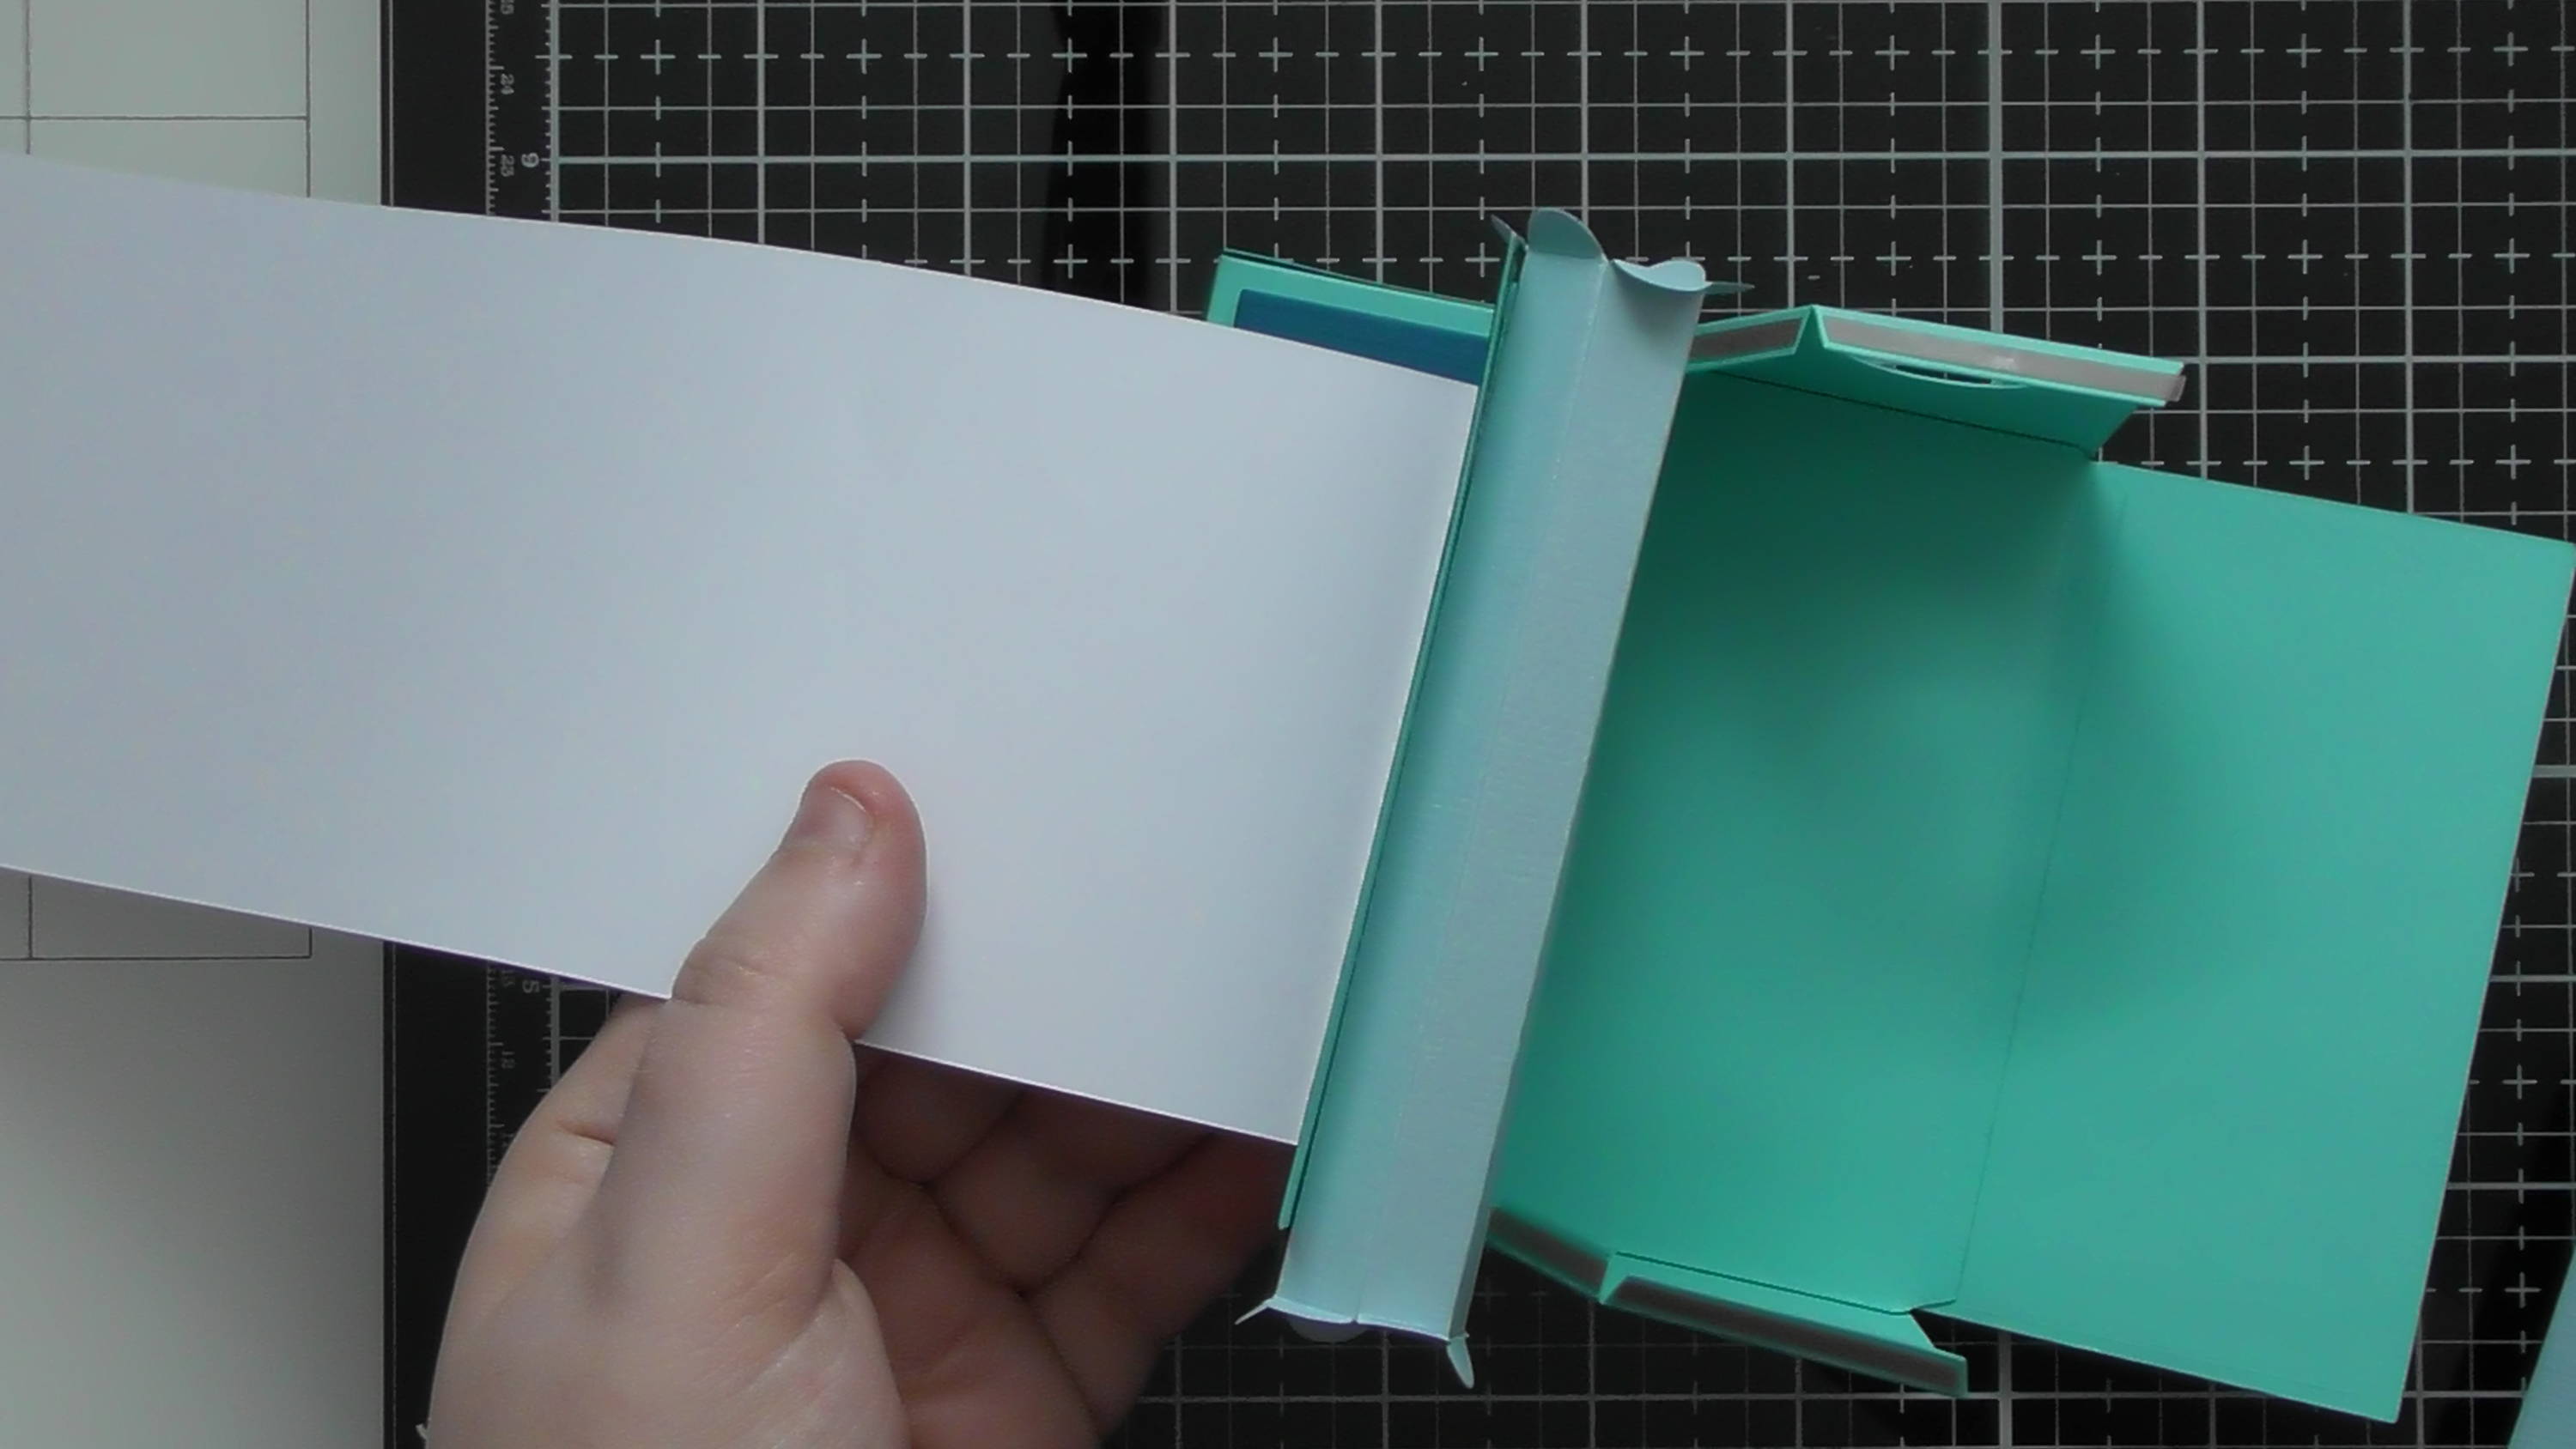
place the inner spindle with paper attached through the top slot ready.
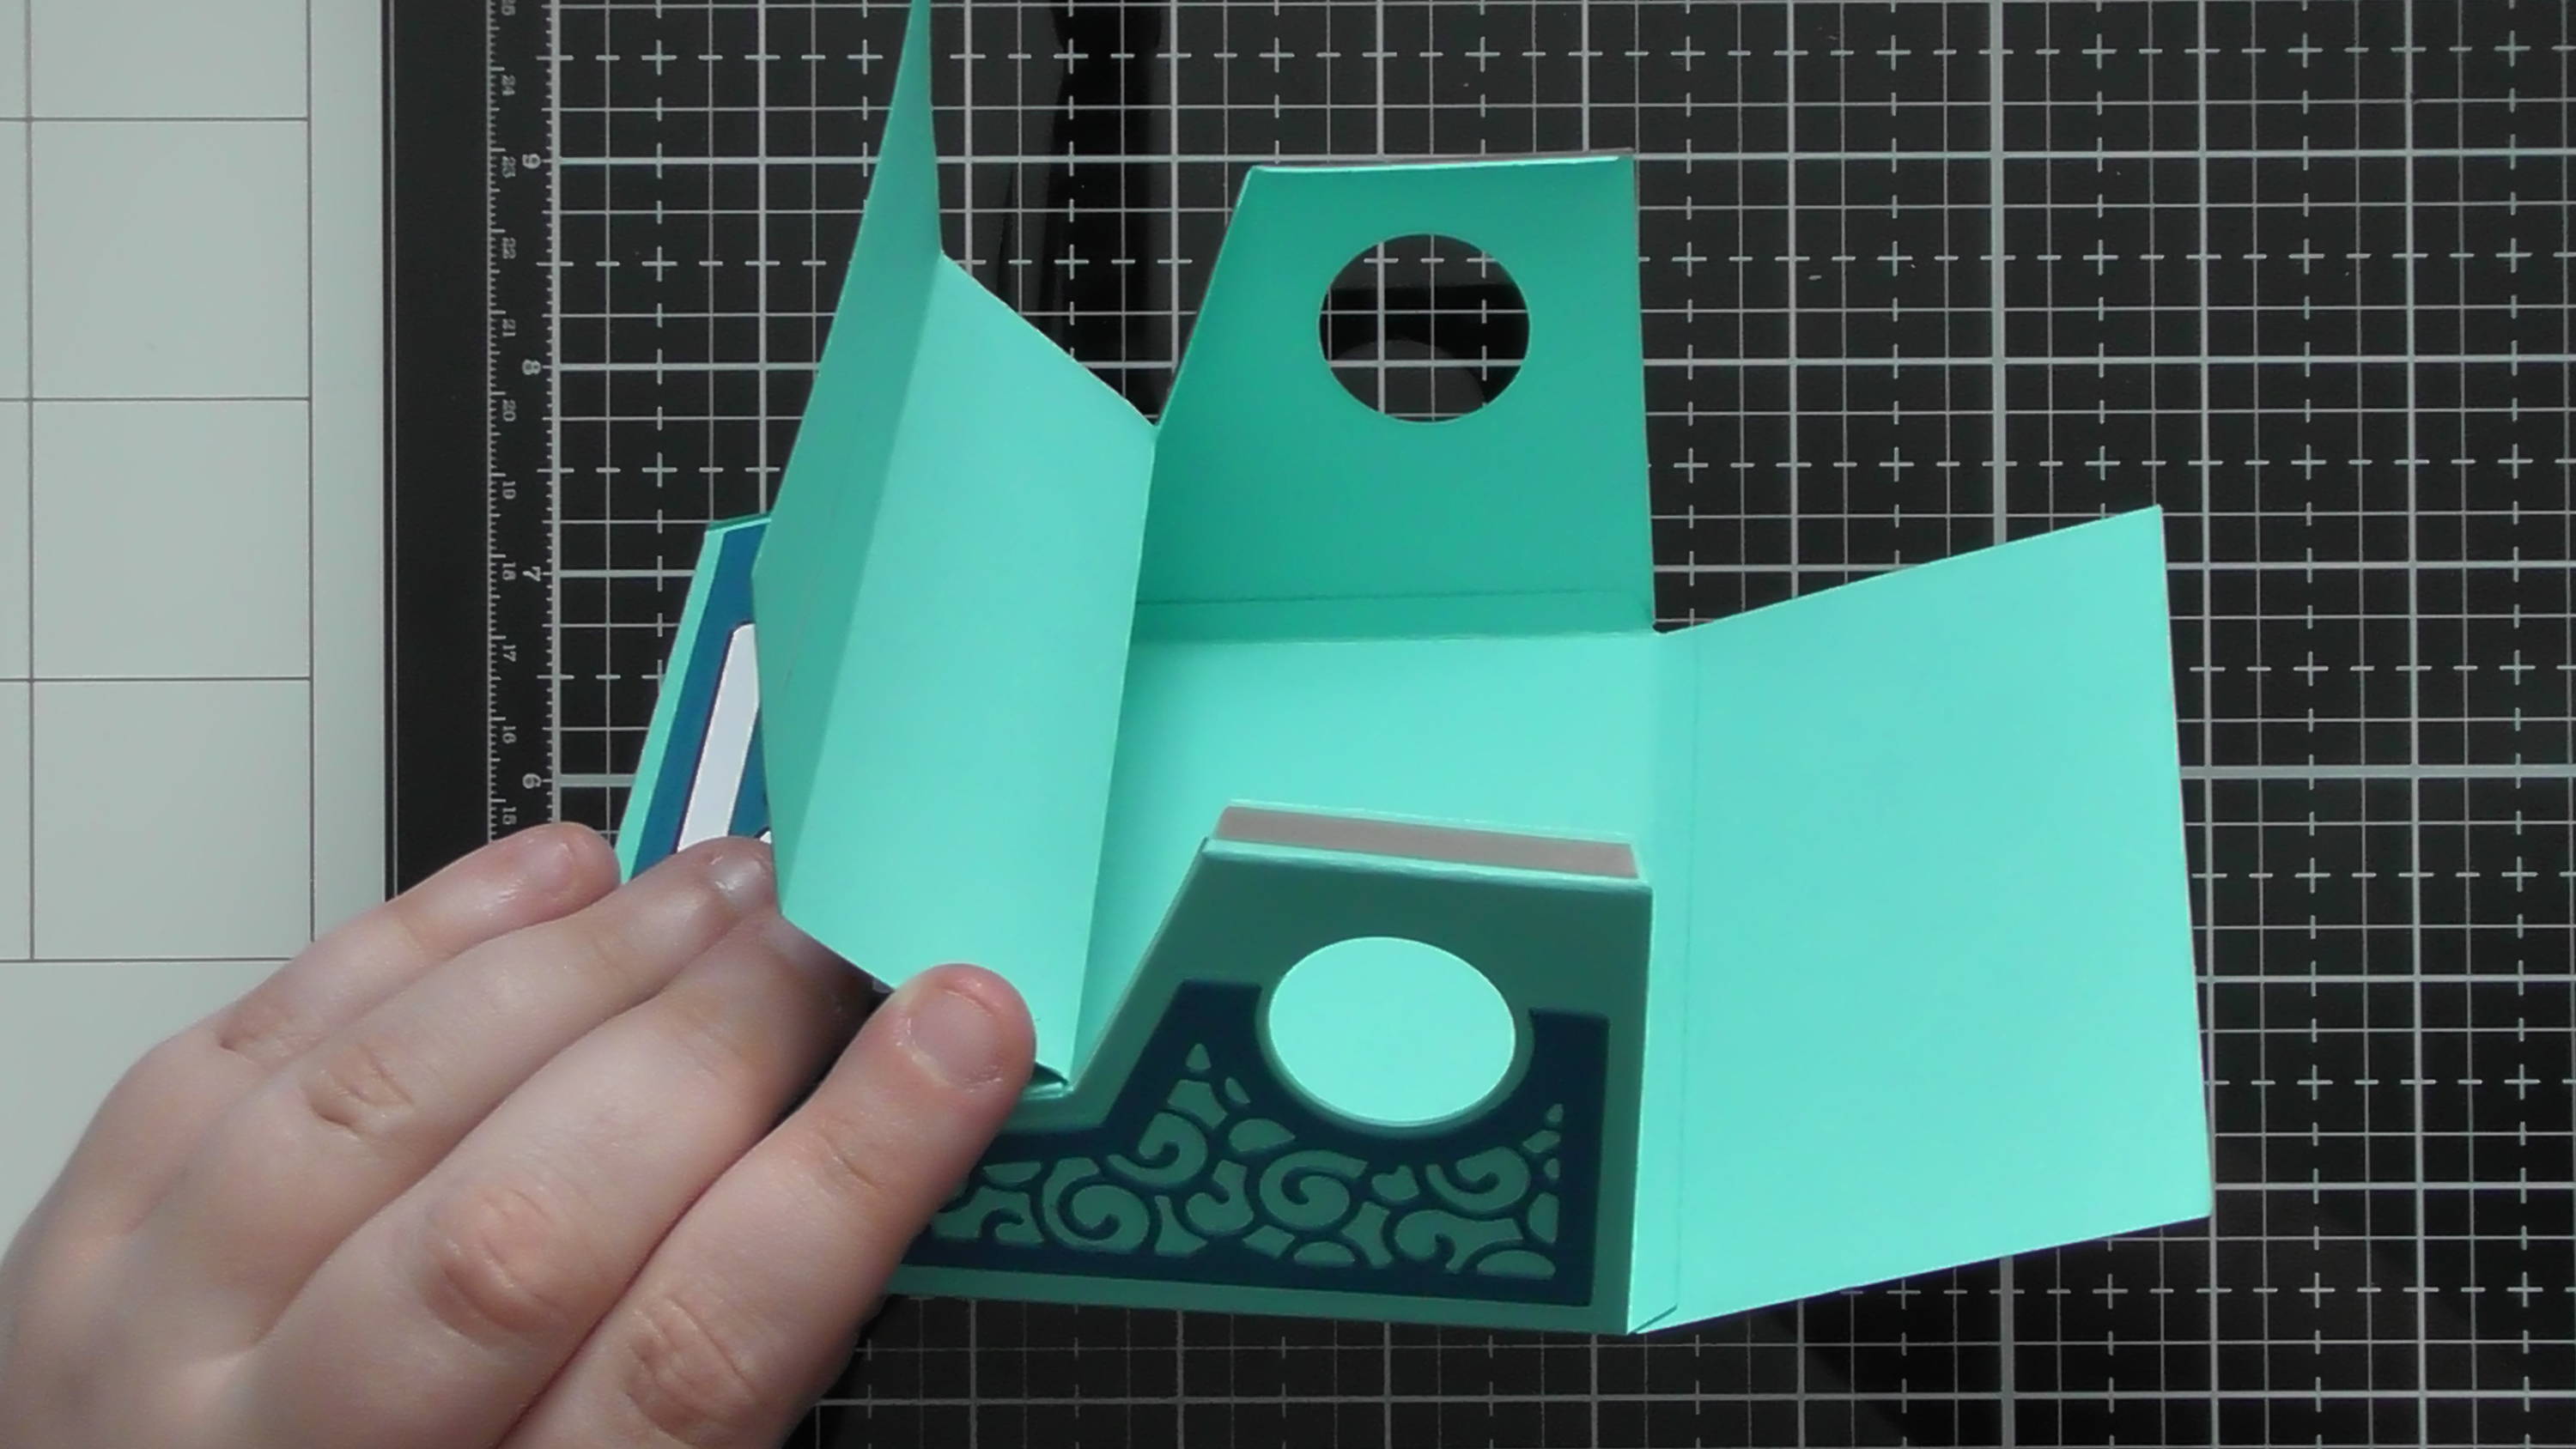
Step 17
Then attach the outer spindle inside the typewriter as shown.
Step 18
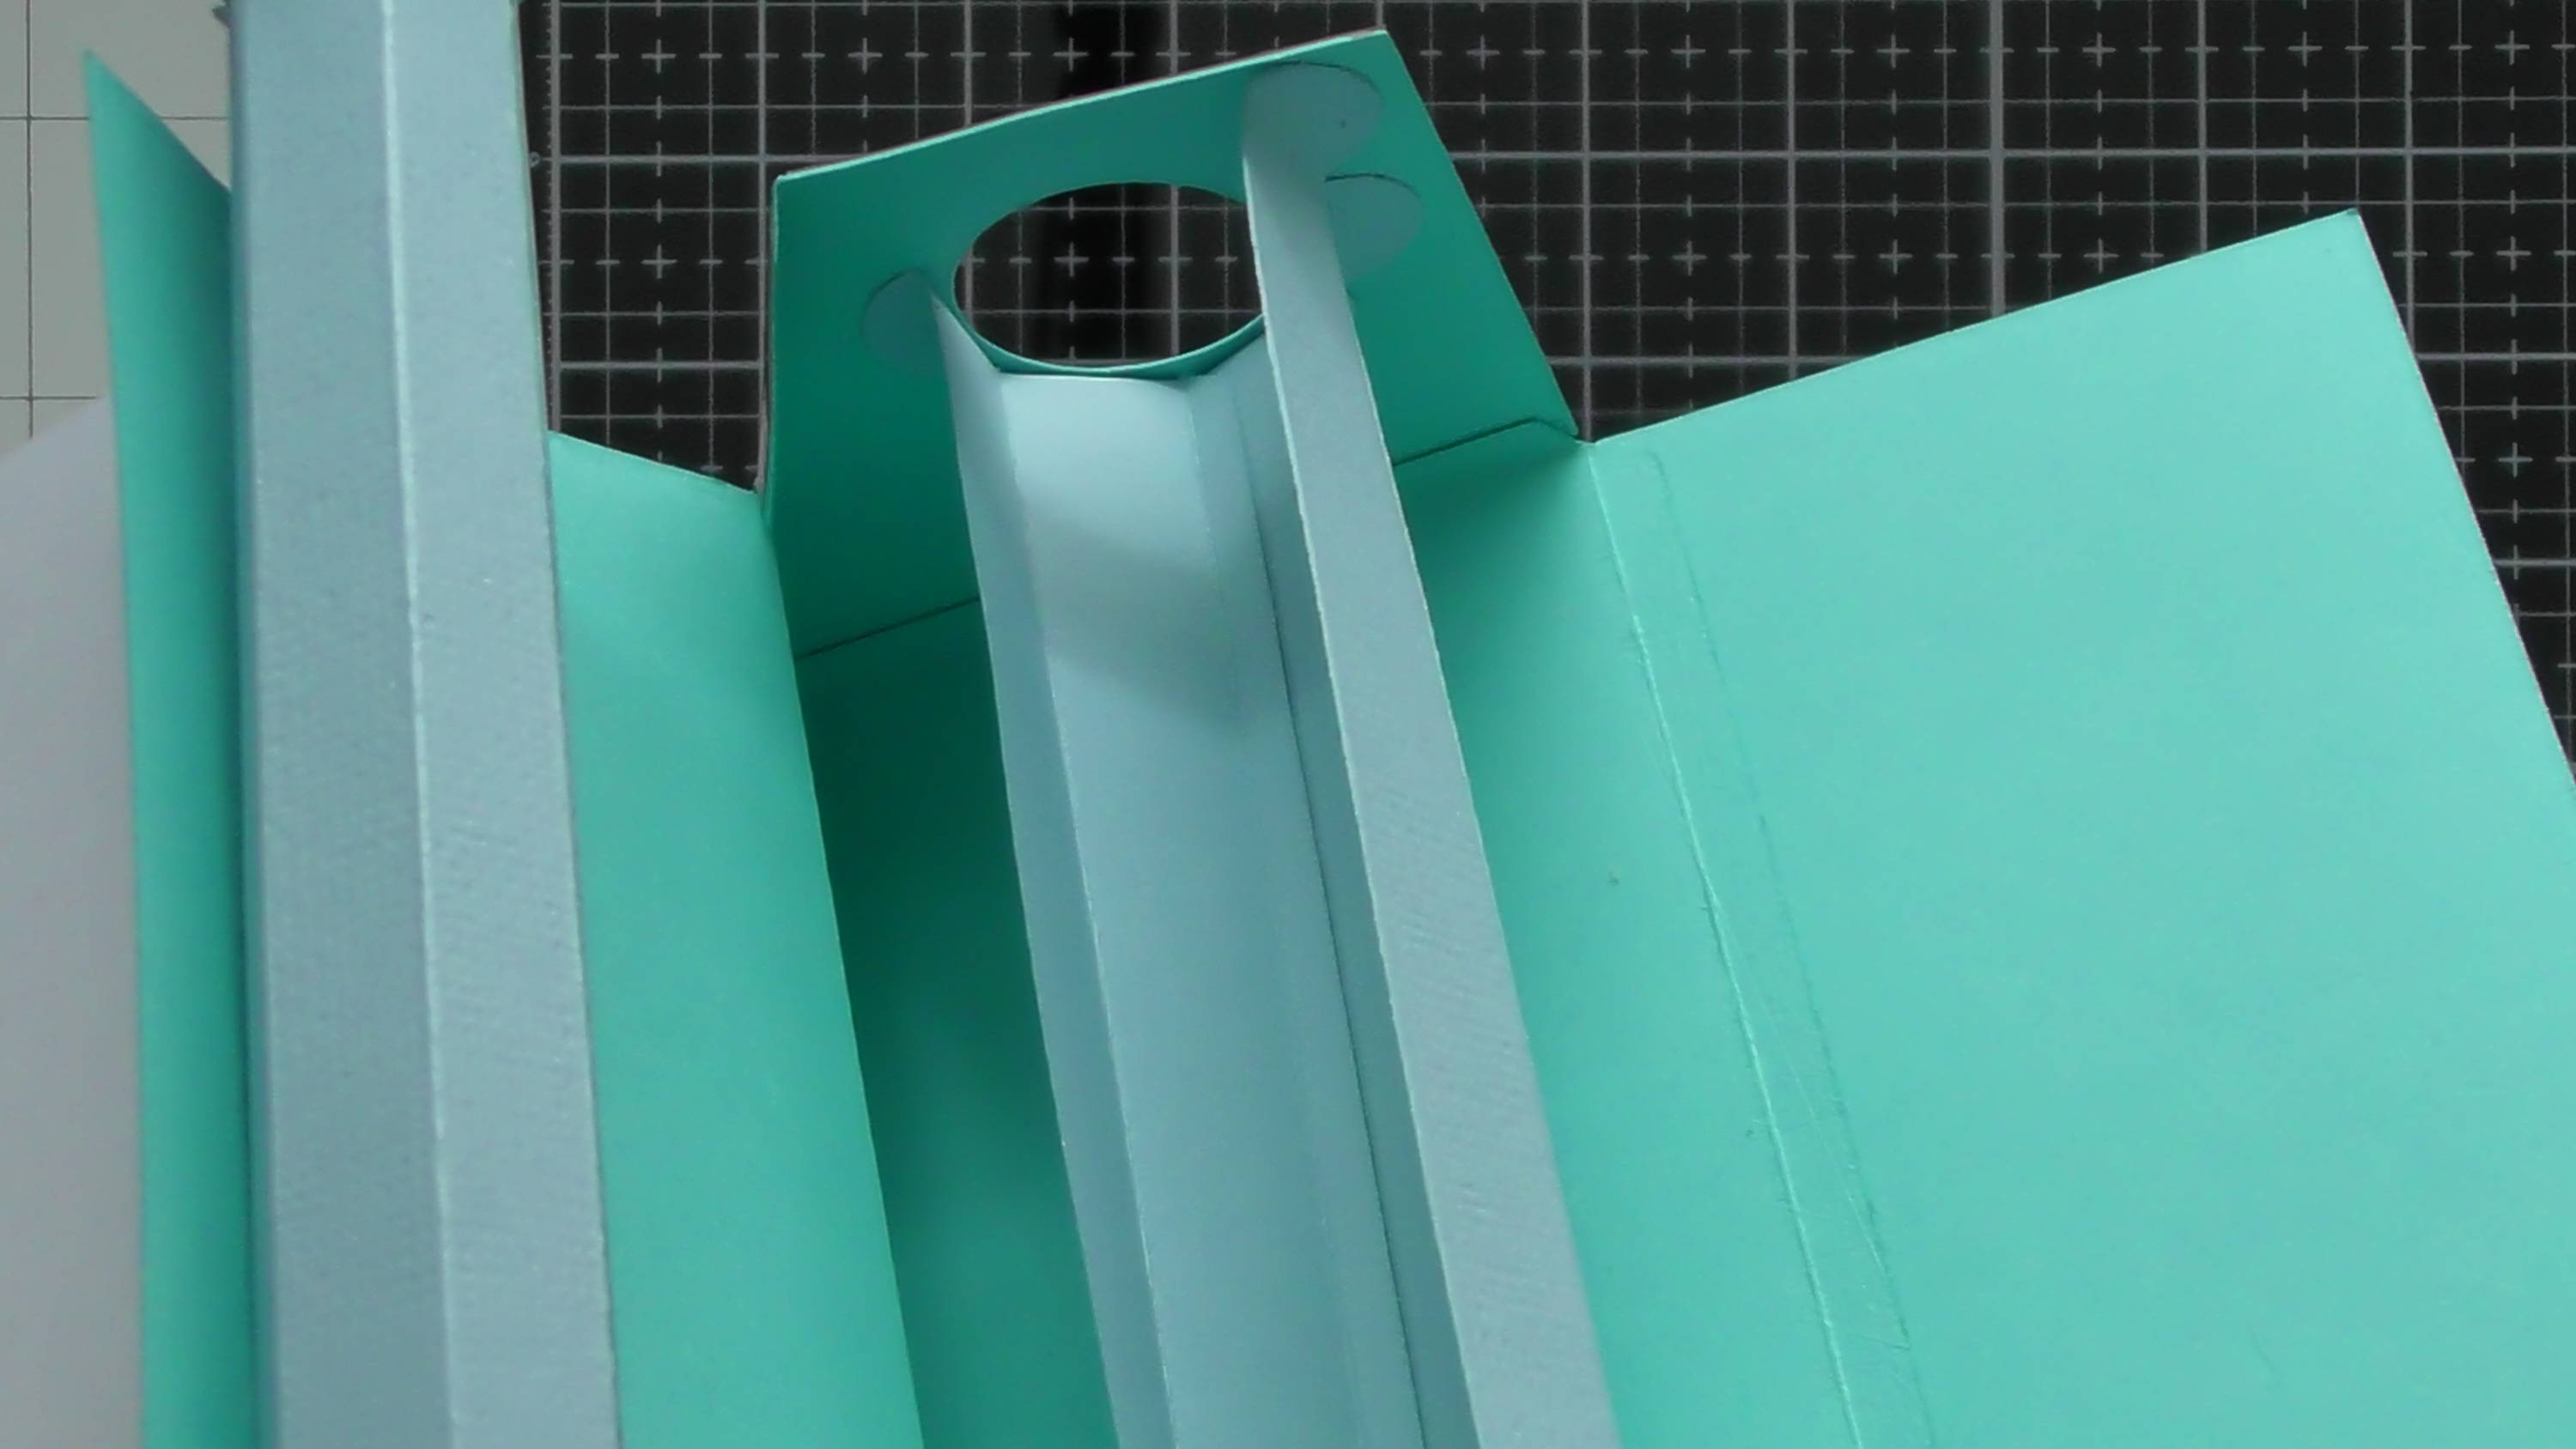
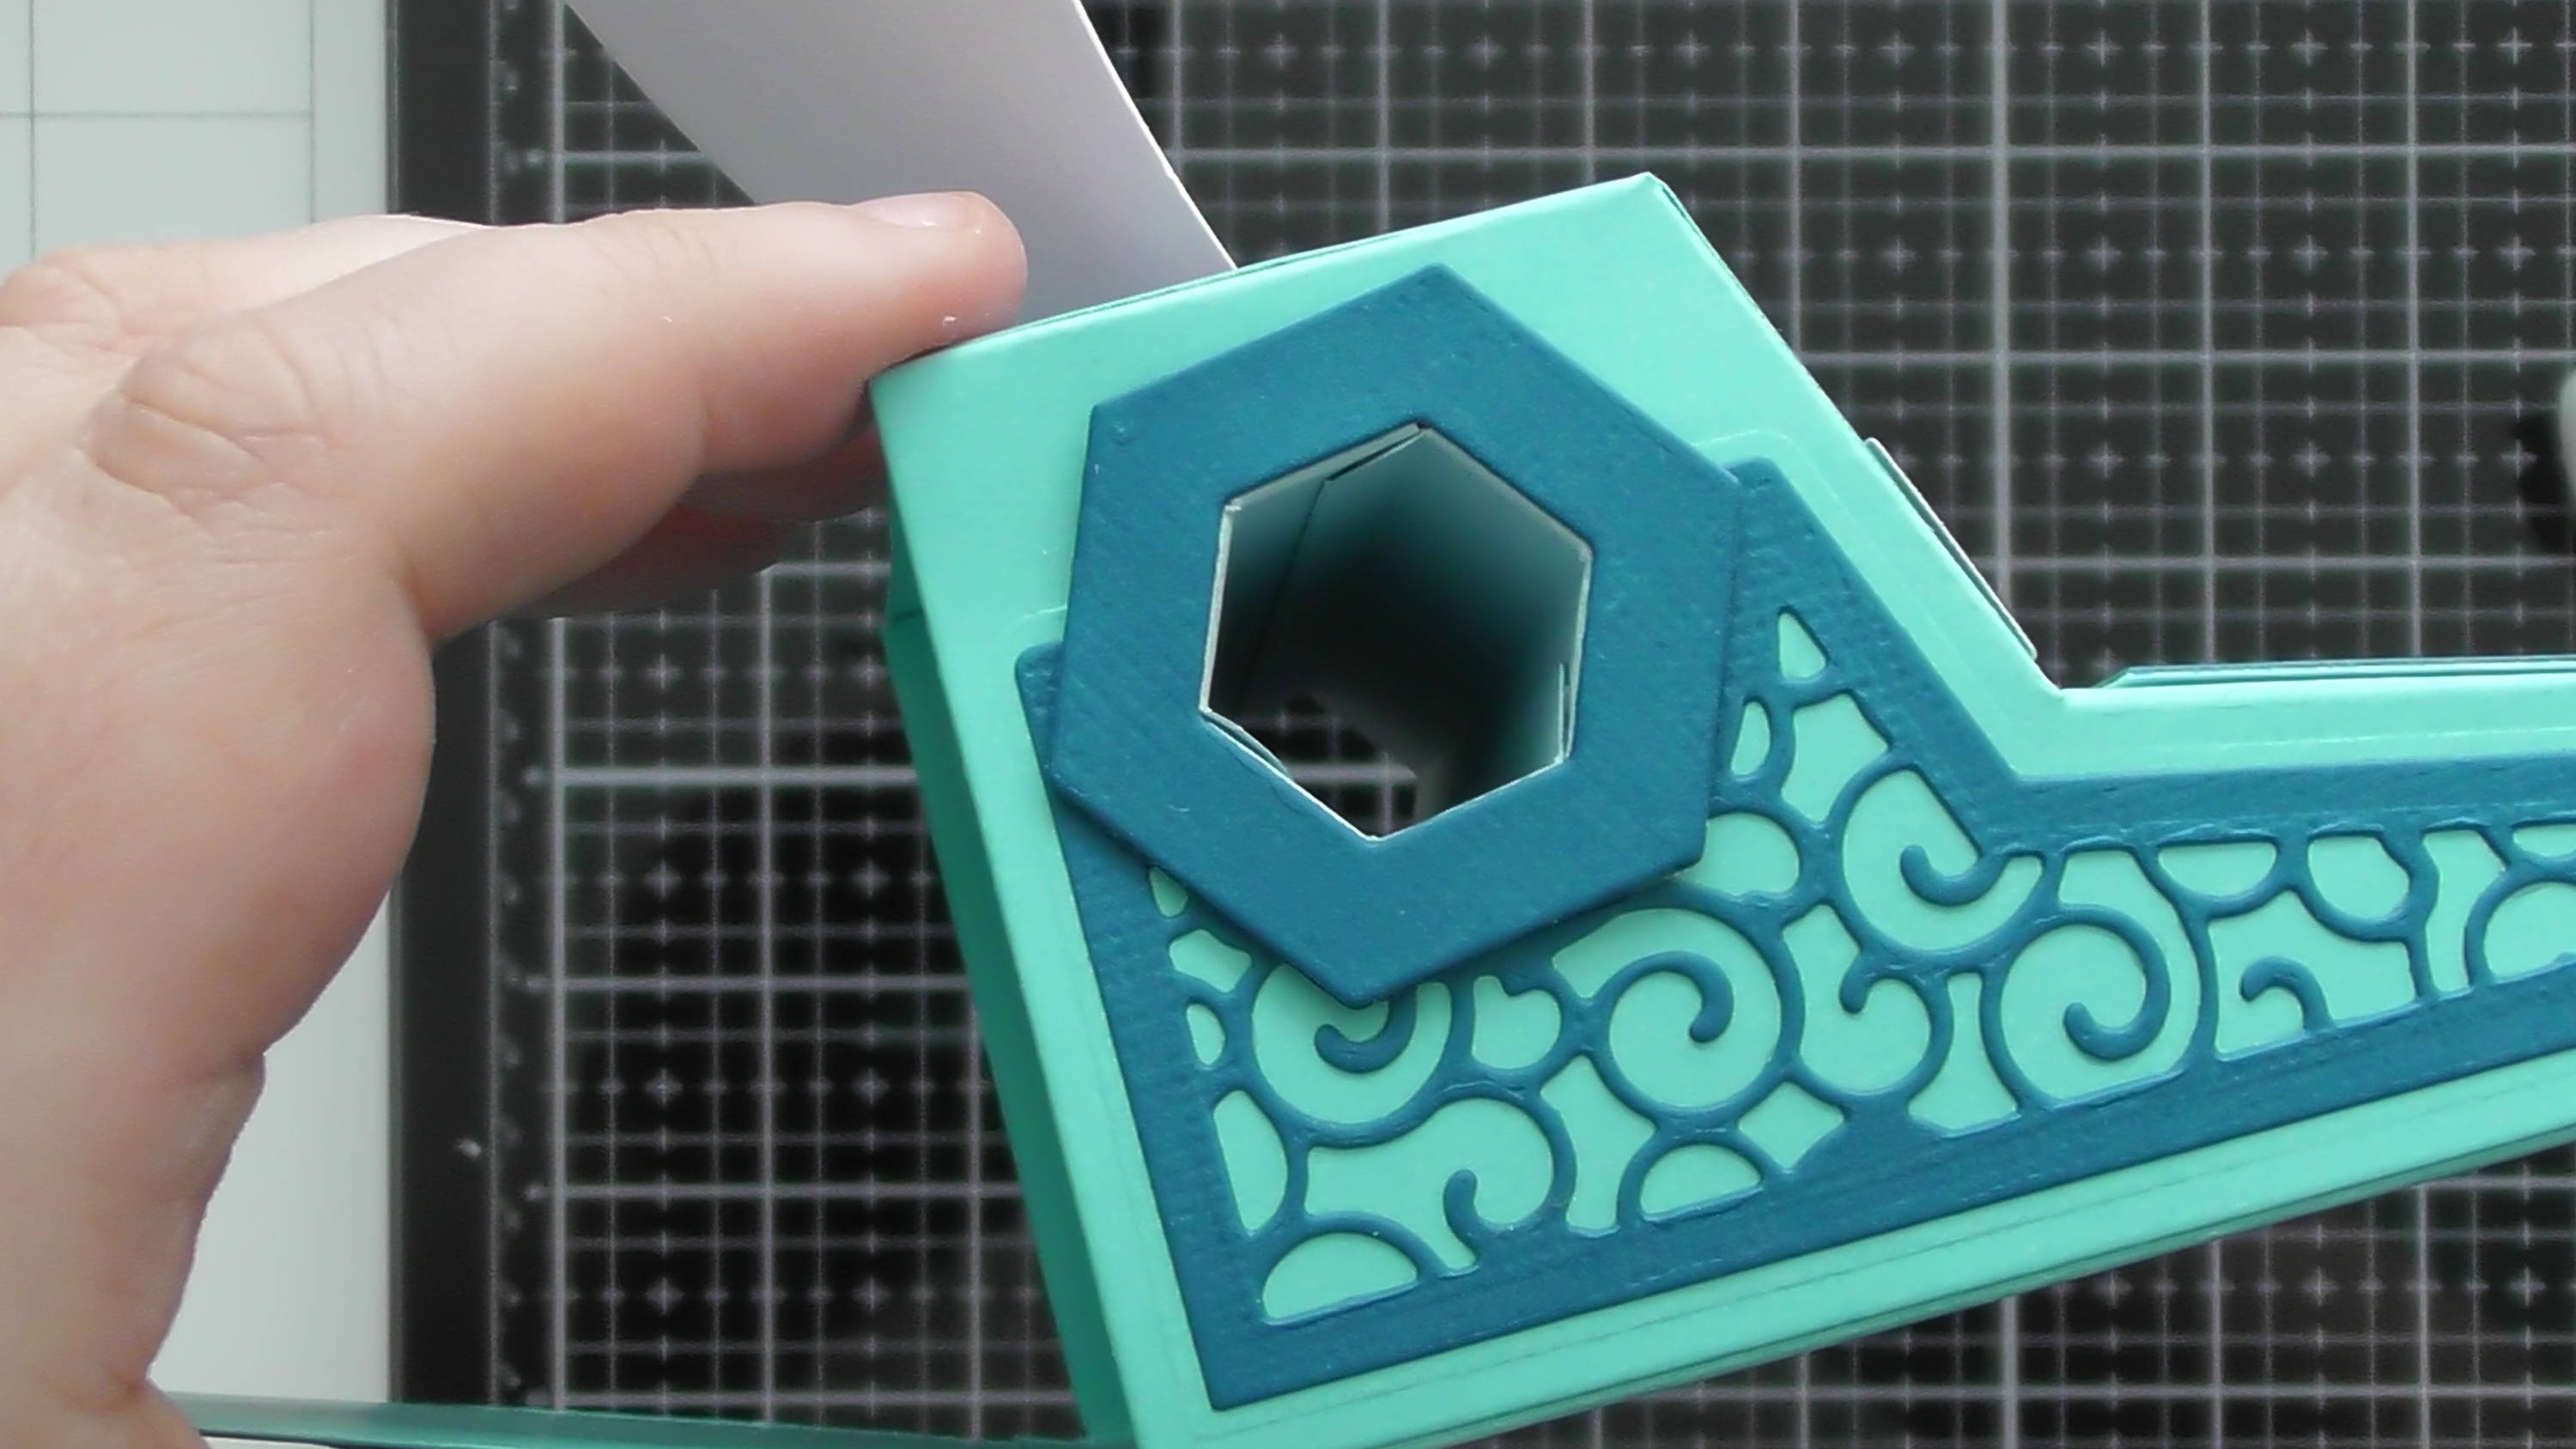
You can now place the inner spindle inside and feed the ends through the hole on either side.
Step 19
like so, and once this in place you can secure those final glue tabs too.
Step 20
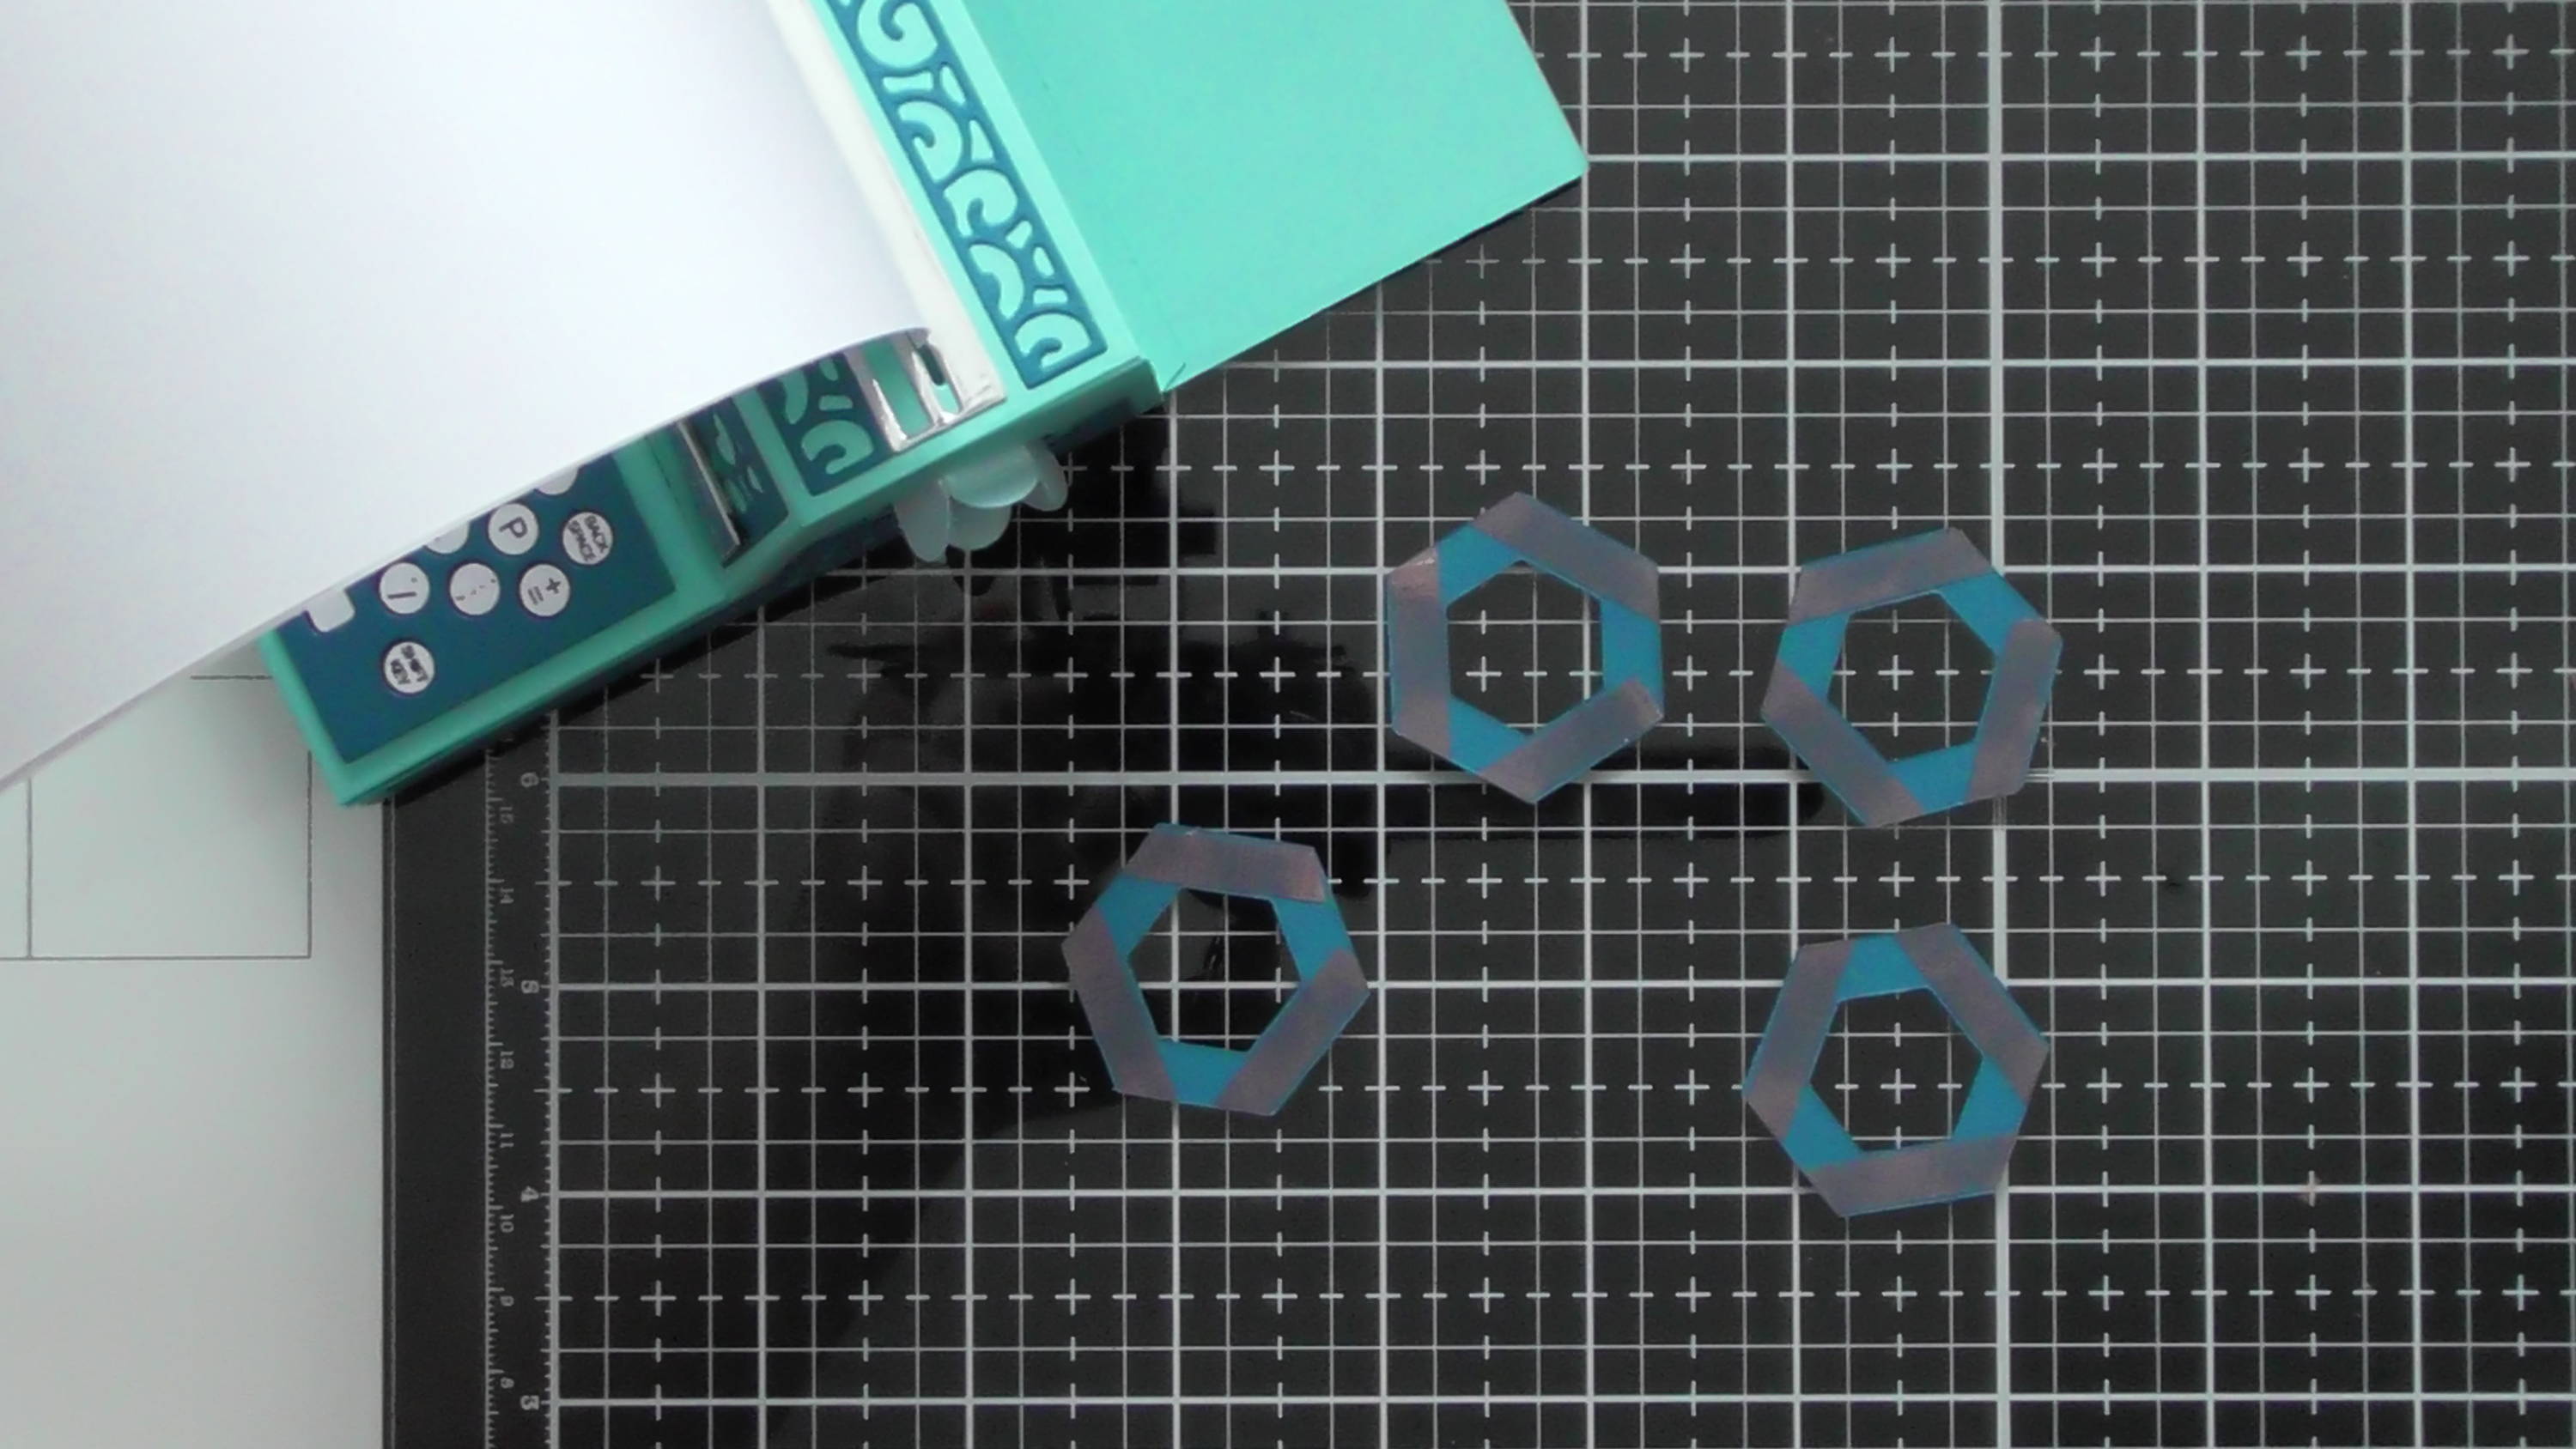
To attach the handles, you’ll need 4 of the hexagon ‘washers’, I’ve added tape to the back of them all to make it easier.
Step 21
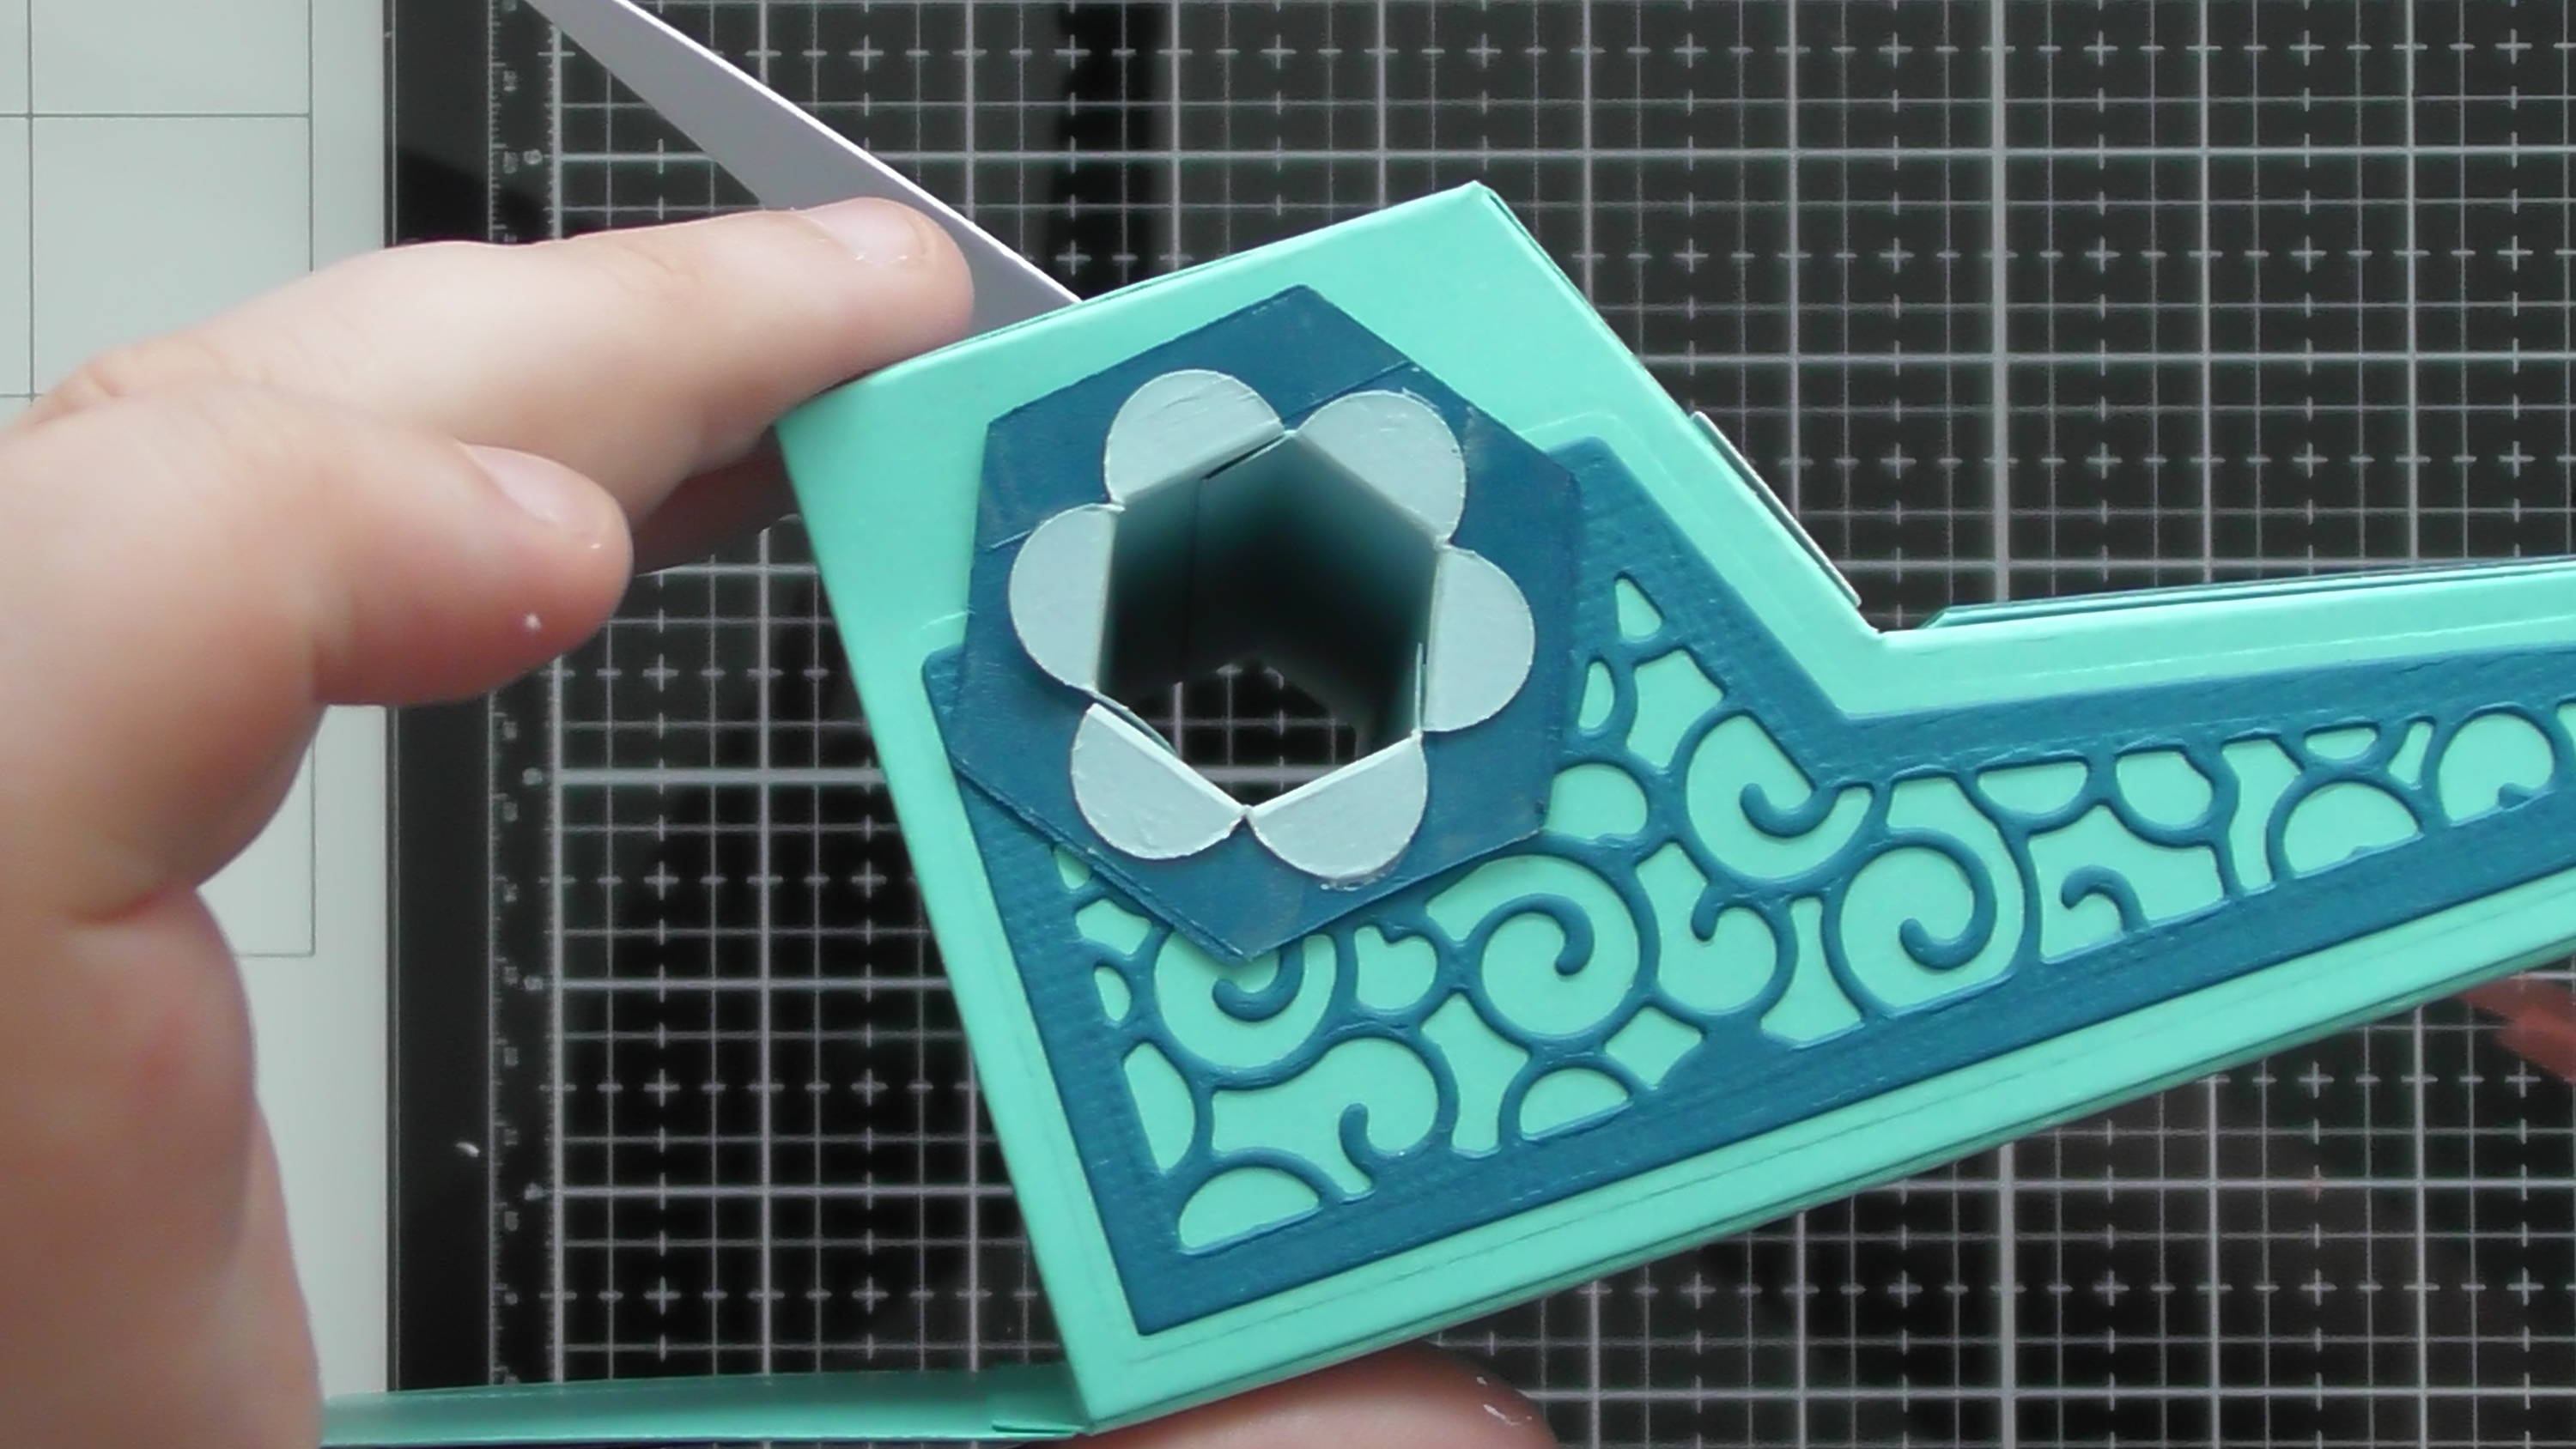
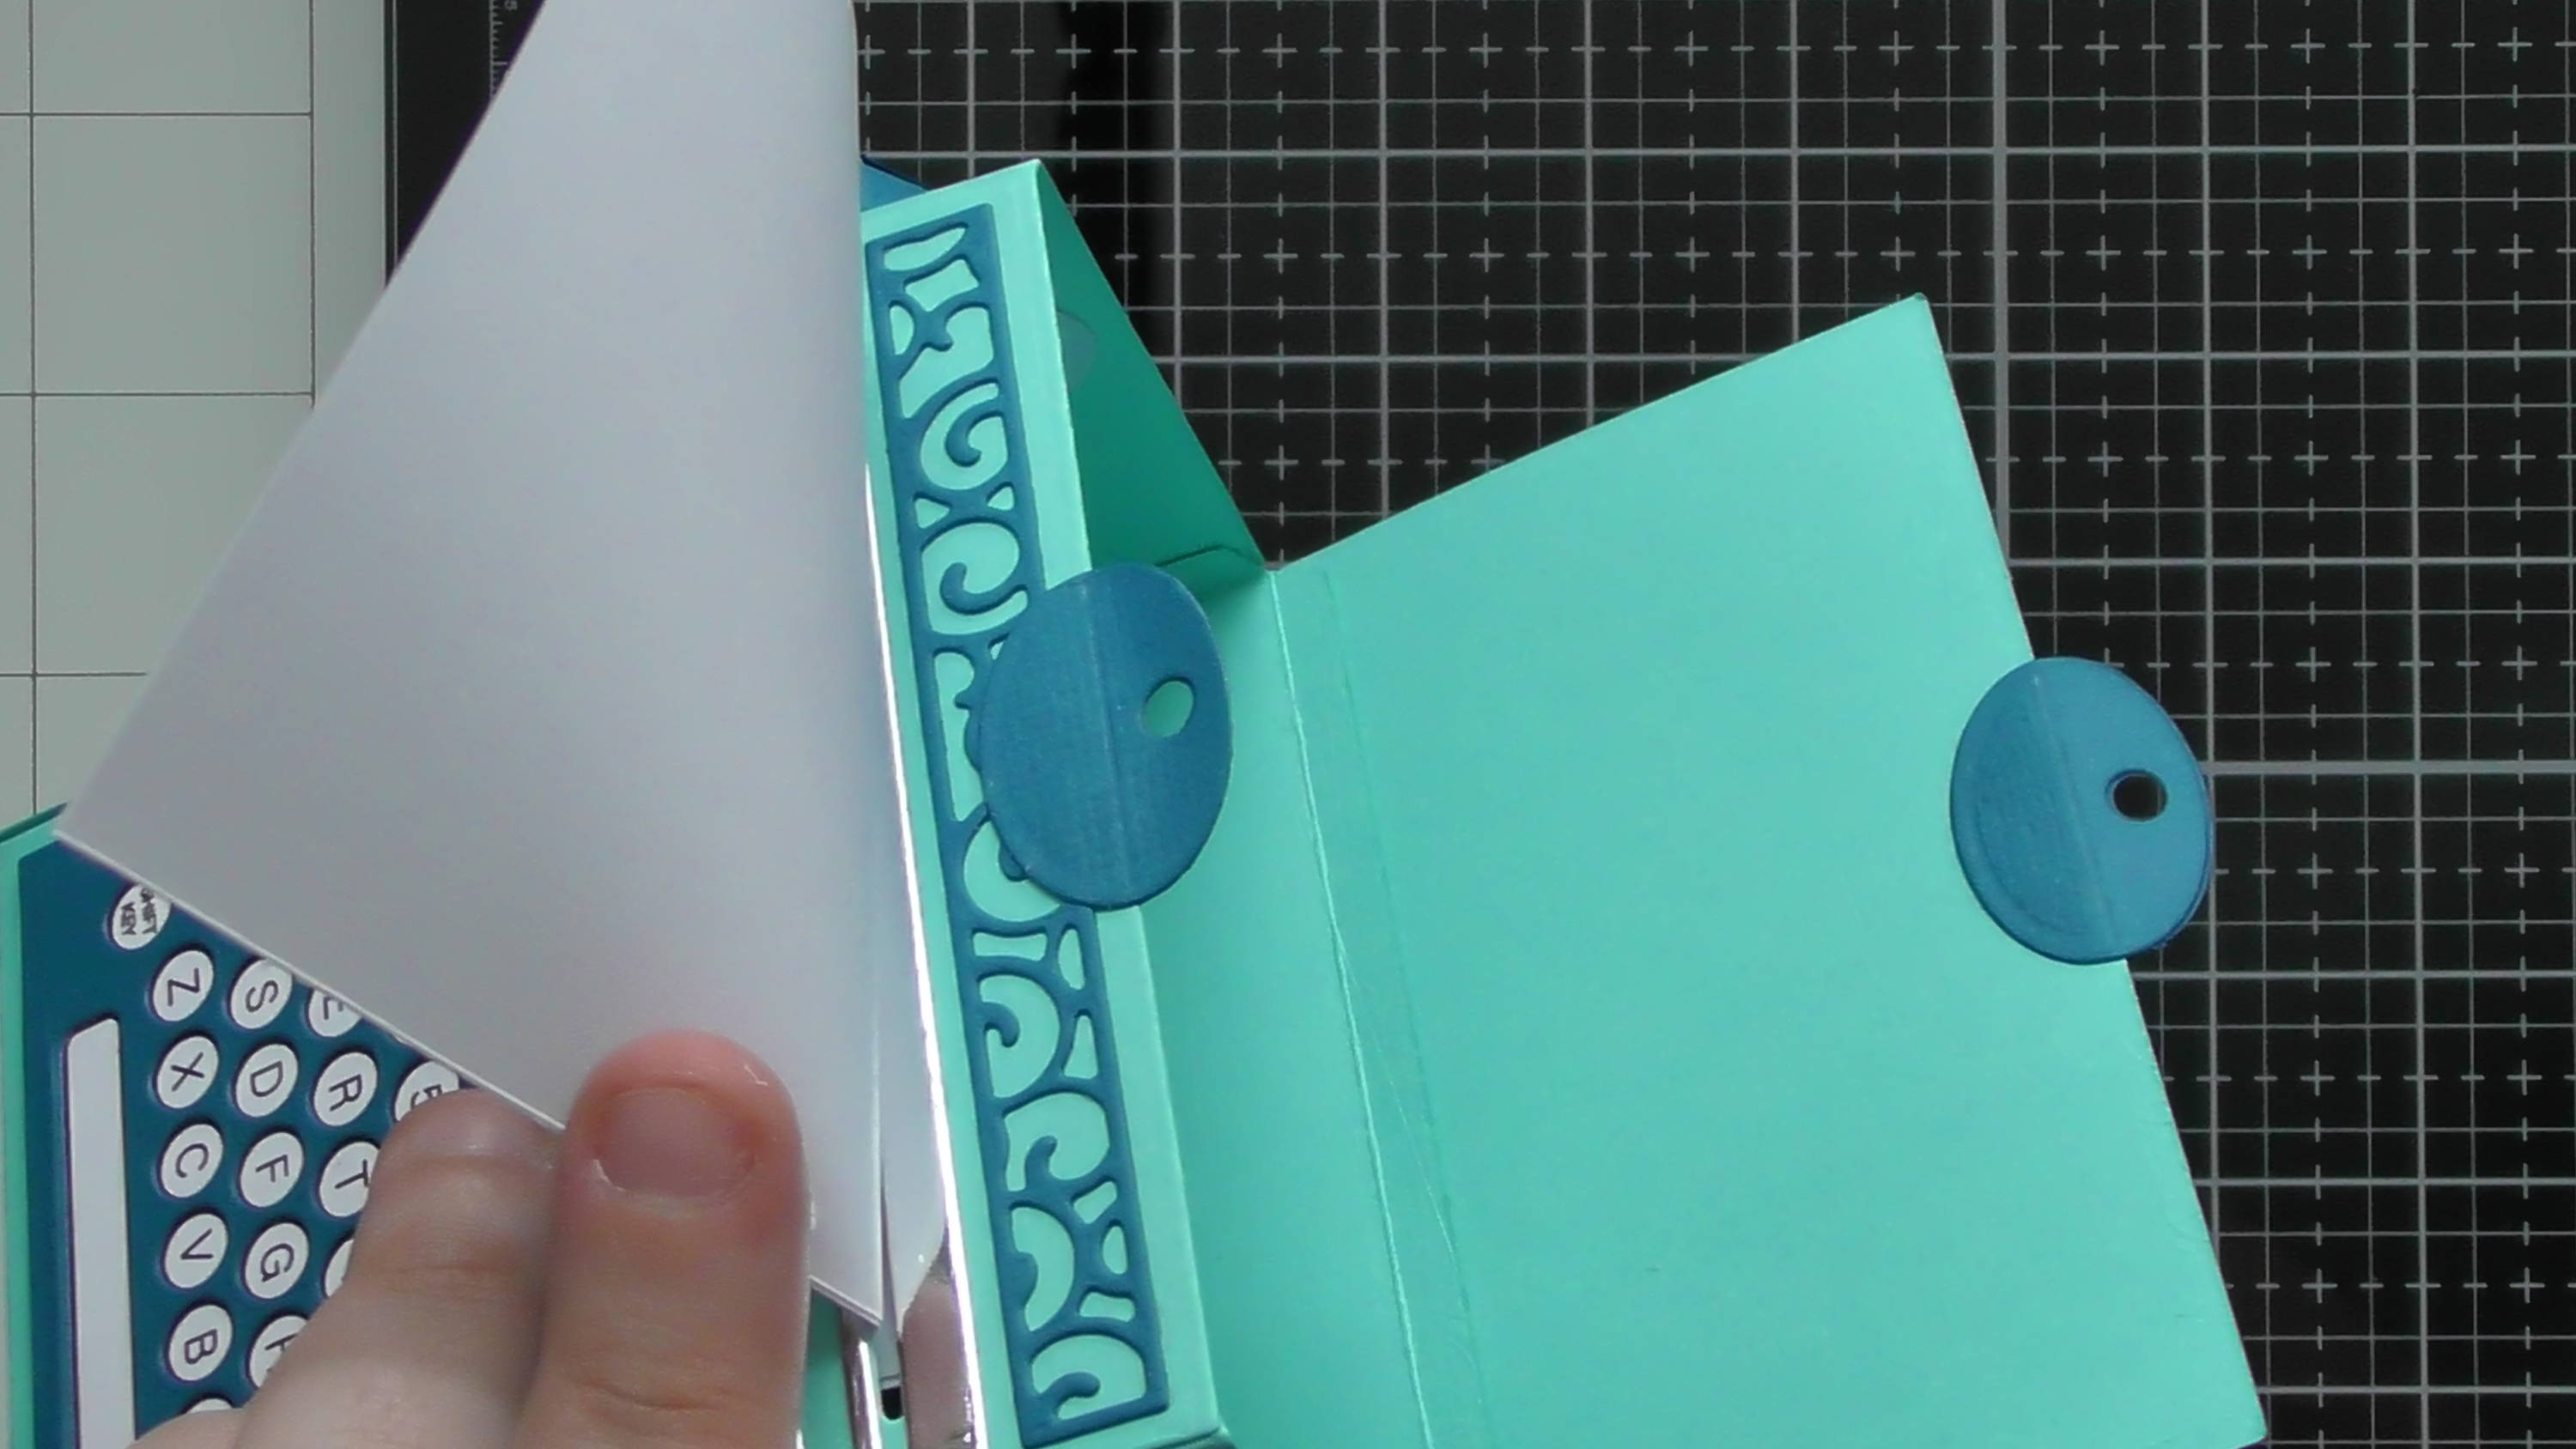
Add a washer as shown, and secure the glue tabs to it, then take a second washer and glue it over the top to secure those glue tabs.
Step 22
like so, you can then adhere the 2 handles that we made in steps 11-14 onto these washers.
Step 23
To help the back of the ‘gift box’ to stay shut, you can add the tabs to both parts of the typewriter and then use some 3mm Craft Perfect ribbon to secure.
Step 24
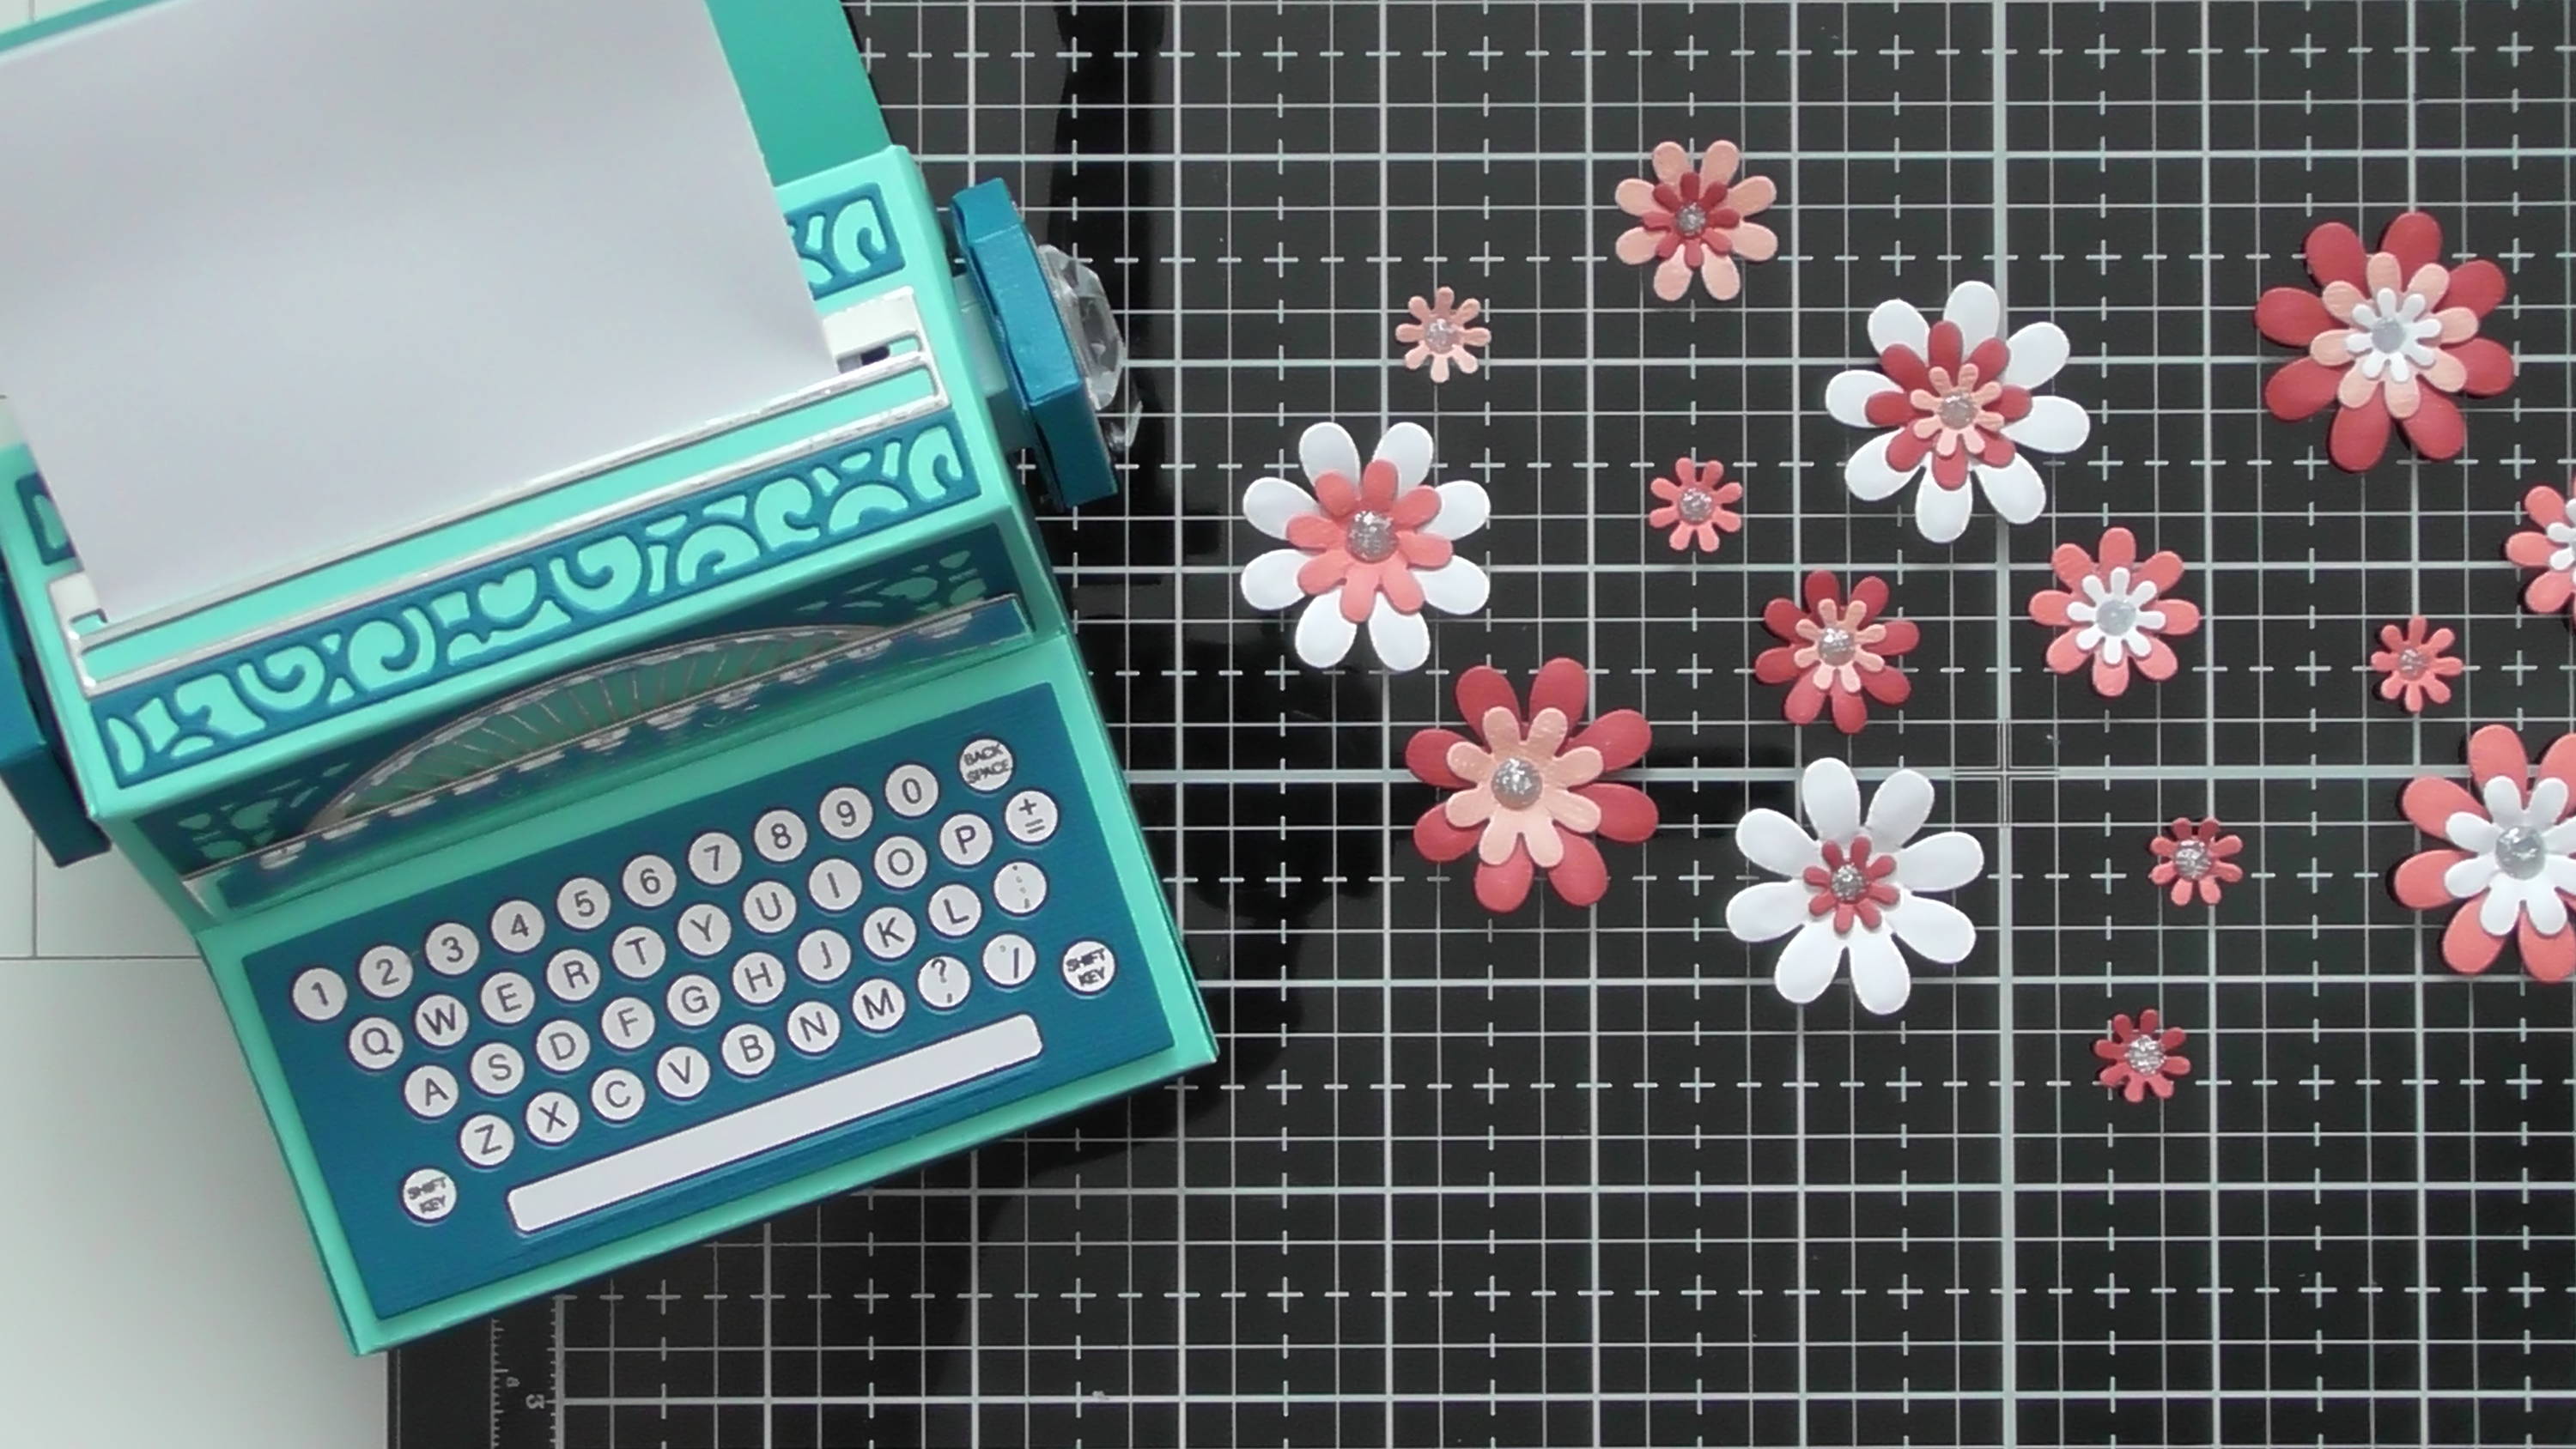
For that final bit of decoration, use the dies from the die set to create lots of flowers adding some coordinating nuvo drops in the centres.
Step 25
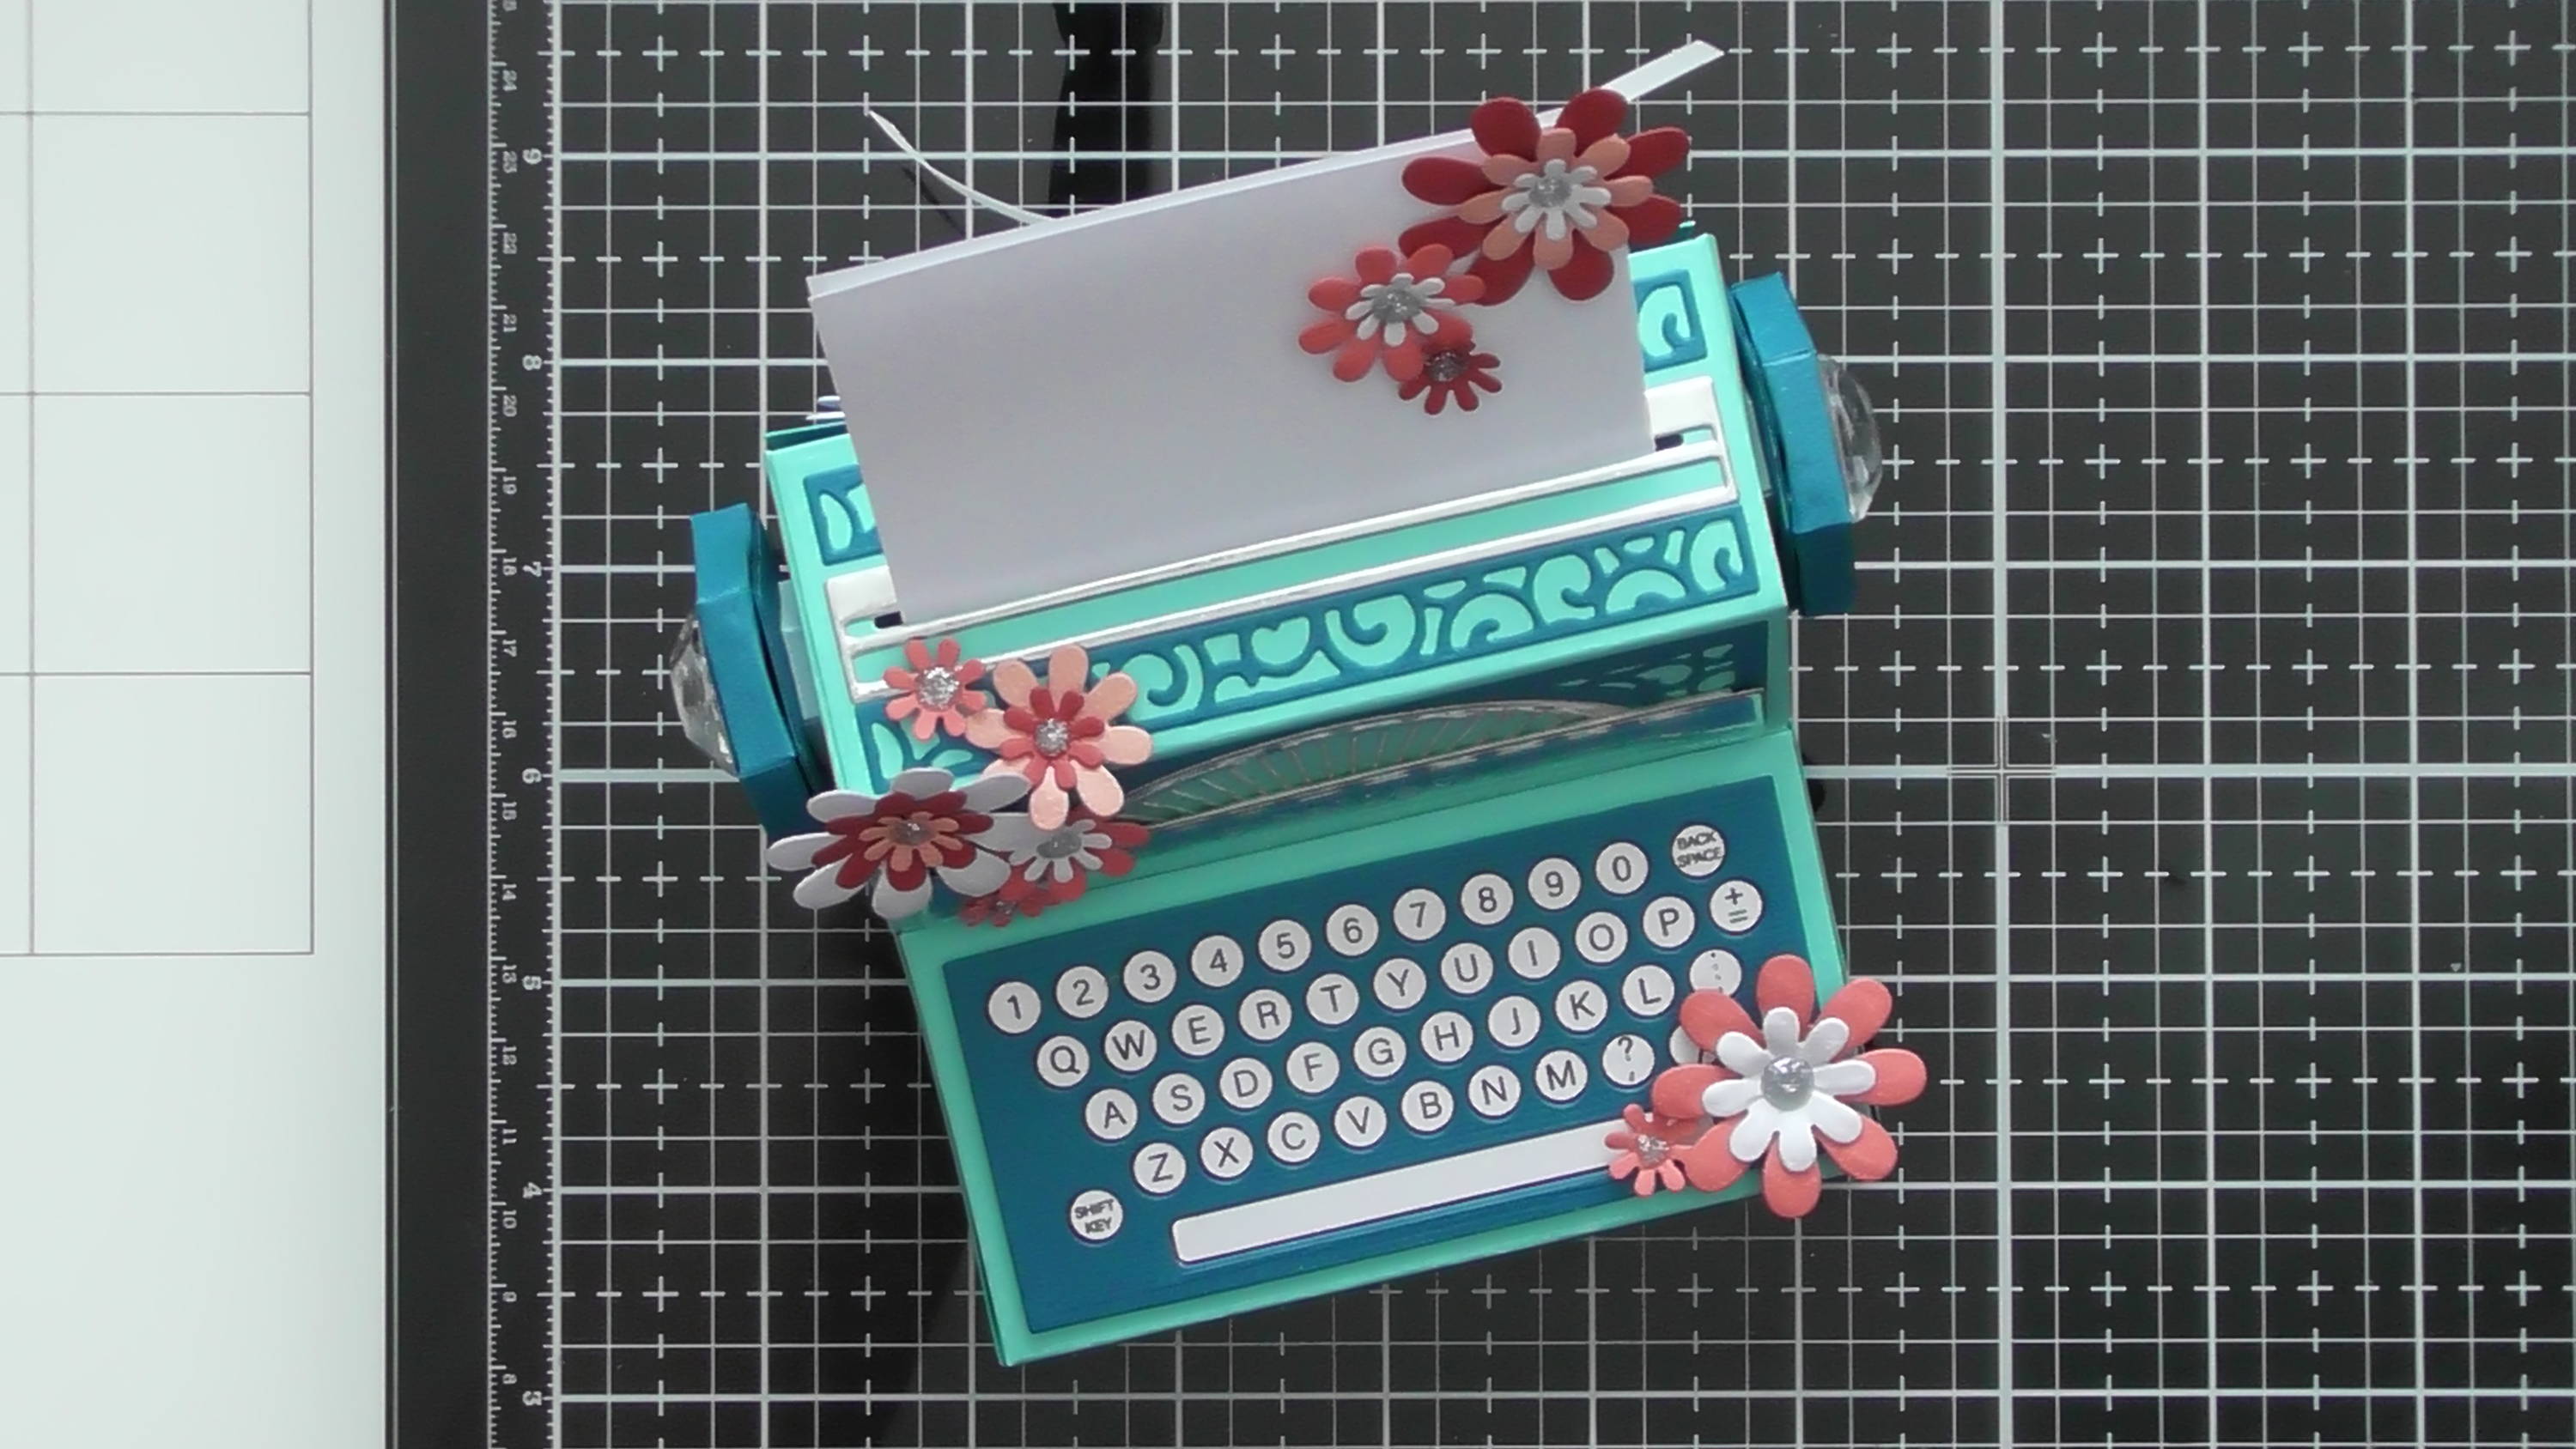
And finish the typewriter by adding these all over.
Buy The Craft Project