 Gem Rewards
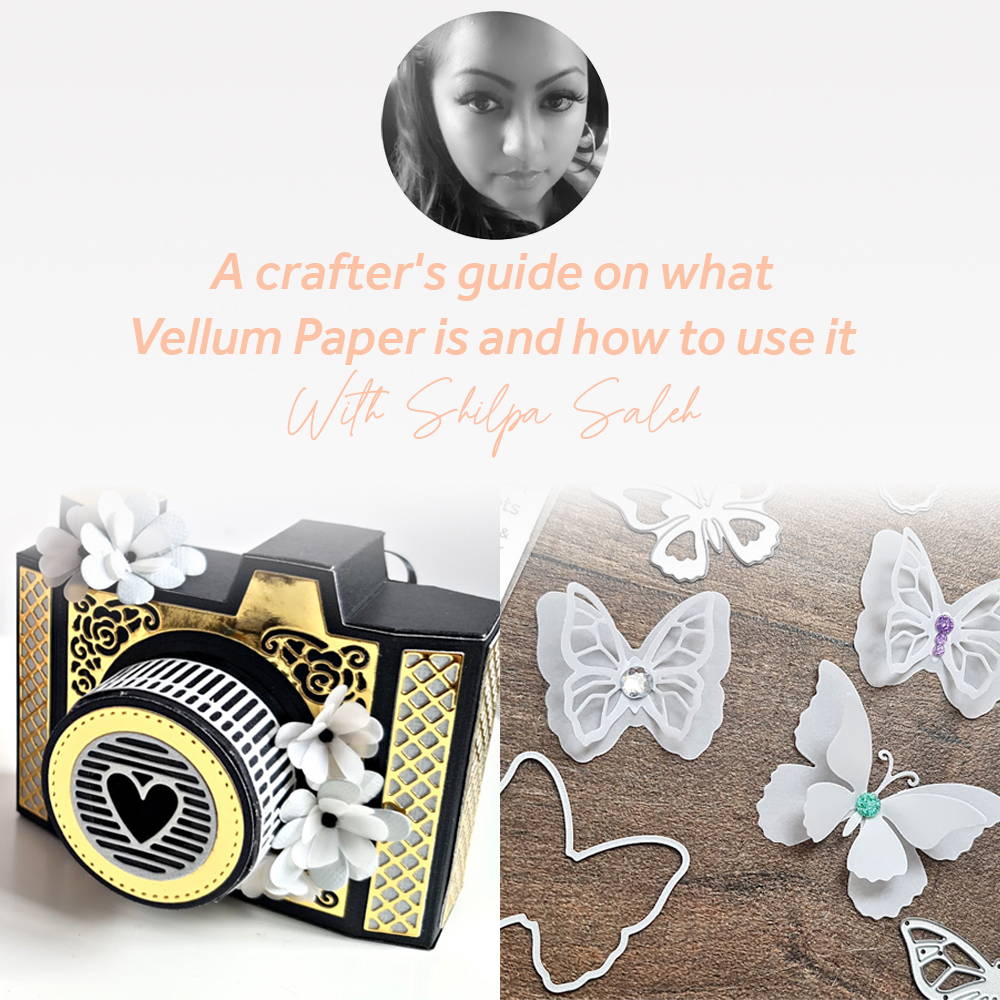
Hi there! My name is Shilpa and I’d love to share some of my ideas on how to use Vellum.
What is Vellum Paper?
Vellum is a speciality paper used in many different paper crafts. Historically, Vellum was made by stretching calf skin over a wooden frame and processing it in preparation for writing. Though animal-based Vellum is still manufactured today, it is very time consuming, it’s an expensive process, and not to mention not very environmentally friendly, leaving modern vellum to be made by machine with cellulose fibres. Vellum has lots of different qualities - it is slightly translucent yet opaque, it’s smooth to look at yet a bit rough to touch. You can get matt finished vellum as well as shimmery Vellum. Tonic Studios have launched a variety of these finishes and colours.
Ways to use Vellum
Vellum can be used to create flowers, layers on your cards, pockets for your mini albums, windows for your shaker elements and so many more ways. Here are a few ways to use Vellum…

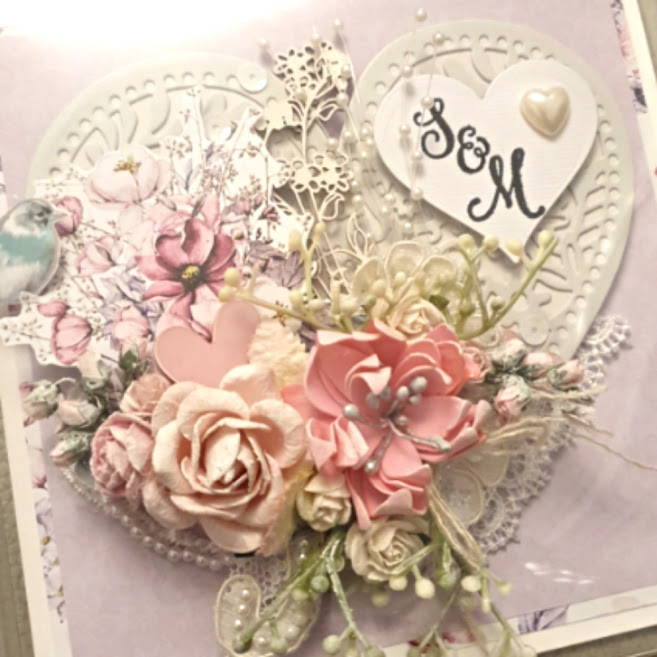
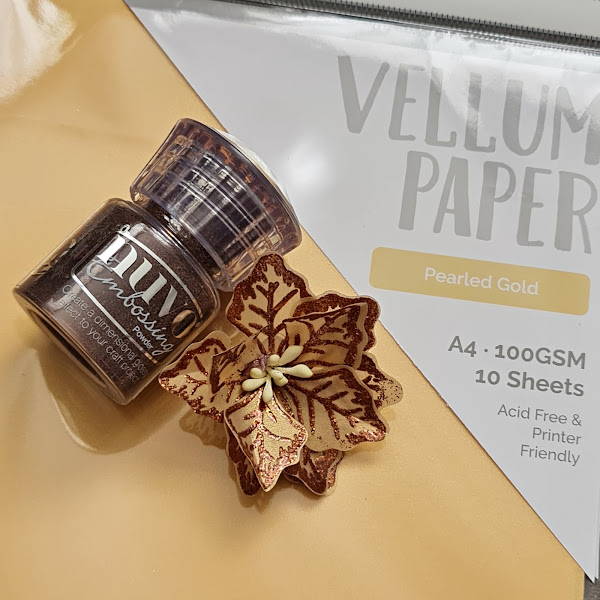
I love to create flowers with Vellum papers as it gives a very soft & elegant look. I enjoy stamping and heat embossing detail on my Vellum flowers (using Tonic Studios Glitter Embossing Powders). I also really like the fact you can add colour to vellum, using your inks with a blending tool/brush. Here are some examples of flowers I created using the new Tonic Studios Vellum and Tonic Studios Flower Dies.
I love to create flowers with Vellum as it gives a very soft & elegant look. I enjoy stamping and heat embossing detail on my Vellum flowers (using Tonic Studios Glitter Embossing Powders). I also really like the fact you can add colour to vellum, using your inks with a blending tool/brush. Here are some examples of flowers I created using the new Tonic Studios Vellum and Tonic Studios Flower Dies.
I love to create flowers with Vellum as it gives a very soft & elegant look. I enjoy stamping and heat embossing detail on my Vellum flowers (using Tonic Studios Glitter Embossing Powders). I also really like the fact you can add colour to vellum, using your inks with a blending tool/brush. Here are some examples of flowers I created using the new Tonic Studios Vellum and Tonic Studios Flower Dies.
• If you enjoy artistic projects, use the matt Vellum is with graphite pencils, coloured pencils, charcoal, sketching sticks, mixed media, and oil pastel.
• When adding layers to your cards and projects, you can tear the vellum edges to create a shabby distressed effect. You can also die cut vellum for your card layers – cuts like a dream!
• If you’re a scrap-booker and enjoy adding photos to your layouts, you can add vellum over a photo to create an Instagram-like faded effect. Or add Vellum to tone down a busy background, by adding it behind the photo. You can also use Vellum to add journaling, this will make your journaling spot stand out without it distracting from your main page.
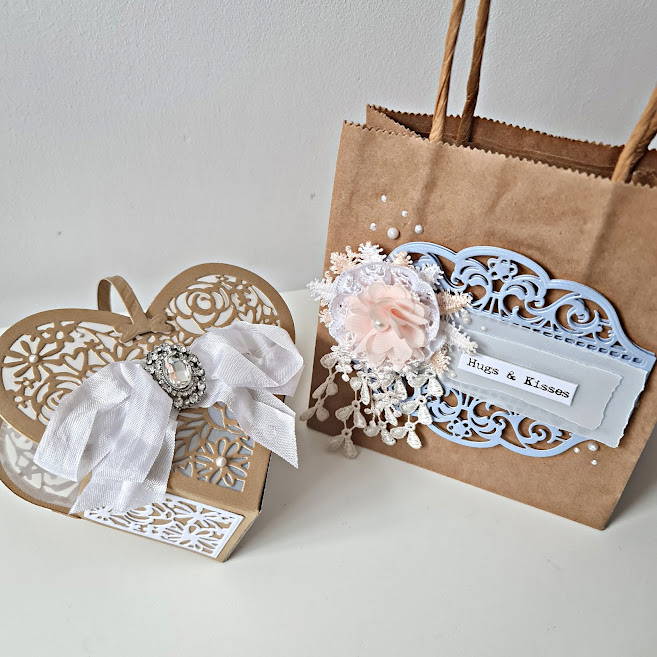
• You can print and write on Vellum (you can print photos on vellum too). This is perfect to personalise a card or project. Vellum looks delightful used for wedding invites as well as wedding favours.
• Vellum looks very elegant used as inserts for your cards – you can cut it down to your card size and stick it in with Tonic Studios double sided adhesive tape.
Finally I would like to give you some tips on how to adhere your Vellum to your cards/projects.
• If you’re using Vellum as a simple sentiment strip - try to wrap the Vellum strip around the layer beneath, this way your glue will be to the back. Or another way is to add tiny dots of a clear drying glue behind the words to stick on to your card (Tonic Deluxe Adhesive is a good choice for this).
• If you’re using Vellum to create flowers, you can use tiny amounts of hot glue for each layer (my preferred method).
• If you’re creating a large heat embossed Vellum background for a card (or any large Vellum piece to a card) – add your adhesive of choice in the area where you will add an embellishment or topper.
More ideas below…
Die-cut Vellum layers on my cards to add a delicate look.


On this scrapbook layout I have added my words on Vellum, this makes the words stand out, yet you can still see the decorative papers behind.
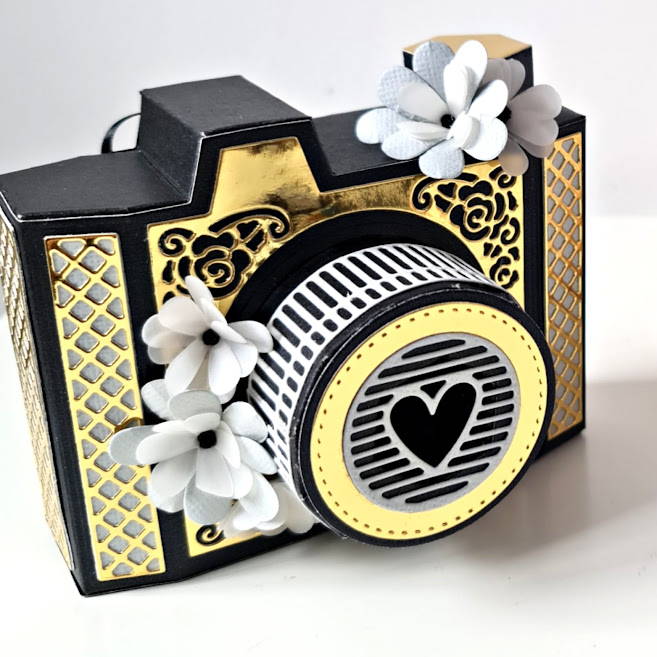
Here I have combined paper and vellum to create my flowers on this Tonic 3D camera project.
Here I have created a floral backgound on Vellum using a Tonic stamp with embossing powder.
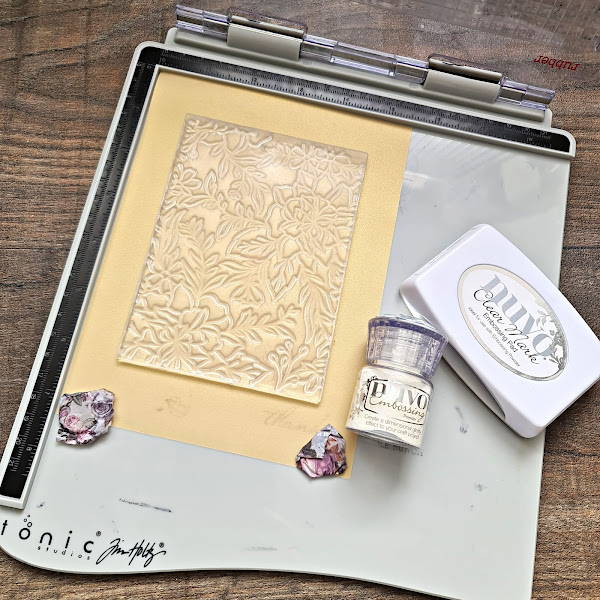
Here I have created a floral backgound on Vellum using a Tonic stamp with embossing powder.


Here I have added a Vellum layer behind the front of the card, this creates a frosted look in the aperture.
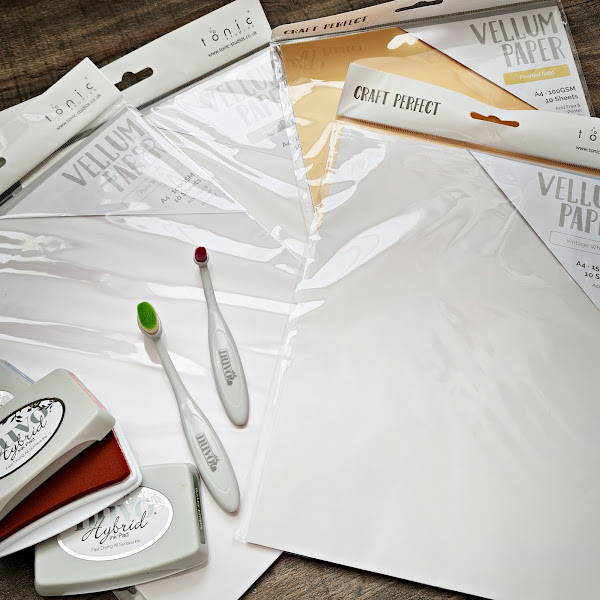
Use your Tonic blending brushes with the Nuvo inkpads on Vellum to create your desired colour.
I love stamped and heat embossed detail on flowers.
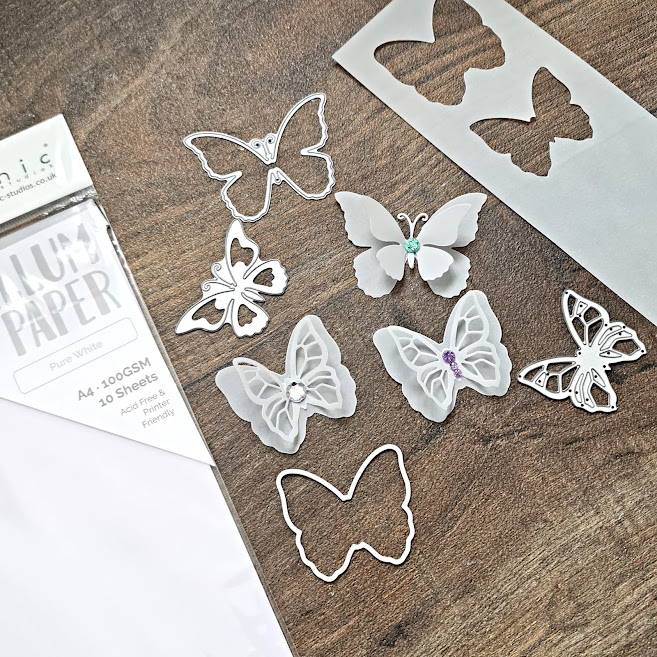
You can create pretty Vellum embellishments for your projects and card.
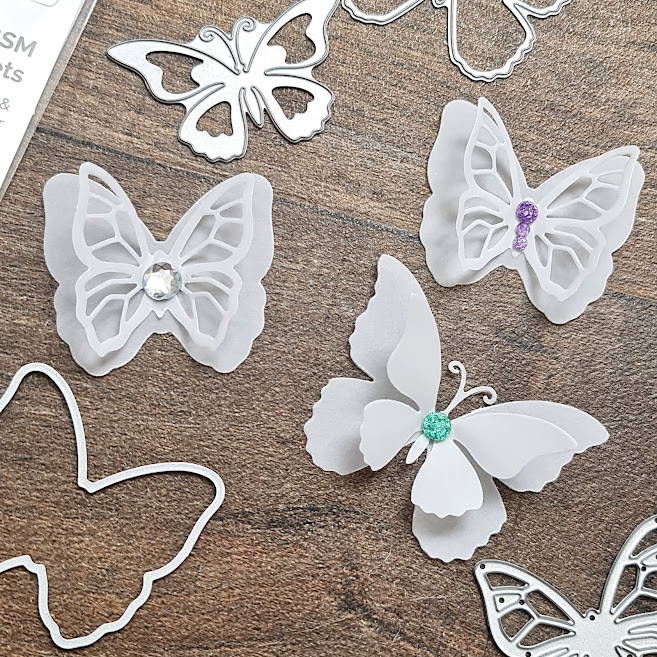
You can create pretty Vellum embellishments for your projects and card.
Here I have added a torn and stamped piece of Vellum on an altered jar to create a shabby chic look.
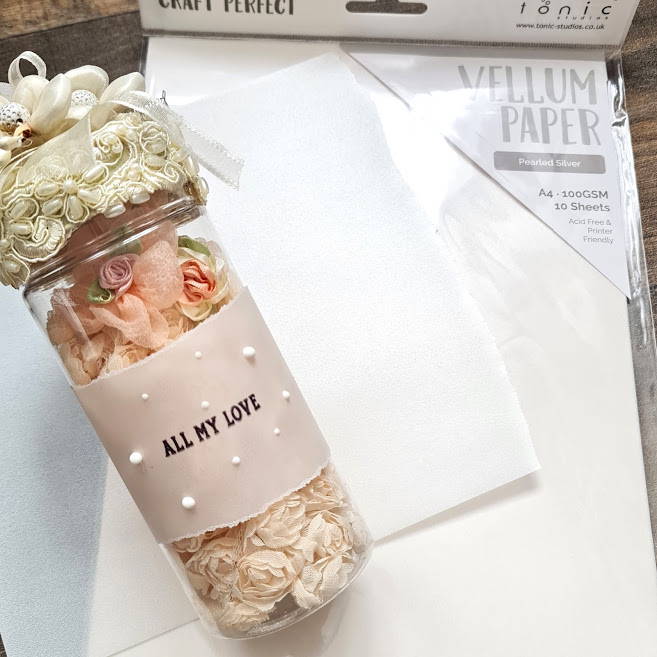
Here I have added a torn and stamped piece of Vellum on an altered jar to create a shabby chic look.

Buy The Craft Project