


Step 1
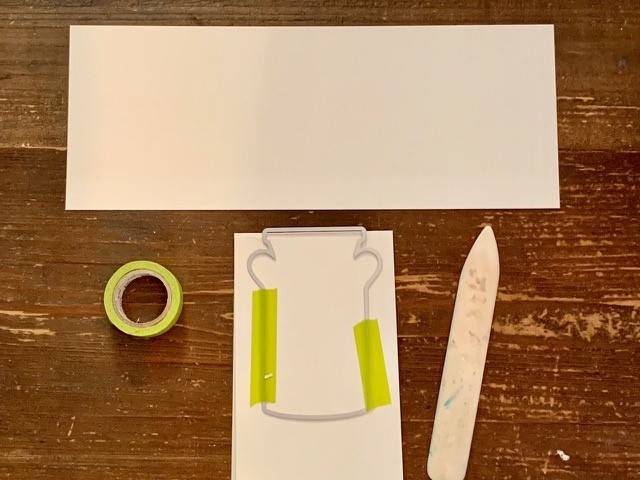
Cut a 3 3/4x11” strip of Pearlescent White Cardstock. Fold in half and score with a bone folder to make a crisp edge.
Step 2
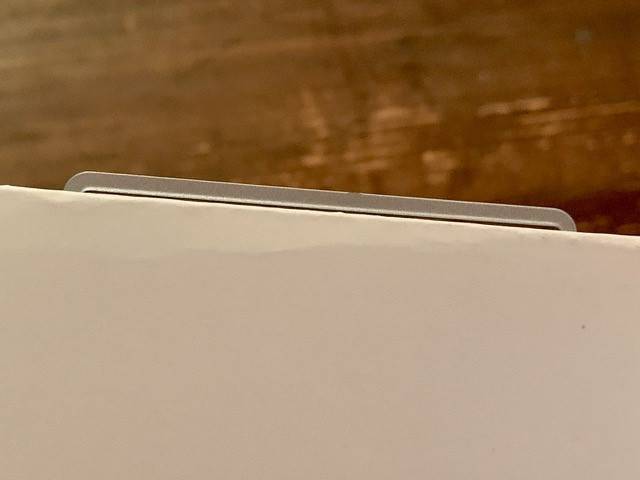
Line up your milk churn die right along the top fold line, with the cut line, just over the paper edge. You want to make a folding card and you do not want to cut 2 pieces.
Step 3
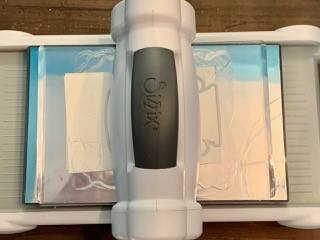
Run the die through your die cutting machine.
Step 4
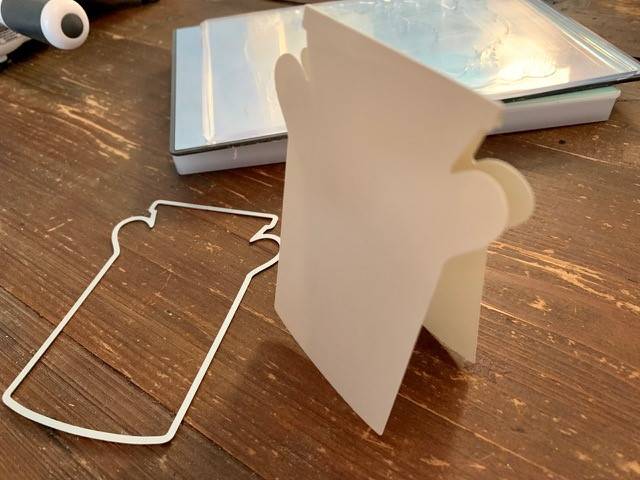
Your card base is now complete.
Step 5
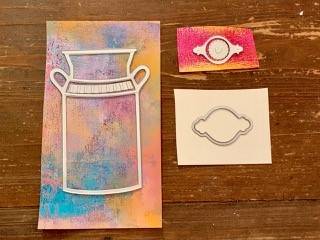
Select your dies and papers you want to add. I chose to cut the jug and decorative label out of papers I created and the main label from the white pearlescent cardstock.
Step 6
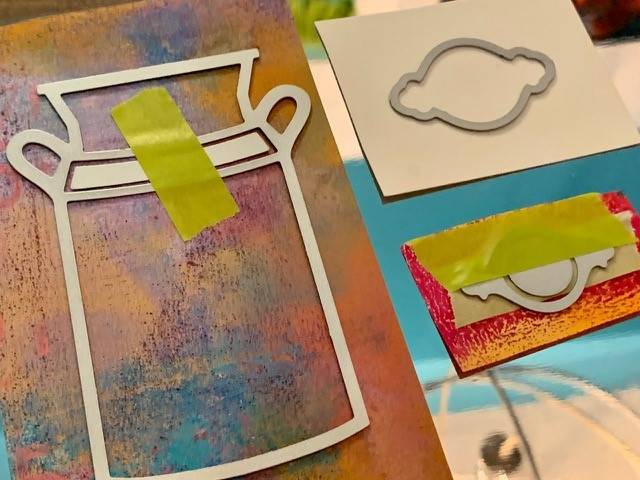
Tape your dies onto your paper using washi tape so they don’t move and you get the cutting where you want it. Run them through the die cutting machine.
Step 7
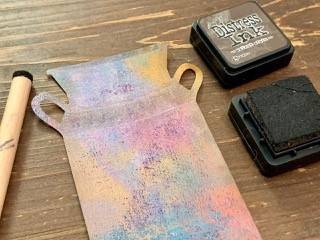
Apply Distress Ink Walnut Stain using a small sponge tool around the edges of the milk jug and to bring out a bit of the embossing details.
Step 8
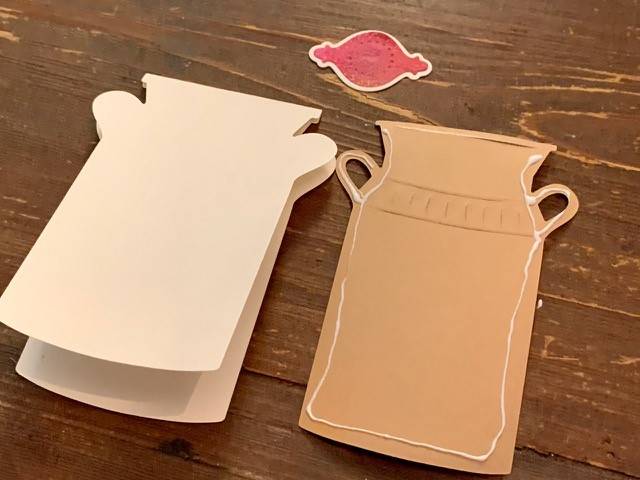
Glue the 2 labels together. Glue the decorative jug to the card, leaving the top of the jug open. Note: You may want to wait to glue on the jug until after you have made your floral bouquet.
Step 9
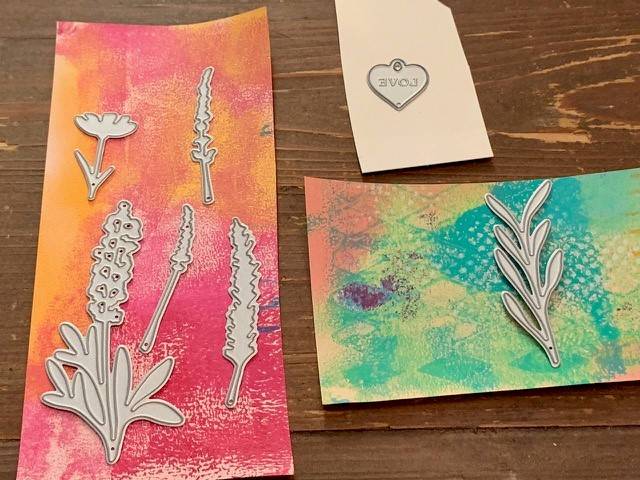
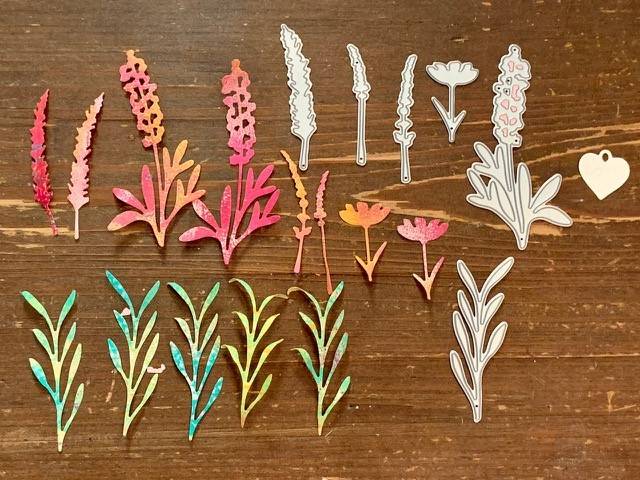
Choose some papers to cut out flowers and leaves. Cut the heart out of White Pearlescent Cardstock at the same time.
Step 10
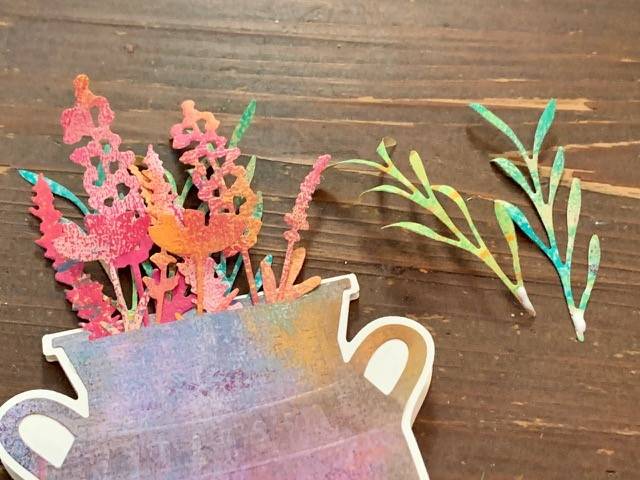
Add your floral bouquet to your jug. If you didn’t glue the jug on, put your flowers through the hole and then tape them to the jug using washi tape. If you did glue the jug together (like I did), add a drop of Nuvo Deluxe Adhesive to the tips of the flowers before inserting them through the hole.
Step 11
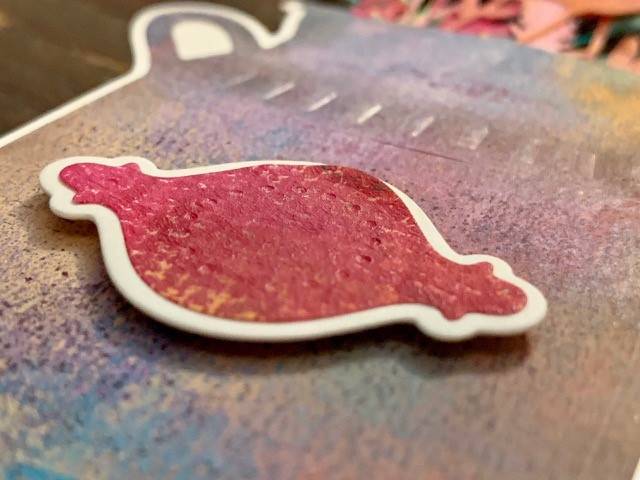
Adhere your label to the jug using dimensional square adhesives.
Step 12
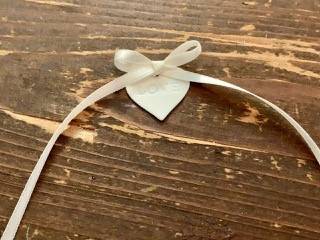
Make a bow for your heart. Take a long piece of Craft Perfect Ivory White 3mm ribbon. Make 2 loops and tie them in a single knot. Pull on the ends of the ribbon until the bow is the size you want.
Step 13
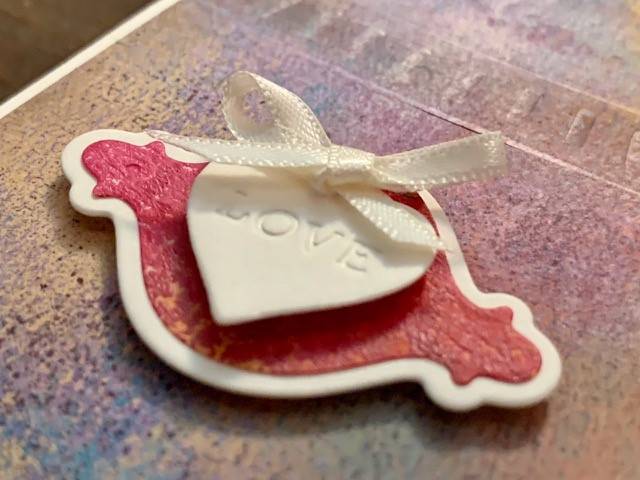
Add the heart to the card using a dimensional square. Add the ribbon using the Nuvo Deluxe Adhesive.
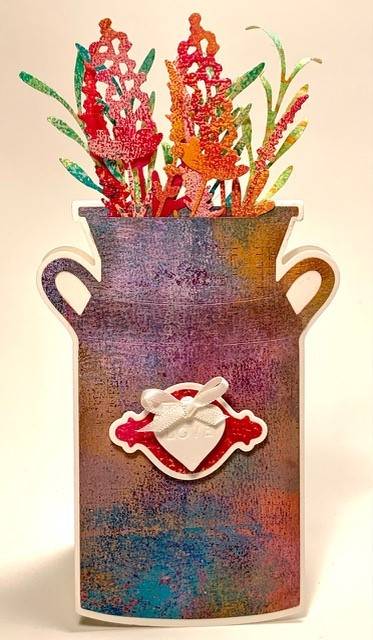
Your card is complete! You can make variations to the card using the different labels included in the set.
Happy Crafting!
Buy The Craft Project
