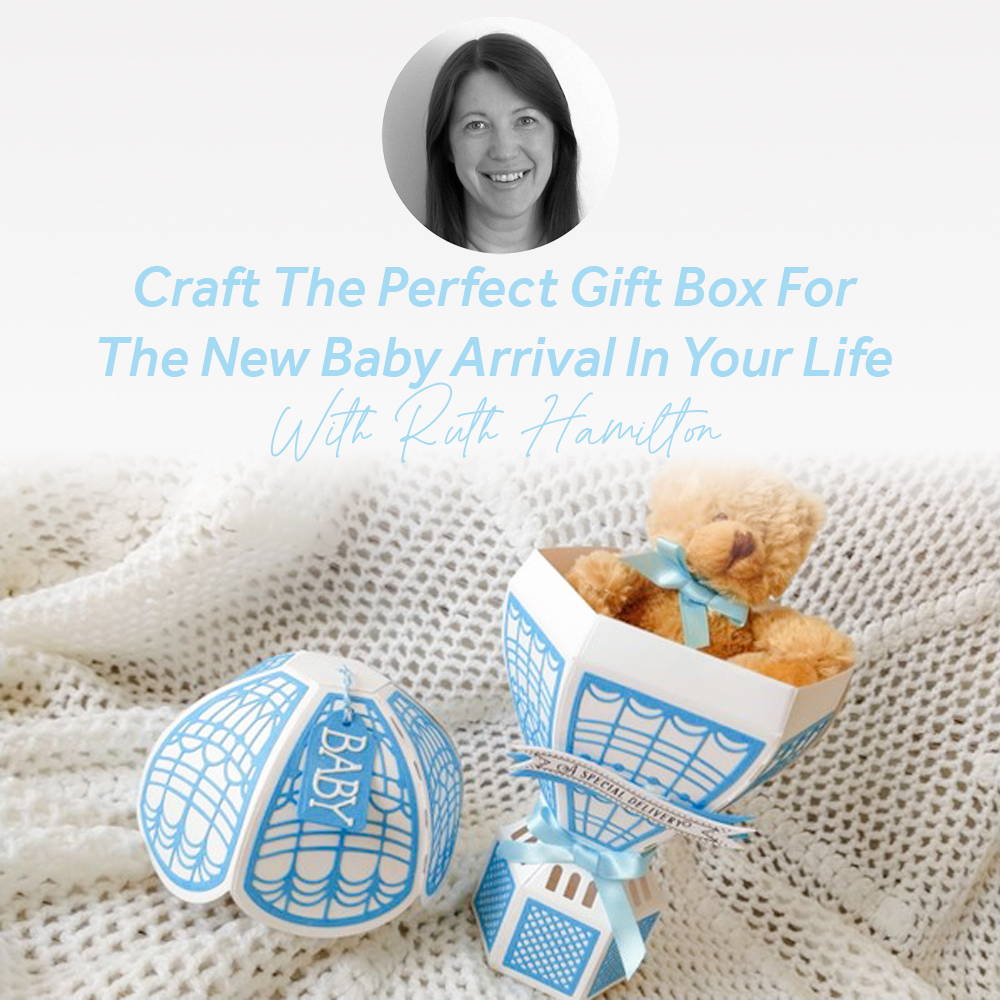

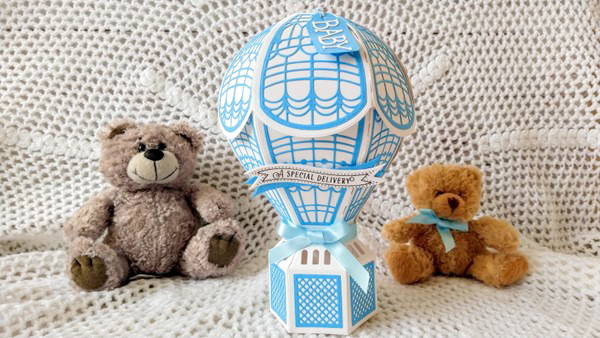
The Up, Up and Away Showcase die and Stamp set from Tonic has 40 dies in total and I’m going to show you how you can use them to make a beautiful gift box for a baby present.
What you will need


- Up, Up and Away Die and Stamp Set
- Craft Perfect Smooth White Card (300gsm)
- Craft Perfect Classic Card, Cornflower Blue
- Nuvo Deluxe Adhesive
- Hi tack tape
- Craft Perfect Foam Pads
- Magnets
- Craft Perfect Arctic Blue Double Face Satin Ribbon, 9mm
- Blue and White Baker’s Twine
- Alphabet die set or stamp
- Tangerine Die Cutting Machine
Step 1
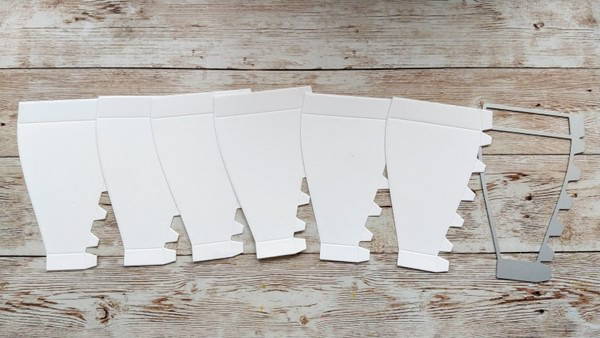
Die cut 6 of the Balloon Base shapes from white card.
Step 2
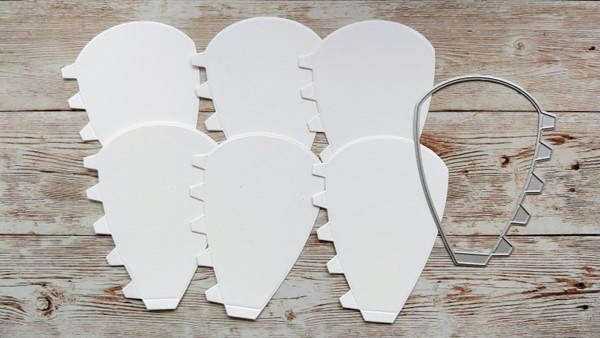
Die cut 6 of the Balloon Lid shapes from white card.
Step 3
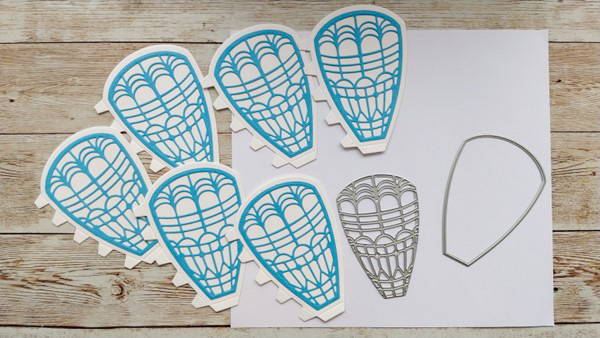
Using the 2 dies shown, die cut 6 blue decorative panels and glue them to the lids.
Step 4
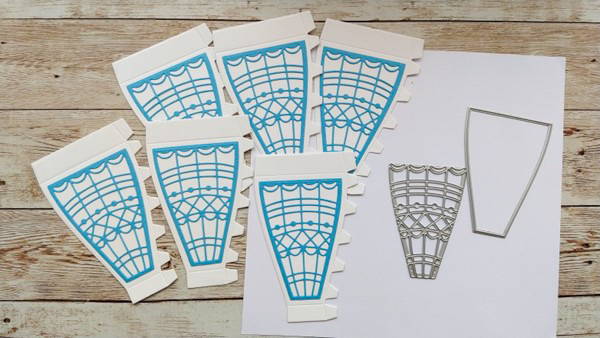
Using both dies shown die cut 6 blue decorative panels and glue them to the balloon bases.
Step 5

Gently shape the balloon base pieces with a bone folder.
Step 6
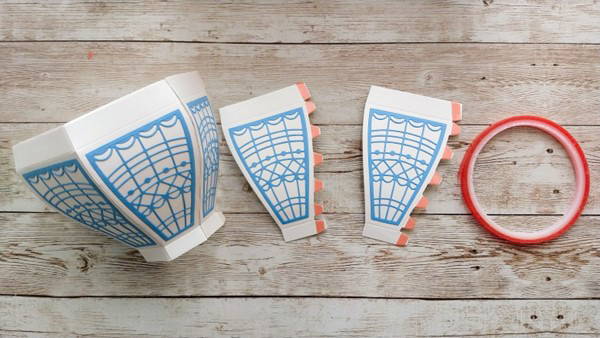
Attach the base pieces together by the tabs with hi tack tape. NB. Attach the top and bottom tabs together first and the ones in between will easily fall into place.
Step 7
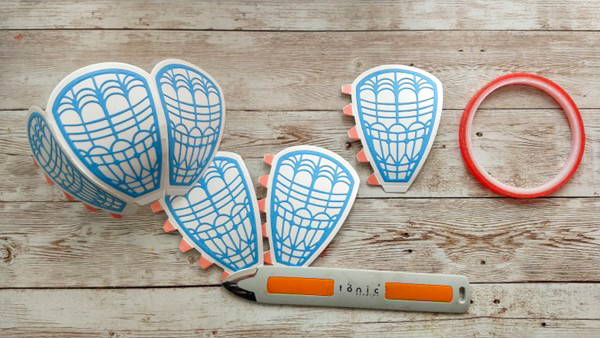
Shape the balloon lid pieces in the same way and attach together with hi tack tape on the tabs.
Step 8
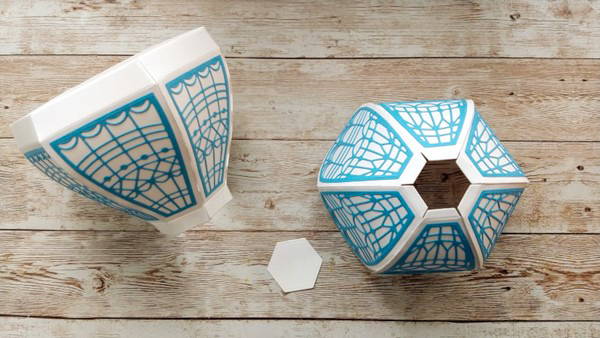
Die cut the hexagonal roof.
Step 9
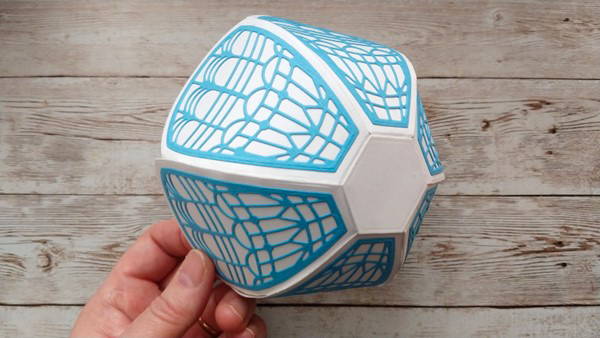
Glue the roof to the top of the lid.
Step 10
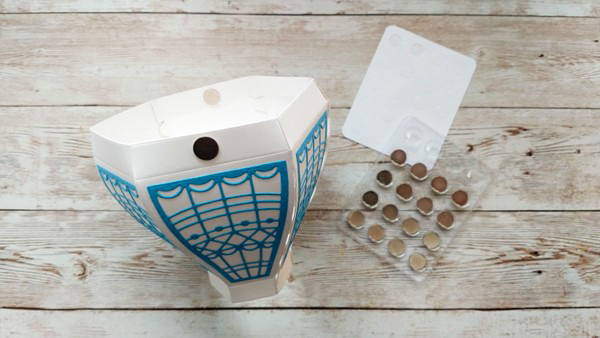
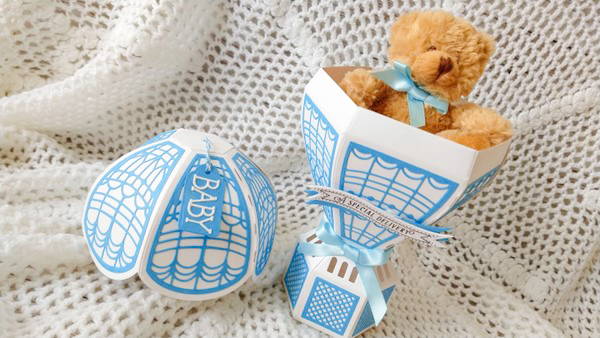
Use magnets to connect your balloon base to the lid. Glue 2 small magnets to the inside of the balloon base with each on opposite sides of the rim. Place a second pair of magnets on the outer face of the same panels but DO NOT glue these in place. Allow them to be held in position by the attraction of the magnets on the inside. Place a glue dot on the exposed outer face of the two outer magnets.
Step 11
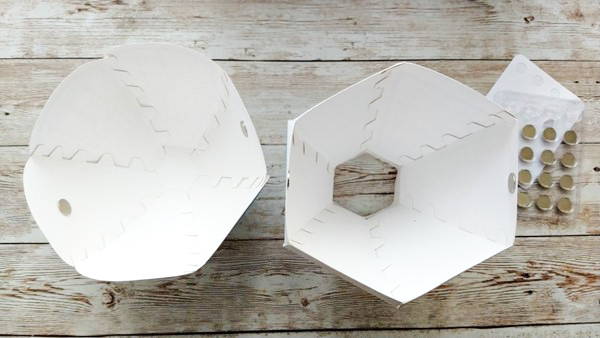
Carefully position the finished balloon lid over the finished balloon base. Press the sides at the magnet area to transfer the positioned outer magnets from the base to the lid.
Step 12
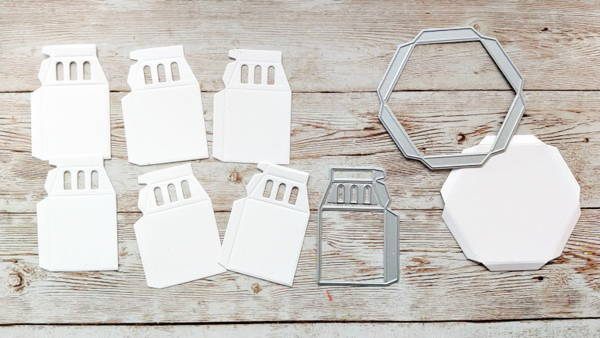
To create the basket, die cut 6 of the shapes above using the 2 dies shown. Then cut a hexagonal base.
Step 13
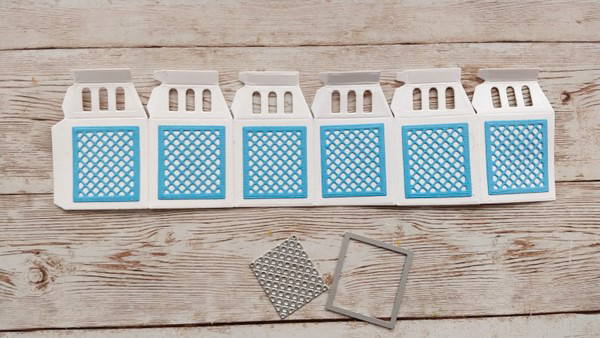
Use the 2 dies shown to cut 6 blue patterned panels and glue to the bases. Glue together.
Step 14
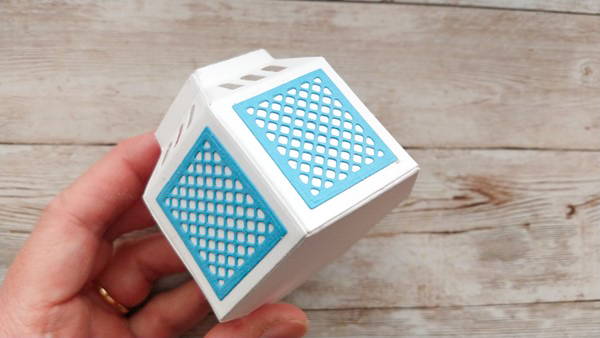
Glue all the sides together to form the base.
Step 15
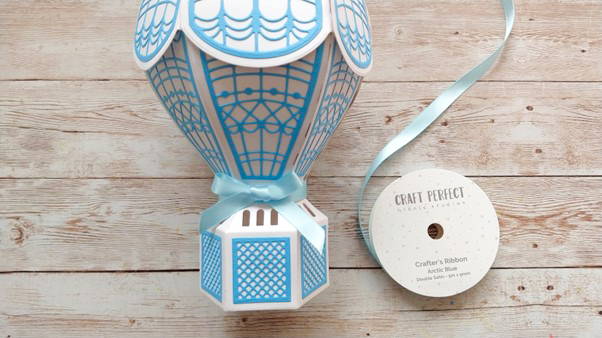
Glue the basket onto the base and add ribbon and a bow.
Step 16
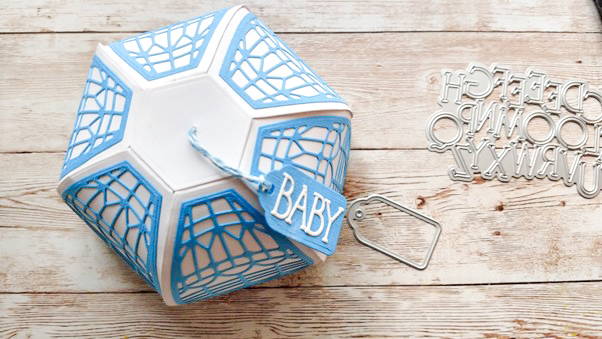
Die cut a blue tag and white letters and glue together. Add some twine to the tag. Poke a little hole in the top of the balloon and push the twine through.
Step 17
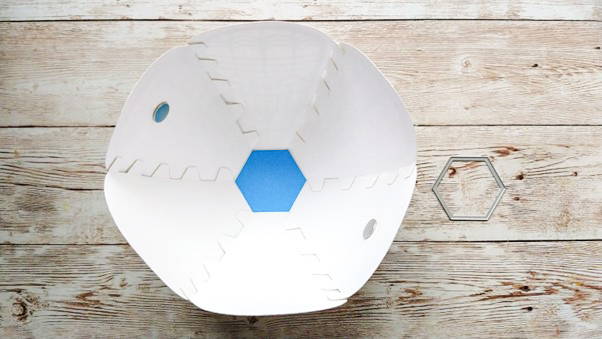
Die cut a small blue hexagon and glue inside the lid to cover where the twine has been attached.
Step 19
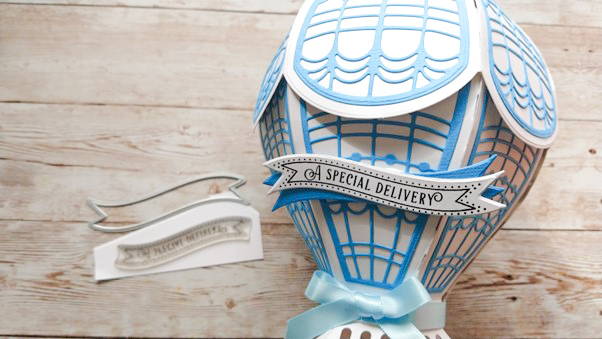
Stamp the Special Delivery onto white card and die cut with the banner die. Die cut a blue banner and glue both banners together, then attach to the hot air balloon with a 3D foam pad.
Buy The Craft Project


