


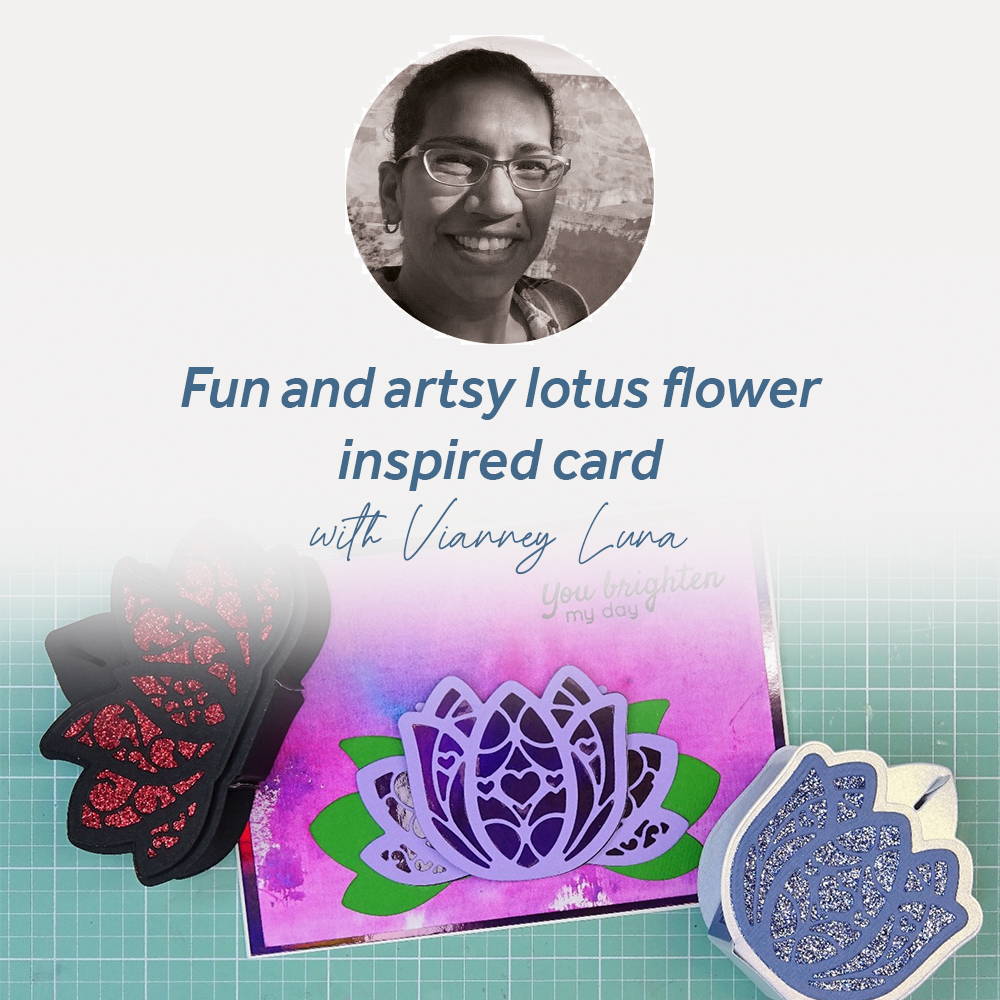
Hi, everyone! Today we will be playing with Tonic Studios’ newest Designer’s Choice, Serendipitous Sepal! This gorgeous die set will easily and quickly make you two beautiful little gift boxes. I will be using the topper dies from the set to make a fun and artsy lotus flower inspired card! I will also be using some of Tonic’s watercolor paper, ivory card base, some purple and green papers, and those fun little Shimmer Powders! Let’s get started!
Creating the Card Base:
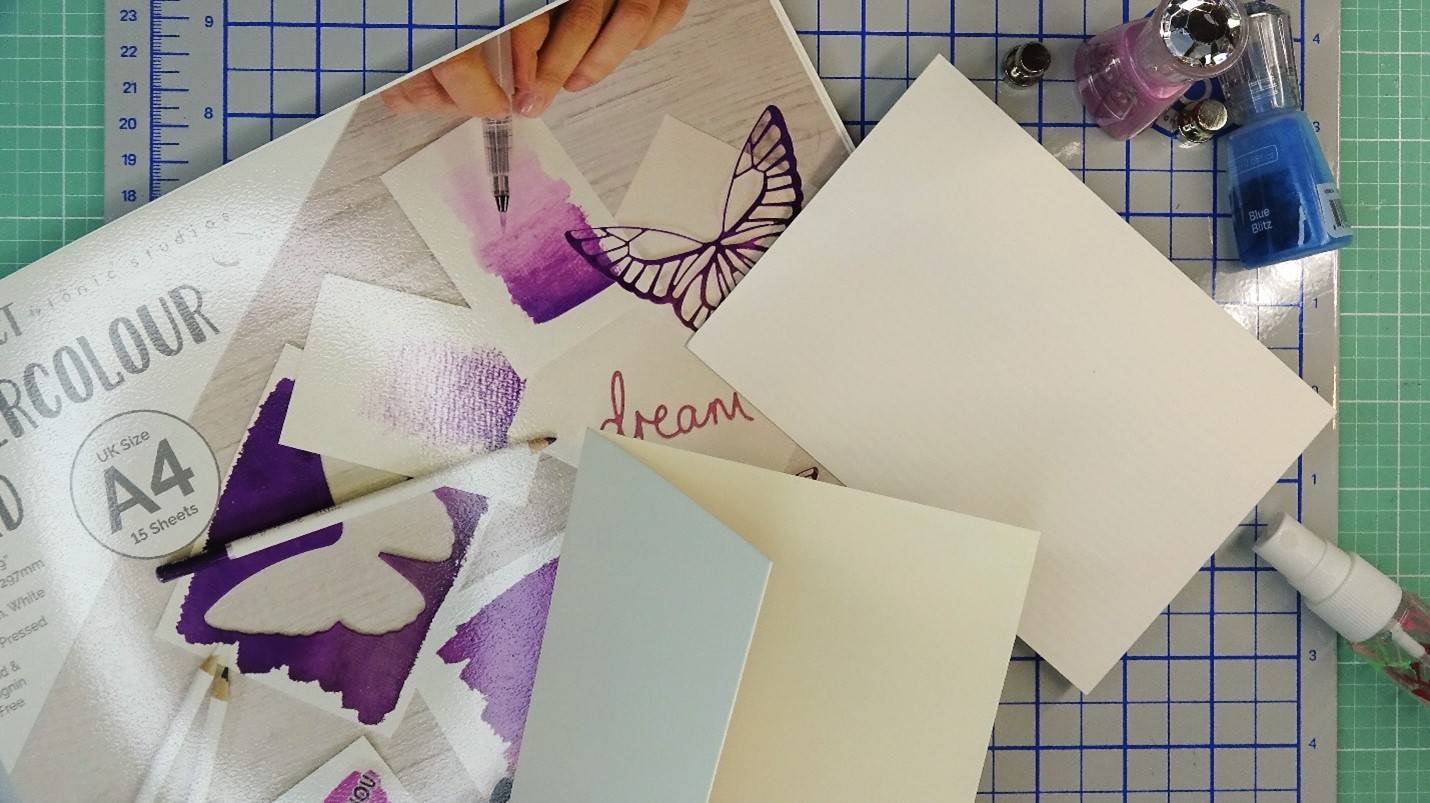
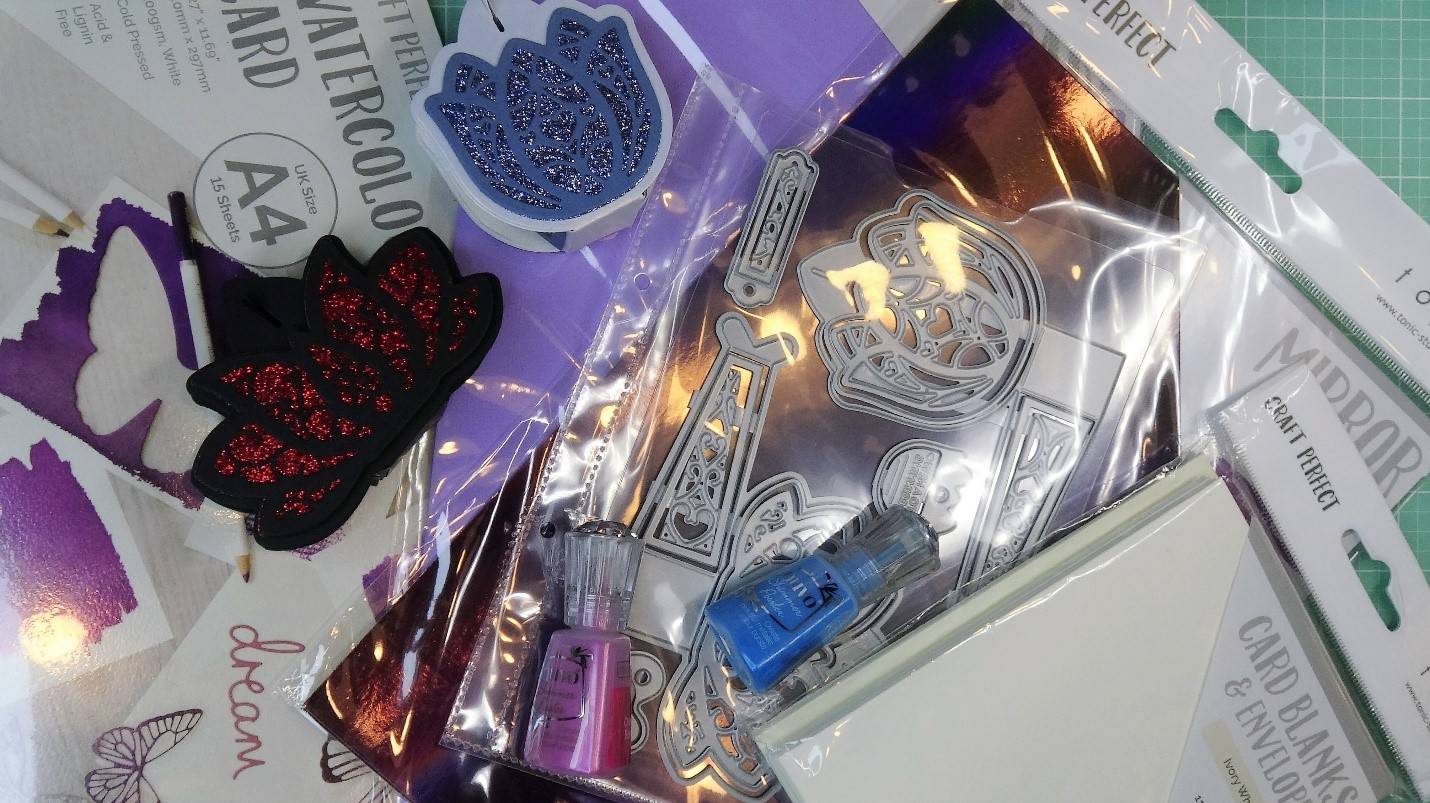
I’ll be using one ivory A6 sized card base, watercolor paper, shimmer powders in Cherry Bomb and Blue Blitz, spray bottle, and heat tool. I’ll also use some of the Purple Rain mirror card.
Step 1
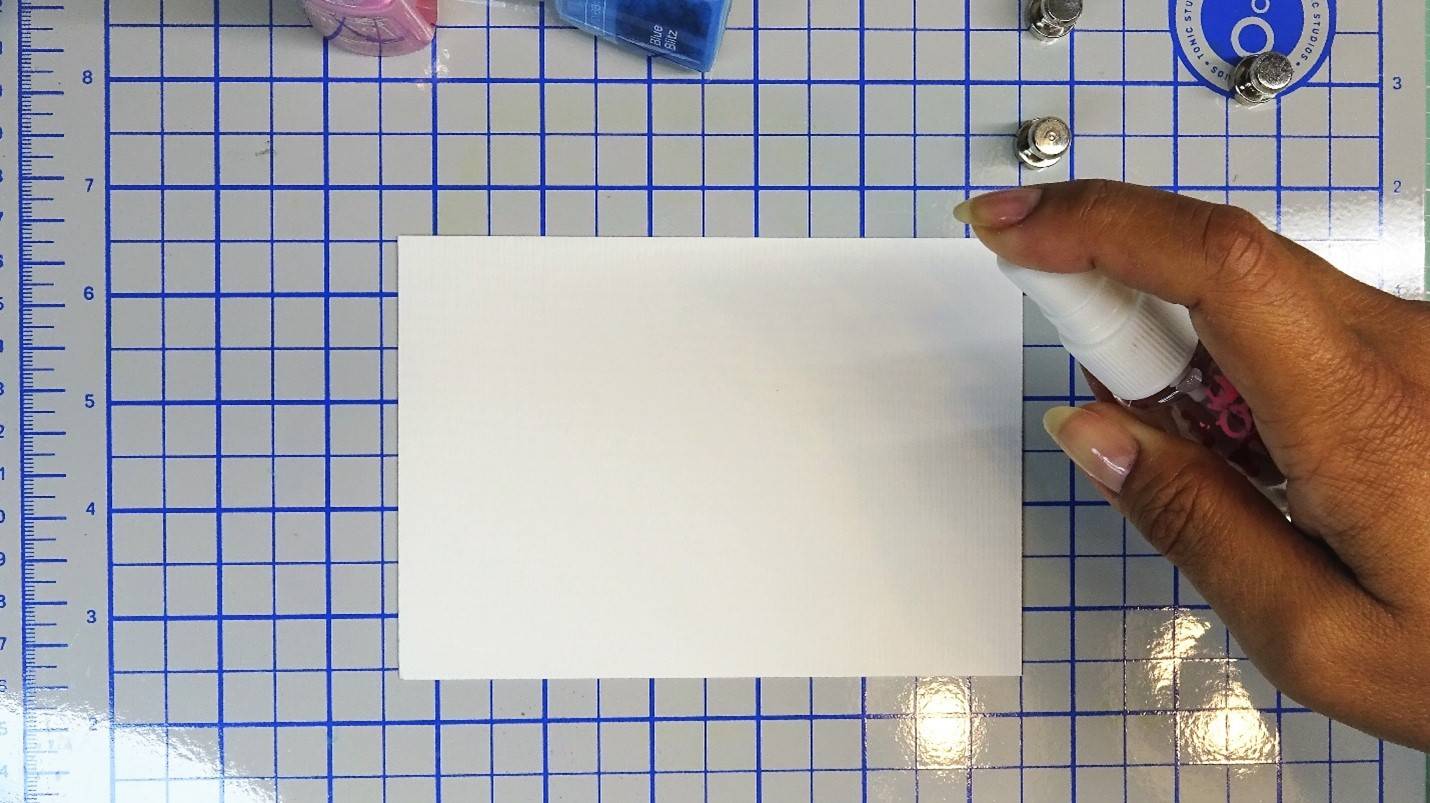
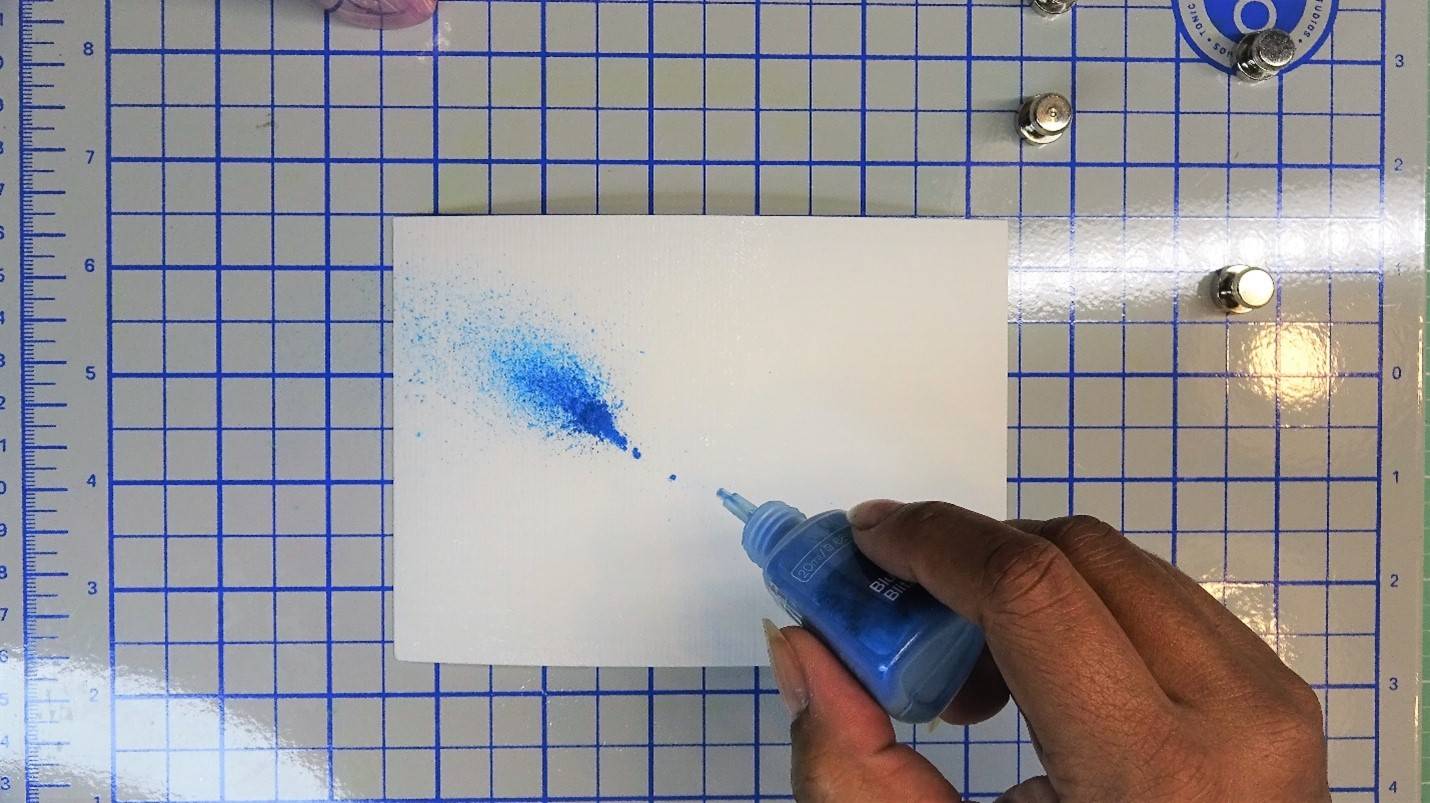
Cut a piece of watercolor paper to 4 1/8” x 5 7/8”. Spray the watercolor paper with a little water. Then give a little squeeze of the shimmer powders. I will continue to spray the water and get the shimmer powders really moving.
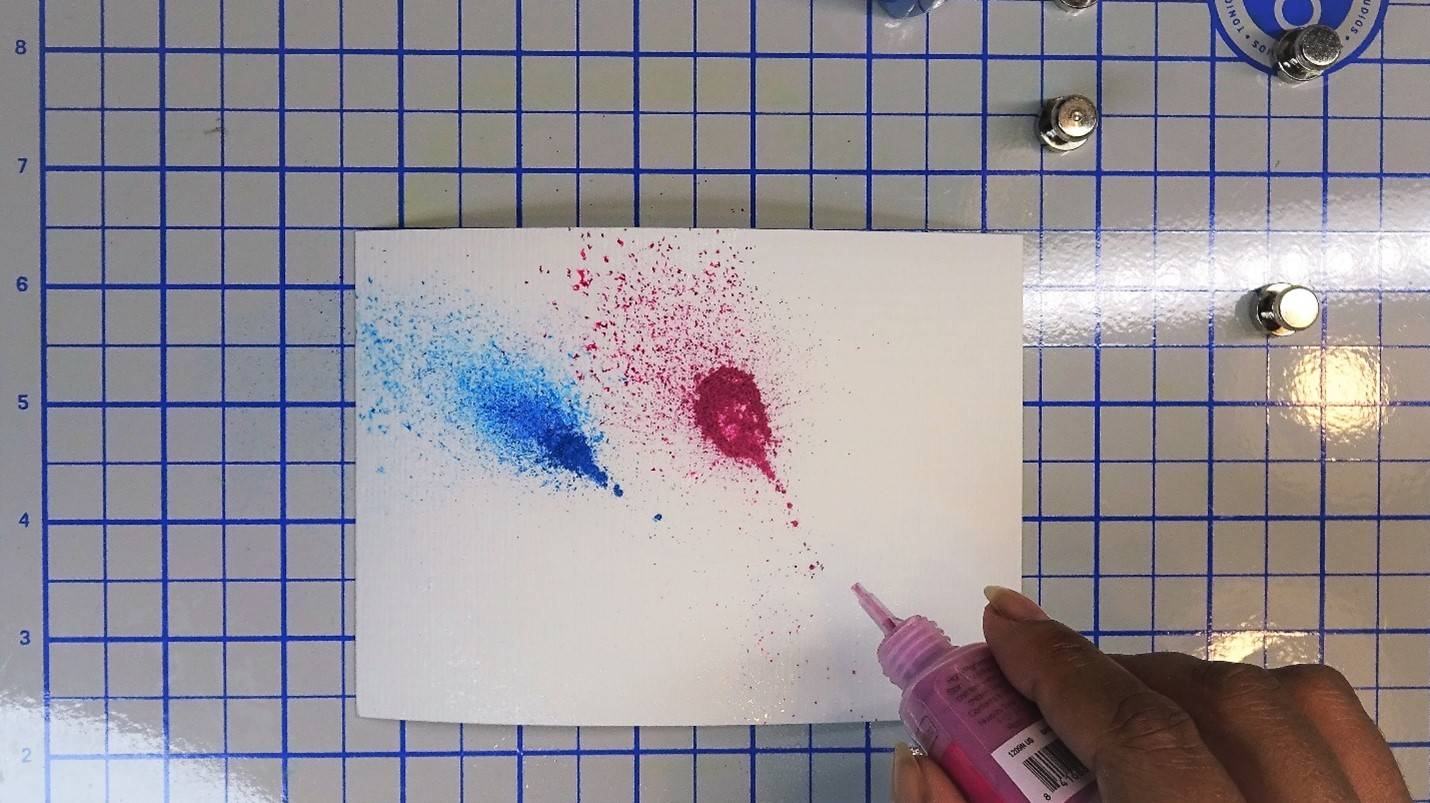
Step 2
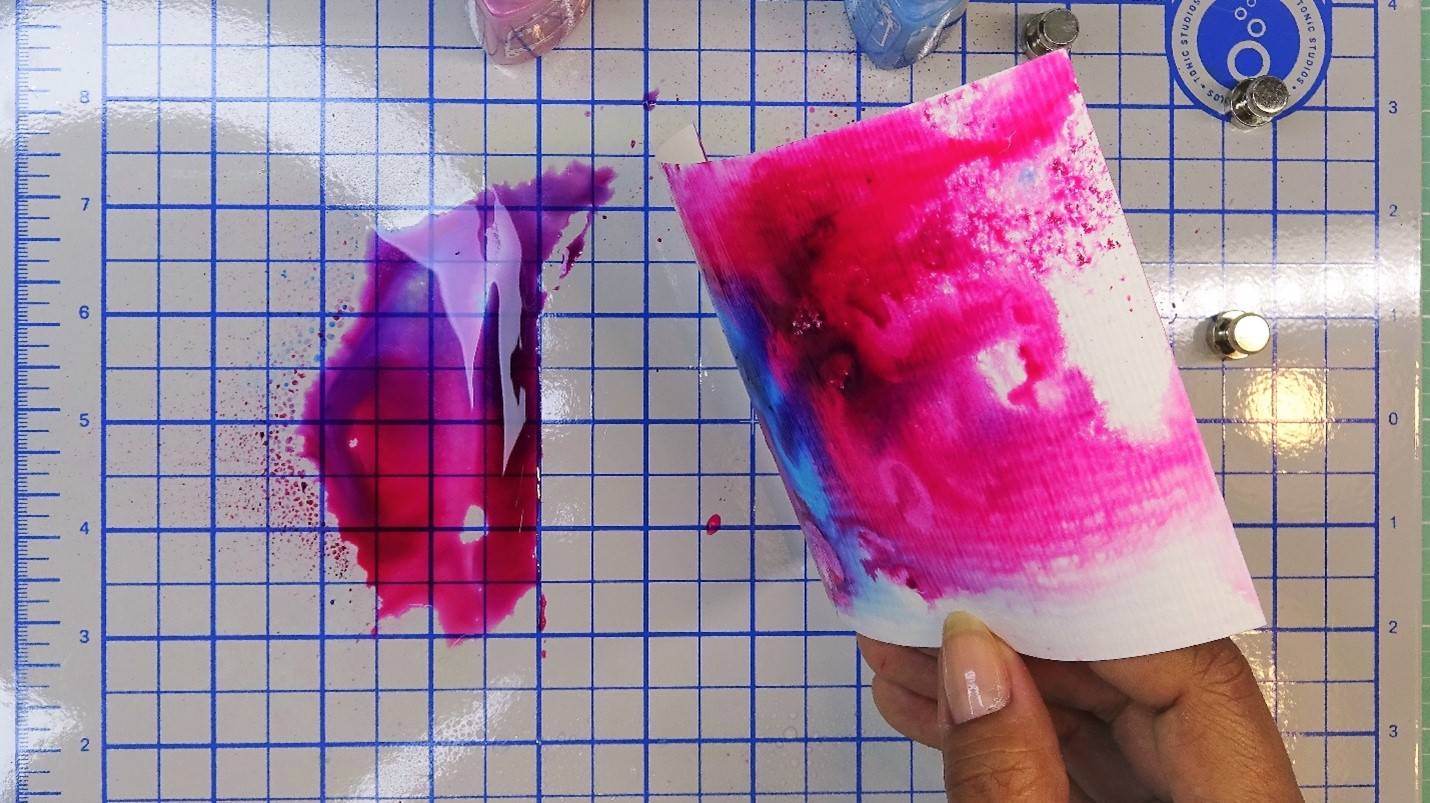
I like to add plenty of water, even “smoosh” the paper face down into the puddle created by the water and shimmer powder.
Step 3

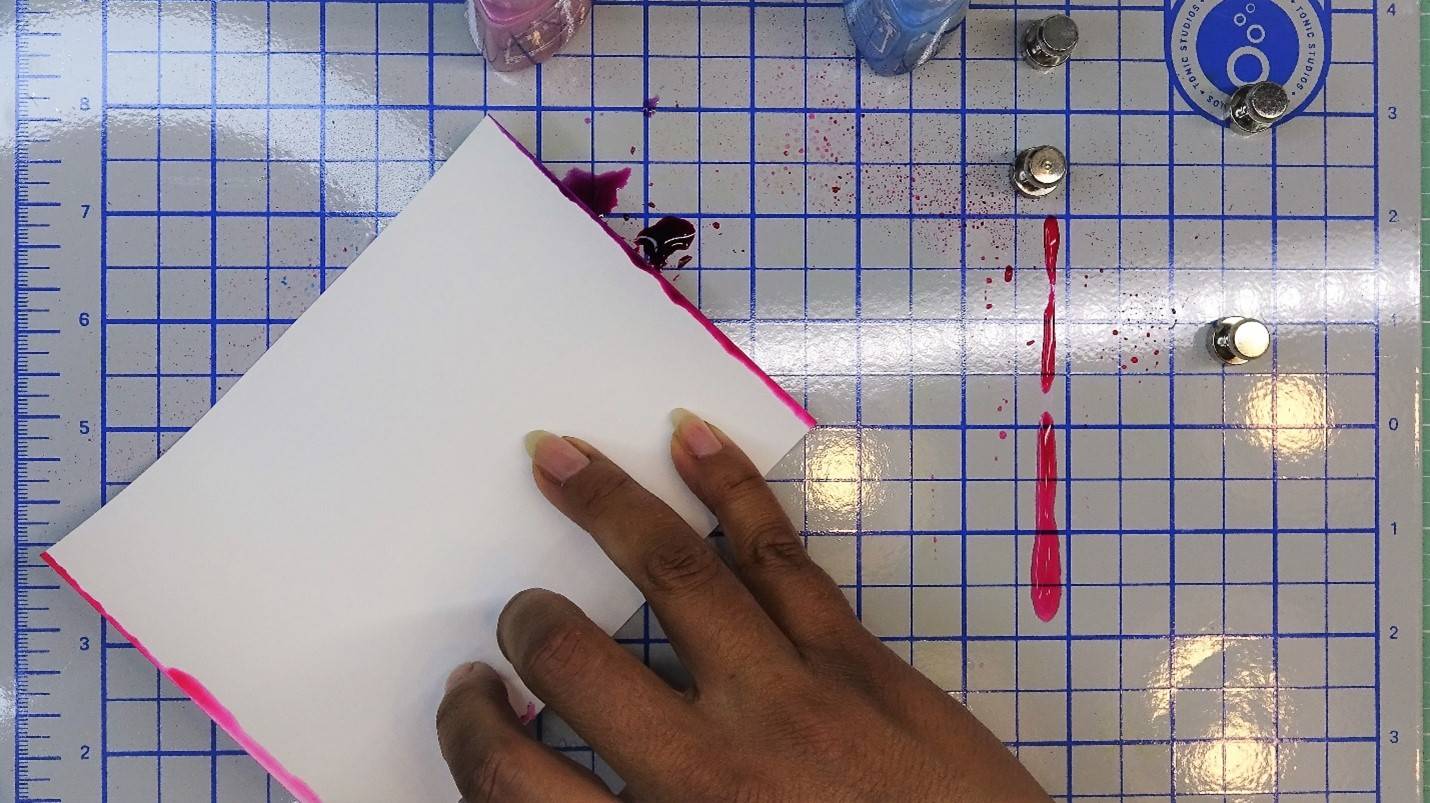
When I am happy with the result, I like to blot a little off with paper toweling. This step is completely optional.
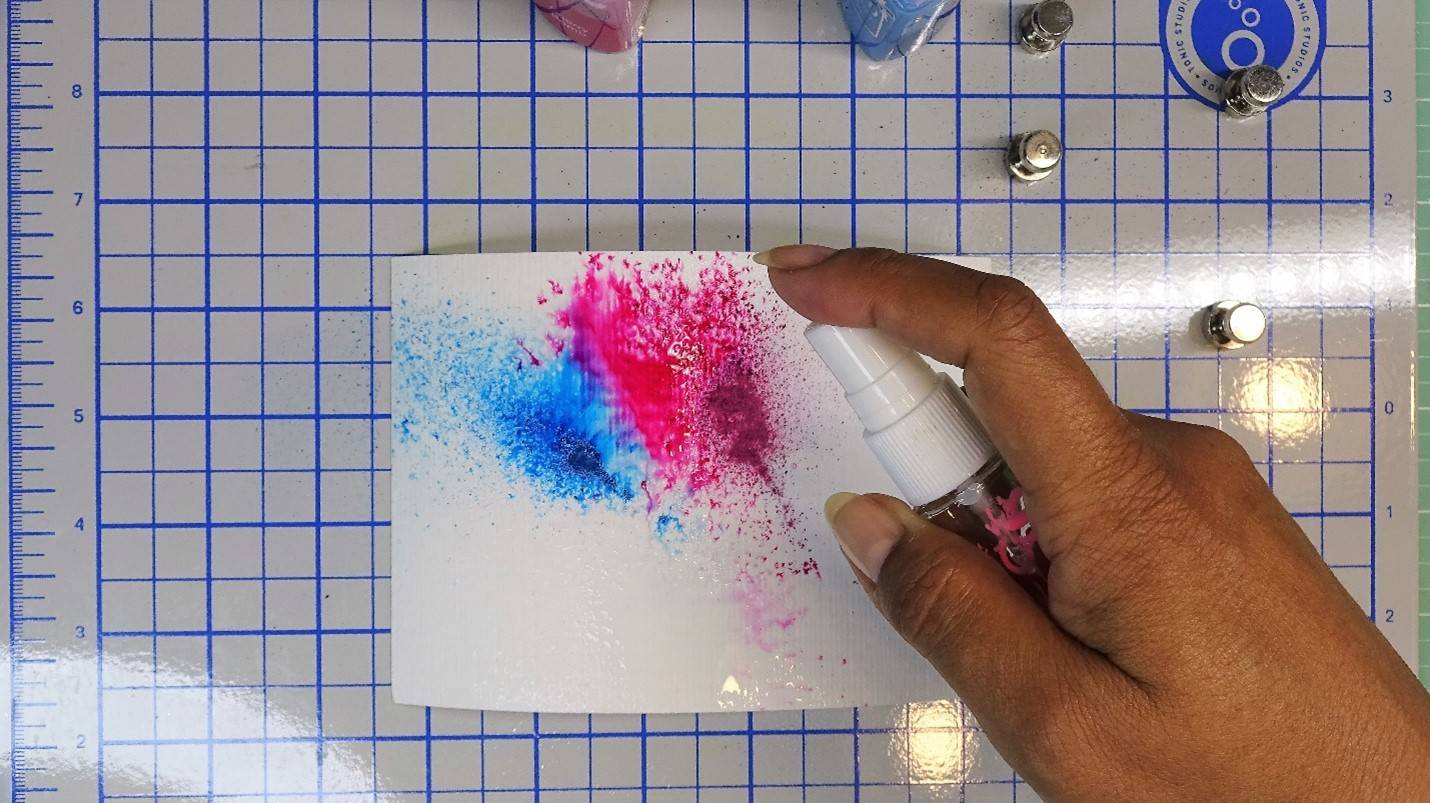
Step 4

I finish off the coloring of the watercolor paper by drying it with a heat tool. Set this piece aside for now.
Step 5
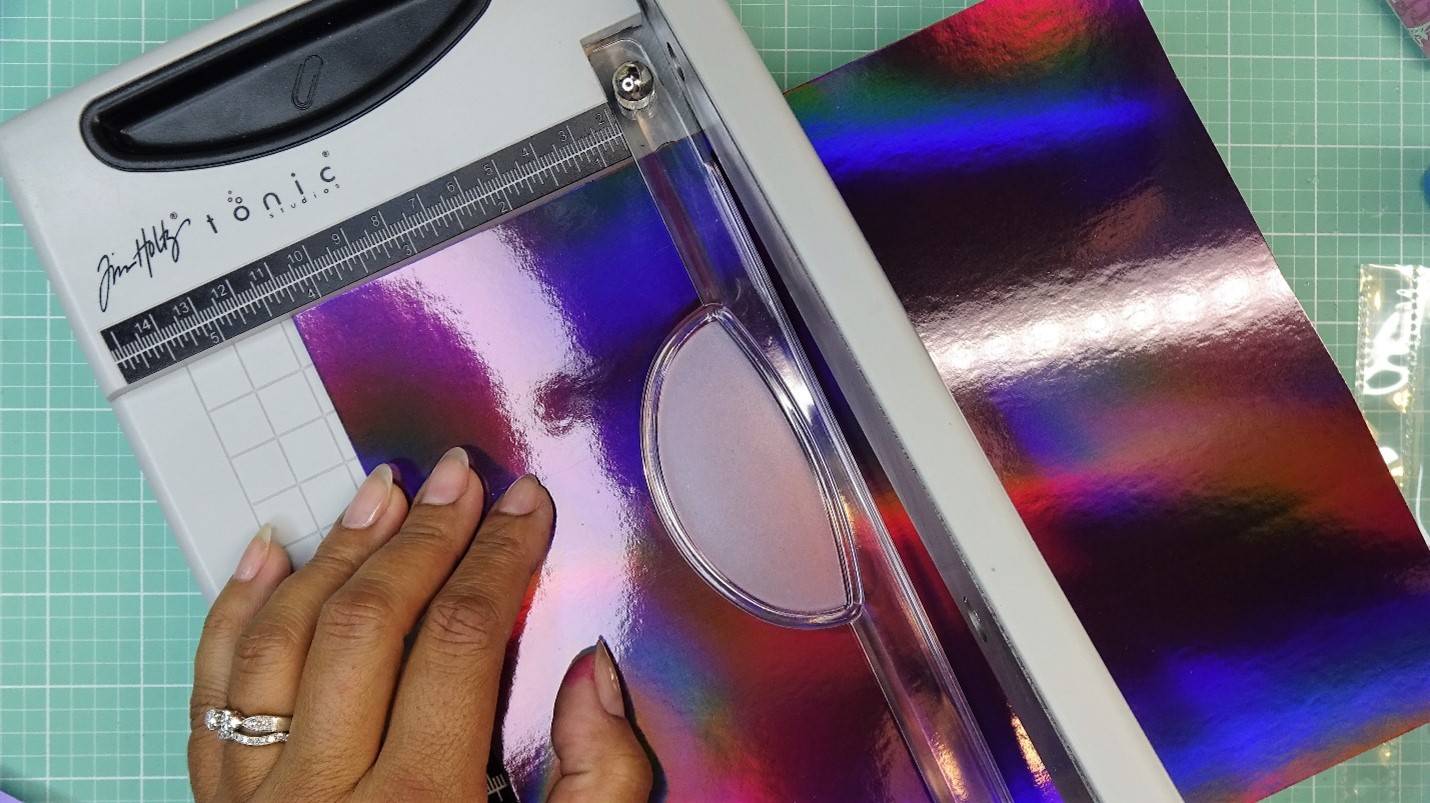
For an added mat layer, I will trim down a piece of Purple Rain mirror card to 4 3/8” x 6 1/8”. Place this piece aside for now.
Die Cutting the Topper Pieces:
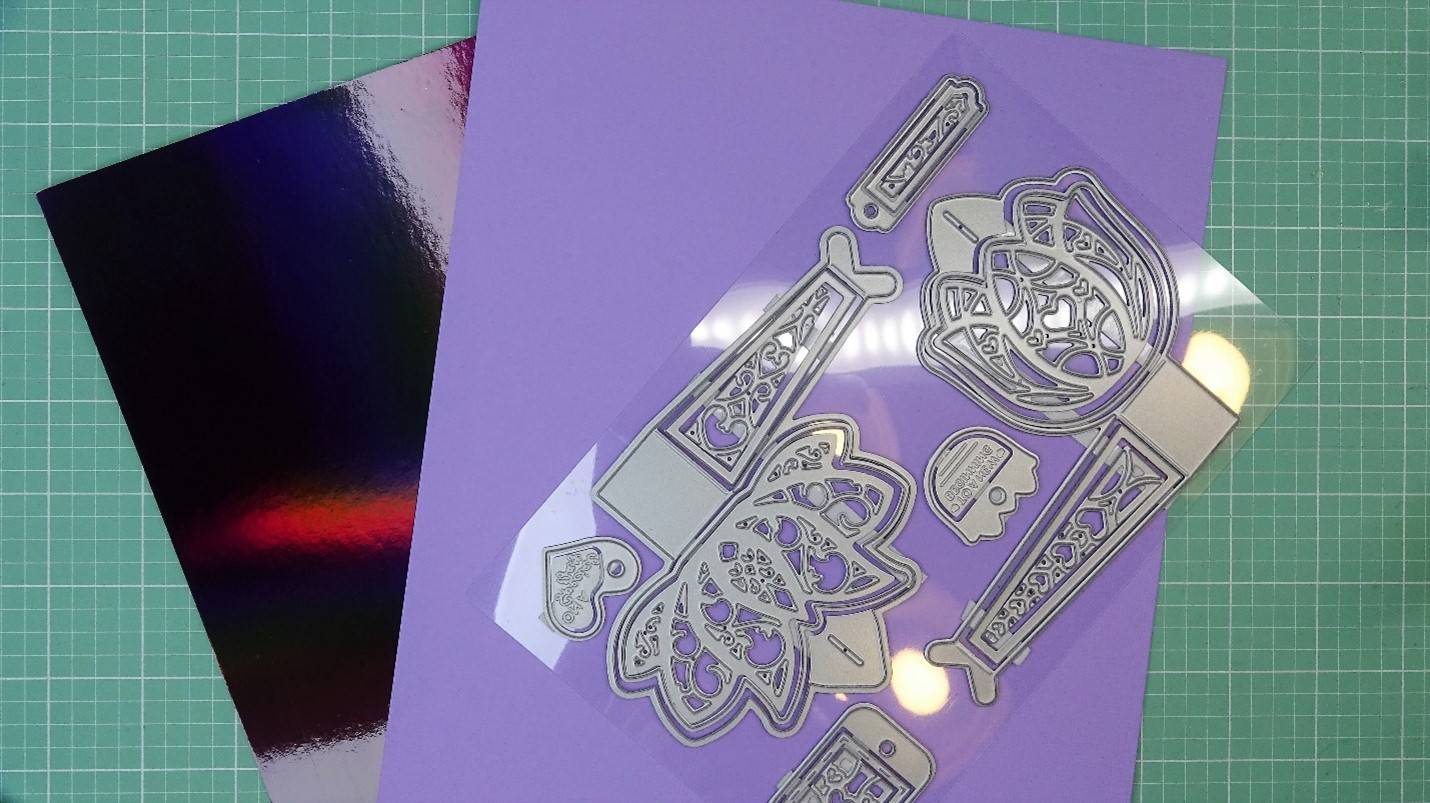
I will be using the Serendipitous Sepal dies and Classic Card in Mauve Purple and a little Pine Tree Green, and Mirror Card in Purple Rain.
Step 1
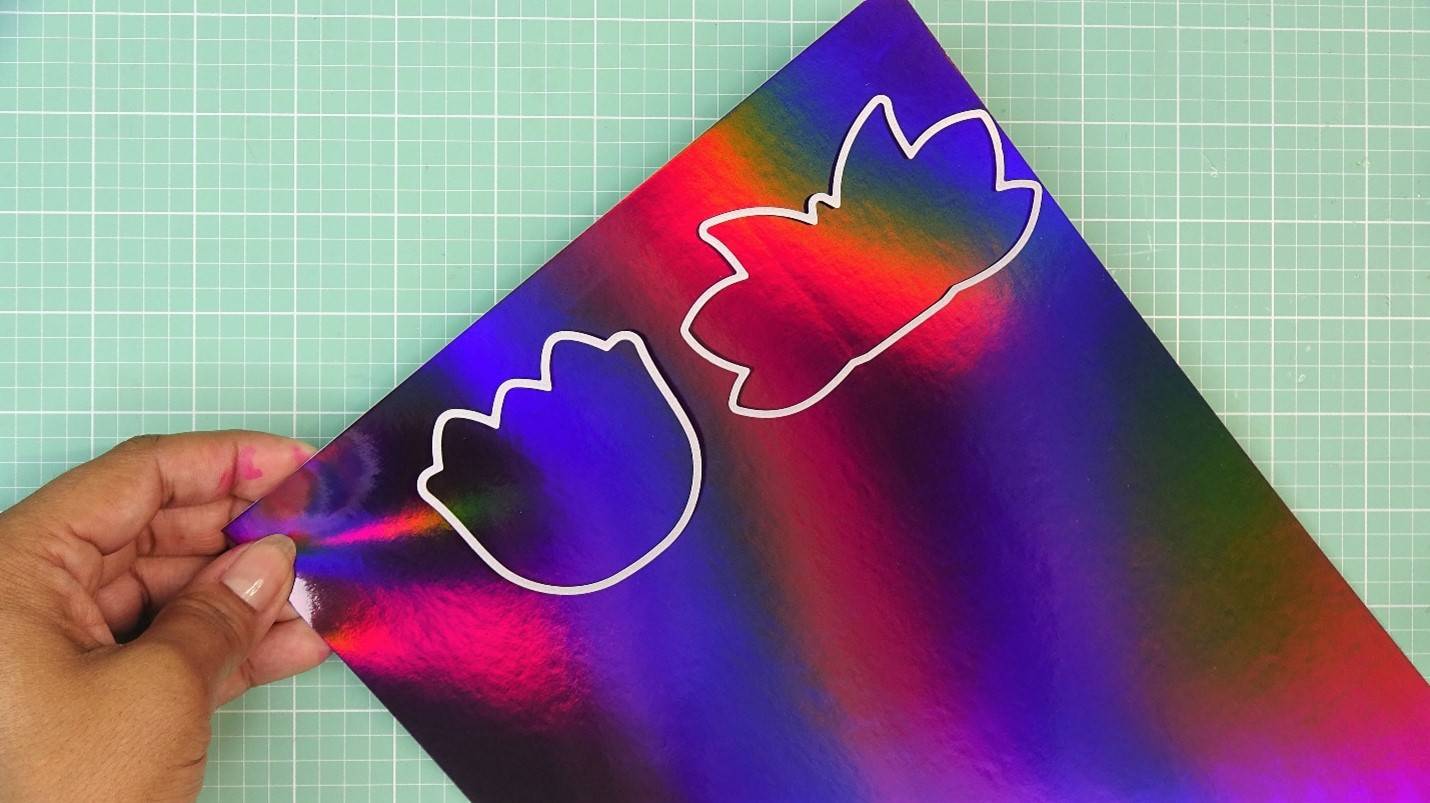
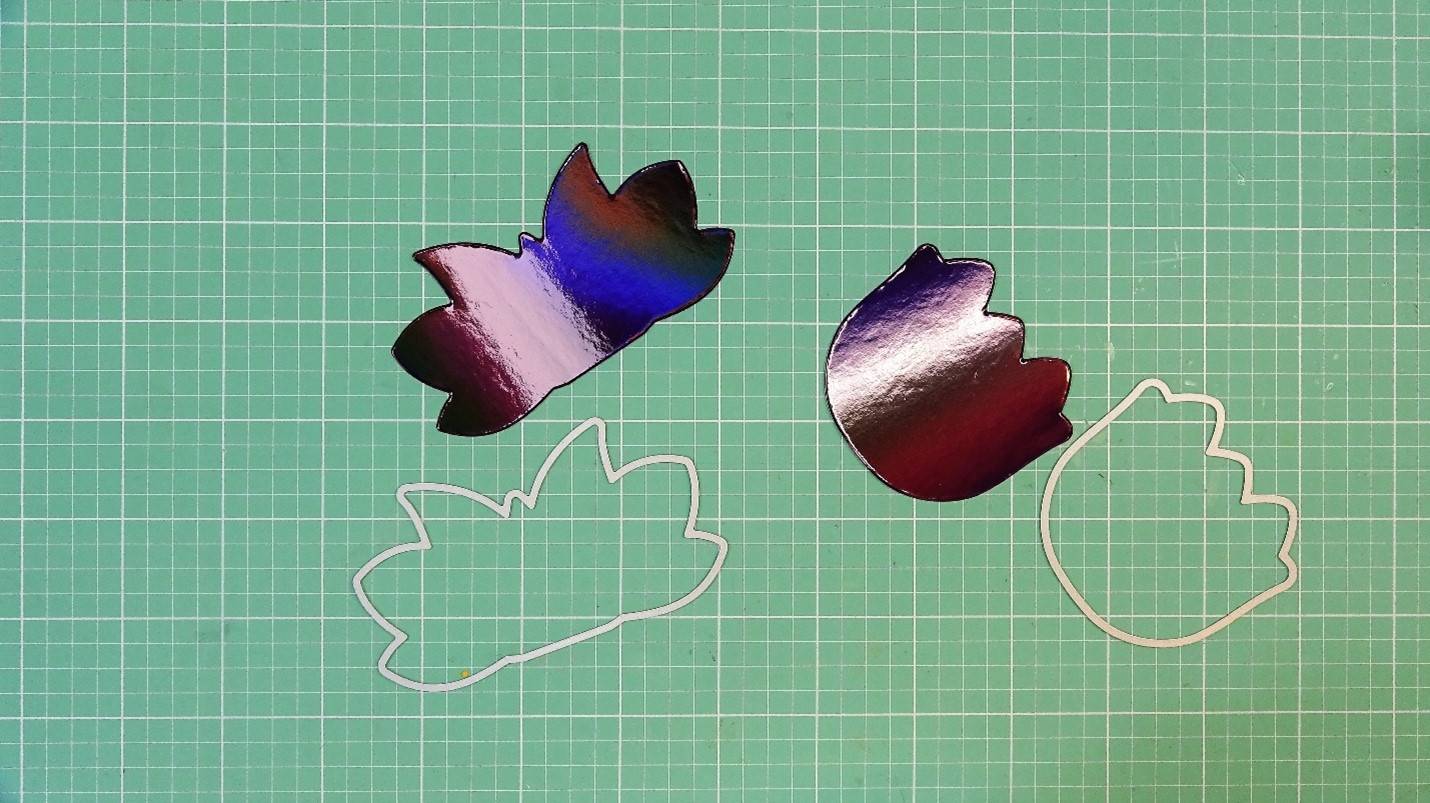
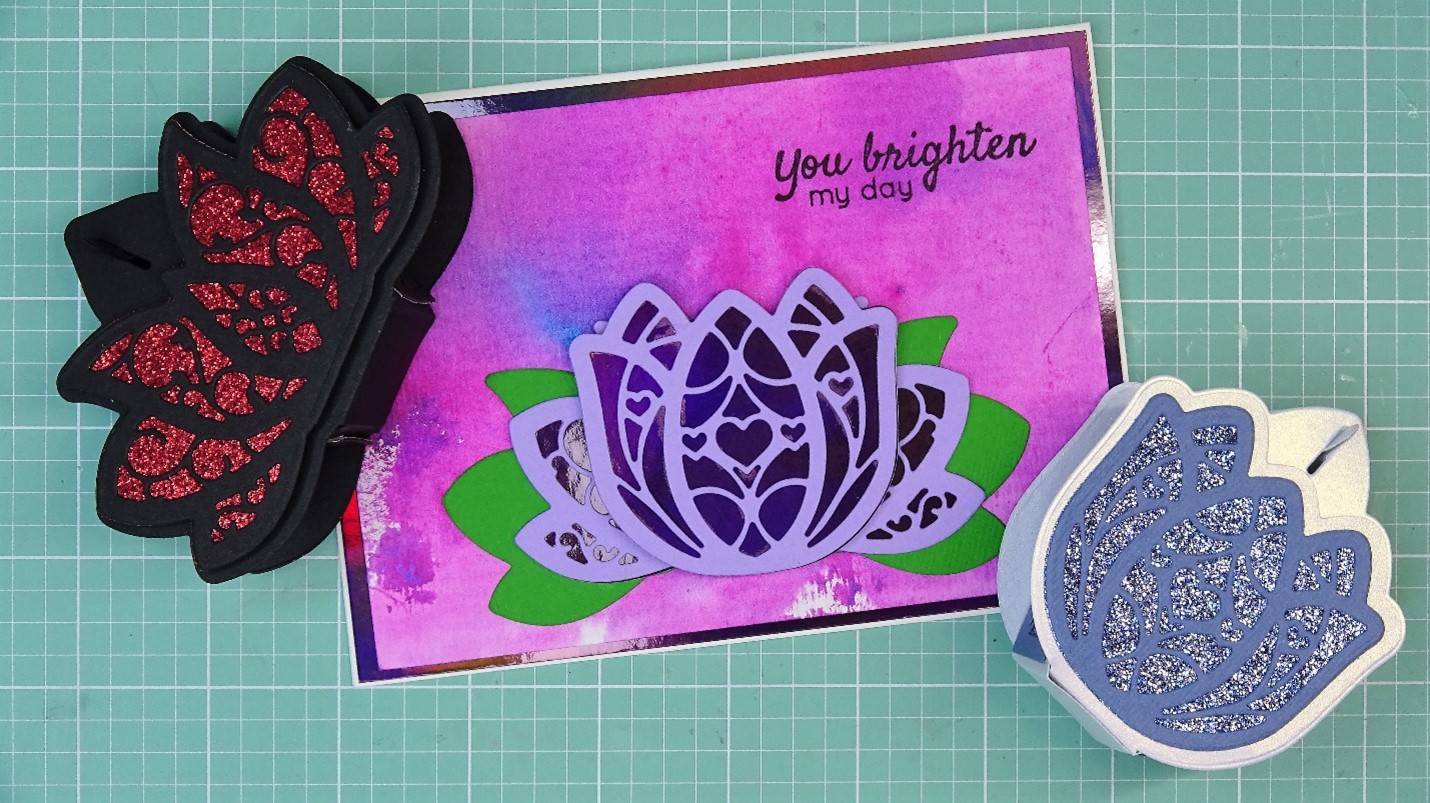
Die cut the mirror card using the outer dies of the decorative toppers of both flower shapes.
Step 2
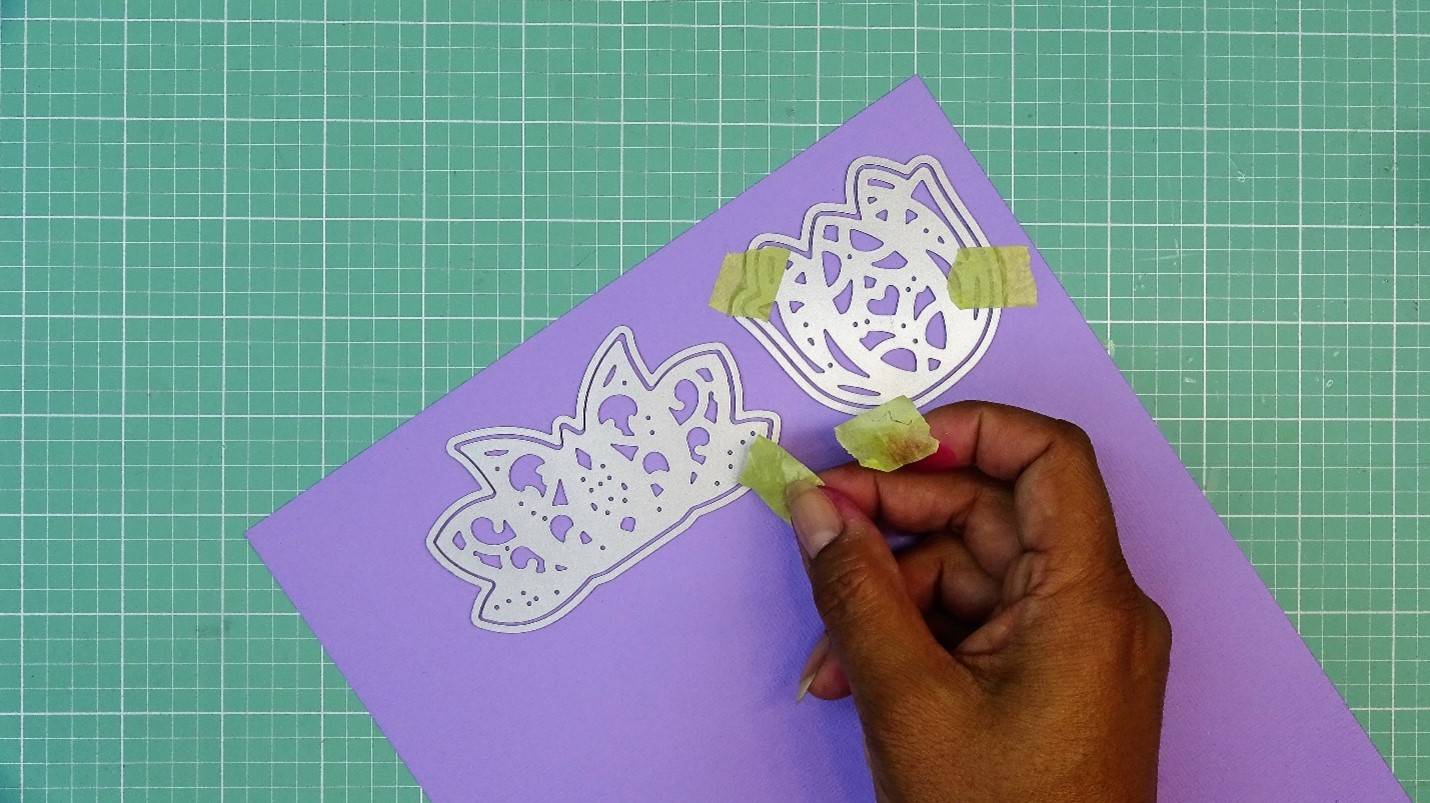
I will now die cut the mauve classic card using the topper dies, both the outer dies and inlay dies.
Step 3
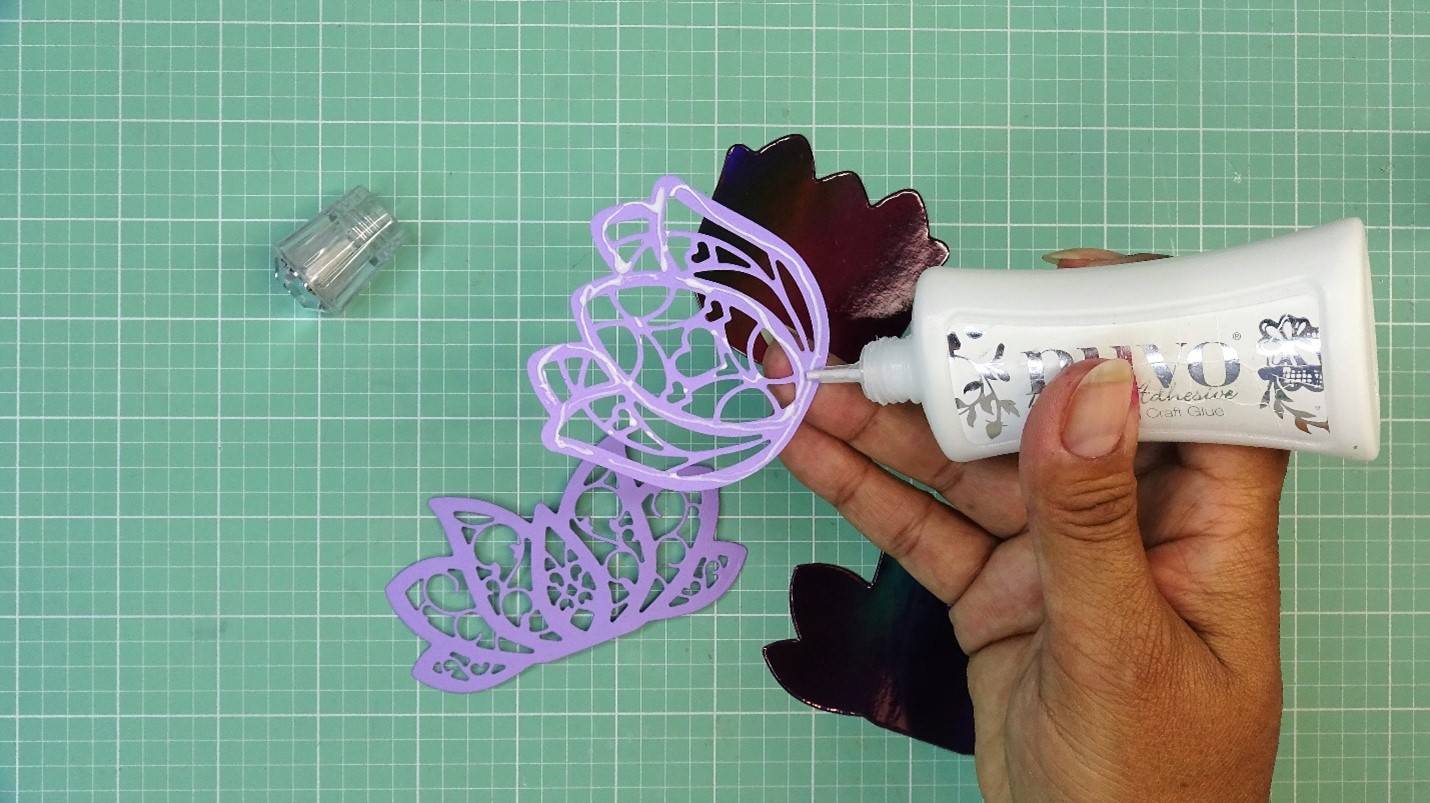
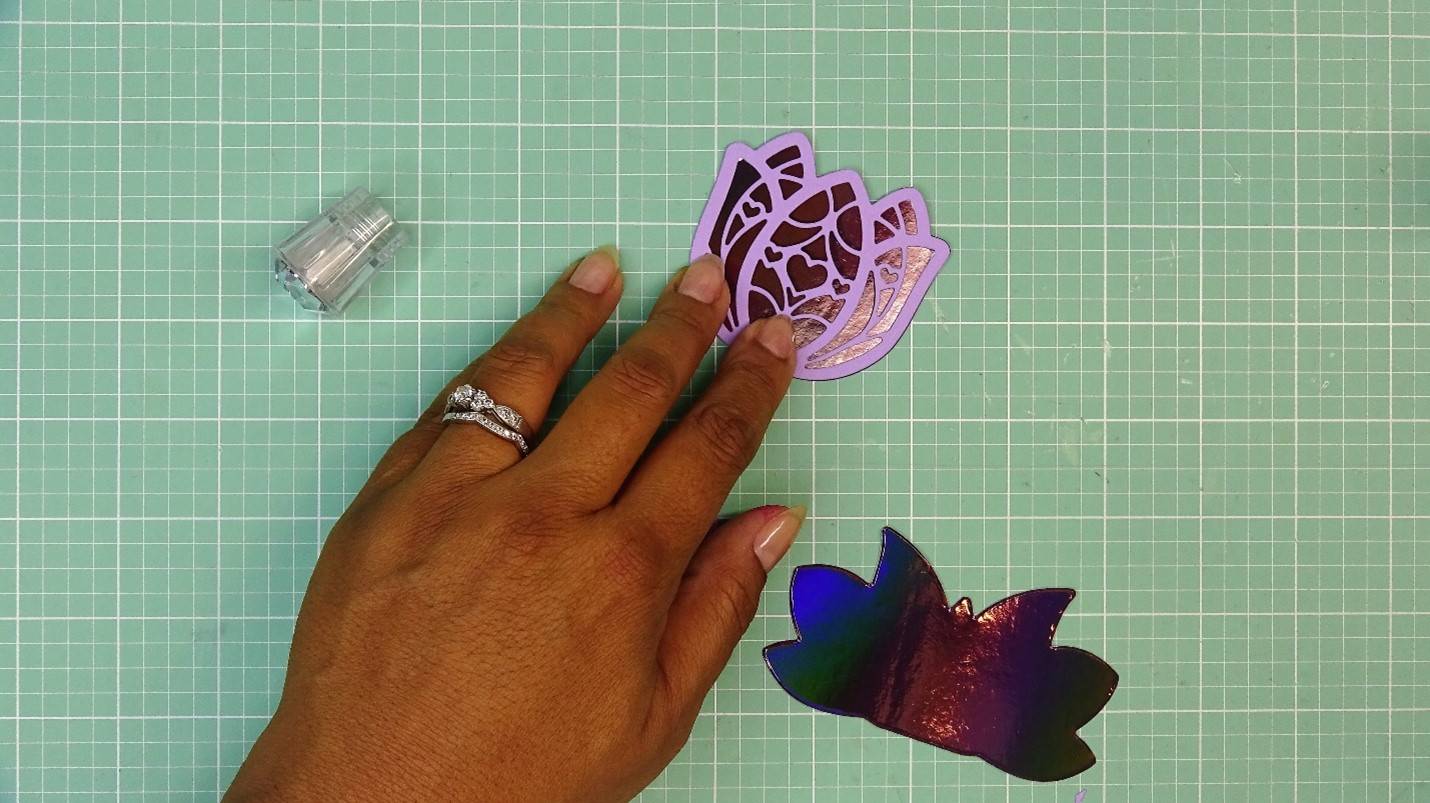
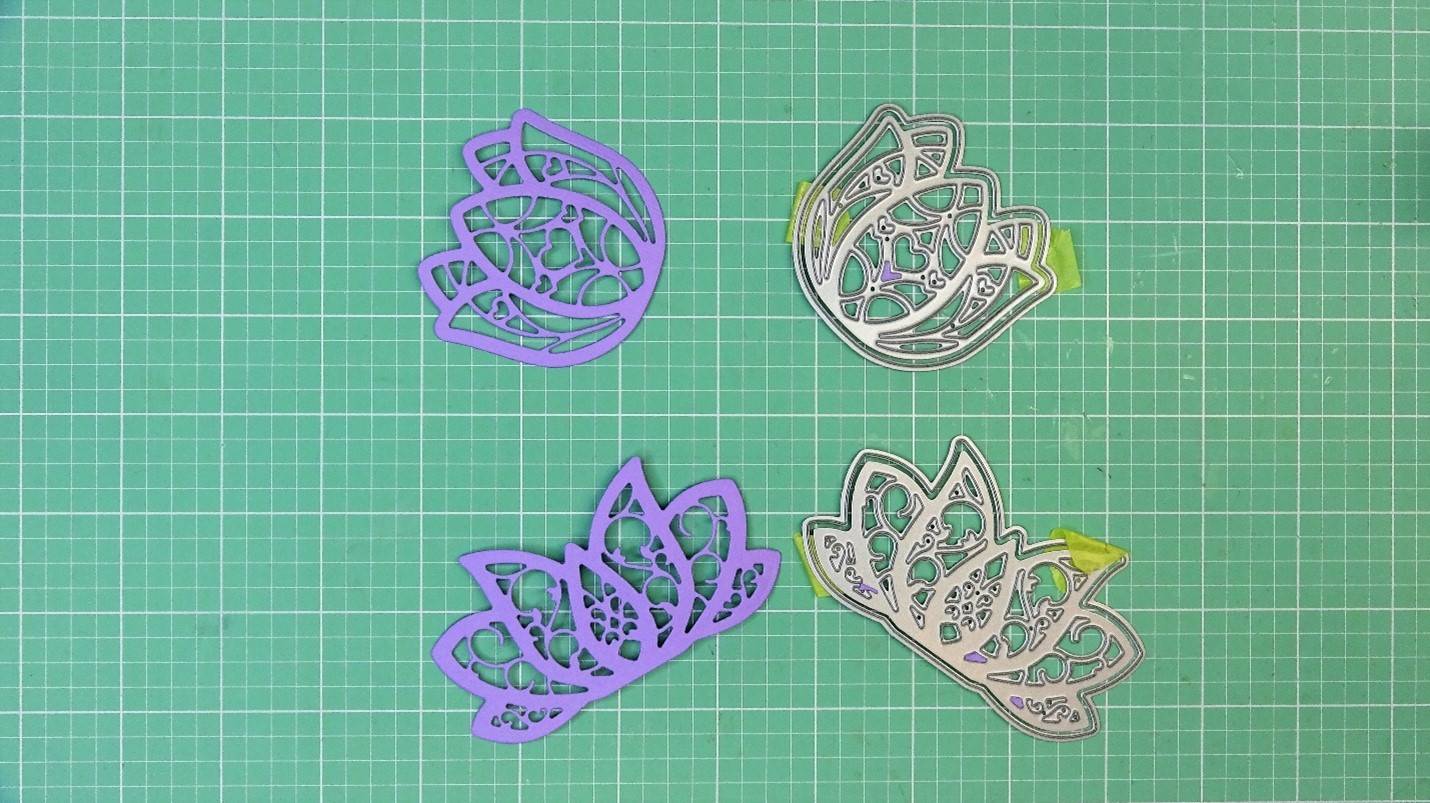
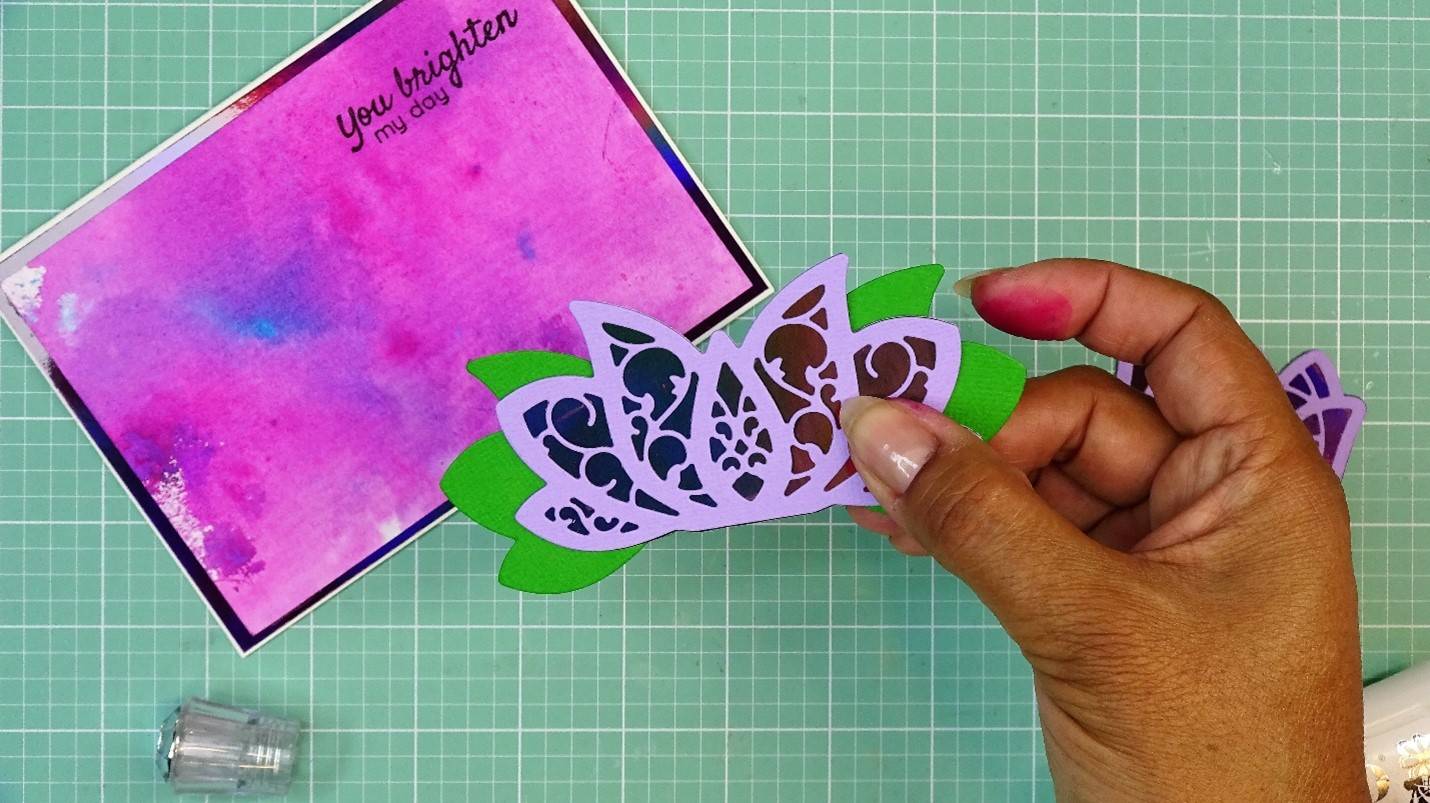
Now we can carefully glue the inlay die cuts to the background die cuts. Do this for both flower shapes, and set aside.
Step 4
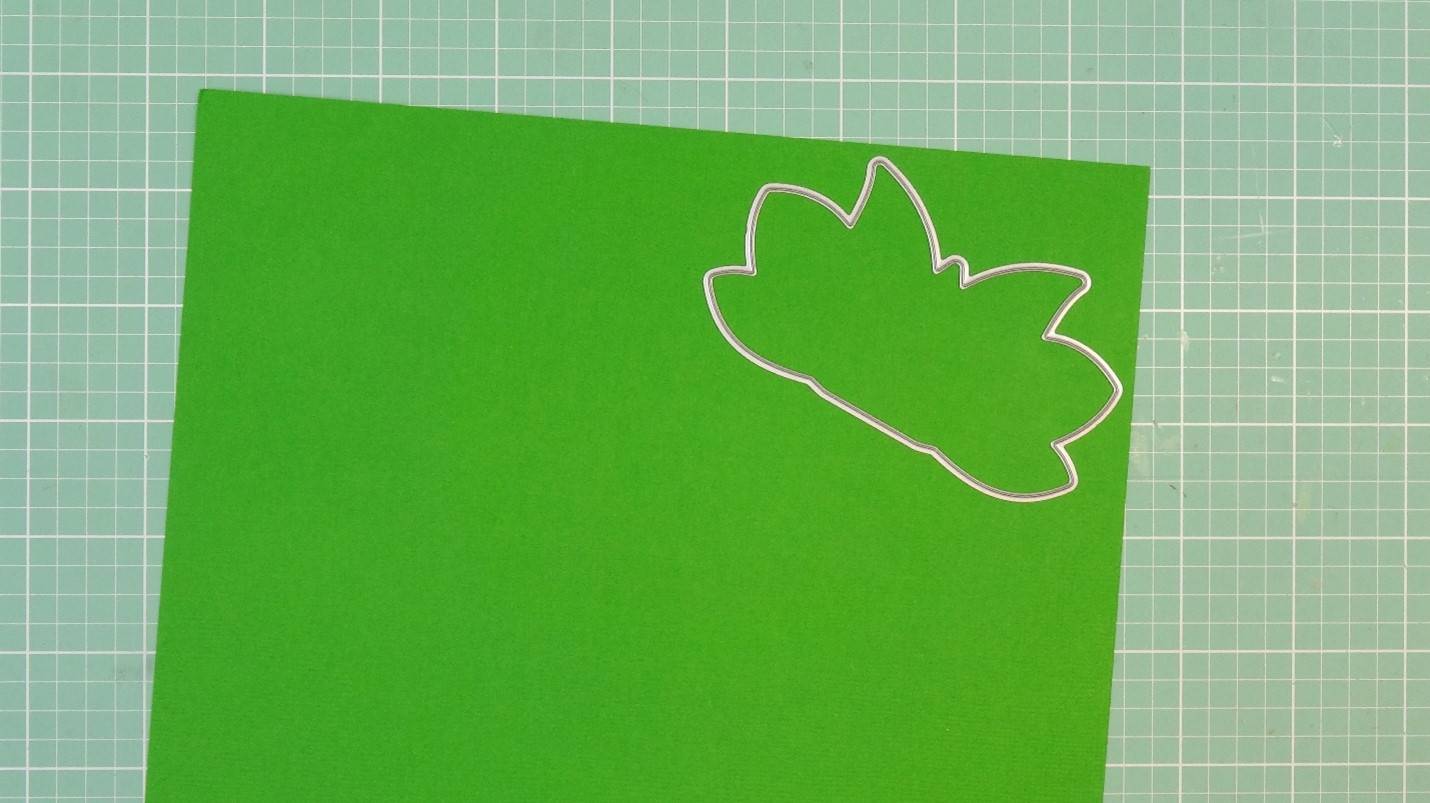
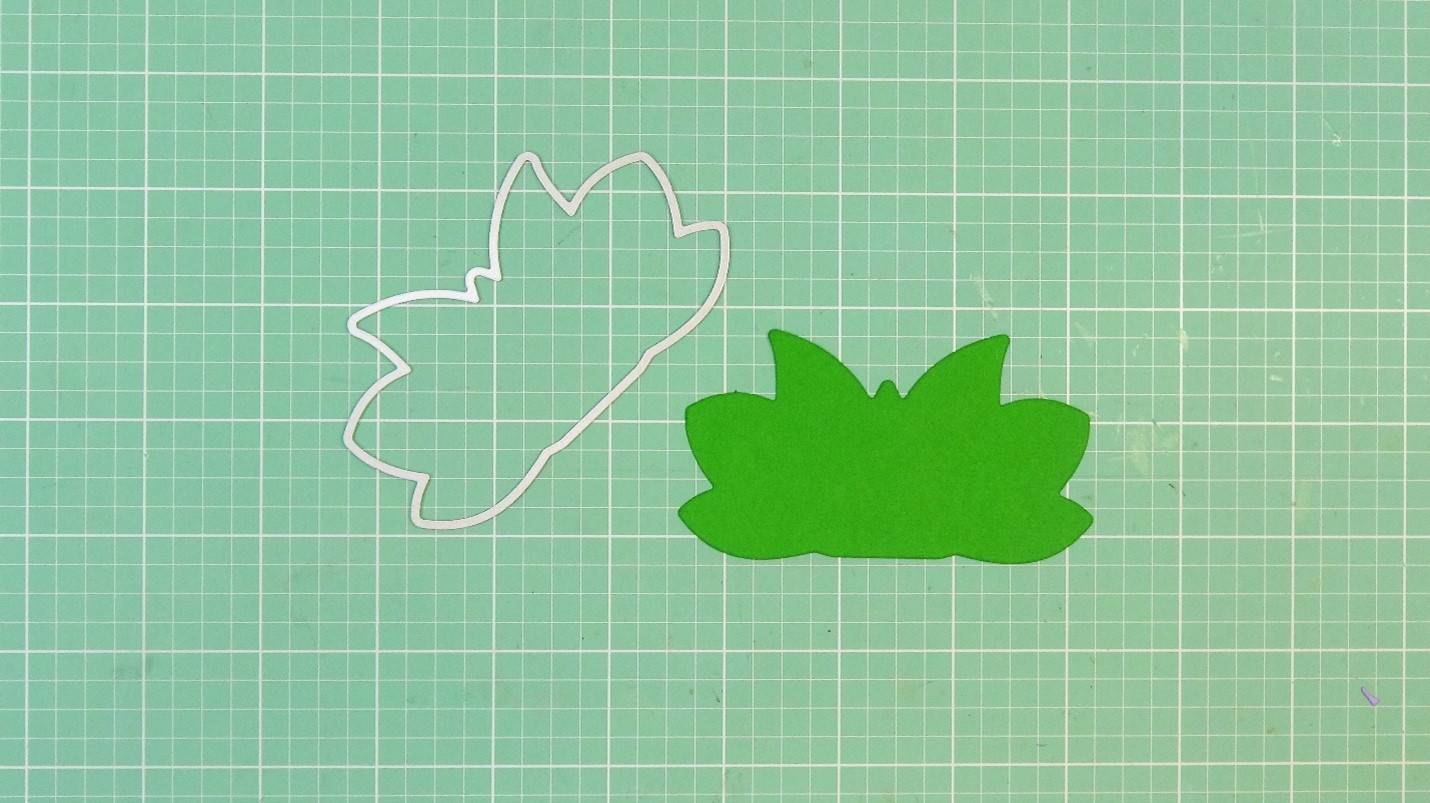
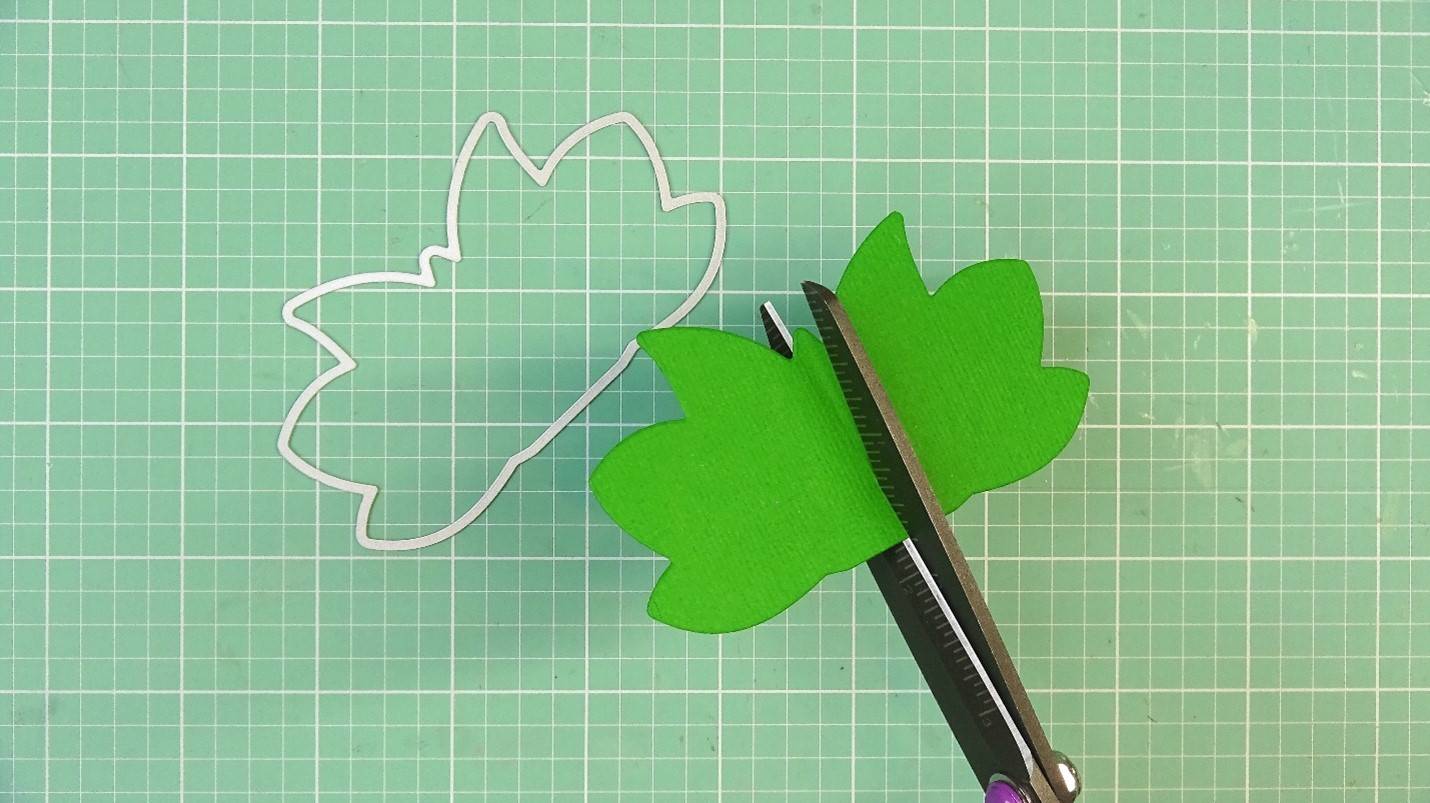
I will also cut just the outer die of the larger flower shape from the green classic card. Then I will cut the shape in half, we will use these pieces as leaves. Set aside for now.
Stamping Our Sentiment and Assembling the Card:
Step 1
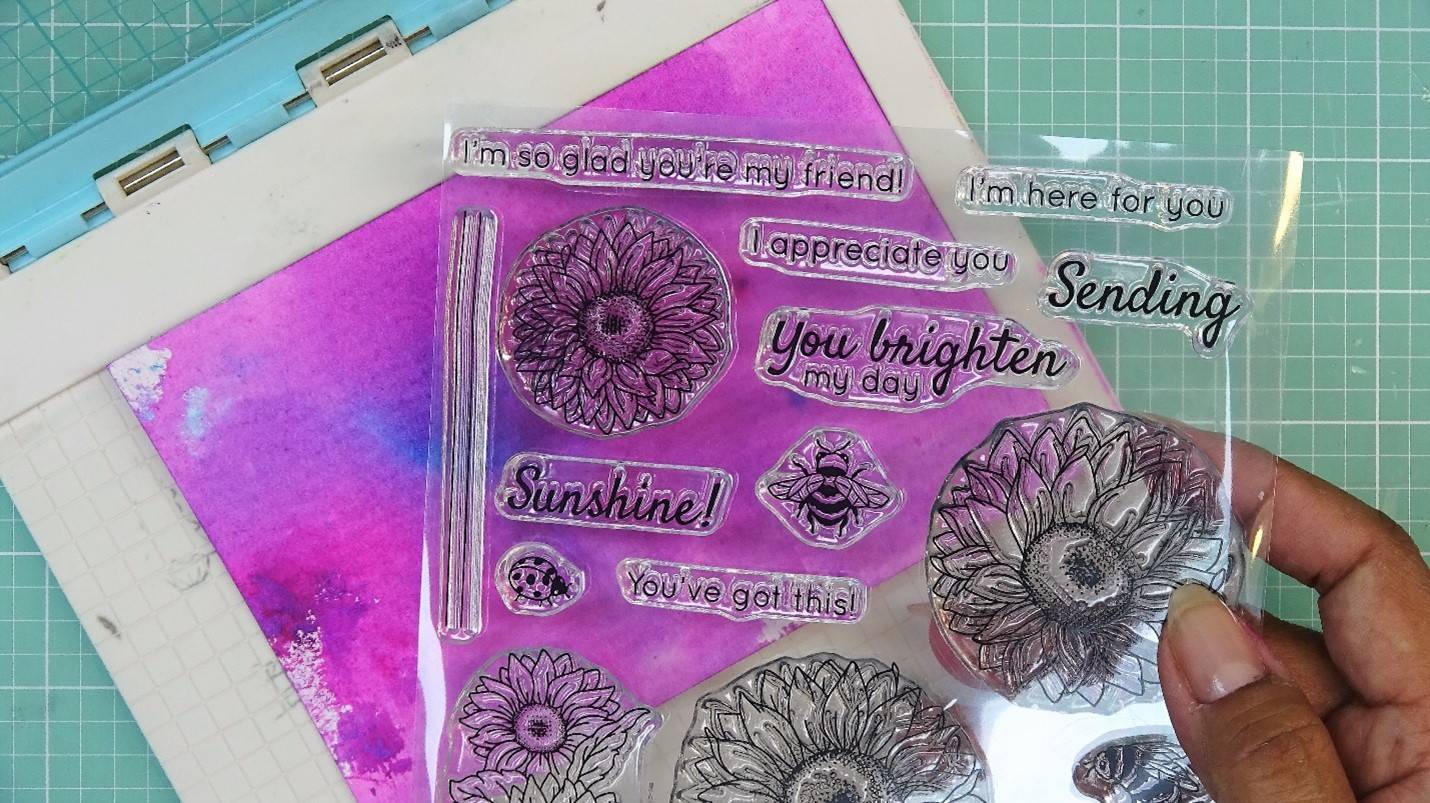
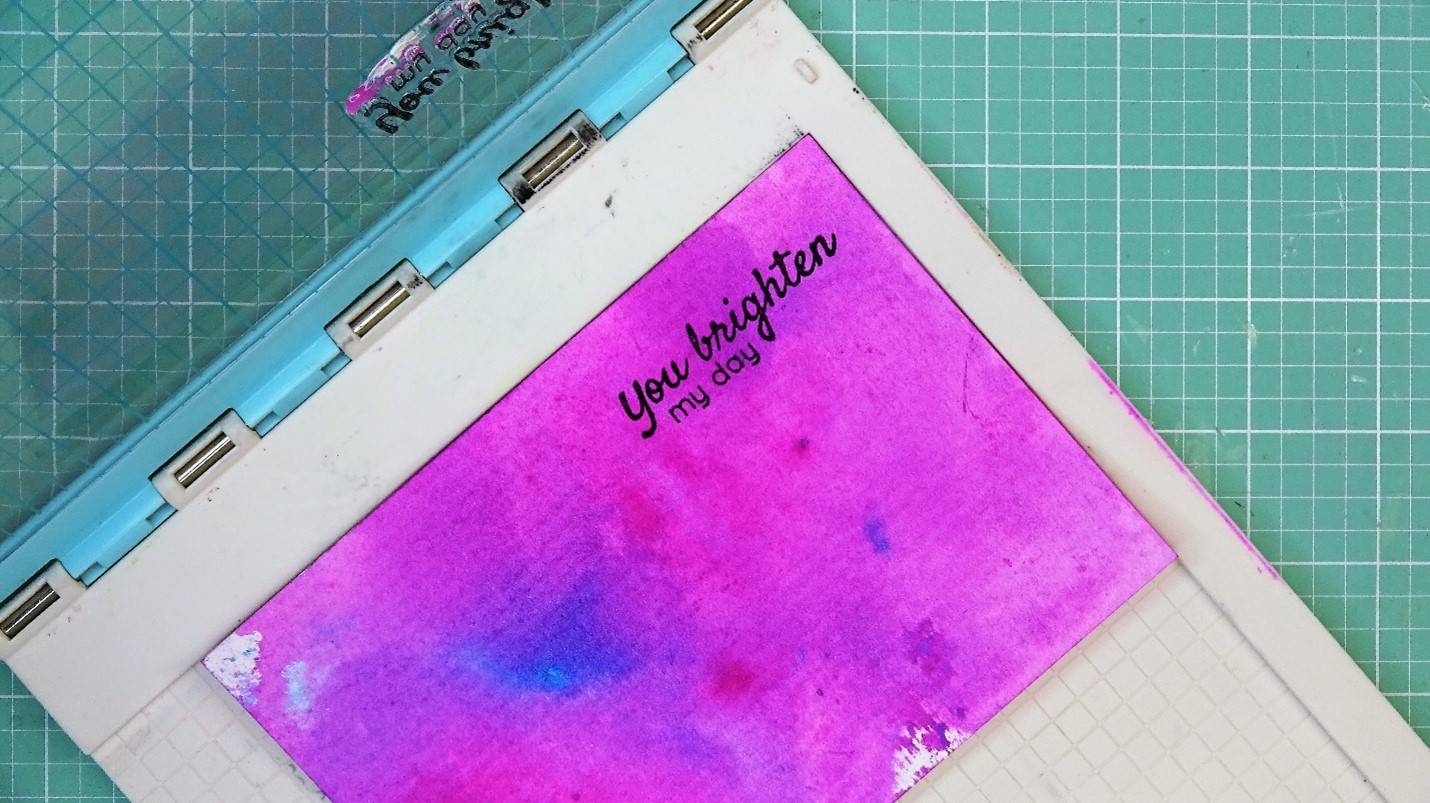
Now that our background is fully dry, I will use a stamp from the “Sunshine & Flowers” Stamp Club set to add the sentiment. Whenever I stamp on watercolor paper, I use a stamping tool in case I have to stamp more than once to get full coverage.
Step 2
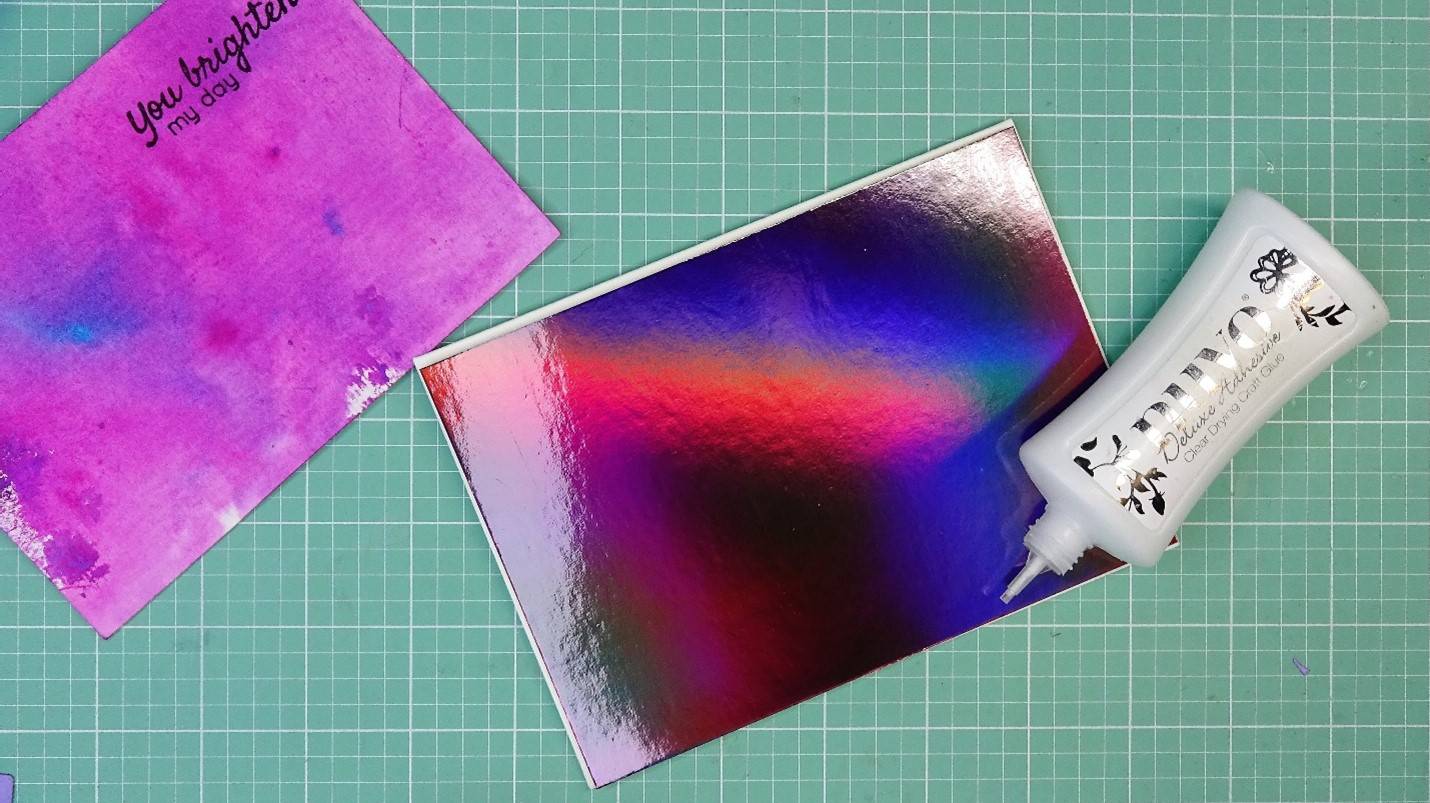
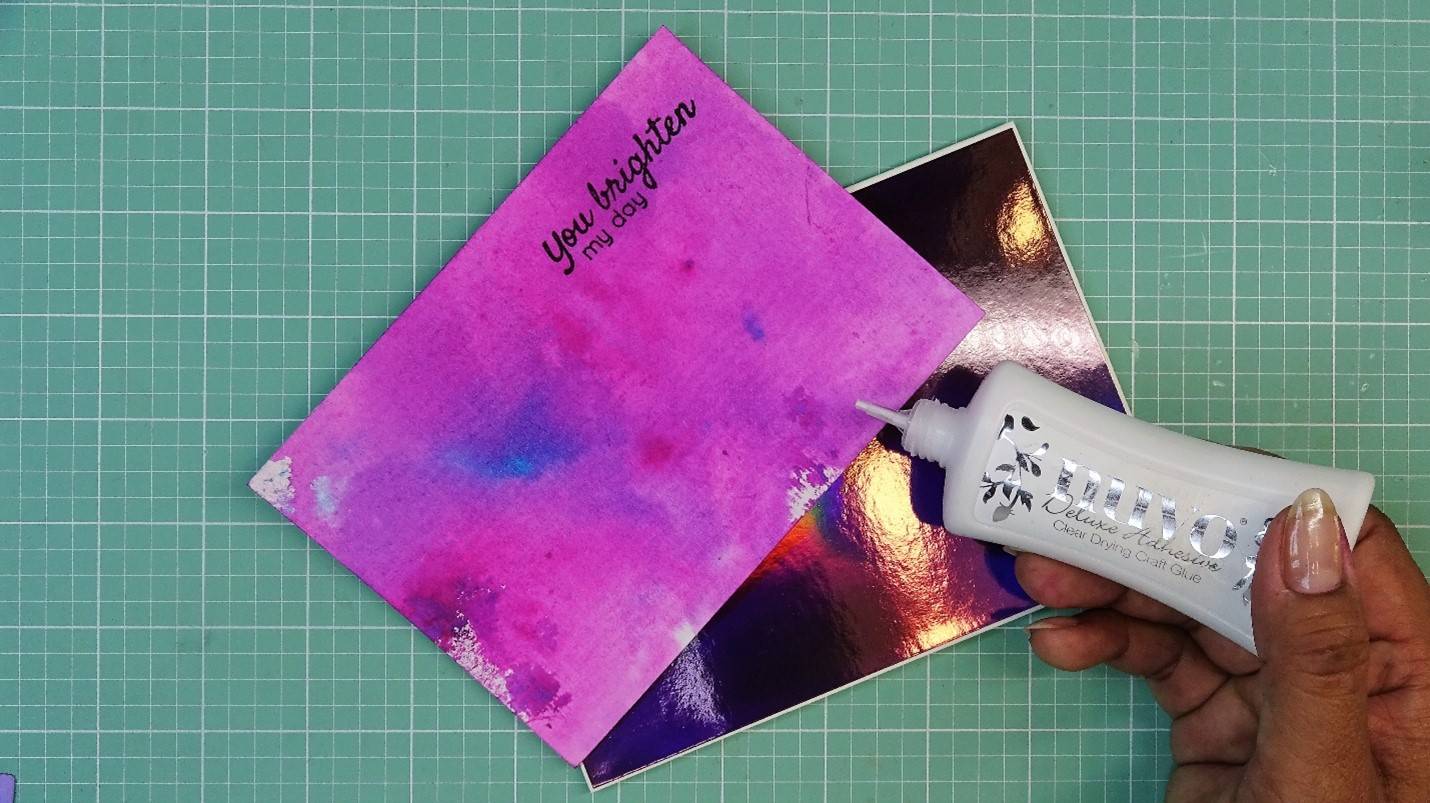
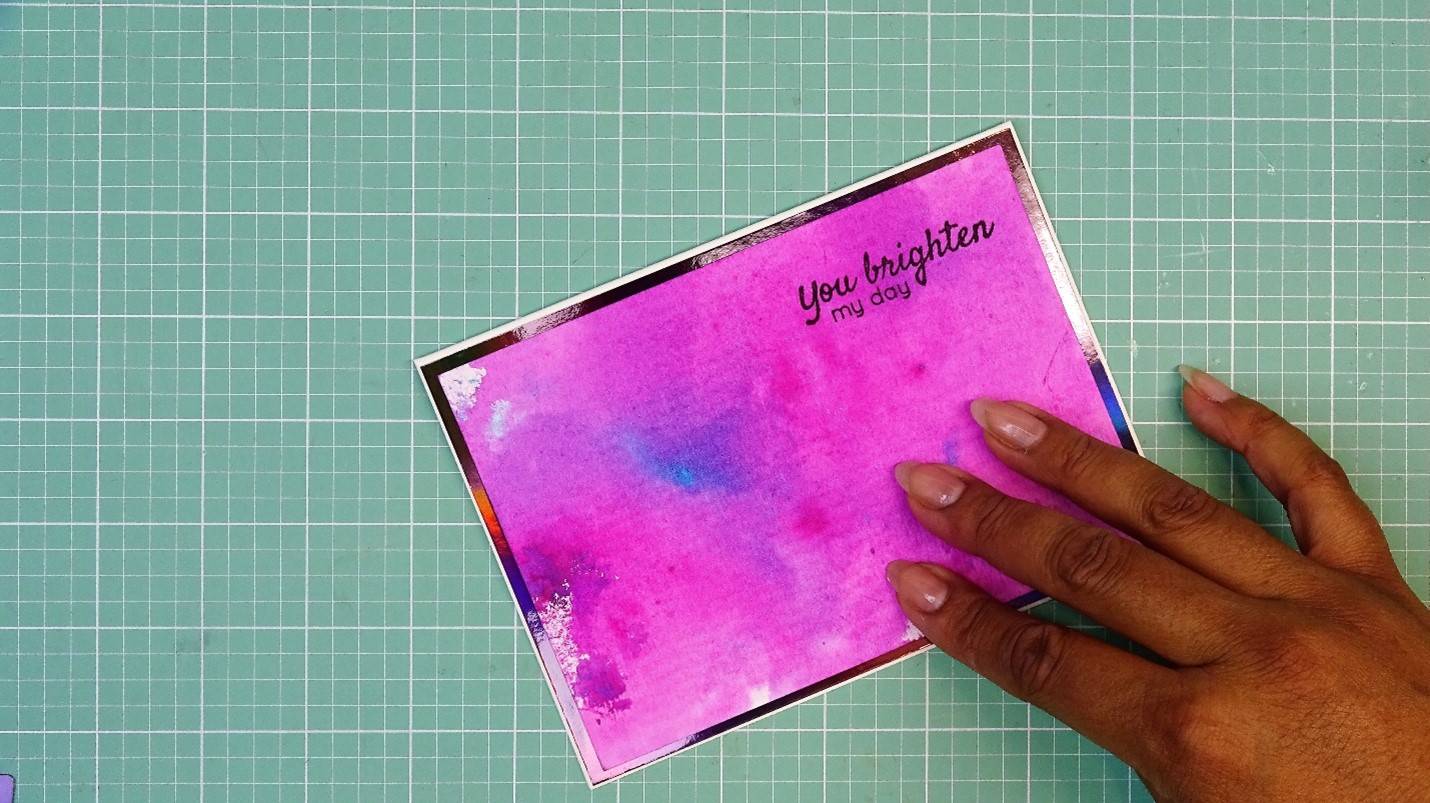
Let’s go ahead and adhere the mat layers. I will first glue down the mirror card, then out beautiful watercolor paper background.
Step 3
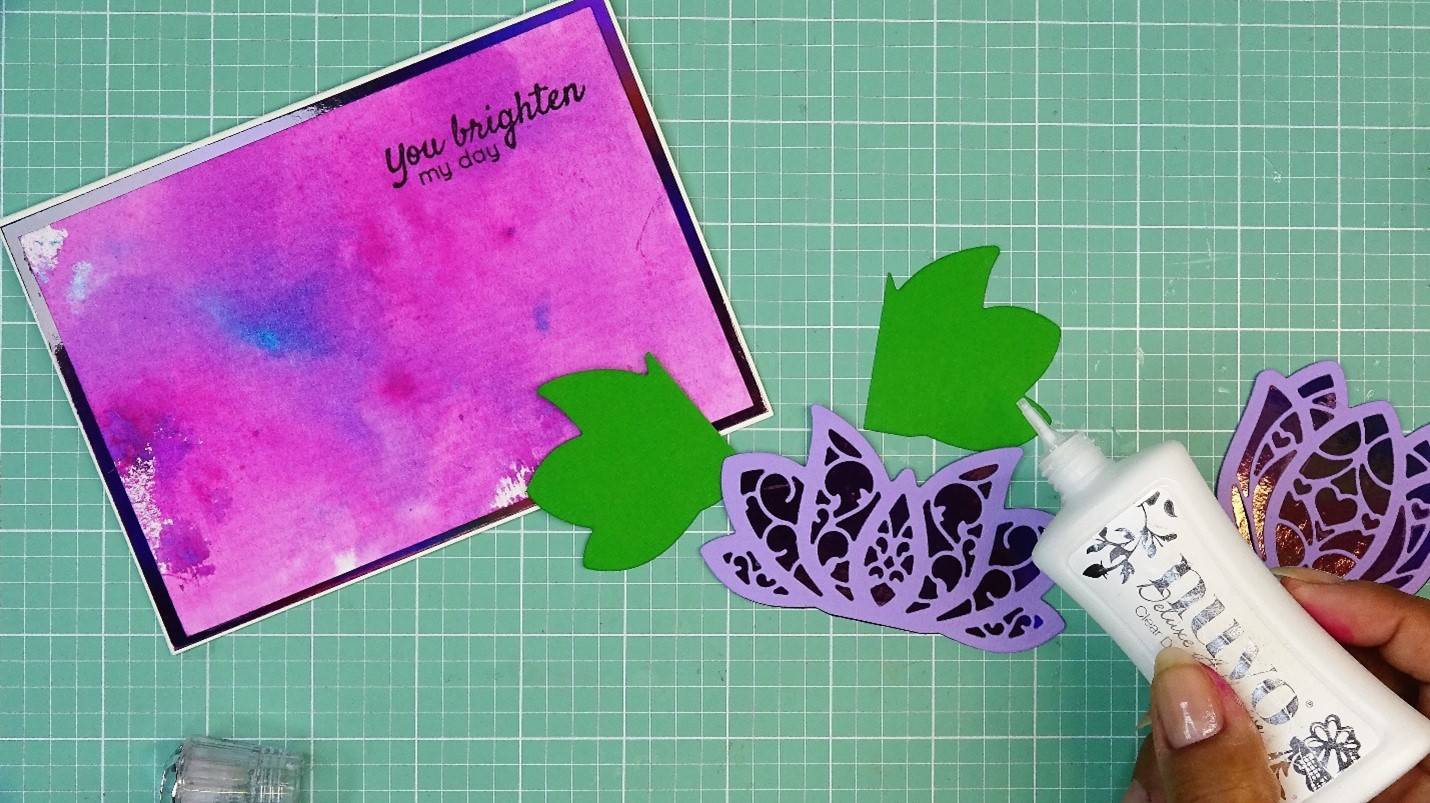
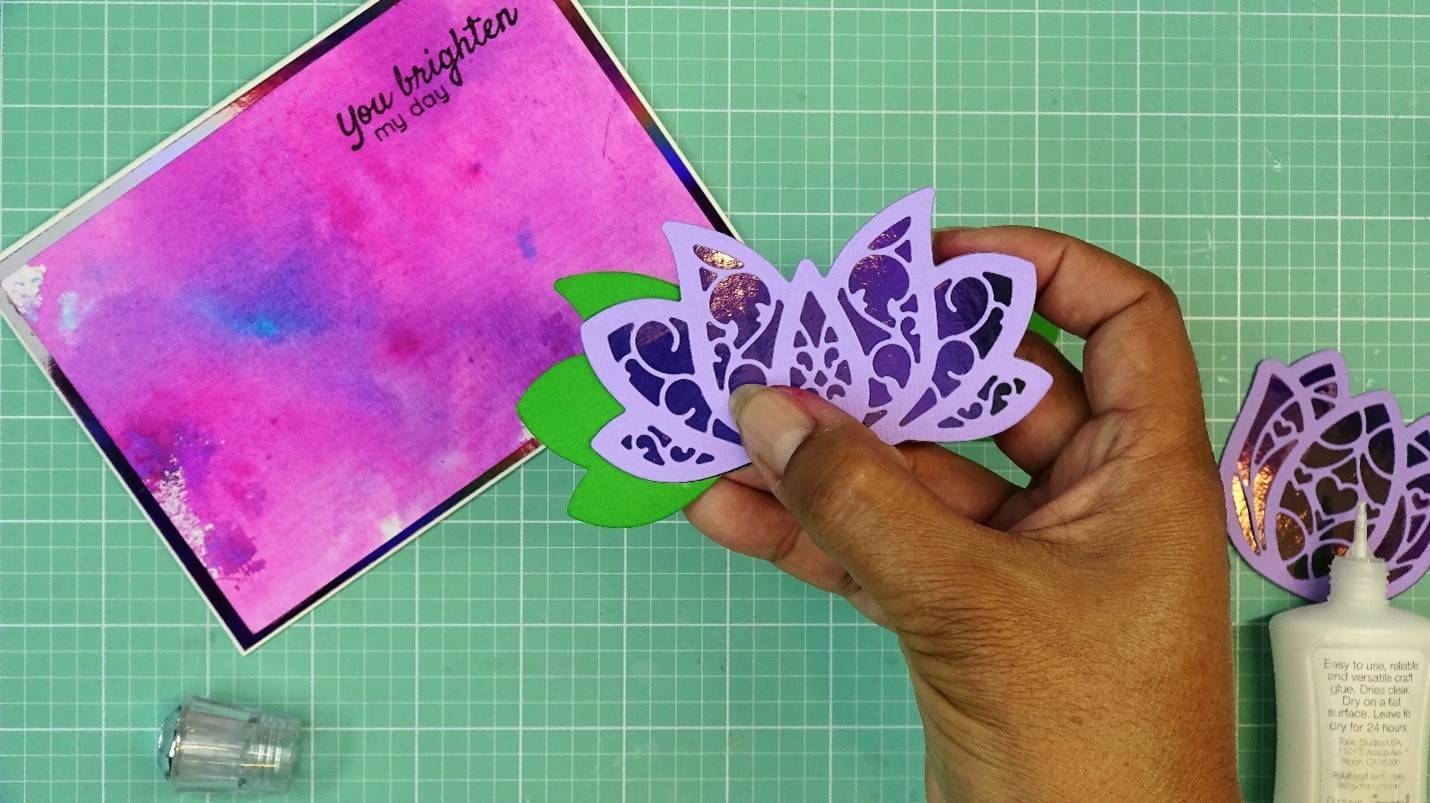
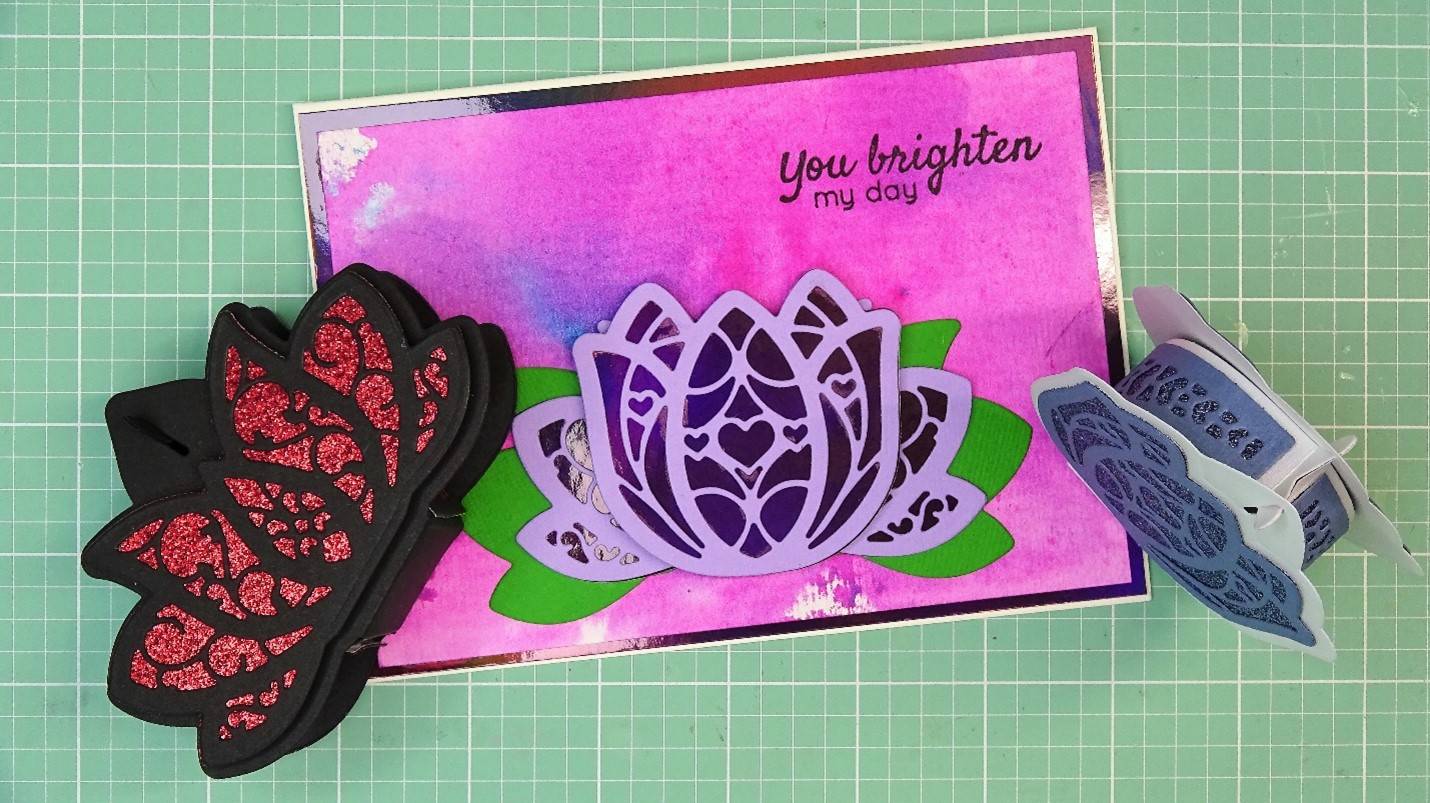
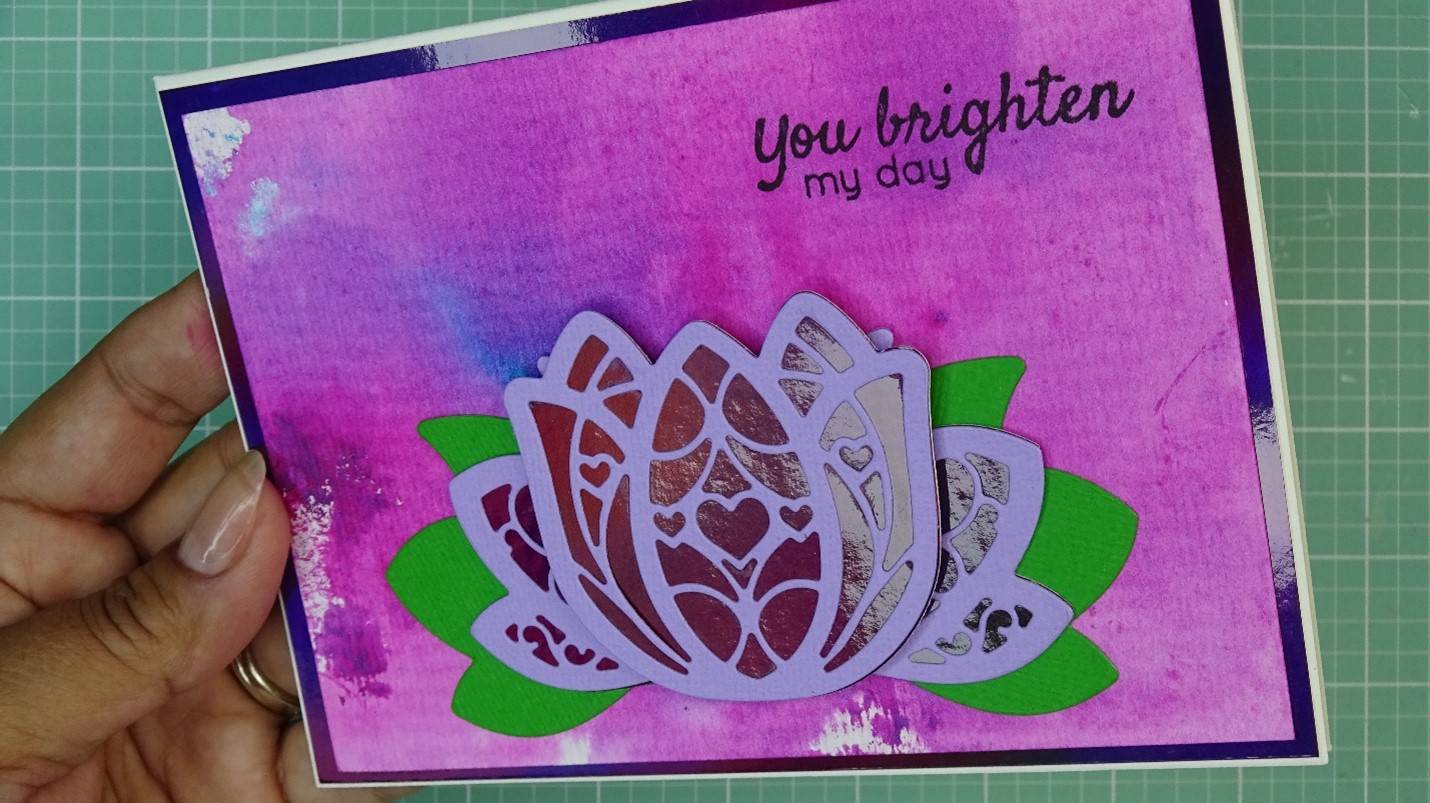
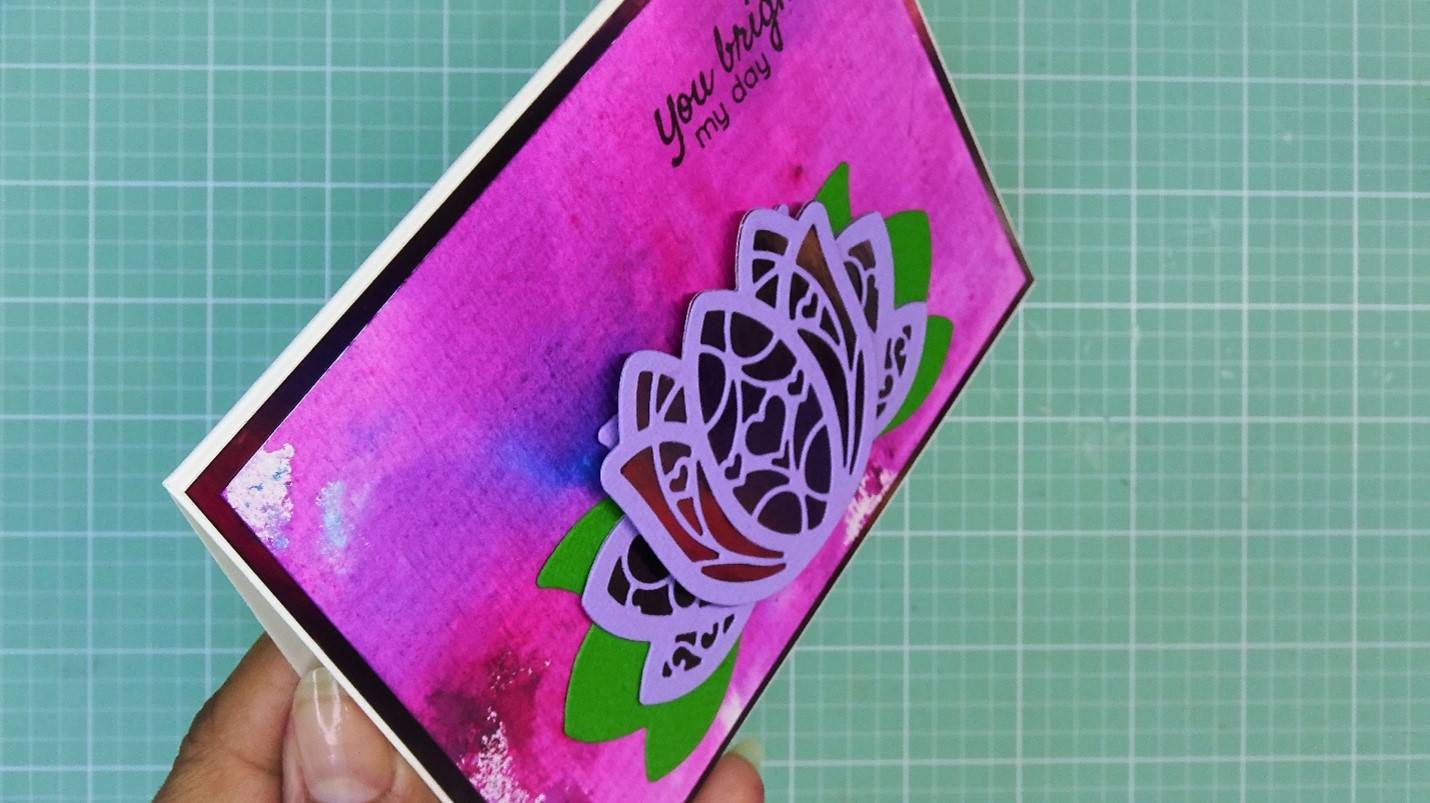
I will now assemble our flower topper pieces.
Step 4
Let’s go ahead and adhere the mat layers. I will first glue down the mirror card, then out beautiful watercolor paper background.
Step 5


Glue this entire piece to the card.
Step 6
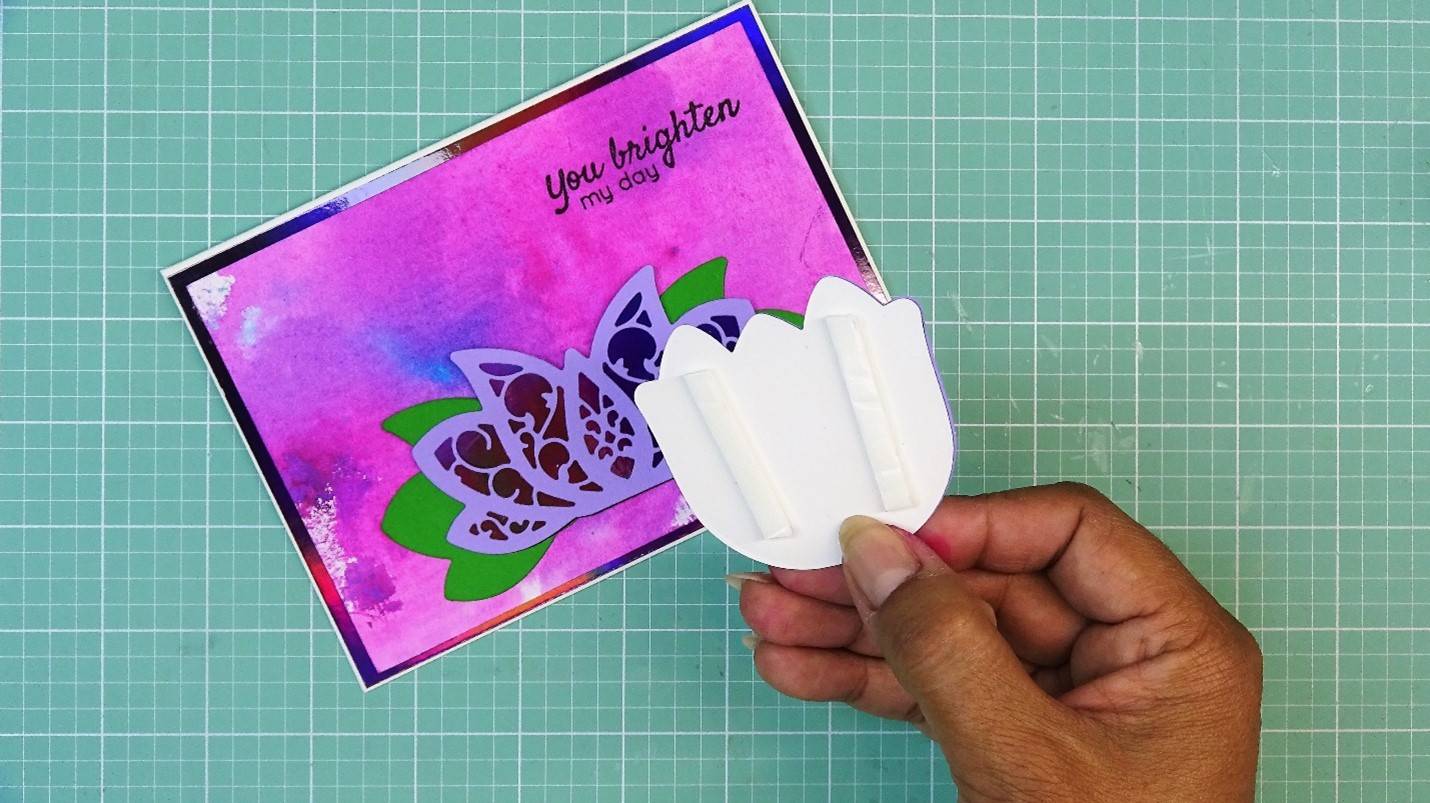
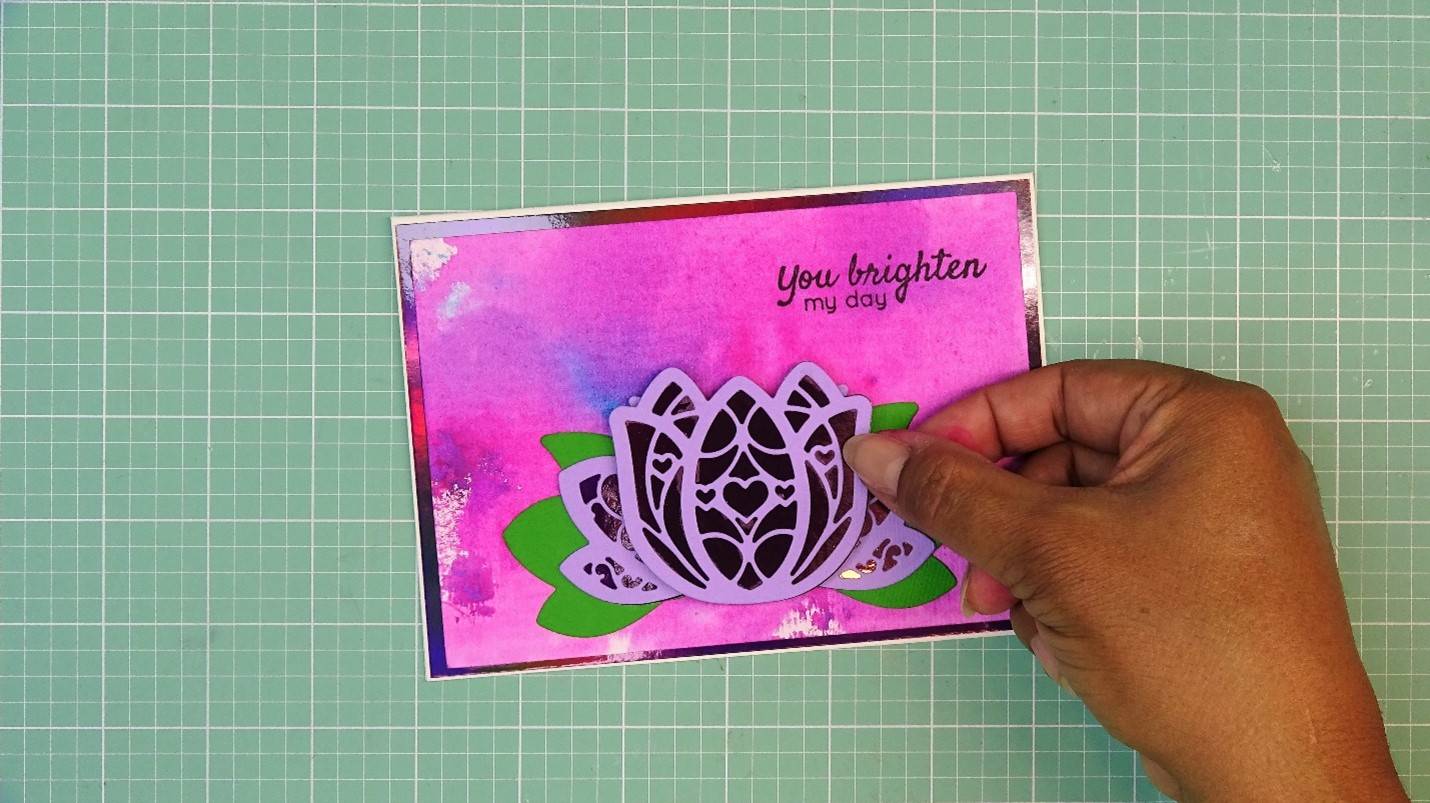
I will now top the large die cut flower with the smaller flower. I do this with dimensional foam adhesive.
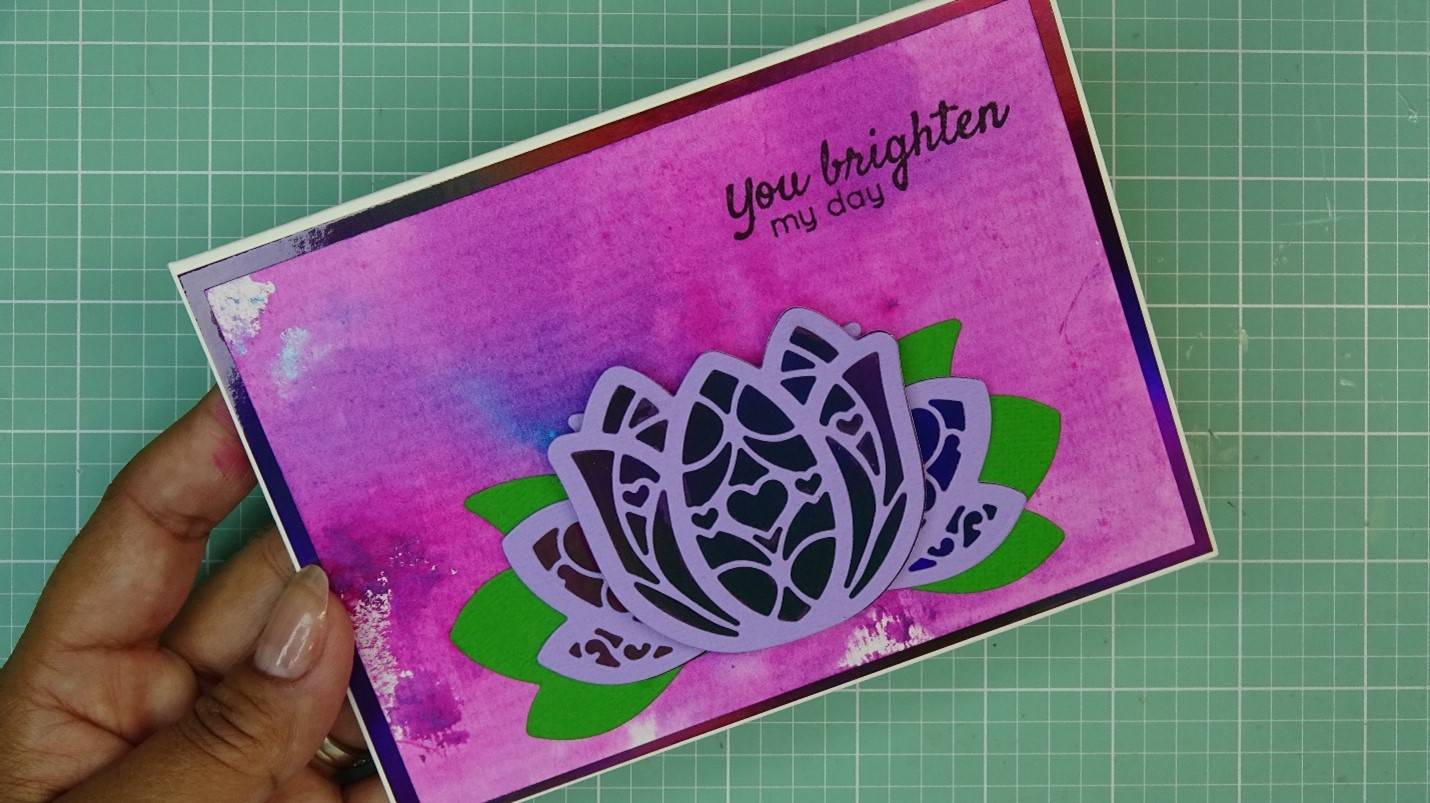
Our card is all done! I truly love this versatile set. The boxes it creates are just adorable and elegant at the same time. The card we just created is no exception, what a gorgeous way to use the die cut topper pieces! Thank you so much for spending some time with me, have fun creating your own beautiful cards, boxes, and more.

Buy The Craft Project
