


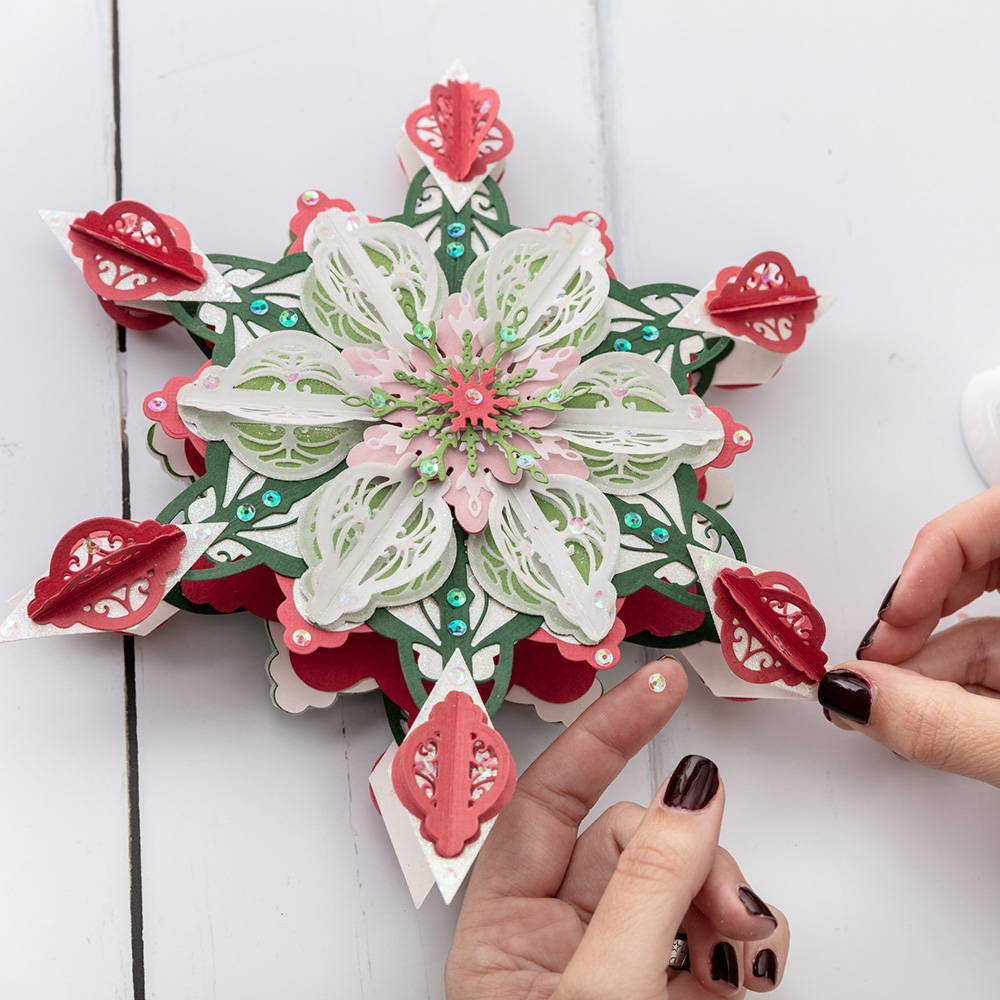
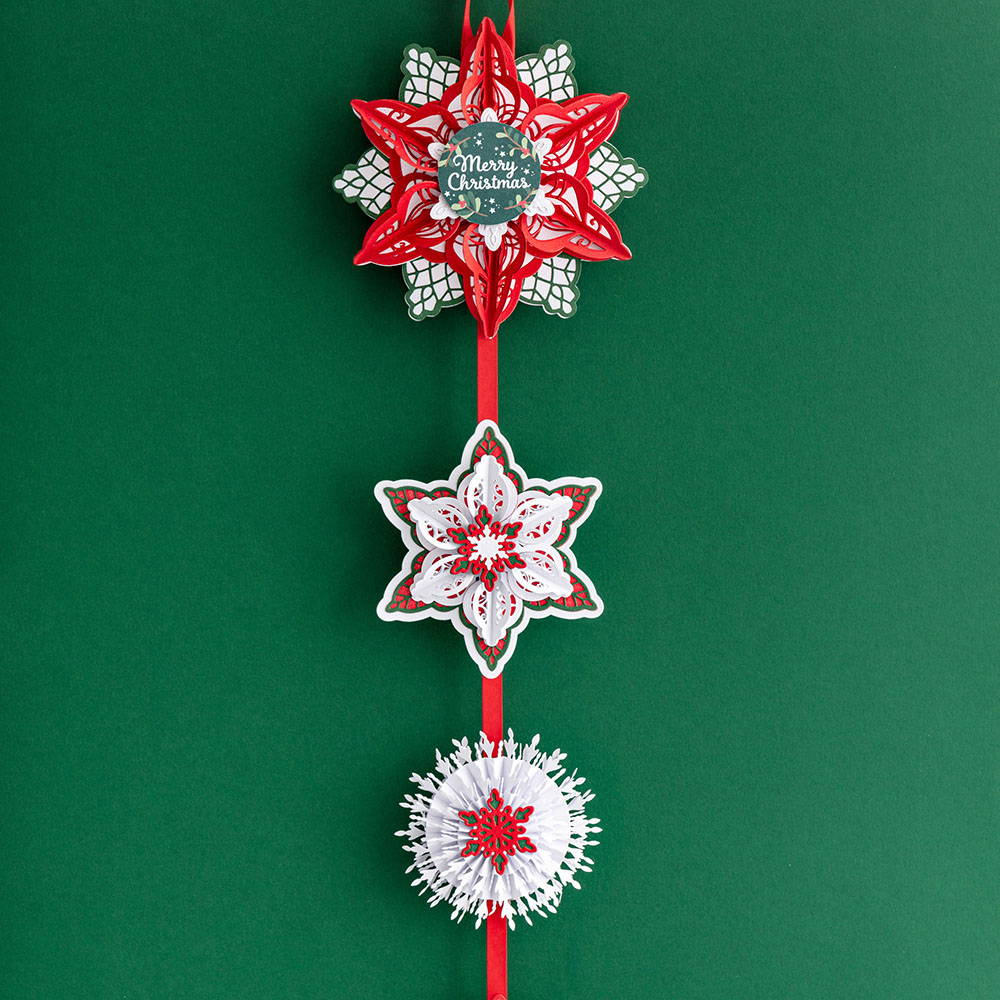
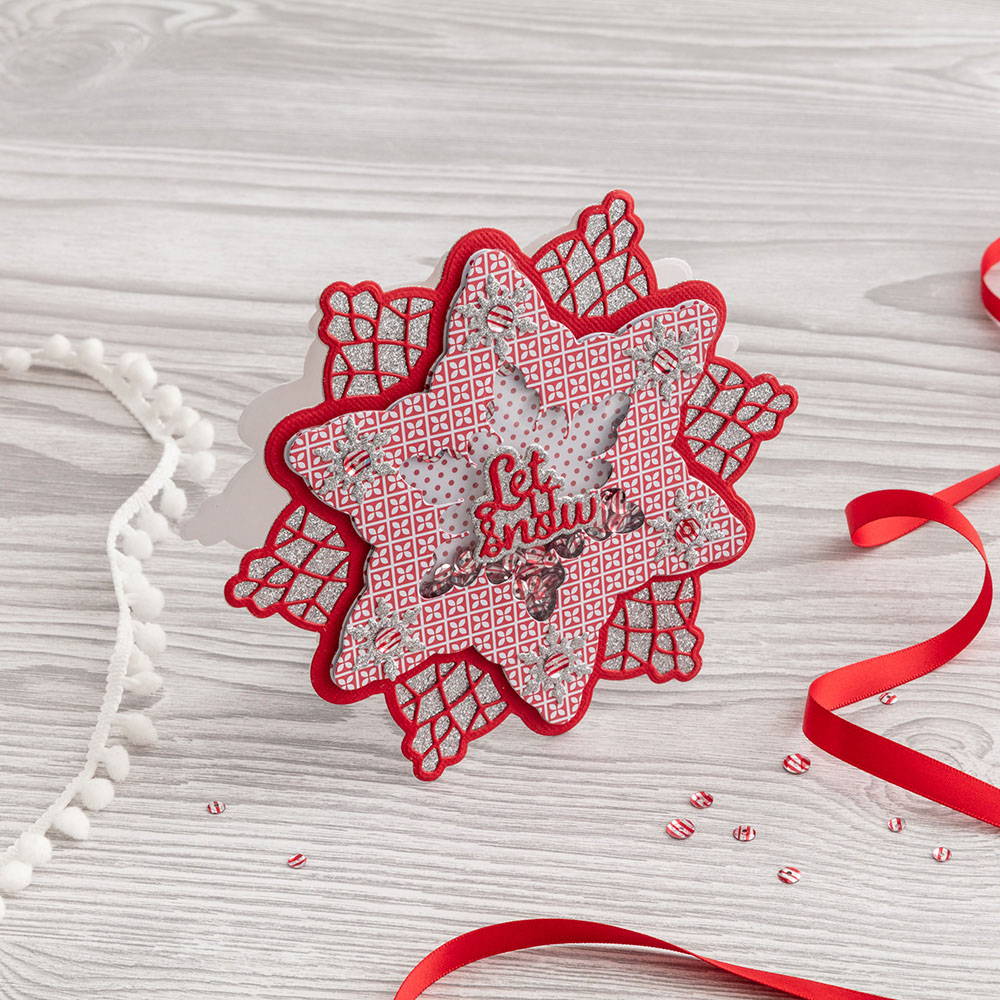
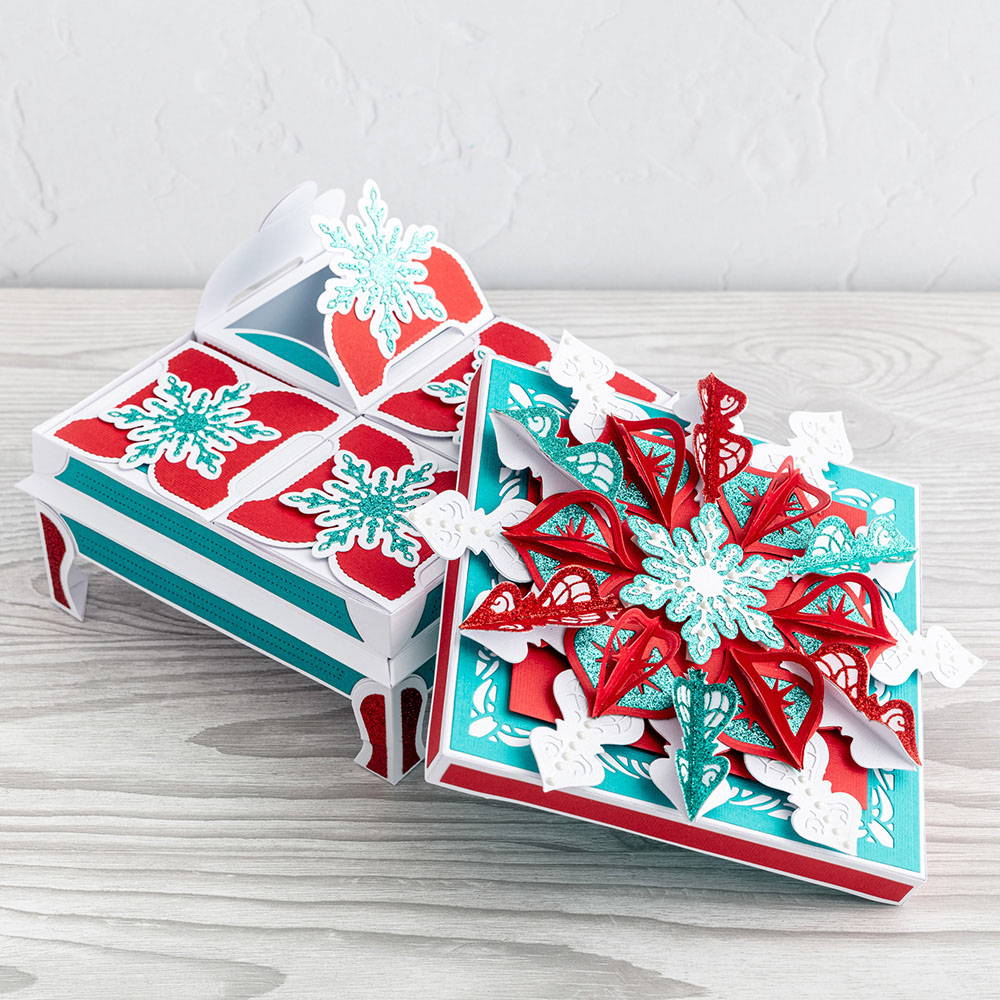
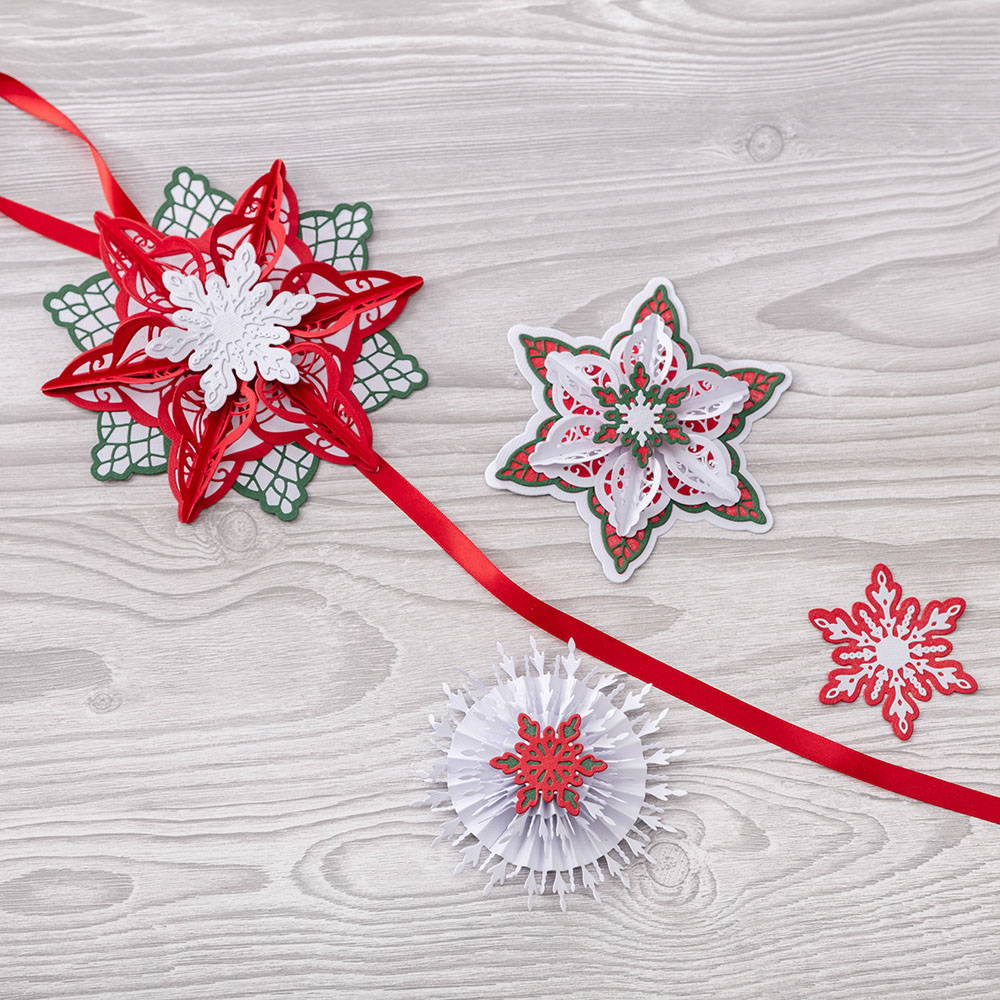
Step 1

Cut the two largest snowflake outer edge dies and layer together to form the backing for your 3D snowflake.
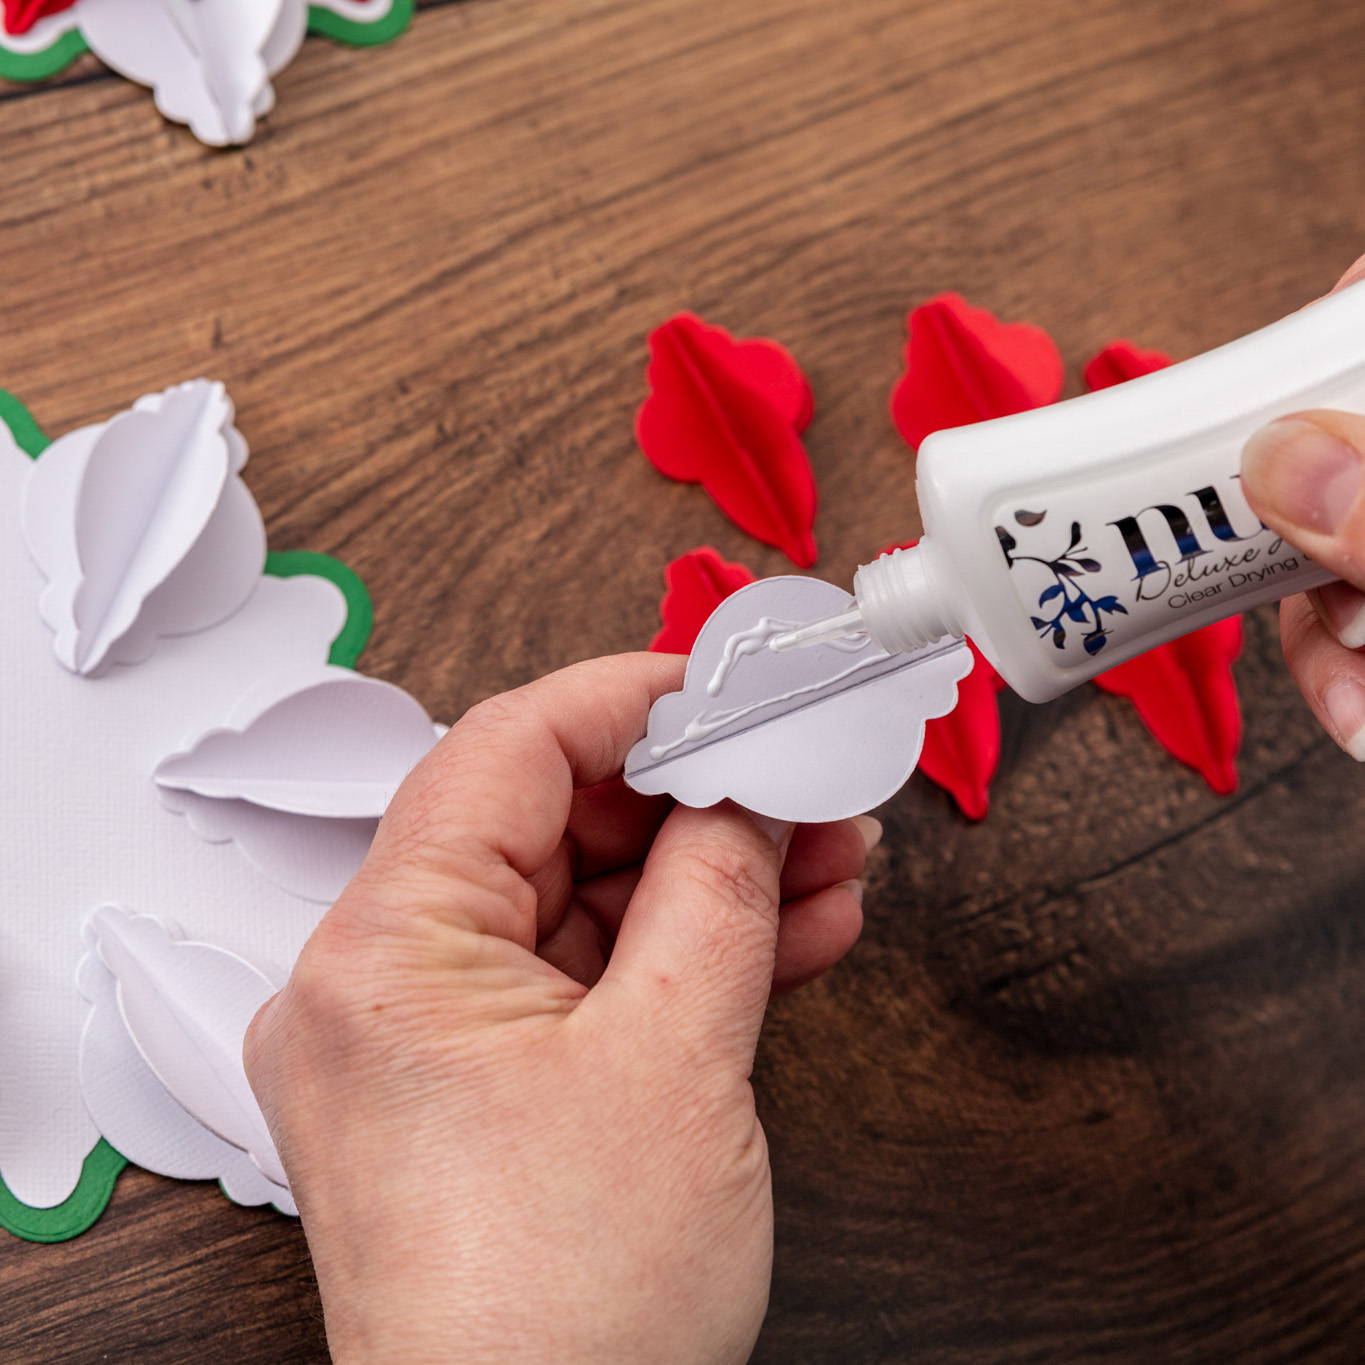
Step 2

To create 3D baubles you need three die cuts of the same bauble die. Fold each die cut and glue half of one bauble to the next.
Step 3
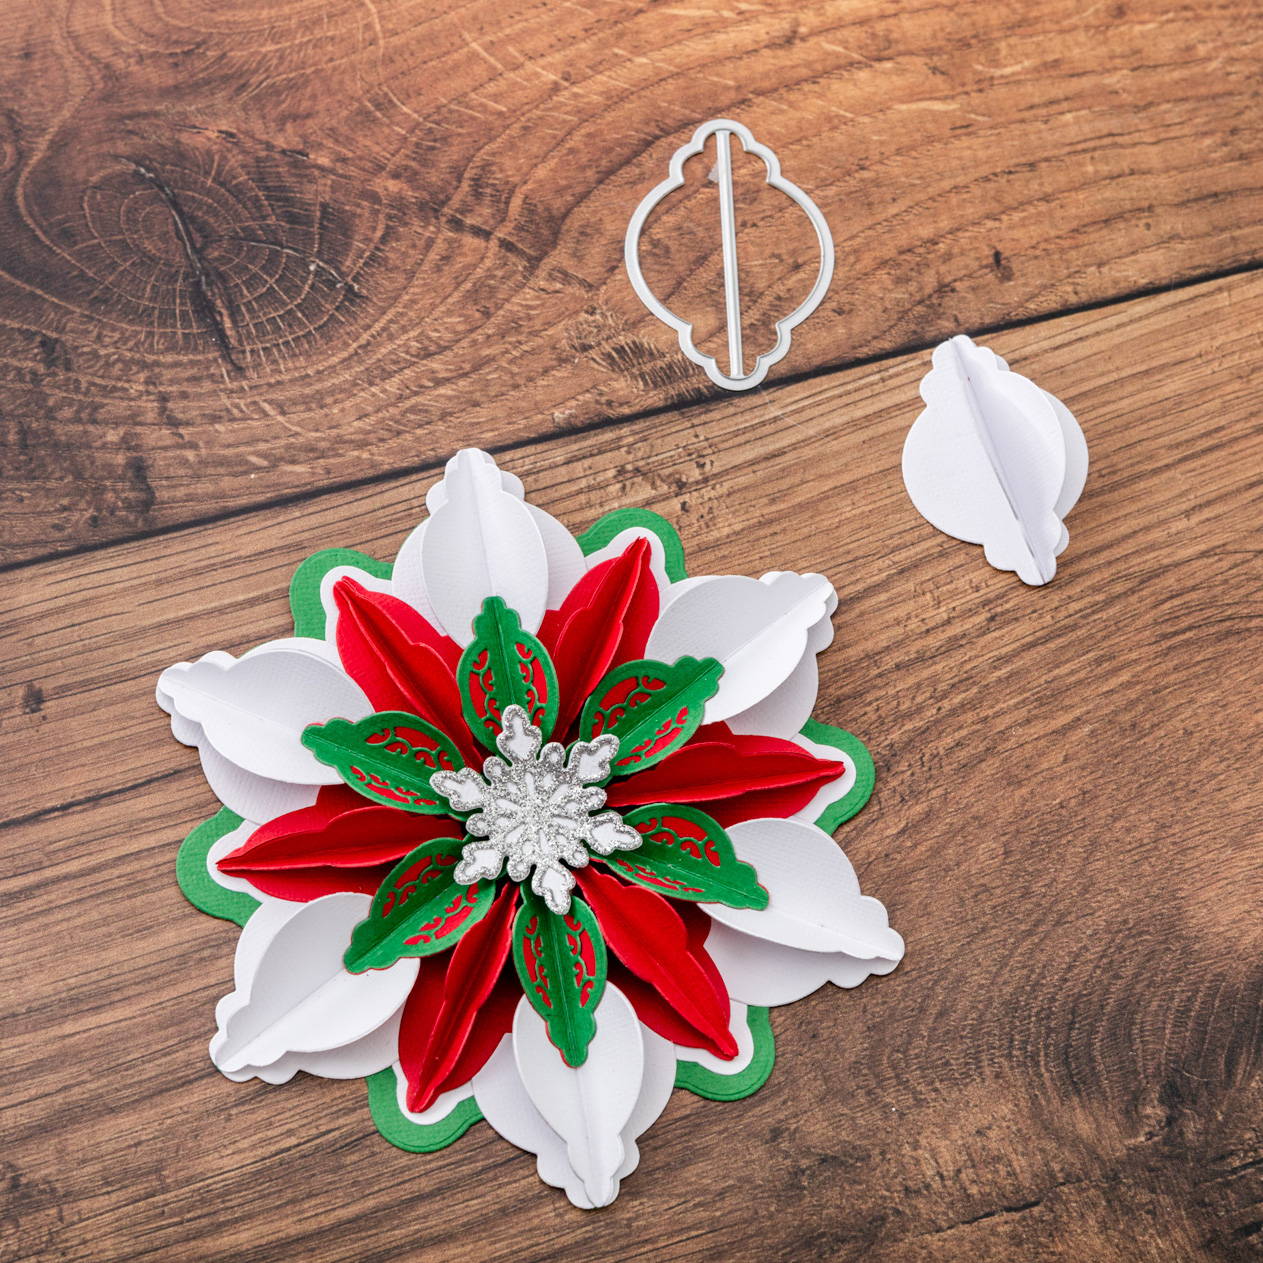
Add the final die cut and you bauble is ready to attach.
Step 4
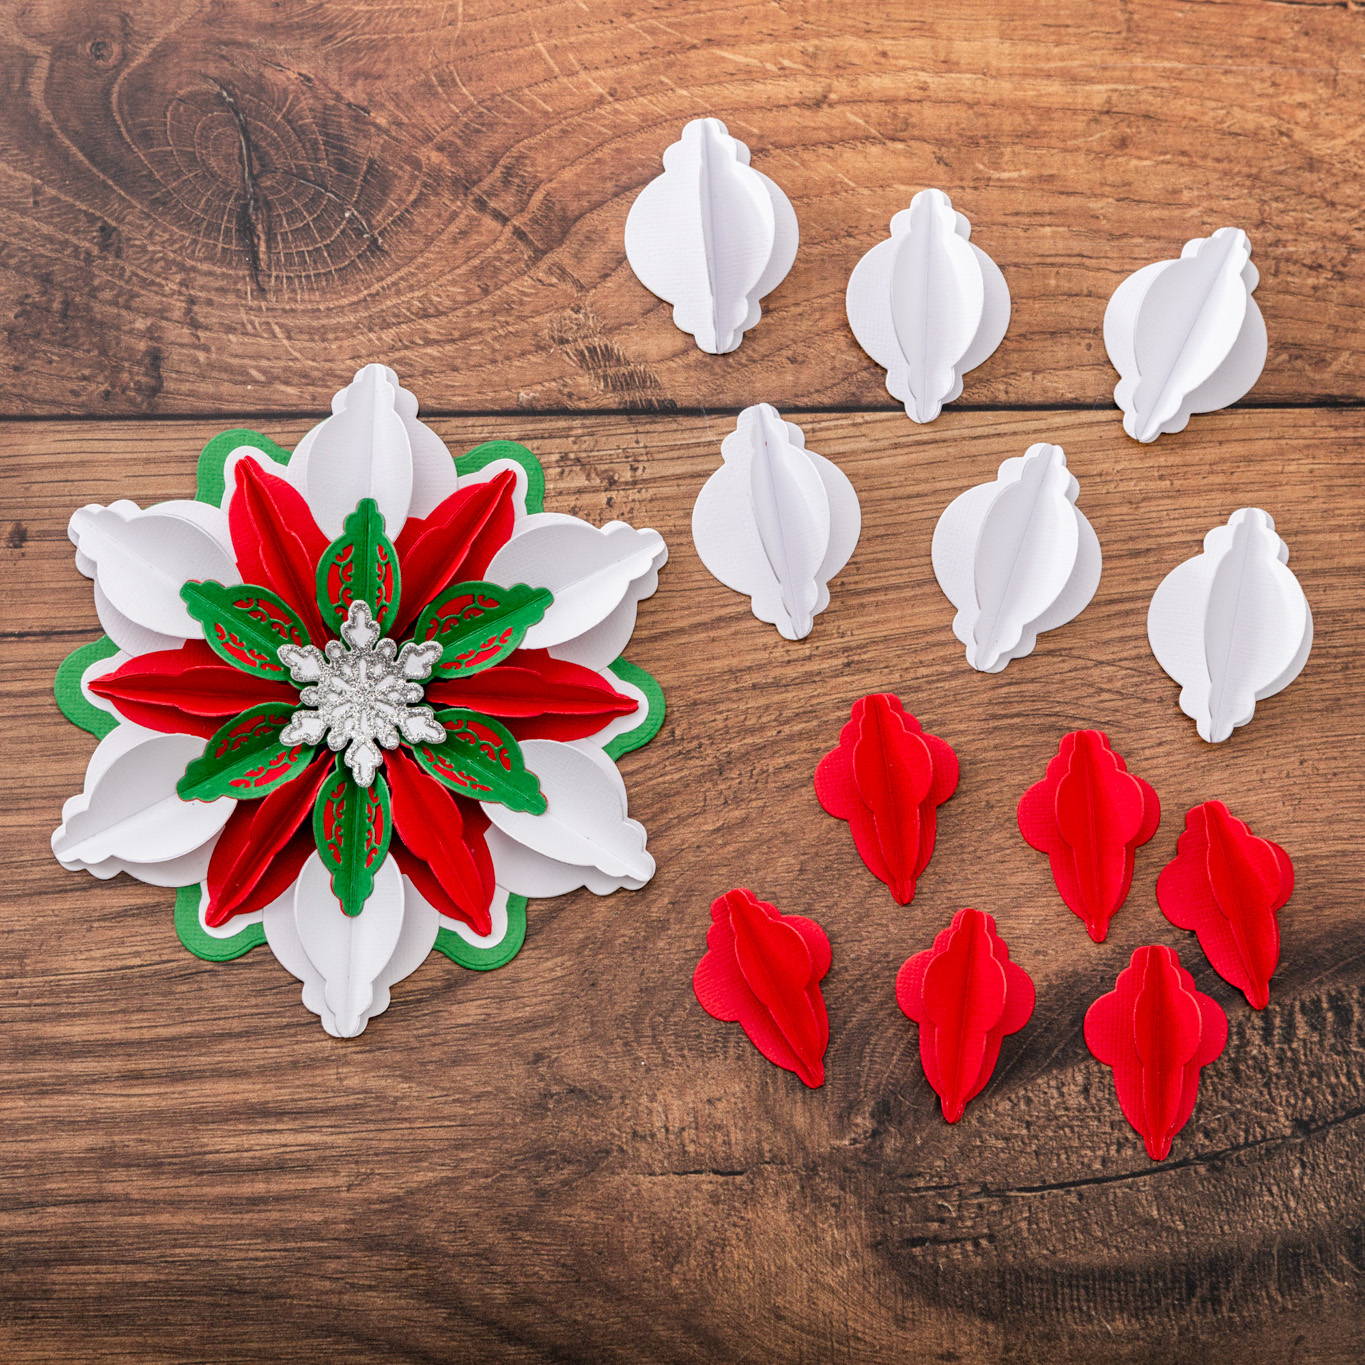
Make six of the large round baubles. make six of the smaller shaped baubles.
Step 5
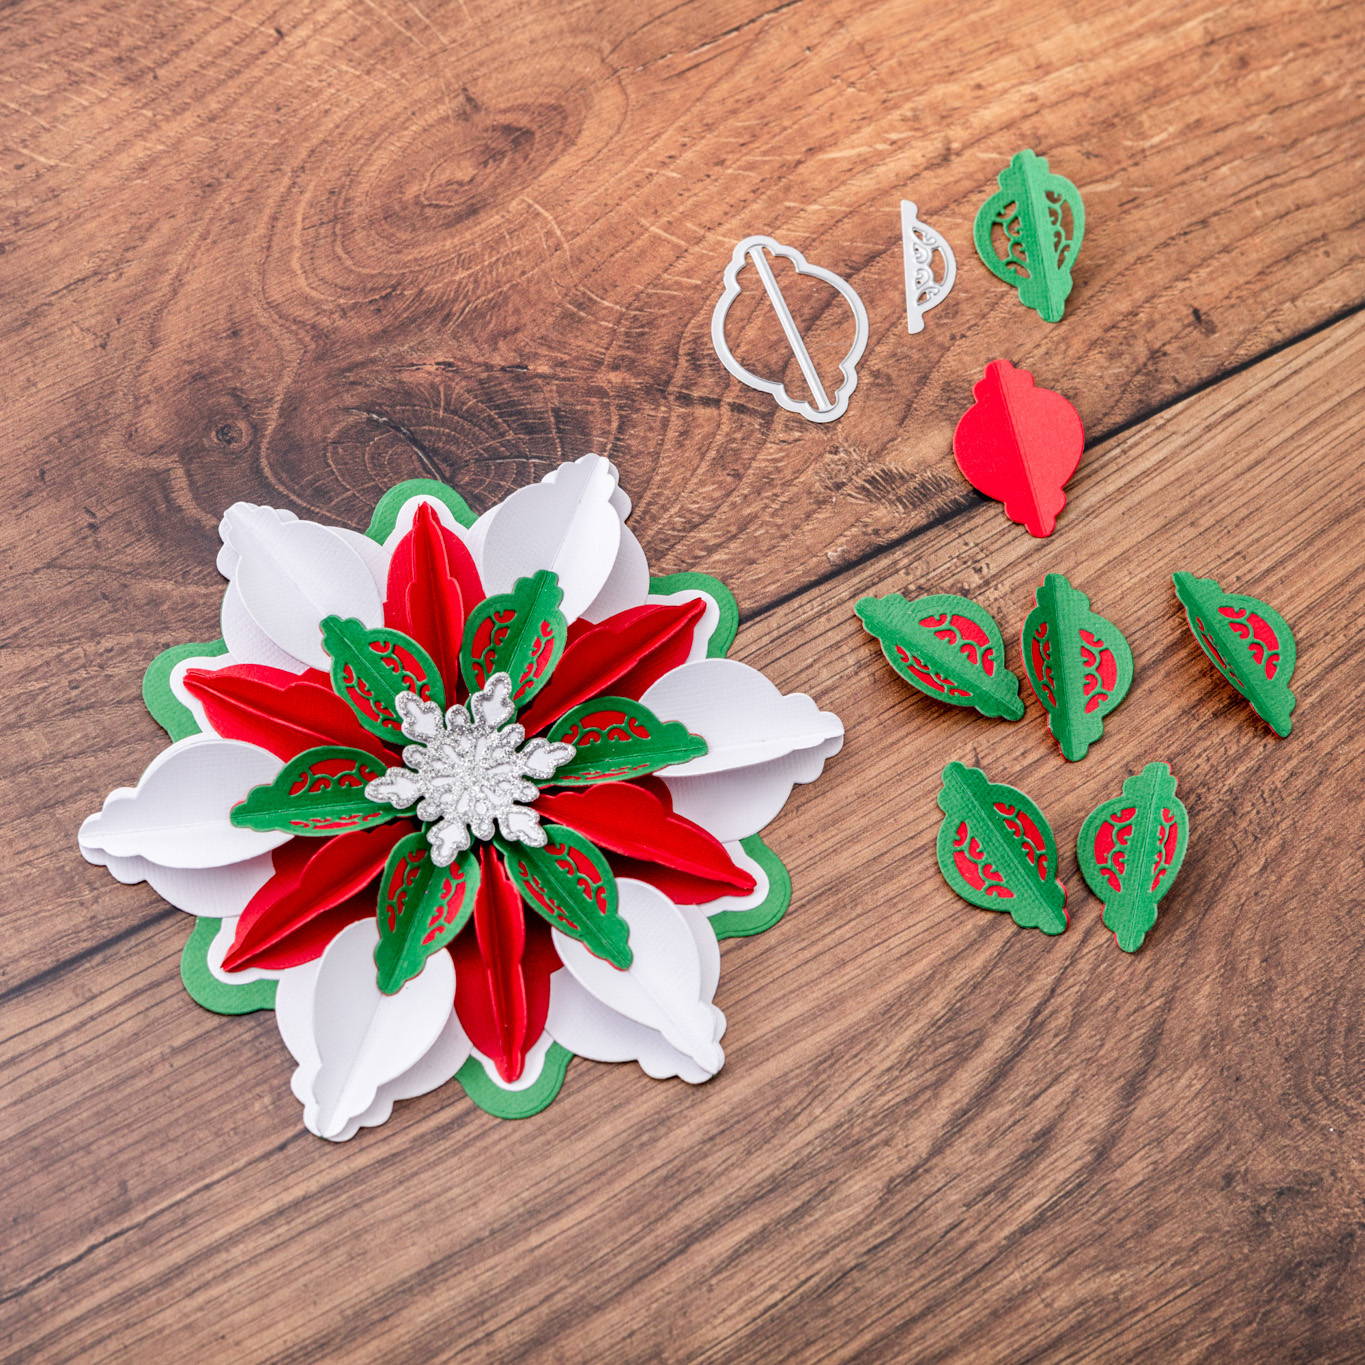
Taking the small round bauble die, cut six for your backing layers and another six adding the pattern die, fold and layer these.
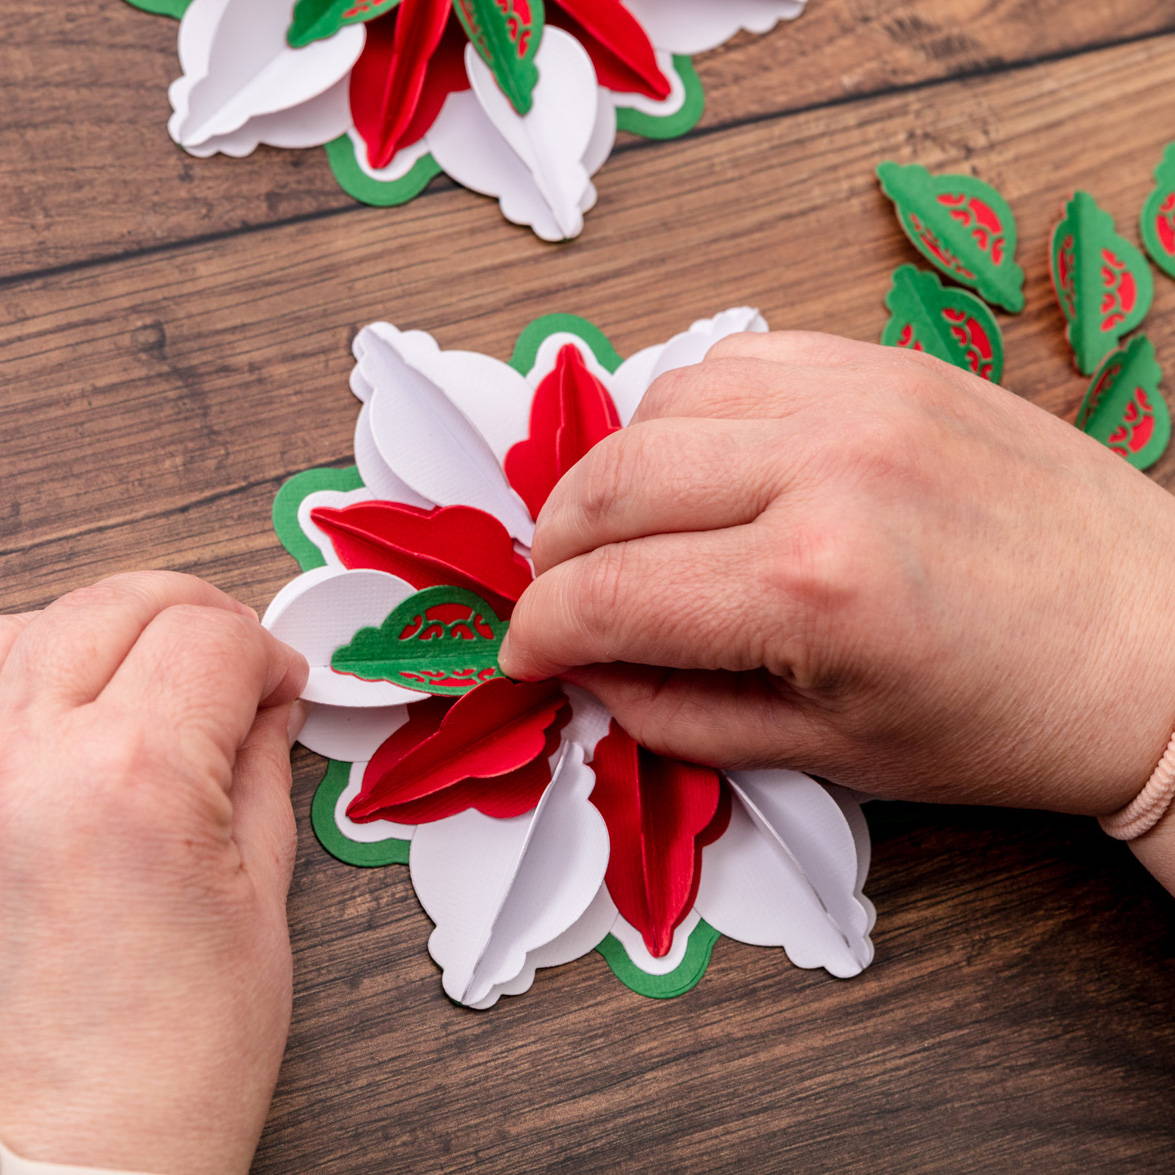
Step 6
To assemble your 3D Snowflake, adhere the large round baubles evenly to the backing layer, lining up with the shaped edge.
Step 7

Next, attach the smaller shaped bauble in between, lining up with the die cut layer on the snowflake backing.
Step 8
Add the folded small round bauble to the lower section of the large round bauble.
Step 9
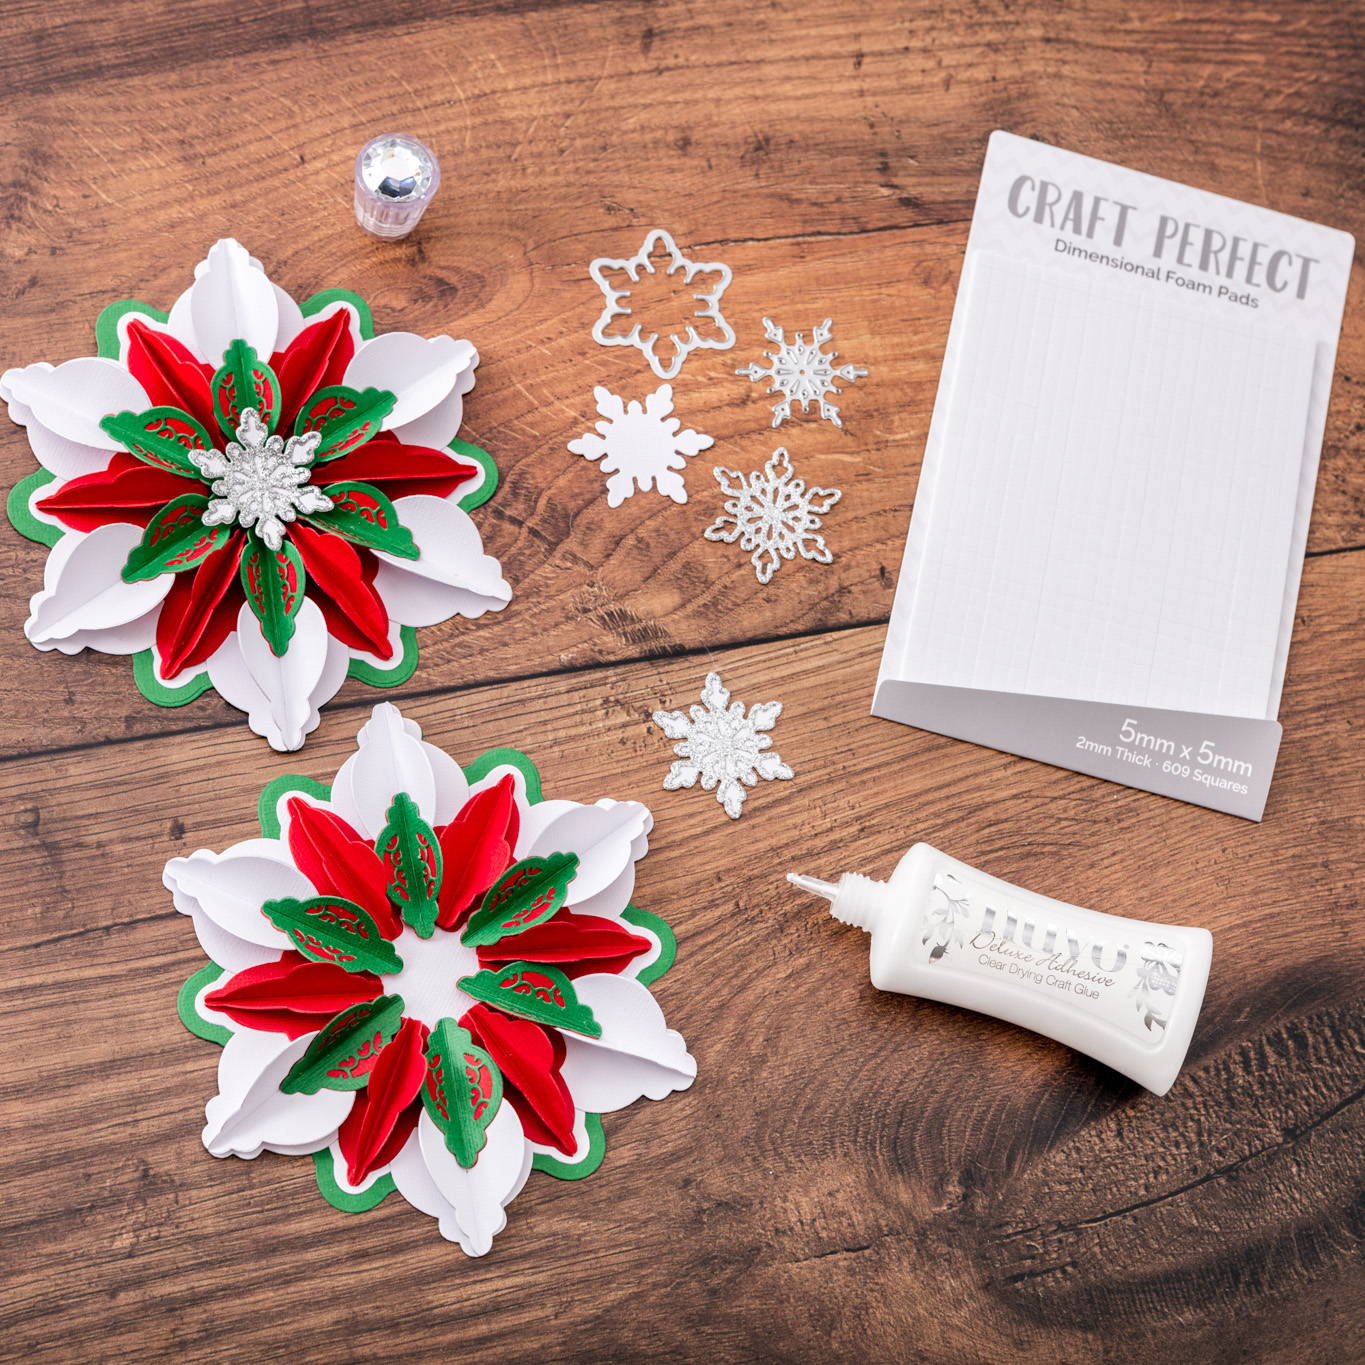
Finish with a layered snowflake in the centre, use foam pads to adhere in place.

Crafting Essentials
