


Hello there fellow crafters! Terri here today, or VeegsTez/VeegsTez Creates in the Craftiverse. For World Card Making Day 2023, I immediately knew (after kindly being given fee reign on my brief), that I wanted to create a step by step tutorial on Thank you cards. I wanted to create several cards in order to inspire you, to have a batch of Thank you cards
on hand, to give to people to express your gratitude.
We all love it when someone thanks us for something we have done for them. Even some small act of kindness can really make our day, or even week sometimes!
As card makers, I consider that we have a unique ability to be able to express our gratitude towards others, in a heartfelt way, using our love and creativity.
What started out in my mind as wanting to share inspiration for batch making thank you cards, quickly changed somewhat from traditional “batch making” where you repeat the same or very similar design.
As I was rifling through my many many Nuvo mixed media products, hunting for the perfect mousses and shimmer powders and mica mist etc. in Autumnal colours to complement my chosen stamp and die sets, I remembered how much I love creating with these products. I don't often do it though!. I knew then that I wanted to inspire your to dig out your mixed media products and play, as I was inspired to do!
Prepping and “Big Picture Design” stage
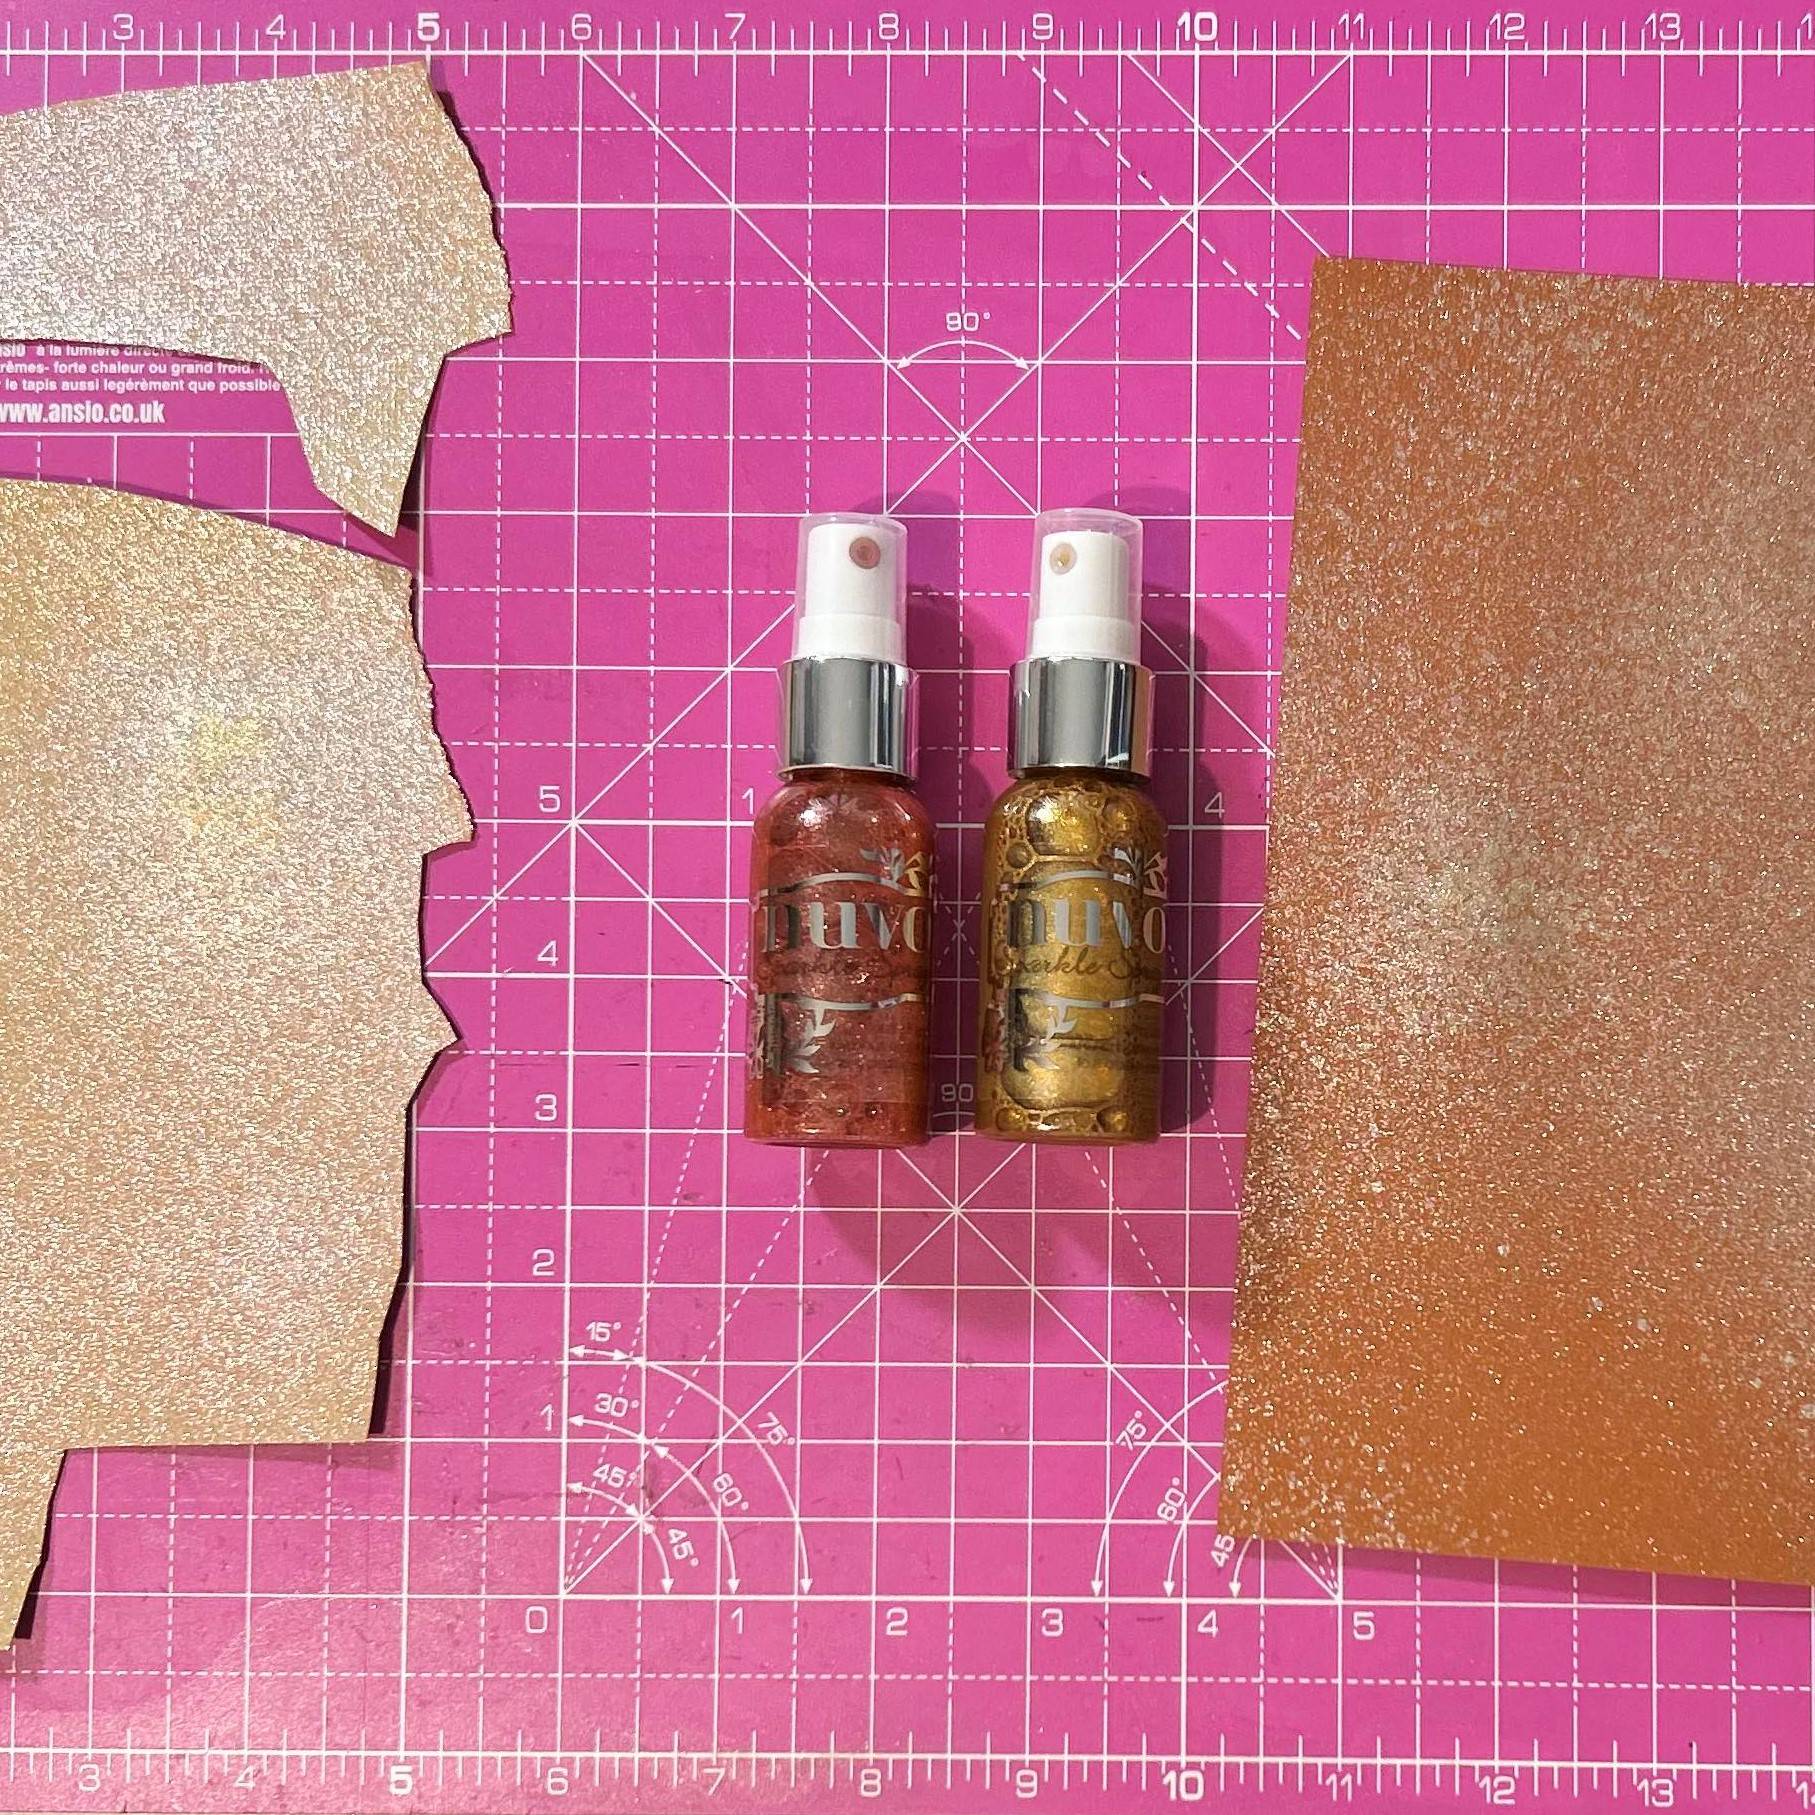
First of all, we need to make some card panels using different coloured card and different Nuvo mixed media products. I used Ginger Pie card stock and sprayed on 2 different Sparkle Sprays (see full list of products used) in my home made spray box. I then set this aside to dry. This gave a lovely, subtle sparkly effect, as opposed to the other sparkly effects gained from other products you will see me use.

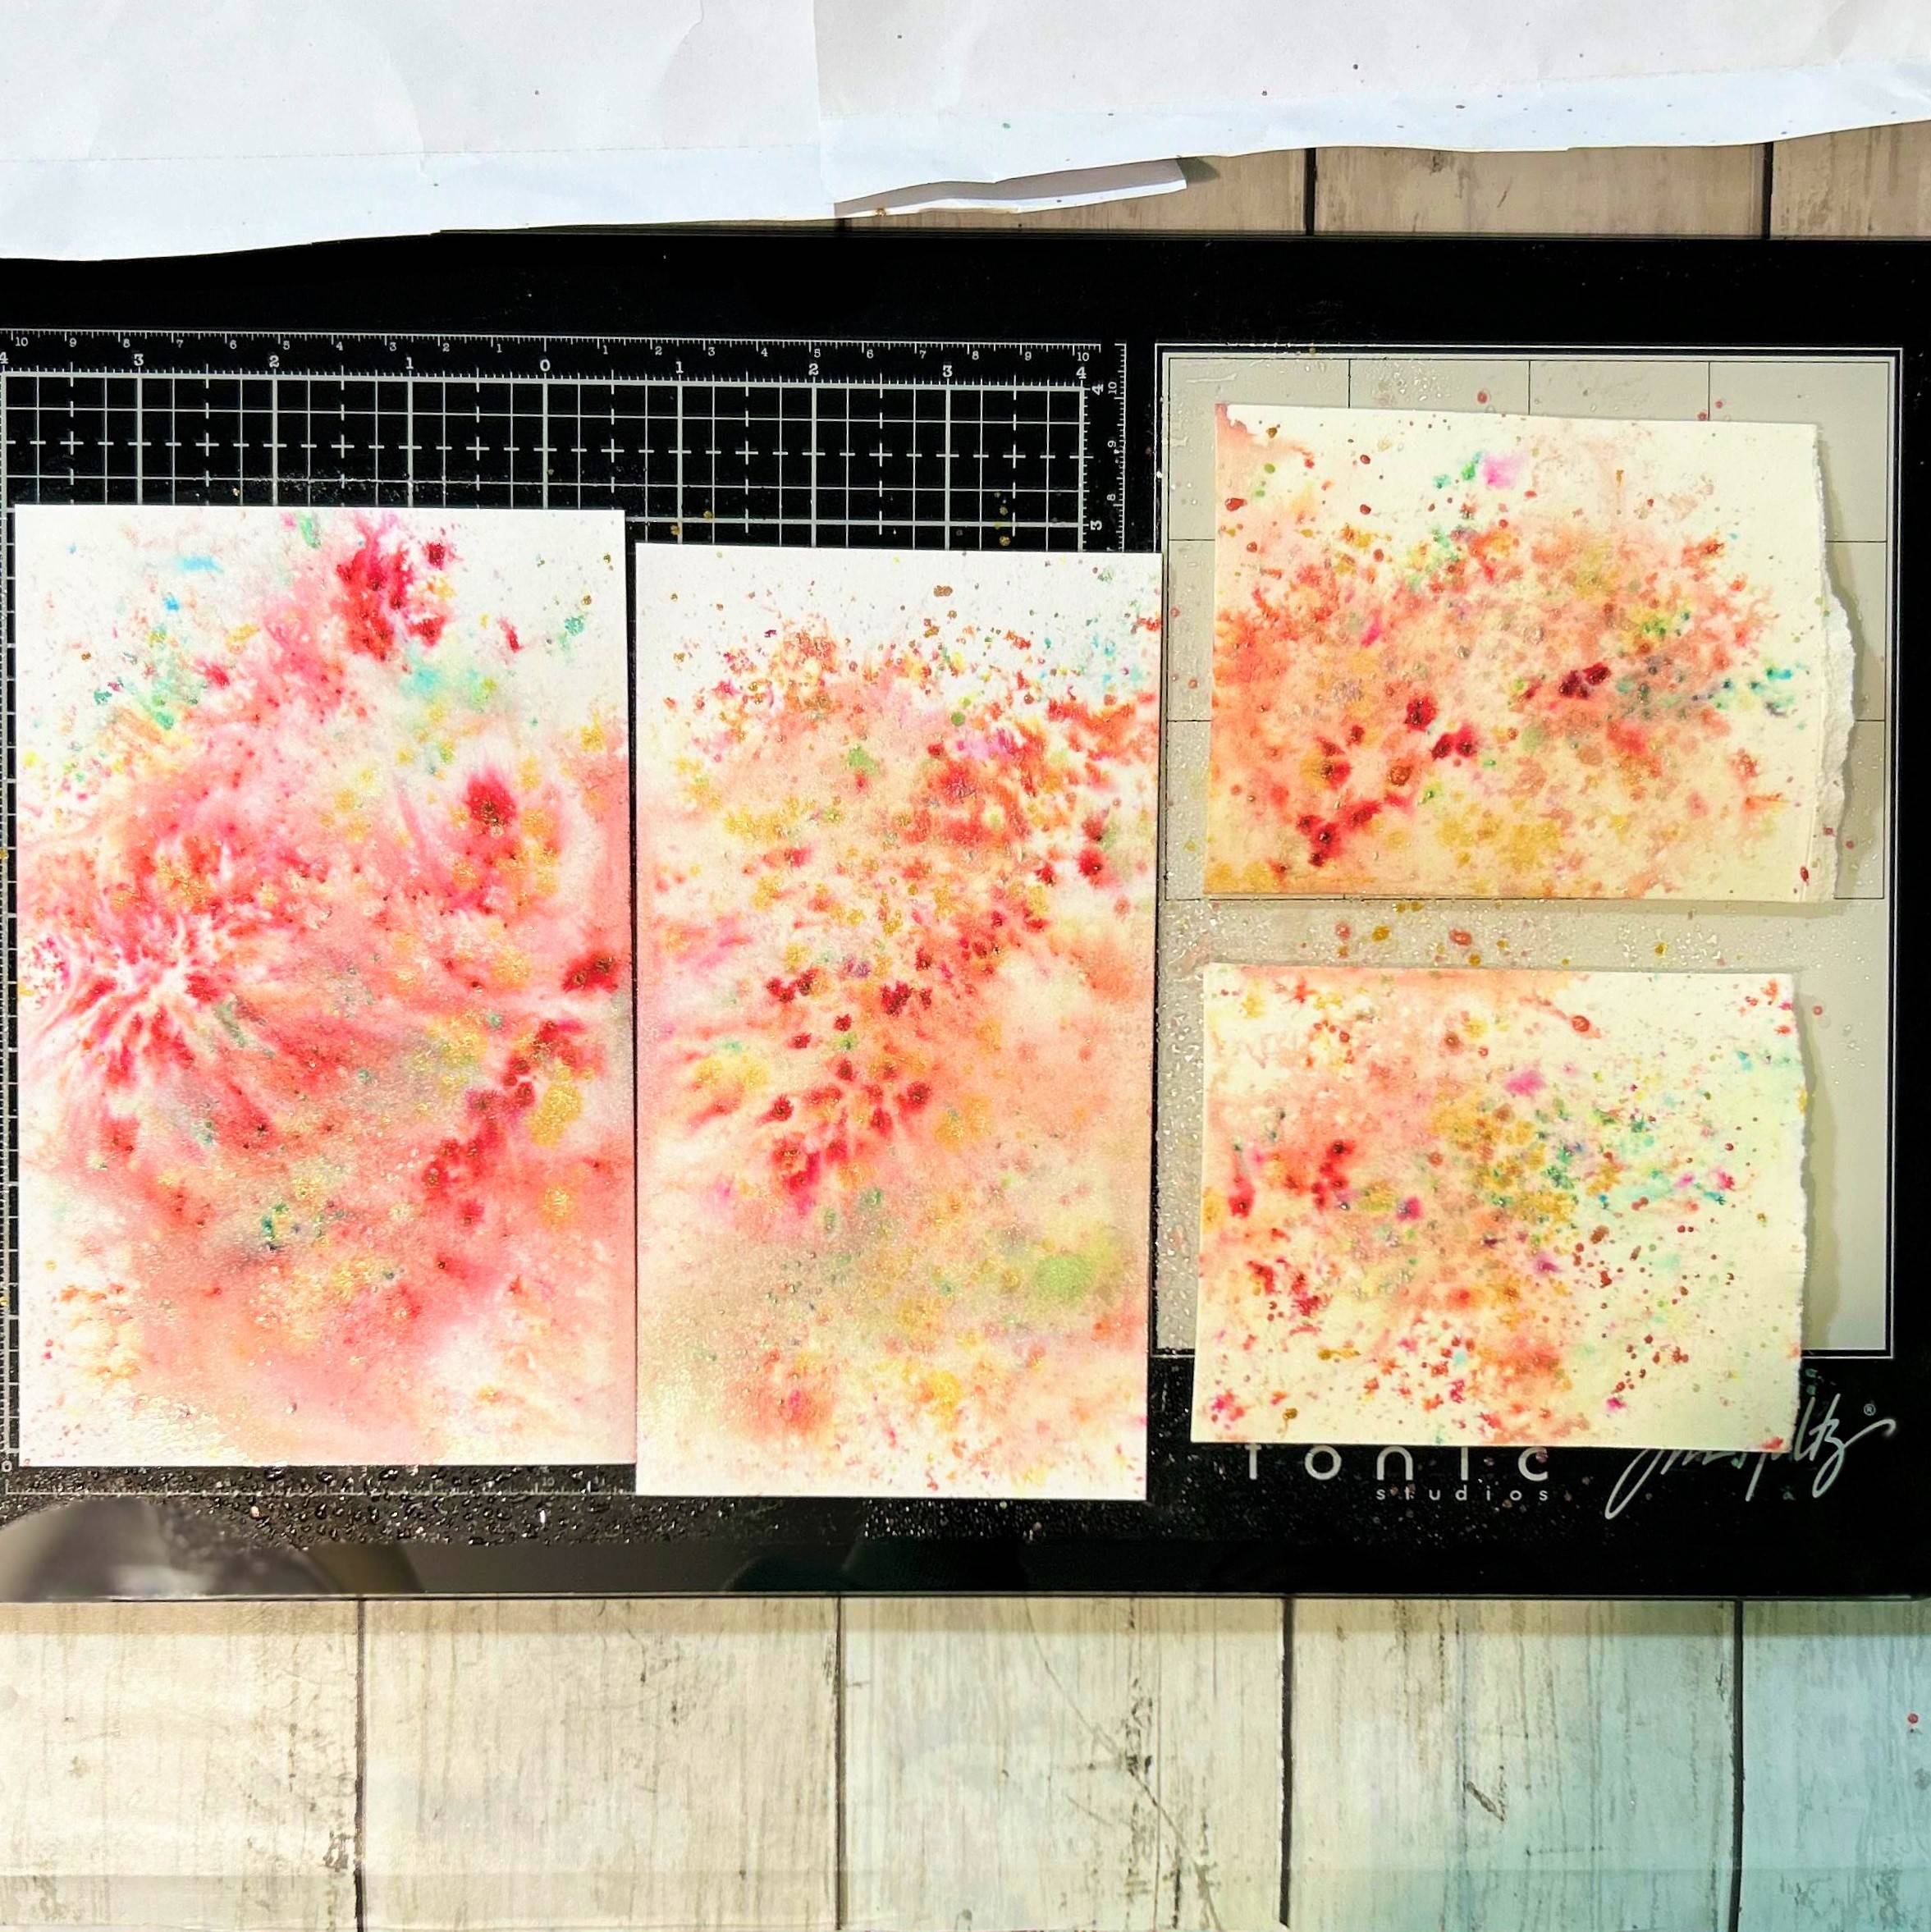
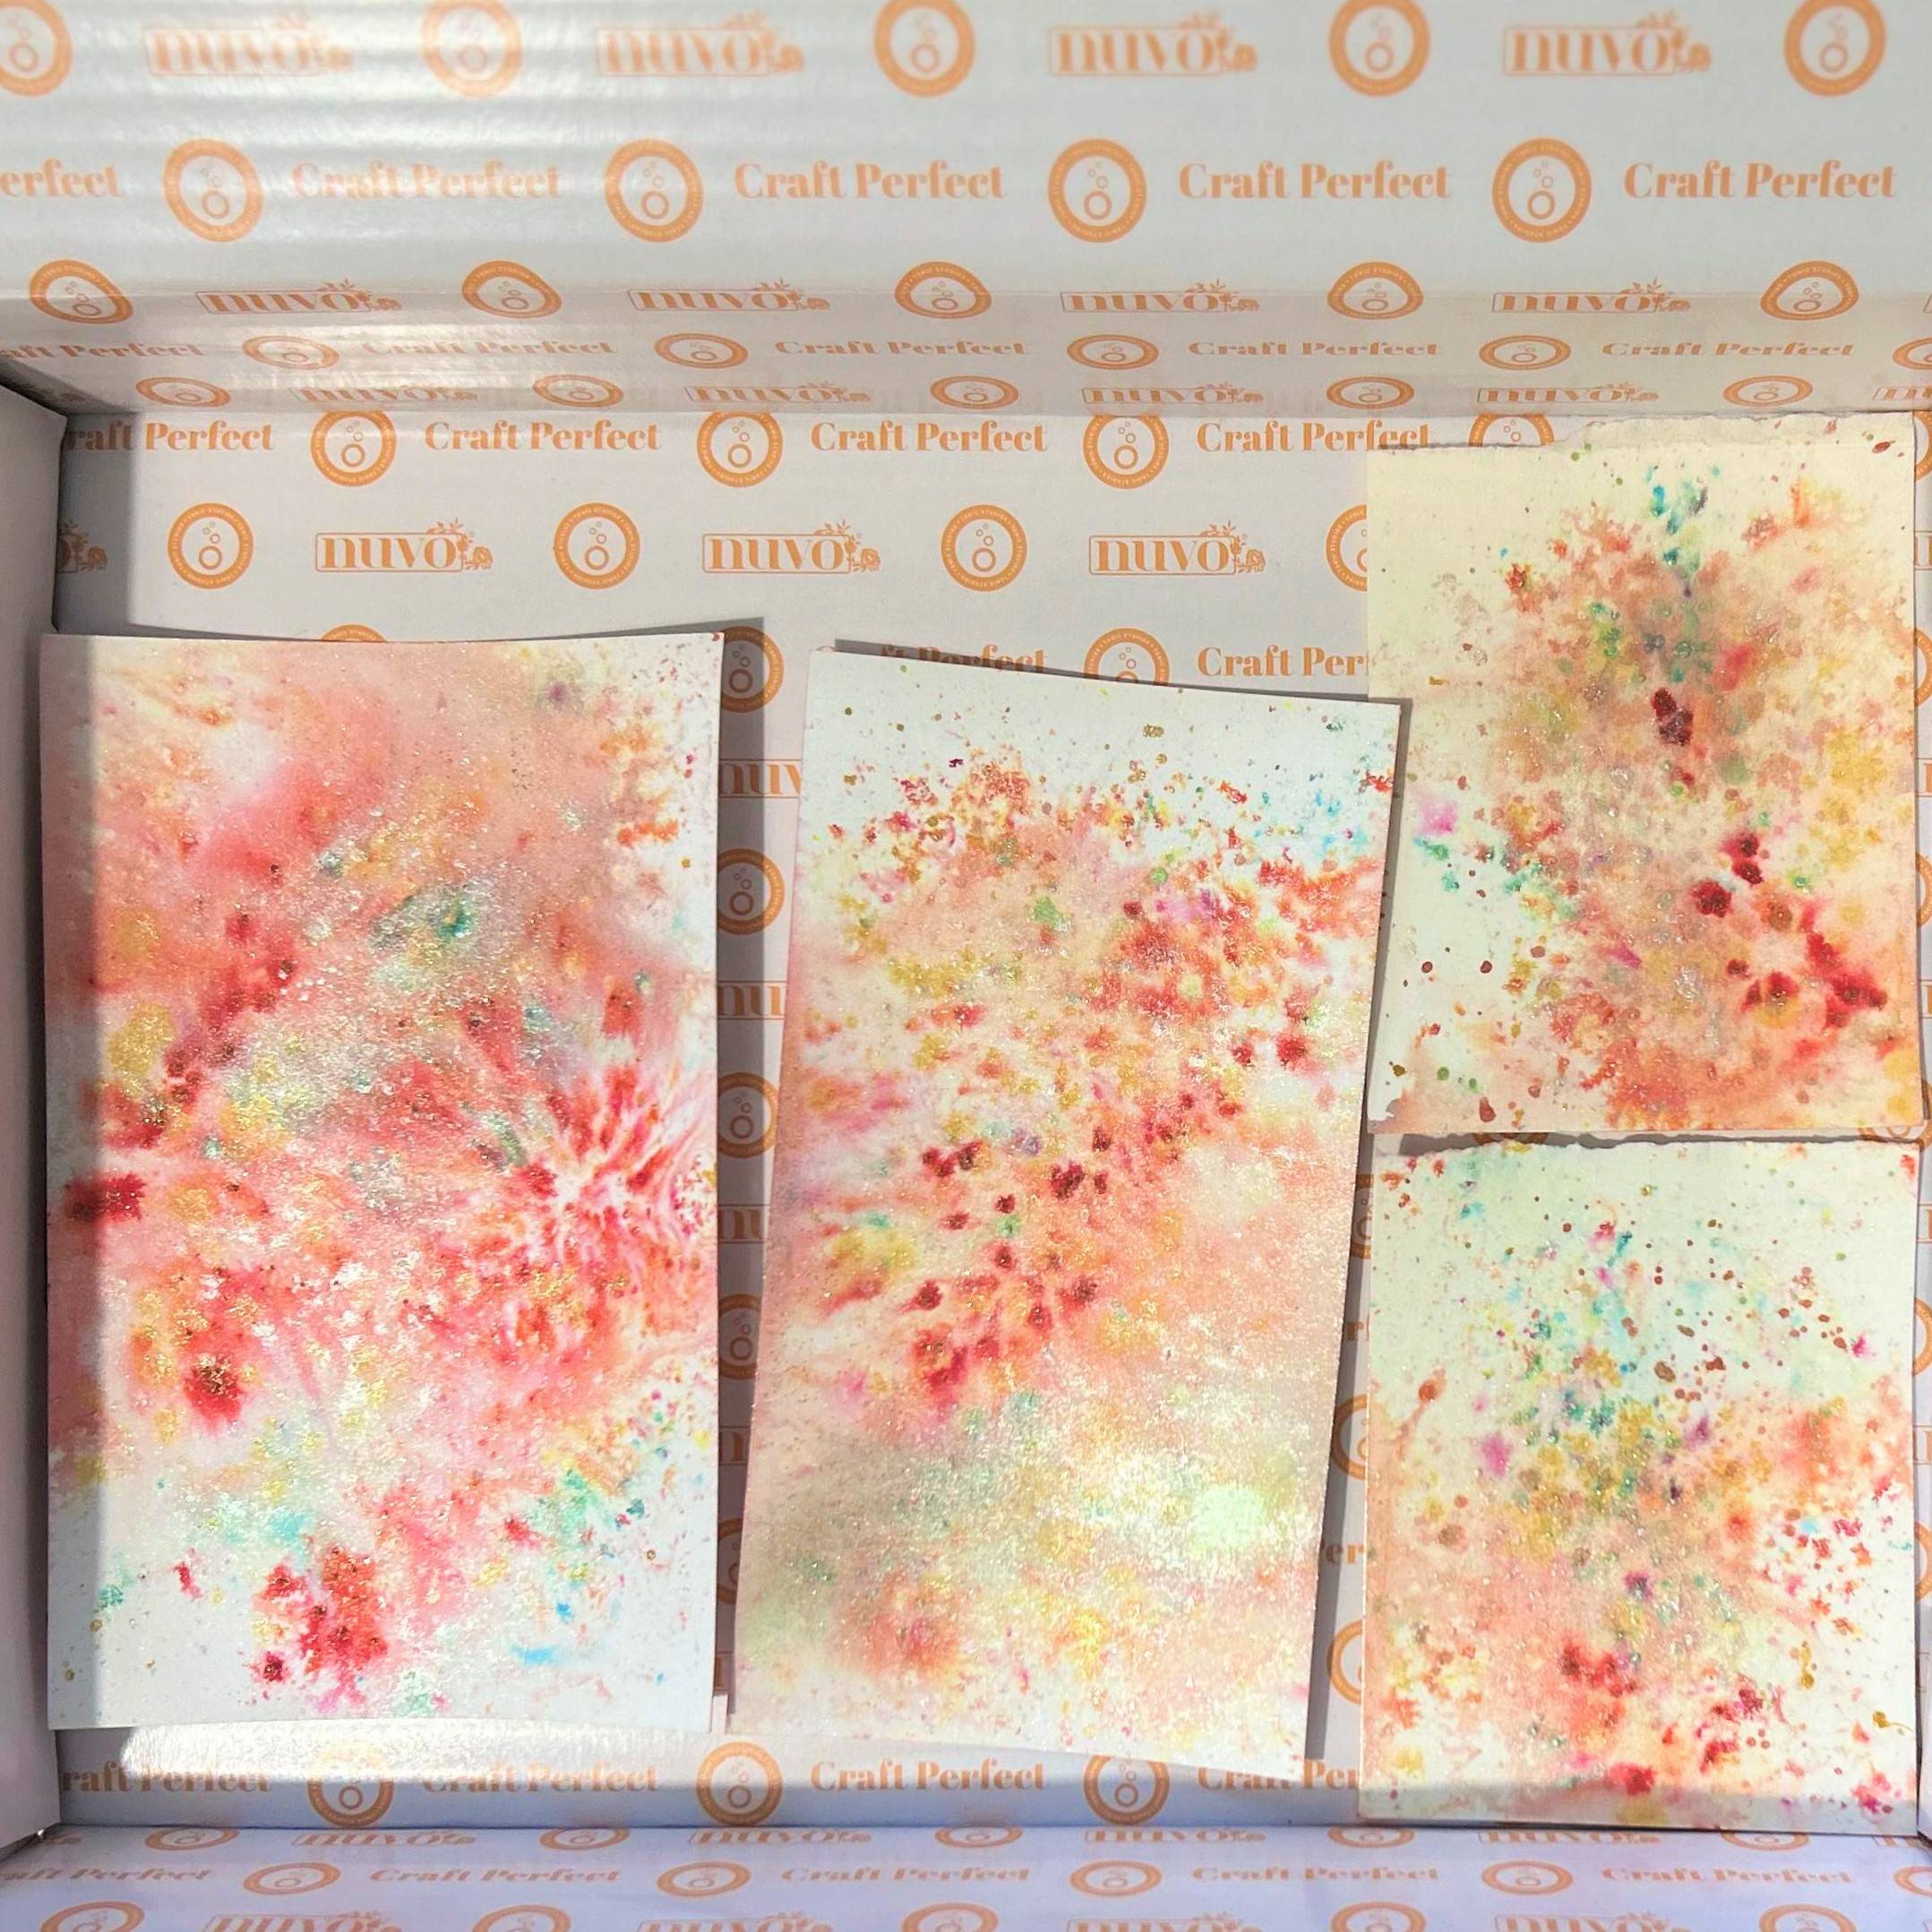
The other card panels I created with 4 different shimmer powders, spritzed with water and then some Mica mist on top. Top Tip Don't be afraid to experiment and mix and match your products. The worst that can happen is that you don't like the effect created. The best is that you discover a whole new technique that you really love the effect of!
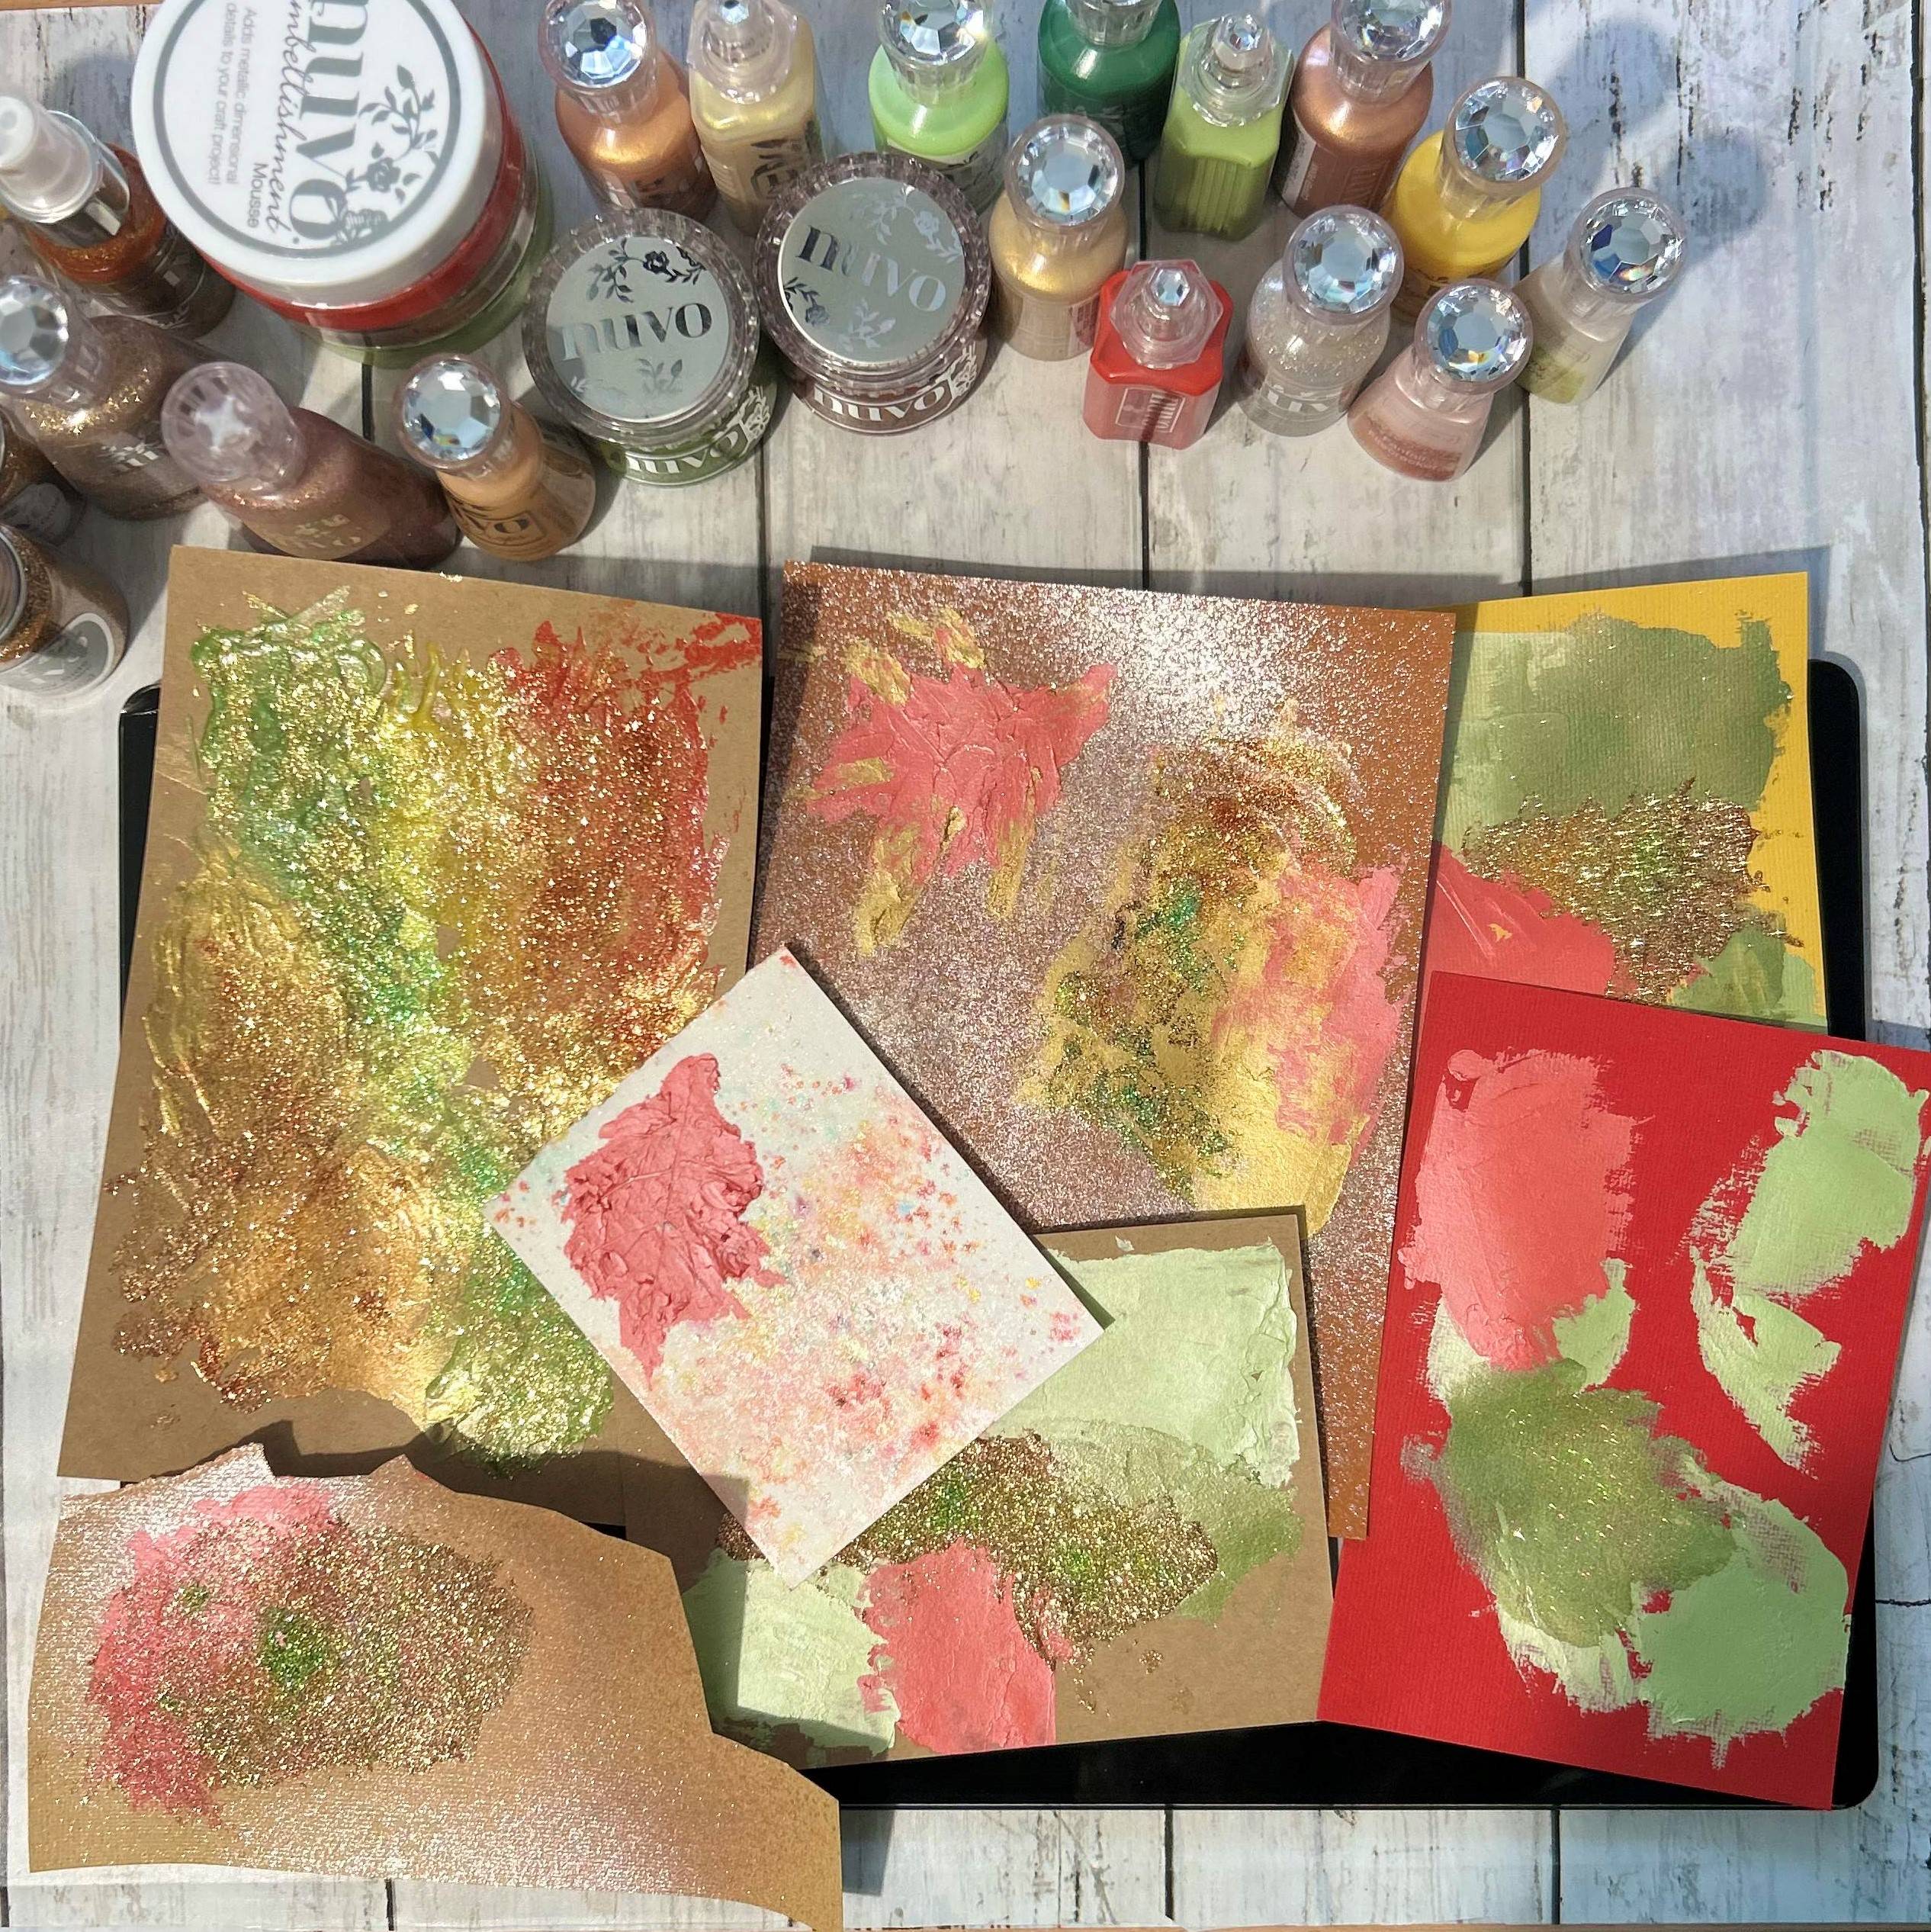
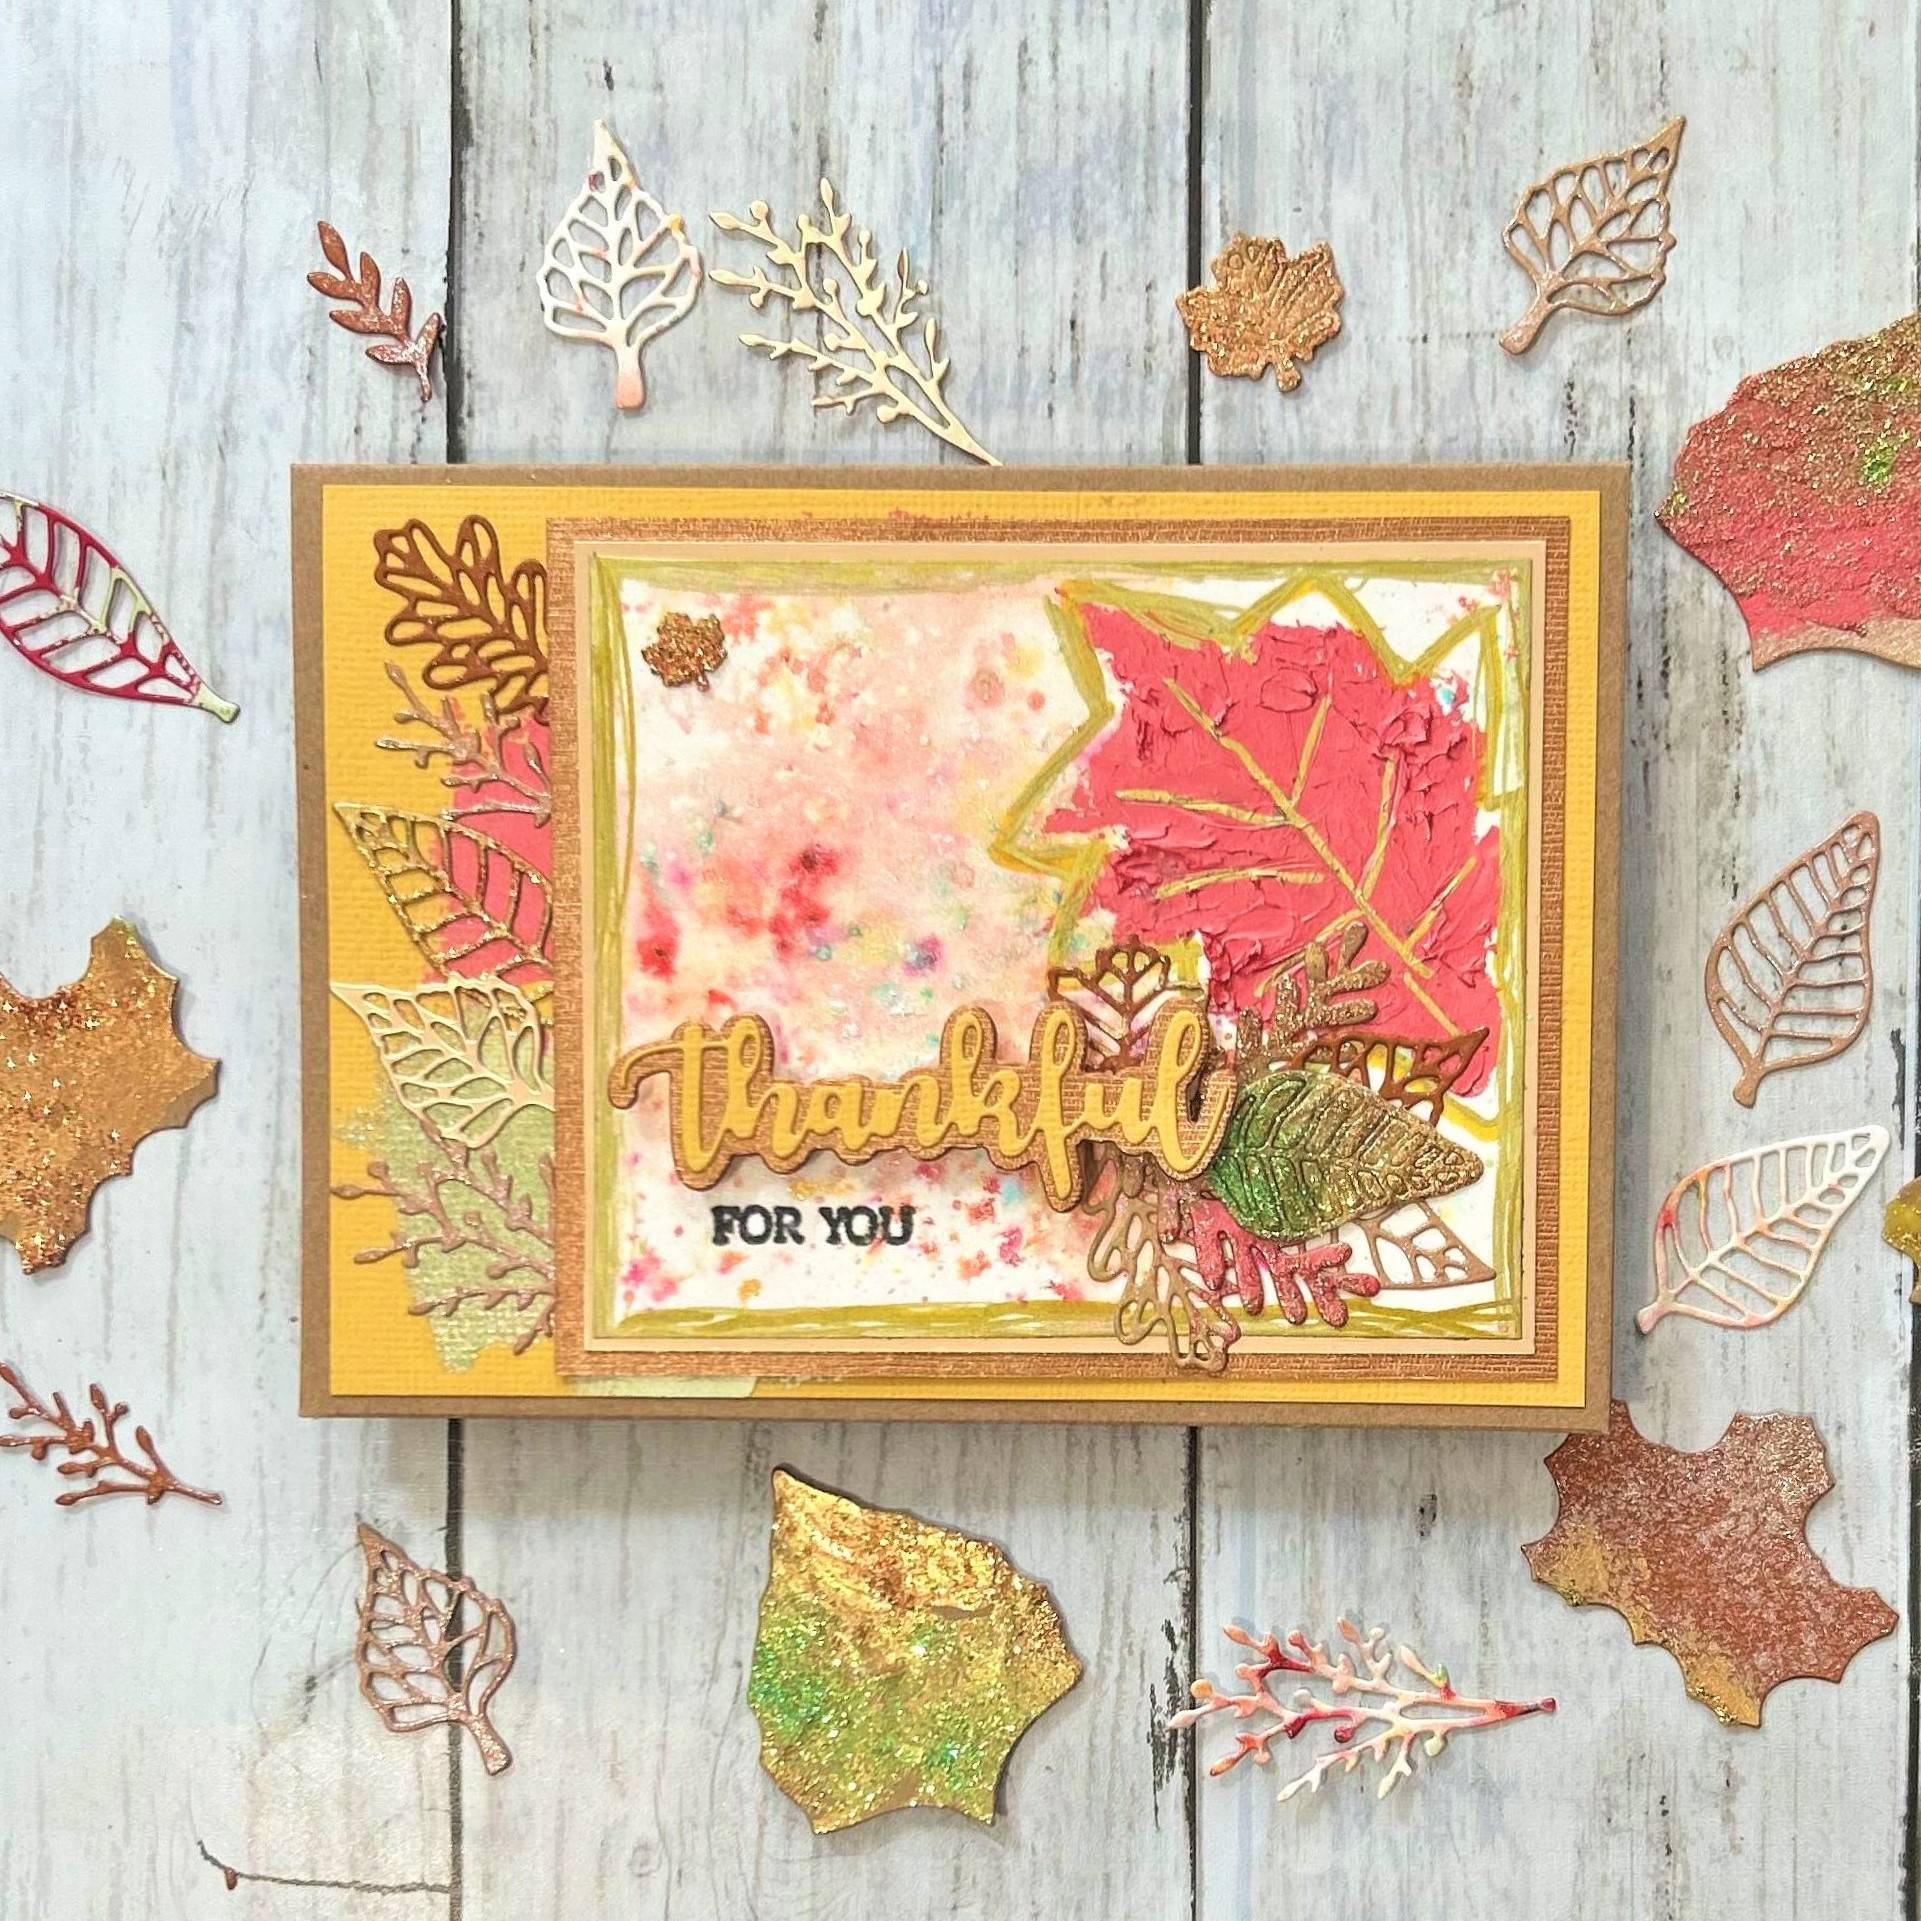
I also created a large panel of Kraft card and added many types and colours of Nuvo drops, in rough lines out from the centrepoint, in a circle shape. I gently smoothed each nuvo drop line into the neighbouring colour using a Nuvo spatula, then adding glitter on top of the wet drops, to which it adhered.
Card Design phase
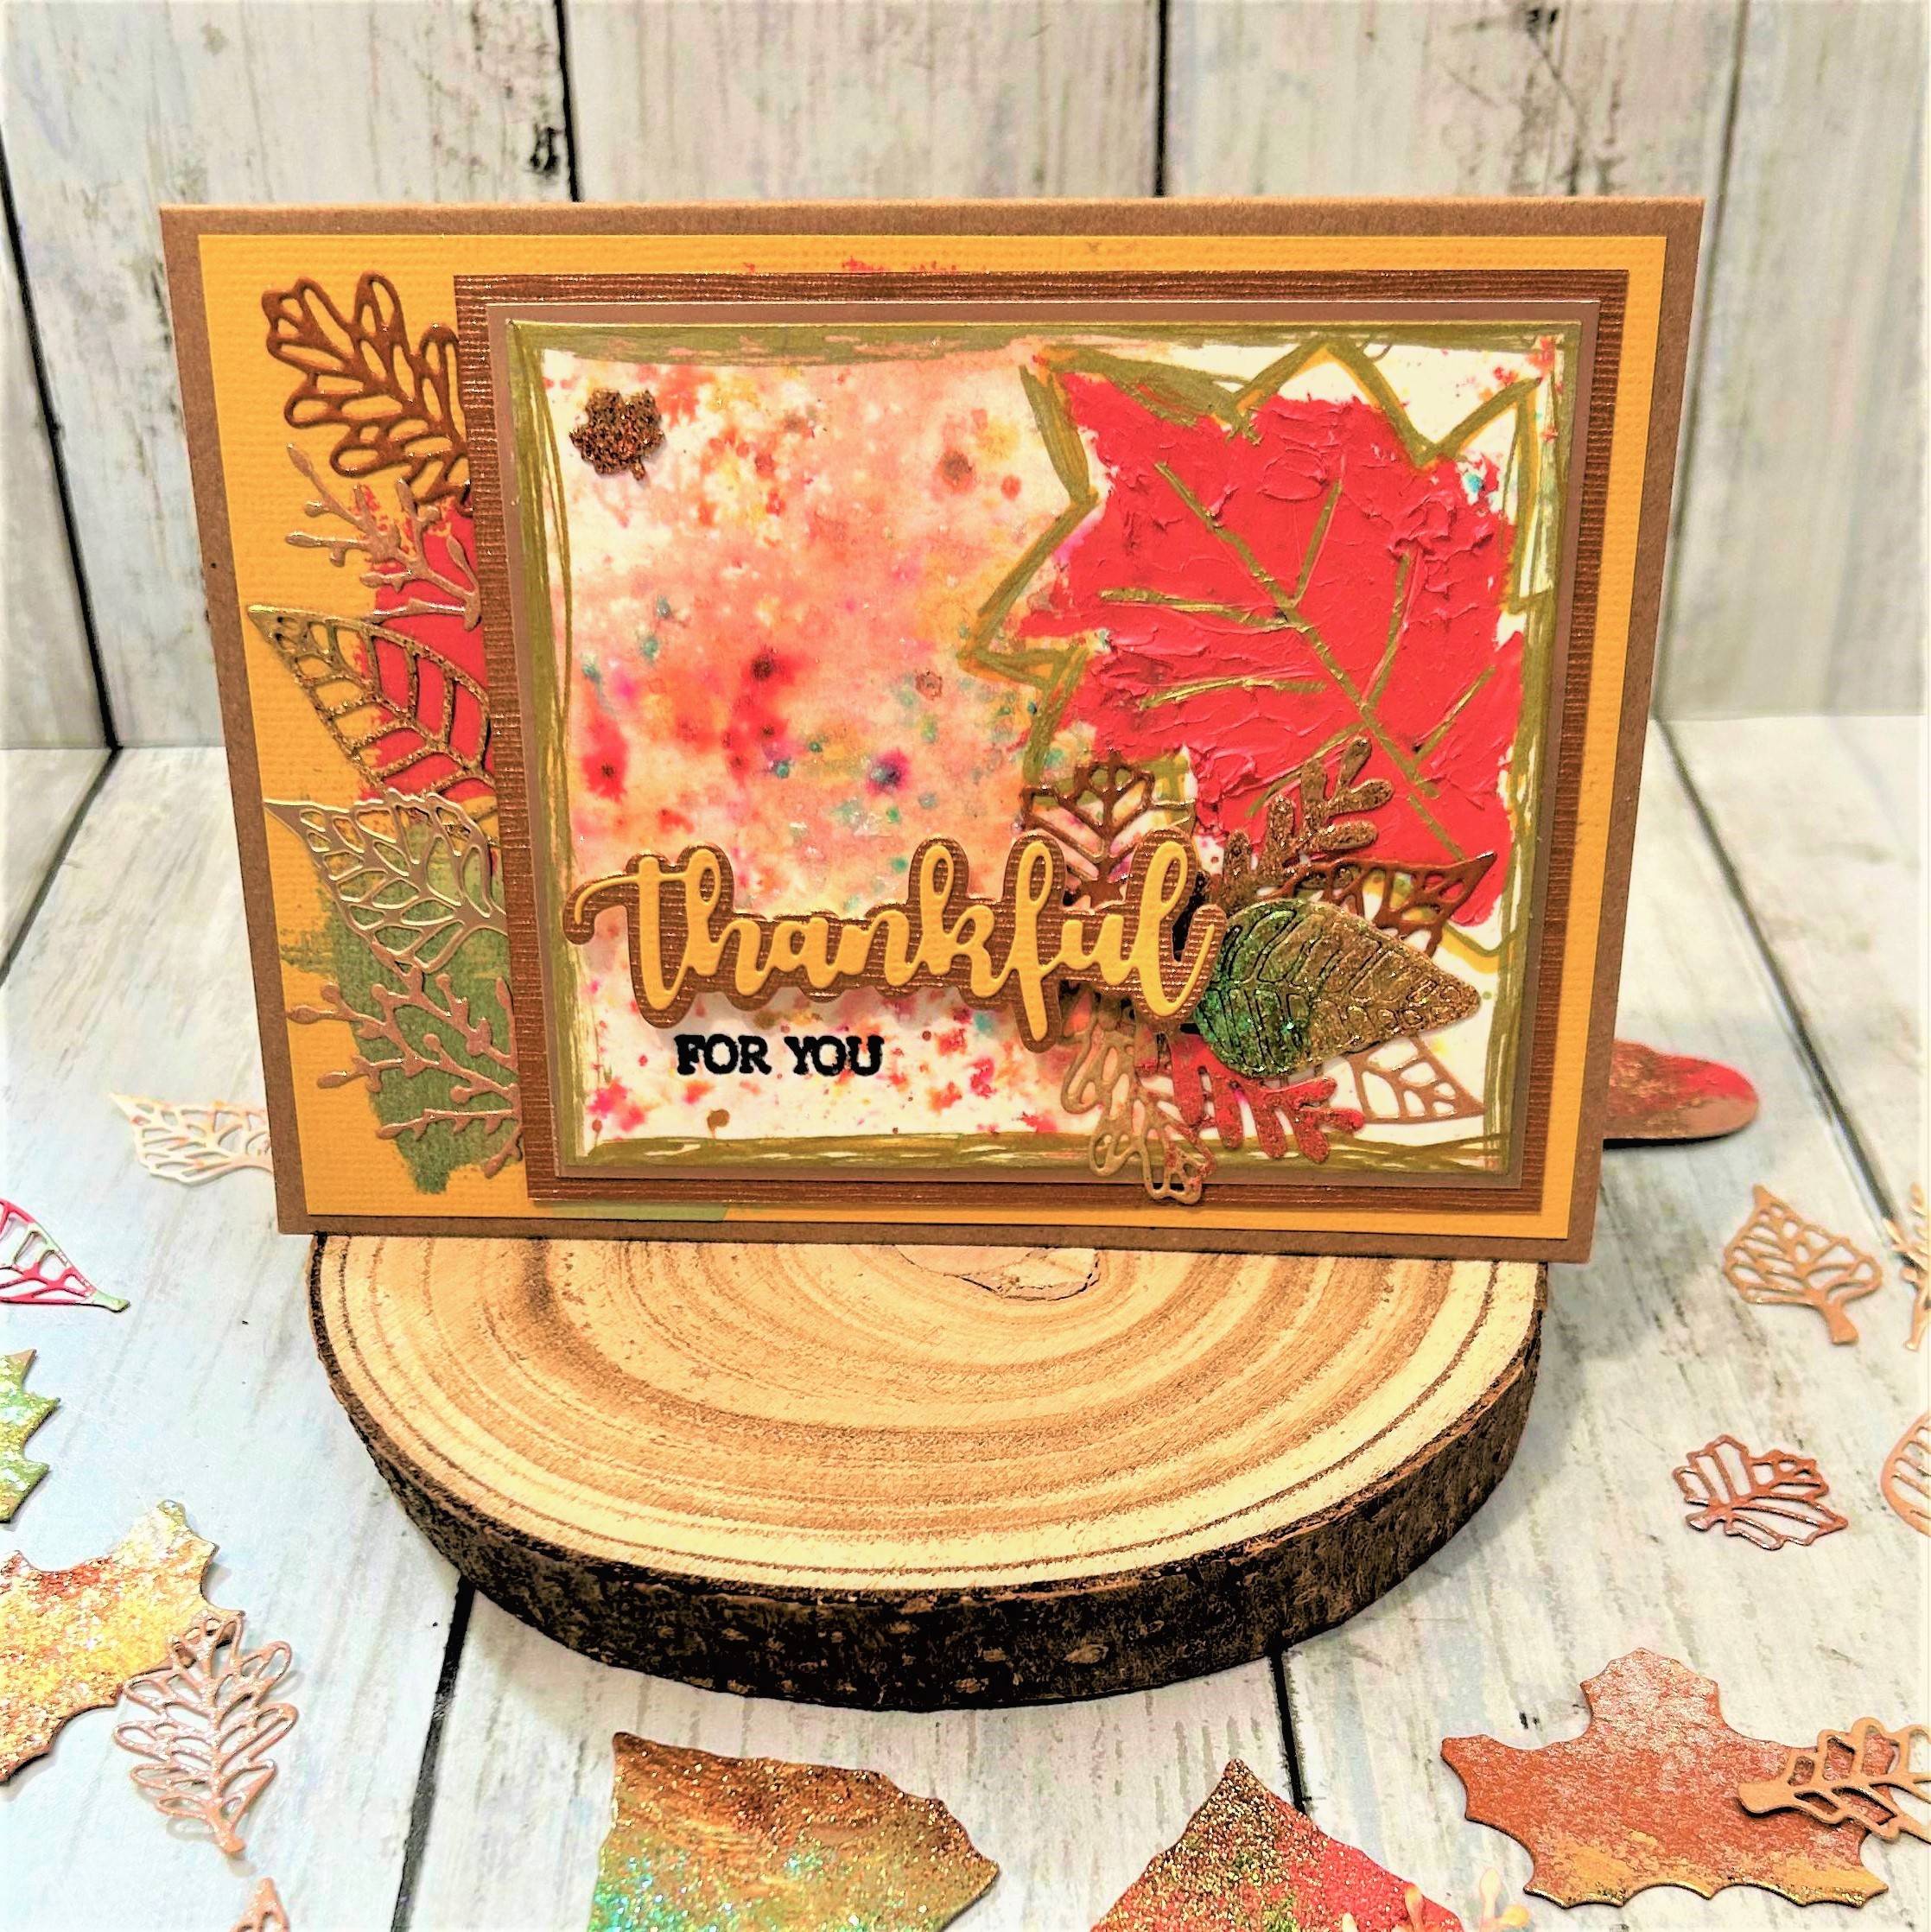
Once all my panels were dry, which was very quickly for most but 3 days for the Nuvo drop panel due to the thick layer I had used, I gathered all my panels to look at and plan the next stage. I put several panels to one side as potential backing or layering panels. I then pulled some panels and used the larger dies initially, and looked through them as a guide for how I wanted my leaf shapes to look. For example, I chose parts of panels that were visually striking and had a pleasing mixture of colours and textures akin to autumn leaves.
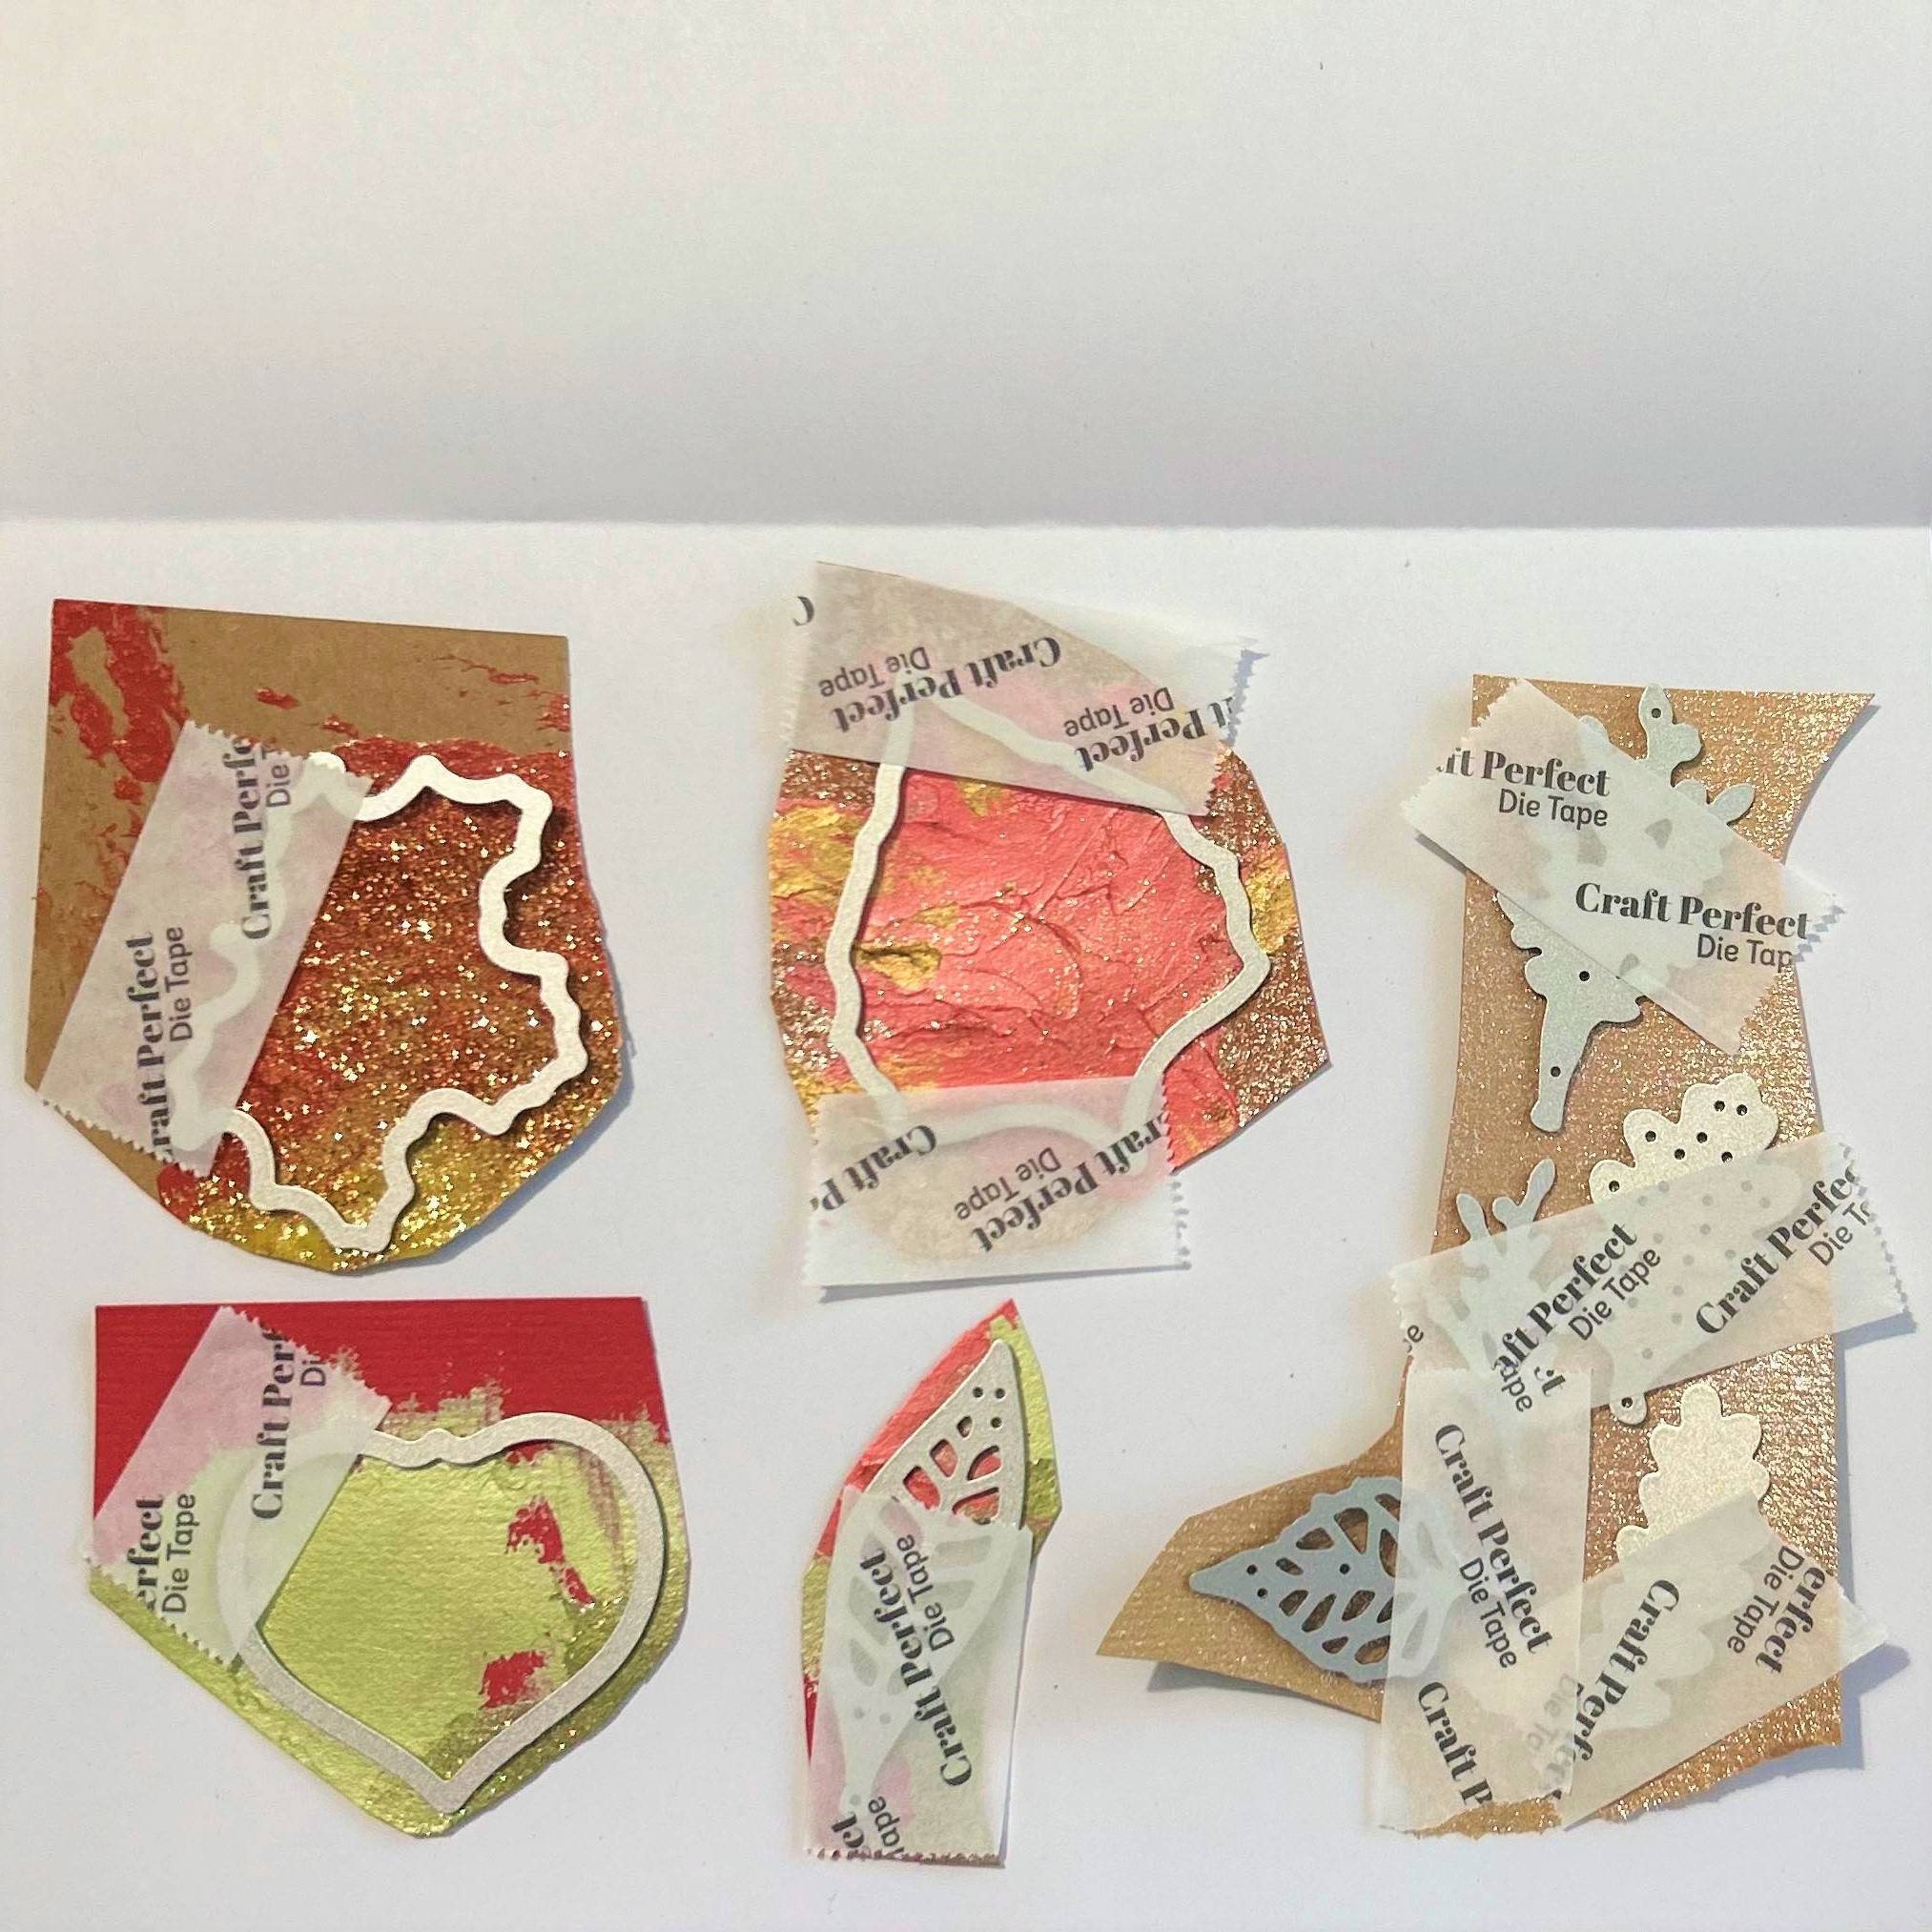
A Top Tip for ensuring you don't get glitter and Mica sparkle onto your die cutting plates, is to place your die on top your multi media panels, inside a sheet of copy paper, before placing onto your plates/into your “sandwich”.
Its a good idea to die cut all your leaves and foliage at this point in mu opinion, so you are just free to play about with positioning in your creative flow, rather than having to stop to die cut more components. Extra die cuts can always be kept and used for future projects. I could have easily made 3 or 4 more cards with the panels I had made for example.
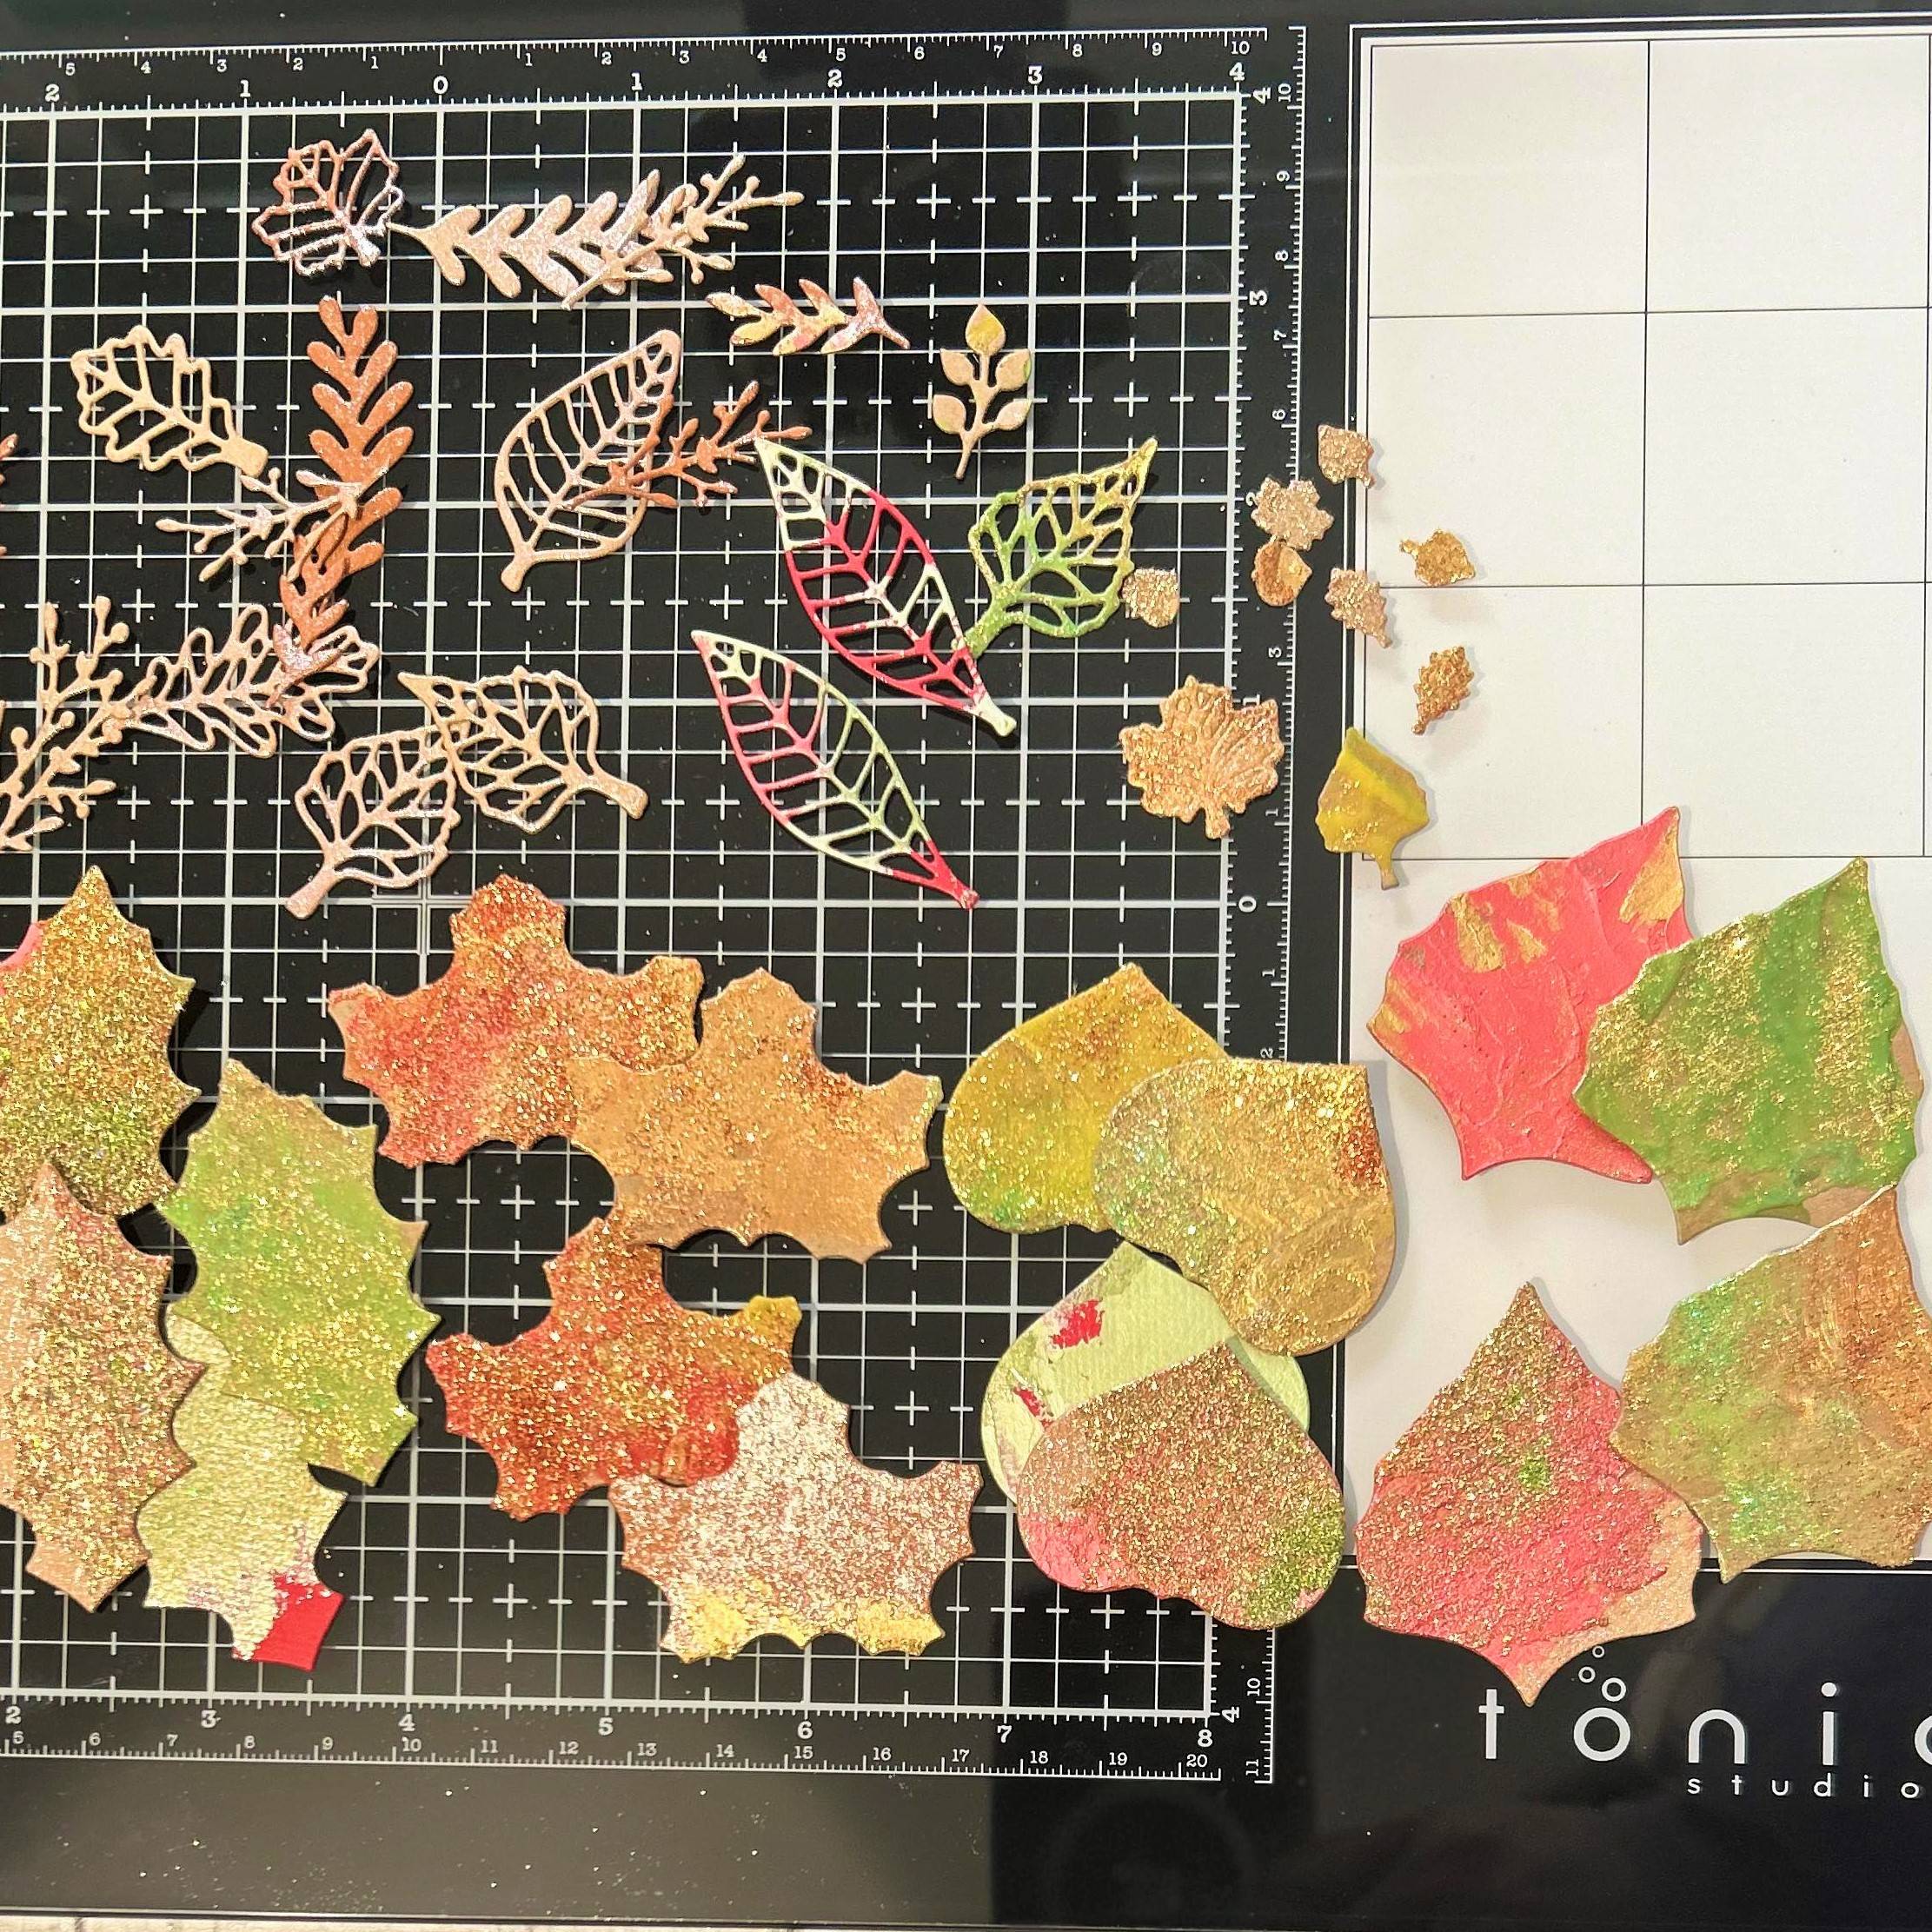
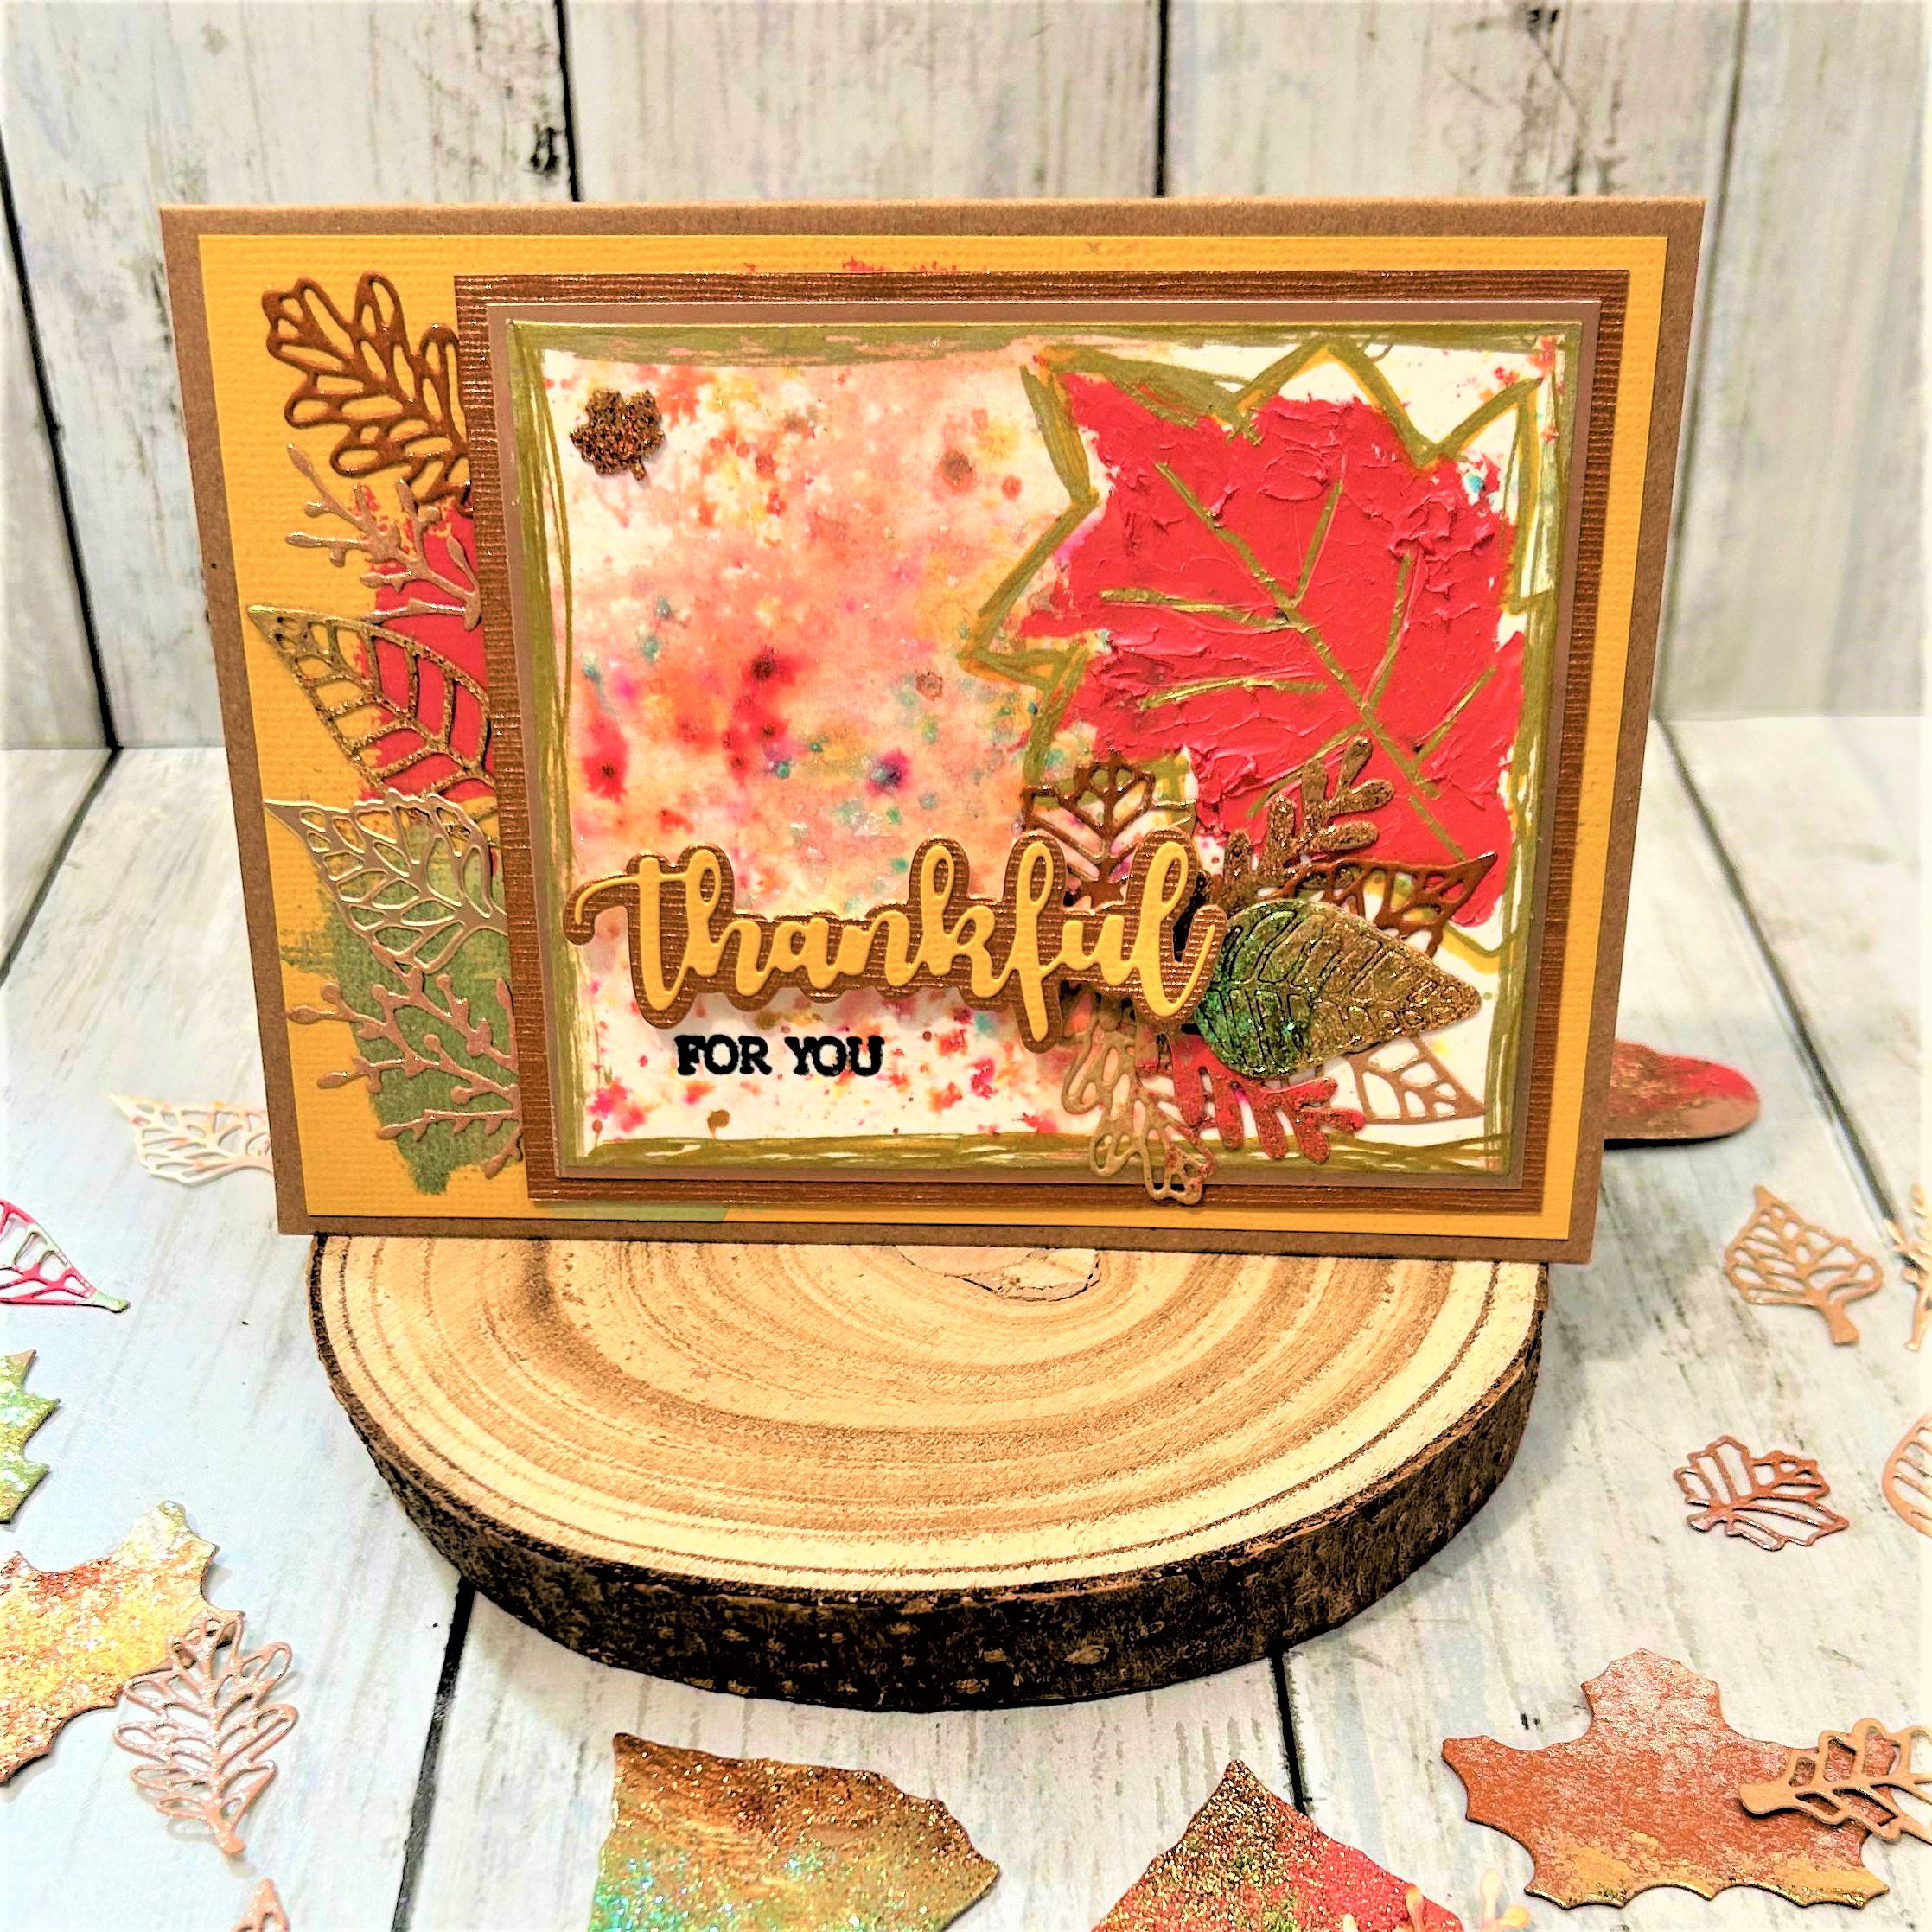
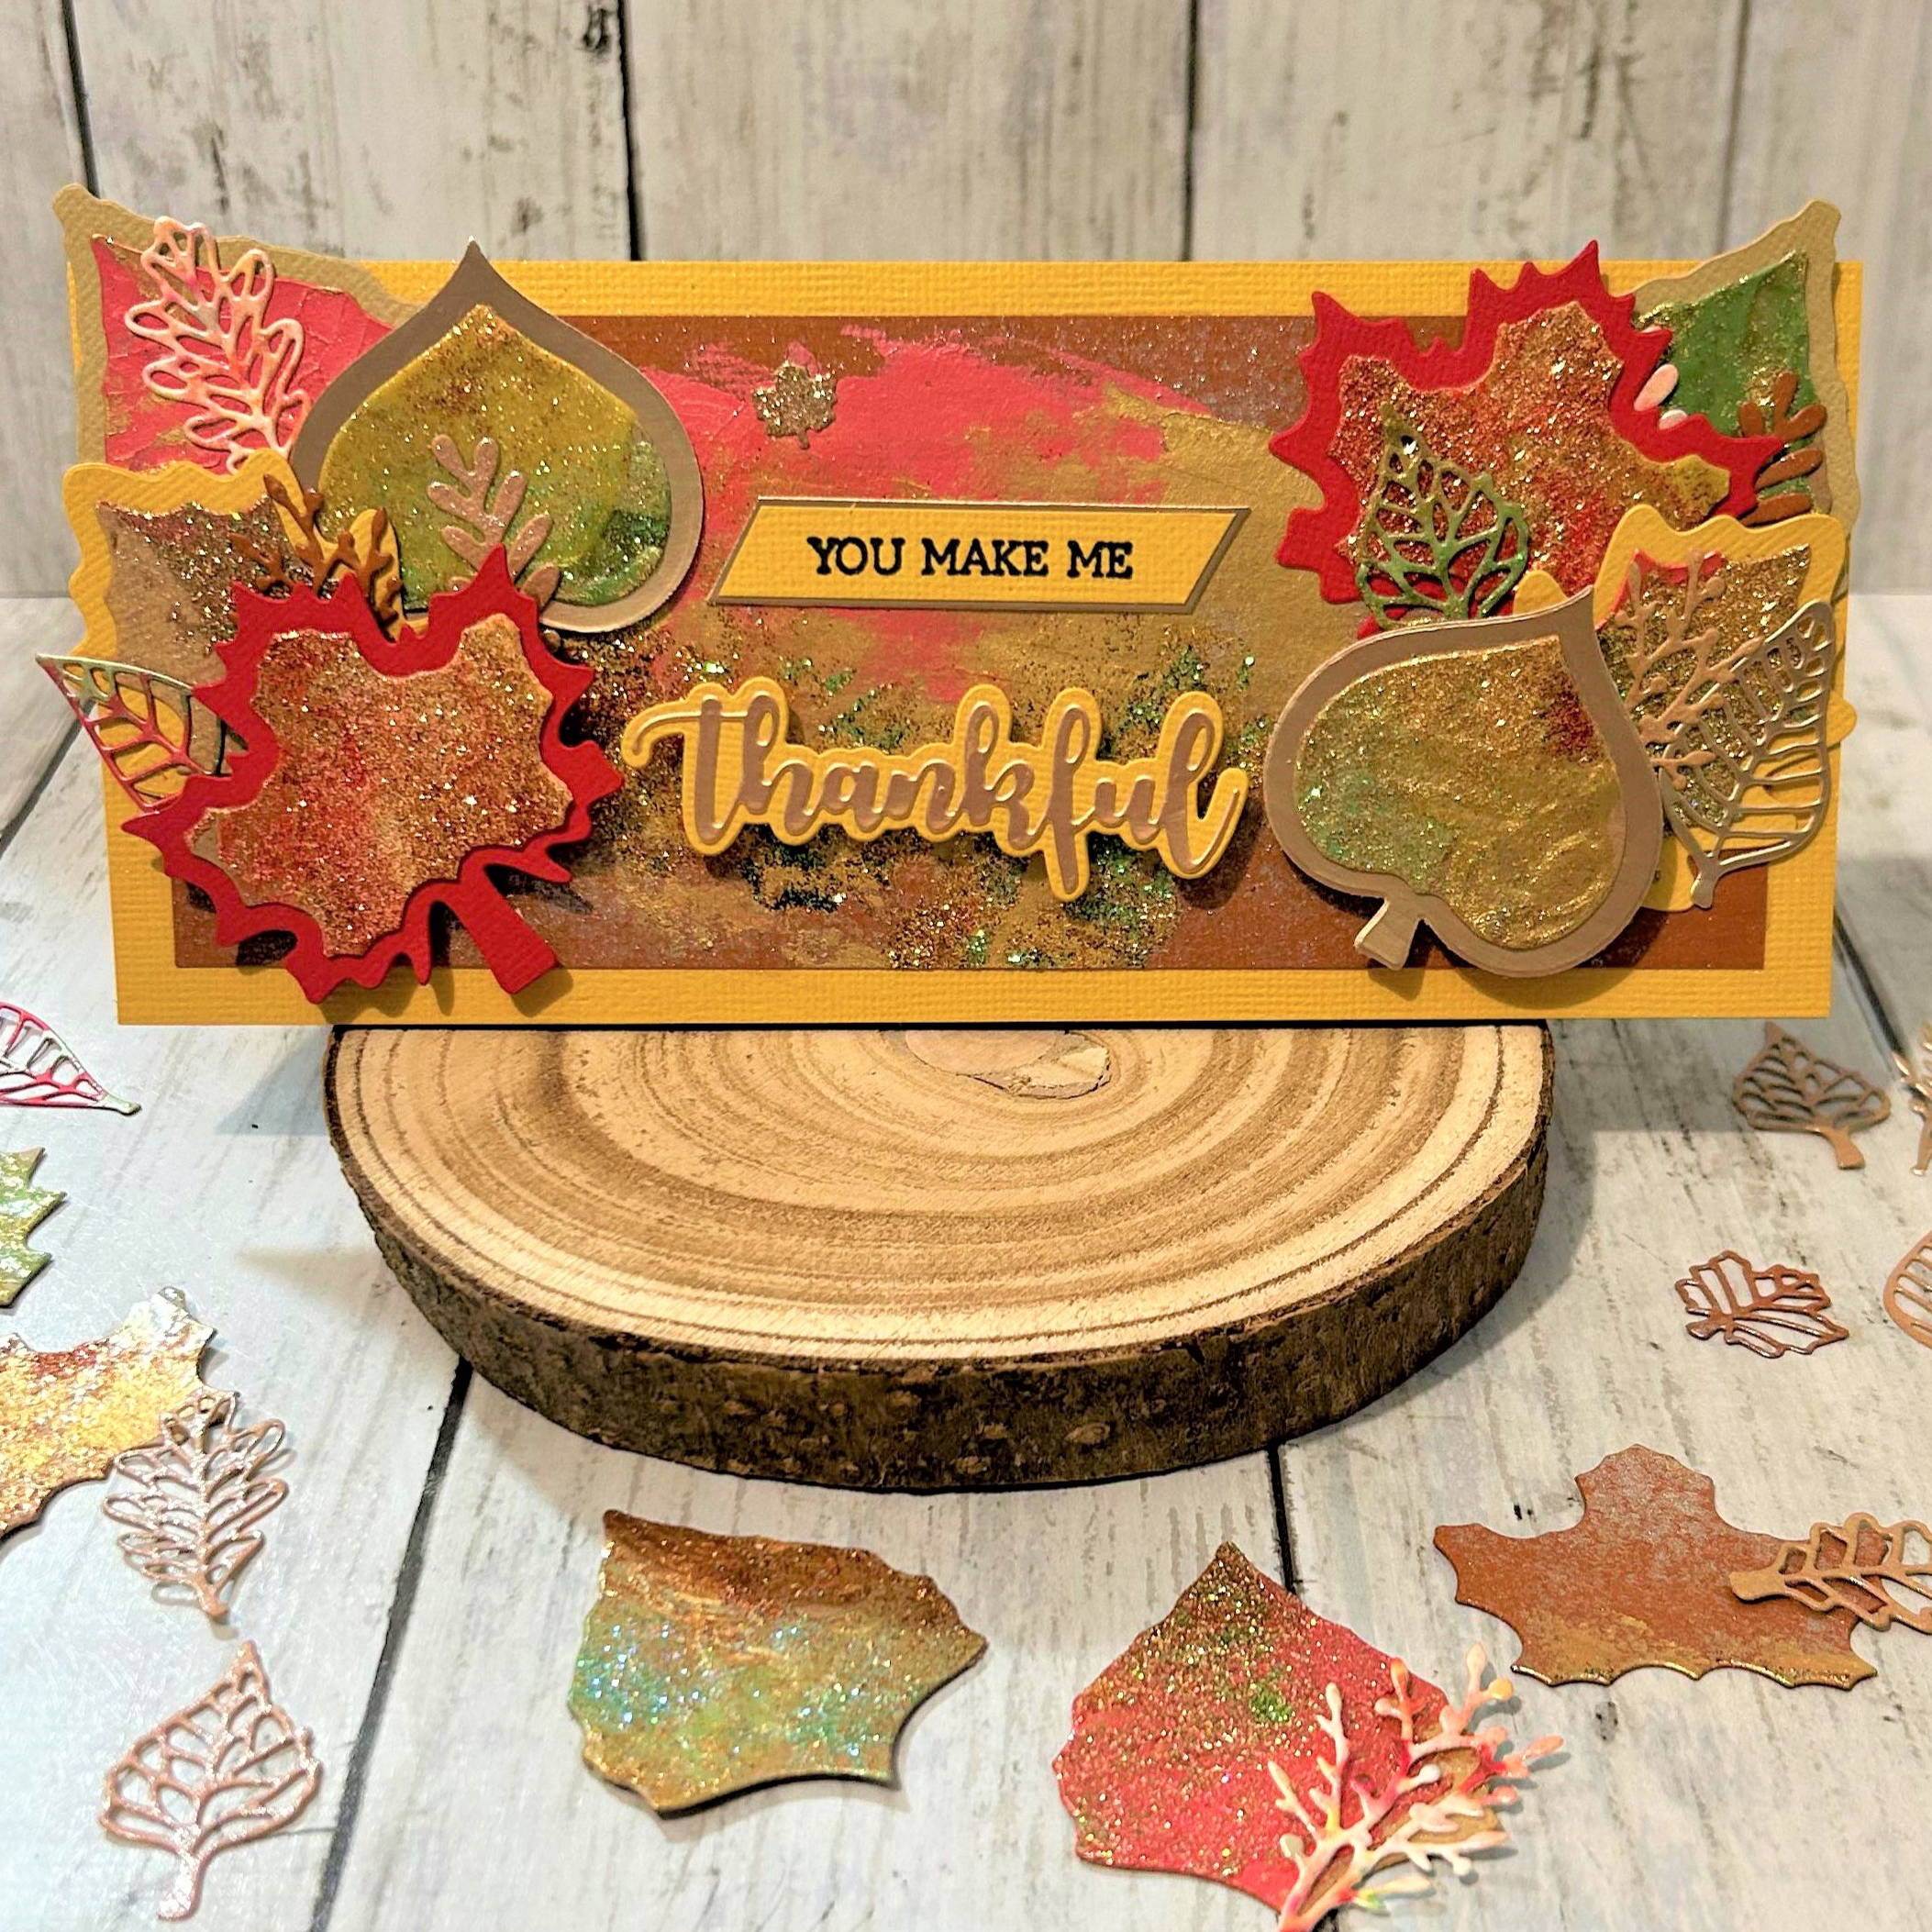
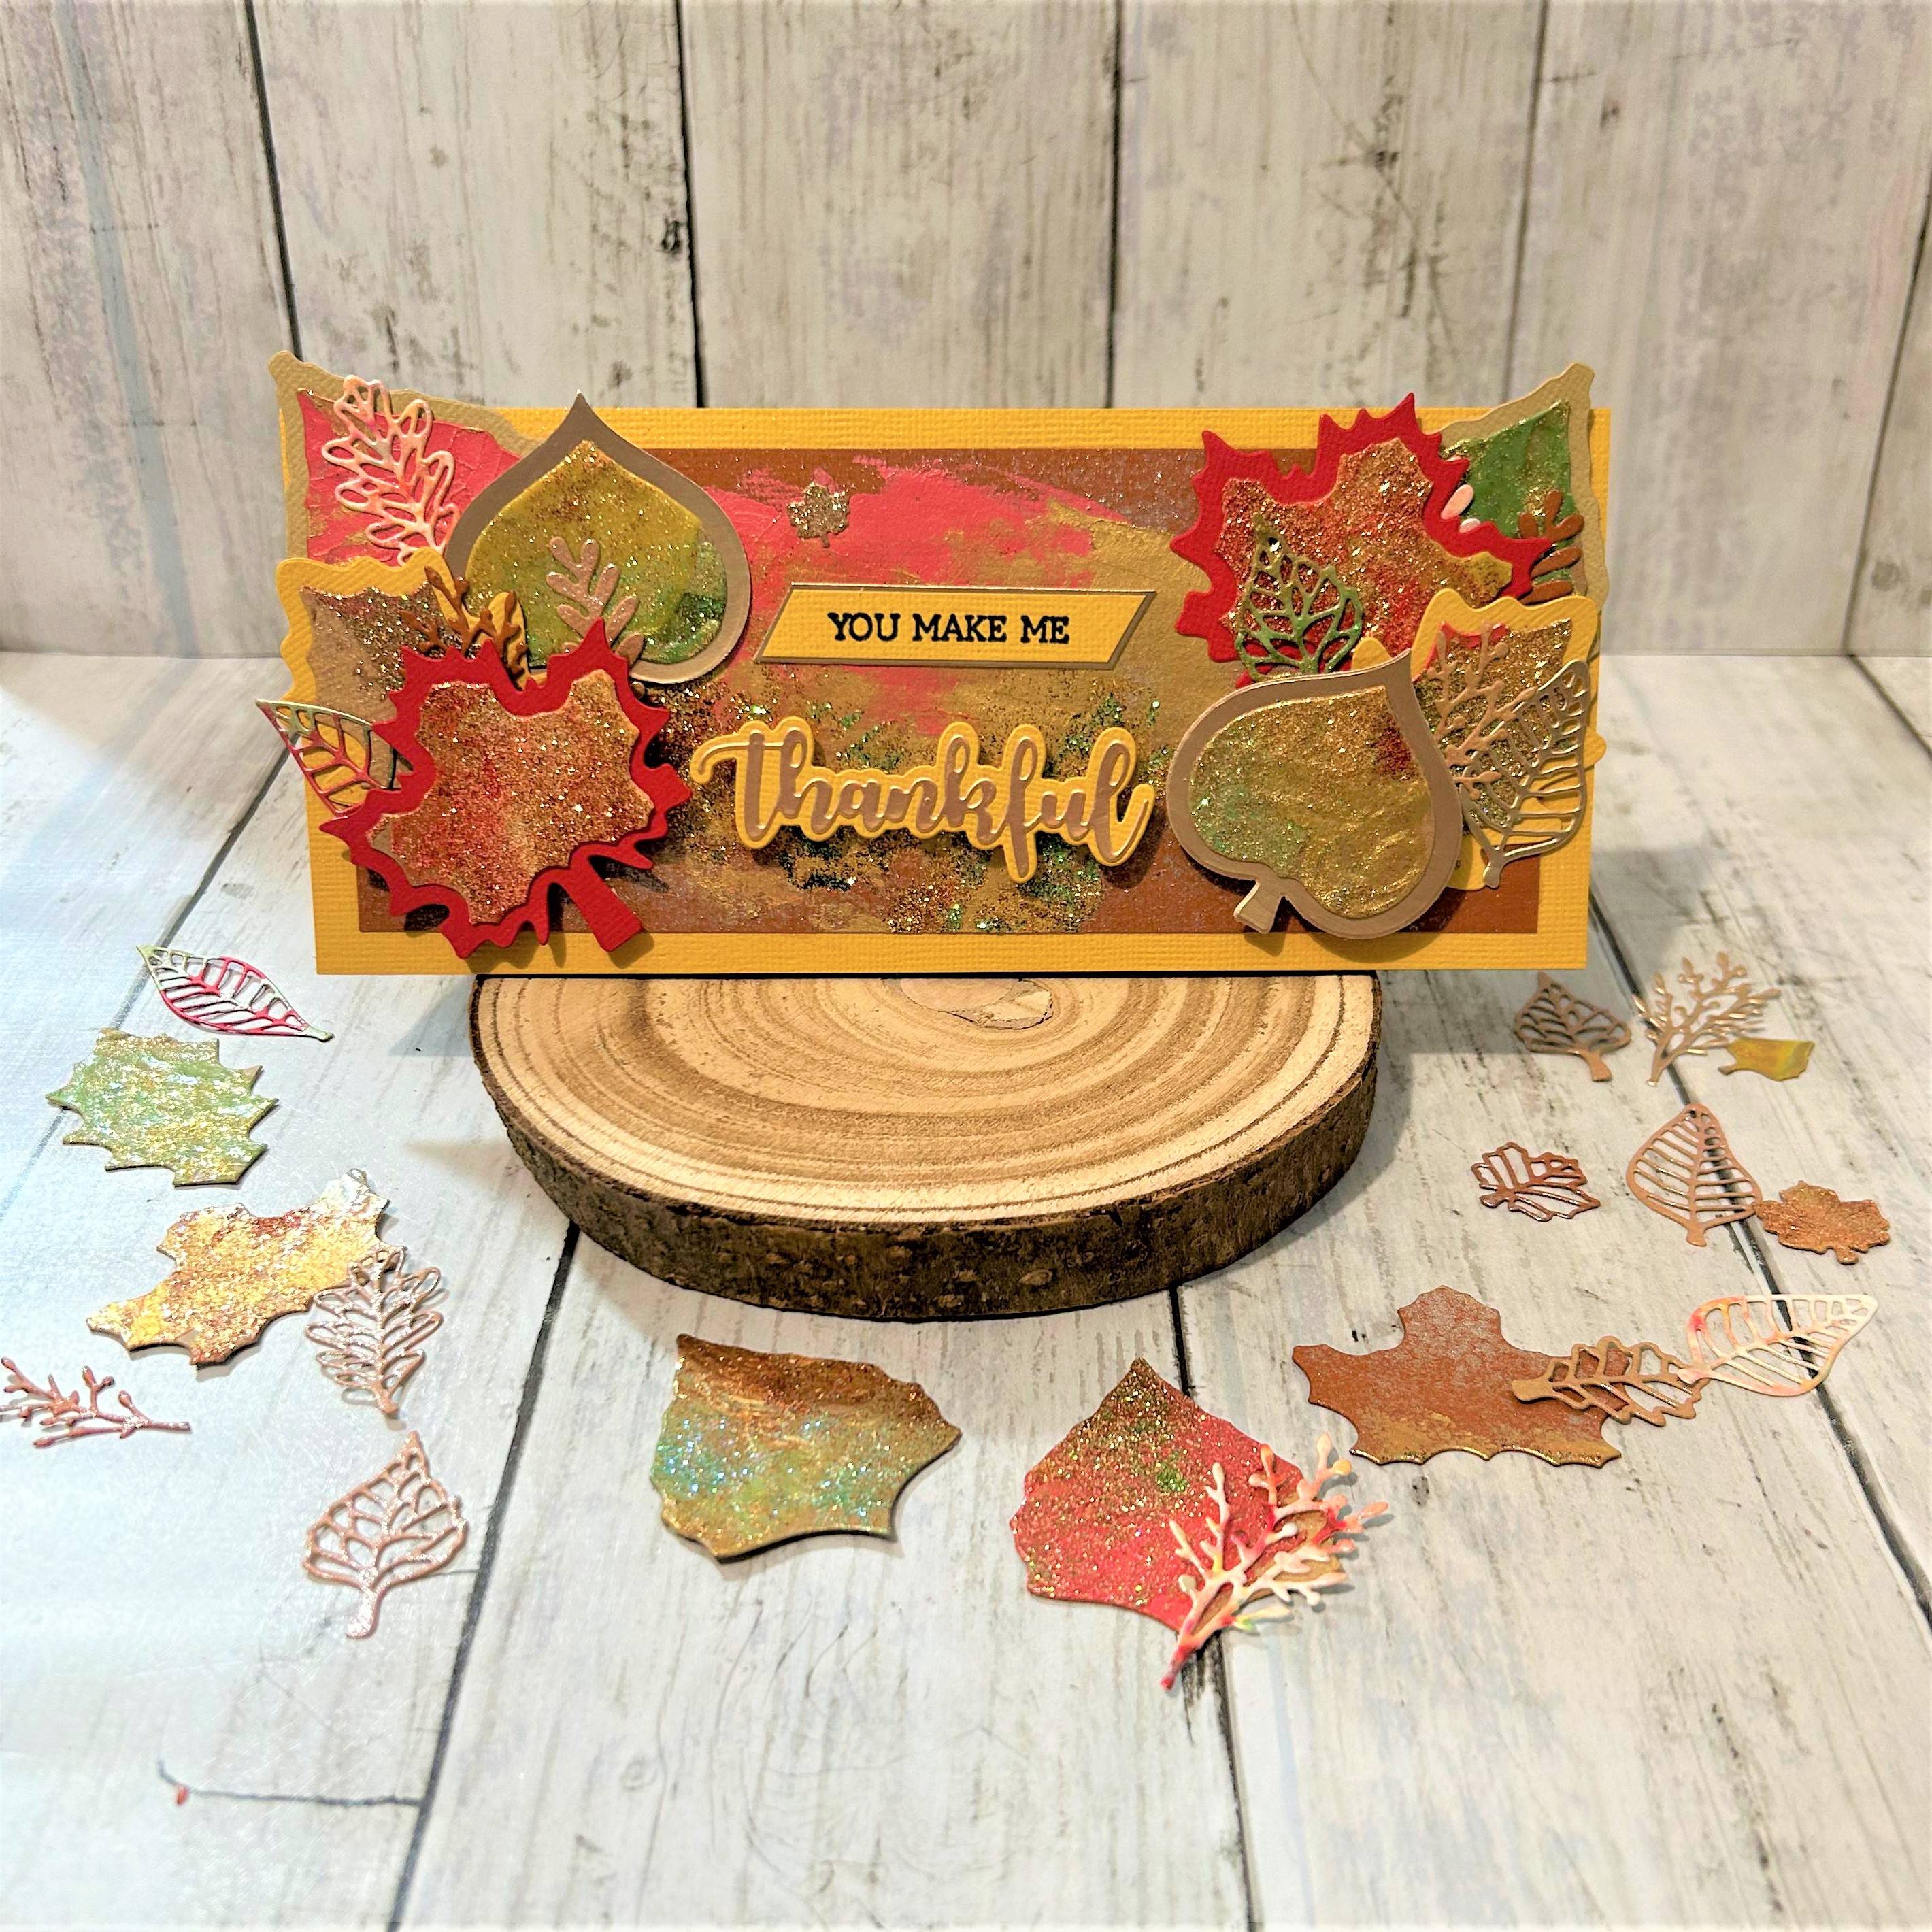
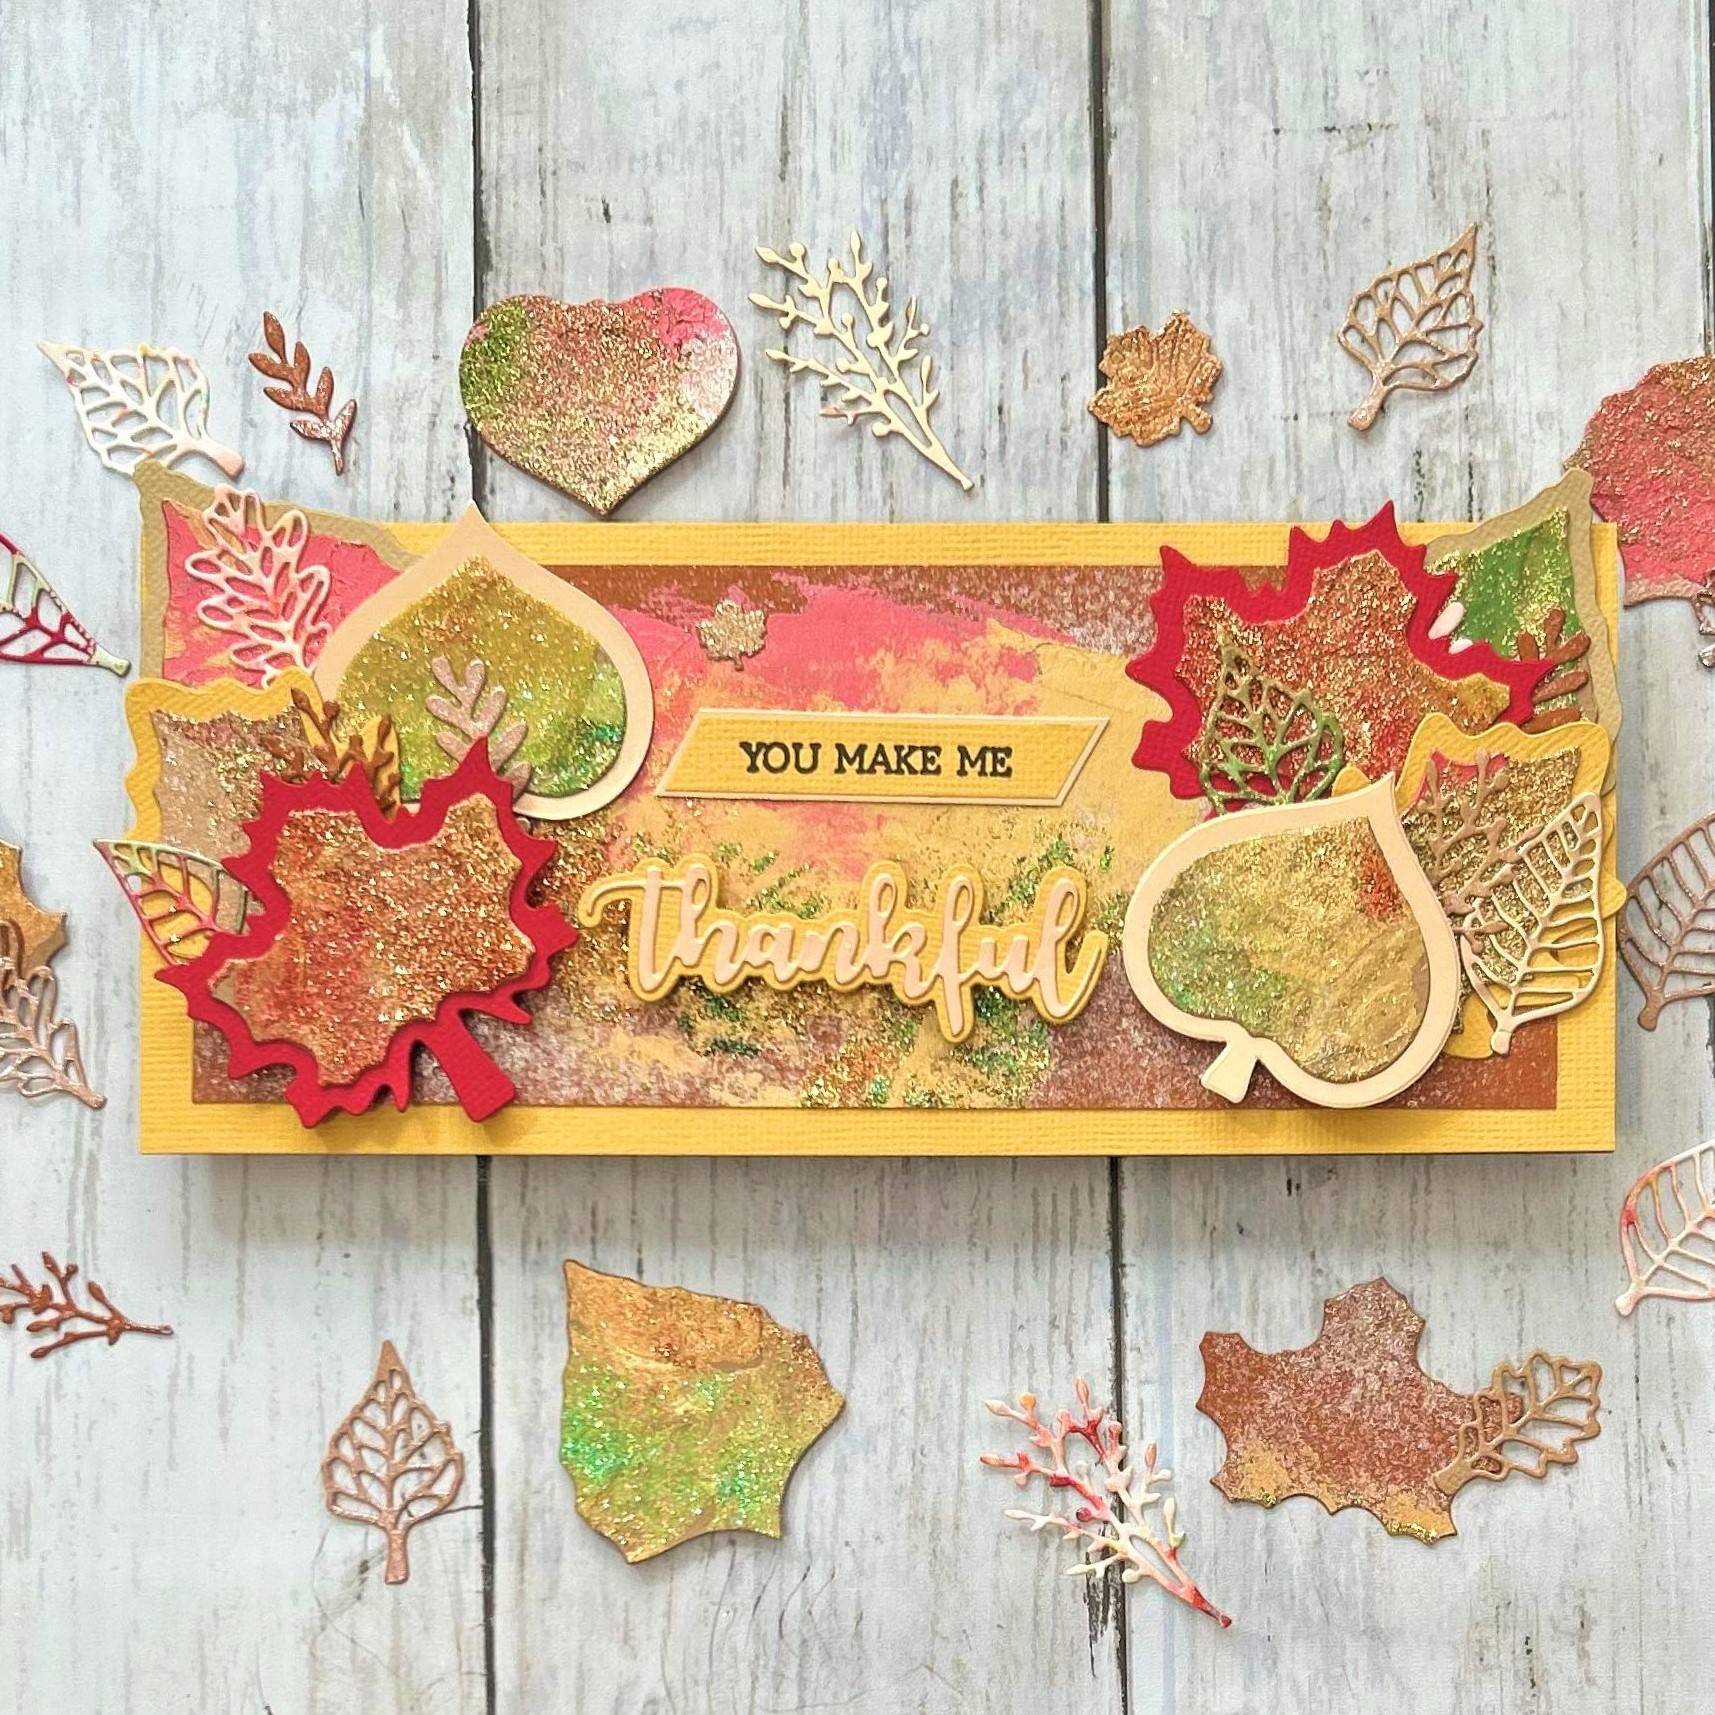
Sometimes, the way in which a mixed media panel has come together is just the perfect base and it is really easy to see how it can be turned into a card. This is what happened with my second card. I had put that panel to one side as I loved the area of glitter and embellishment mousse in the centre of the rectangle and the beautiful sparkle from the Sparkle Spray all over the panel. It screamed DL/Slimline card at me. I had cut many beautiful large inner leaves from the Nuvo drops and glitter panel, so chose my favourites in a nice variety of colours and textures. I chose 4 colours for the outer layer of the leaves and cut two of each in each colour, then glued the mixed media leaf inners on to their corresponding outer leaves. I pulled out some smaller die cuts too and incorporating them, arranged a large leaf cluster at each end of the panel, ensuring I left enough room in the centre for my sentiment cluster.
I created a simple DL card by cutting the length of a piece of Kraft card to 7 inches and scoring it in half. I then cut 3.5 inches from a length of yellow card and adhered this to the front. I trimmed the mixed media panel a tad, so that the yellow border was even on all sides. I then carefully removed one leaf cluster and glued it onto the card, piece by piece, except for the top most leaf, which I adhered with foam pads. I repeated this on the other side. After adhering my “Thankful” sentiment a pre sentiment “You make me”, the second card was complete.

FINISHED
I hope you have enjoyed this tutorial, which aimed to inspire you to make thank you cards to have on hand, for when you feel moved to send one. I still consider this batch making, as the process involves creating numerous panels and die cutting lots of leaves and foliage. You can then let your creativity free and create probably 5-8 cards from just these few panels. If you're like me and have lots of Nuvo mixed media products but don't use them that often, I hope this inspires you to have a good look through your supplies and have a play! Crafty hugs, Terri.
What Was Used?
