 Gem Rewards
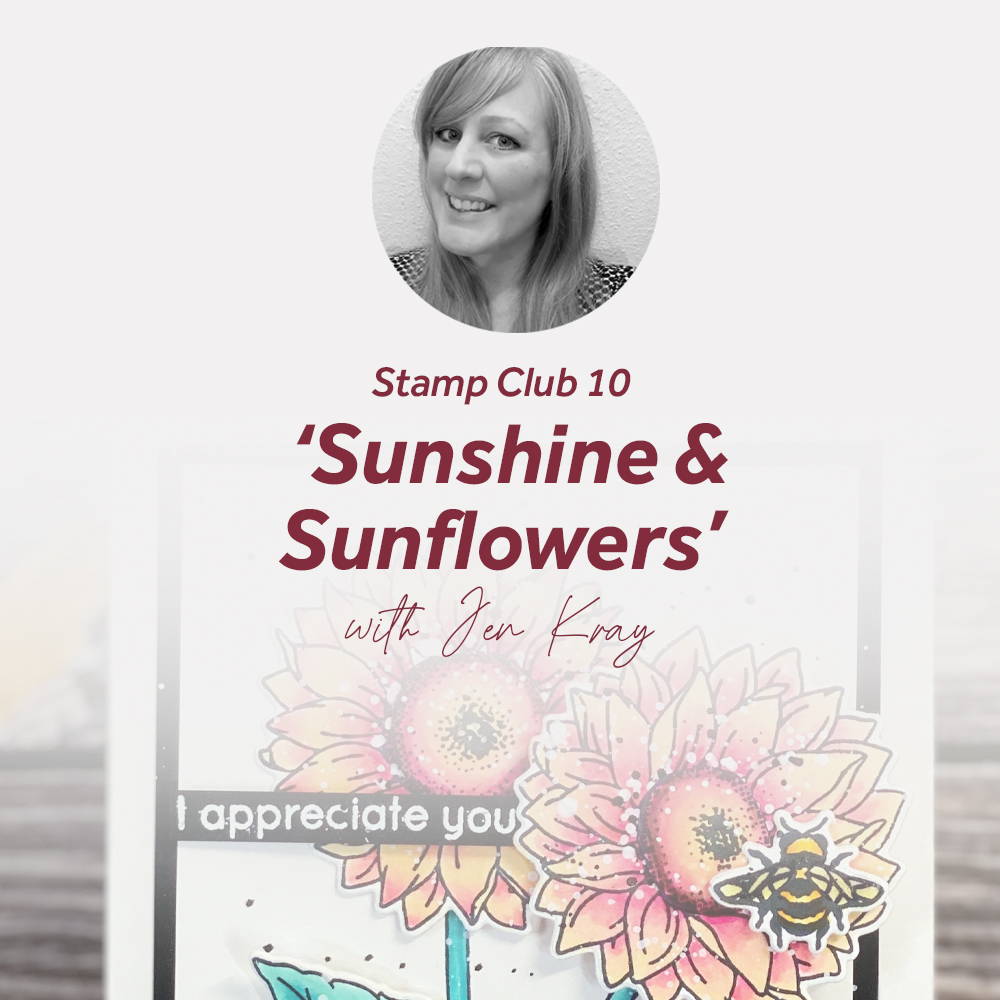
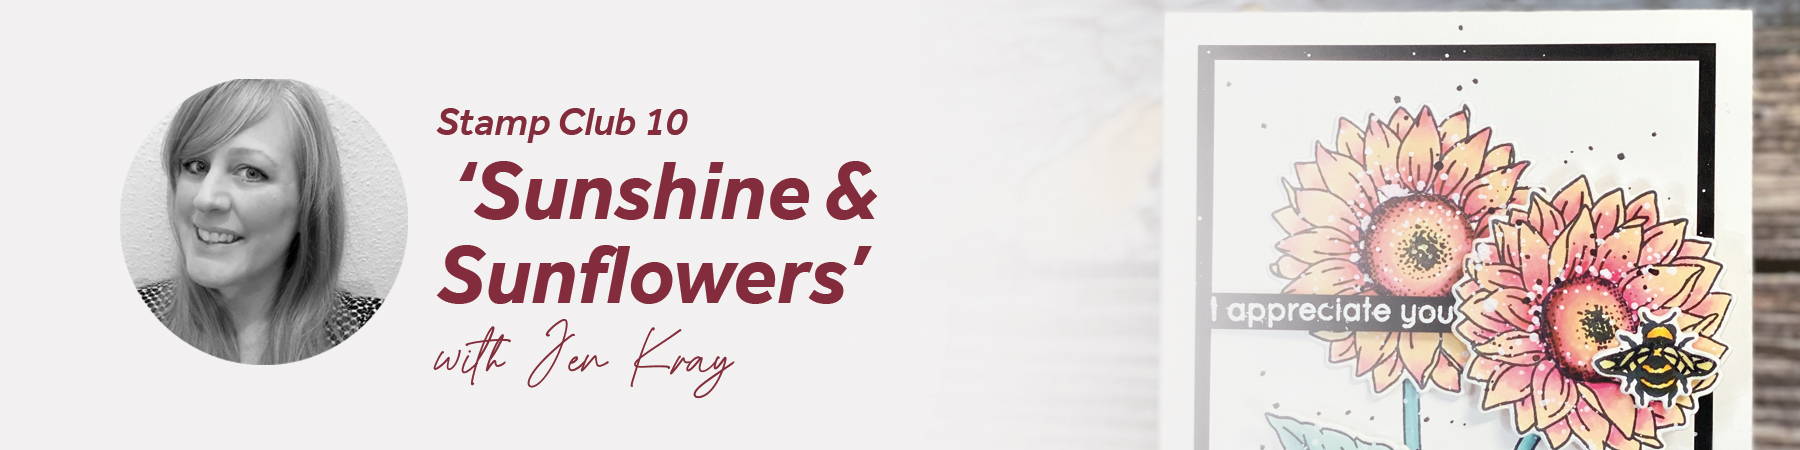
Hi there! Today is all about the NEW Stamp Club release –Sunshine and Sunflowers! My project focuses on colouring with Nuvo Alcohol Markers and composition. I am in love with this set and it sets my soul to happy.
What you will need
- Tangerine die cutting machine
- Tim Holtz Stamp Platform
- Trimmer
- Black Craft Perfect Card
- A2 Card Blank 5.5 inches by 4.25 inches
- Alcohol Friendly Card
- Nuvo Alcohol Markers
- Petals 449, 451, 453, 473
- Centre 449,451,453,473,381
- Leaves Stalk 360,363,369,
- Ladybird 391, 374
- Bee (optional) 391, 403
- Nuvo Hybrid ink – Black Shadow
- Removeable Tape, scissors
- Adhesive -wet, foam pads
- White/Black ink for splatter (optional)
- Nuvo White Heat Embossing Powder
- Anti-static bag (optional)
- Heat Tool
- Nuvo Clear Embossing Pad
This is a coloring tutorial and we will go through each step so you can create a beautifully colored card. These Alcohol markers take some getting used to as they are layering pens. I hope to provide an informative tutorial filled with easy steps that will set you up for success.
Step 1
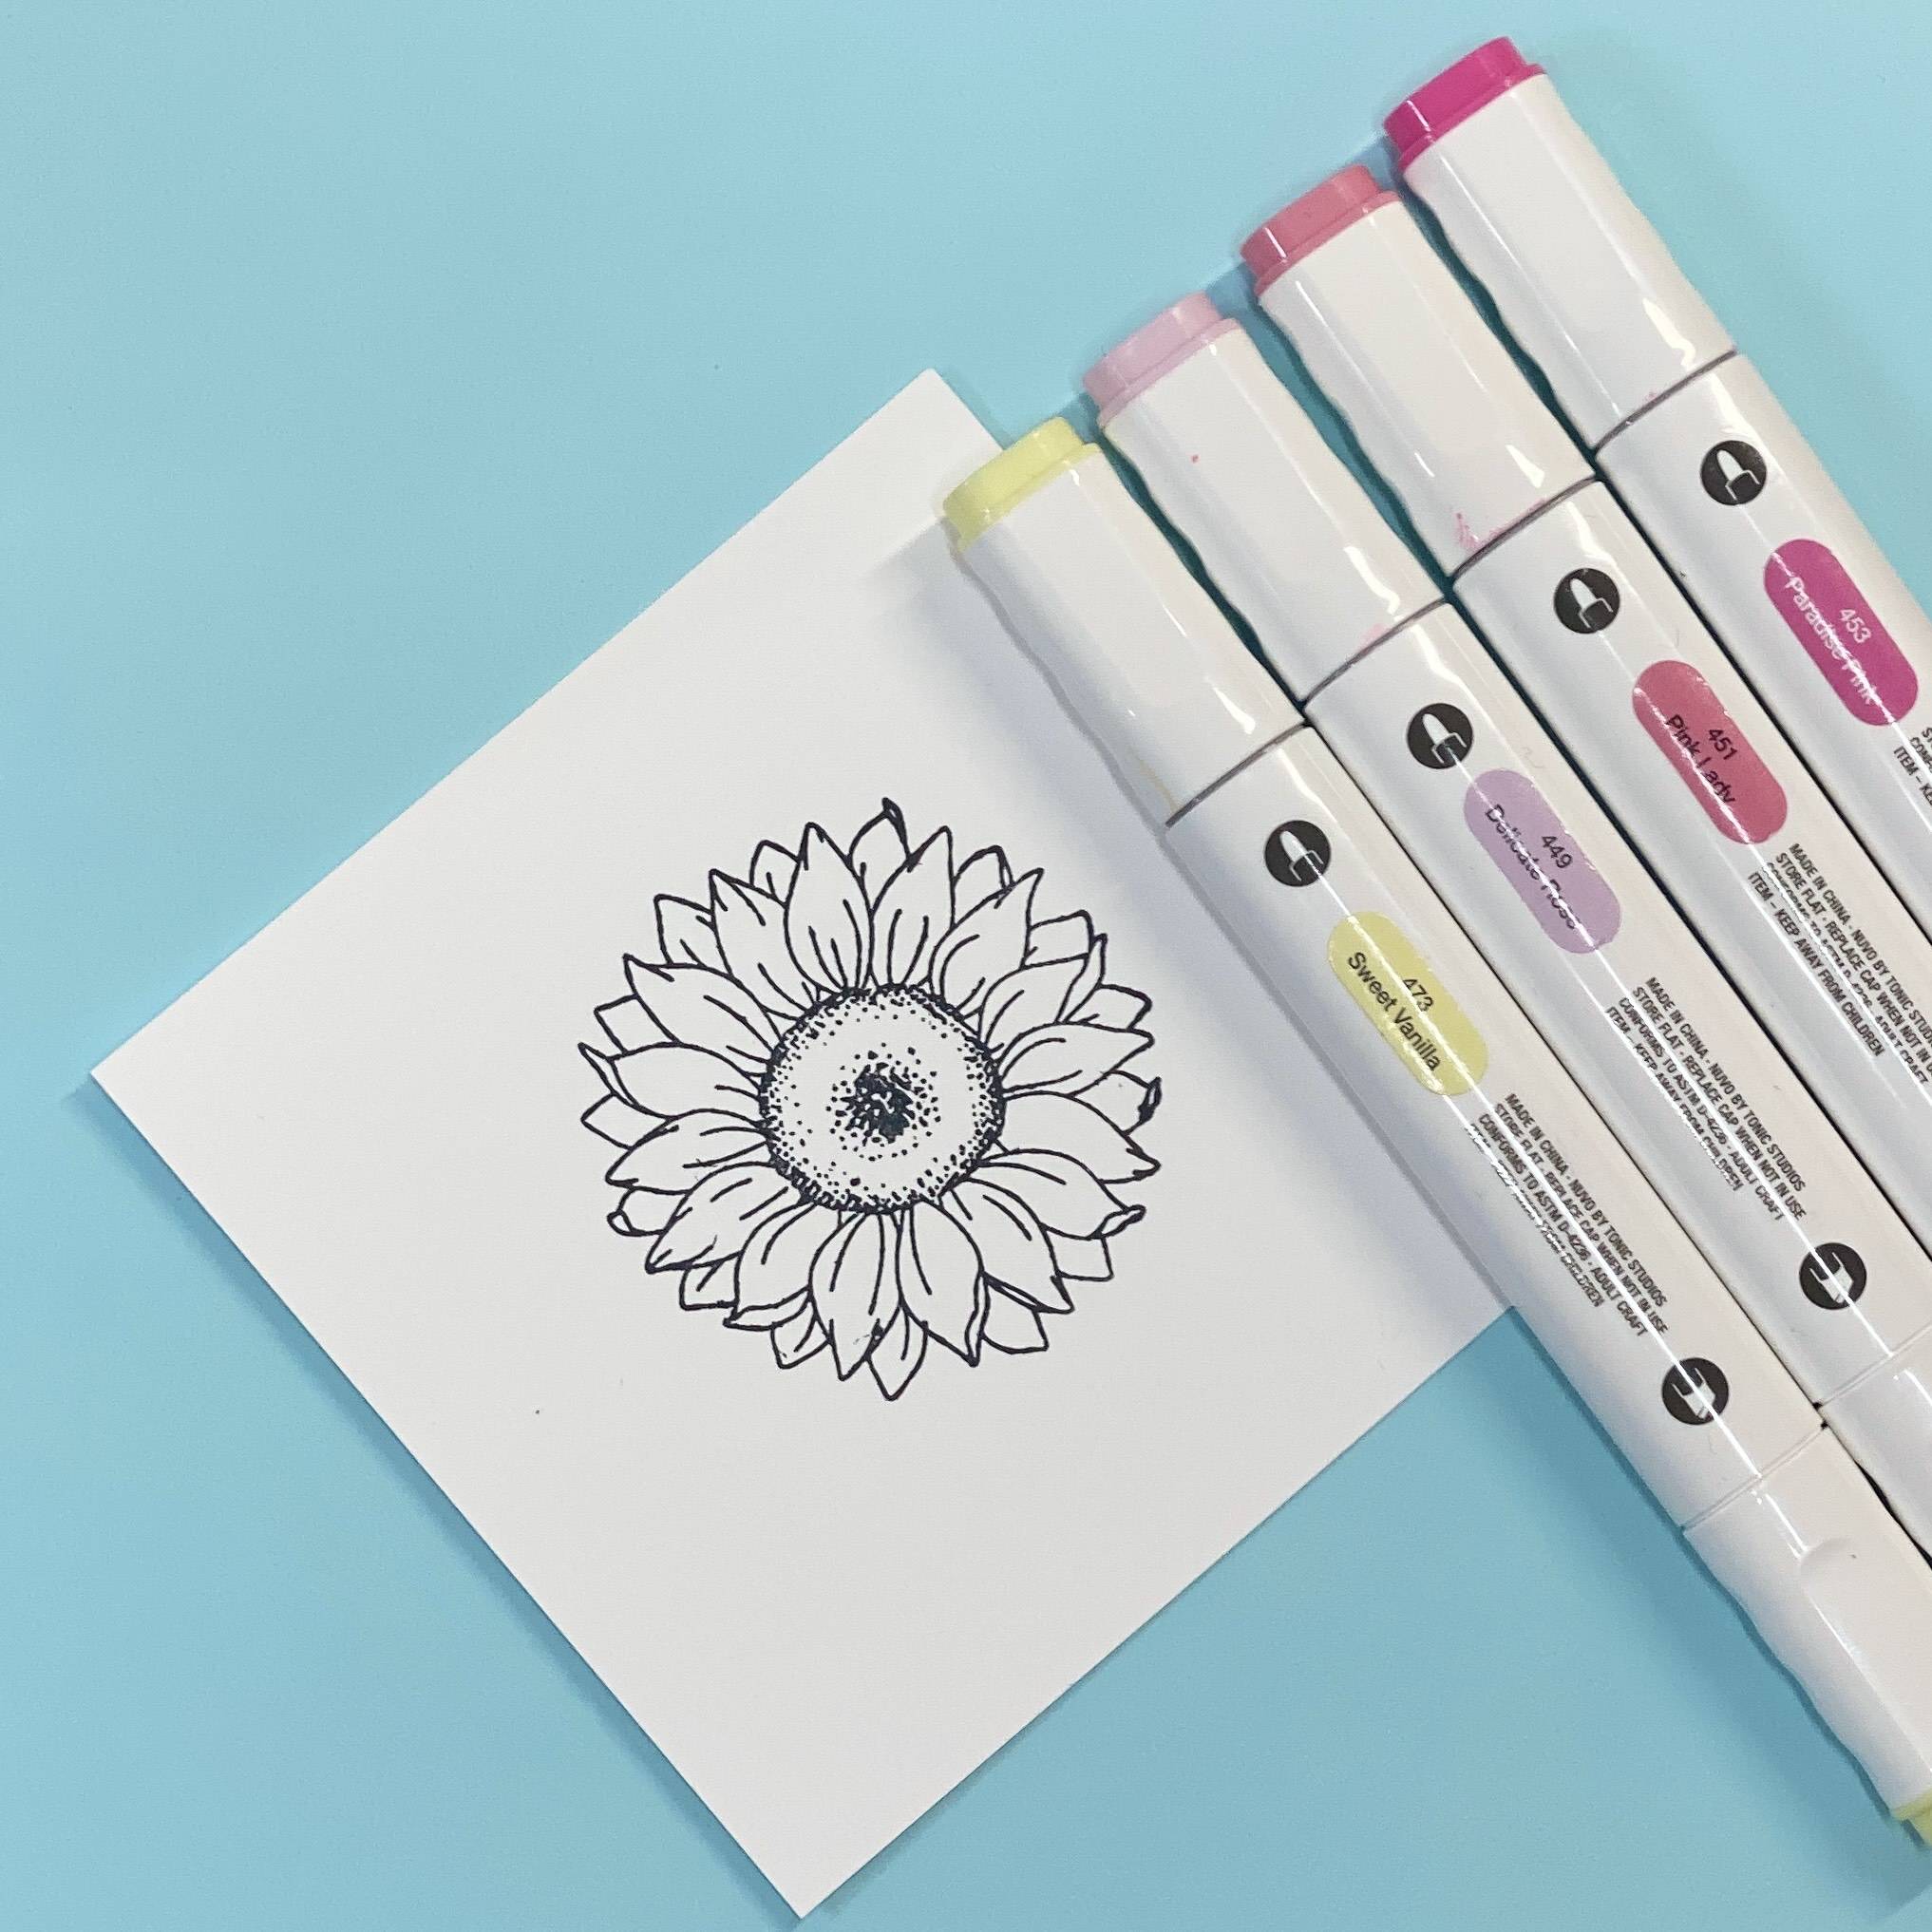
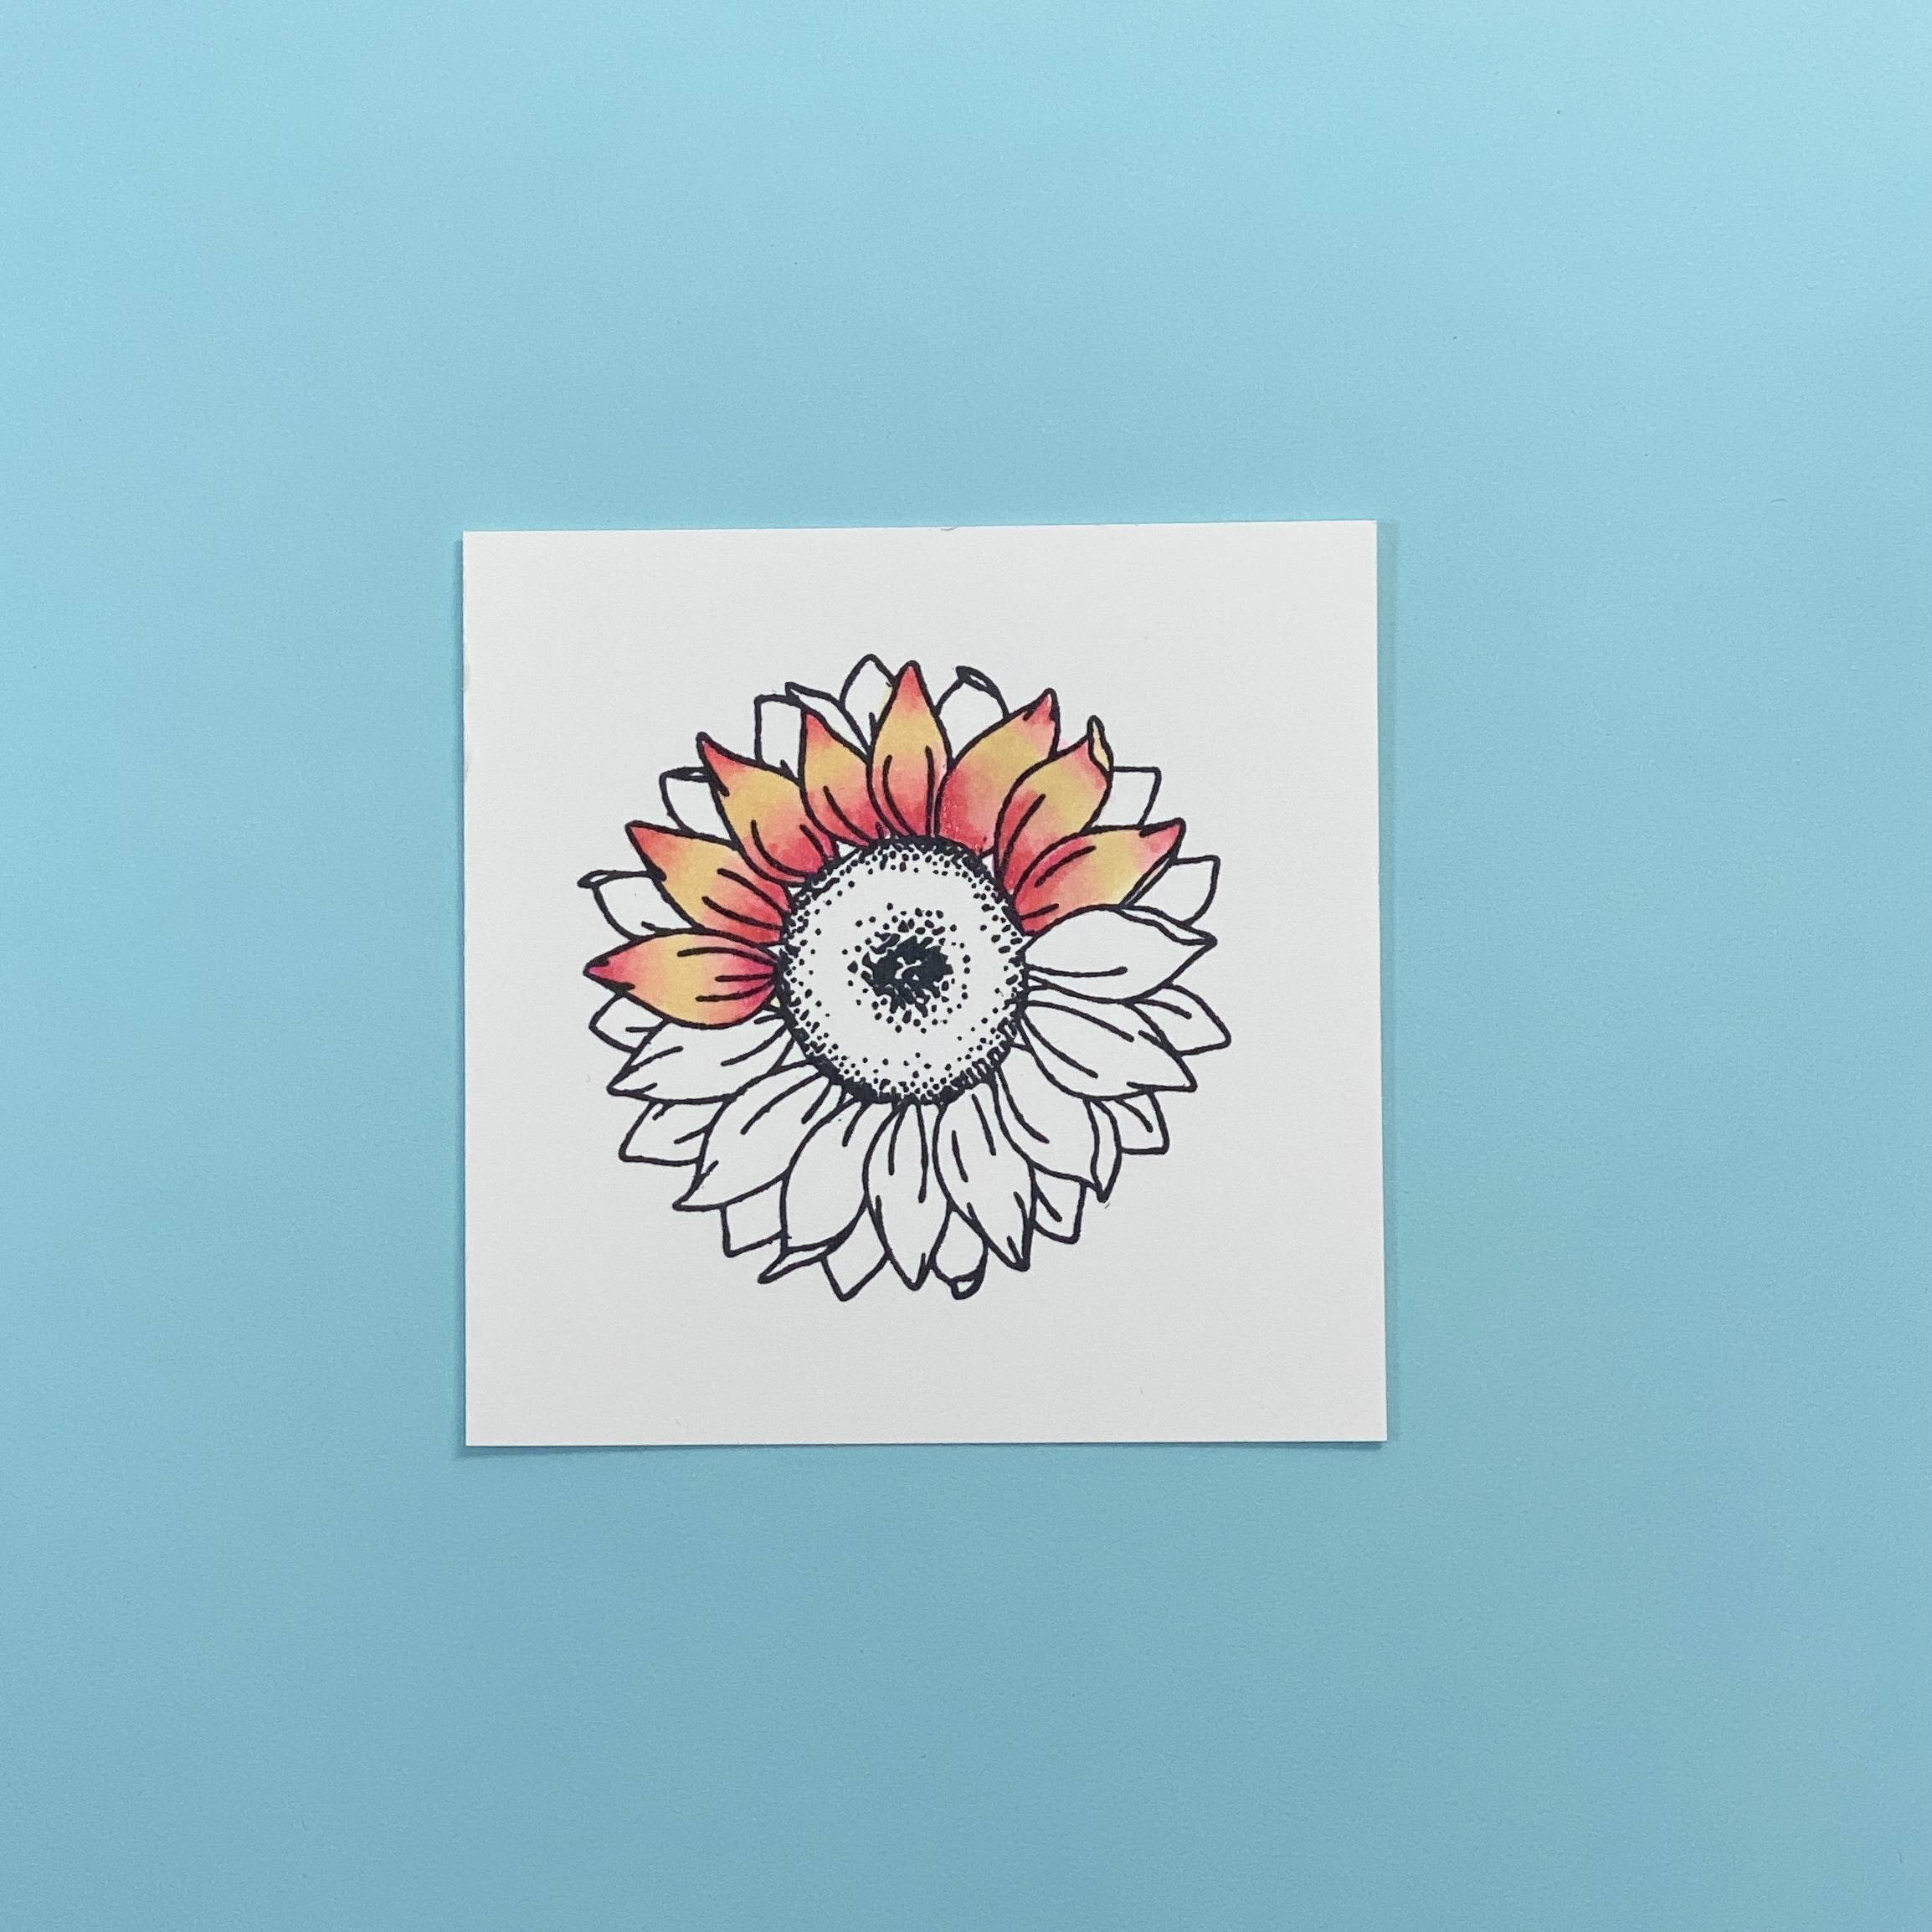
Stamp out the largest sunflower and lay out 449,451,453, 473.
Step 2
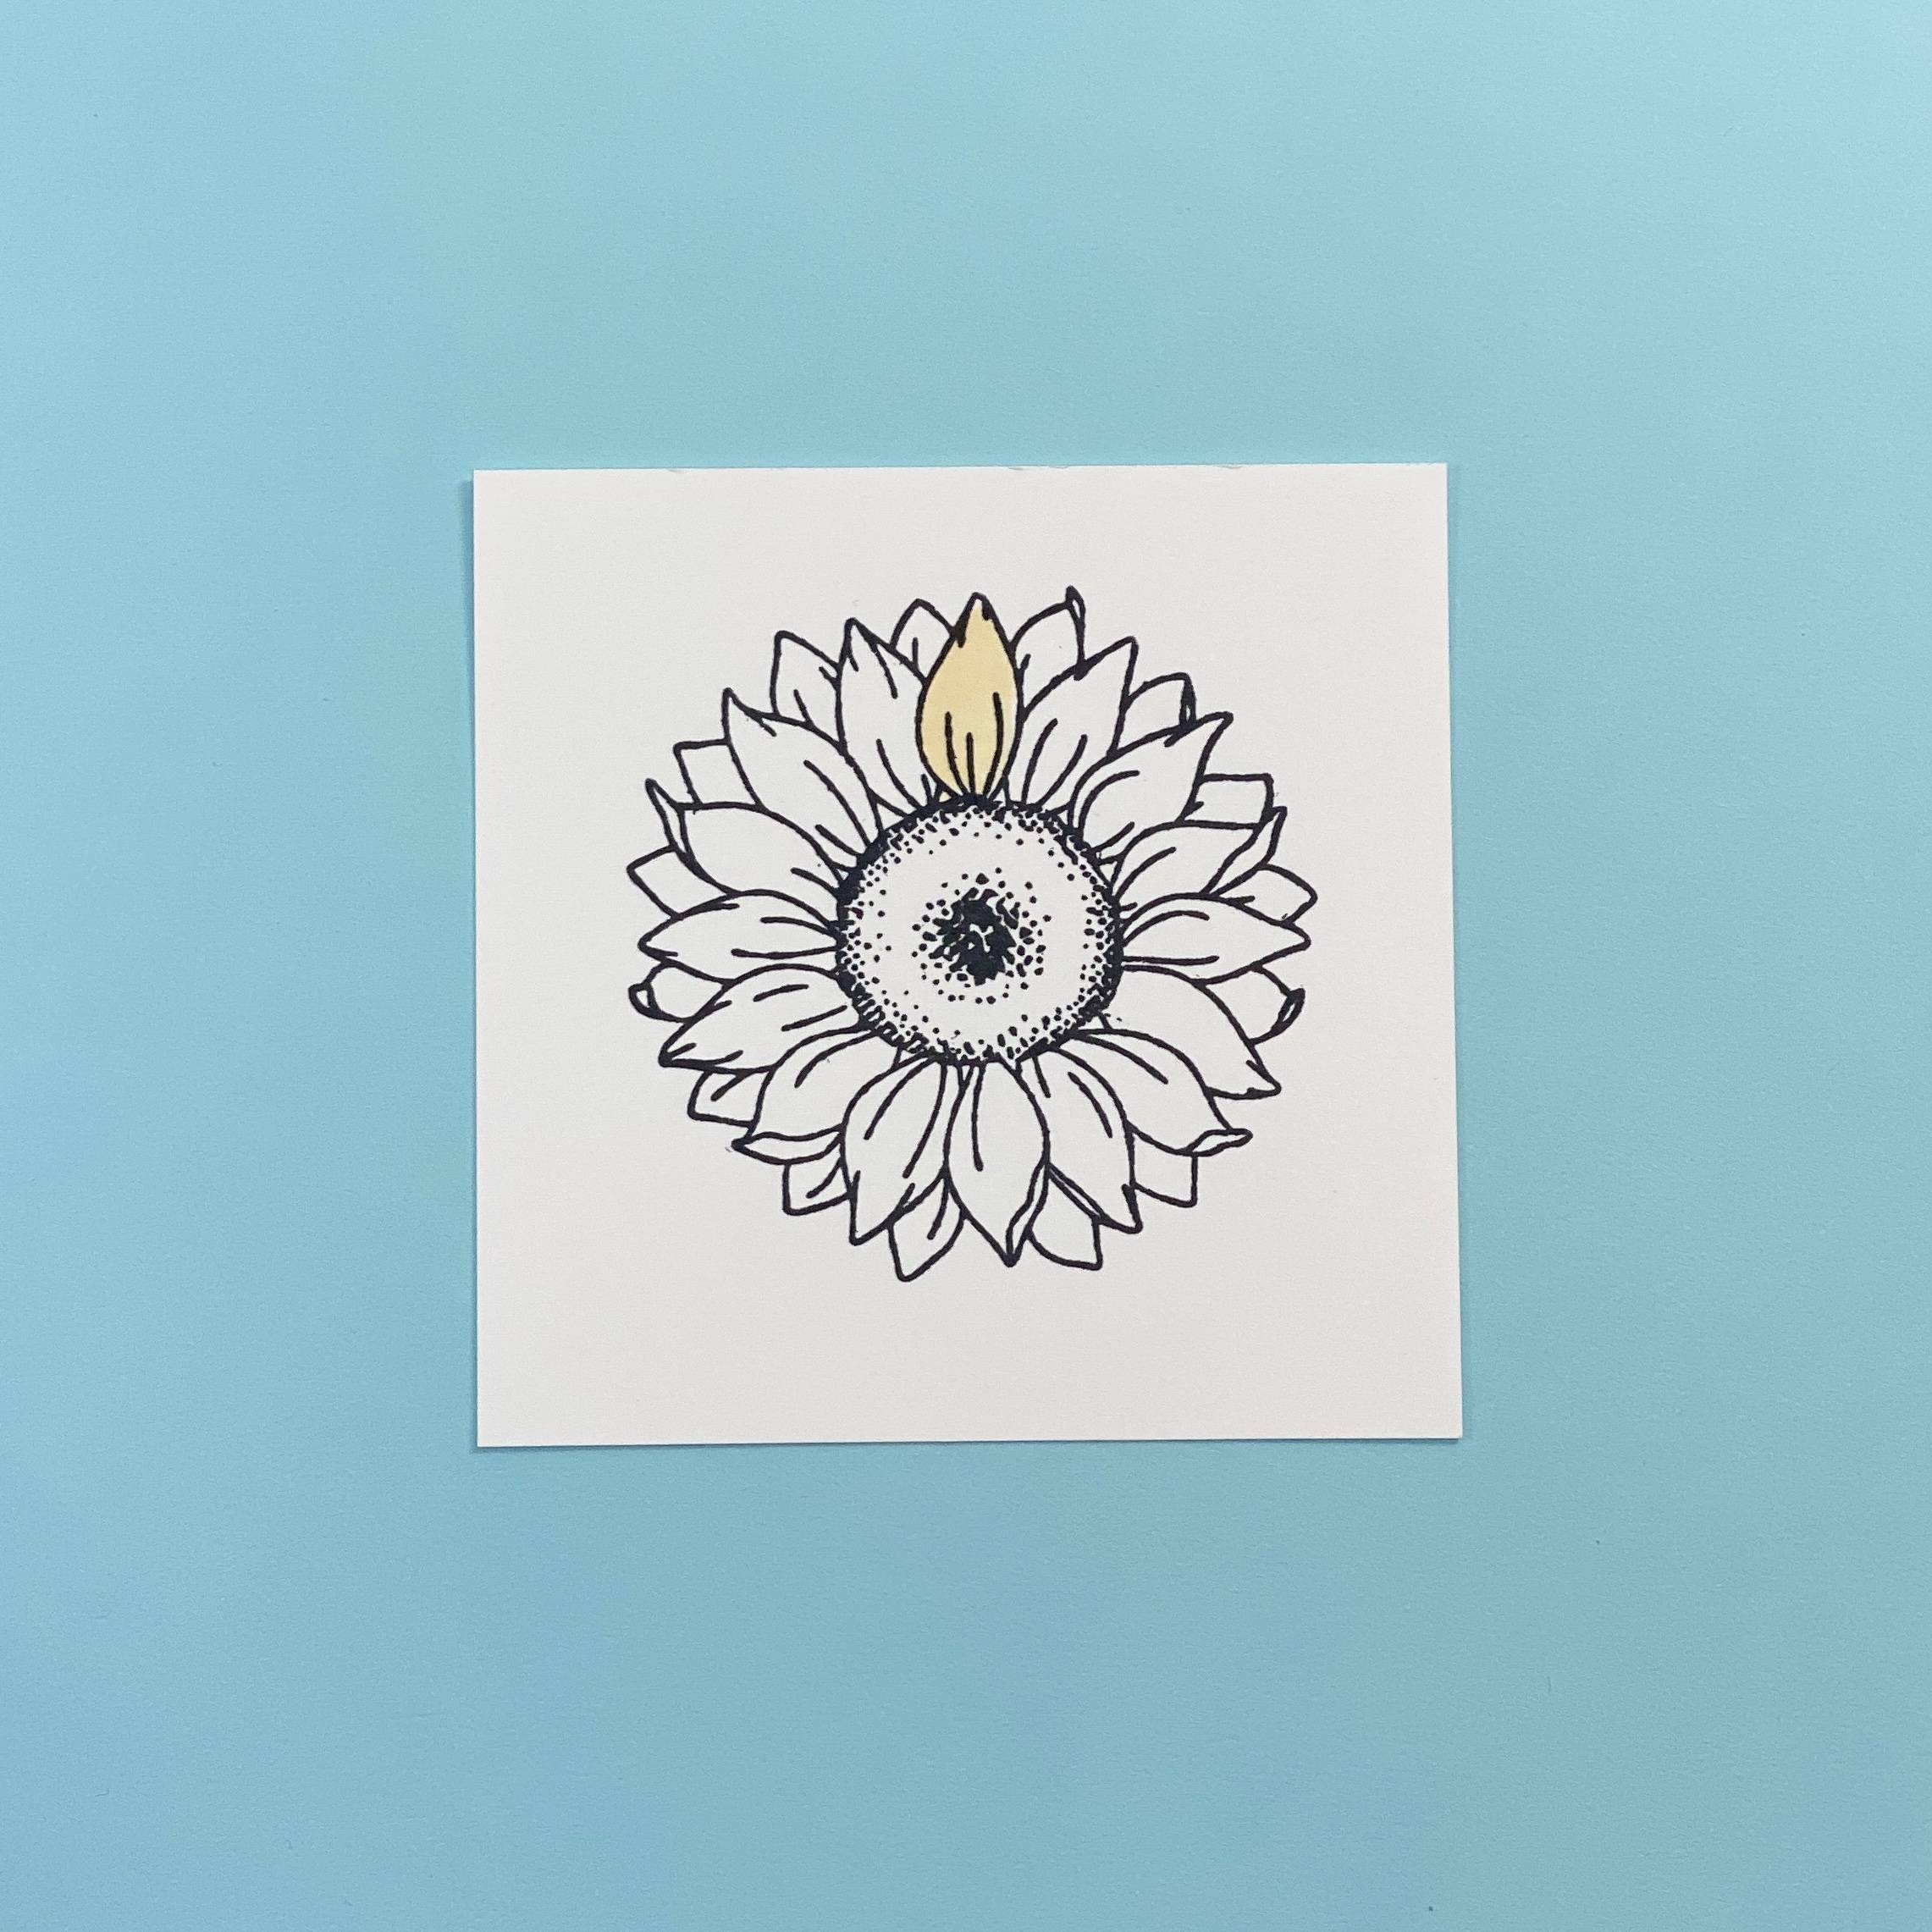
Add a layer of 473. You can colour a few petals at a time, but I thought it would be more beneficial to show you individual coloring steps.
Step 3
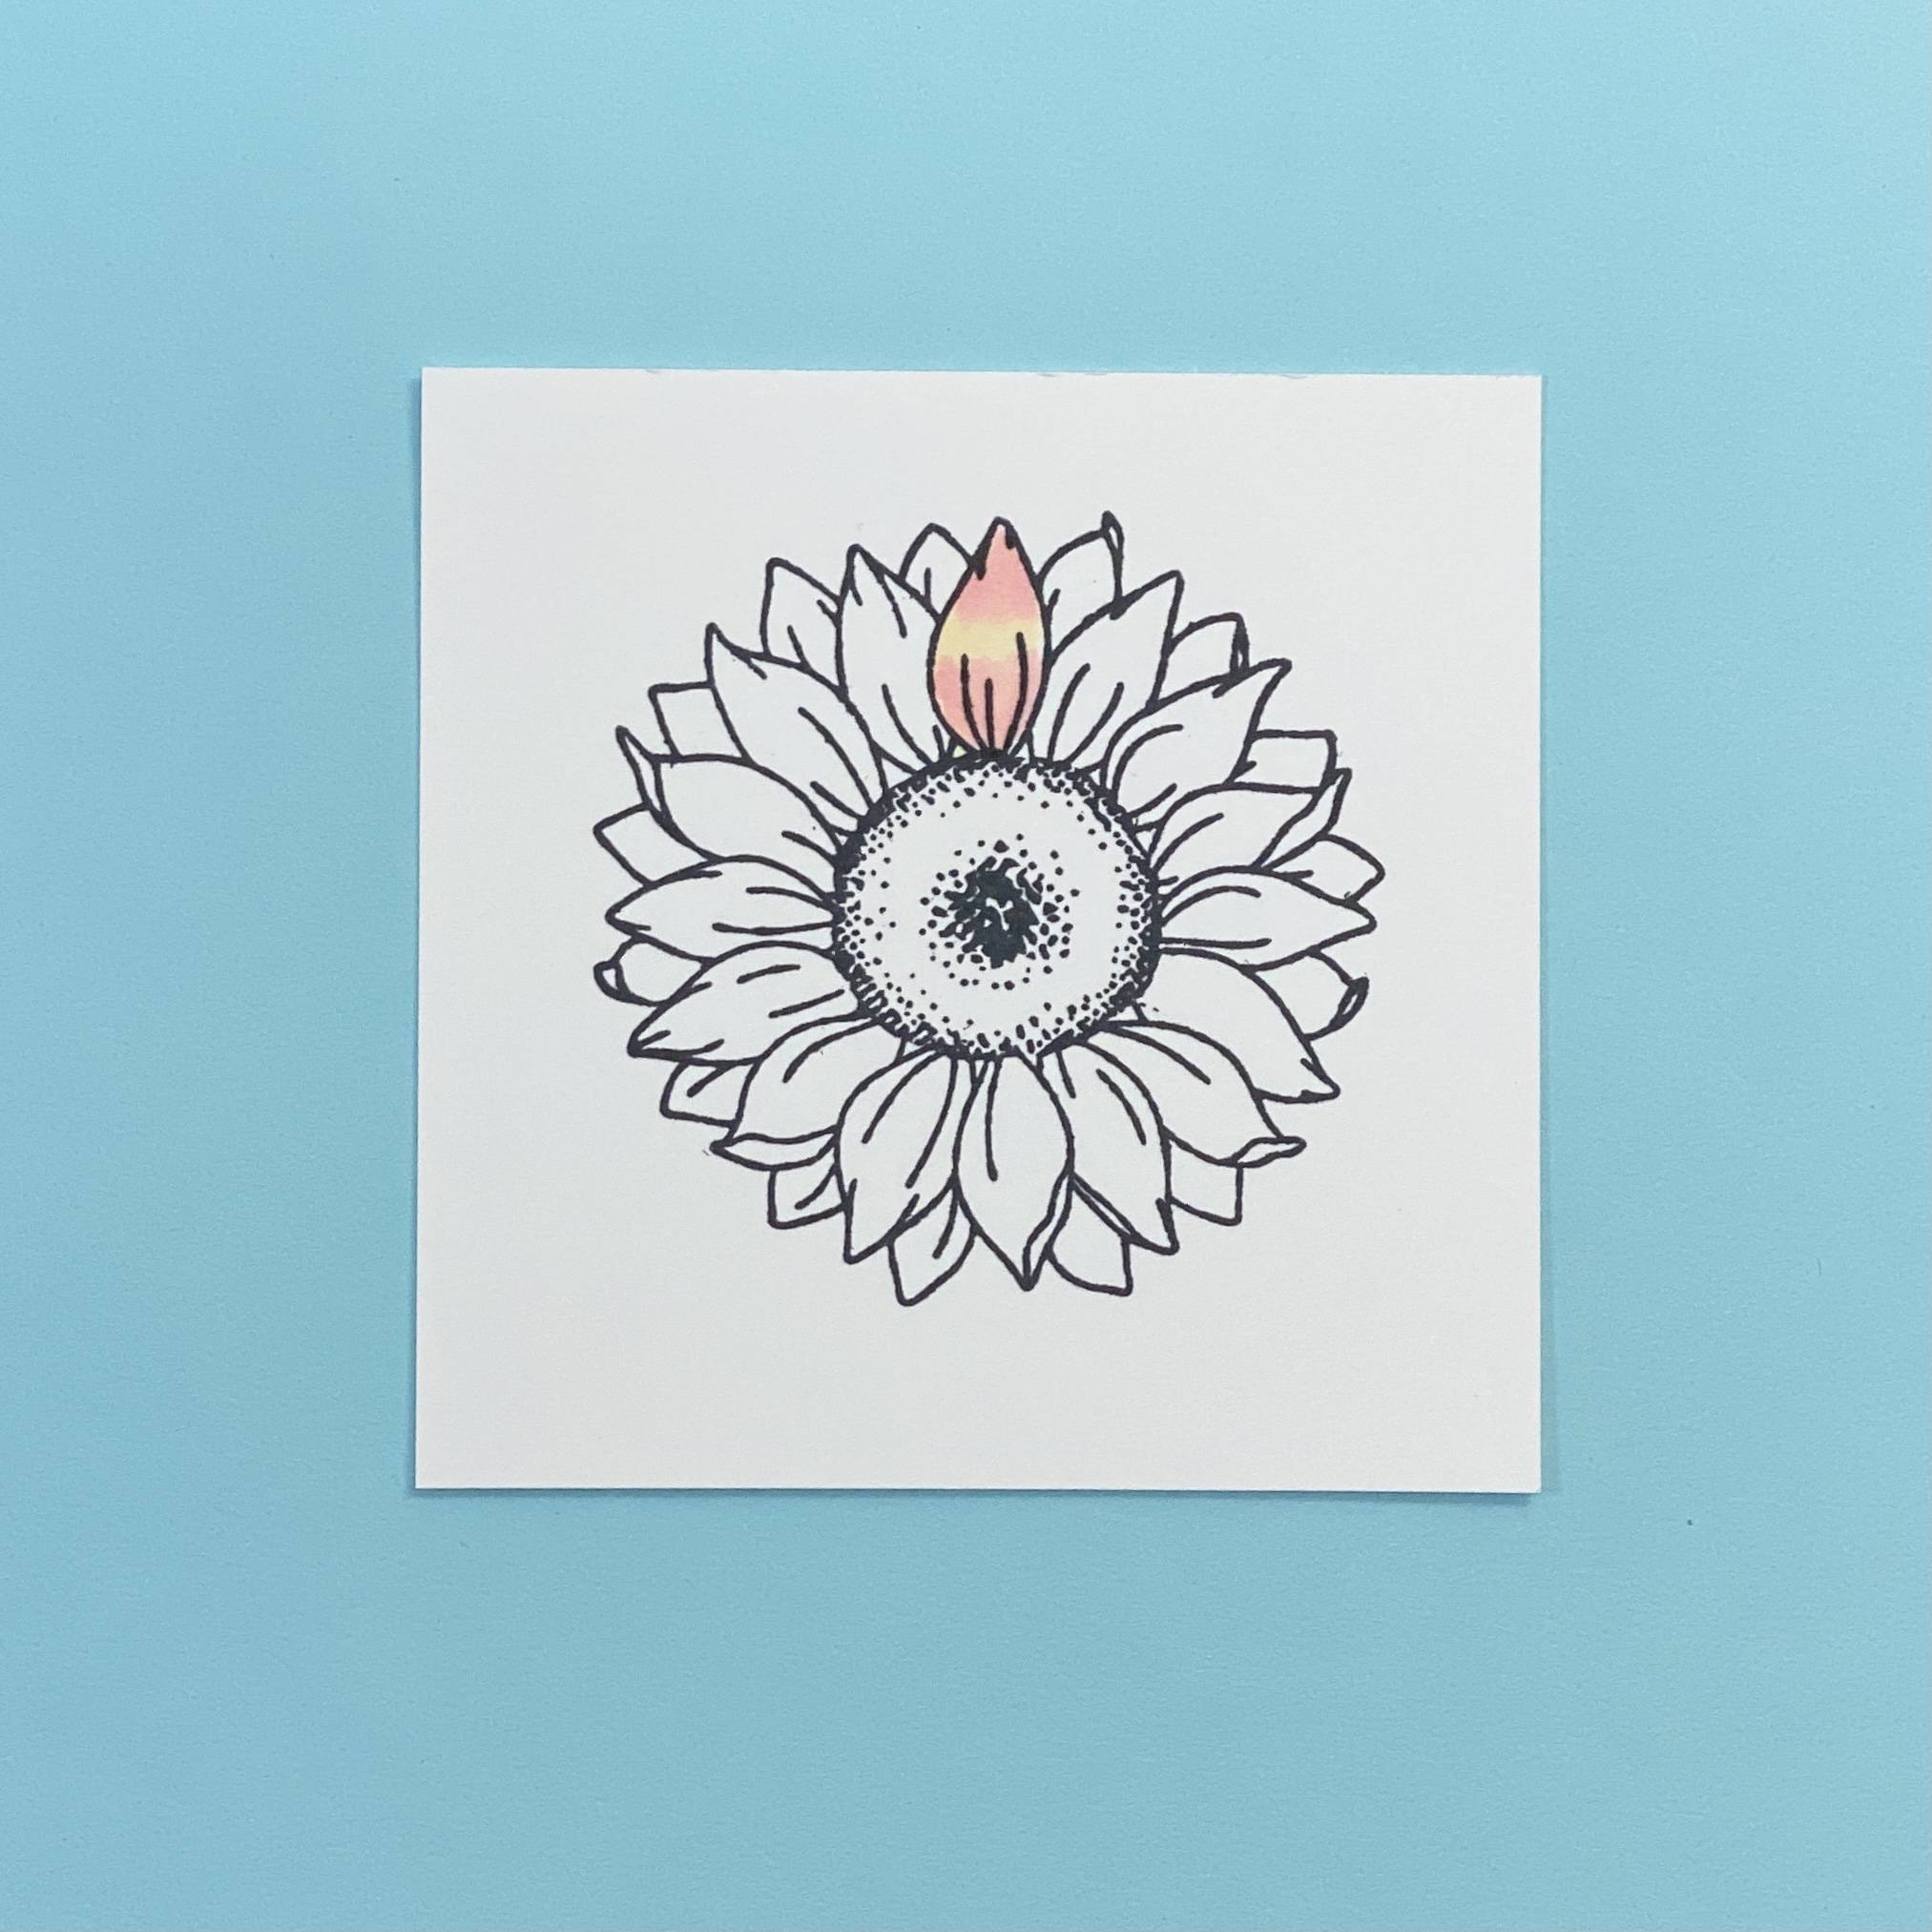
Add a layer of 449 over the top part of your petal and the bottom part, leaving a clear gap in the middle.
Step 4

Add a slightly smaller layer of 451 to the top and bottom of your petal, leaving a gab between each color.
Step 5
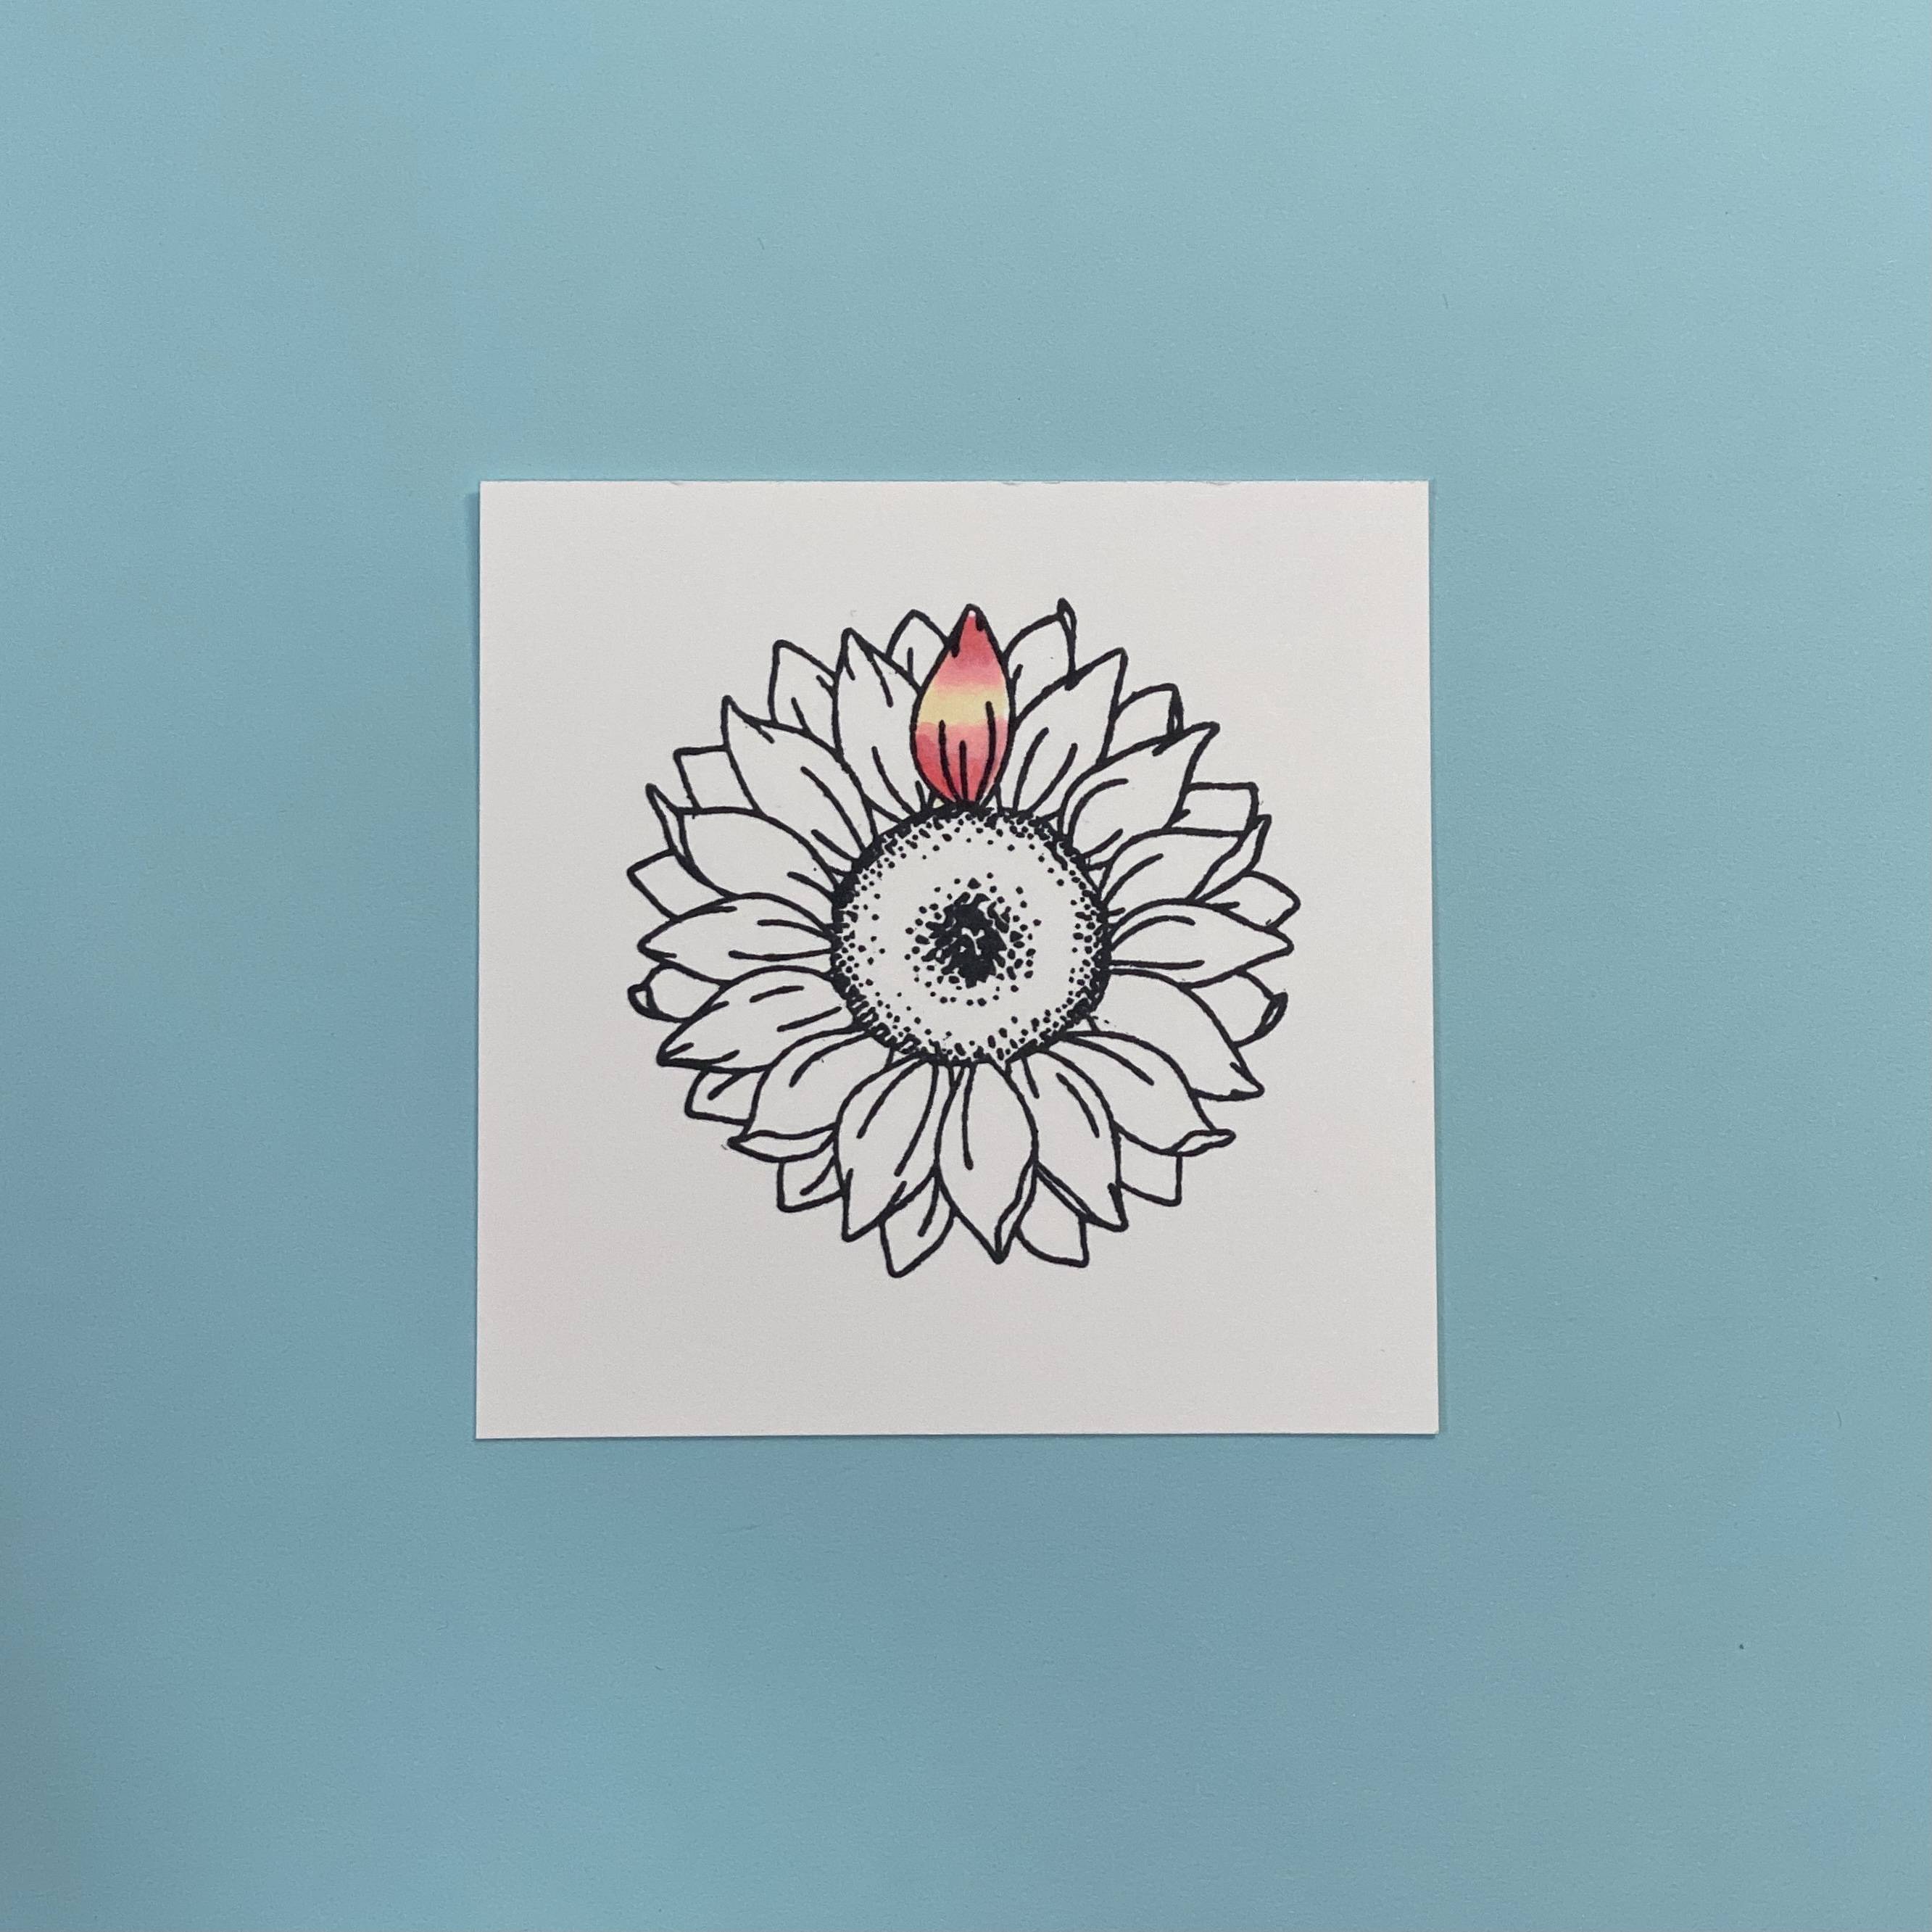
Use 449 to blend your pinks but remember to leave the centre.
Step 6
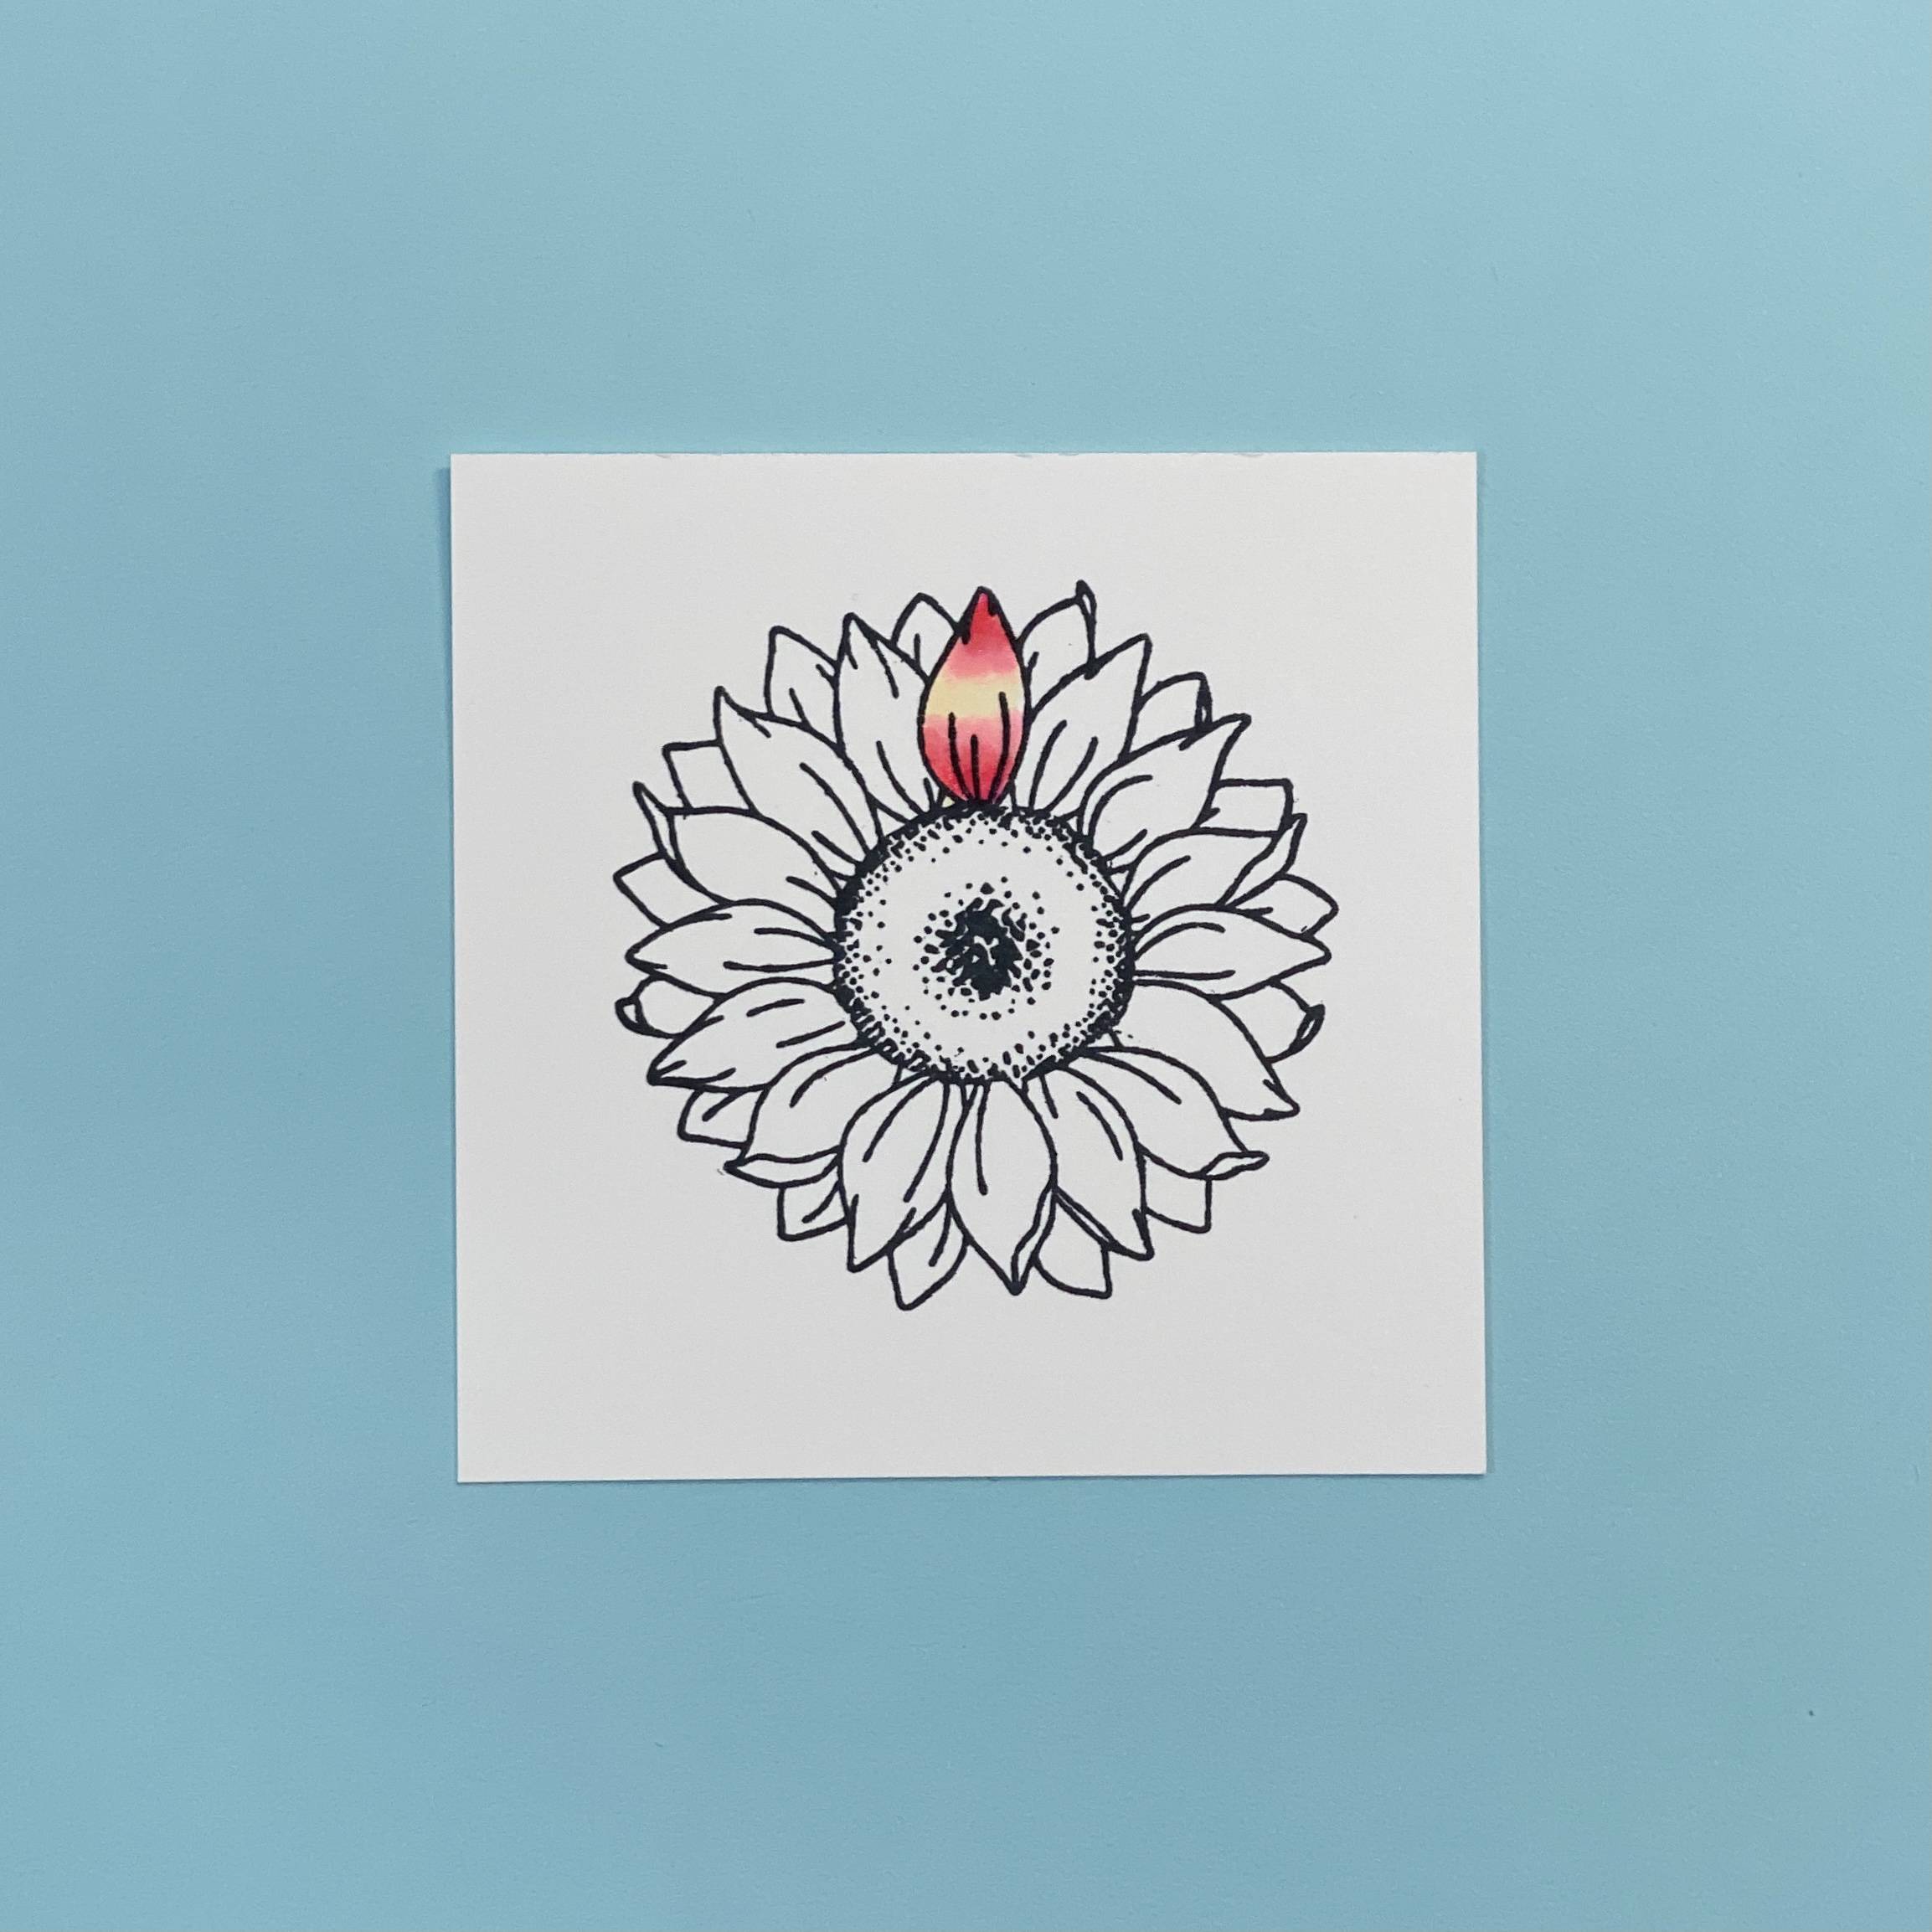
Add 453 at the very top and bottom of your petal for the darkest shading.
Step 7

Blend the centre with 473 into the lightest pink. You can repeat the steps for added depth but remember Alcohol markers dry lighter and look different when dry.
Step 8
Repeat the steps above as color each petal. I find it easier to color the inside layers first but that’s my personal preference.
Step 9
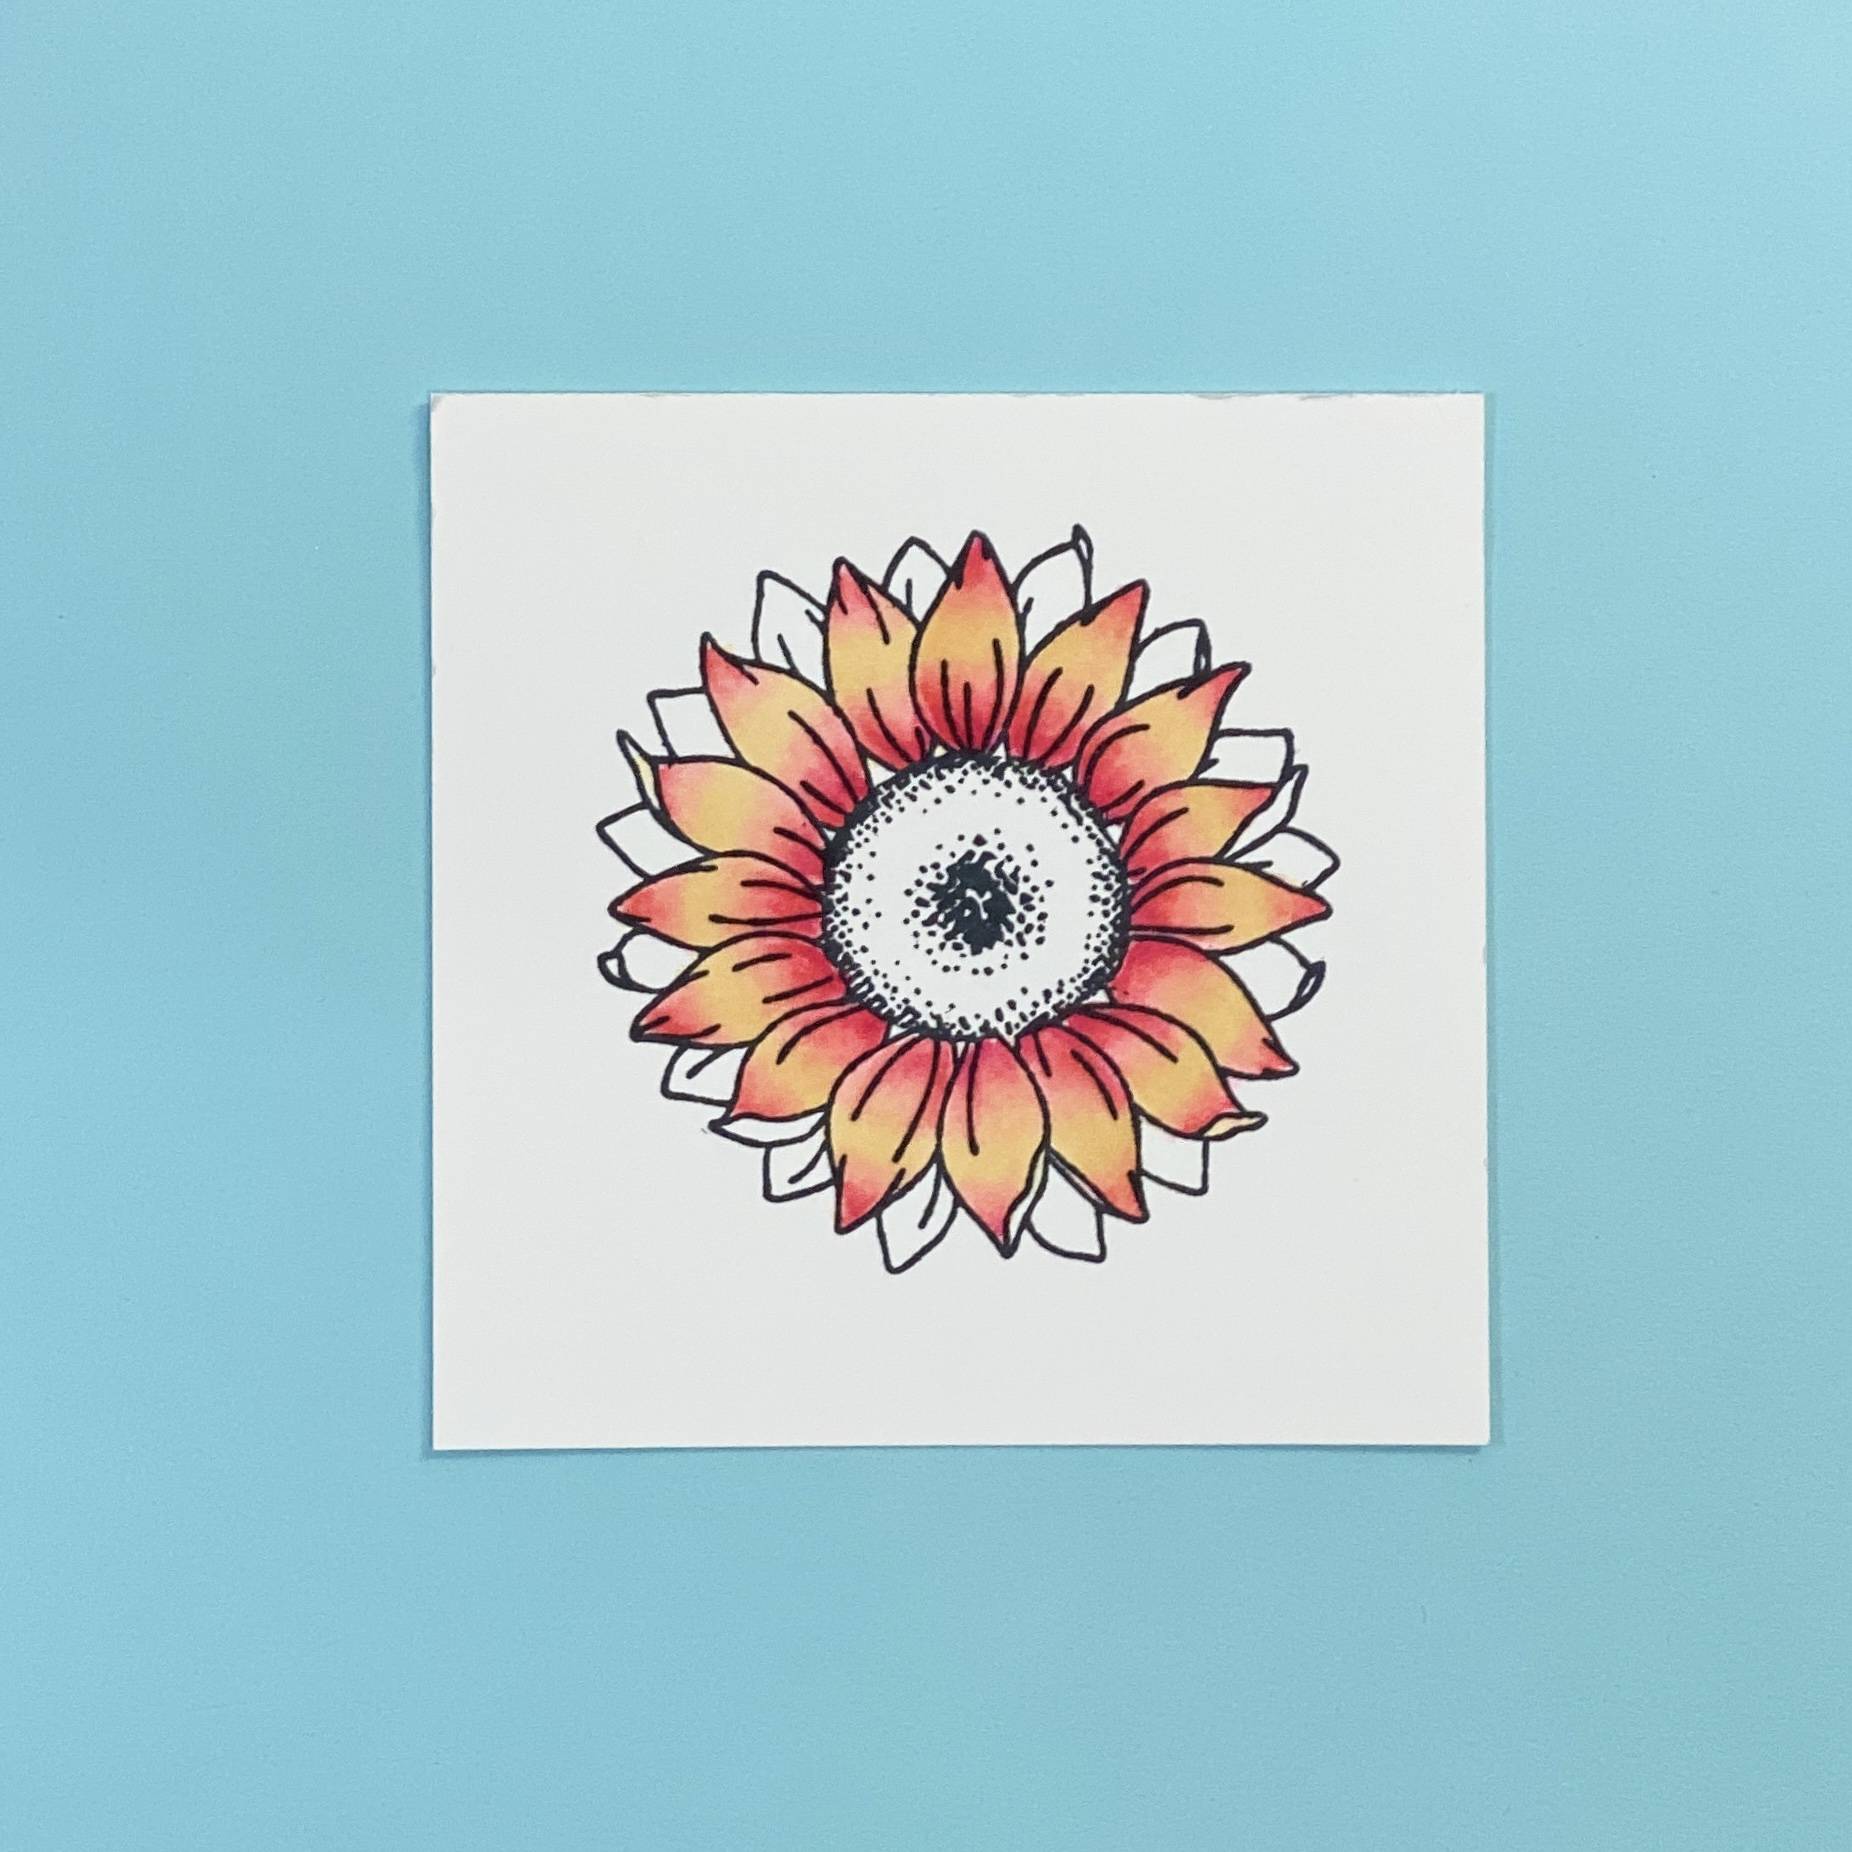
Once your finished with your inner petals use your blender pen to fix any outside the line mistakes. These do take some time to color and don’t rush the process, enjoy it.
Step 10
Now color in the top layer of petals. I’ve colored some the same way as the steps above and others I’ve left the top lighter. Either way looks beautiful.
Step 11

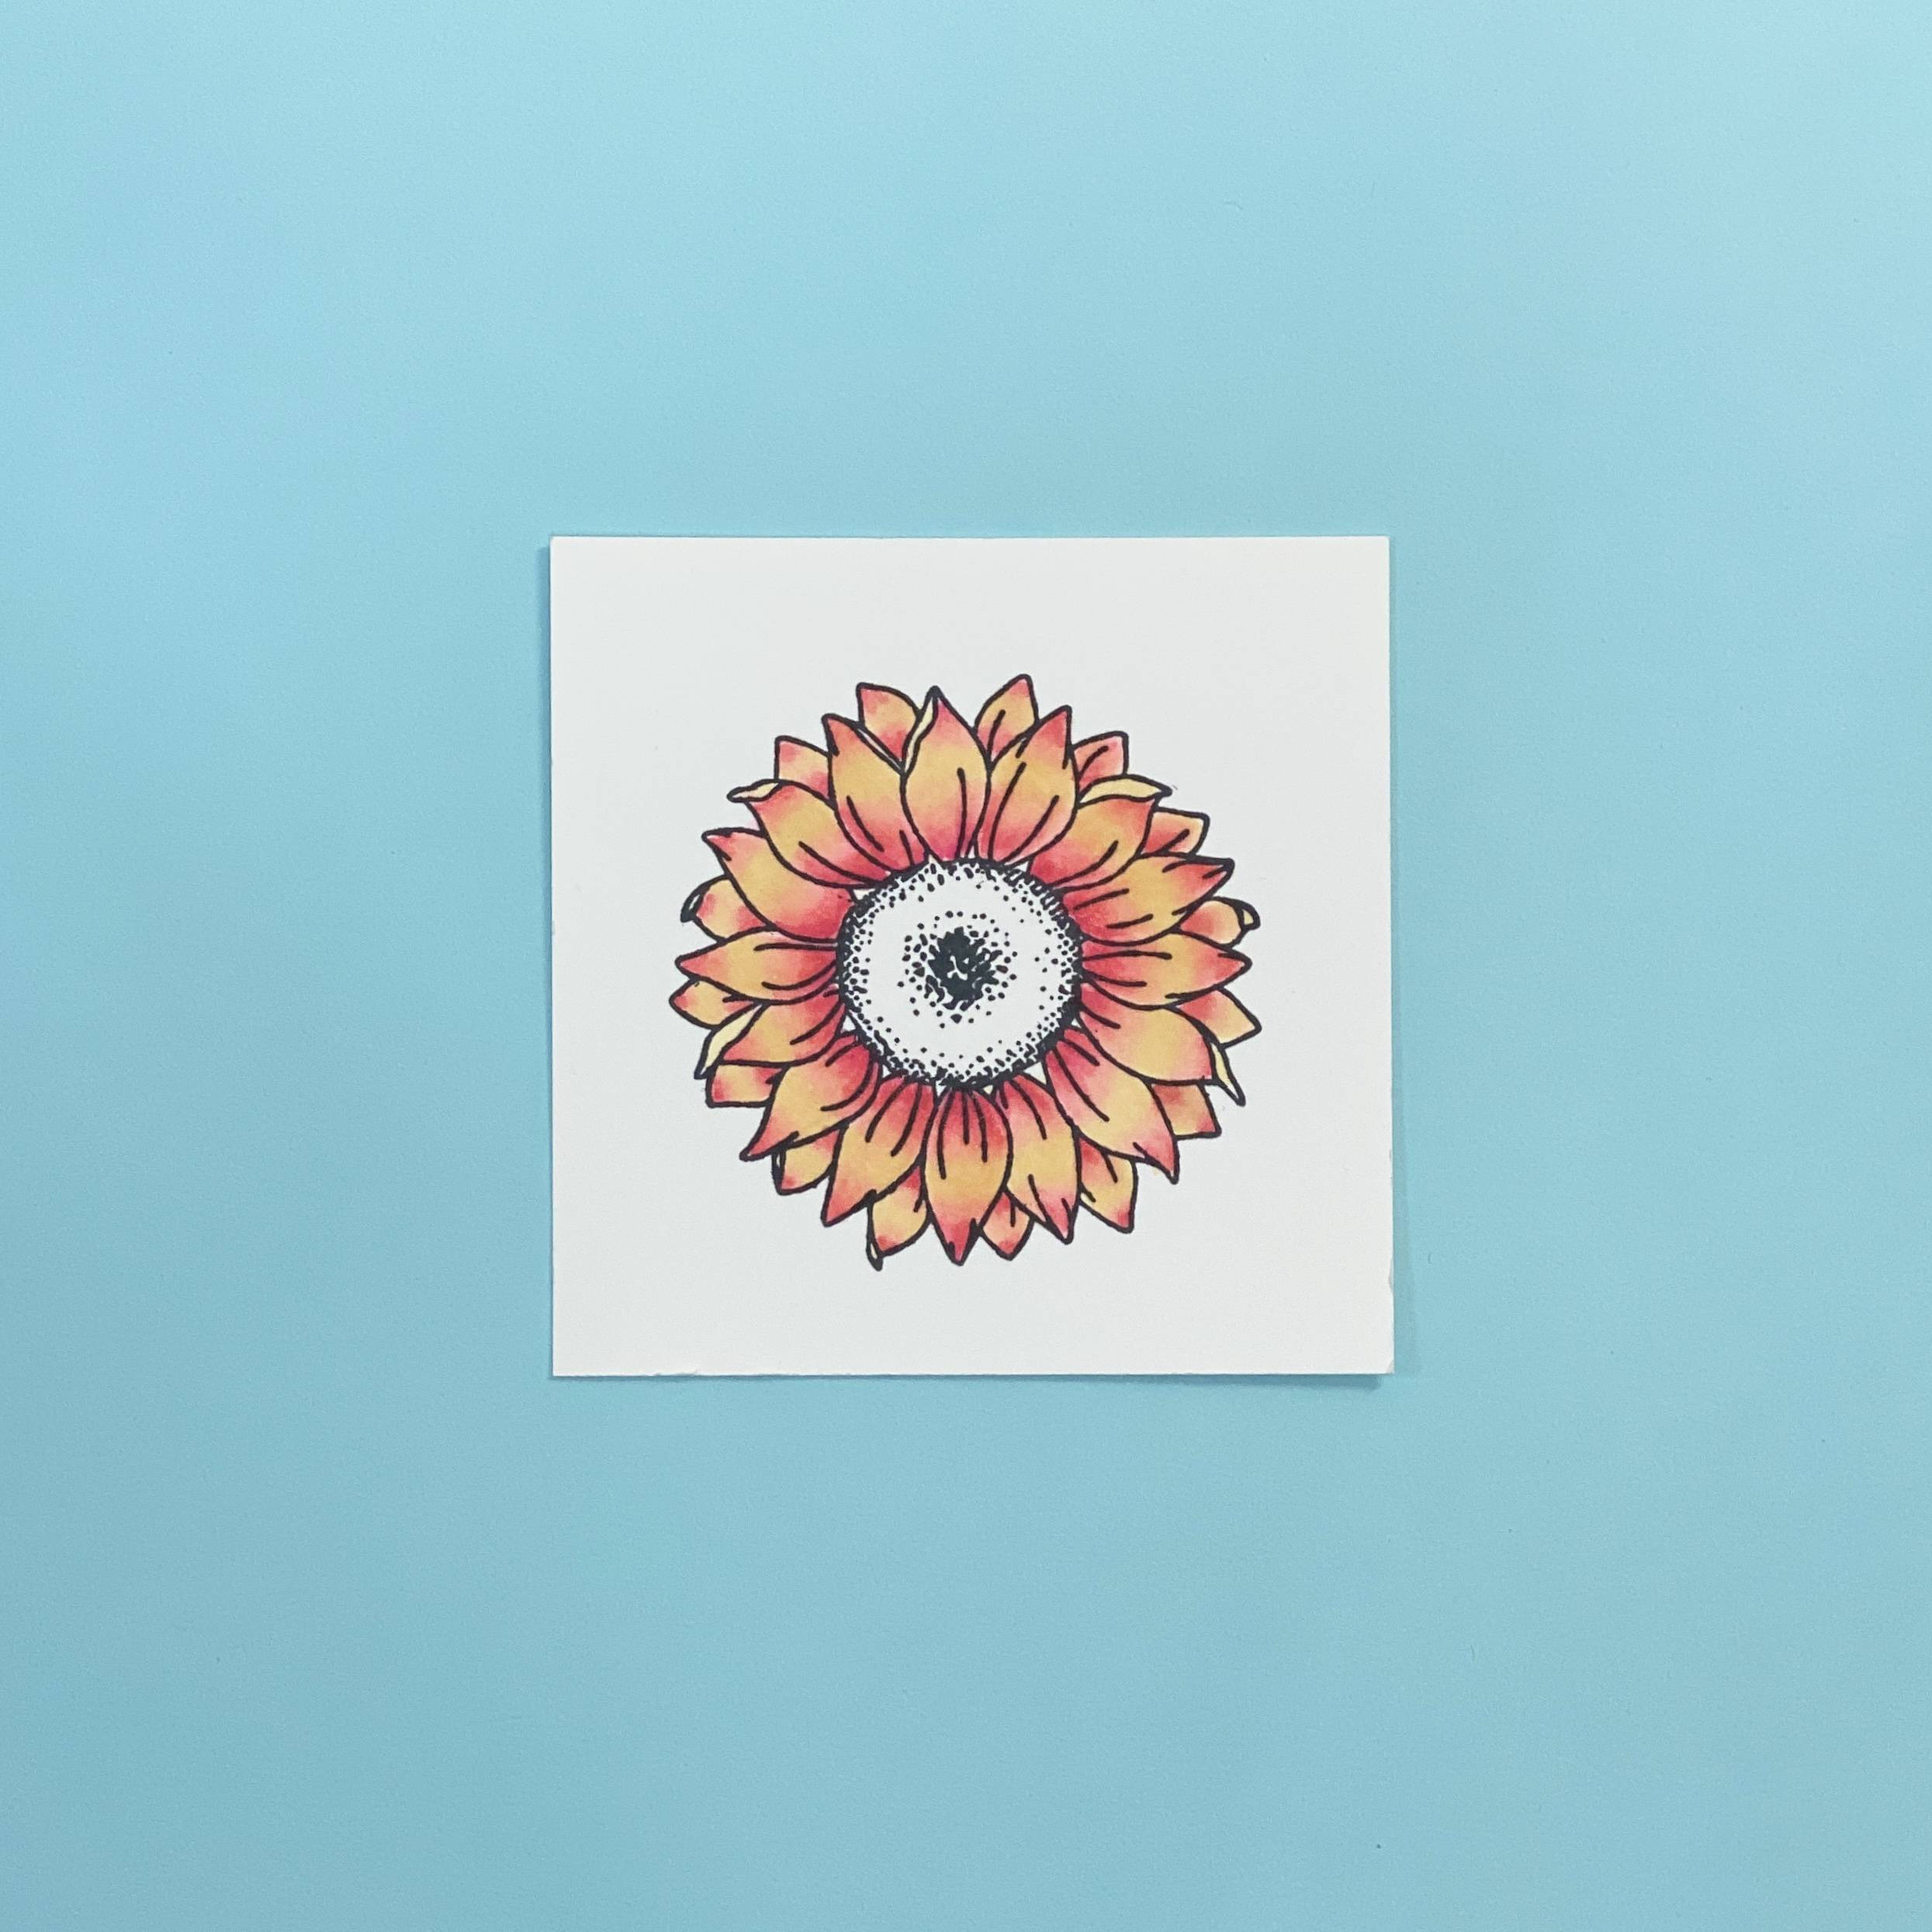
Use 473 to color in the middle of the flower.
Step 12
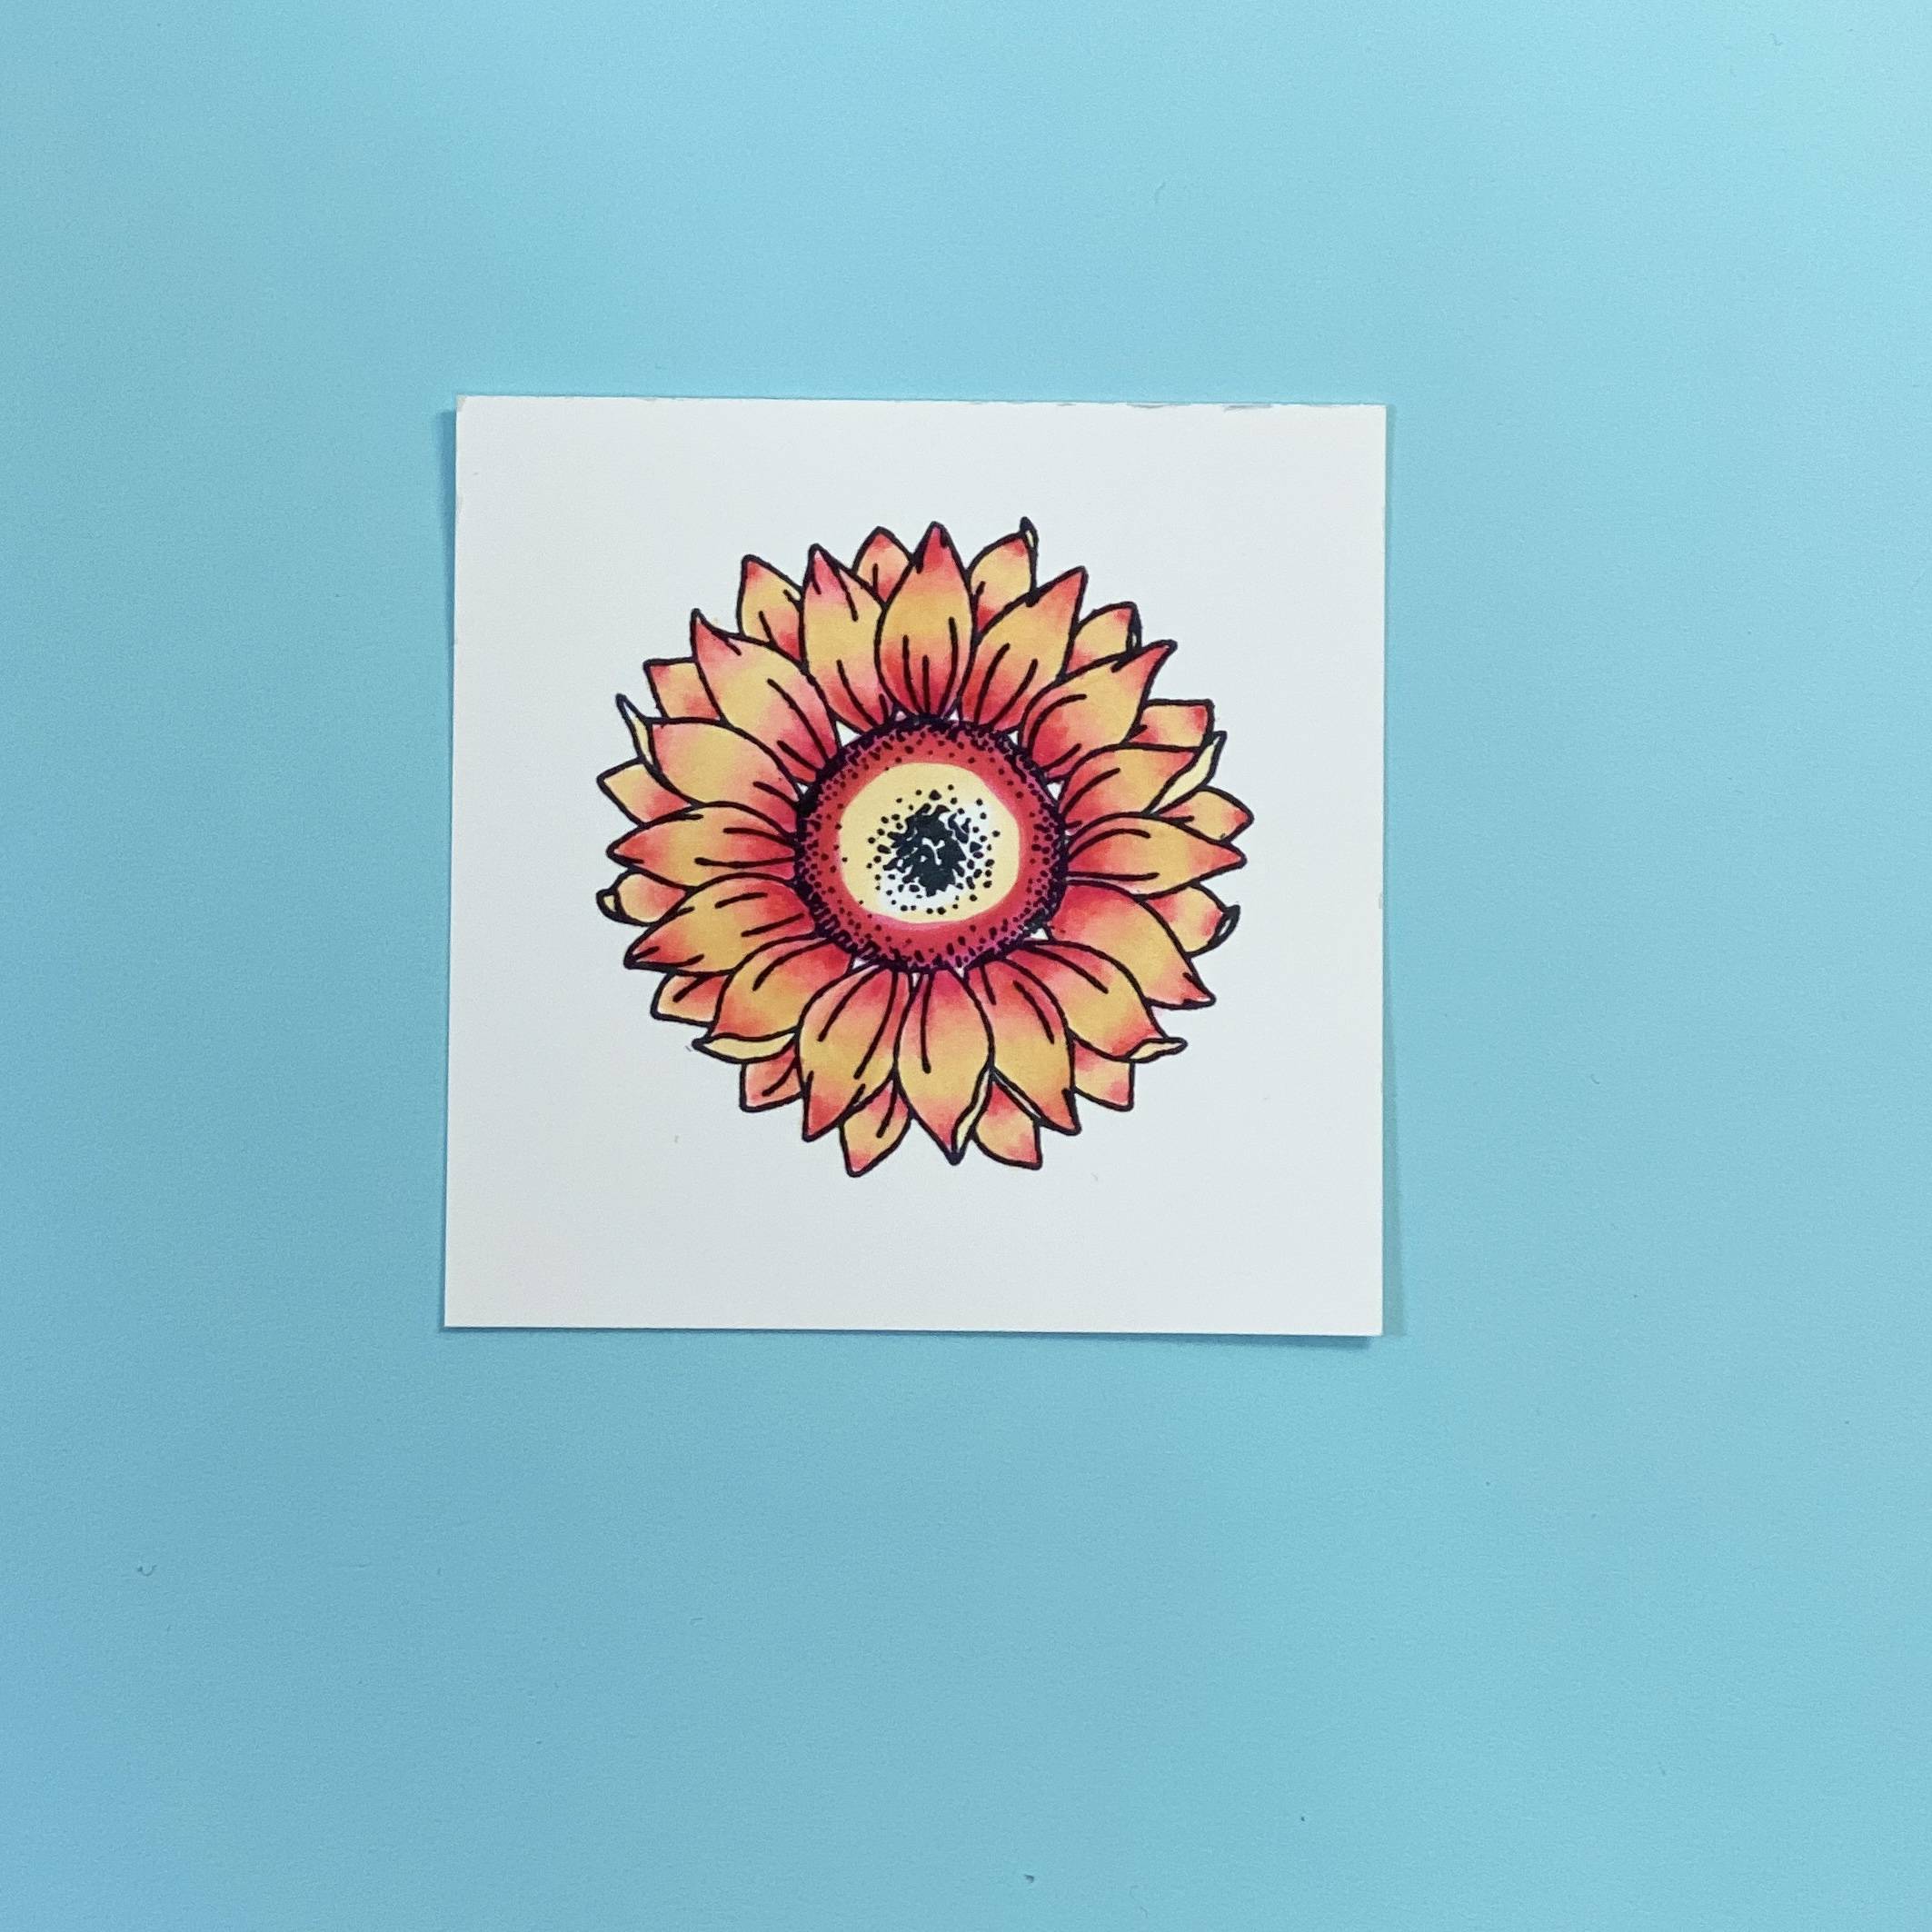
Use 453 to create a dark circle on the outer ridge of your centre.
Step 13
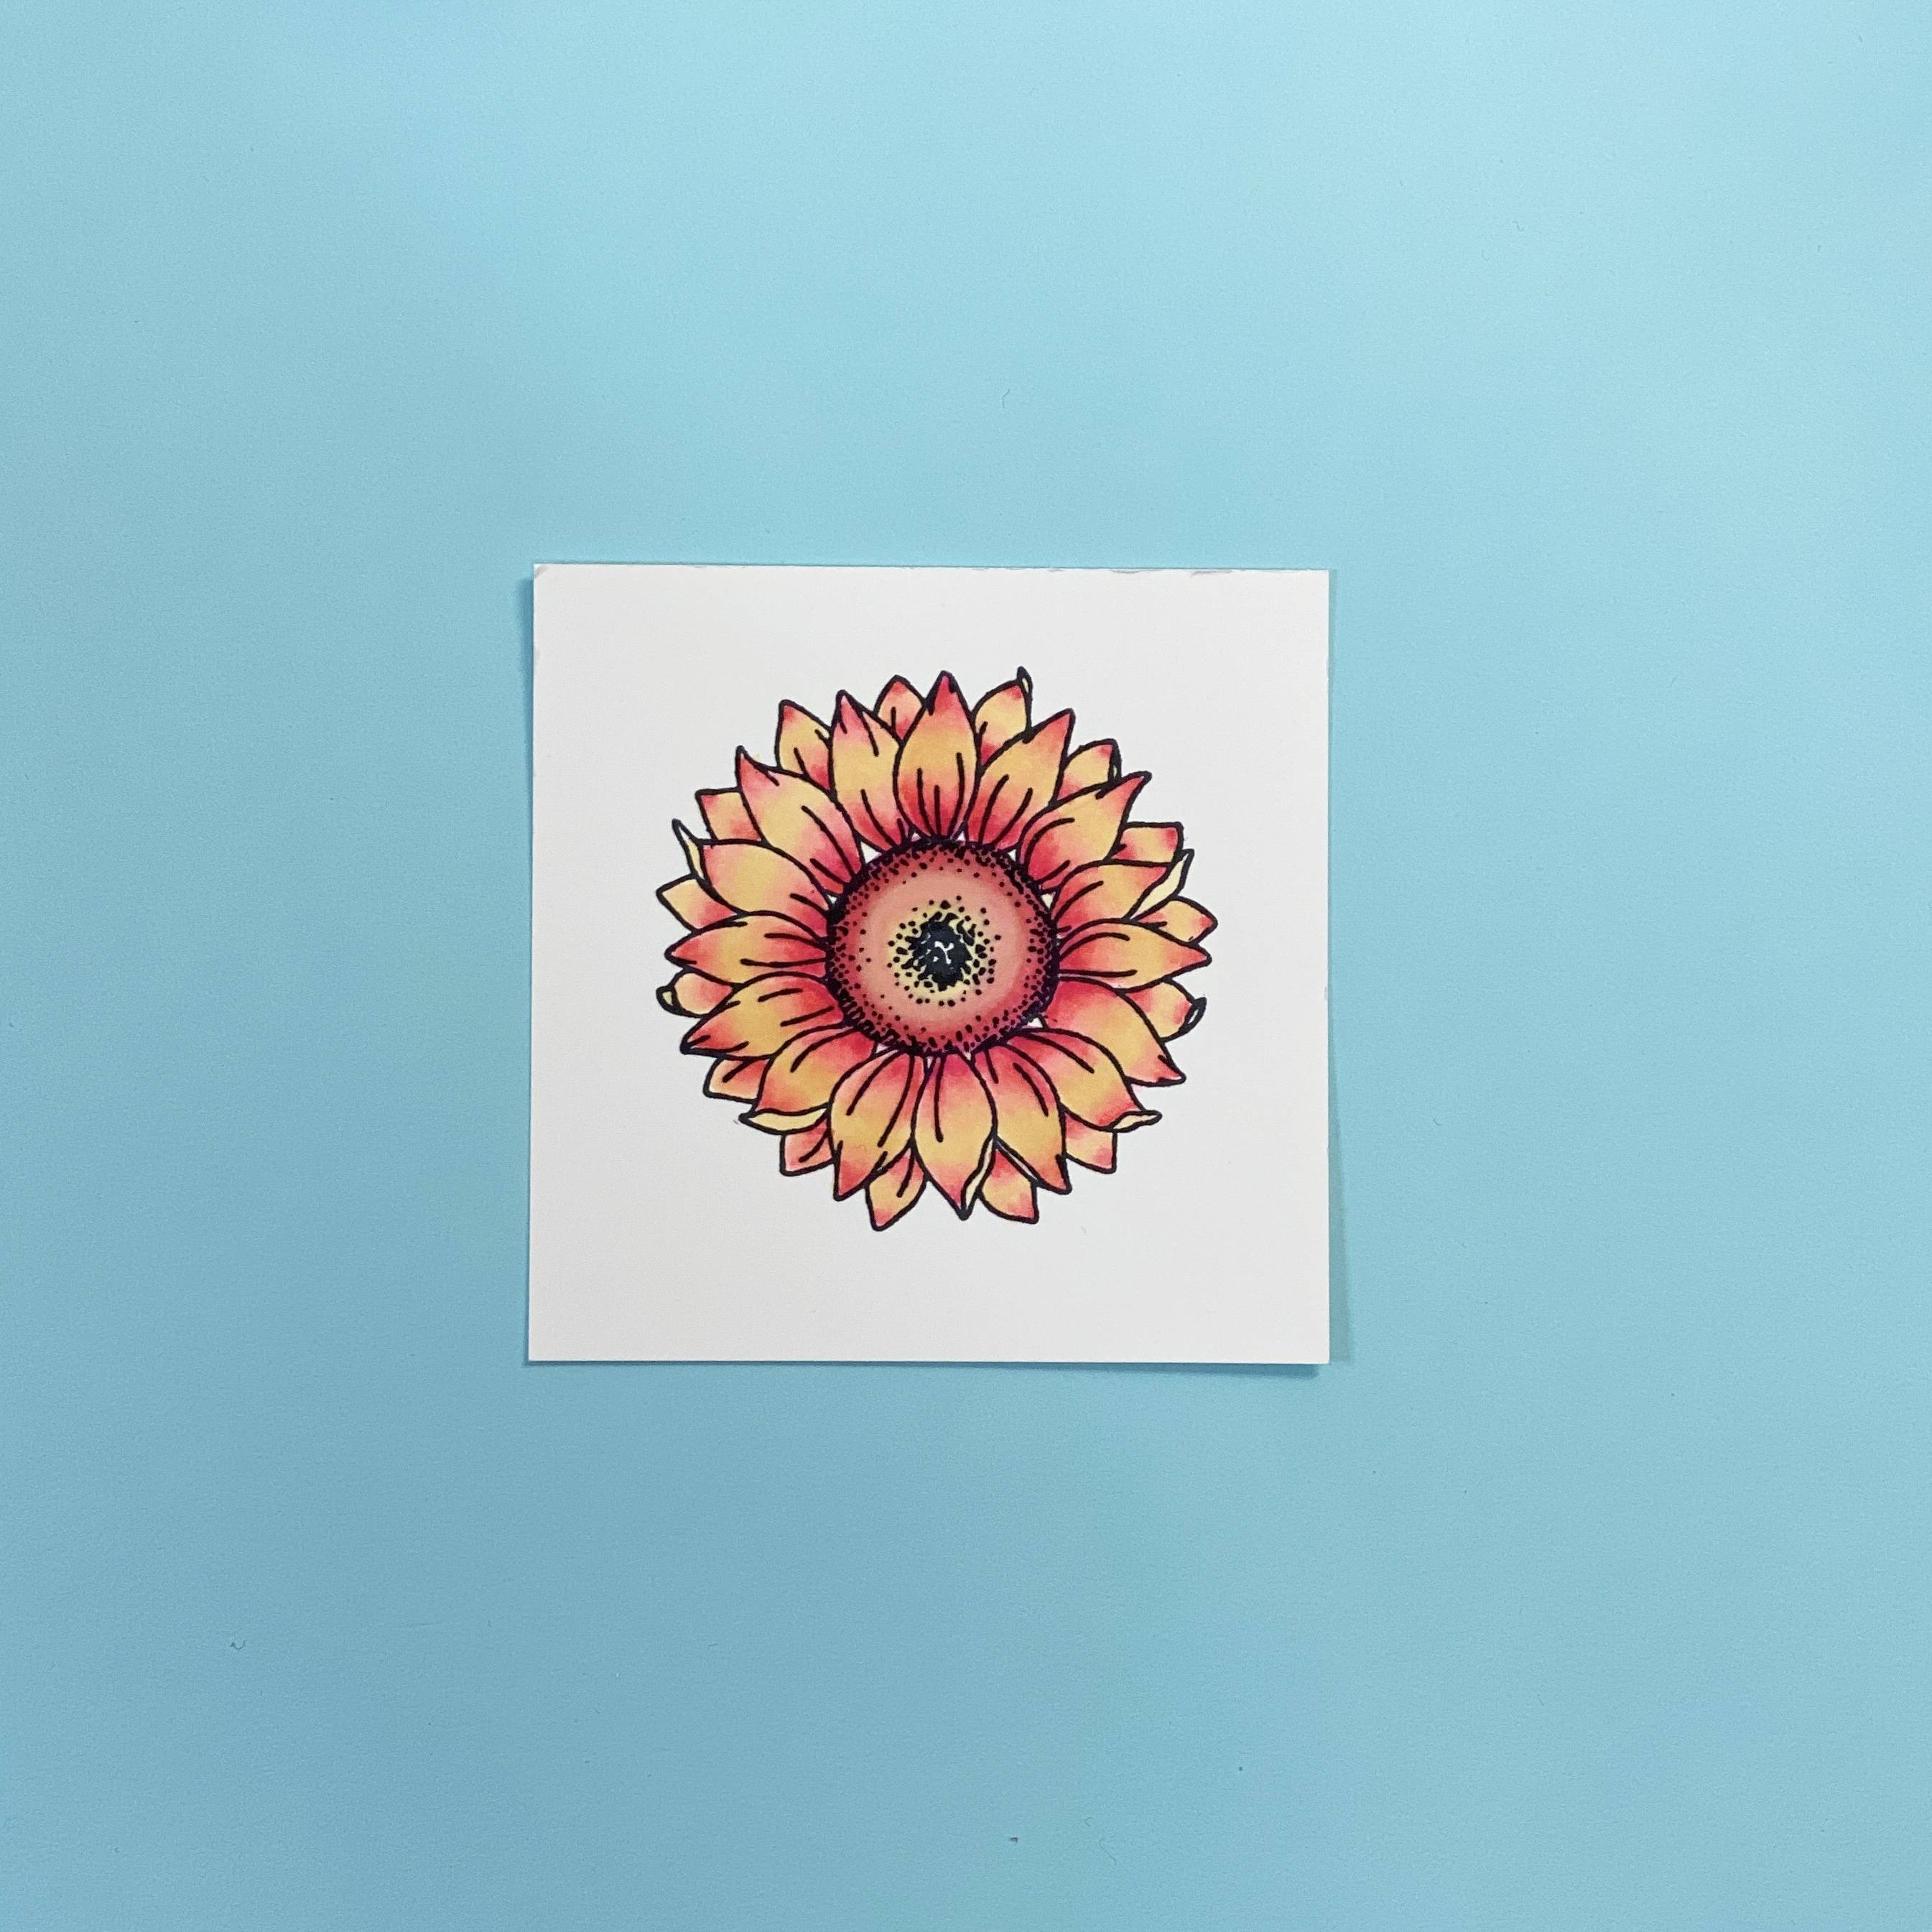
Blend through with 451.
Step 14
Stipple 381 around the outer edge of the centre to create the darkest part of your flower.
Step 15
Add 453 and then blend out with 451, leaving the centre as yellow as possible.
Step 16
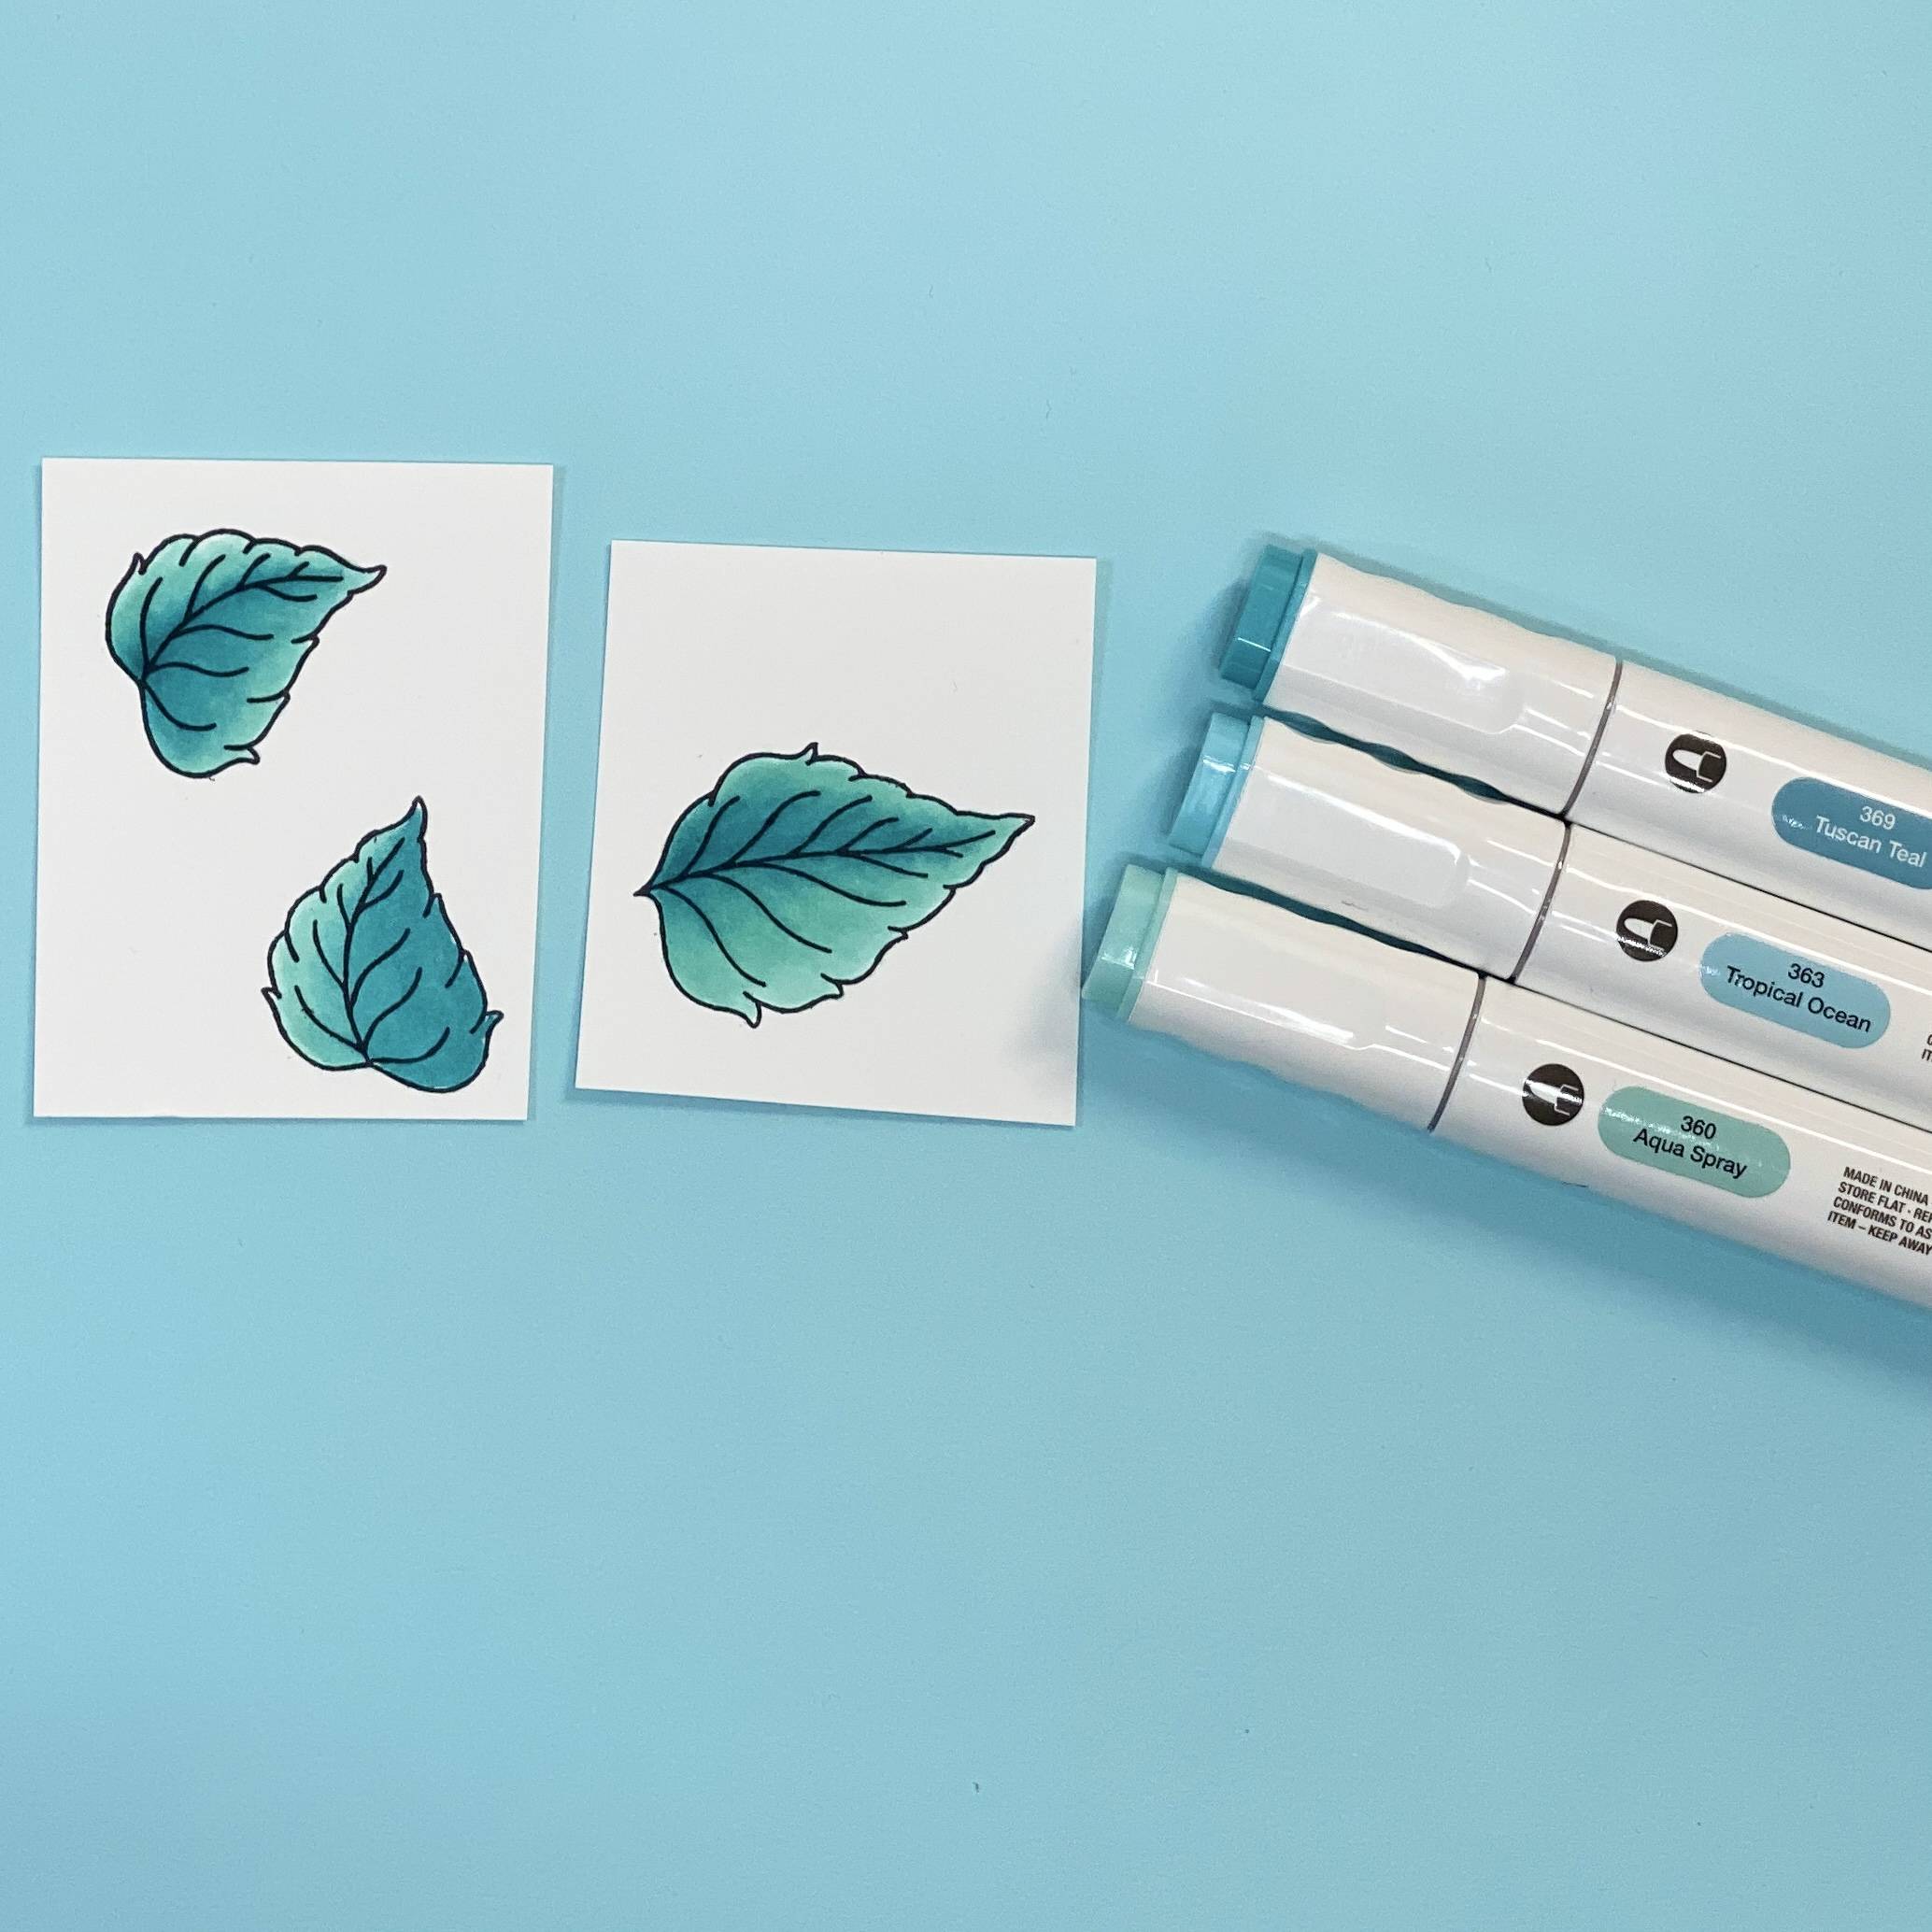
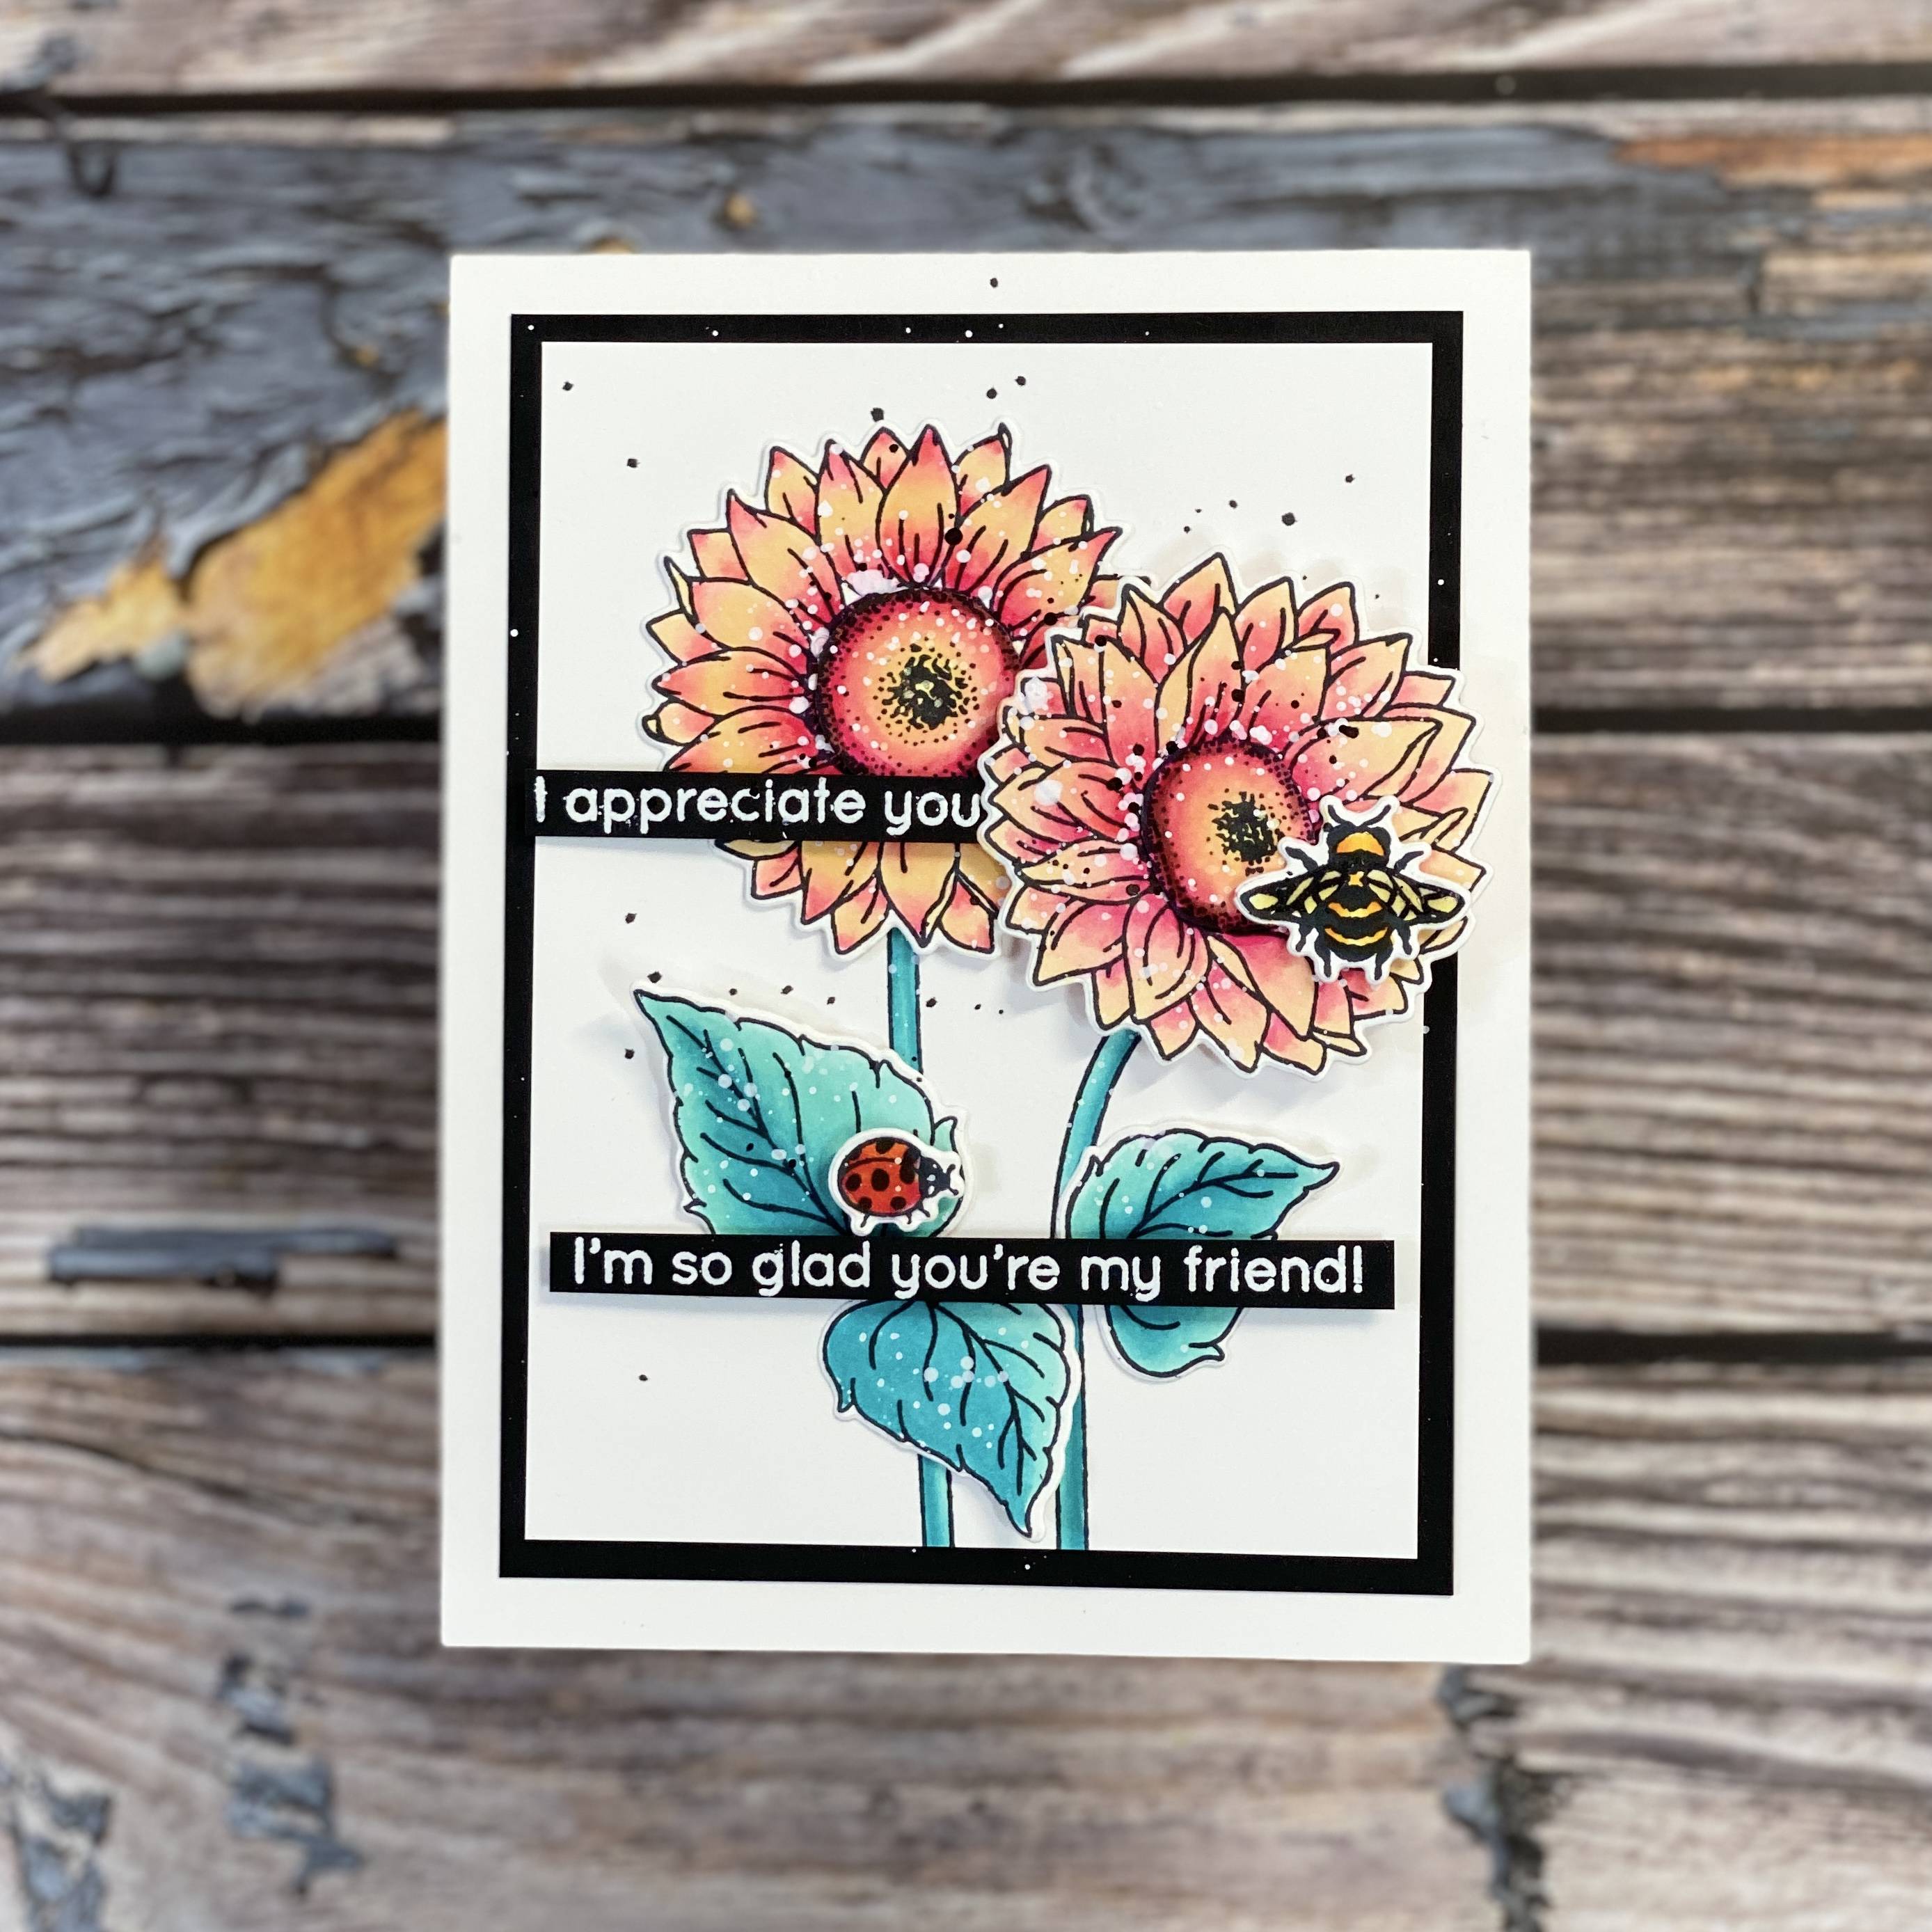
Stamp out three leaves and colour using 360, 363, 369 in layer the same way as the petals, but you can play around where you want the darkest parts. There are three different examples where you can put light and shadow, and they all look great.
Step 17
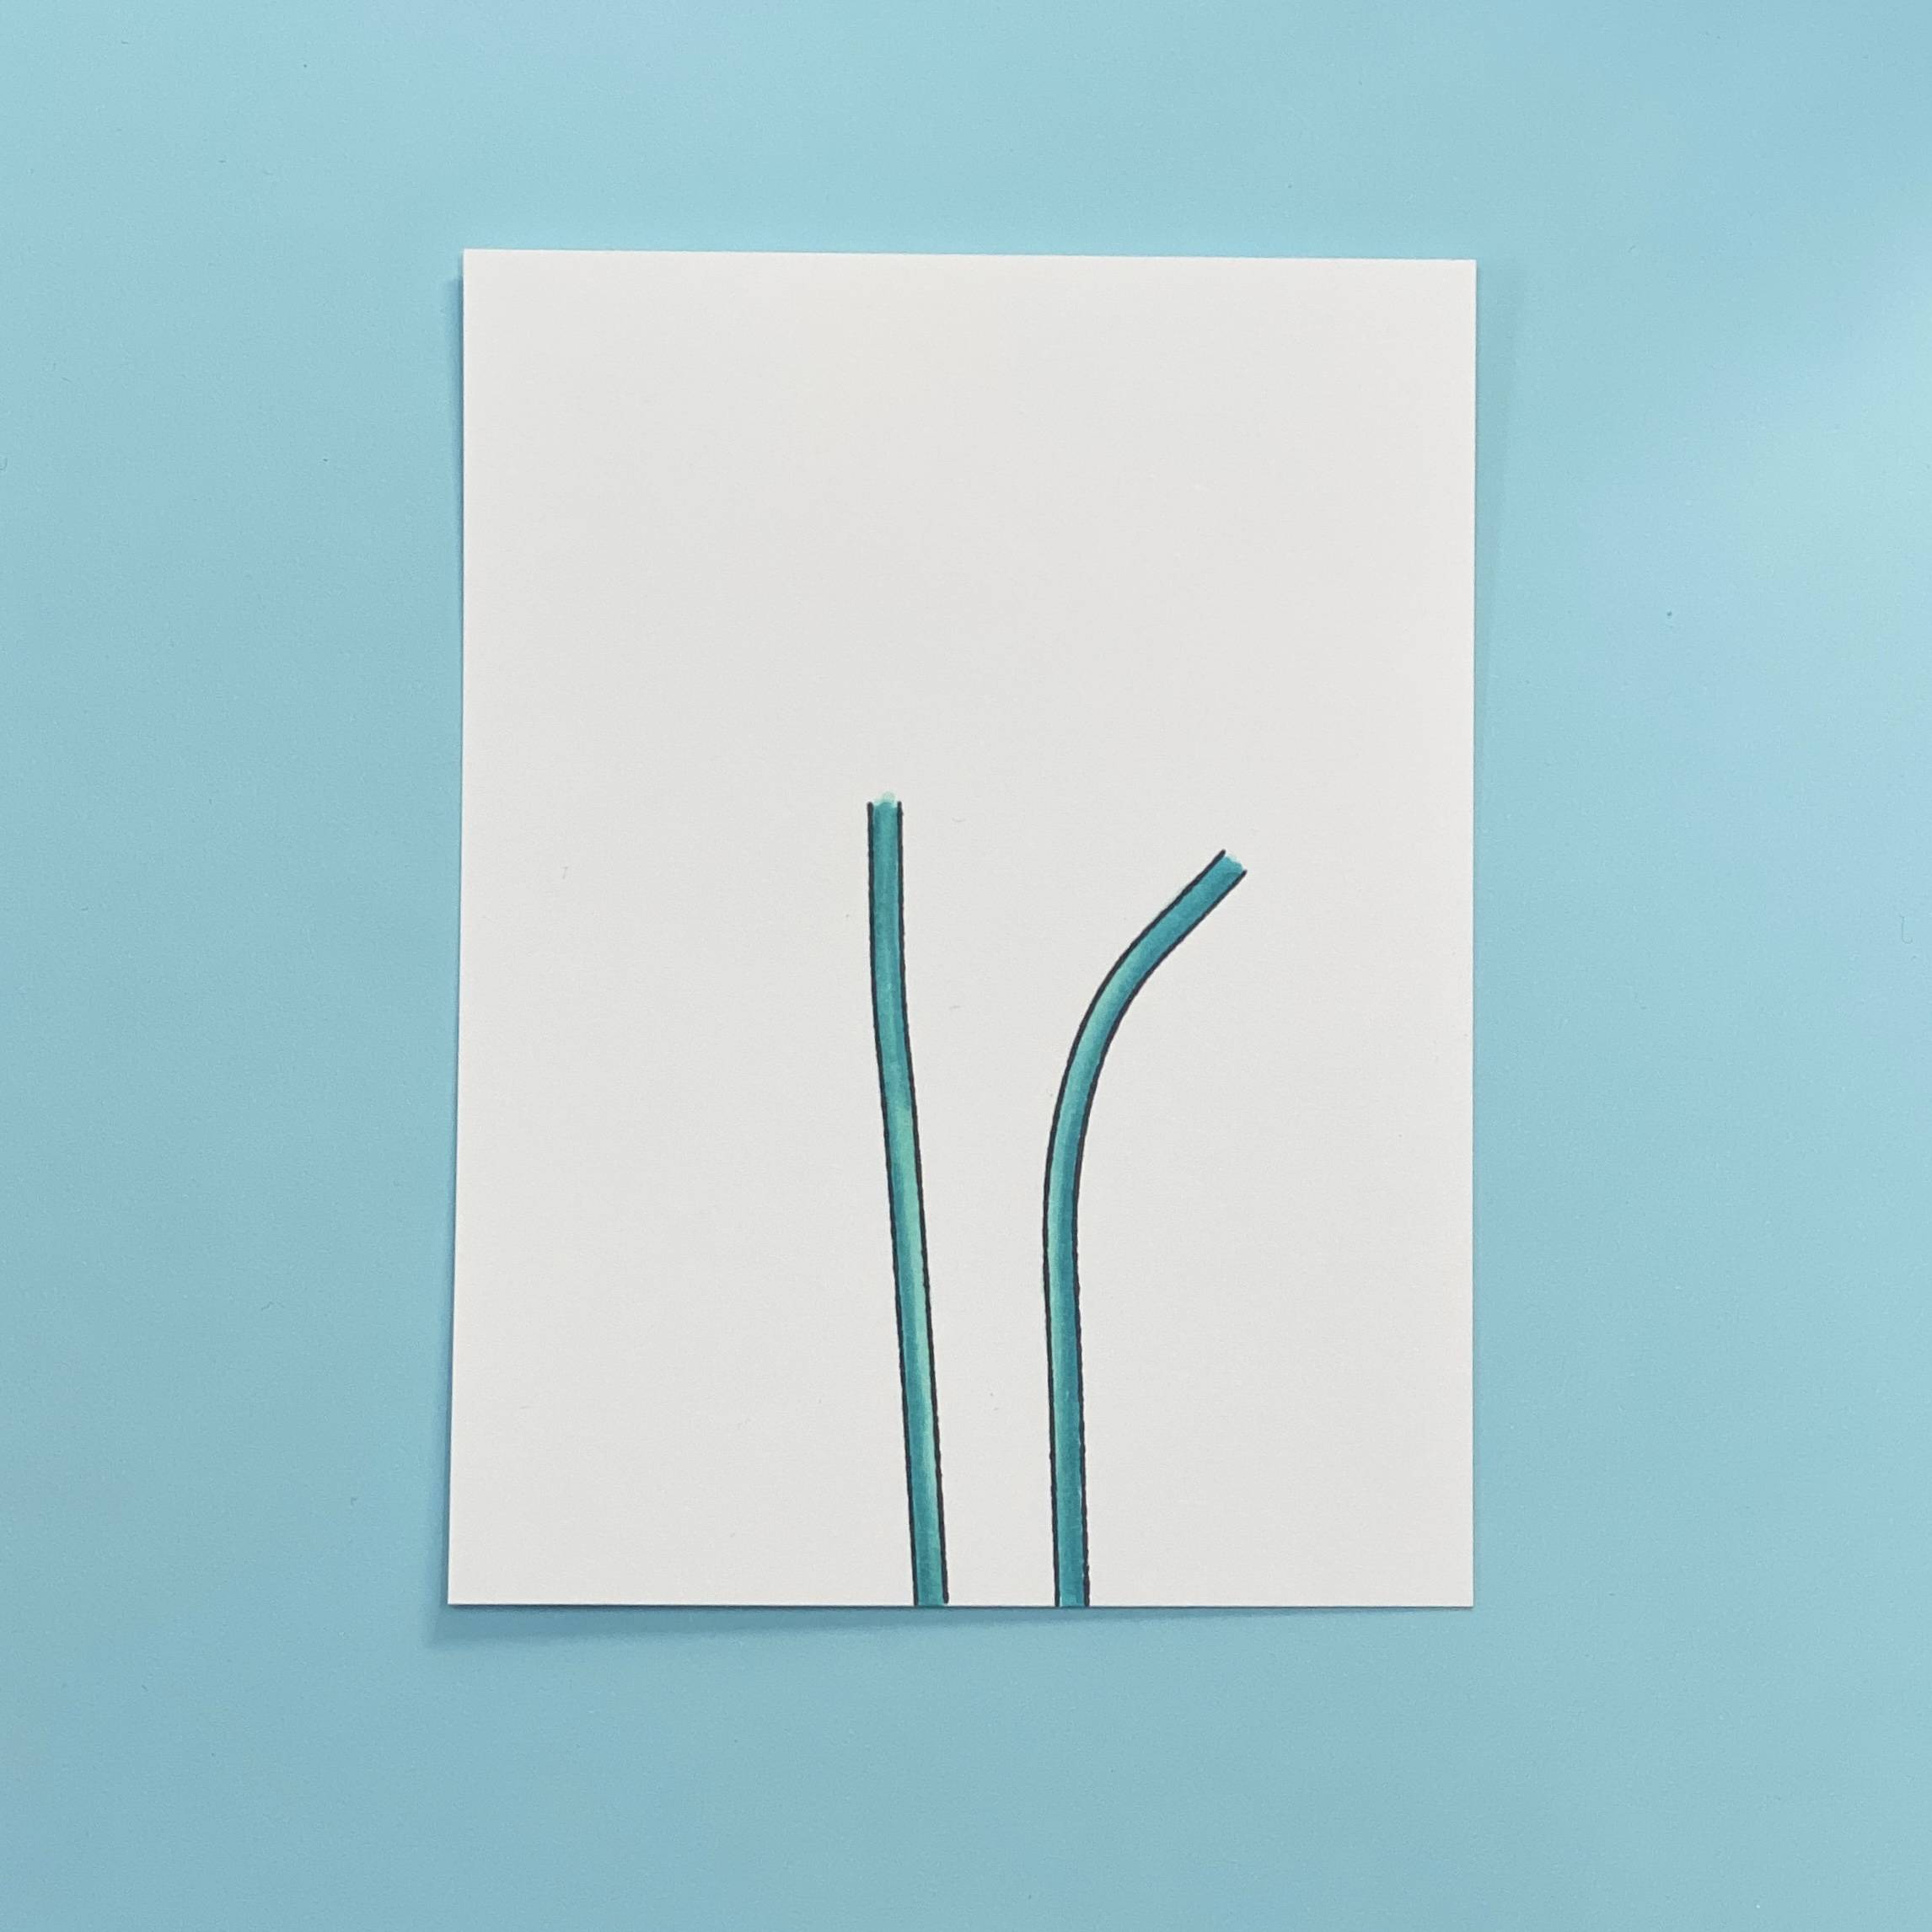
Cut your white alcohol friendly paper to 5.25 x 4 inches and stamp out one of the stalks. Clean and bend the stamp in another direction and stamp again. Color in using 360, 363, 369.
Step 18
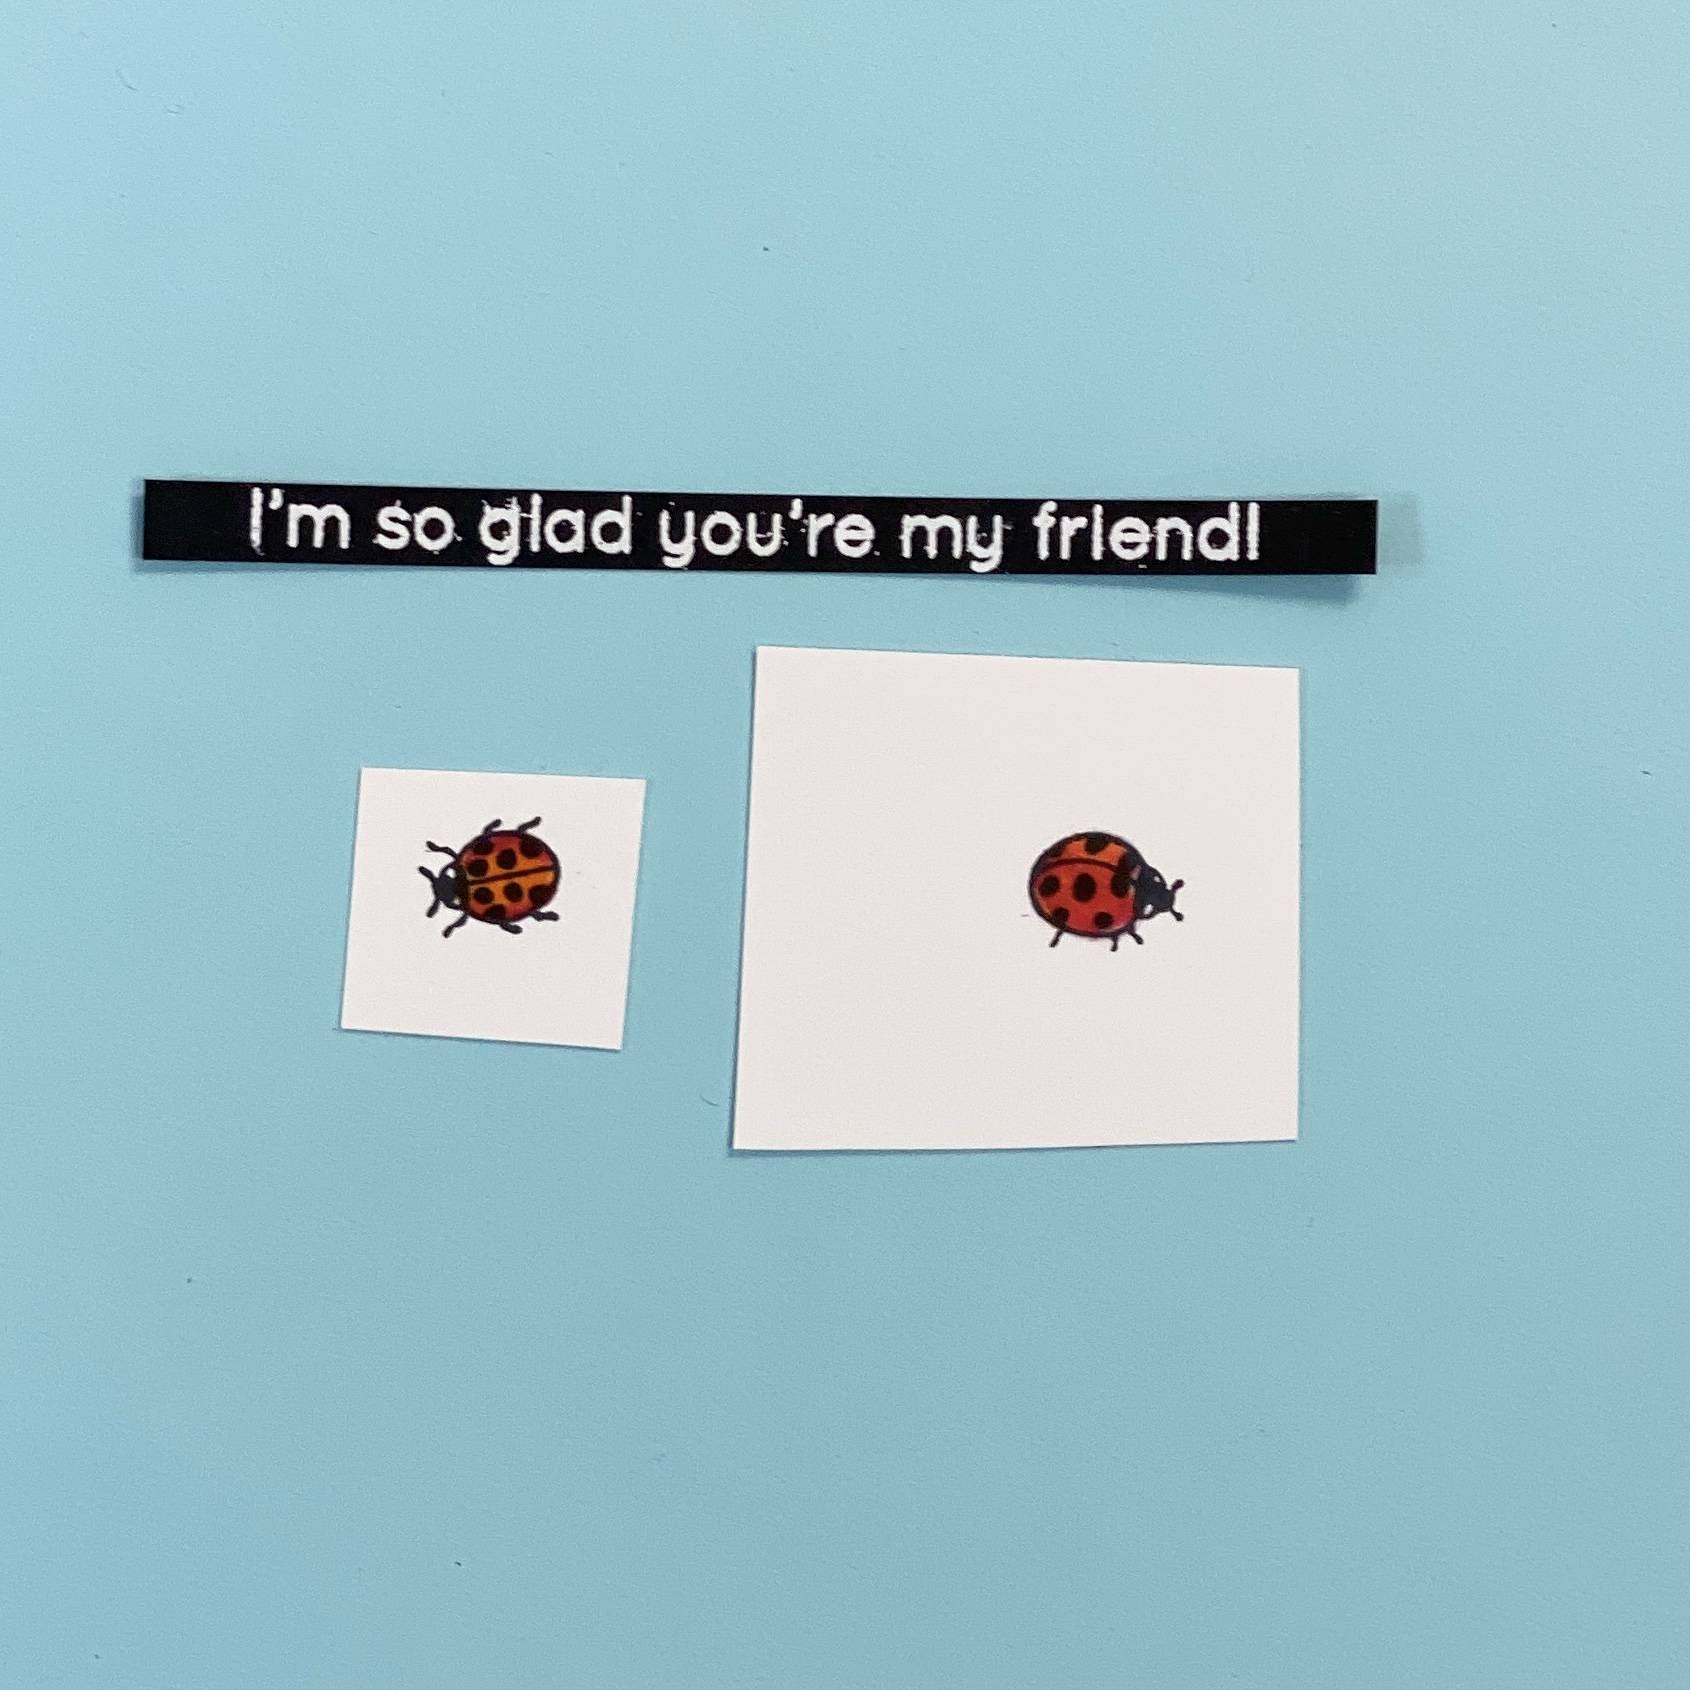
Stamp out the ladybird. I wasn’t sure which one I wanted to use so I stamped and colored both in 374 and 391. White heat emboss your sentiment onto black card.
Step 19
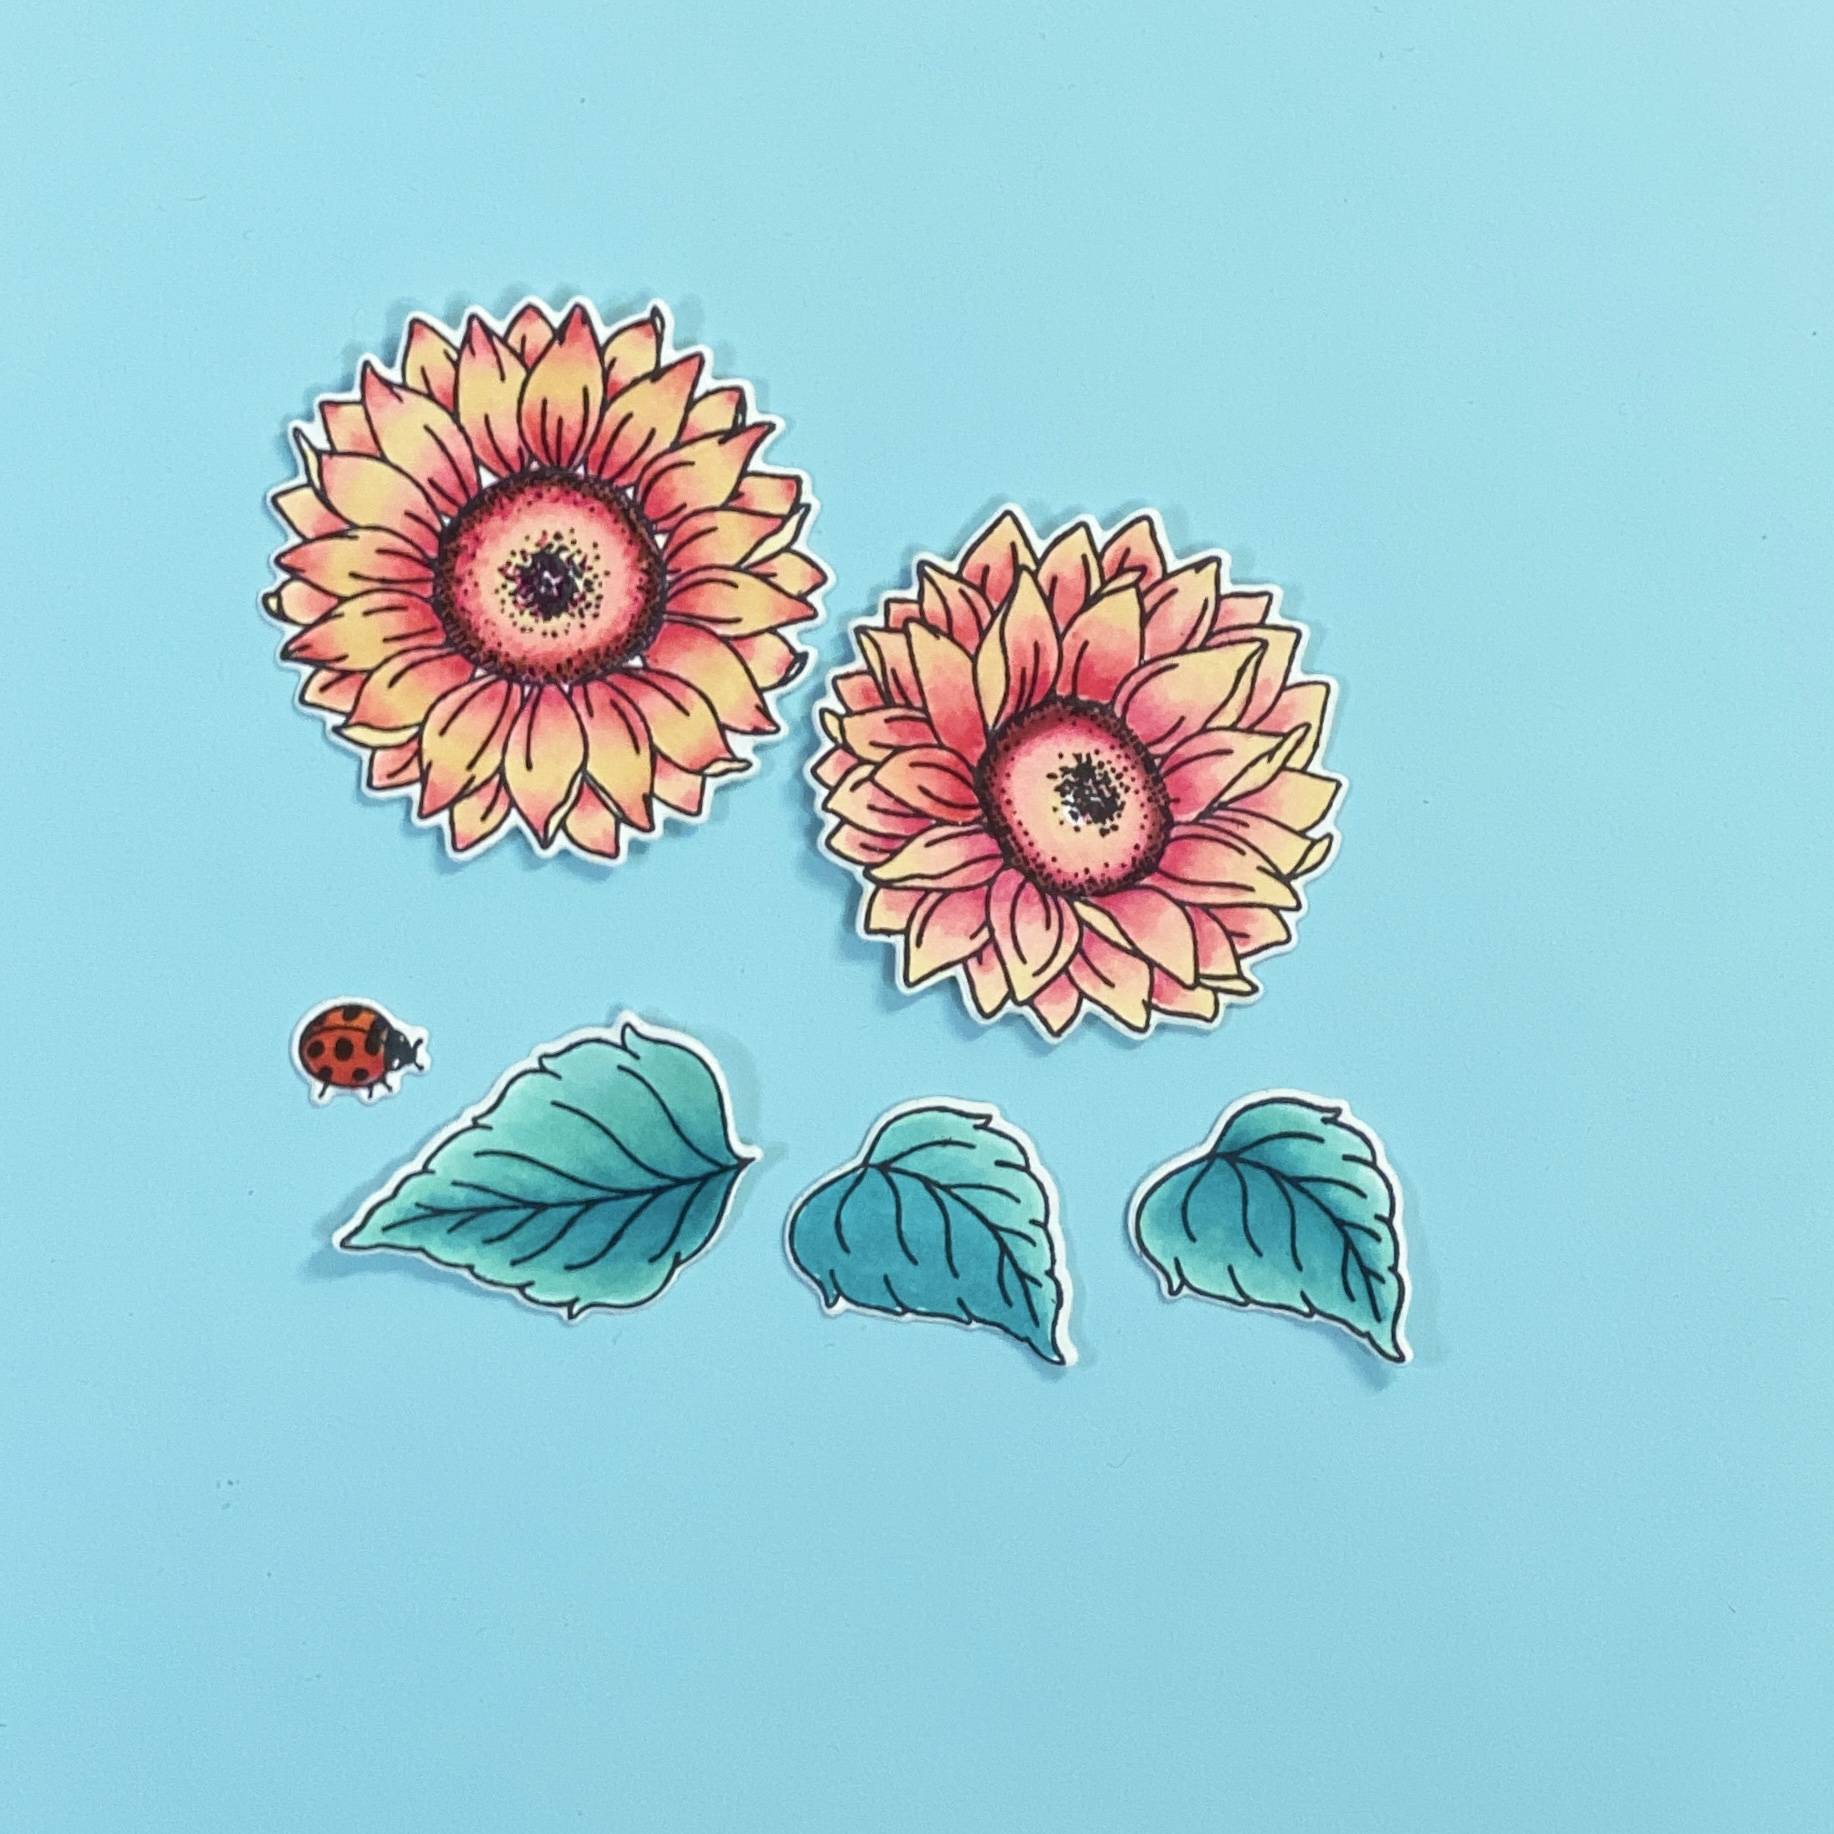
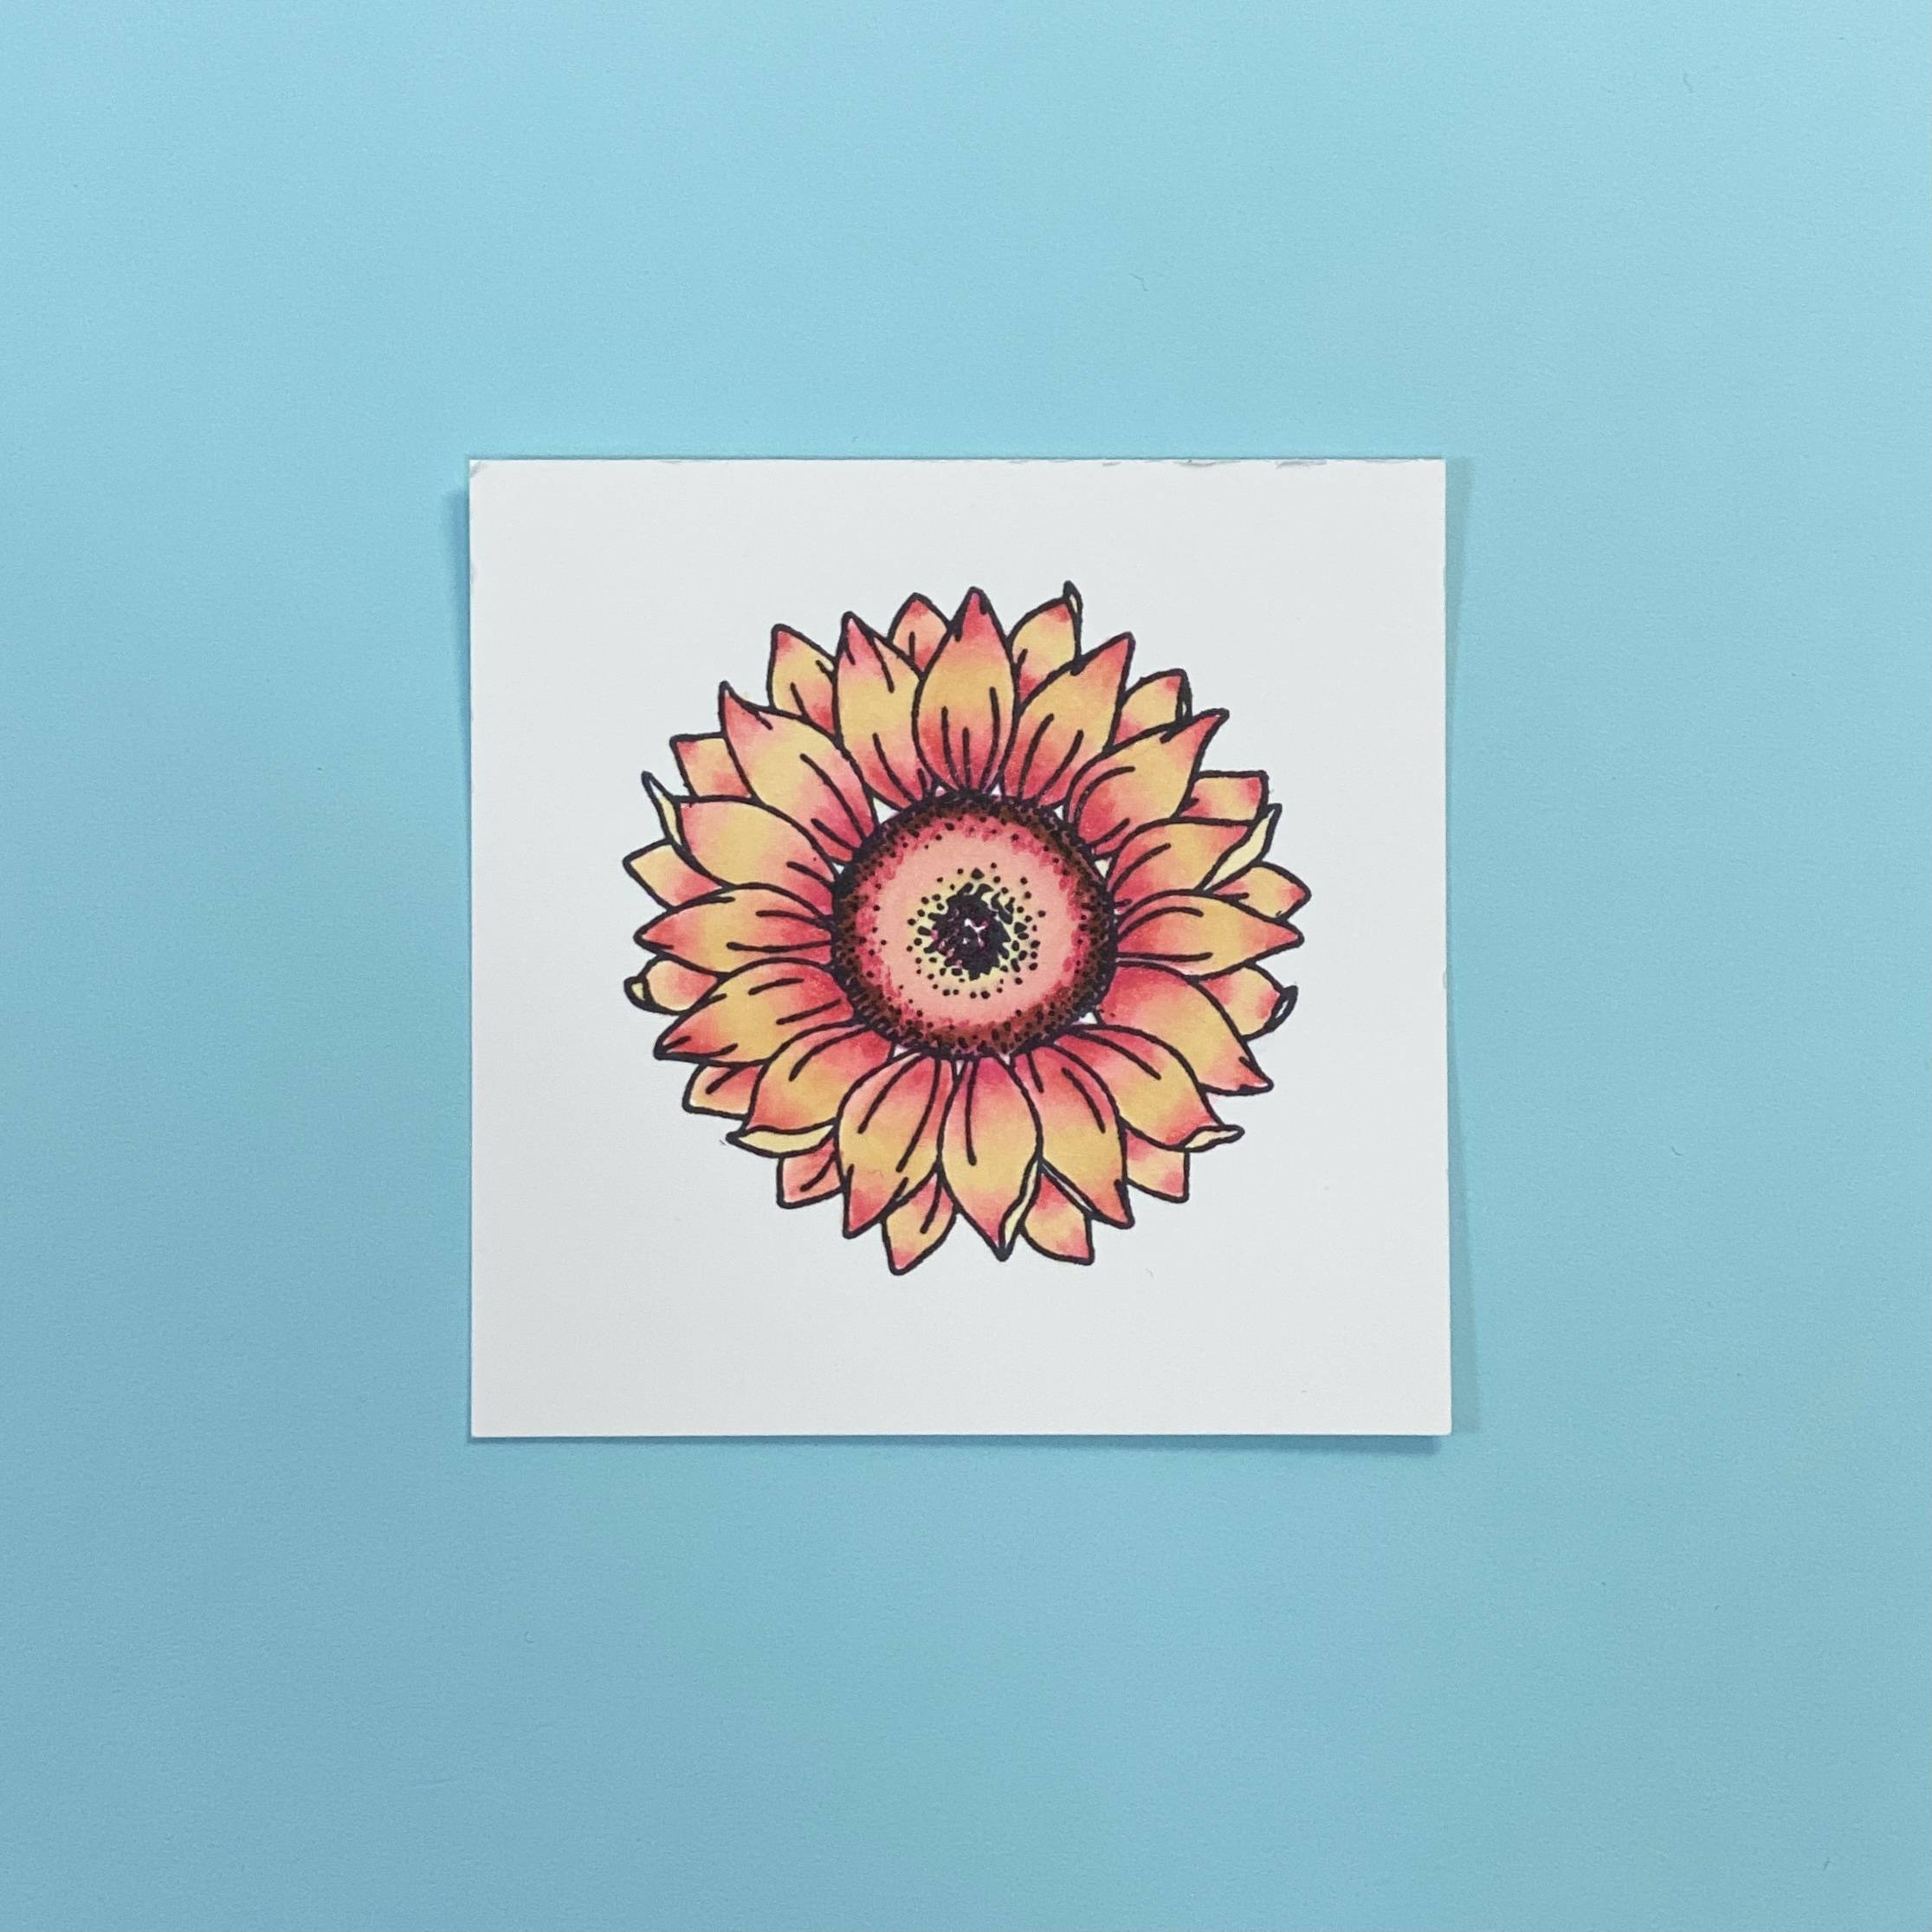
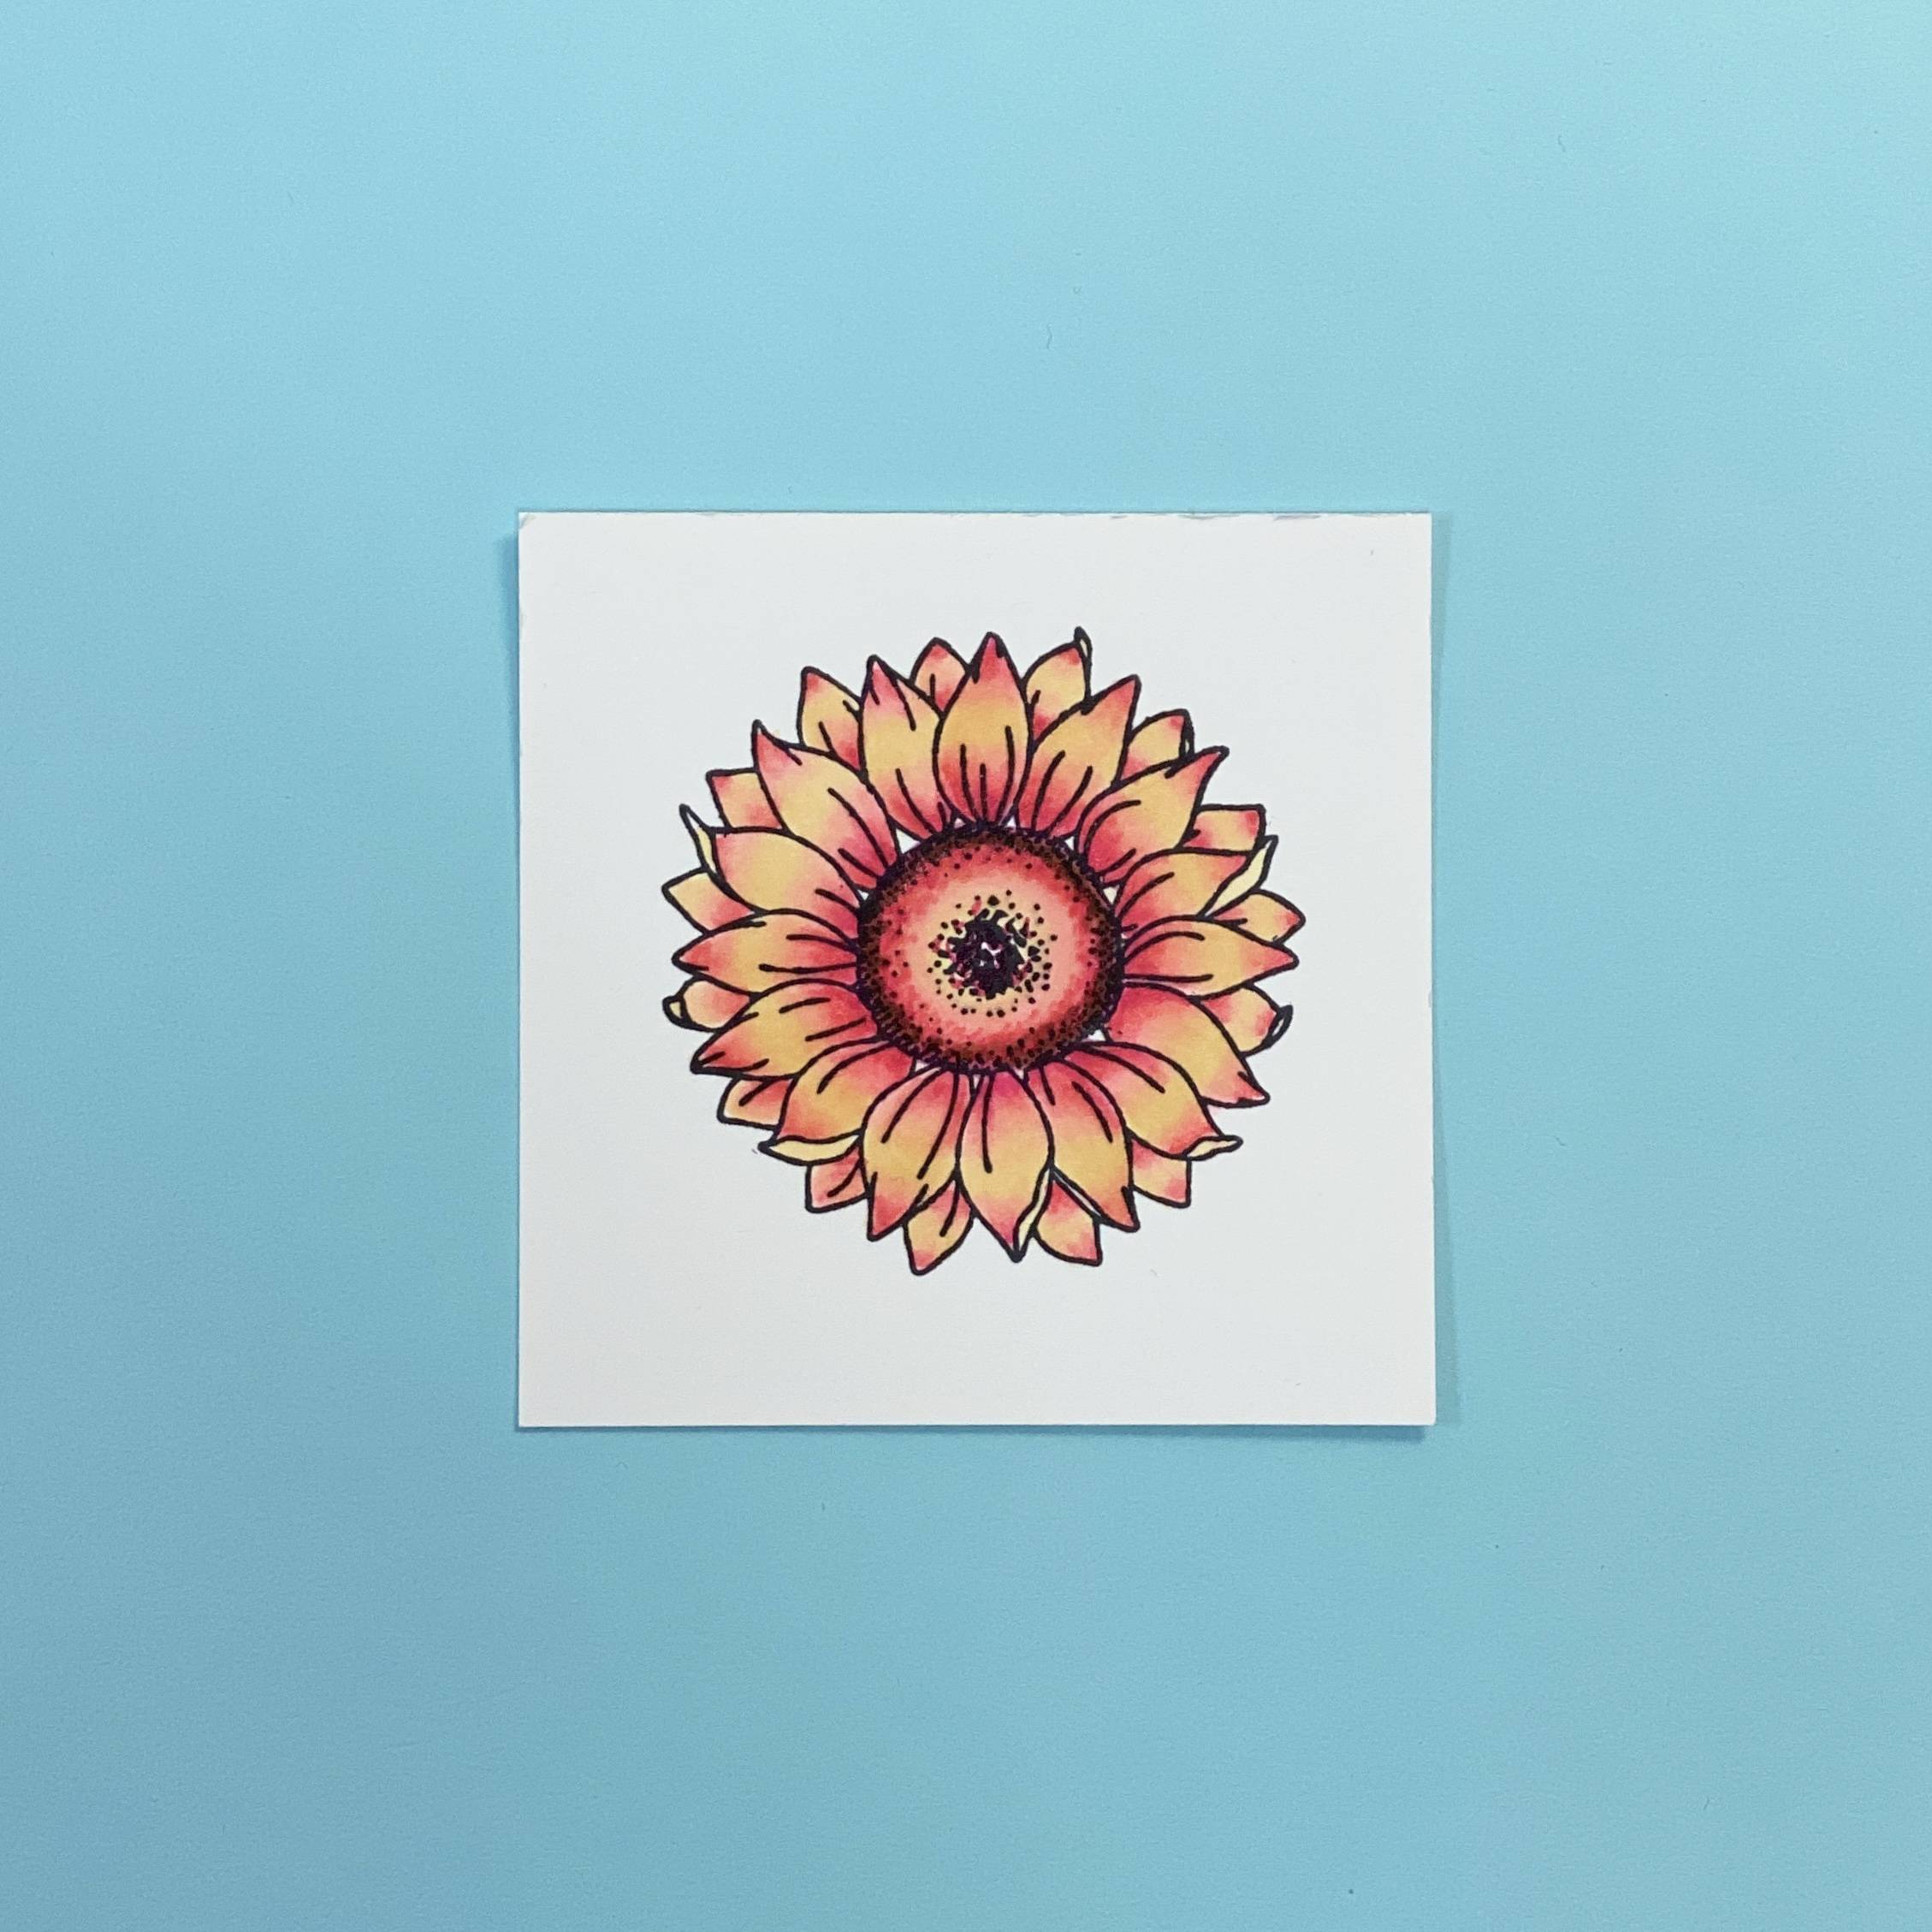
Repeat coloring on a second sunflower then die cut your elements.
Step 20
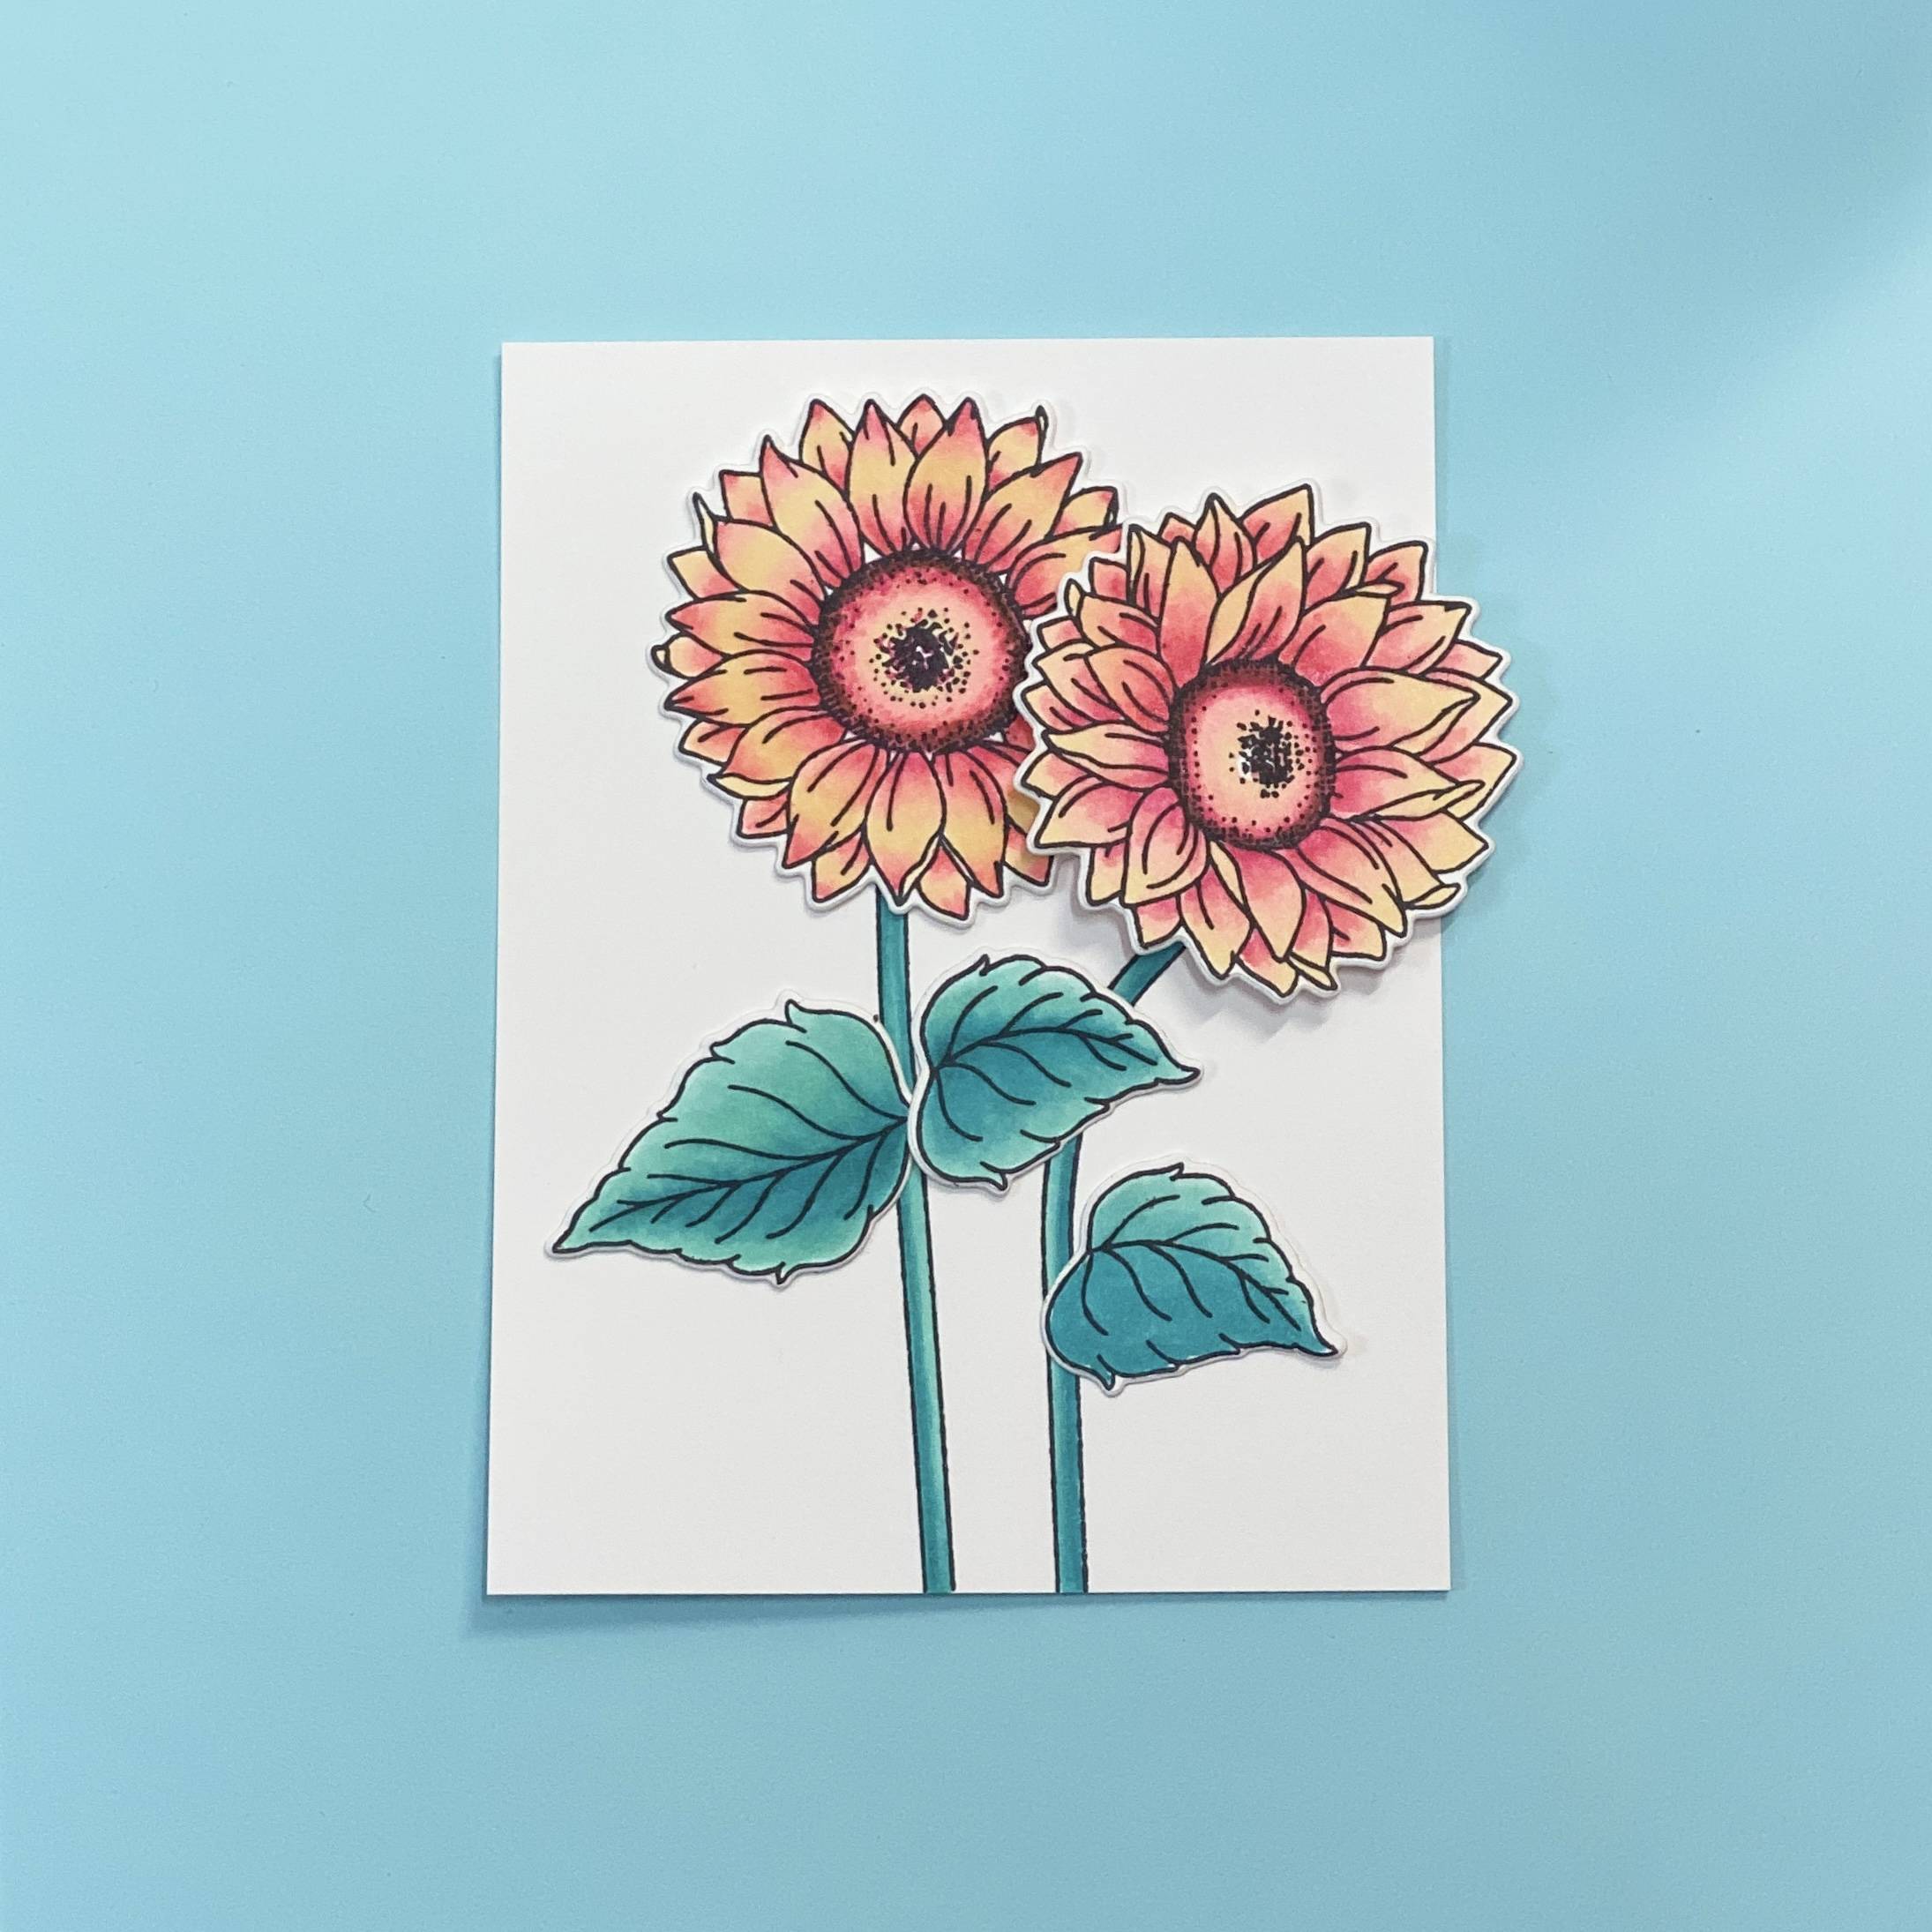
Take a moment to consider composition – where will my leaves sit, what about the sentiment, do I need to cut my panel down, etc.
Step 21
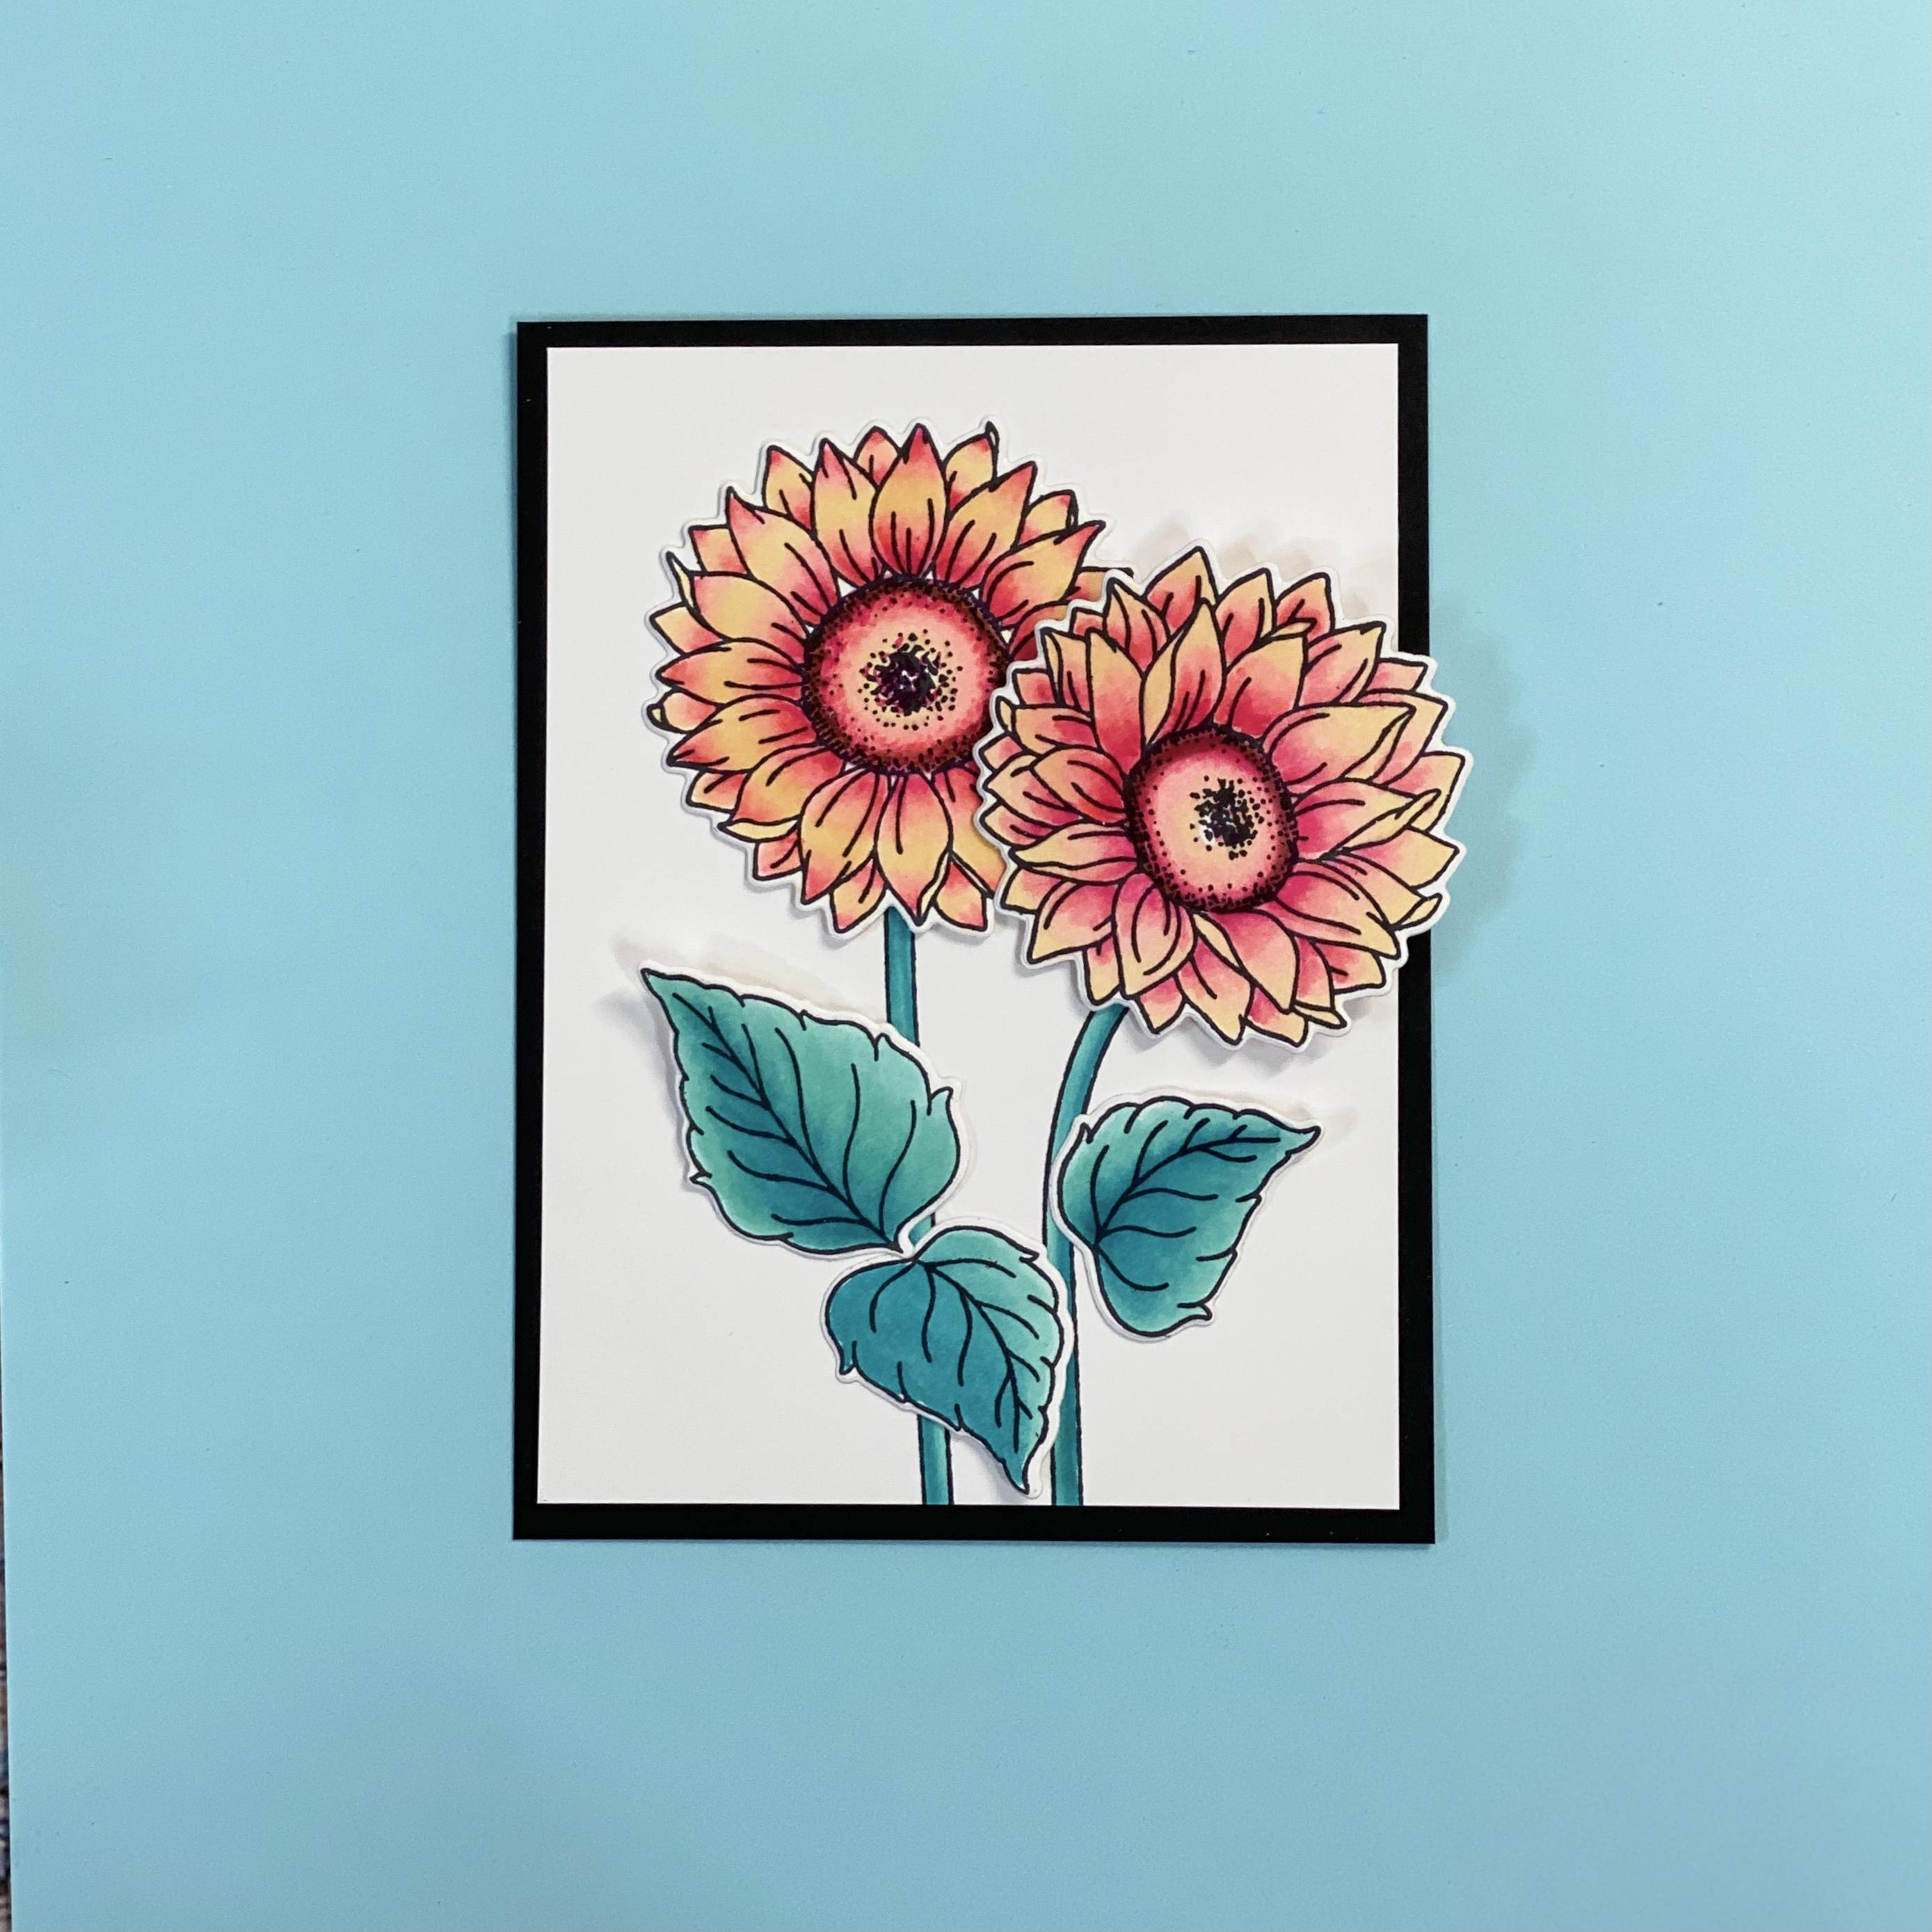
Trim your stamped panel down to 3.5 inches by 4.75 inches. Mat and layer a black piece of cardstock 3.75 inches by 5 inches. Place your die cuts into position, some with foam pads and some with wet adhesive.
Step 22
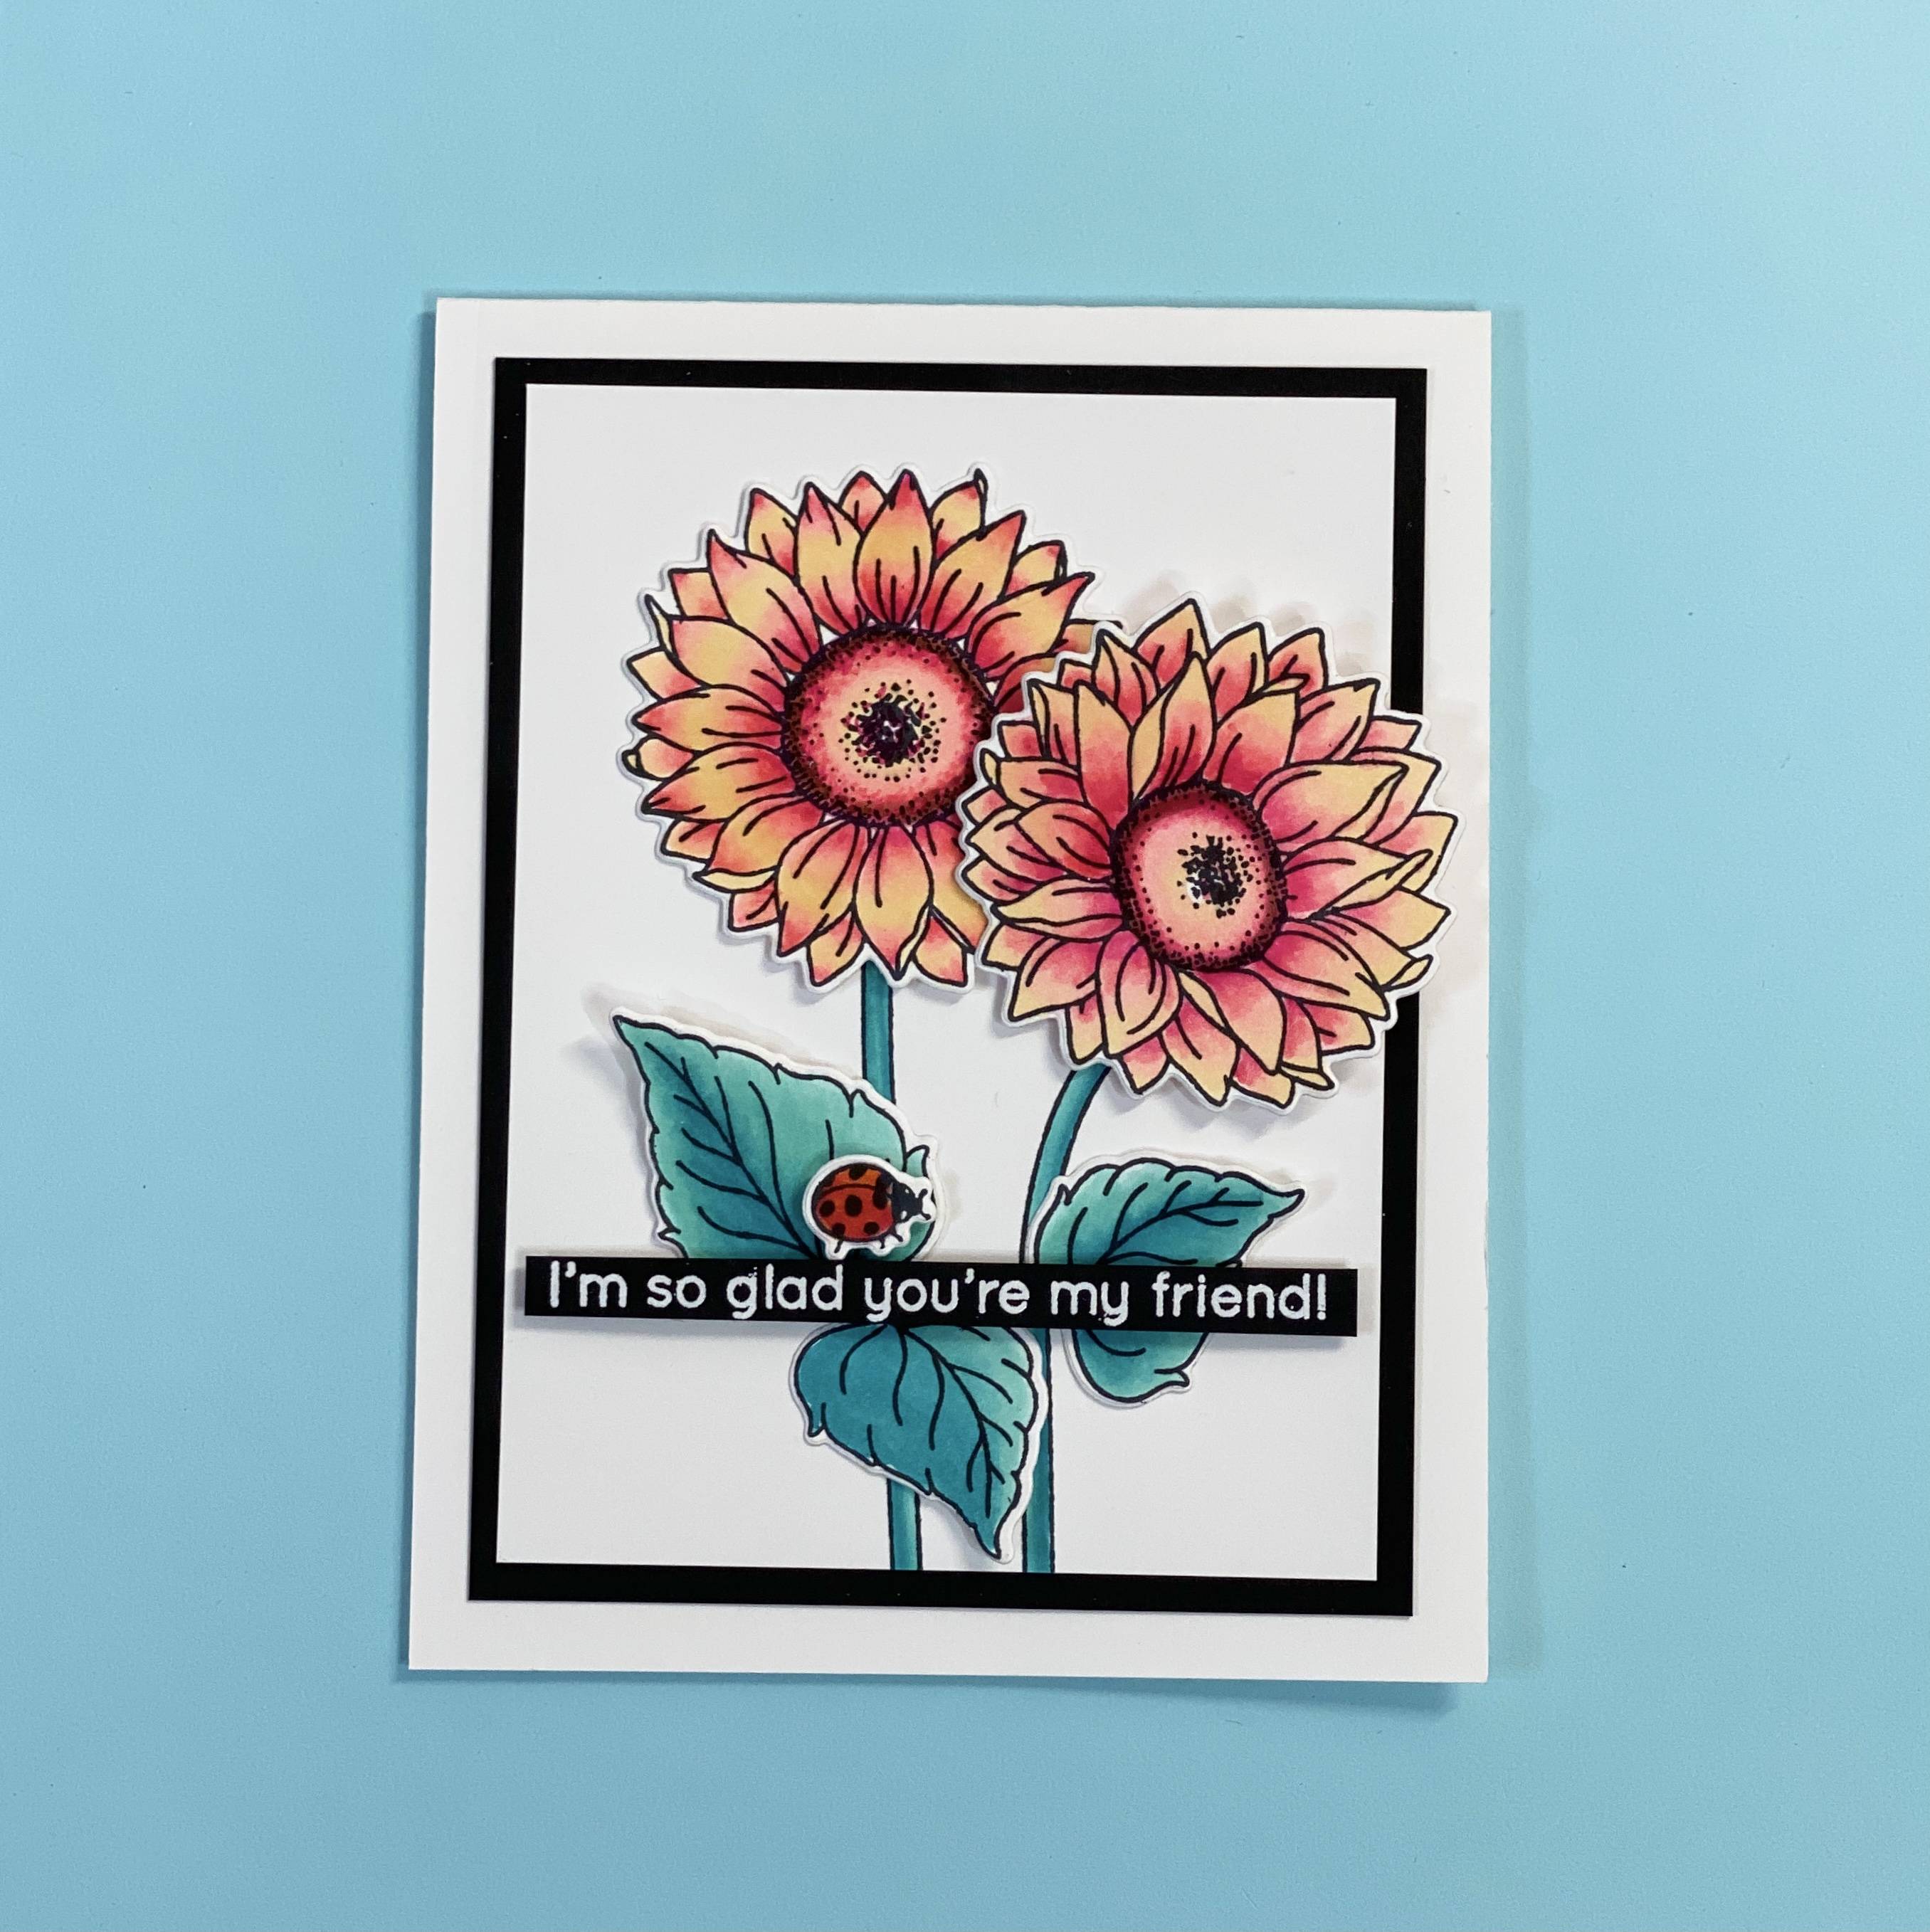
Attach your sentiment and ladybird then mount onto an A2 card blank.
Step 23
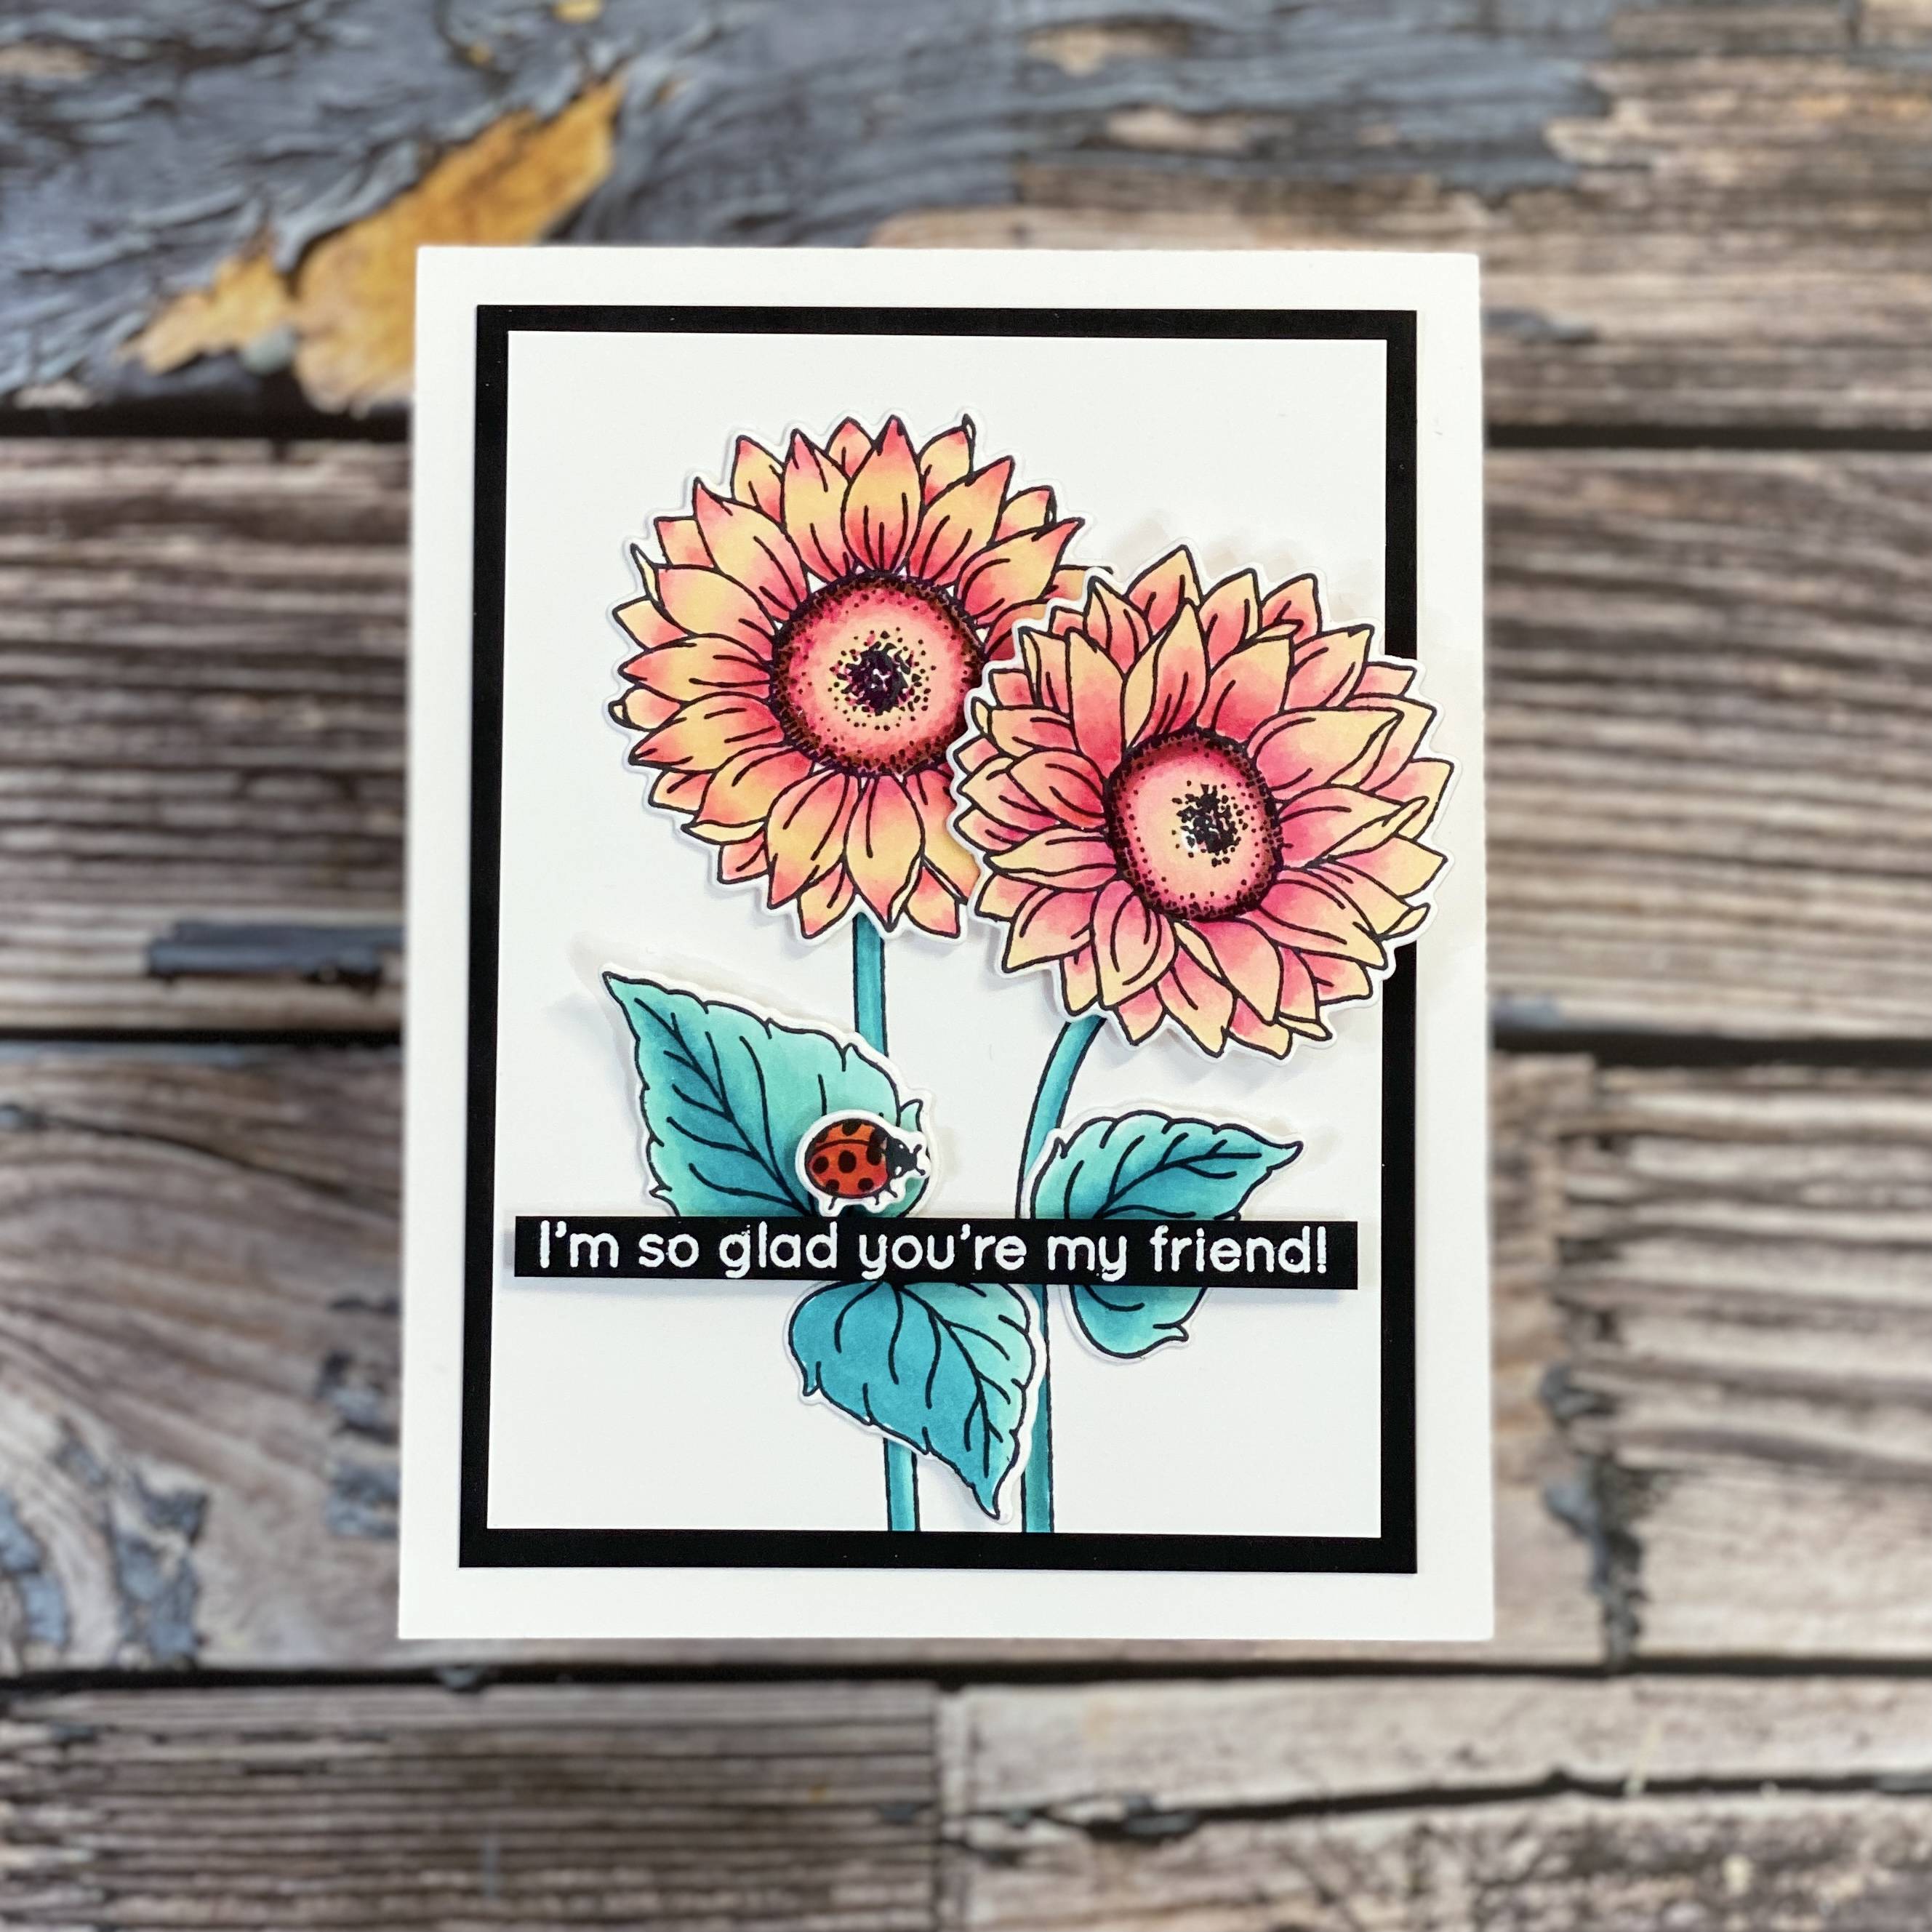
Take a photo to catalogue your work or you might forget what your colored.
Step 24

Let’s take it to the next level...
White Heat emboss an additional sentiment onto black card. Stamp out a bee and color with 391 and 403. Attach these extra elements to your card and splatter with white and black ink.
Do you have a favorite version? I love them both and think using alternative colors like pink for the sunflowers really brought out my creativity. If you’d like to see a more advanced card, I’ll be on the blog again next month mixing wet and dry mediums. There is a full coloring tutorial on my YouTube Channel, @kittenmoose.
Have a great day and I hope you found this informative and inspiring.
Sending love
ta,
Jen xx
Buy The Craft Project