 Gem Rewards


Hello crafty friends – Dawny P here and welcome to the craft room and this month’s showcase collection. This month our showcase is a beautiful and ultra-versatile set called Fanciful Floral Frames.
This set allows you to create lots of different frames for your cards and projects, as well as layering and there is also a lovely set of banner dies which you can use on its own or with the set of stamps that come with the set – more of that in a sec!!
So, there’s 23 dies here which can make up 25 different types of frame – that’s amazing!! They’re a good size as well. You can use the dies end to end or mix and match with others in the set. And as they’re verso dies, you can leave them in your card if you choose for even more versatility. There’s a beautiful floral theme with these which make them perfect for practically any occasion as well. And included within the set are 10 debossed sentiments.
As I just mentioned, there’s a set of sentiment stamps as well – 17 sentiments plus a dashed banner which works really well with the dies, plus 4 cute little accessory stamps – a tiny flower, a heart, a star and a flourish – and I like using these to create borders or for adding little points of interest The thing that grabbed me about the stamps when I first saw them is their lovely fonts, and there are two different ones. They’re also, for me, a really nice size as well.
So, what are we making today? Well, I thought we’d use some of the dies to make nice layer and then add a frame and a sweet banner sentiment to create a nice pretty card.
What you’ll need

What you’ll need
- Tonic Studios Fanciful Floral Frames Showcase die and stamp set
- Tonic Tangerine die cutting machine
- Tim Holtz - Stamping Platform
- Craft Perfect Classic Cardstock - Mauve Purple
- Craft Perfect Classic Cardstock – Bright White
- Craft Perfect - 6x6 Paper Packs - Dream In Colour
- Nuvo - Crystal Drops Gloss - Crushed Grape
- Nuvo - Ink Pad - Black Shadow
- Nuvo Deluxe Adhesive
- Craft Perfect Adhesive Foam Pads
- White organza ribbon
- Pencil and rubber
- 8x8 white card blank
Let’s do the prep first, starting with the frame
Step 1

OK so firstly place the die on a piece of Mauve cardstock and with the pencil, mark the two little grooves where the two black dots are shown. Take the die off of the card then draw vertical line over them down either side. This will help you line up the dies when we come to the next bit. Replace the die onto the card and run it through the machine.
Step 2
Now place the die back onto the card at the other end, lining those little grooves on the lines you drew (how big a gap you leave is up to you) and re-run back through the machine
Step 3
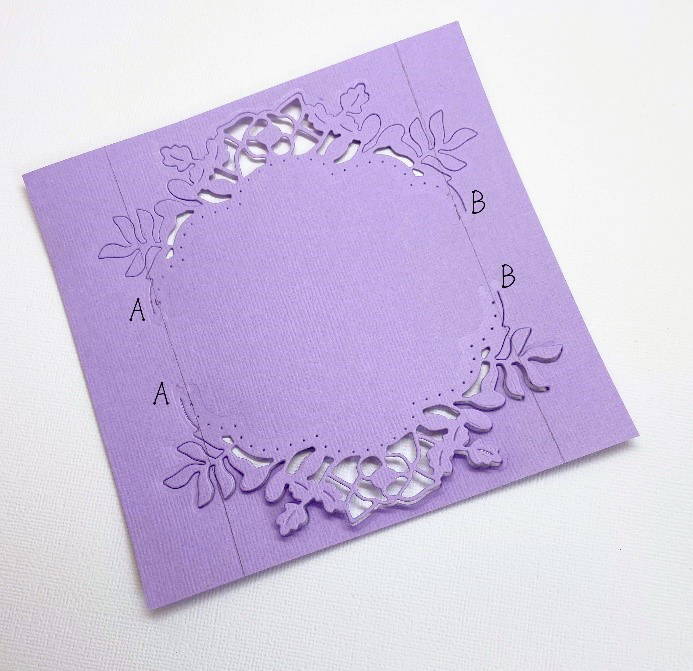
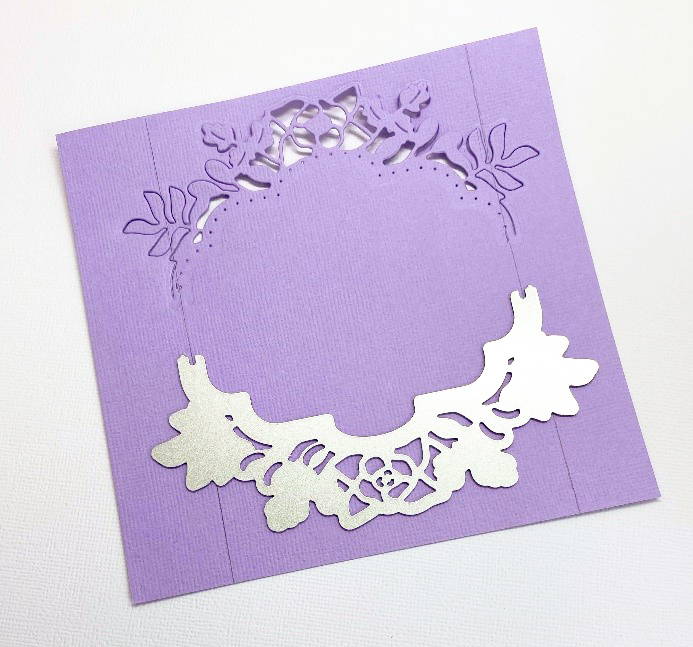
So it should now look like this. What you need to do now is cut from A and A and B to B to release the frame from the cardstock. You’re basically joining up the die cuts with your scissors.
NB Don’t cut along your pencil lines – your cut lines are just outside of these.
Step 4
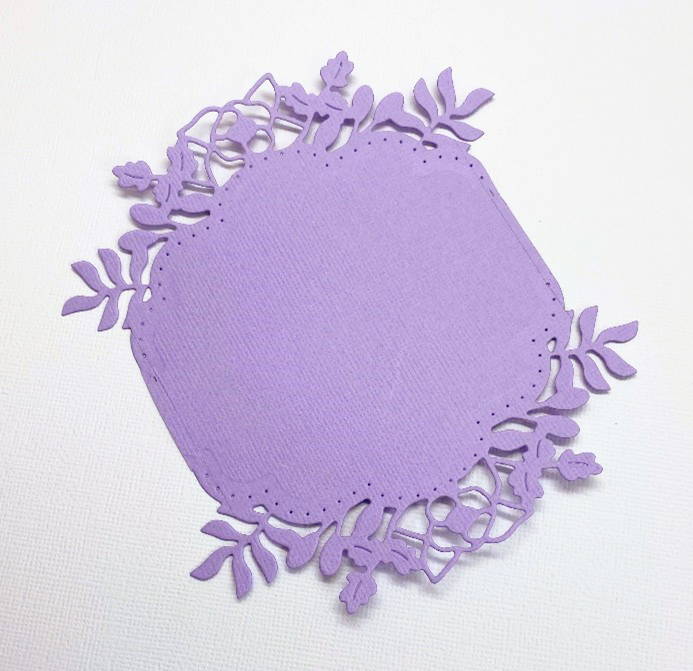
It should look like this. Now rub out the pencil lines and your frame is done.
Now let’s finish the cutting.
Step 5

Cut 5 of this shape from Bright White cardstock.
Step 6

For the banner, cut one of the larger shape in white and one of the smaller size in purple as shown.
Step 7
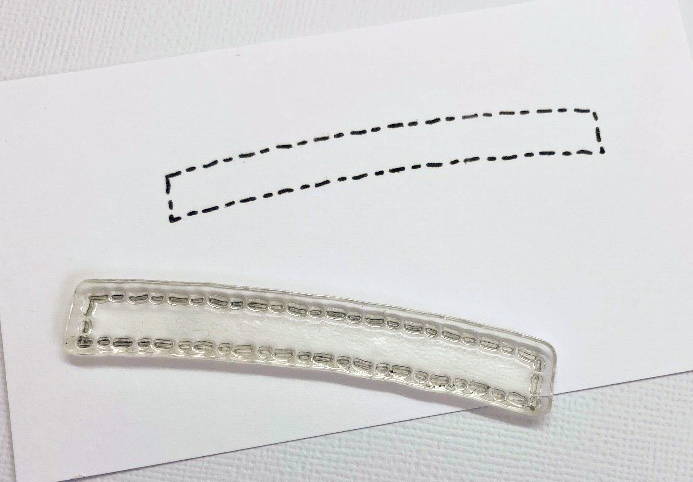
Take your stamp set and stamp out the dashed lined banner shape, as shown, onto a scrap of white cardstock.
Step 8
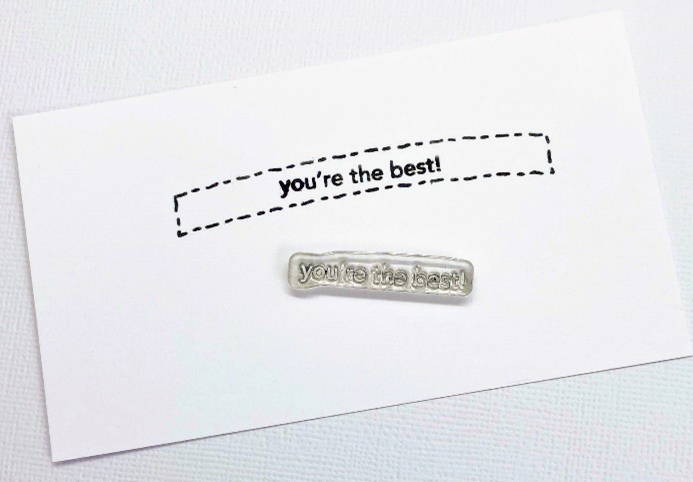
Now stamp your sentiment into the centre of the stamped banner.
Step 9
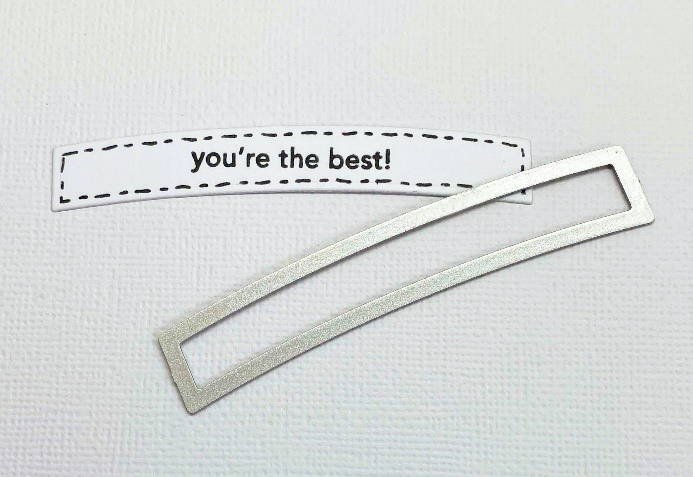
And finally cut it out using the die shown here.
Step 10
Last bit of prep – cut your card and patterned paper to these sizes –
White – 166mm square
Mauve – 170mm square
Patterned paper – 154mm square
That’s the prep all done and now we can put this all together.
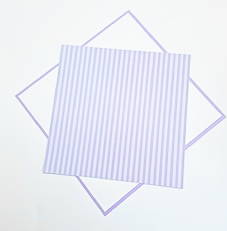
Step 1
Mat the white square onto the mauve square using glue or DST.
Stick onto your card base using dimensional pads.
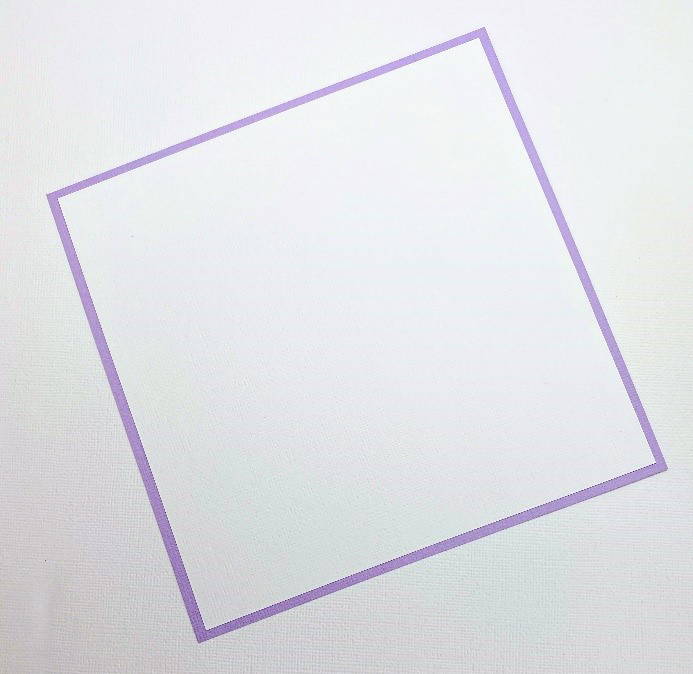
Step 2

Now stick down the patterned paper square as shown.
Step 3
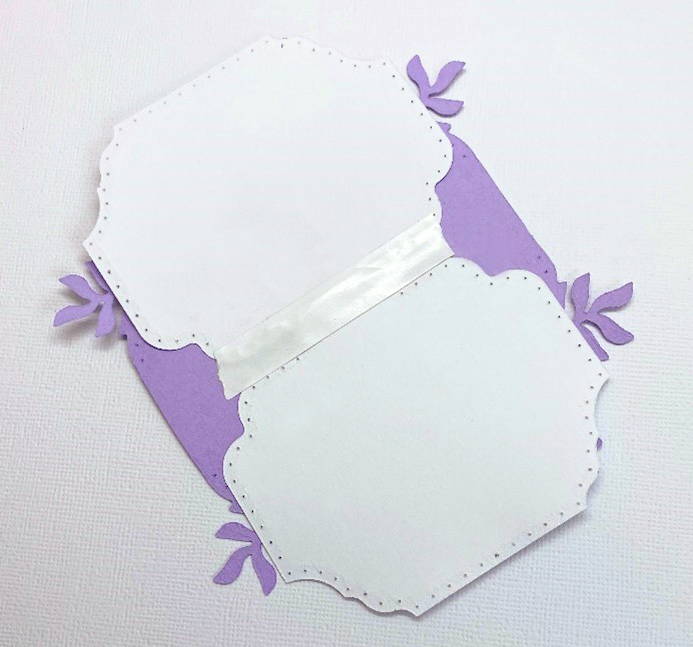
Take 2 of the white die cuts and the frame you made and stick together as shown ie right sides of the white die cuts to the wrong side of the frame.
I used glue – take care not to get it onto the bits of the white card that will stick out over the edge of the frame. I added a strip of DST across the join as well, but you don’t really need to do this if you don’t want to.
NB – l’ve done this so that the flatter part of the white die cuts are hanging over the edges of the frame but you can do this with the curved end for a different look.
Step 4

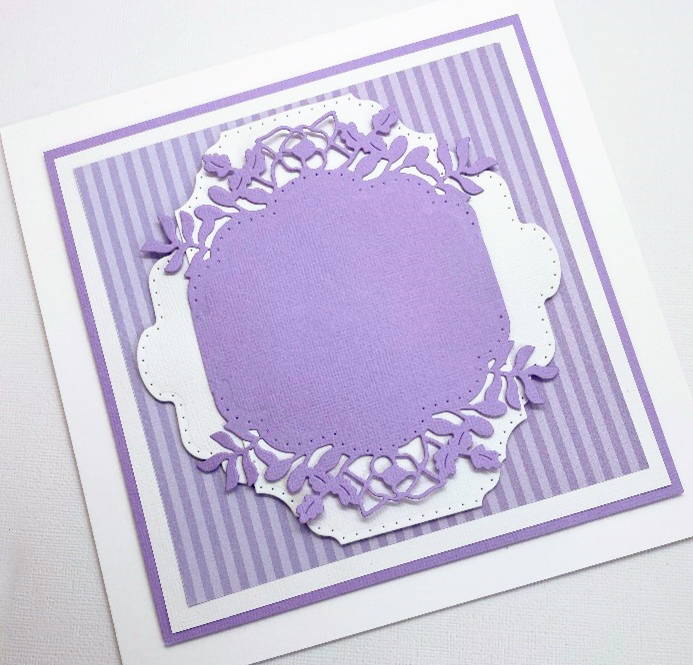
Now take another 2 of the white die cuts and glue them on top of the first pieces as shown.
I stuck this down so that the curved ends of the white die cuts hang over the edges of the frame this time, but again you can glue it the other way if you want. It looks nice either way.
Step 5
Now using dimensional pads, stick down to the front of your card base.
Step 6

Take the last remaining white die cut and stick down to the front of your card as shown. Again, I used dimension pads but you can stick it down flat if you’d prefer.
Step 7
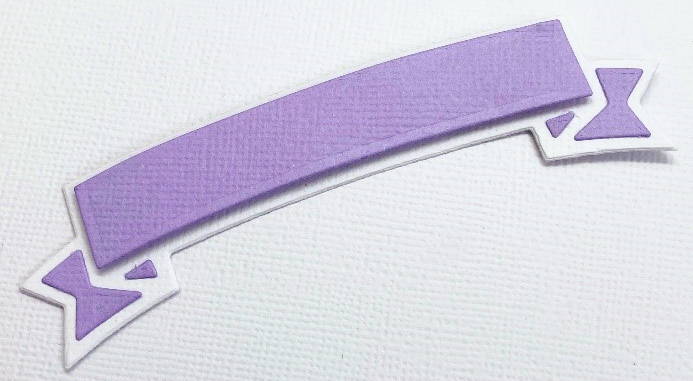
Now for the banner. Glue the smaller mauve die cut pieces onto the larger white piece. Don’t forget the little bits at either end!!
Step 8

Using dimensional pads, add the stamped sentiment piece.
Step 9
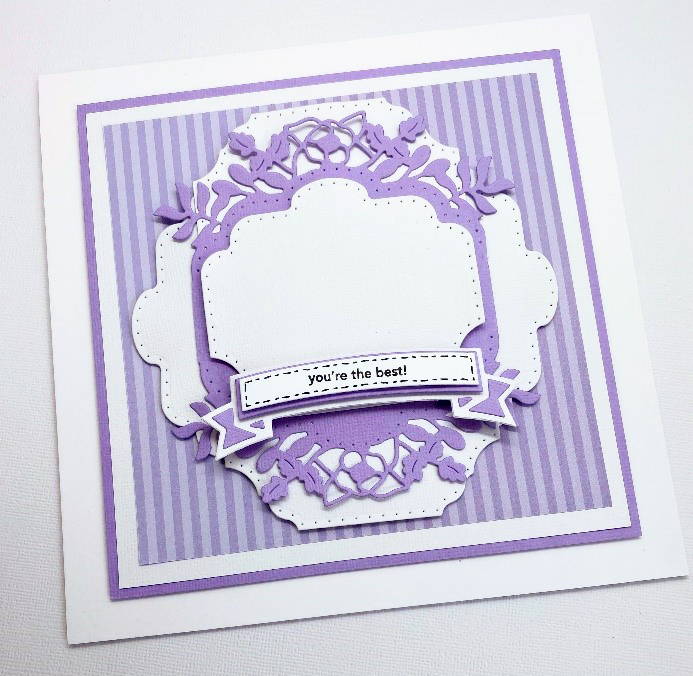
Add this to the card front as shown.
Step 10

Finally, add a bow and finish off with some beautiful Nuvo Drops.
Buy The Craft Project