


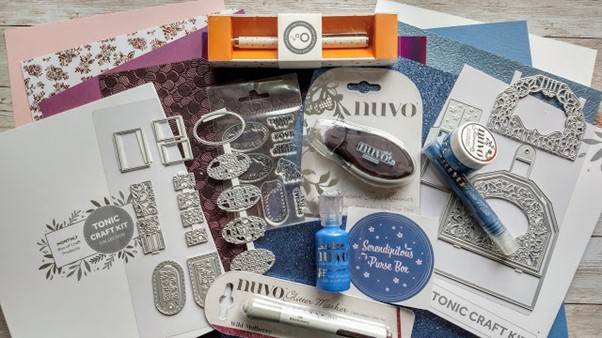
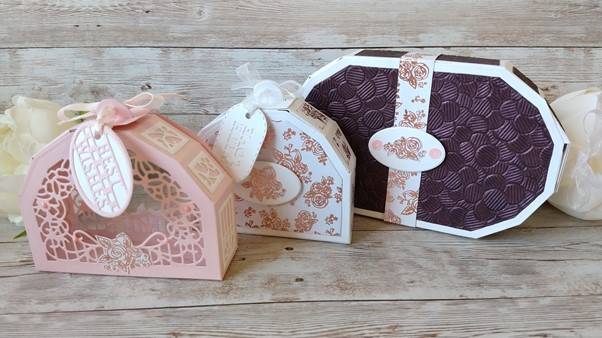
The Tonic Studios Craft Kits have had a makeover! There is a new box and new packaging for the Craft Perfect and Nuvo products and you can have a little look on my video here
The dies can be used to create a purse shaped box with a top opening and you can see how to make this in my video too but in this blog post I am going to show you how to adapt the basic shape to create a larger box with no divider and two openings :)
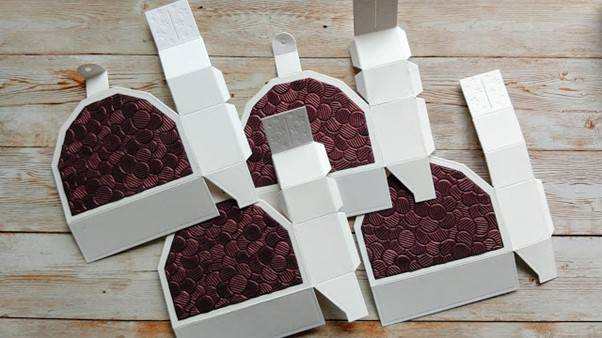
What you will need

Step 1
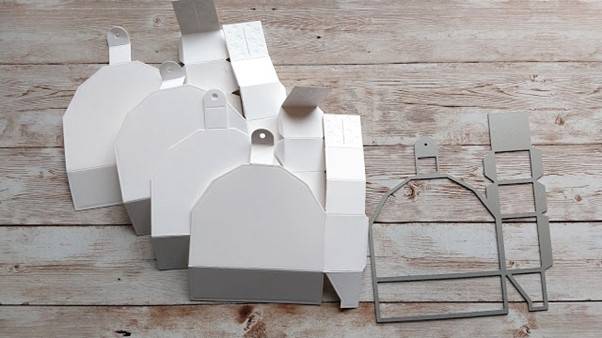
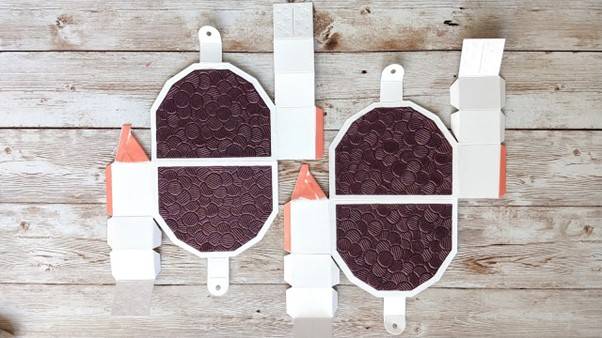
Die cut 4 of the main die shape from white card.
Step 2
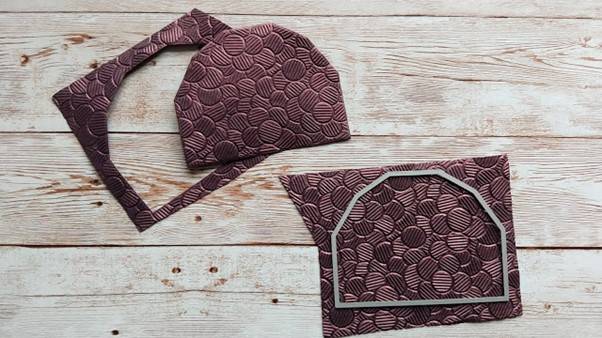
Trim the speciality paper around the plain die shape and cut out 4 times. NB, it's best not to run the full sheet through the die cutting machine as it will slightly flatten the embossed pattern.
Step 3
Glue the paper onto the 4 white die cuts.
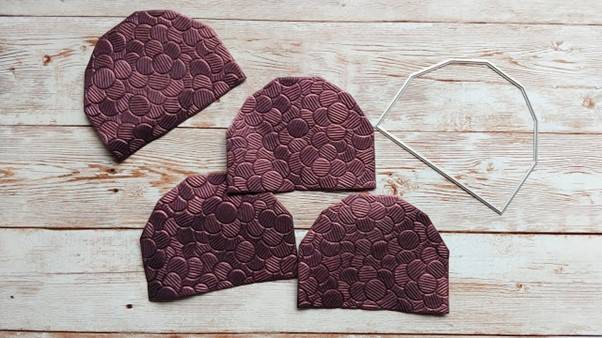
Step 4
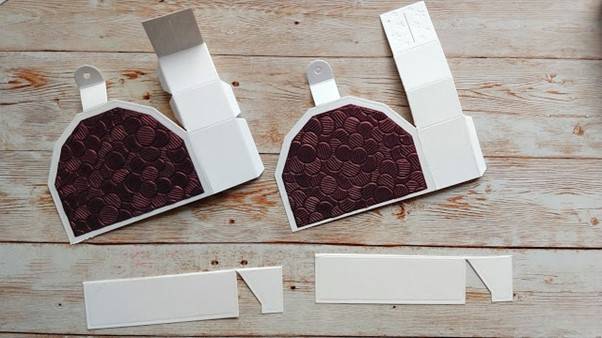
Trim the bottoms off 2 of the pieces.
Step 5
Trim off the corners shown in the photo.
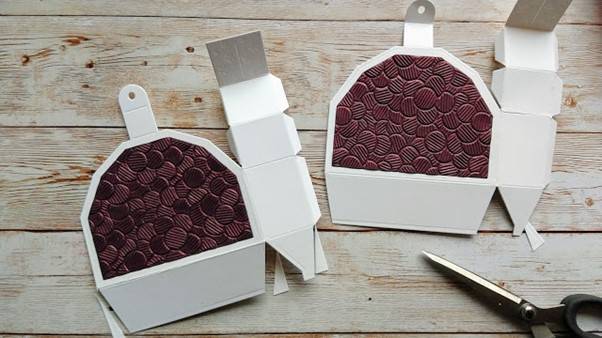
Step 6
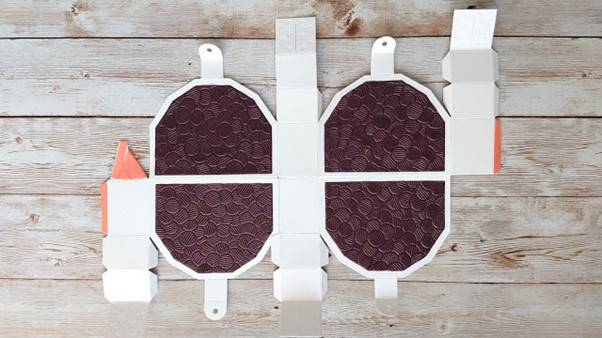
Glue the flaps under the shortened pieces.
Step 7
Add hi tack tape to the parts shown in the photo.
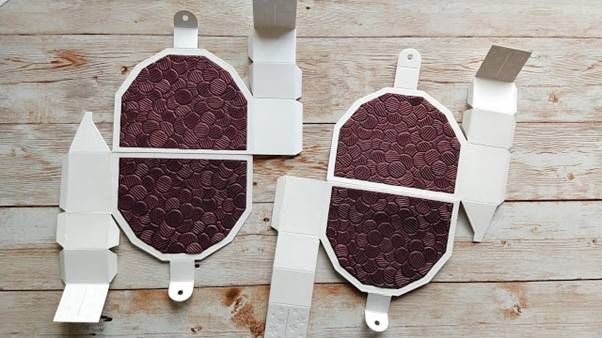
Step 8
Attach the parts together as shown.
Step 9
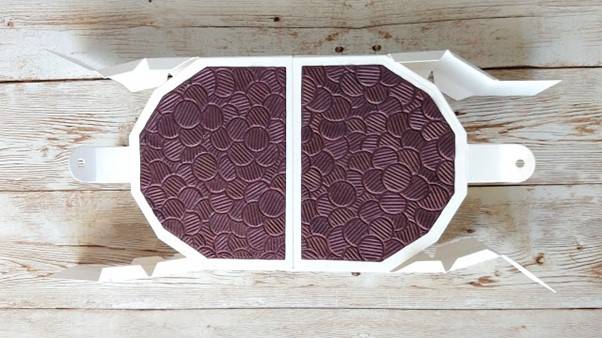
Attach the other sides to form the box.
Step 10
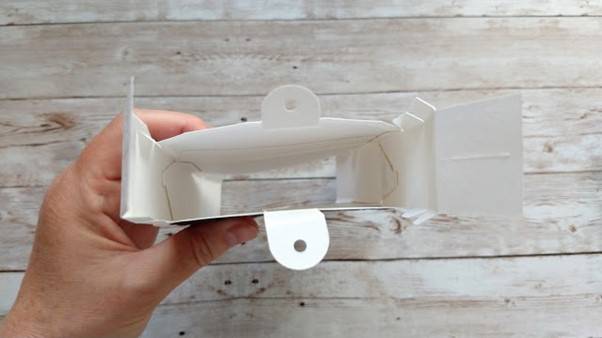
Top view
Step 11

Die cut 8 small pieces to decorate the edges of the box - not including the large rectangle and glue in place
Step 12
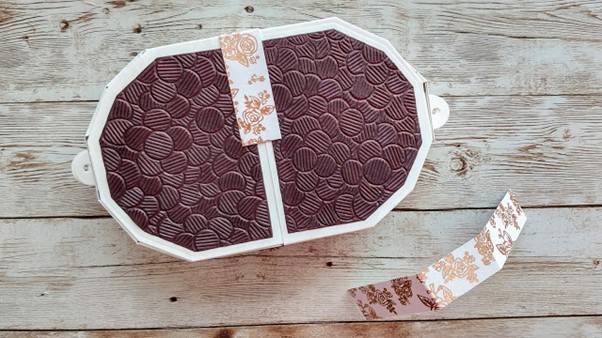
Cut 2 pieces of the rose foiled card measuring 2cm x 13.3cm and score at 5cm from each end. Glue over the top edge of the box covering the join.
Step 13
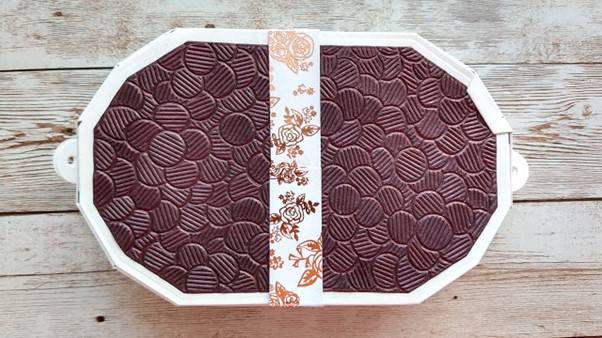
Repeat with the bottom of the box.
Step 14
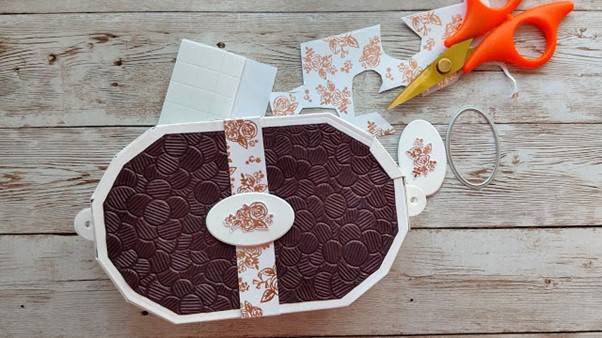
Die cut 2 white ovals and decorate with roses cut from the rose foiled card. Attach to the centres of the joining strip with 3D foam pads.
Step 15
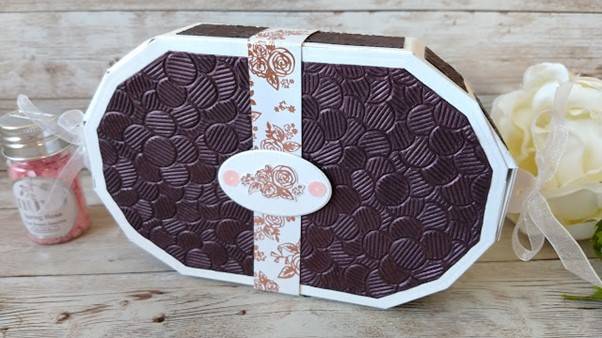
Add ribbon ties to the side openings.
