 Gem Rewards


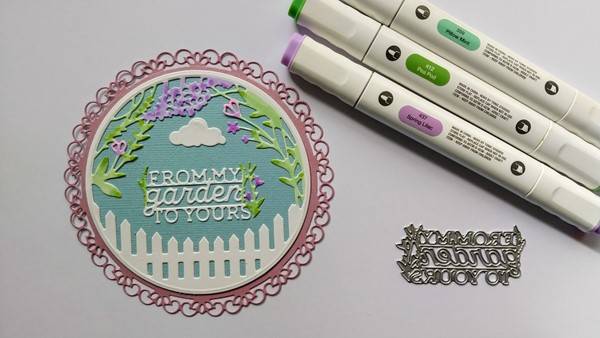
The new Garden Greeting Showcase from Tonic is just my kind of thing!
I love nature and anything that I can make which reflects some nature in it is definitely a winner in my books!
What you will need
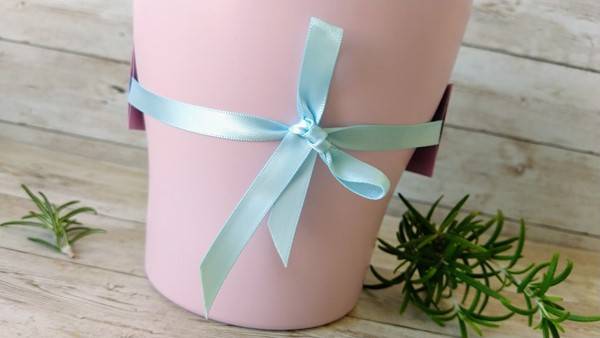
This is the die set and it obviously can be used to make cards, decorate scrapbook pages, add a touch of the garden to memory books etc but today I’m showing you how to use the dies to make a plant gift wrap!

- Garden Greetings Showcase die set
- Craft Perfect Smooth White Card
- Craft Perfect Pearlescent Card, Gleaming Lilac
- Craft Perfect Classic Card, Arctic Blue
- Nuvo Deluxe Adhesive
- Craft Perfect Double Sided Tape
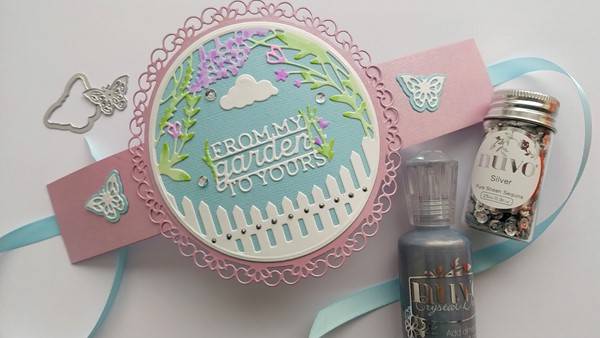
- Silver Sequins
- Liquid Mercury Crystal Drops
- Arctic Blue Double Satin Ribbon, 9mm
- Nuvo Alcohol Markers, Pillow Mint Pea Pod, Sweet Blossom, Violet Breeze and Spring Lilac
Step 1

Cut the pieces you need for the main construction of the box as shown. I’ve opted for a smooth card for this project, as some pieces will be seen from both sides so a textured card (such as Craft Perfect Classic) wouldn’t work so well in this case. I have cut the decorative panel into one of the lid pieces, to allow a battery light to go inside the box and shine through.
Step 2

Snip the two decorative panels off one of the lid pieces as shown. This will create the bottom of the box.
Step 3

Glue the two side panels together, and then adhere these to the base that you have taken the decorative panels off. This will form the main construction of the finished box.
Step 4

Next we’ll assemble the drawer. Cut the large centre glue tab off one of the drawer halves.
Step 5
Glue the two drawer halves together using the large centre glue tab.
Step 6
Fold along all the scores and glue tabs around the drawer sides, and adhere them all. The last step is to glue the second drawer panel inside the box, and this provides additional strength to the drawer, along with hiding all the inner glue tabs.
Step 7

For the lid panel, fold the glue tabs down, and then fold the two decorative front panels up along the score lines. Glue the decorative panels together at the front to create the front face of the box.
Step 8

Die cut a piece of Vintage White Vellum Paper using the smaller hexagonal die, and adhere this to the underside of the lid piece. This allows you to add a battery tea light or string lights inside the box, and the glow will be seen through the detail cut into the lid.
Step 9

To help get the lid of the box in the perfect position, I find it easier to sit the drawer into the box, and then glue the lid over the top of it. This will ensure that there is enough room for the drawer to move in and out of the box once it is assembled.
Step 10
Now that the basic box is constructed, it’s time to decorate! I’ve gone for one of my favourite colour schemes for this: Burnished Rose Satin Mirror and Platinum Rose Mirror Card. There are many different pattern options to choose from, here I’ve chosen a more open pattern so you can see plenty of the Burnished Rose card in the background. I have also cut a hexagonal panel of Platinum Rose to line the inside of the drawer, as this will help reflect the tea light or lights you place in the box later.
Step 11
To help get the lid of the box in the perfect position, I find it easier to sit the drawer into the box, and then glue the lid over the top of it. This will ensure that there is enough room for the drawer to move in and out of the box once it is assembled.
Step 12
Now that the basic box is constructed, it’s time to decorate! I’ve gone for one of my favourite colour schemes for this: Burnished Rose Satin Mirror and Platinum Rose Mirror Card. There are many different pattern options to choose from, here I’ve chosen a more open pattern so you can see plenty of the Burnished Rose card in the background. I have also cut a hexagonal panel of Platinum Rose to line the inside of the drawer, as this will help reflect the tea light or lights you place in the box later.
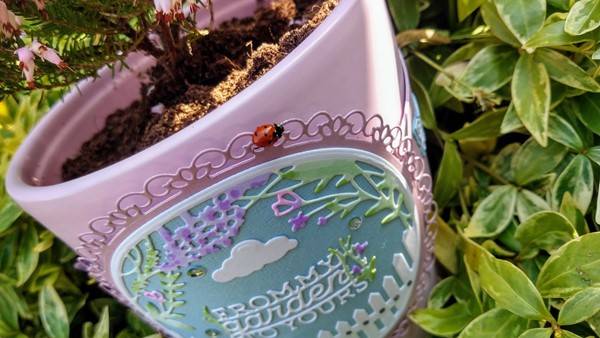
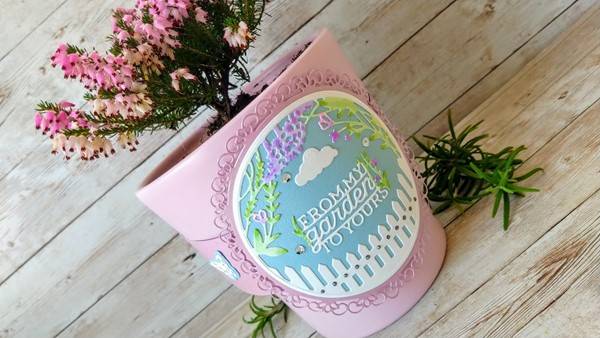
I thought I’d share one last photo….when I took the plant outside to take a photo a little ladybird (the first one I’ve seen this year!) appeared from the periwinkle plant and climbed onto my plant pot for an impromptu photo shoot!
Buy The Craft Project