 Gem Rewards
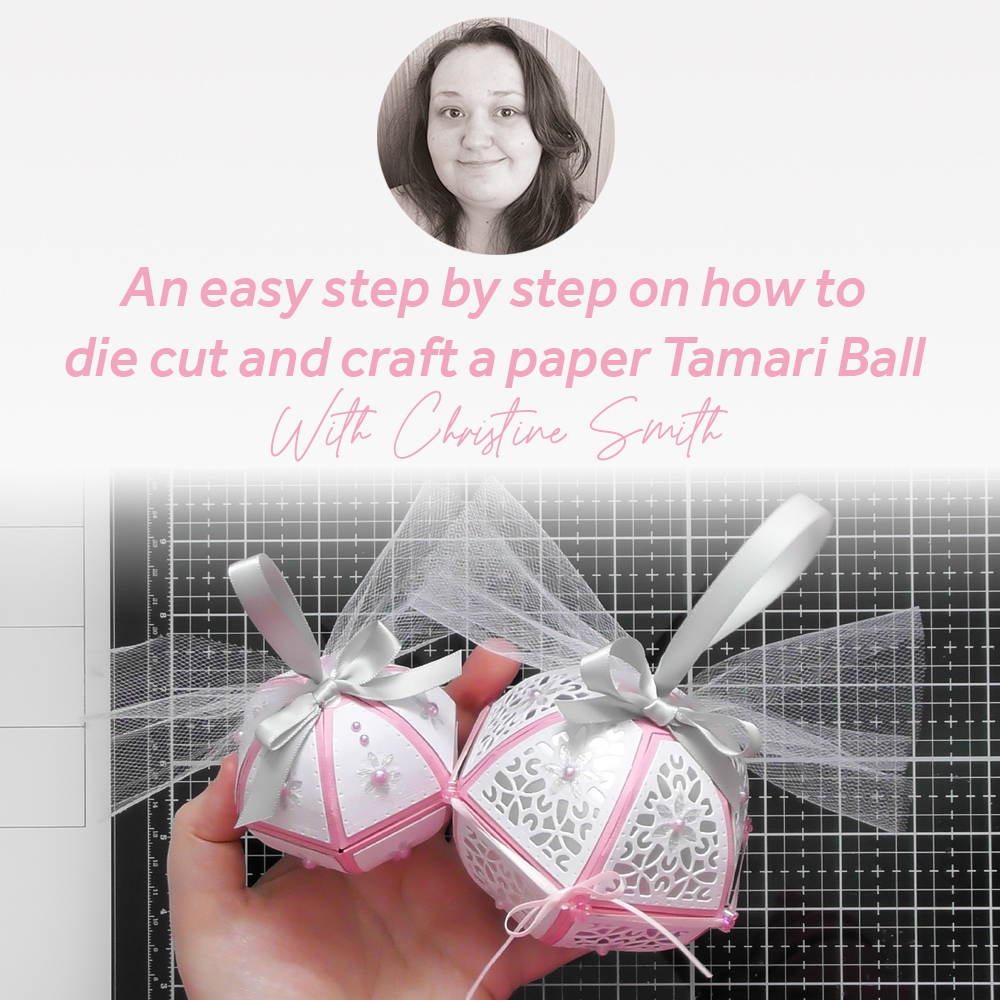
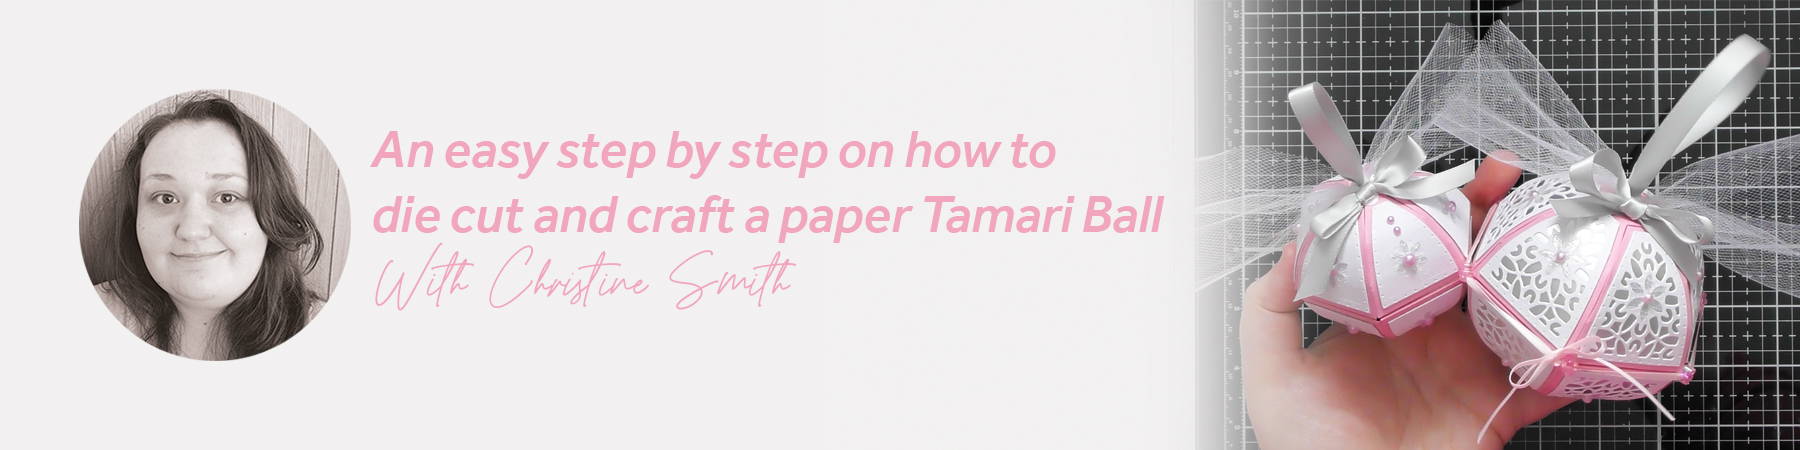
The Moroccan Lanterns are so fun to make, and I love that you have the 2 versions, both are able to be hung, but one design has a flat base to stand on too. However the lantern with the rounded base can actually be used to create these adorable Tamari Balls, And the top and bottom domes of the lantern are different sizes which gives you 2 options for the Tamari Balls too :D I’m actually going to make some of both sizes for my Christmas tree this year and treat them as baubles :D In the step by step I show how to make the smaller version, but if you skip to Step 15, you’ll see a size comparison between the two
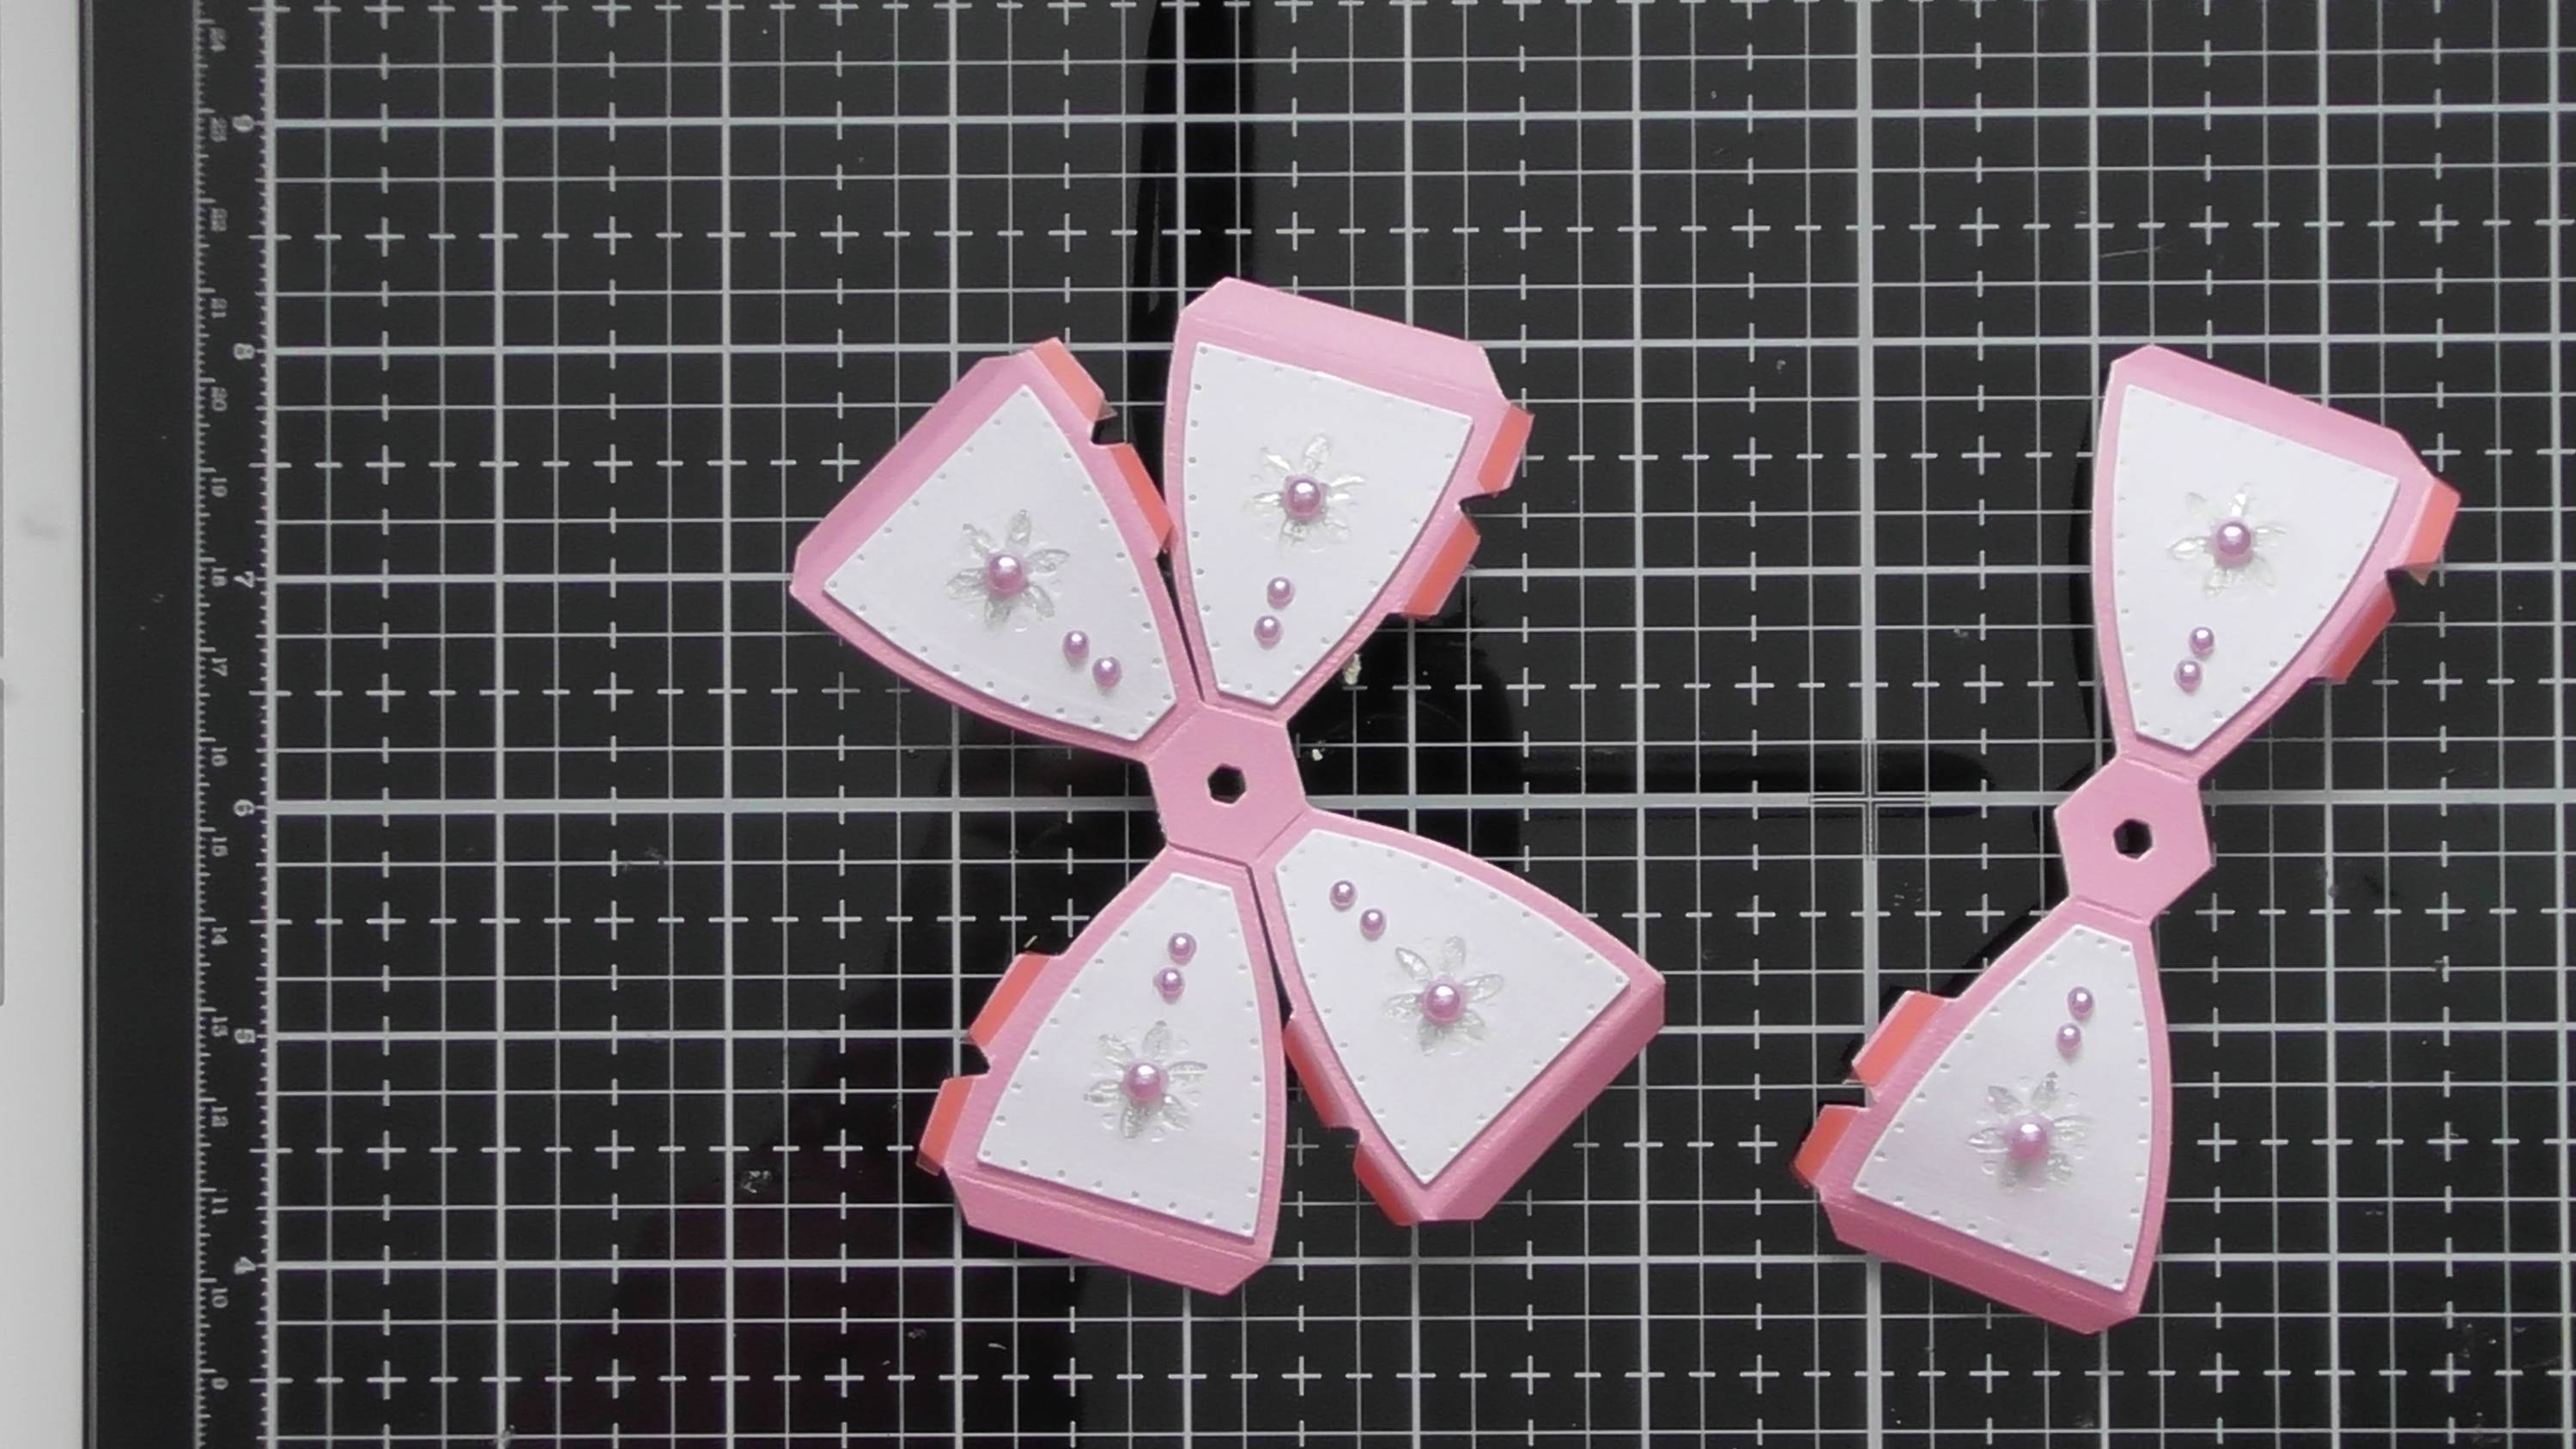
Step 1
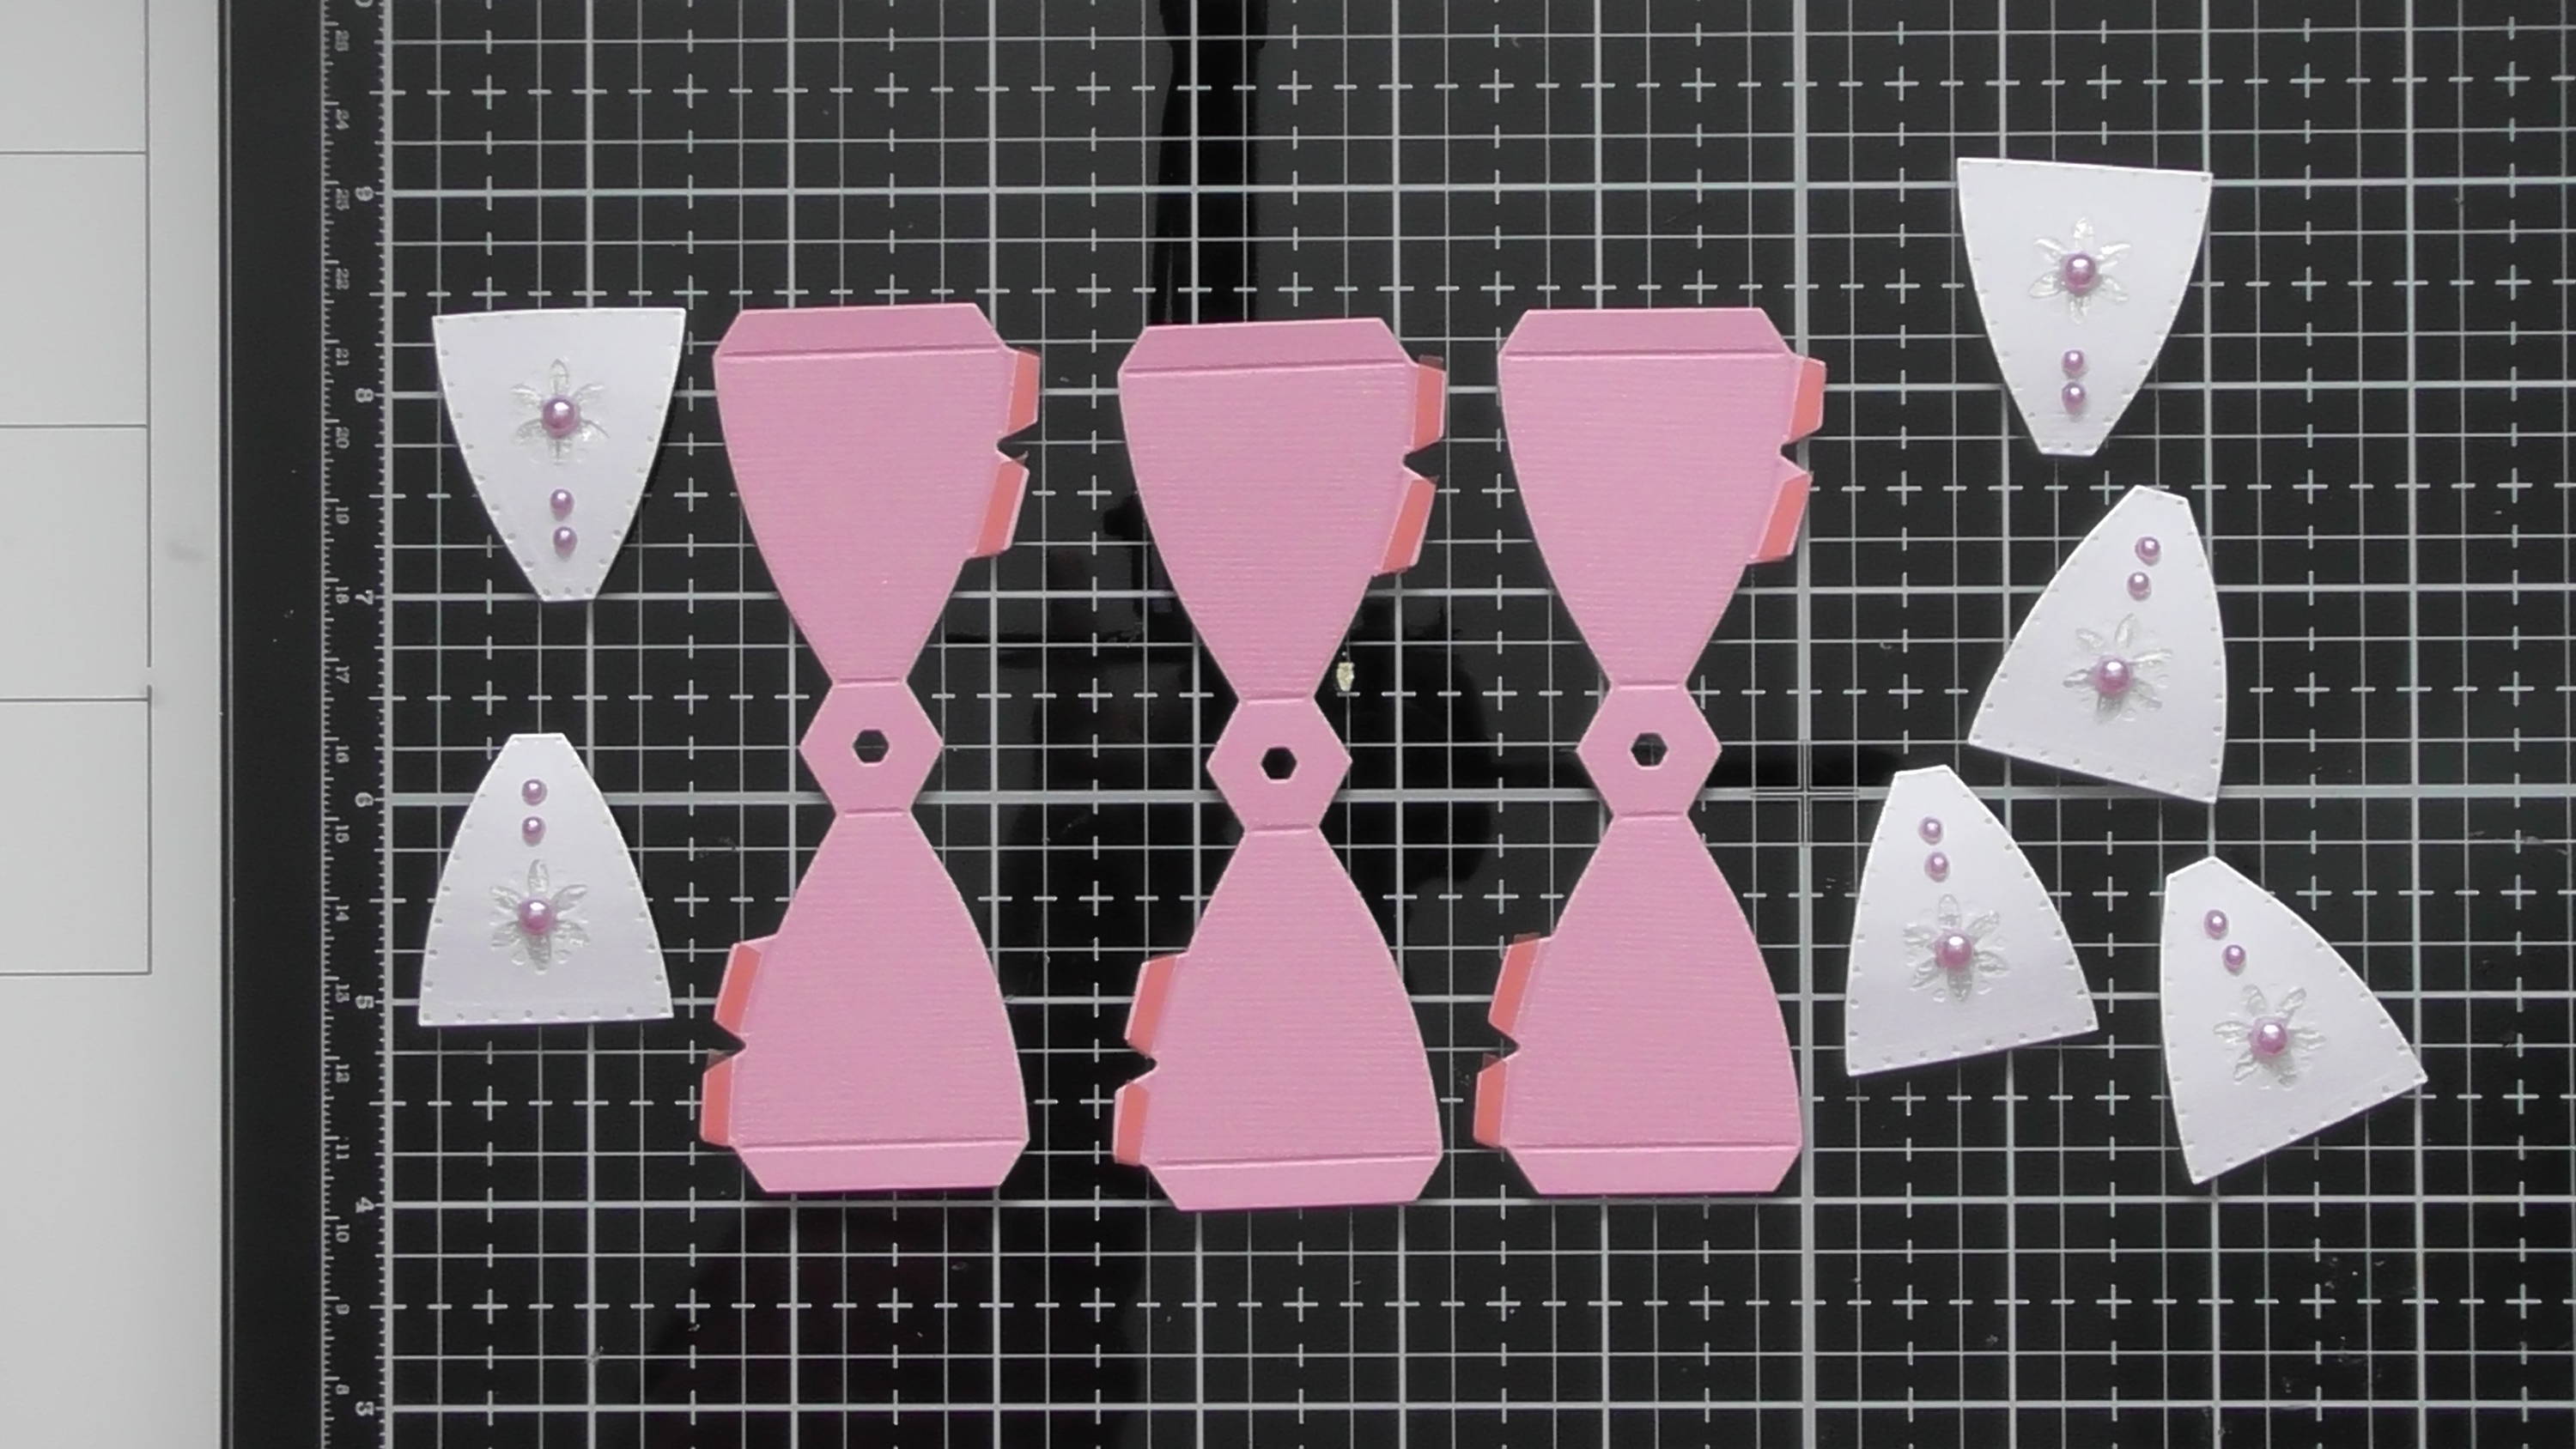
To create the top half of the Tamari Ball you’ll need 3 of the ‘propeller looking’ pieces and 6 decorative panels. This would be the same if you’re making the larger size too, the step by step will work for both sizes
Step 2
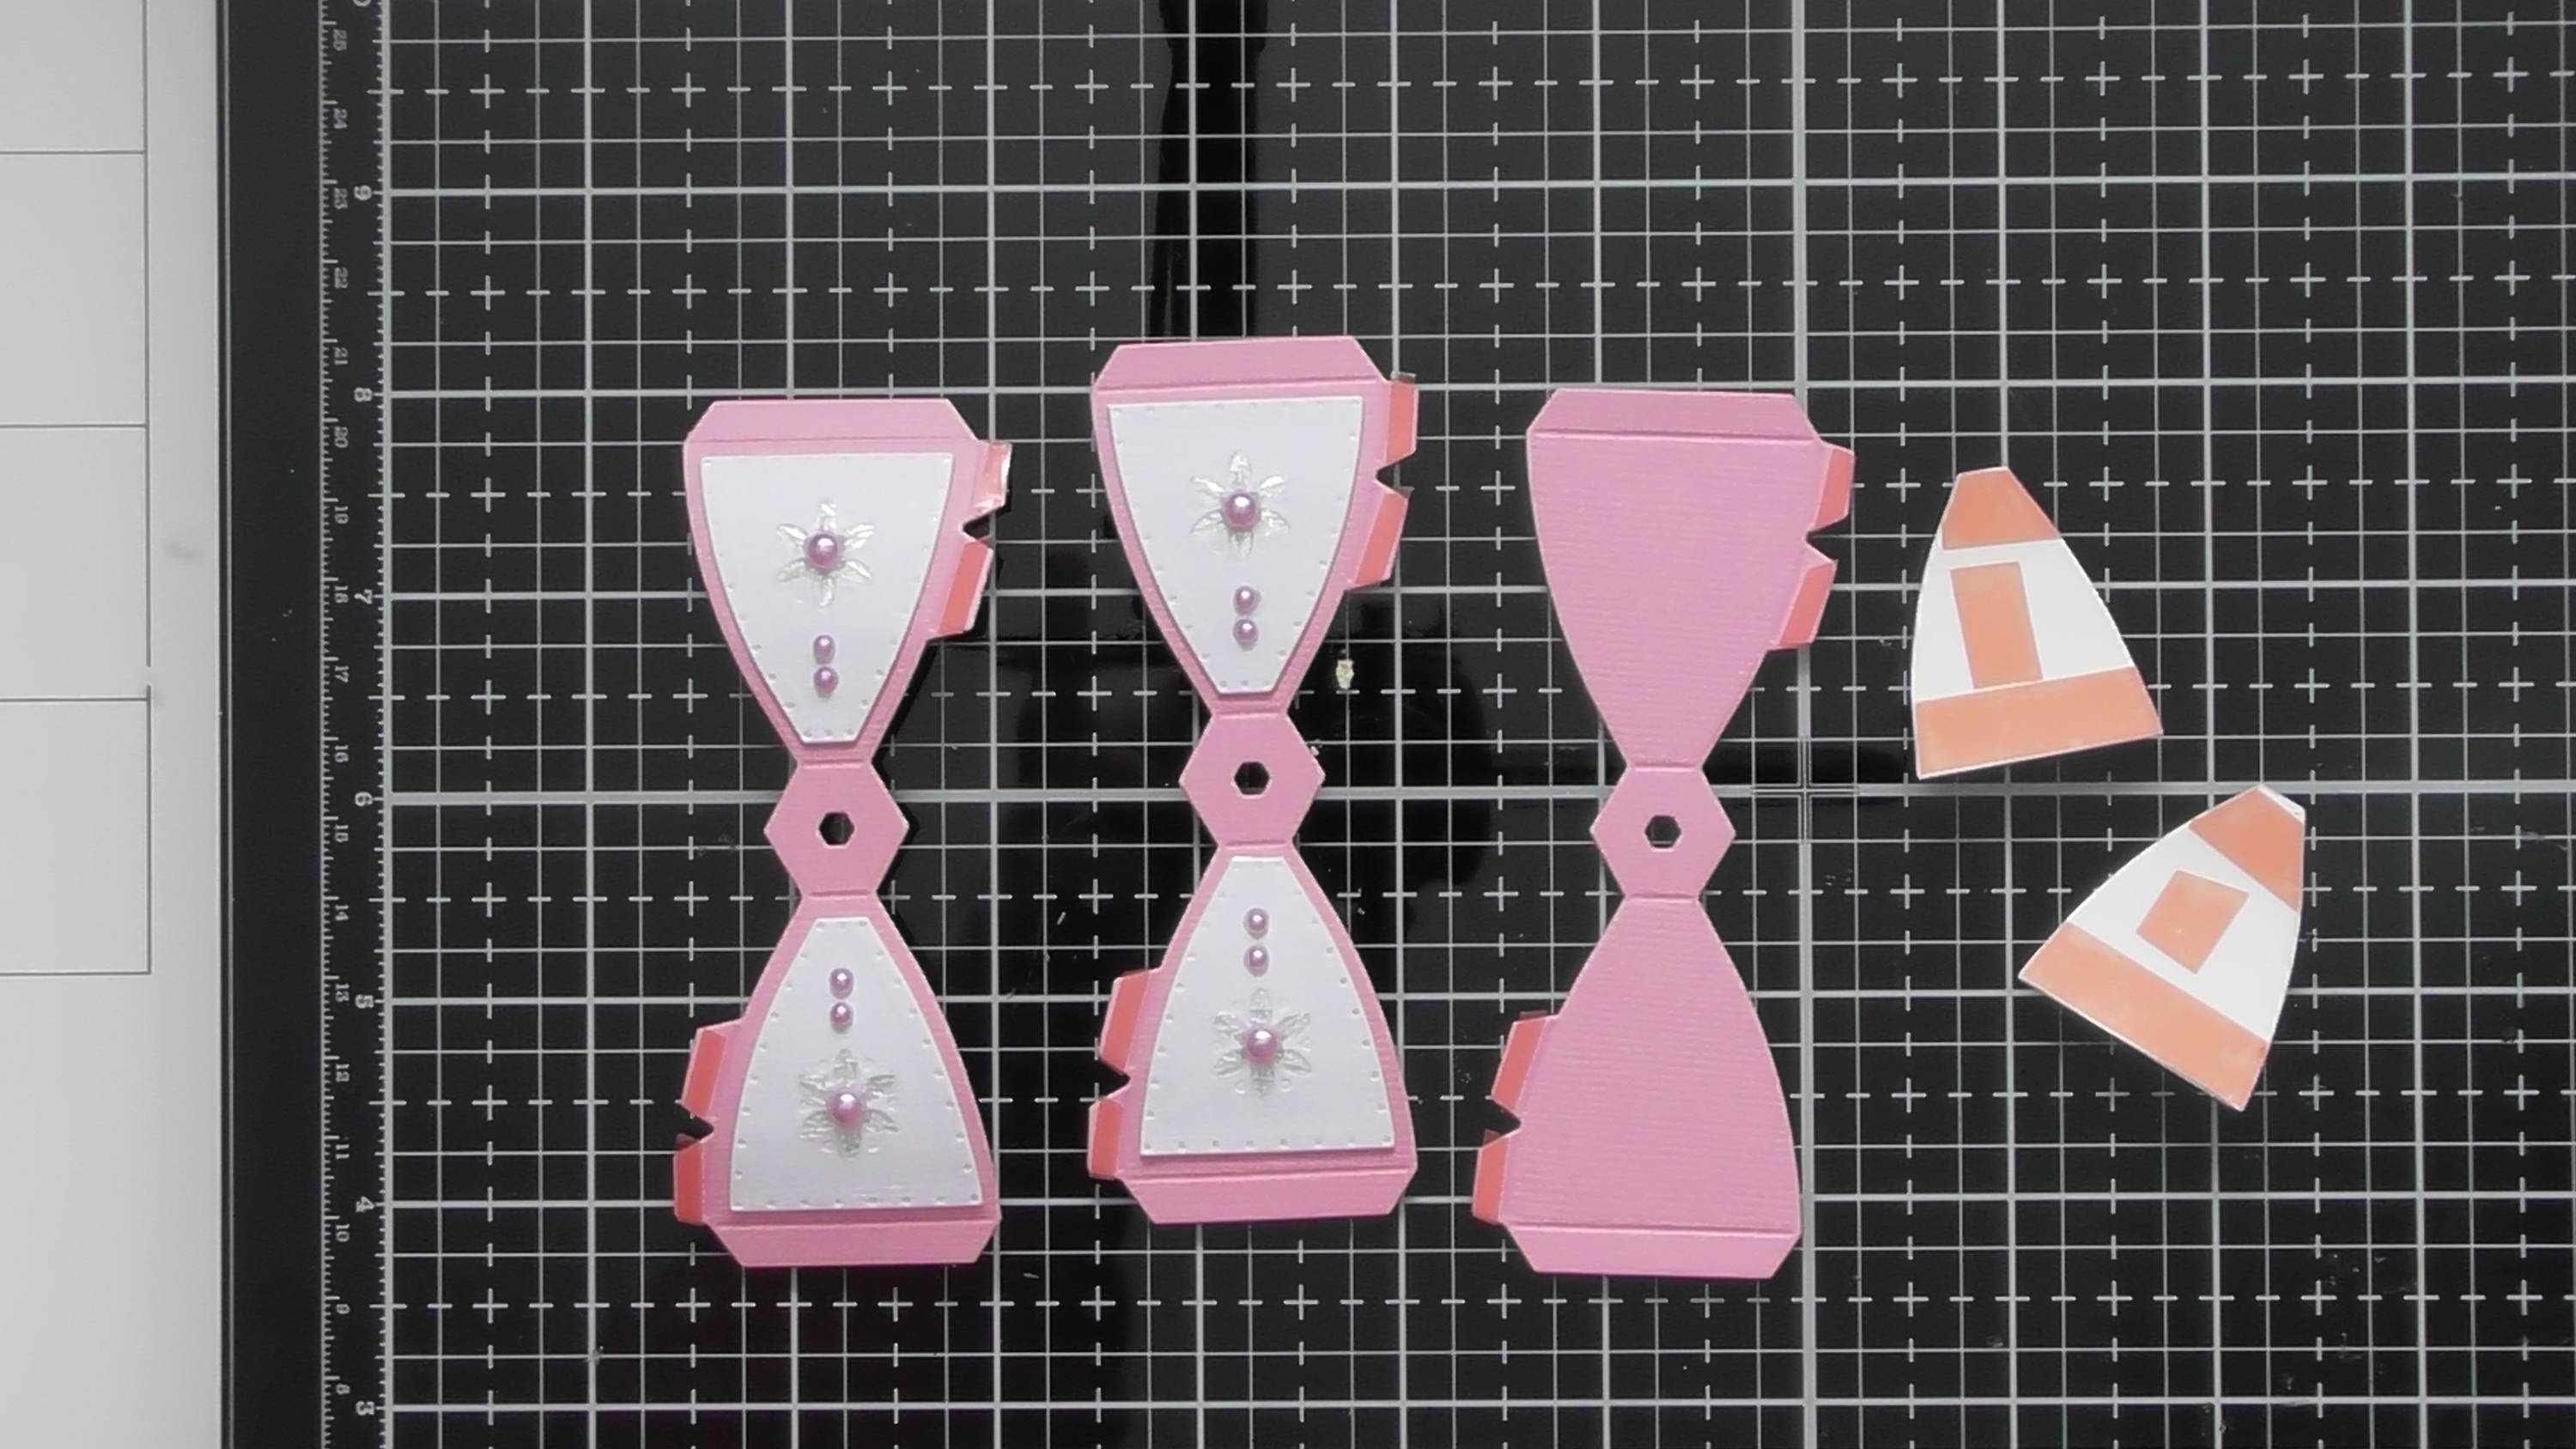
Add red liner tape as shown, and when you’re attaching the panels use plenty of tape and butt it right up to the edges, these pieces will be curved and we want them to stay well stuck down.
Step 3
Gently mould your pieces into a slight curve and begin sticking them together in the centre as shown.
Step 4
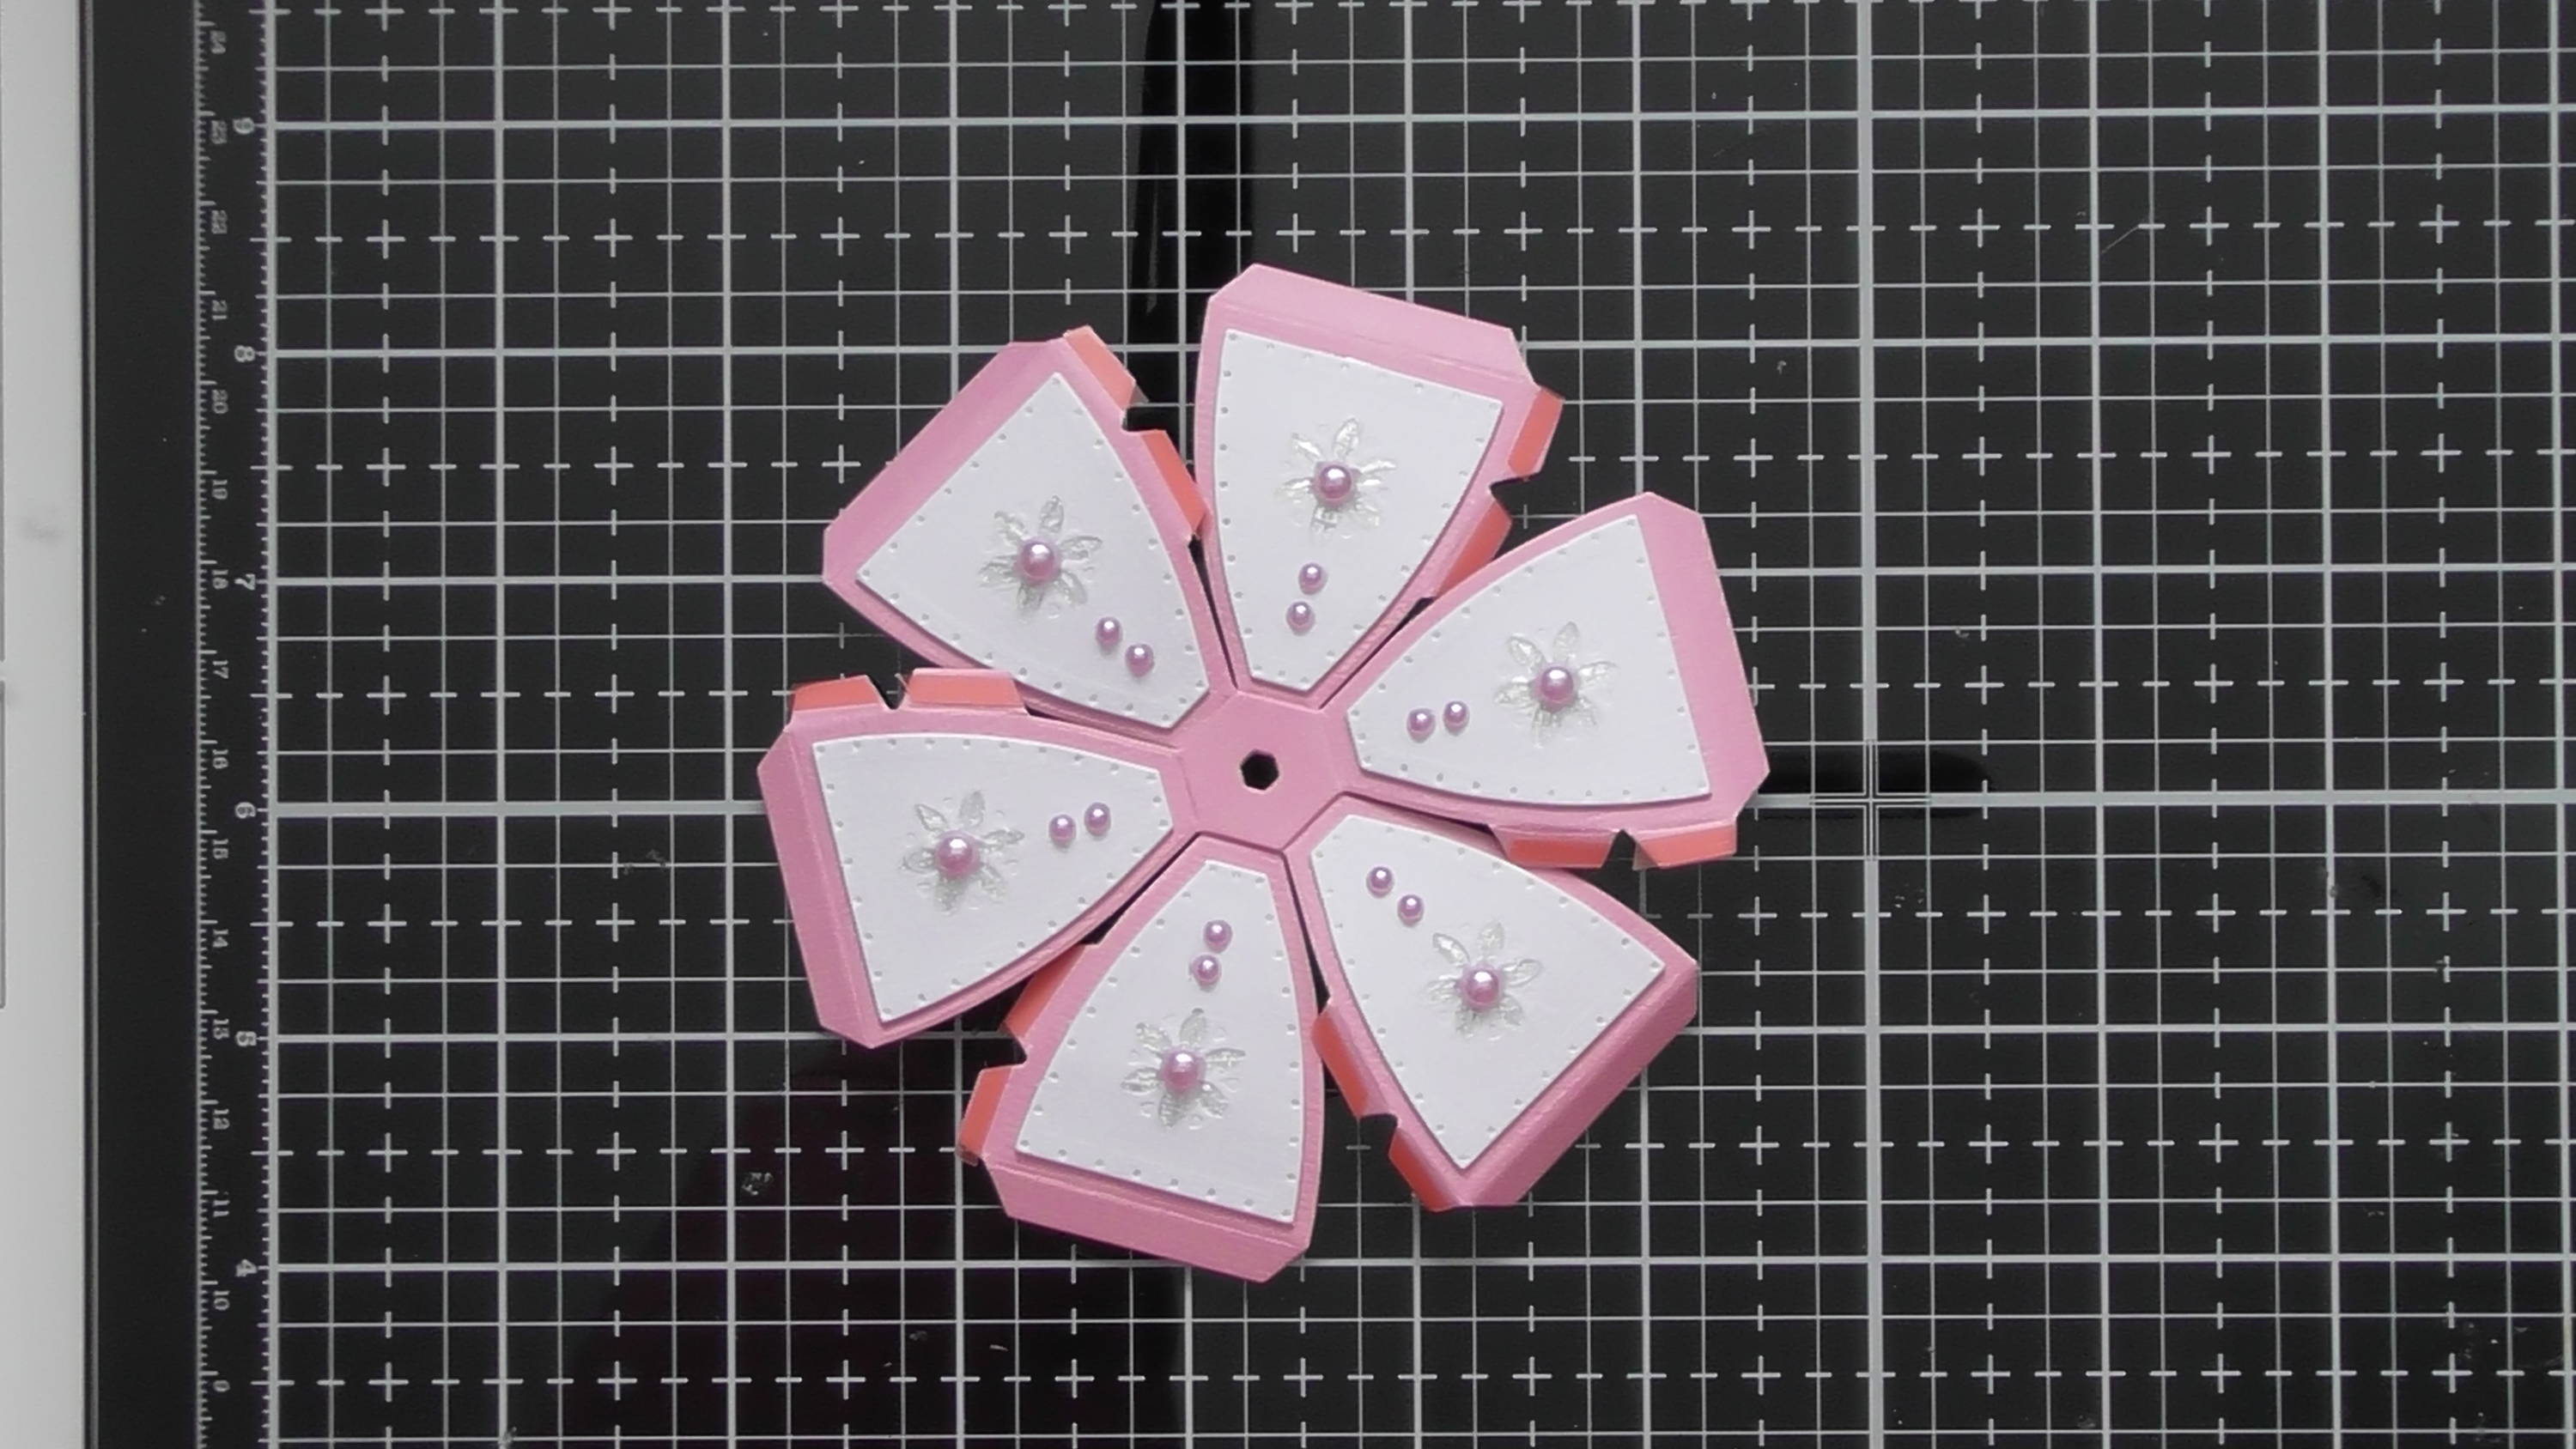
You’ll then have a half sphere piece ready that’ll look like this, and again you can manipulate the edges to curve as this will become a dome. The 216gsm Craft Perfect curve is a lovely weight for these domes.
Step 5
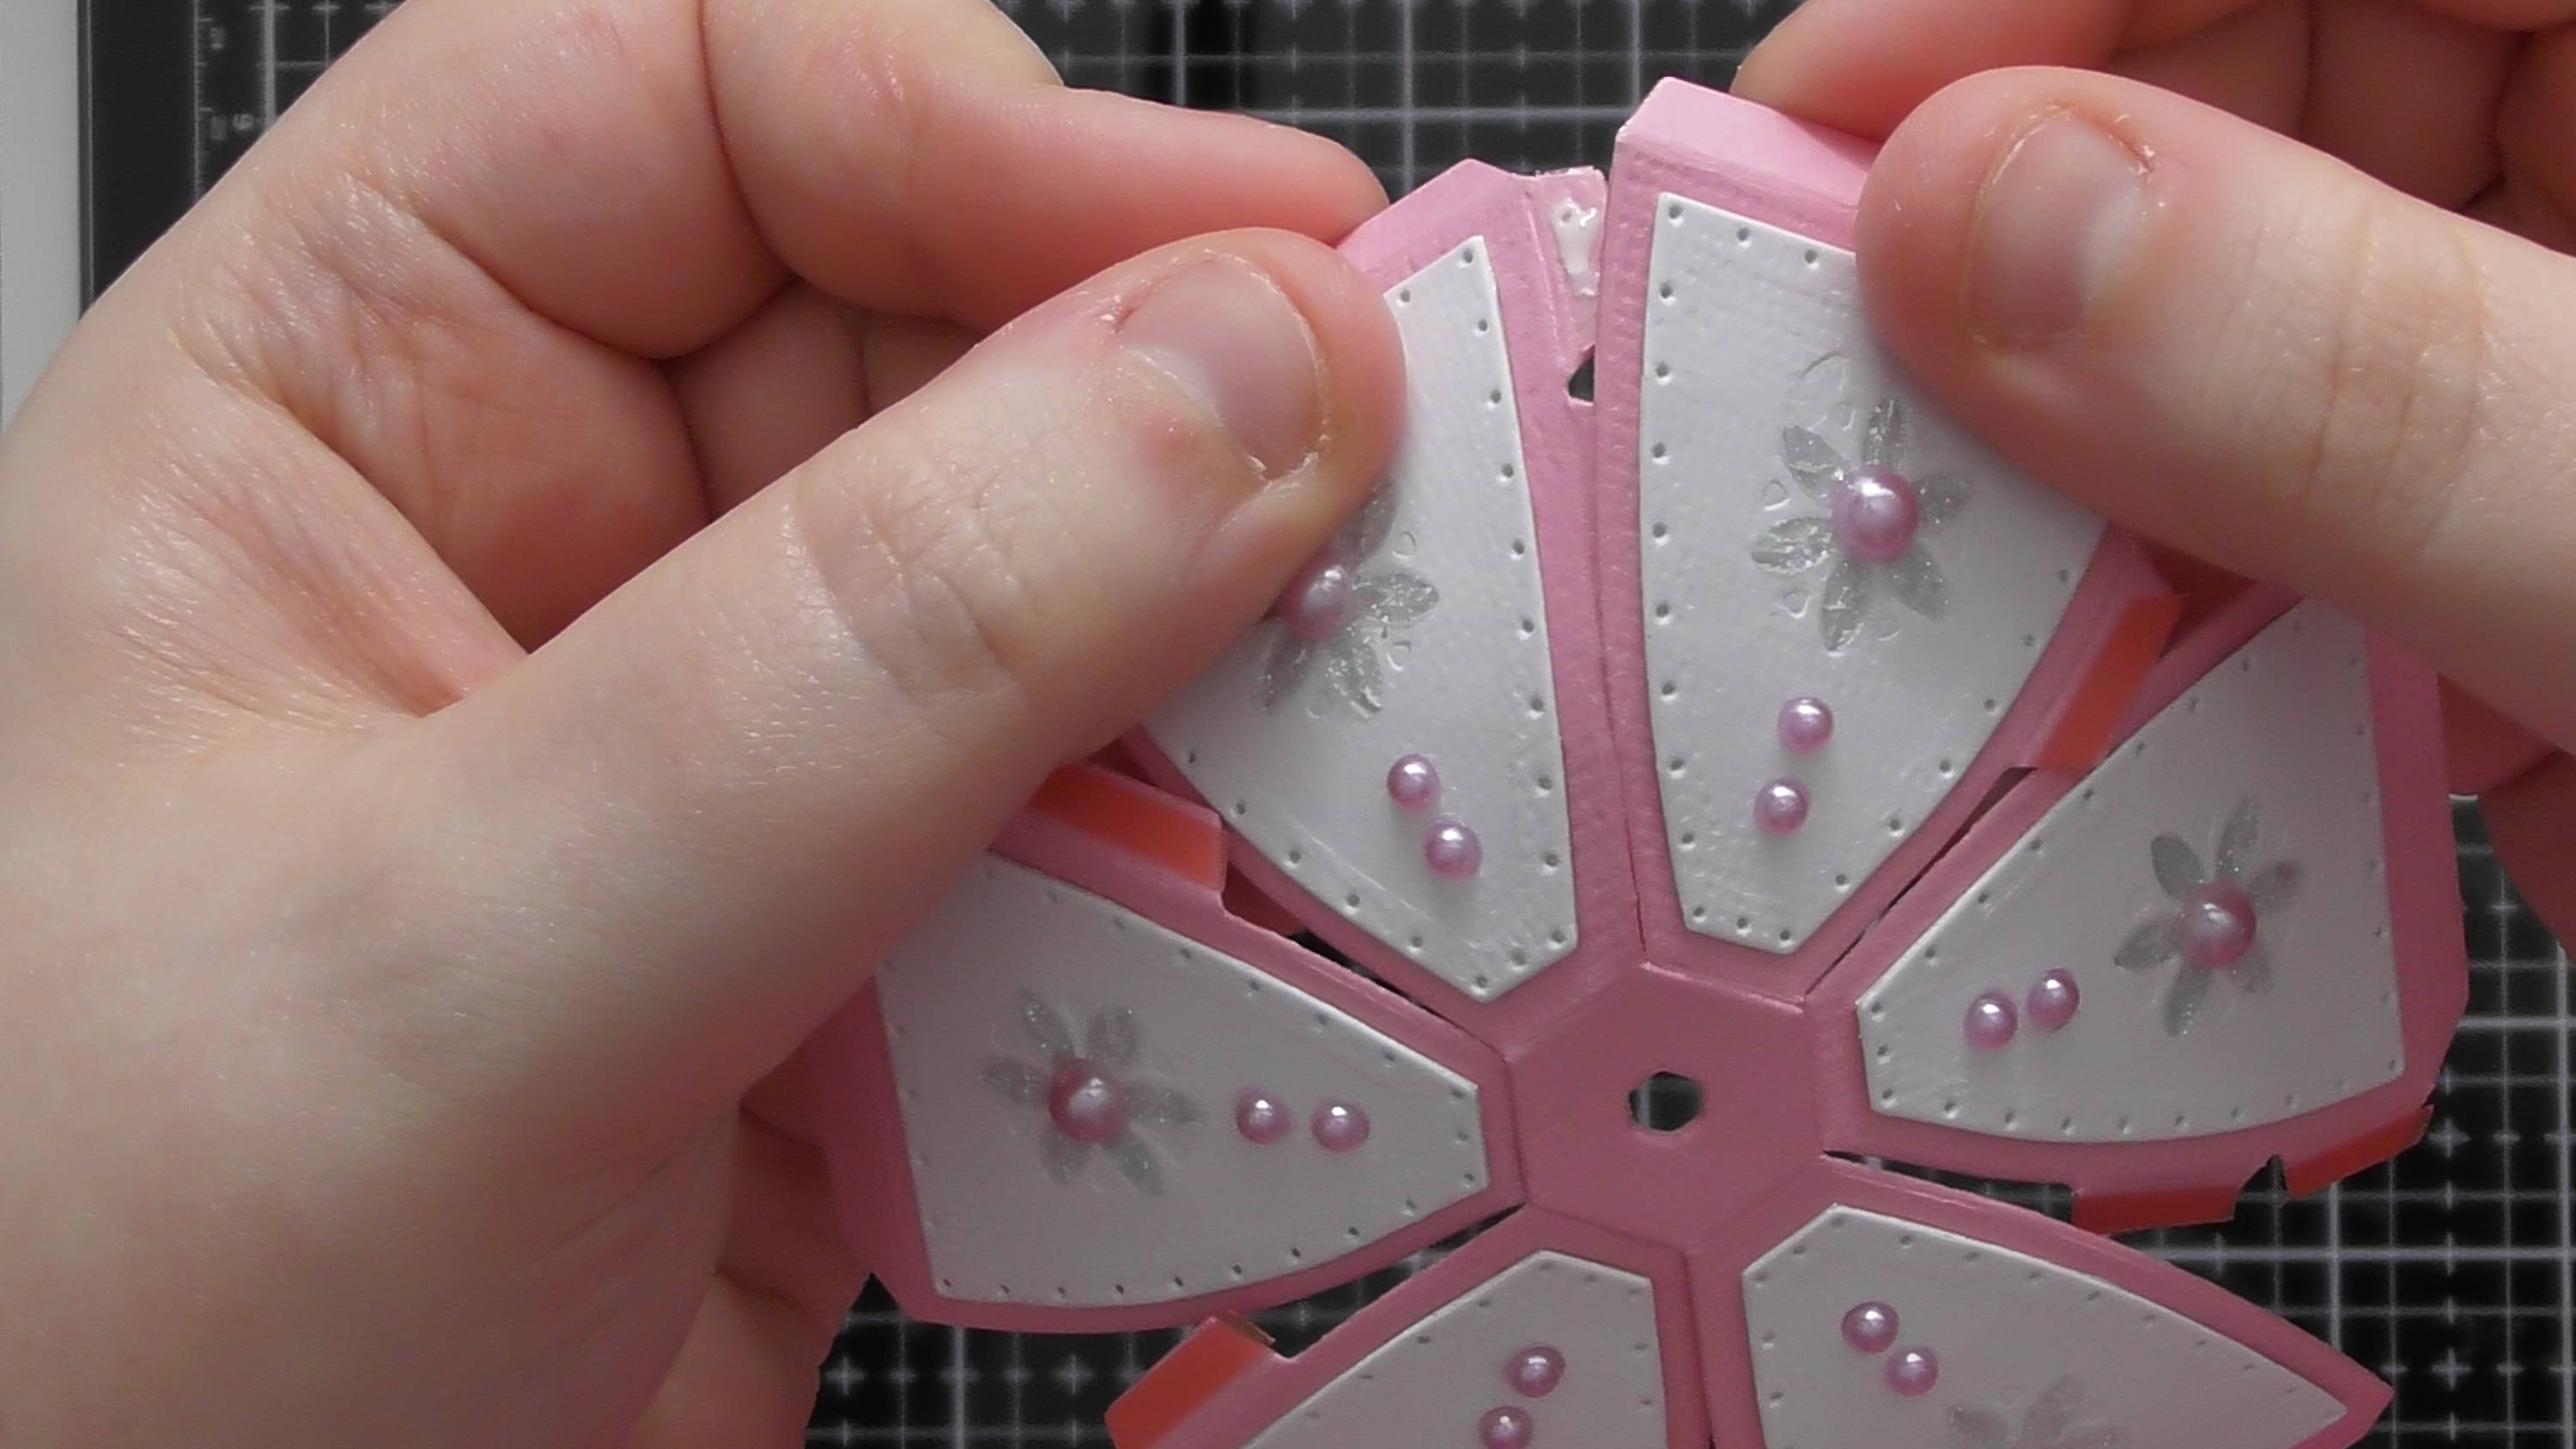
Take the backing off the glue tabs, and add glue too so an extra strong bond, and begin to assemble as shown
Step 6
keep going all the way around
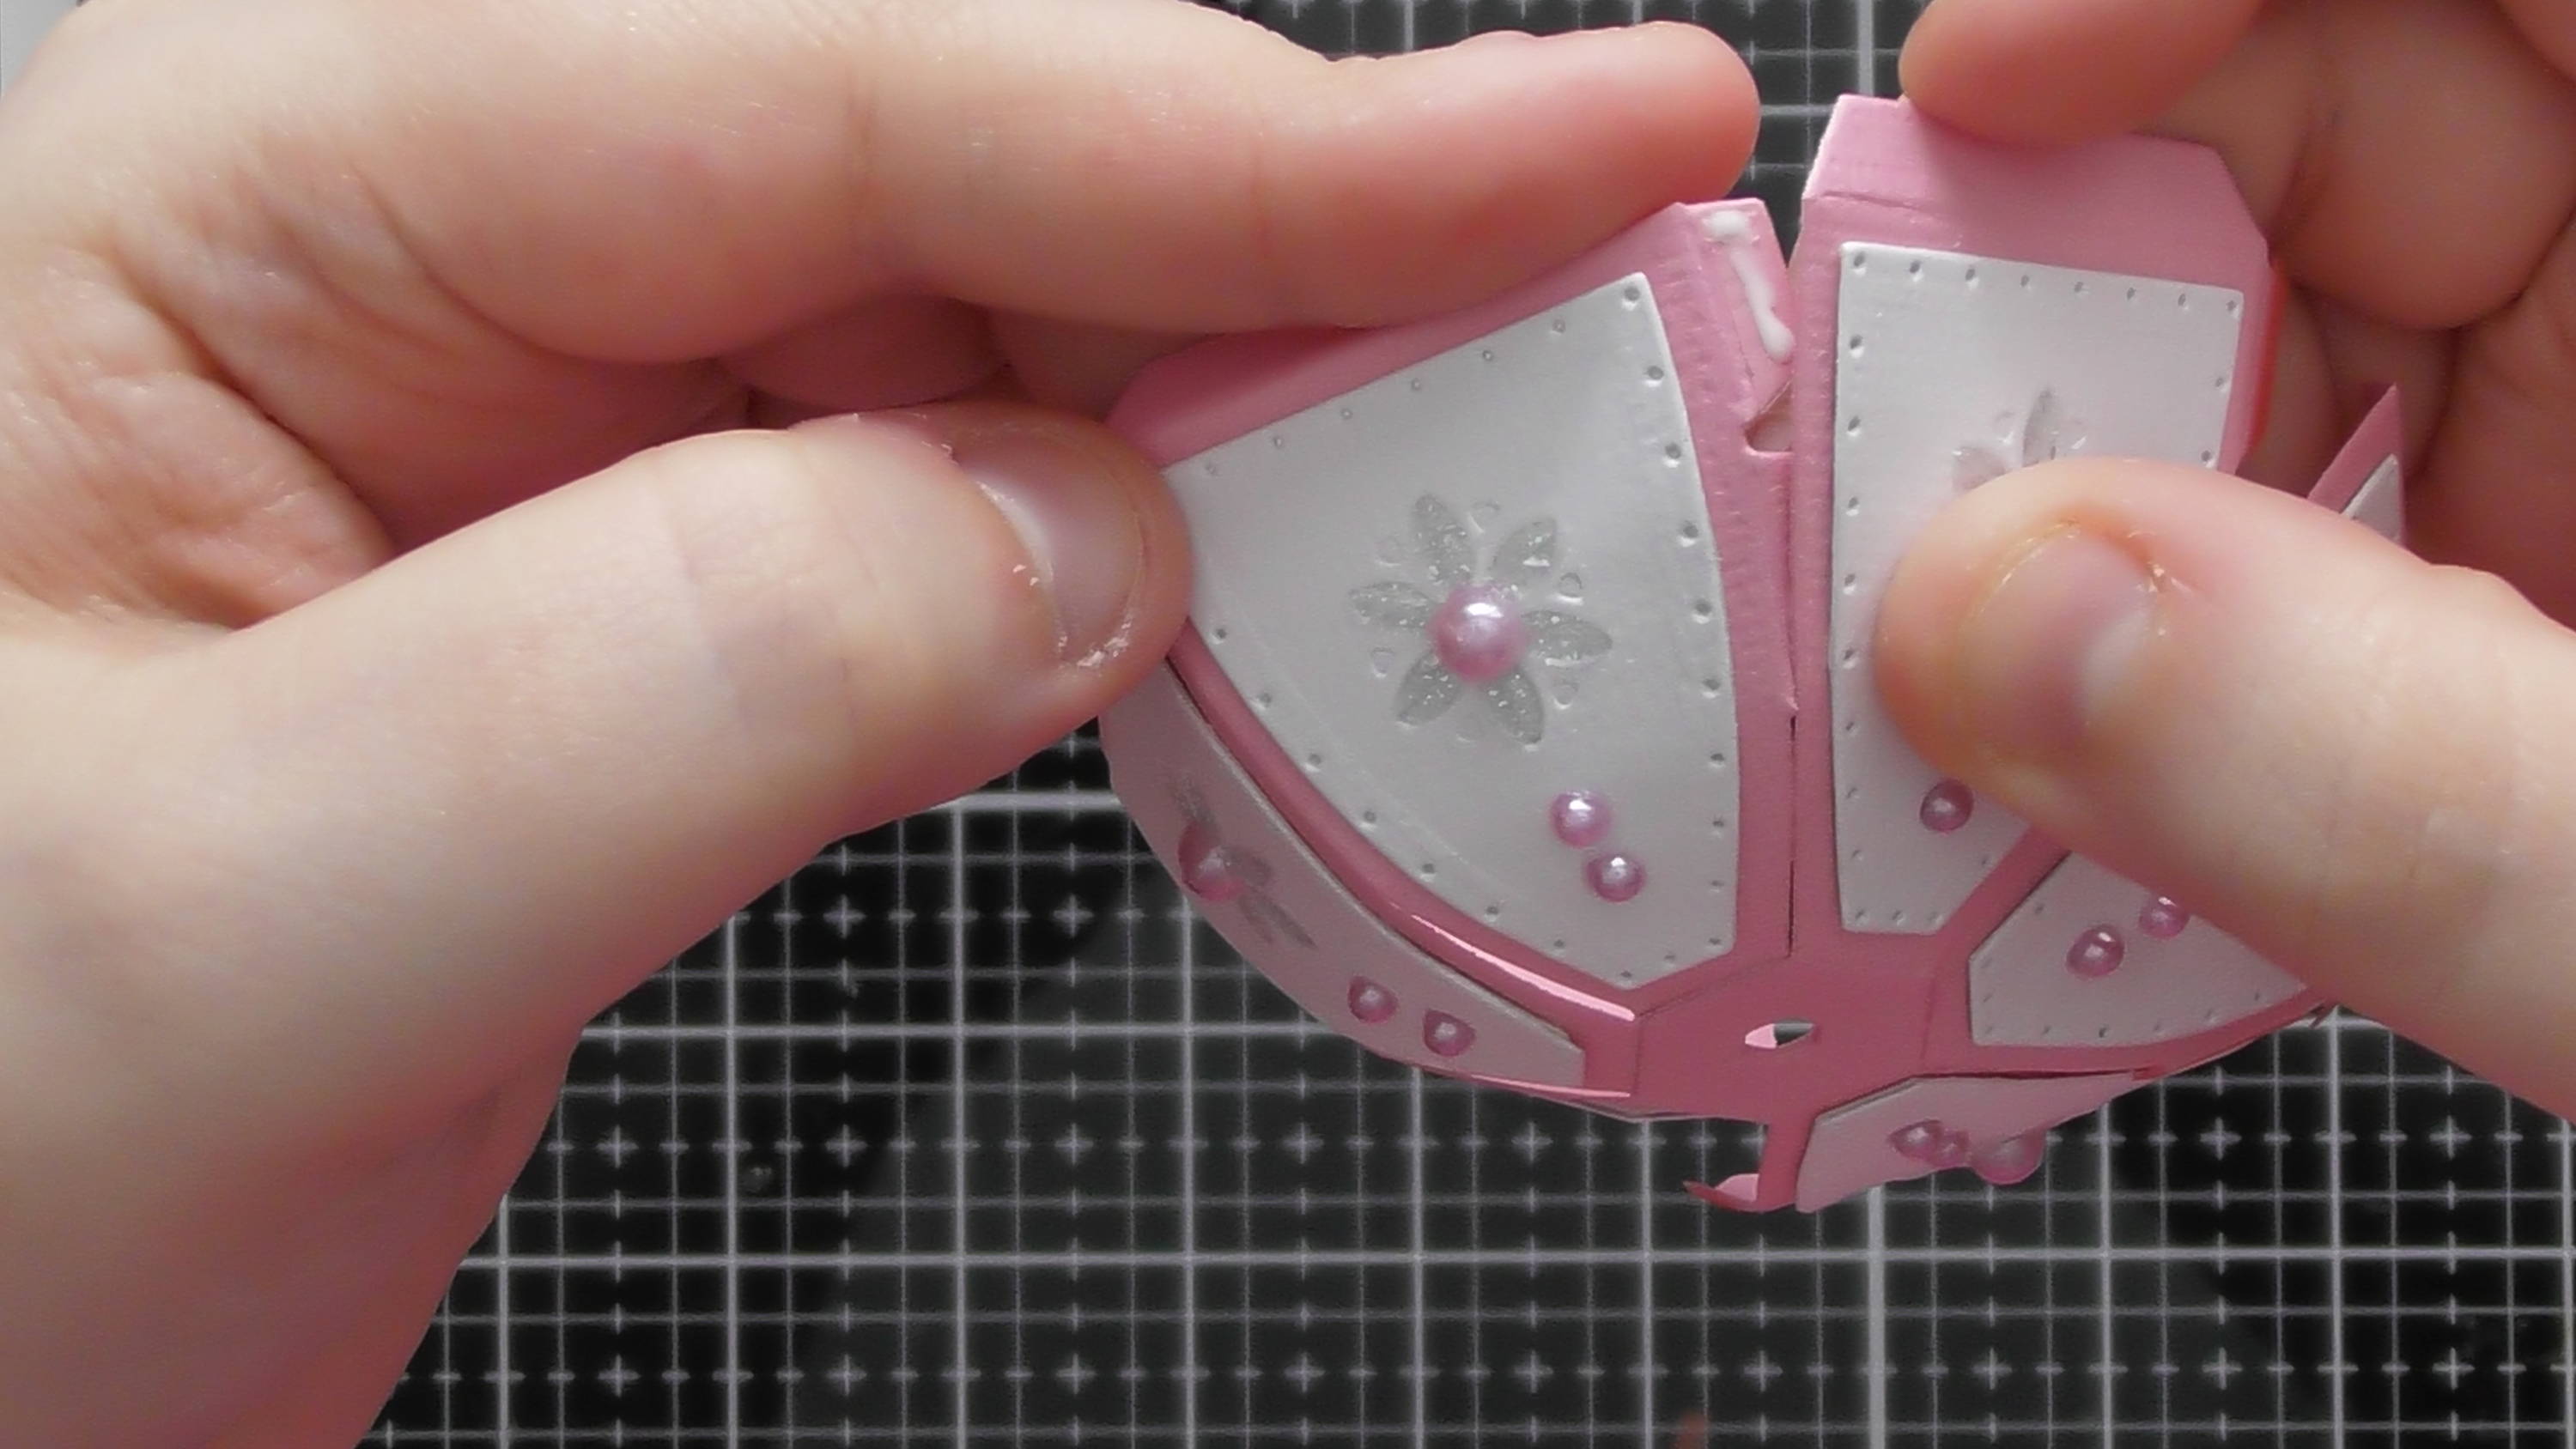
Step 7

and you can even use tiny pegs to hold those outer glue tabs to make sure they hold nicely.
Step 8
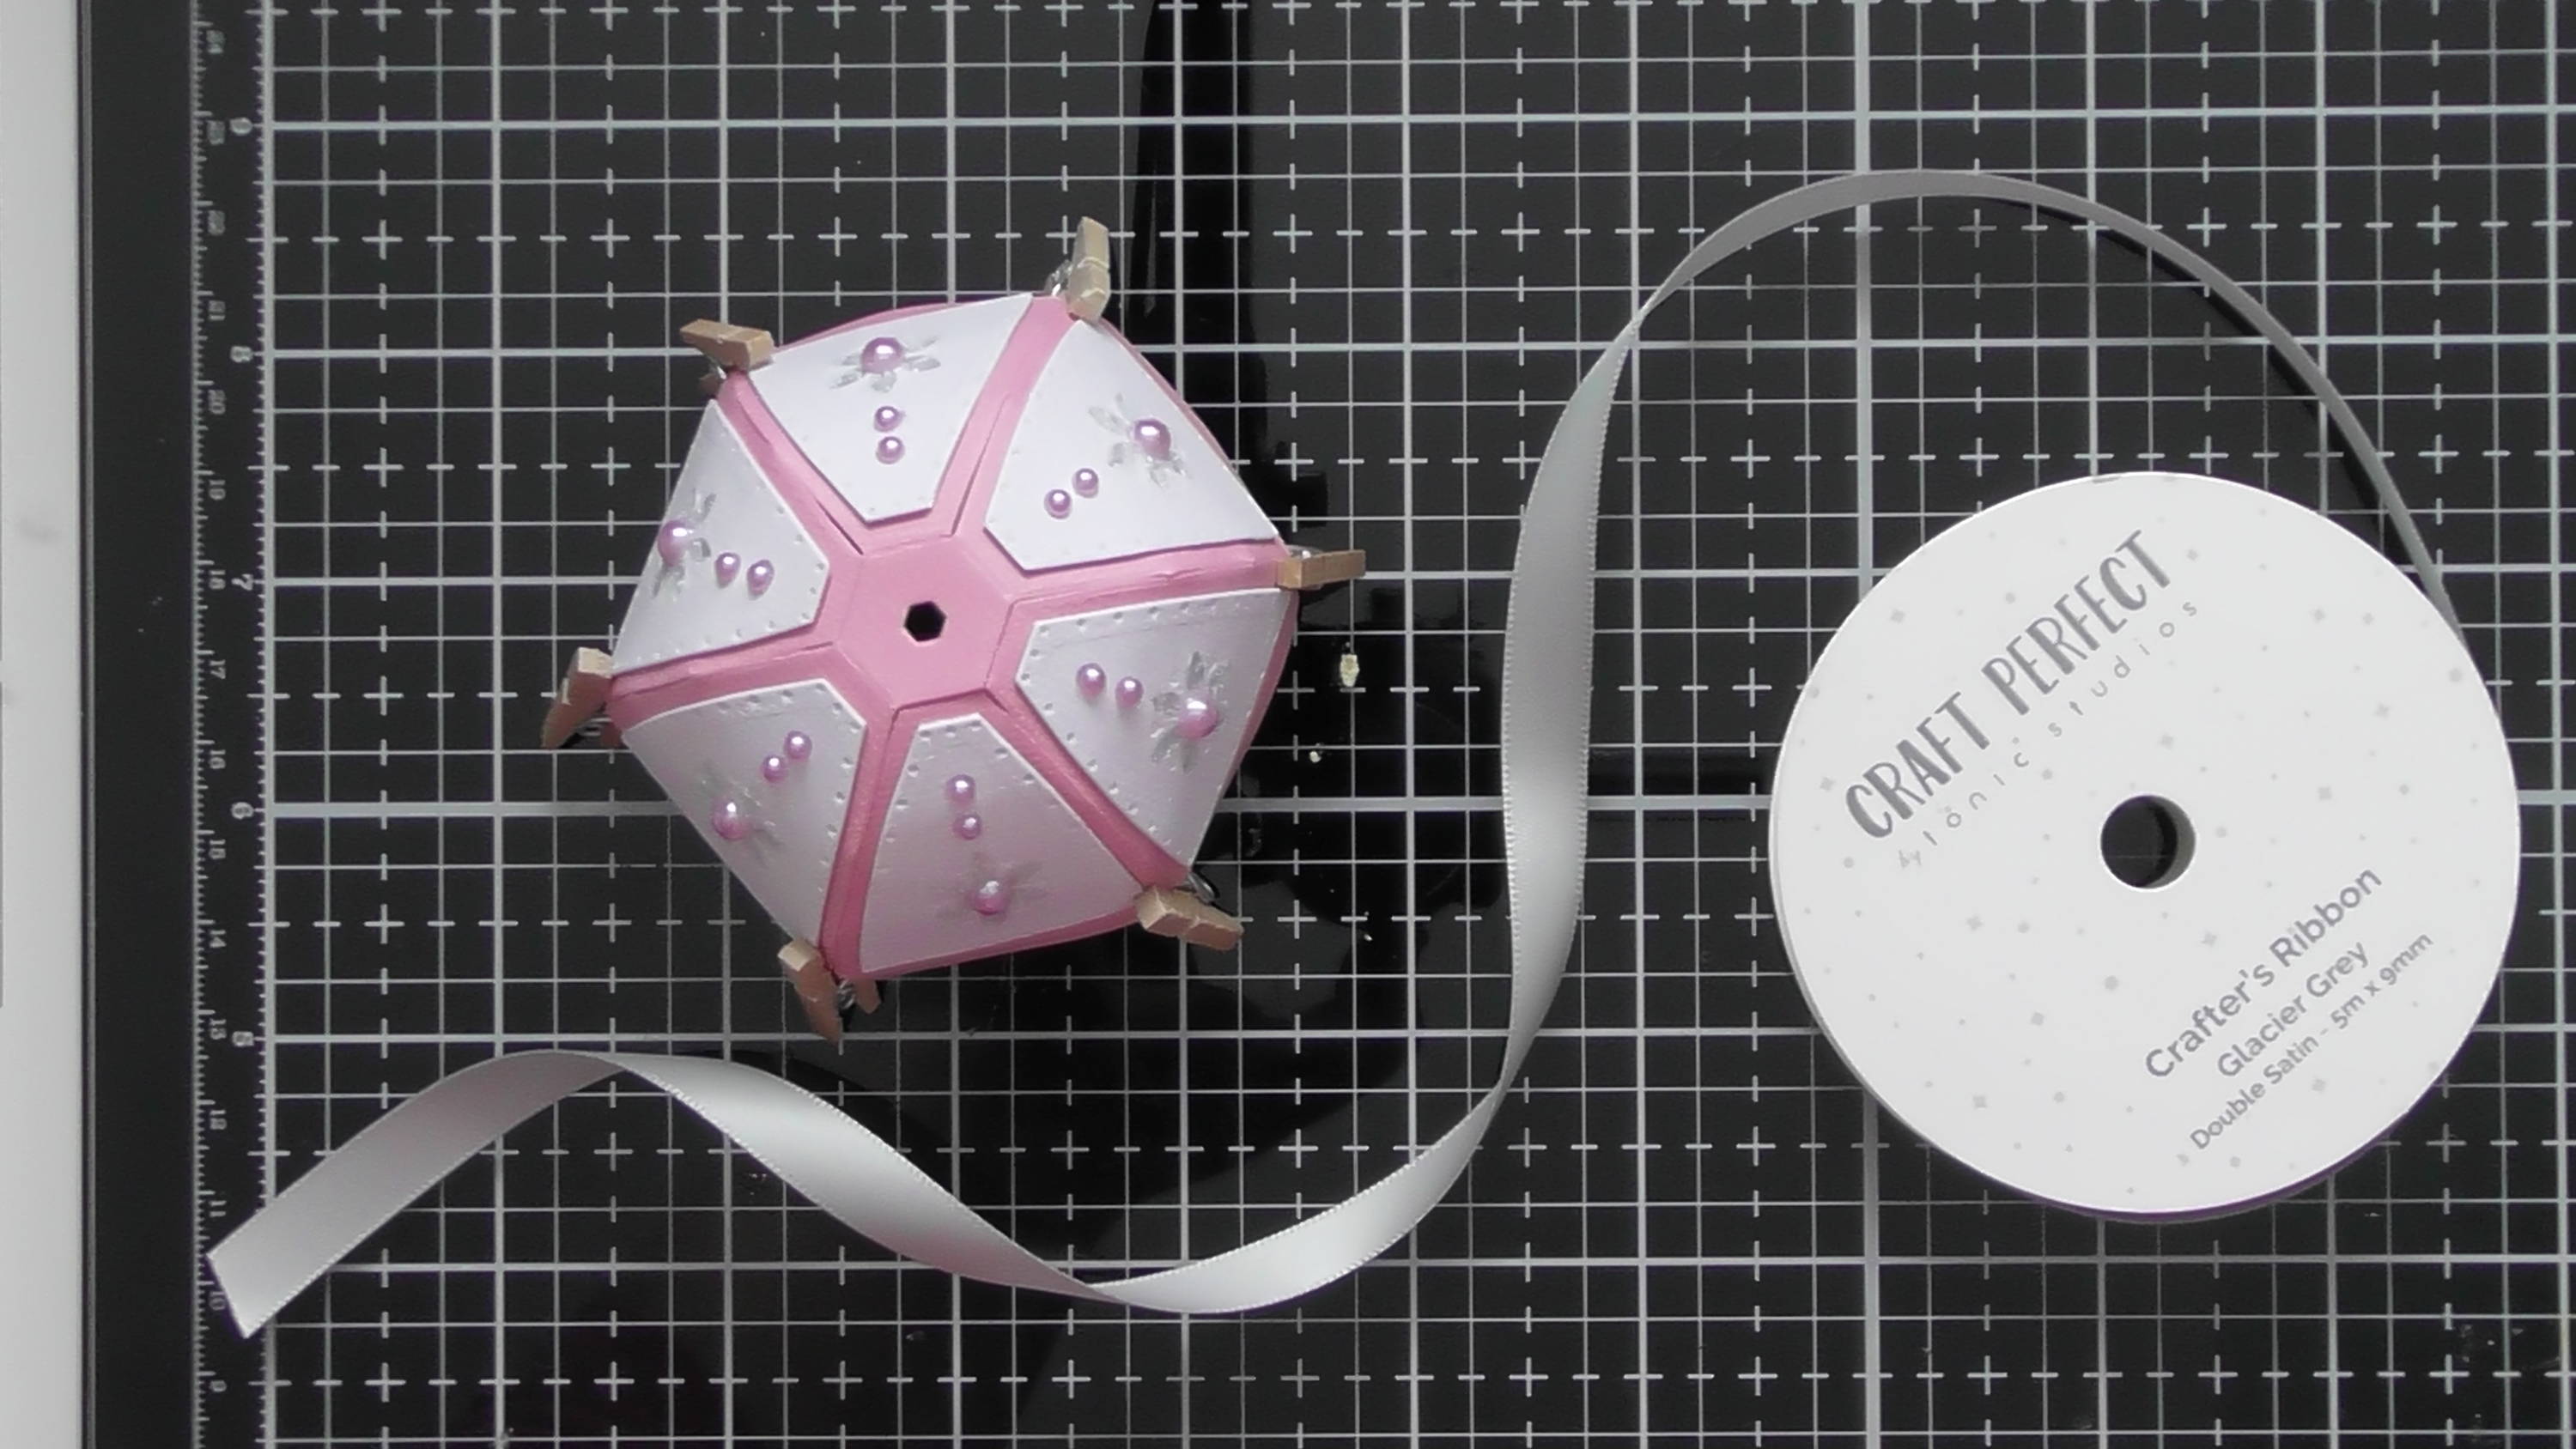
Now we’re at this point, you’ll want to add ribbon at the top to hang the Tamari Ball by; I used some of the new Craft Perfect 9mm ribbon
Step 9
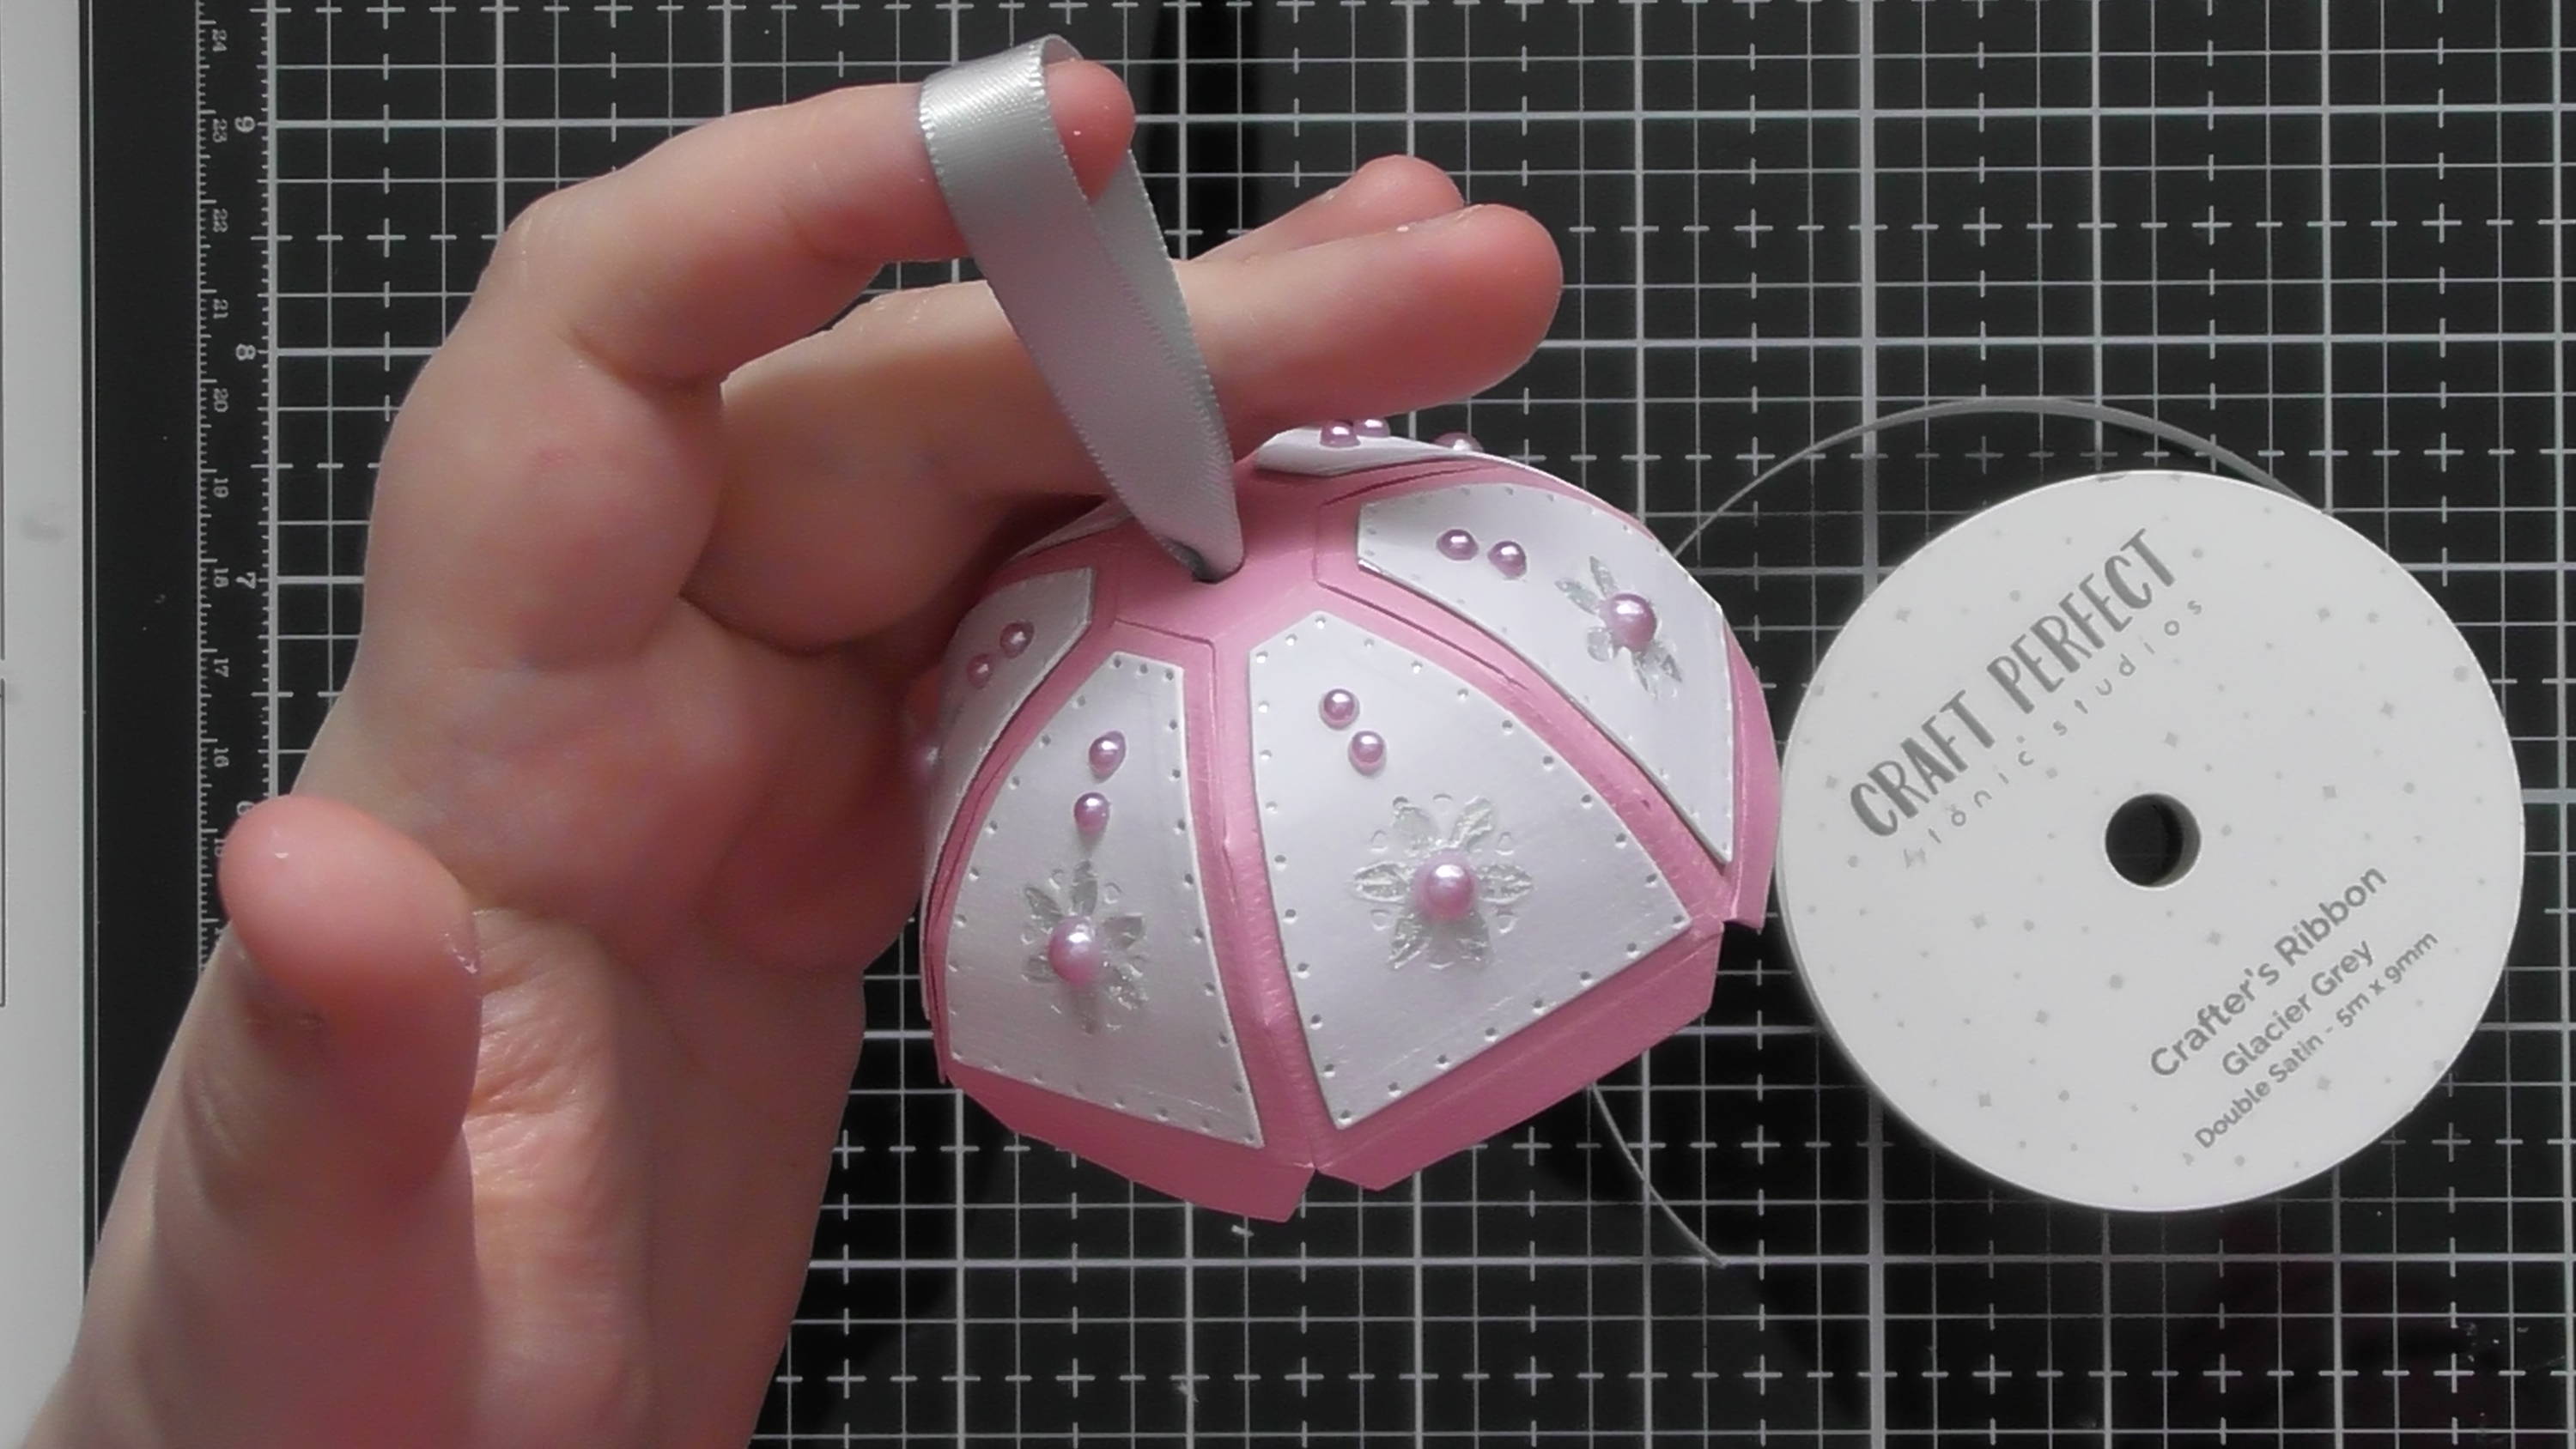
Simply make a loop and tie a knot at the bottom, then thread the top of the loop through the top hole.
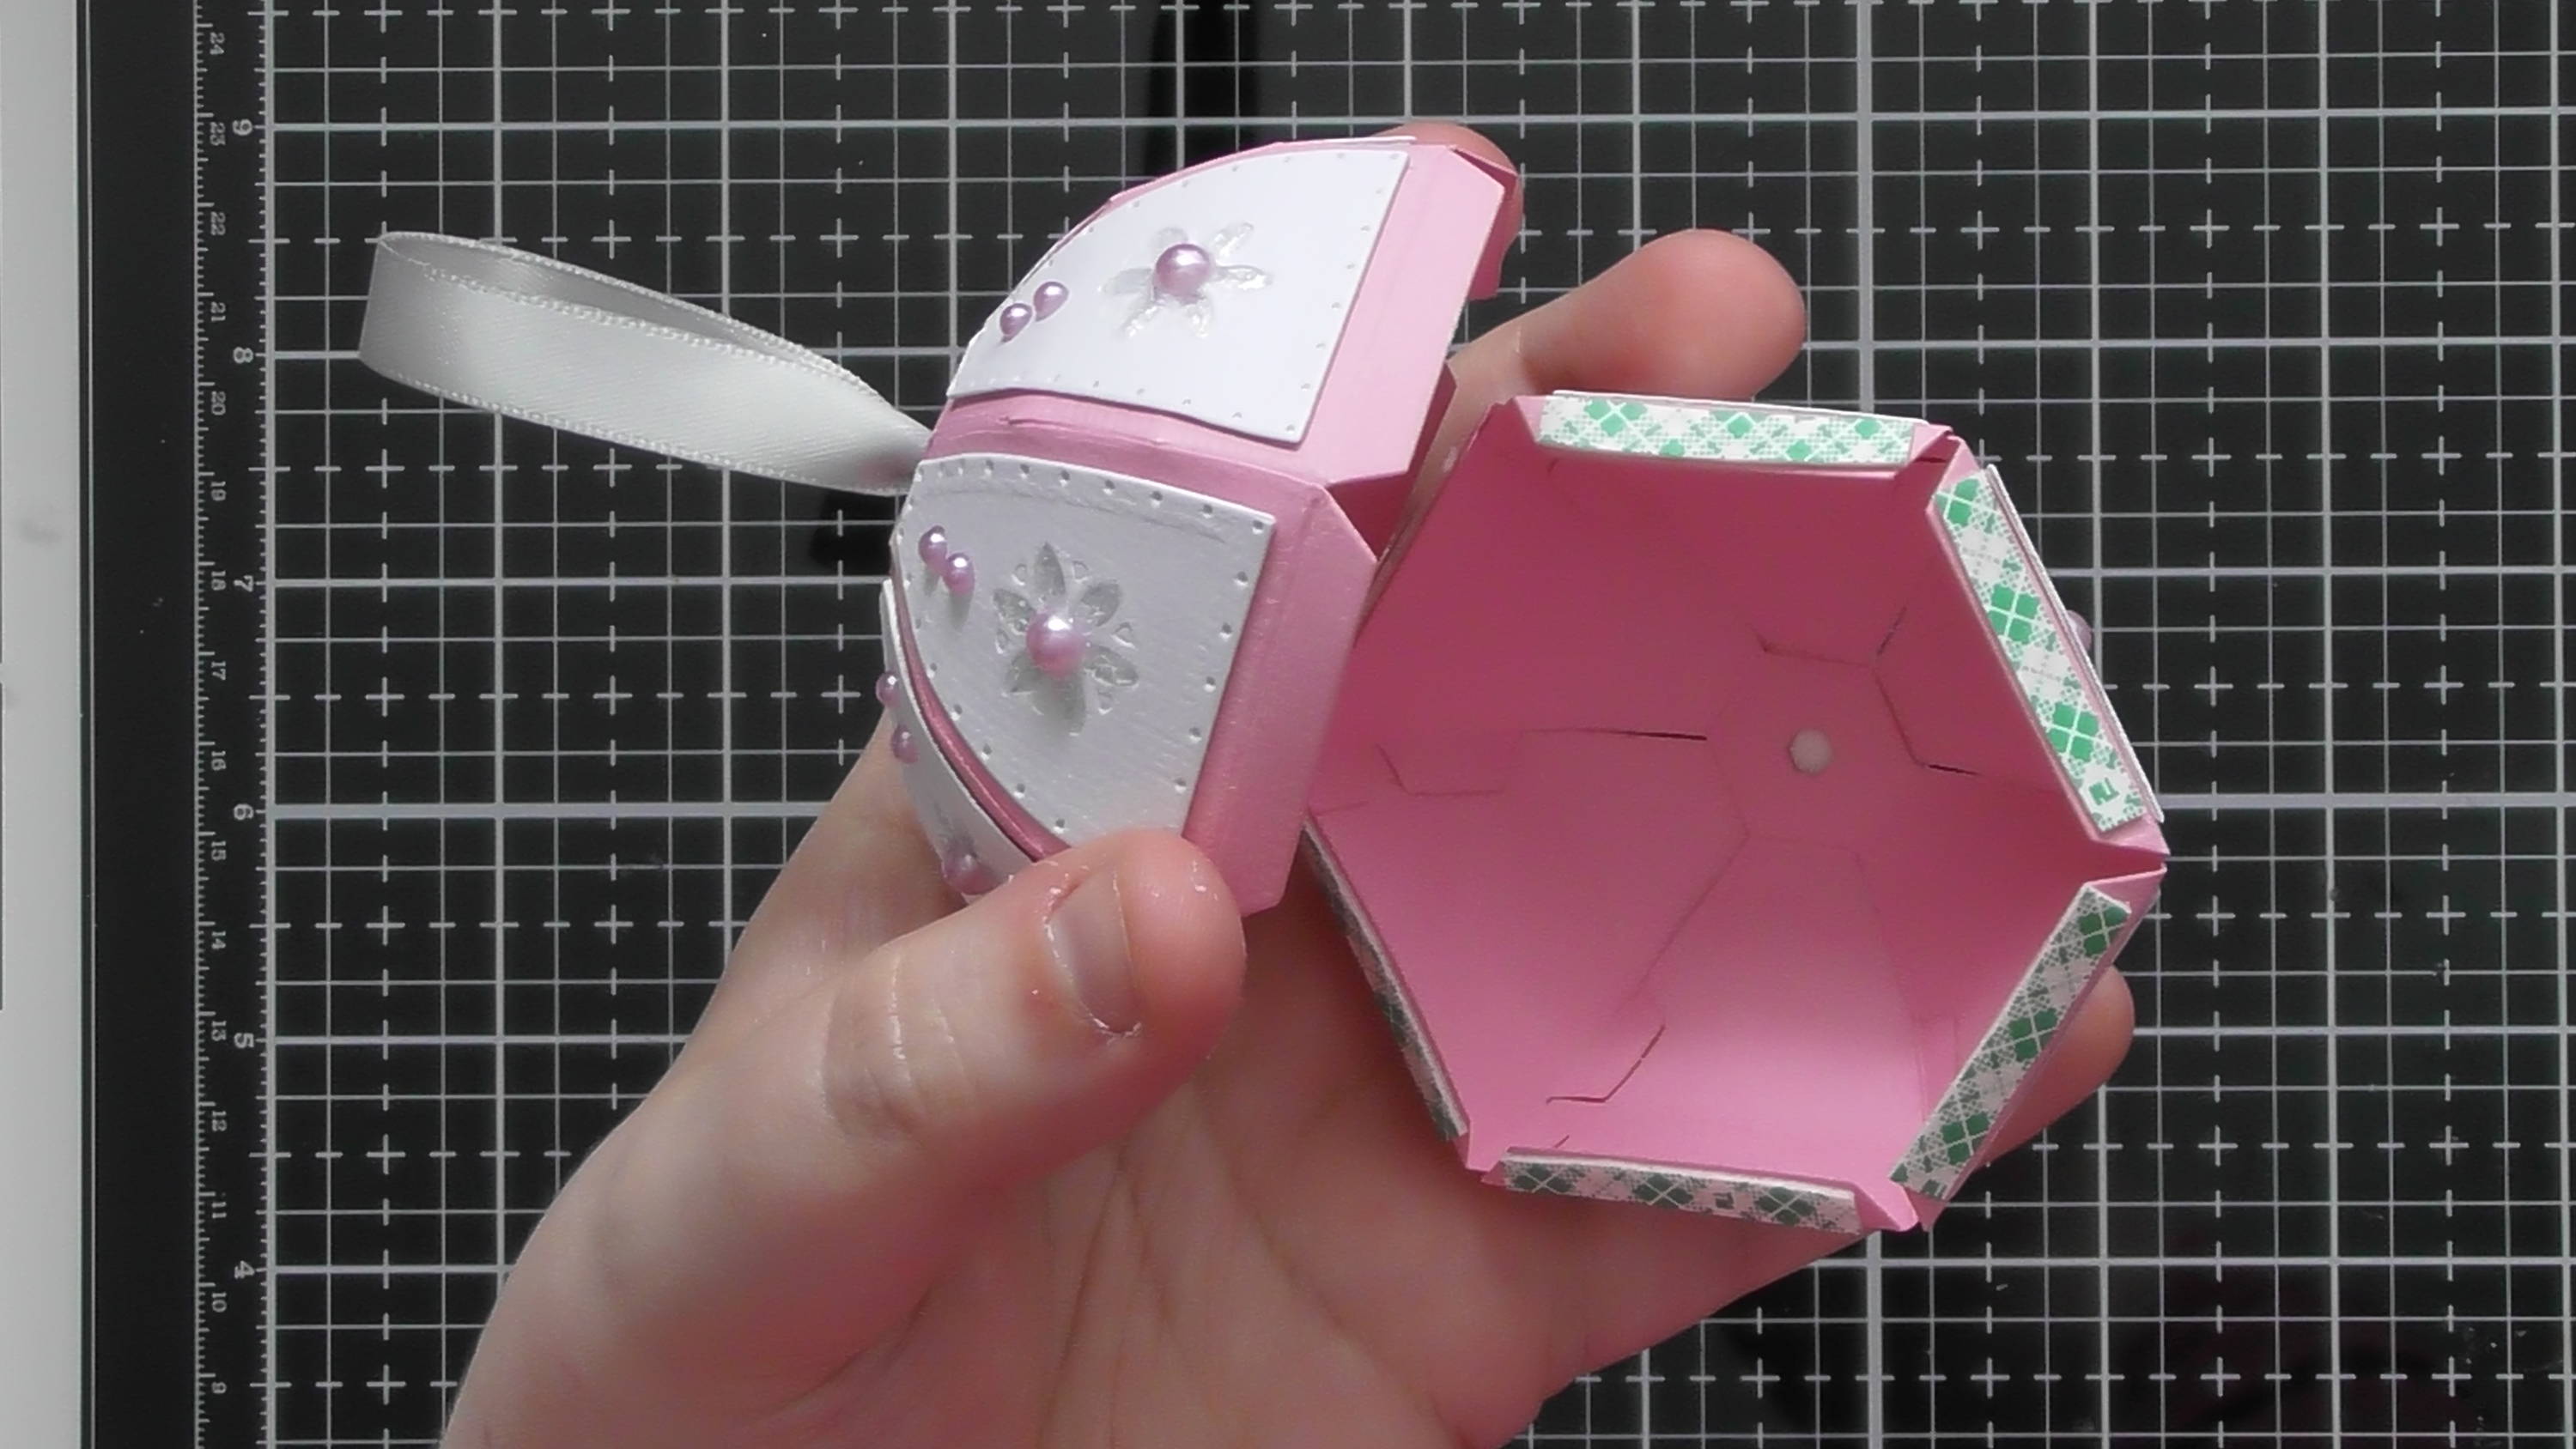
Step 10

Repeat Steps 1-7 to create your second dome, and add some low profile 3D foam tape to the tabs (I find adding the 3D foam makes it nice and easy to assemble, but you may prefer to just use redliner tape)
Step 11

The only difference for this dome is, you’ll need to cut the small hexagon to go on the bottom to cover the hole… OR… if you wanted to add a tassel to the bottom you’d add it now in a similar fashion to the ribbon at the top.
Step 12
We’ve now got our 2 half domes ready to adhere together. And at this point you could put lavender or something inside to turn it into a Pomander, but just bear in mind you can’t use it as a gift box as you’ll most likely destroy it if you tried to open it once it’s stuck together
Step 13
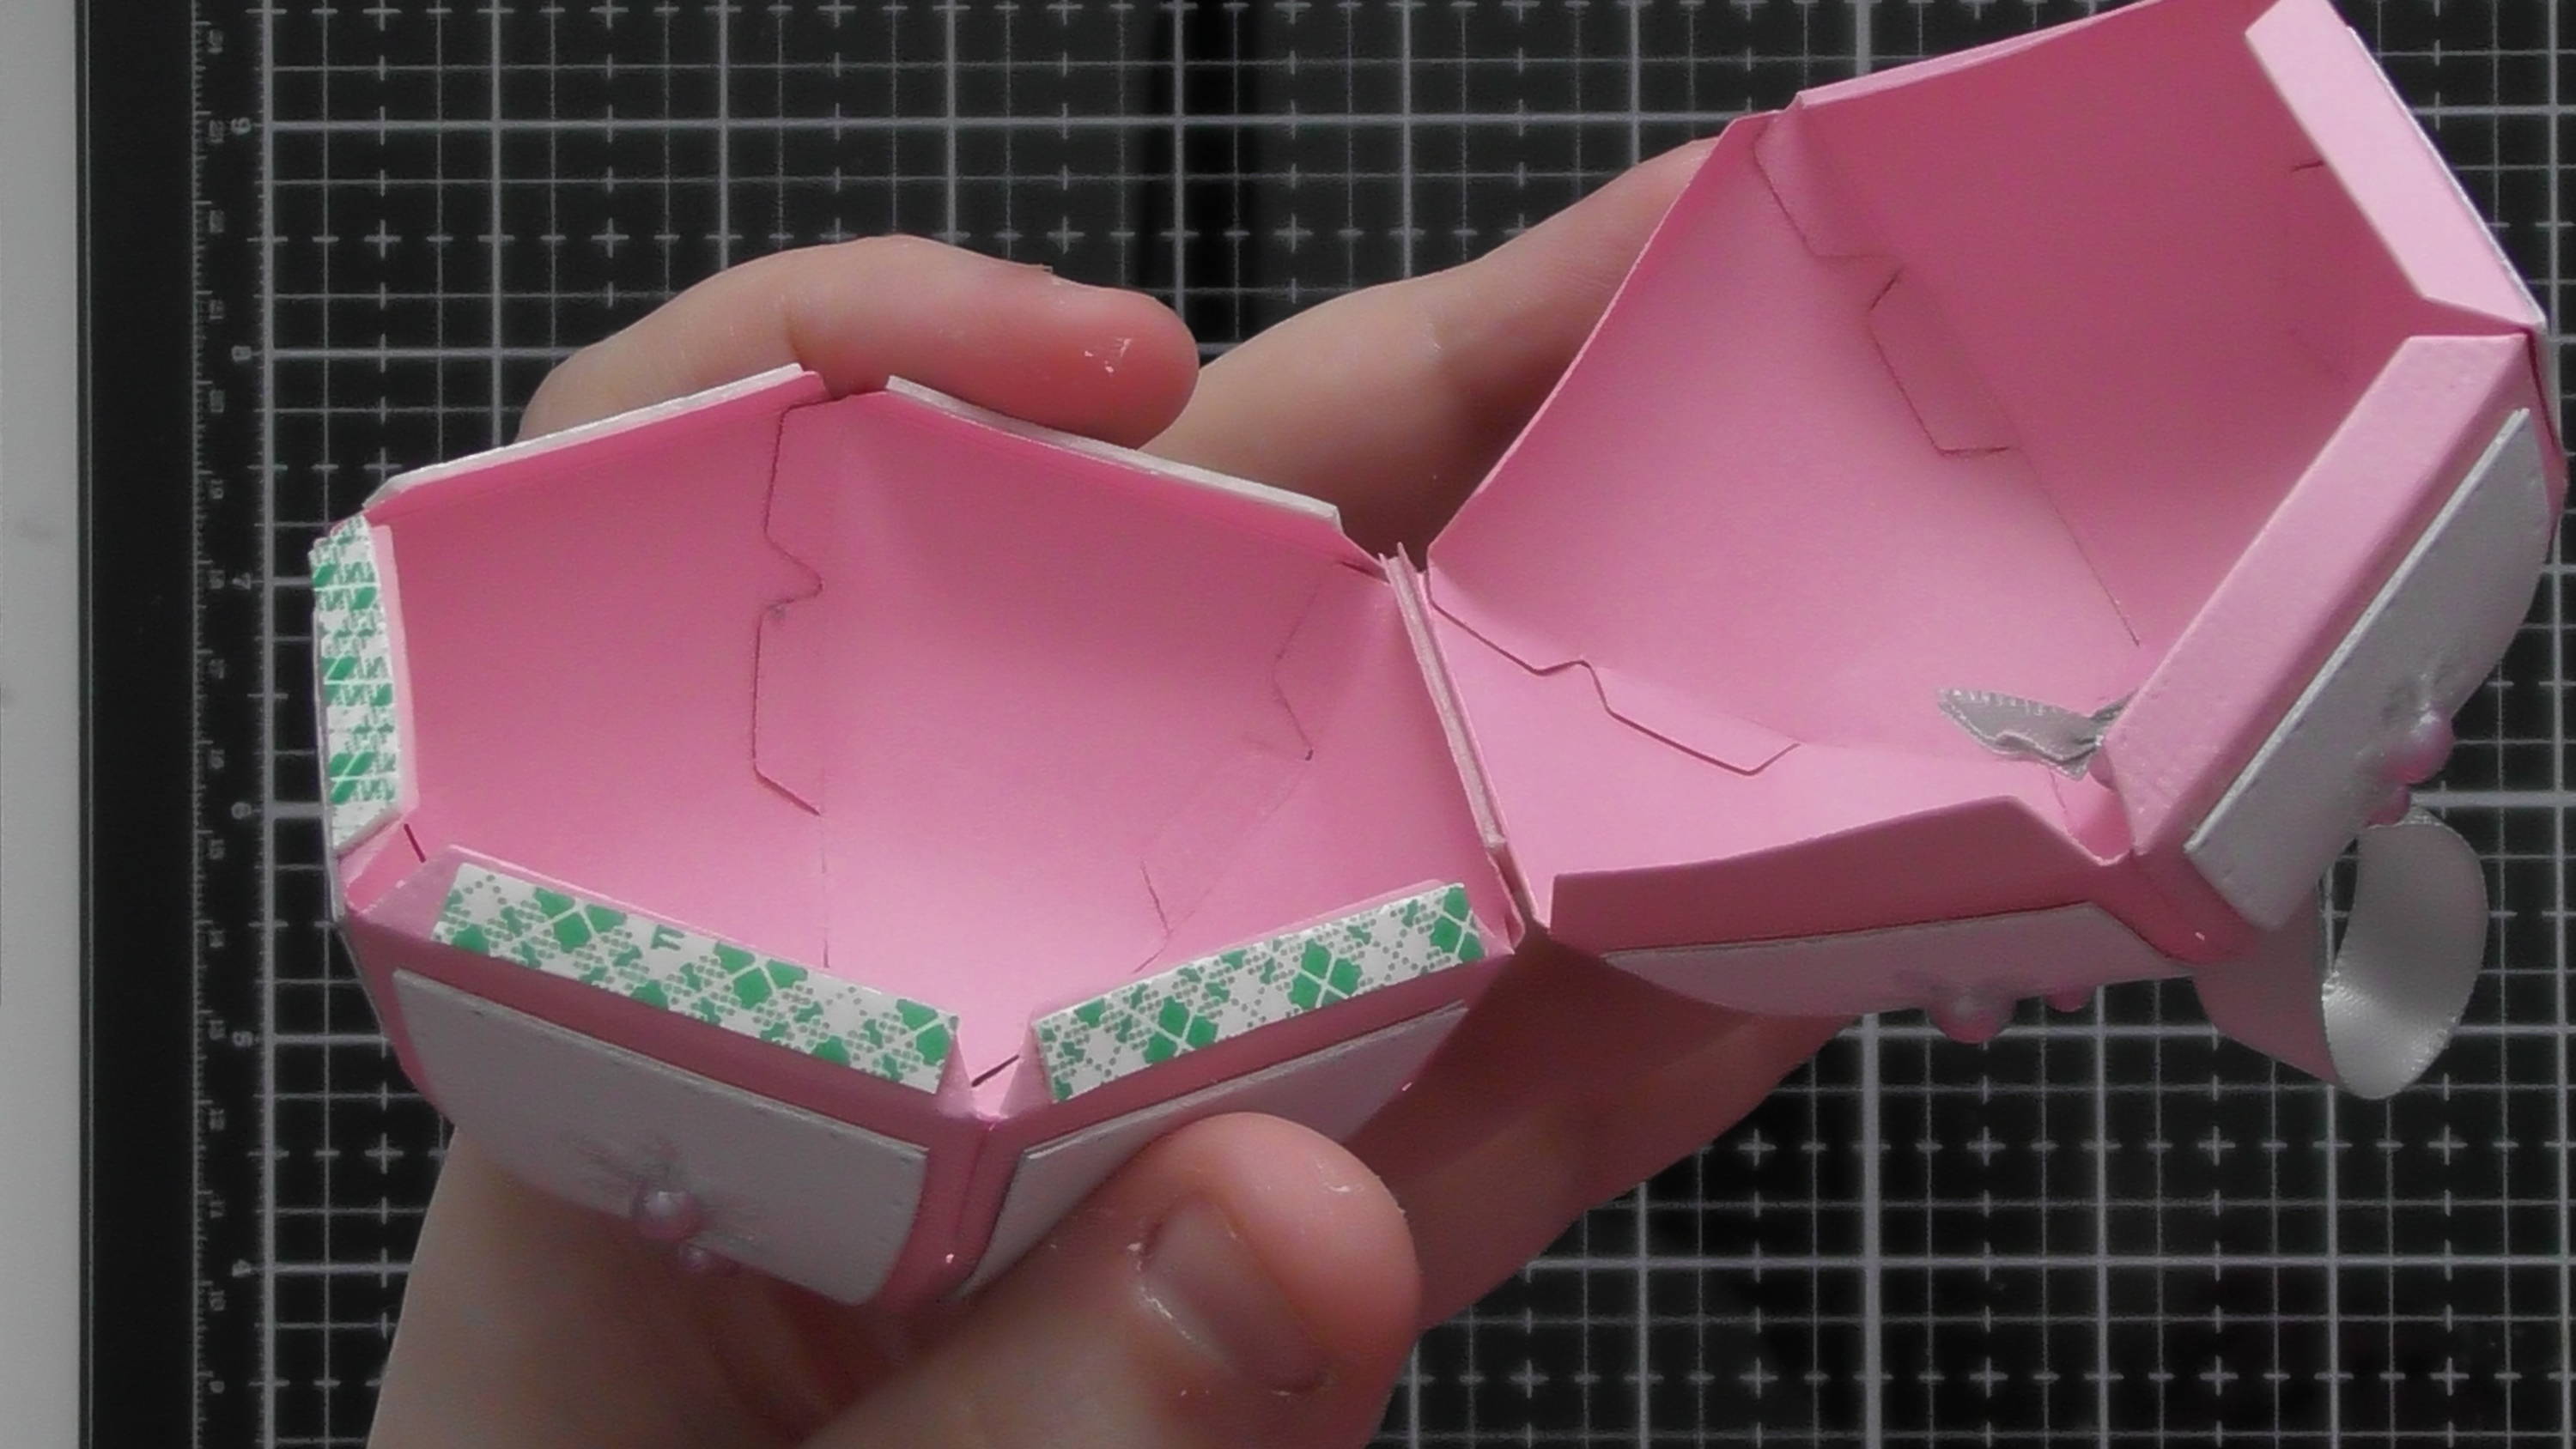
I start by sticking one edge together and pinching it tightly to get a strong bond, then I remove the rest of the backing tape and line up all the other edges
Step 14
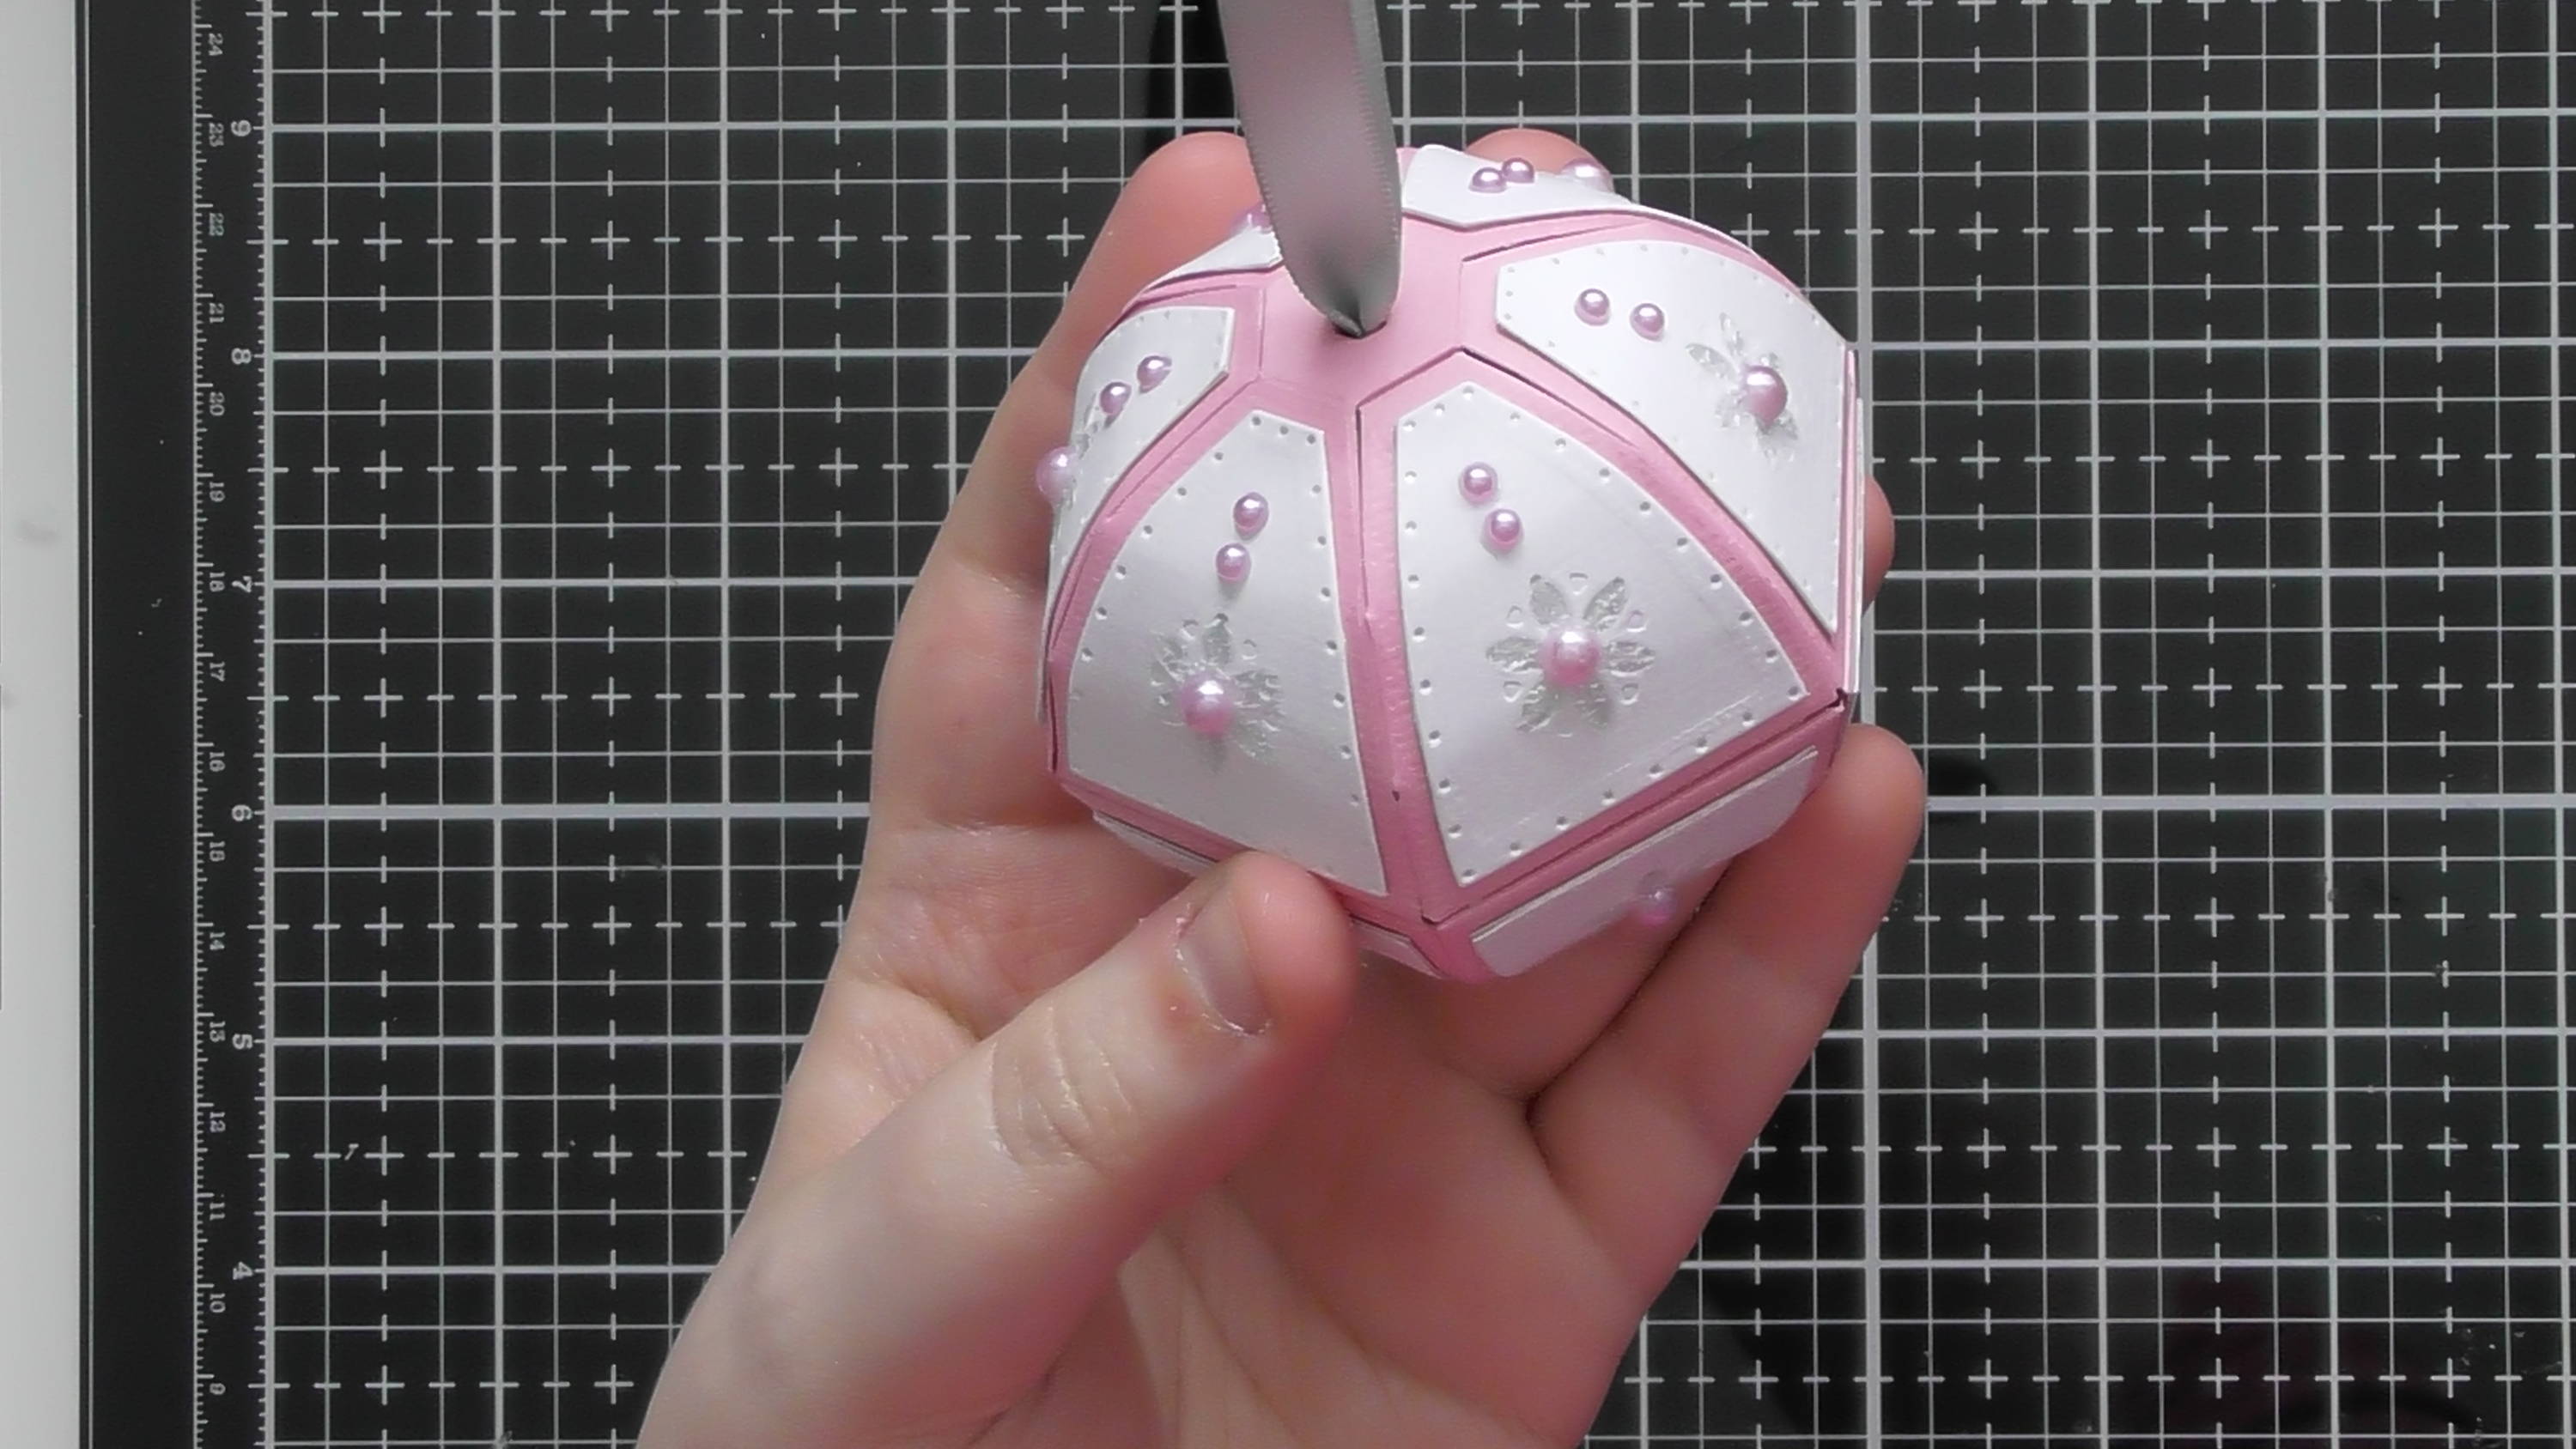
to give your finished Tamari Ball
Step 15
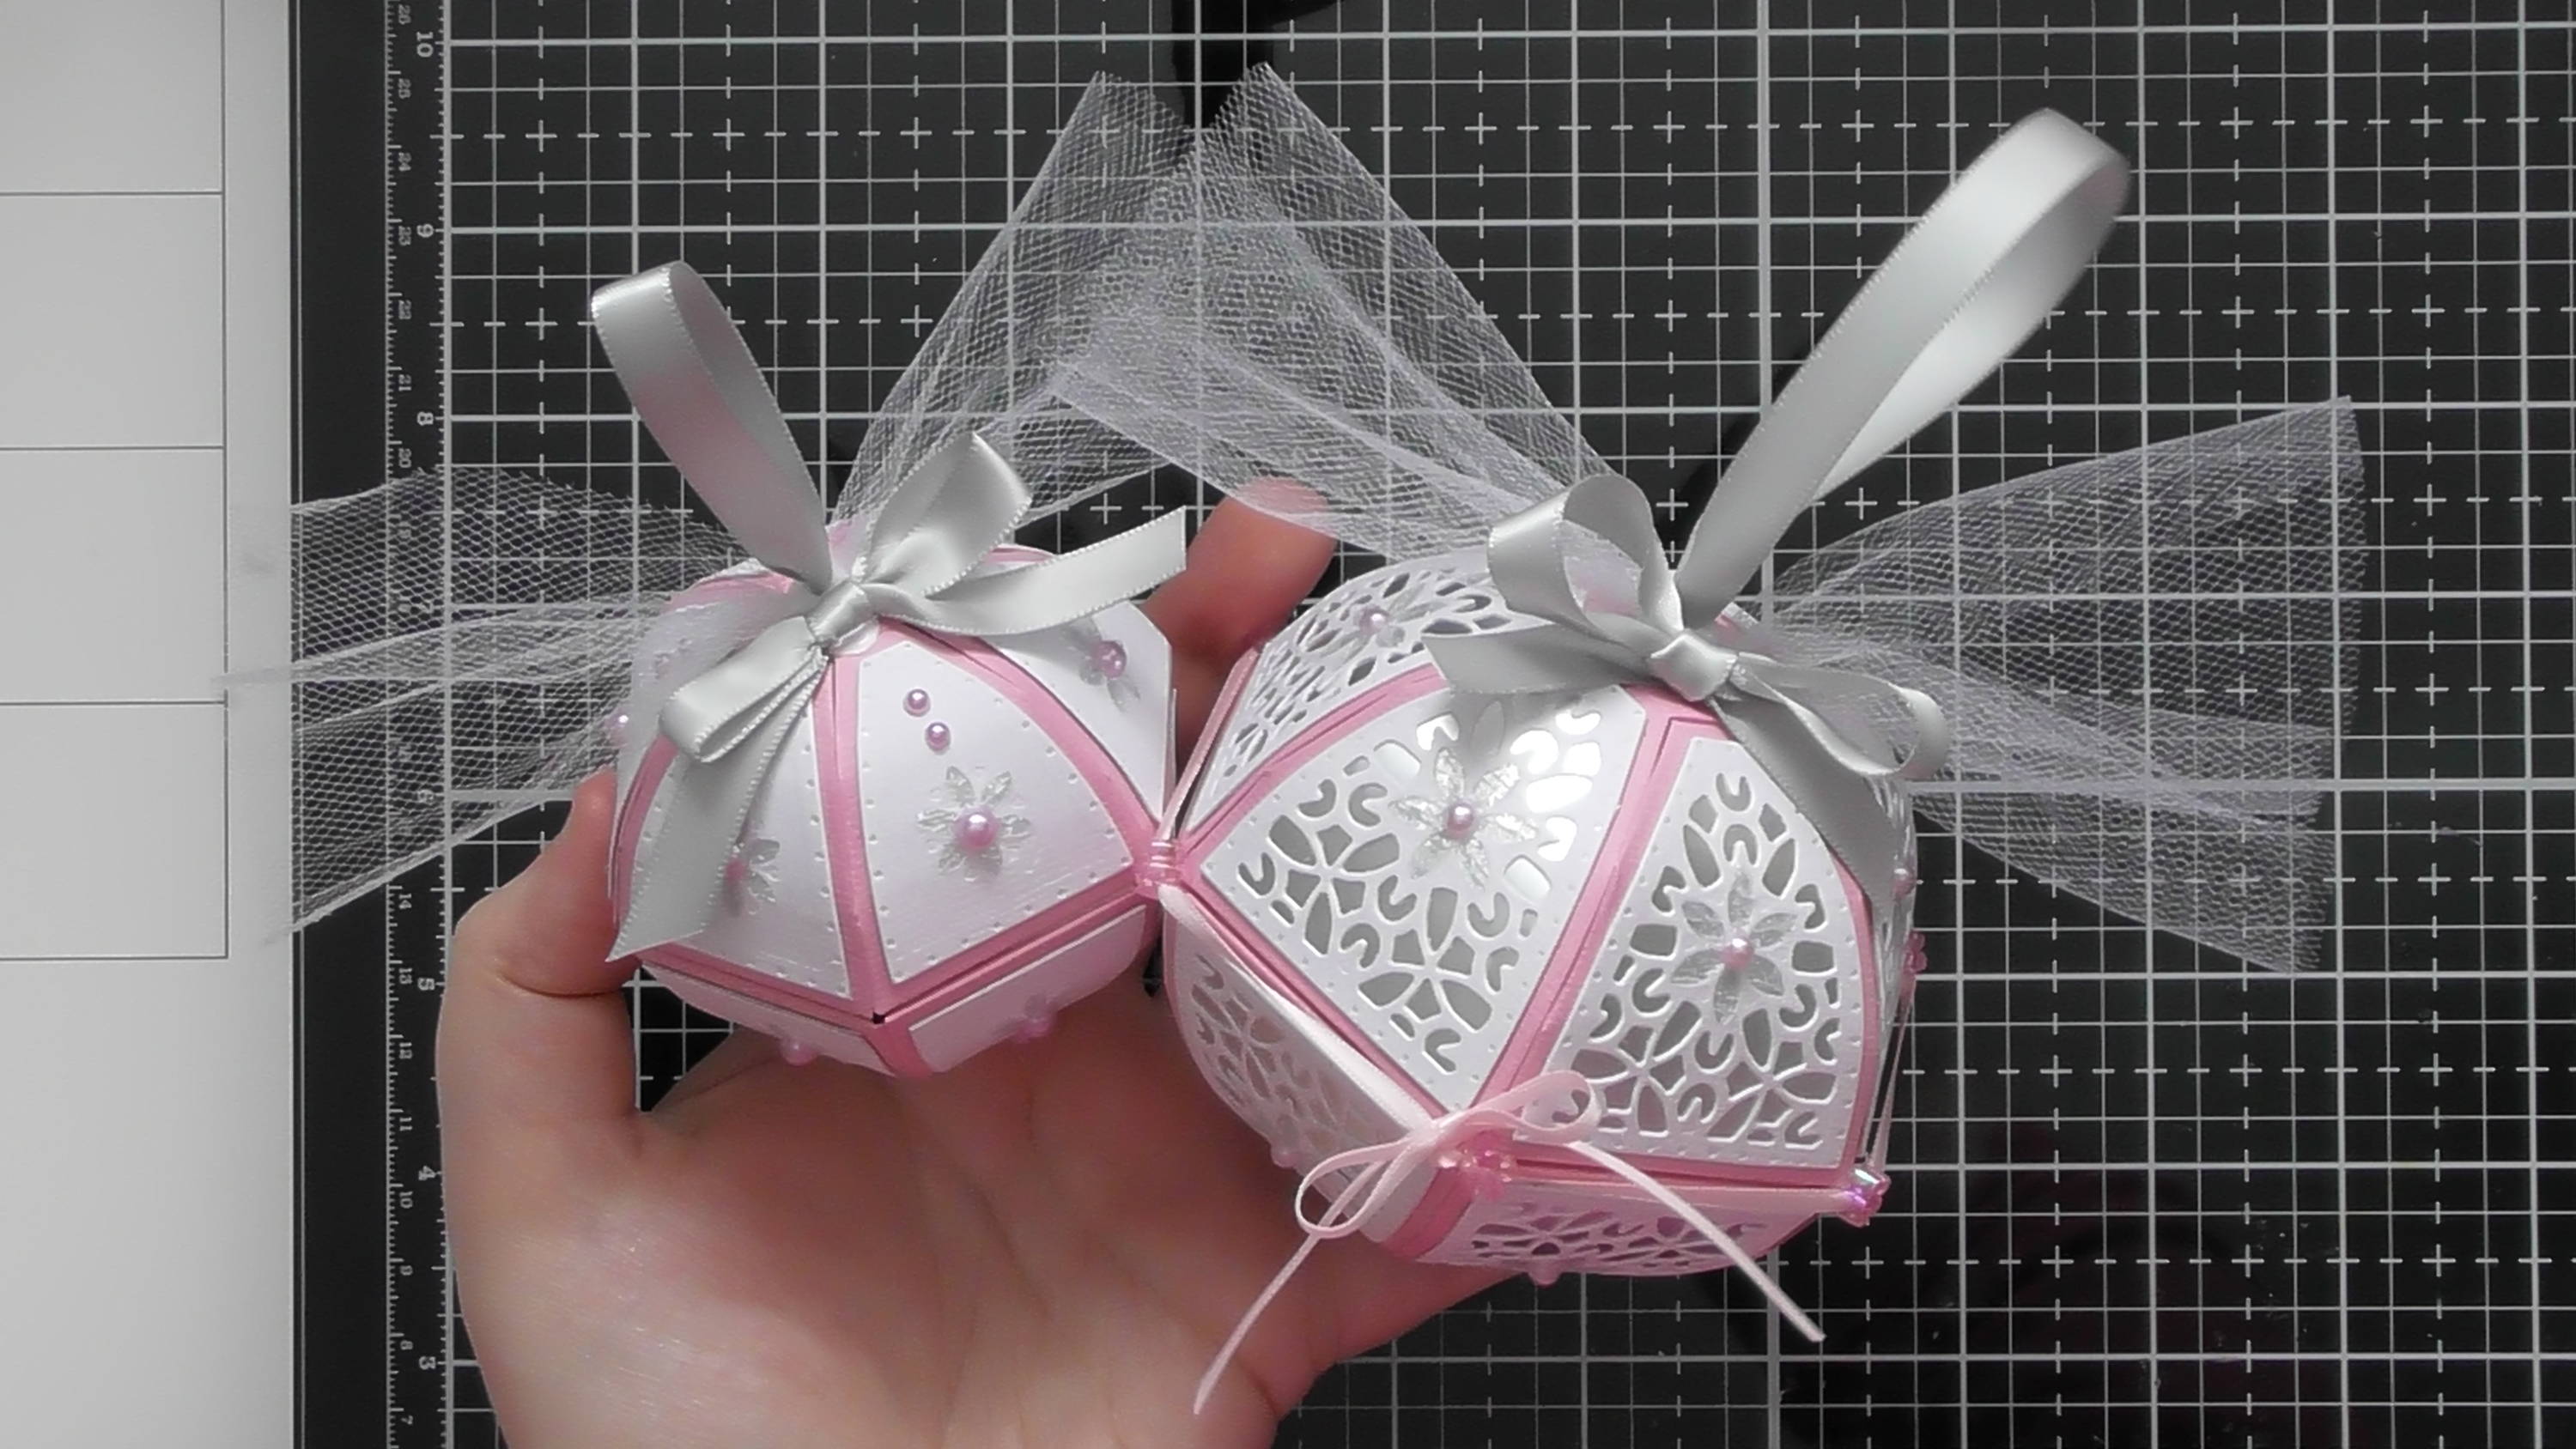
You can also go a step further and use more ribbon and tulle to decorate further, and here’s a size comparison of the 2 different sizes you can make from the 2 different domes.
Hope you enjoyed this in depth step by step for creating the Sphere/Tamari Ball/Bauble/Pomander from the Moroccan Lanterns dies :D Christine xxx
Buy The Craft Project