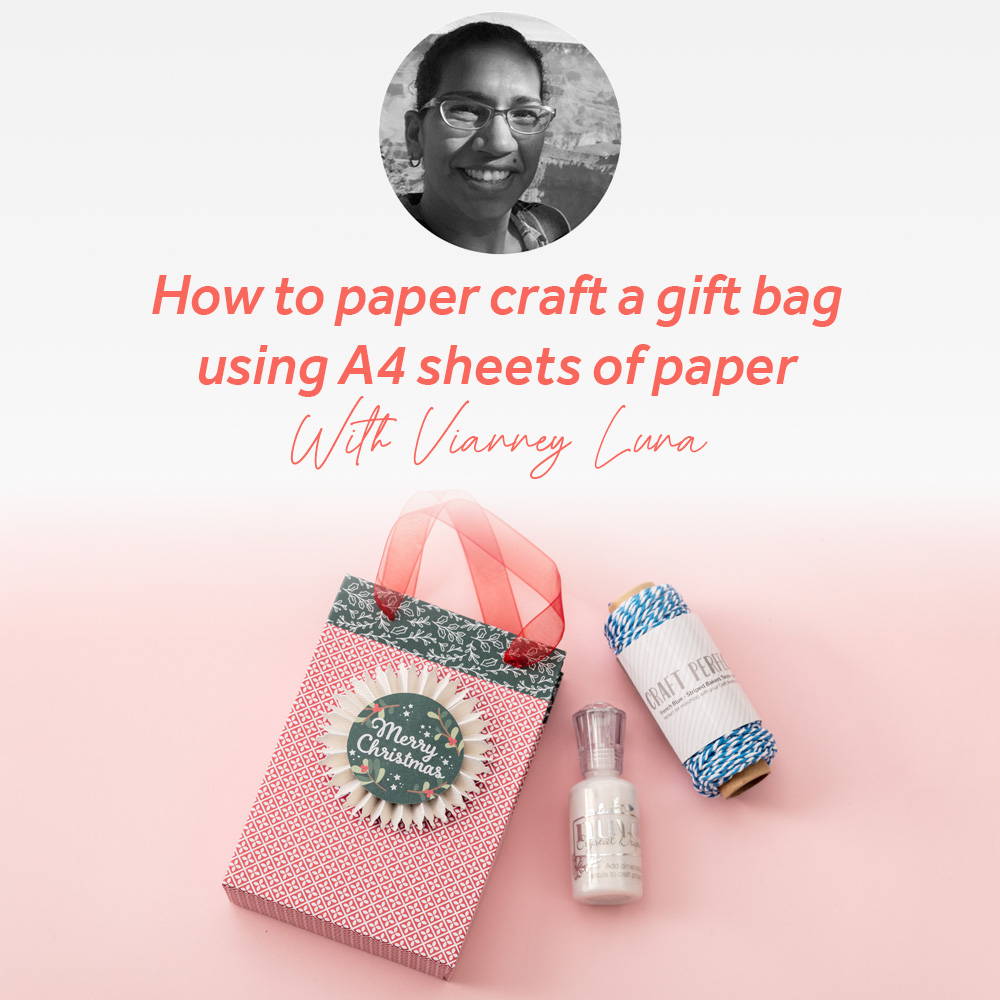
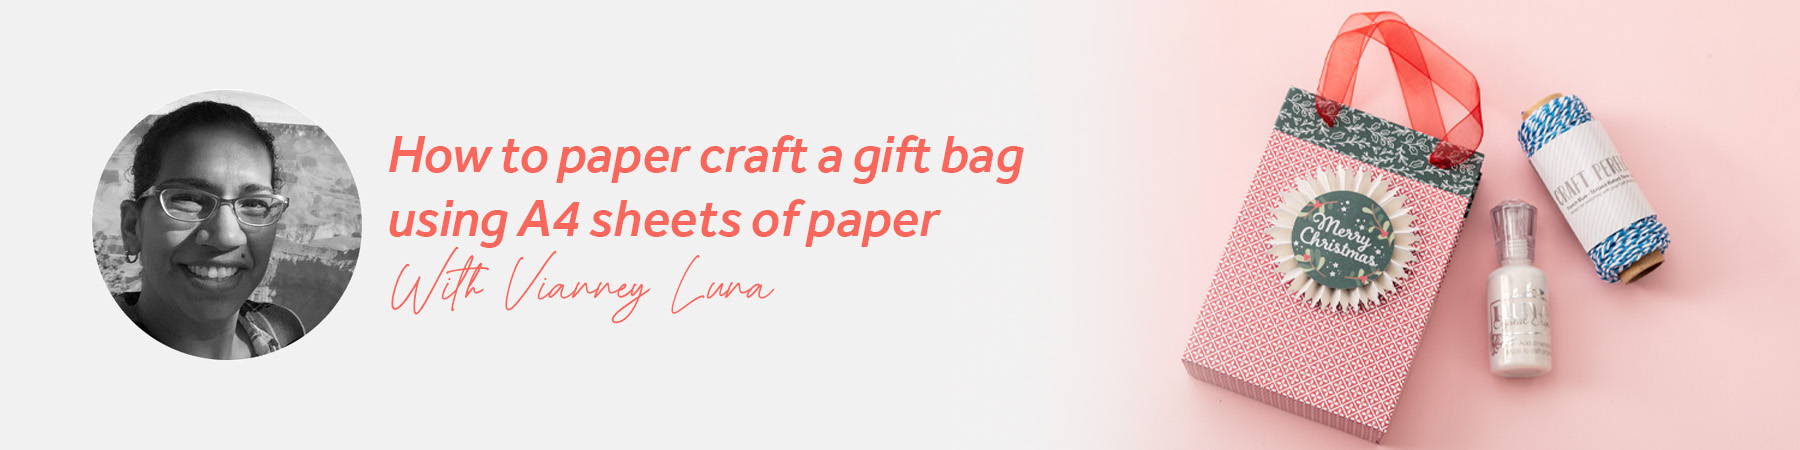
 Gem Rewards
What you will need
- Patterned paper from magazine kit
- Scoring board
- Bone folder
- Scissors
- Nuvo Deluxe Adhesive or Craft Perfect Double Sided Redline Tape
Optional:
- Hole punch
- Ribbon
- Embellishments, tags, and/or toppers
Step 1
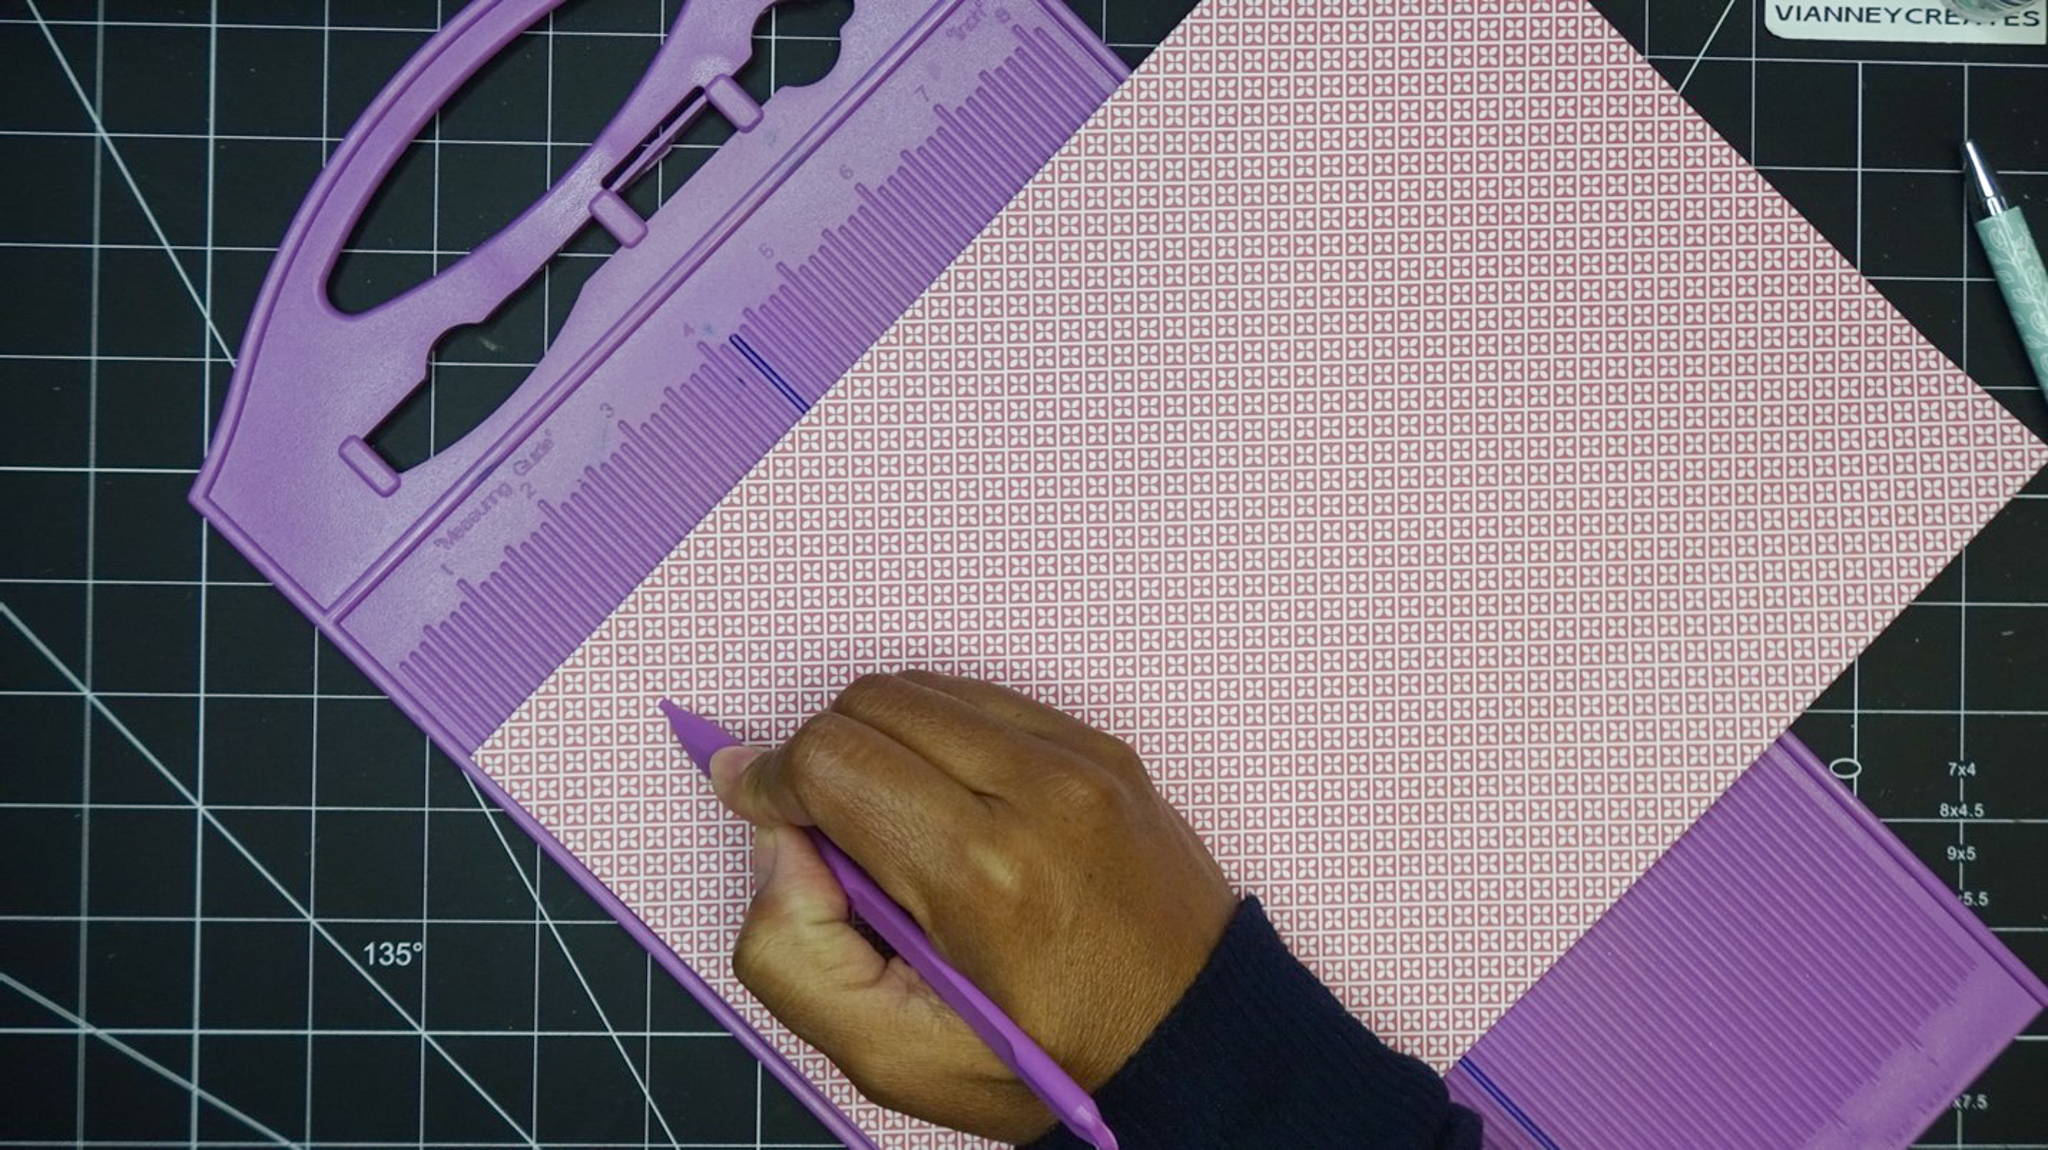
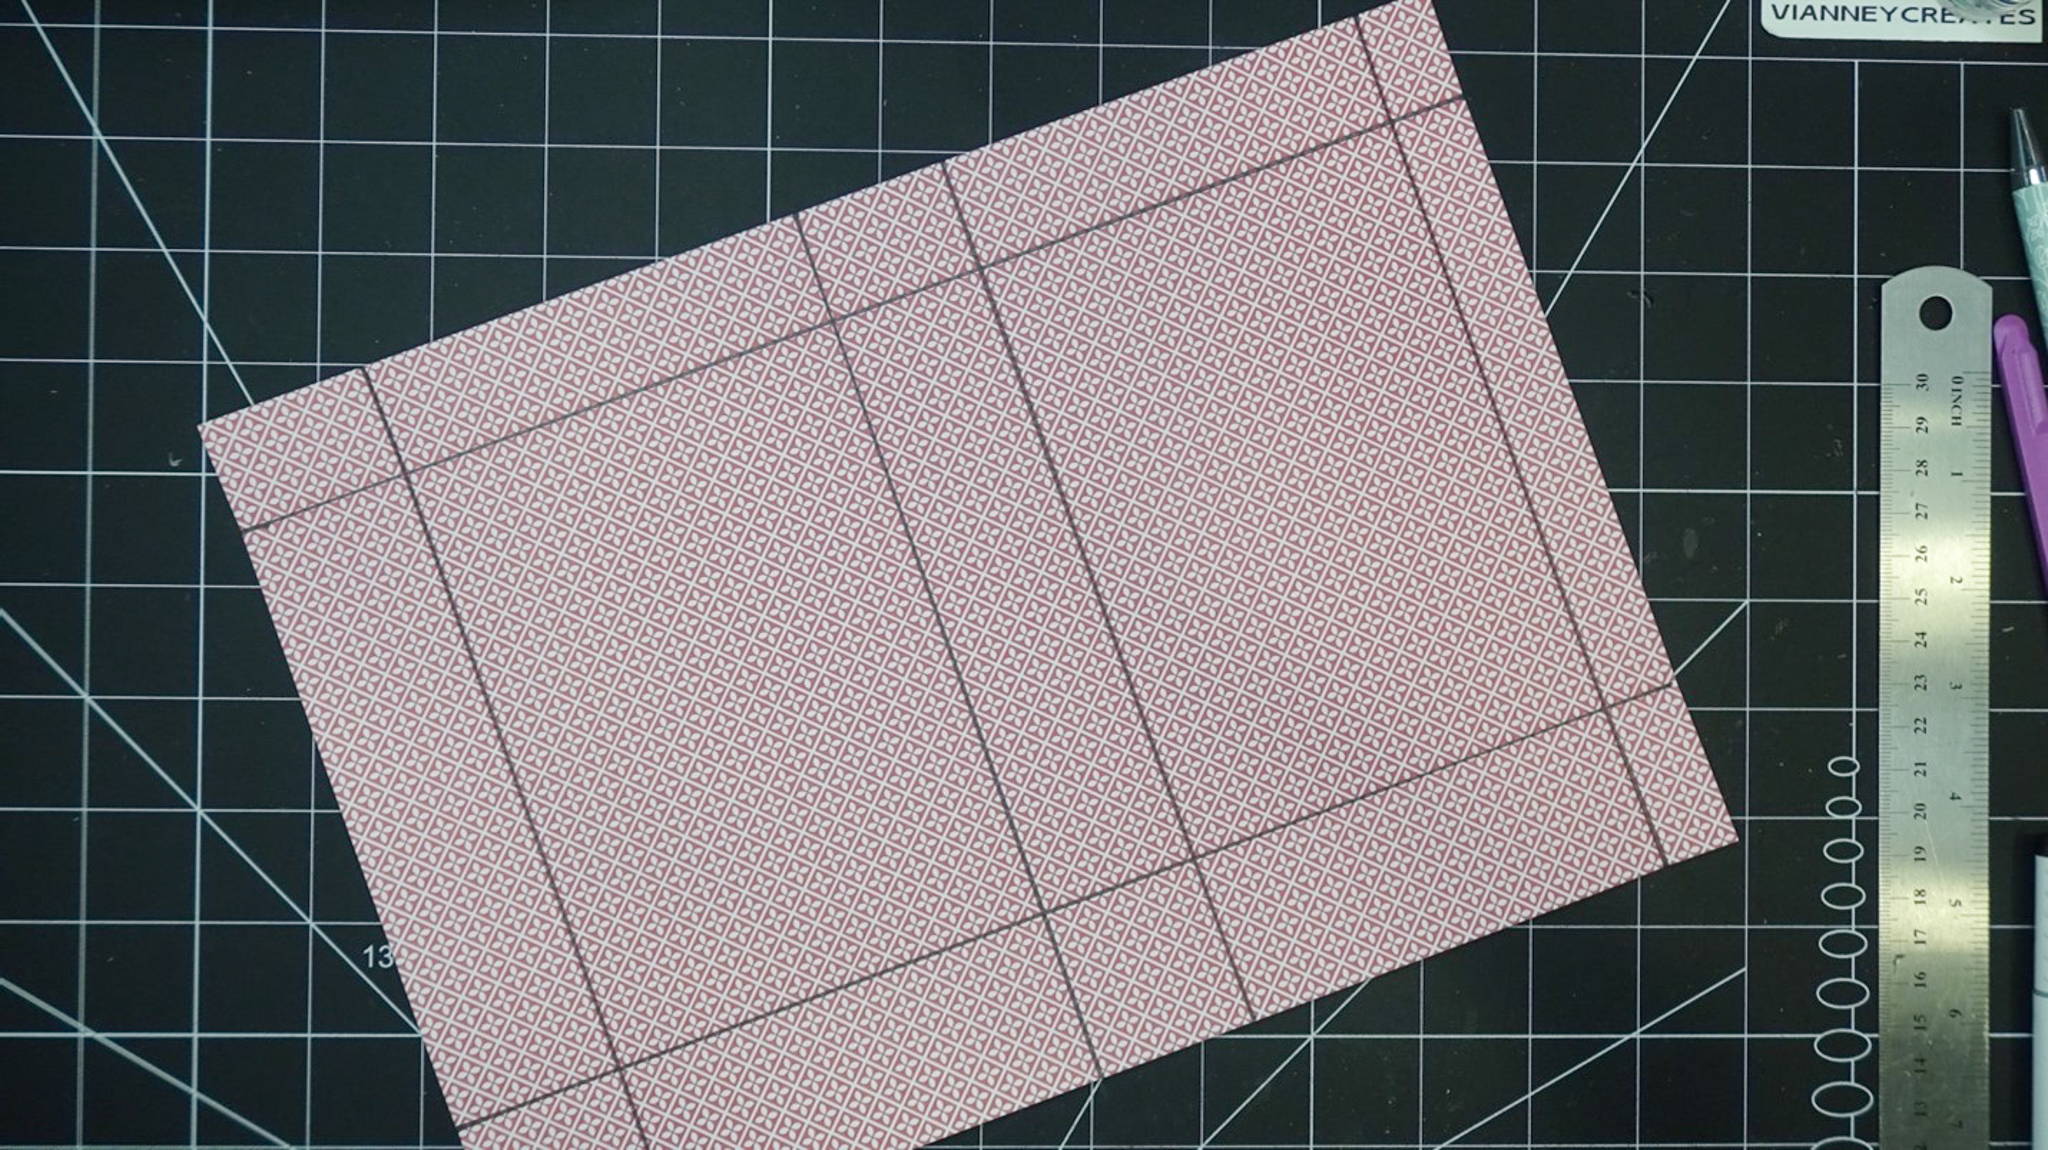
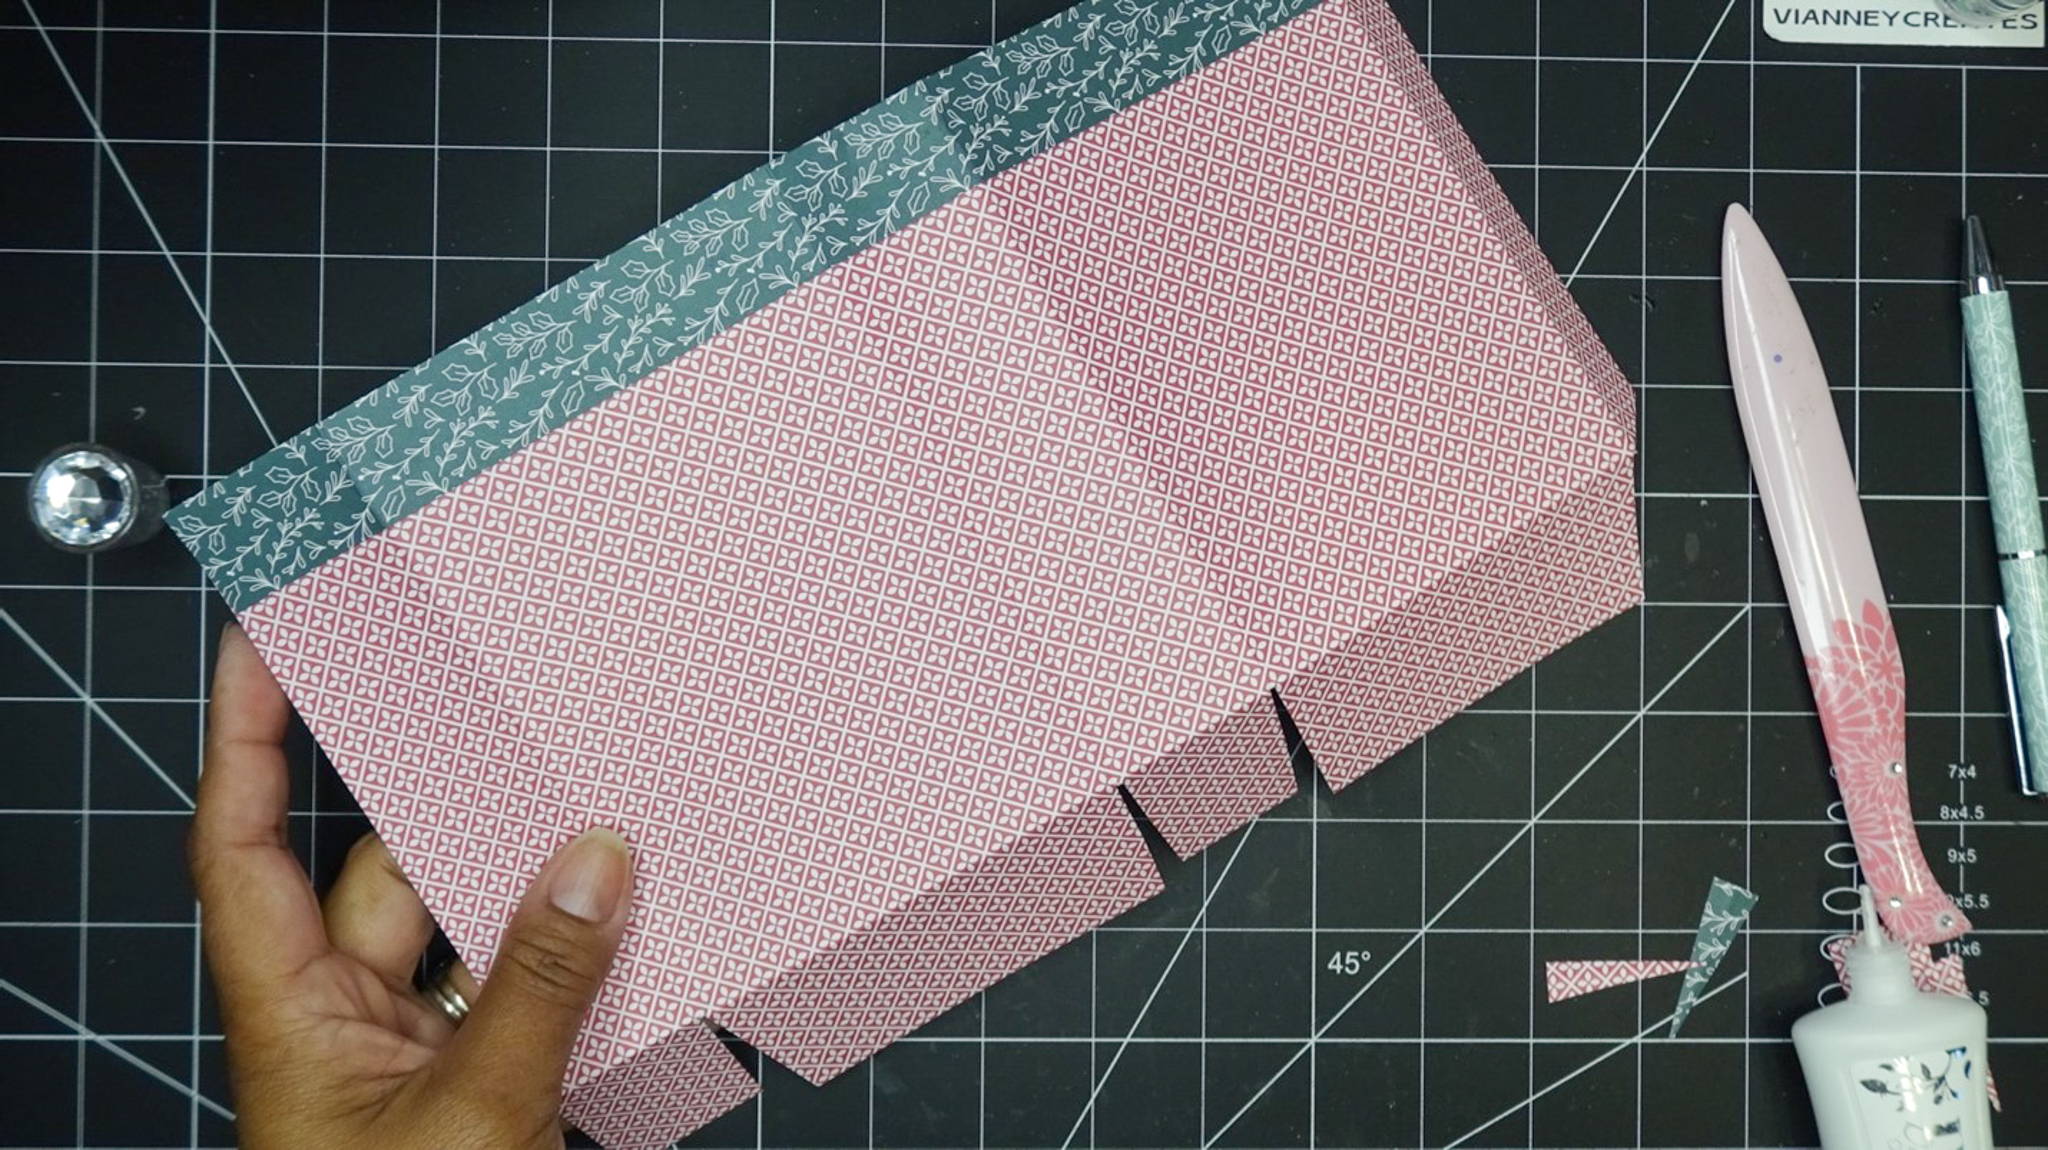
Score full A4 sheet of patterned paper lengthwise at 1” from the top and 1 ½” from the bottom. Then score along the other side at 1 ½”, 5 ½”, 7”, and 11”. The small portion left at the right will be the side glue tab.
Step 2
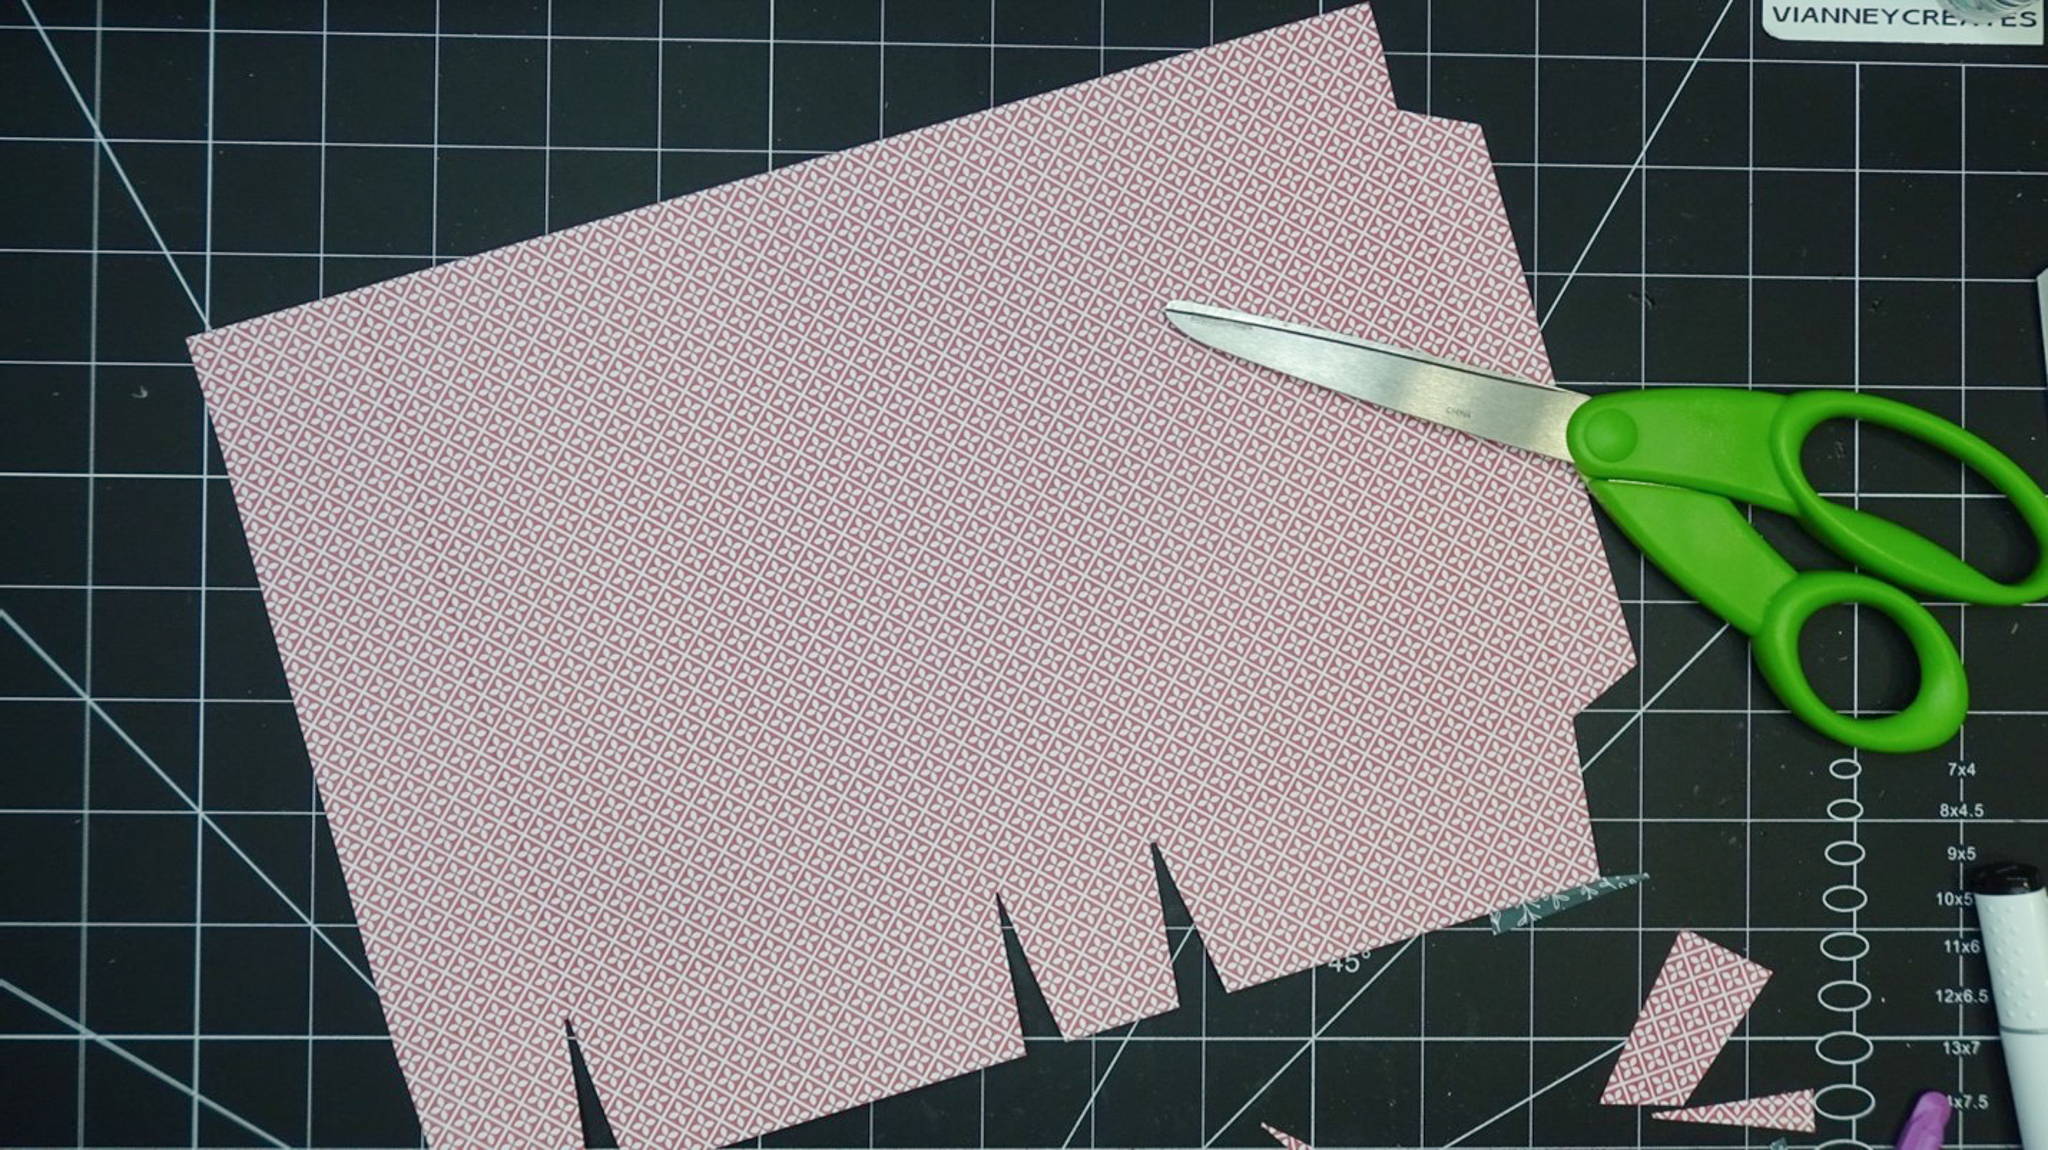
As shown, notch away the side glue tab corners and the bottom bag base tab areas along the score lines. Notching those areas away at a slight angle will make for a more finished look.
Step 3
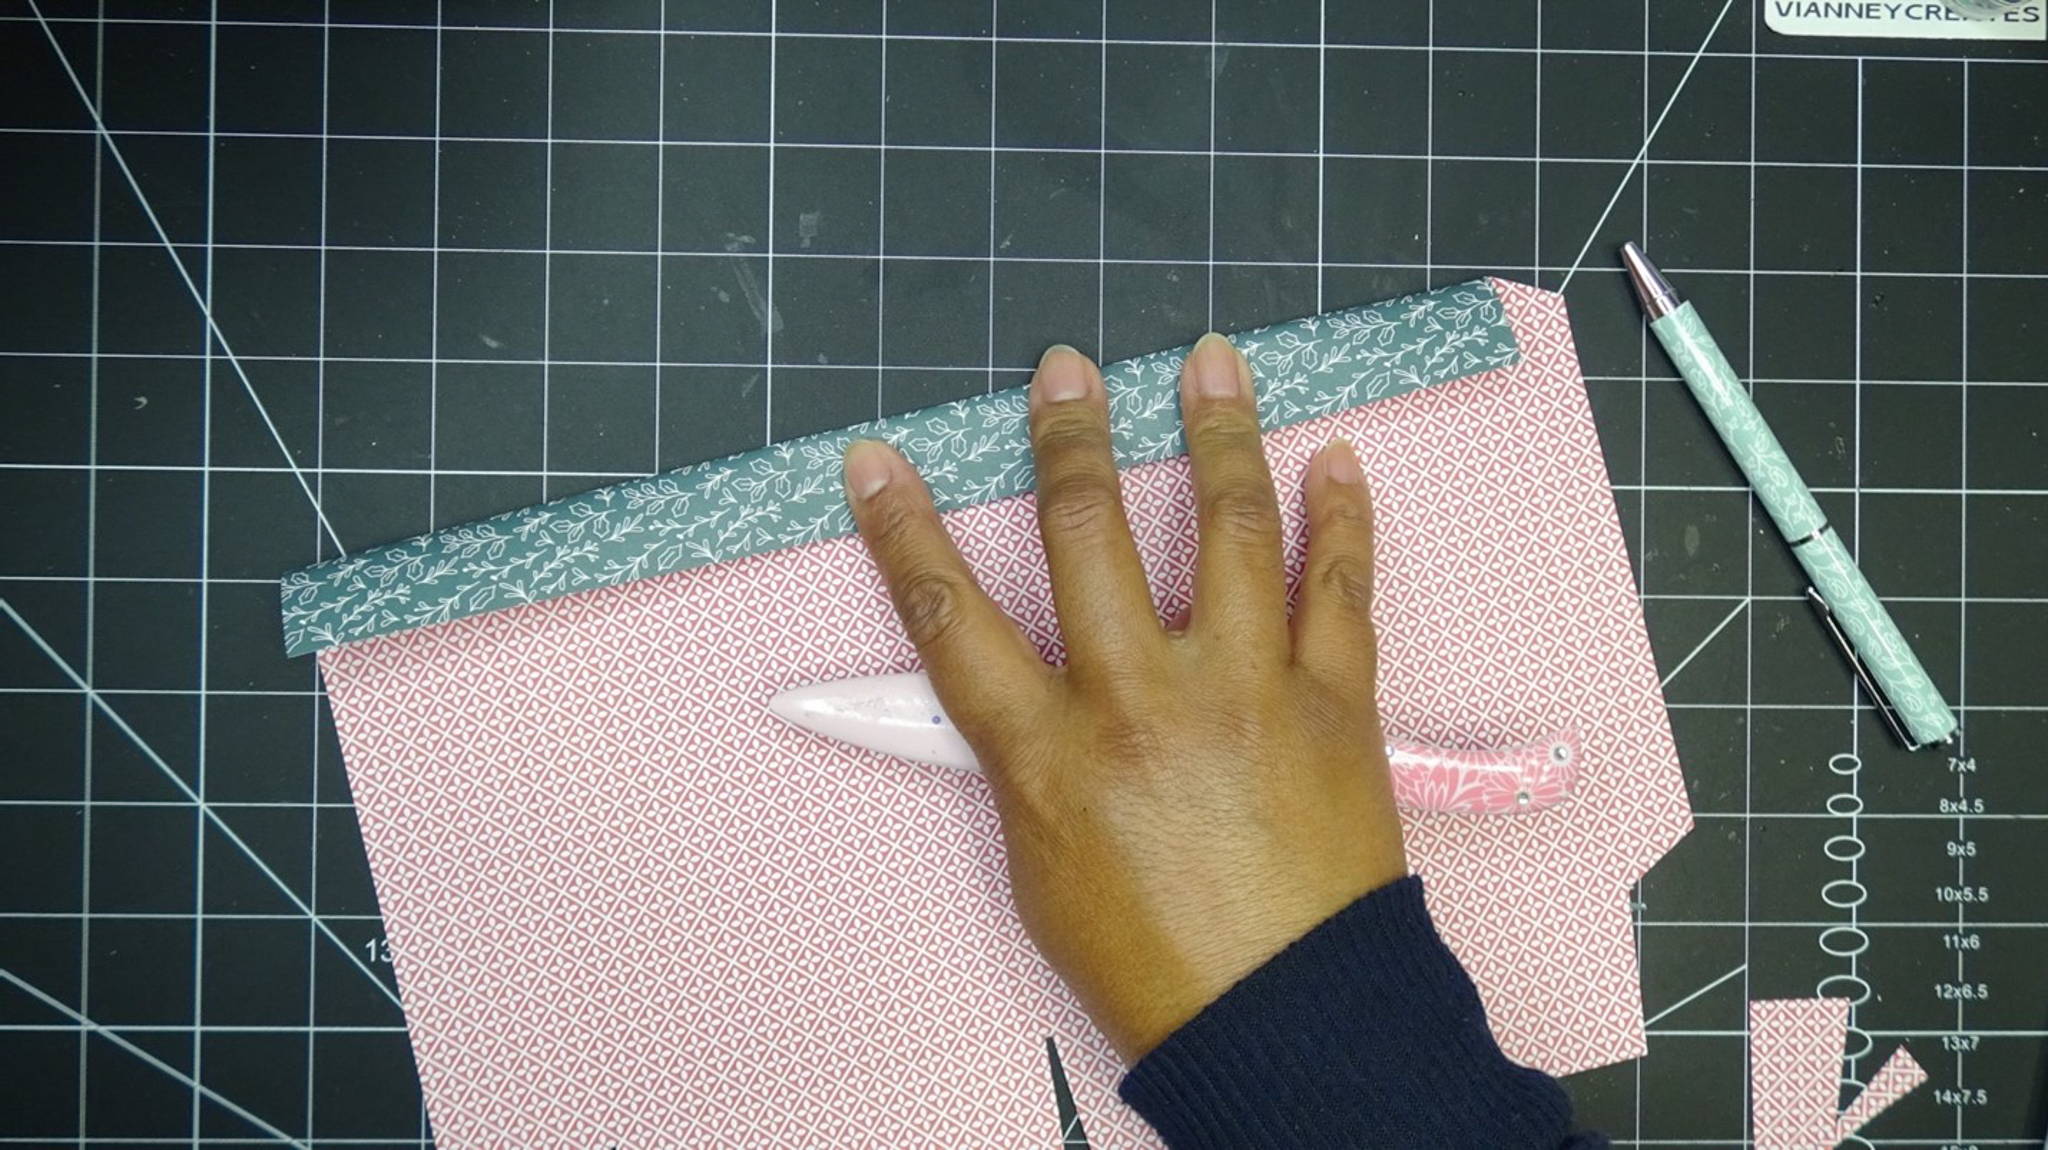
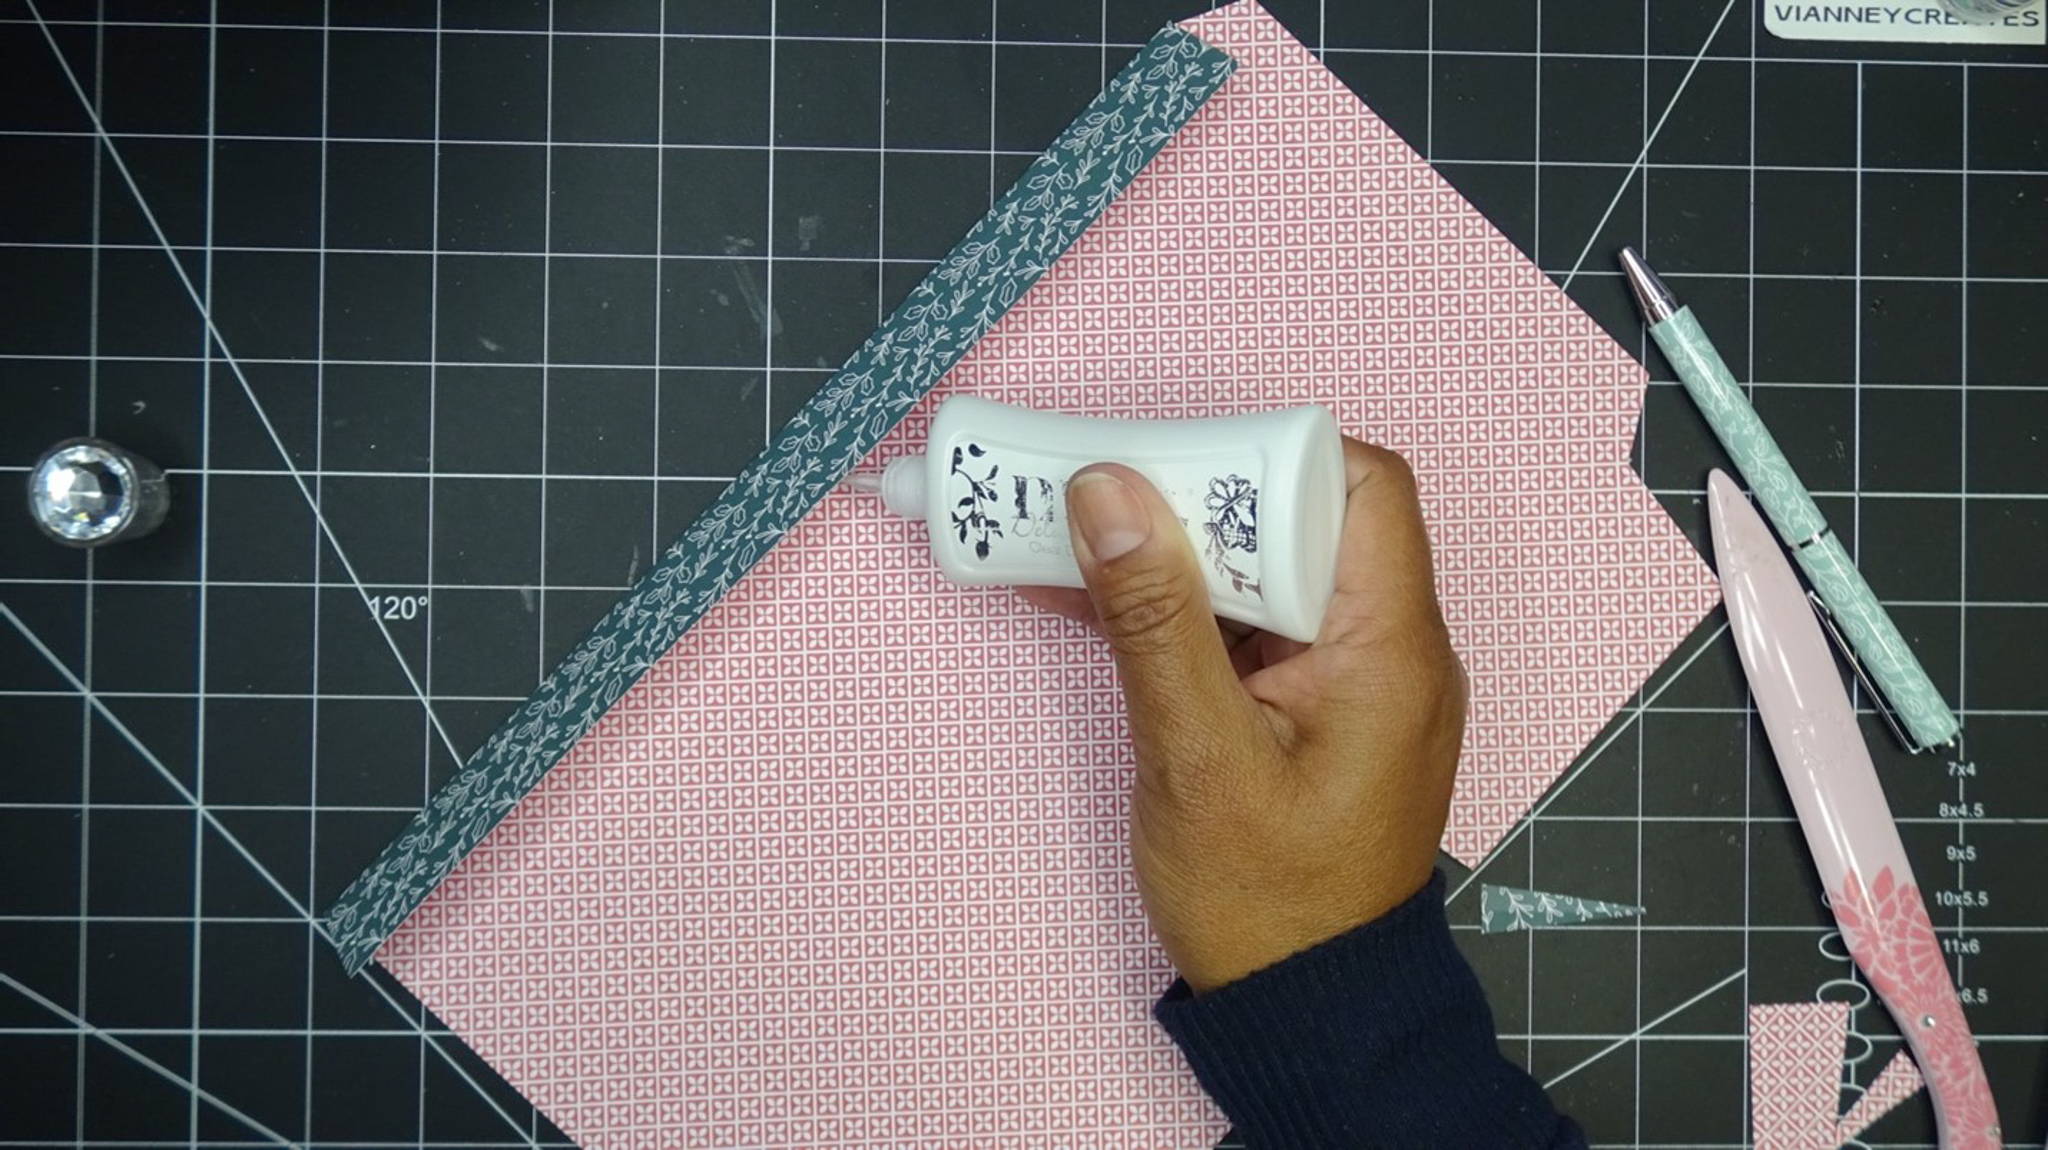
Bone fold the top 1” score line toward you,this will create a decorative and reinforced bag top. Glue this top border areadown. Then, bone fold the paper on all of the remaining score lines away fromyou. The bag shape will begin to appear.
Step 4
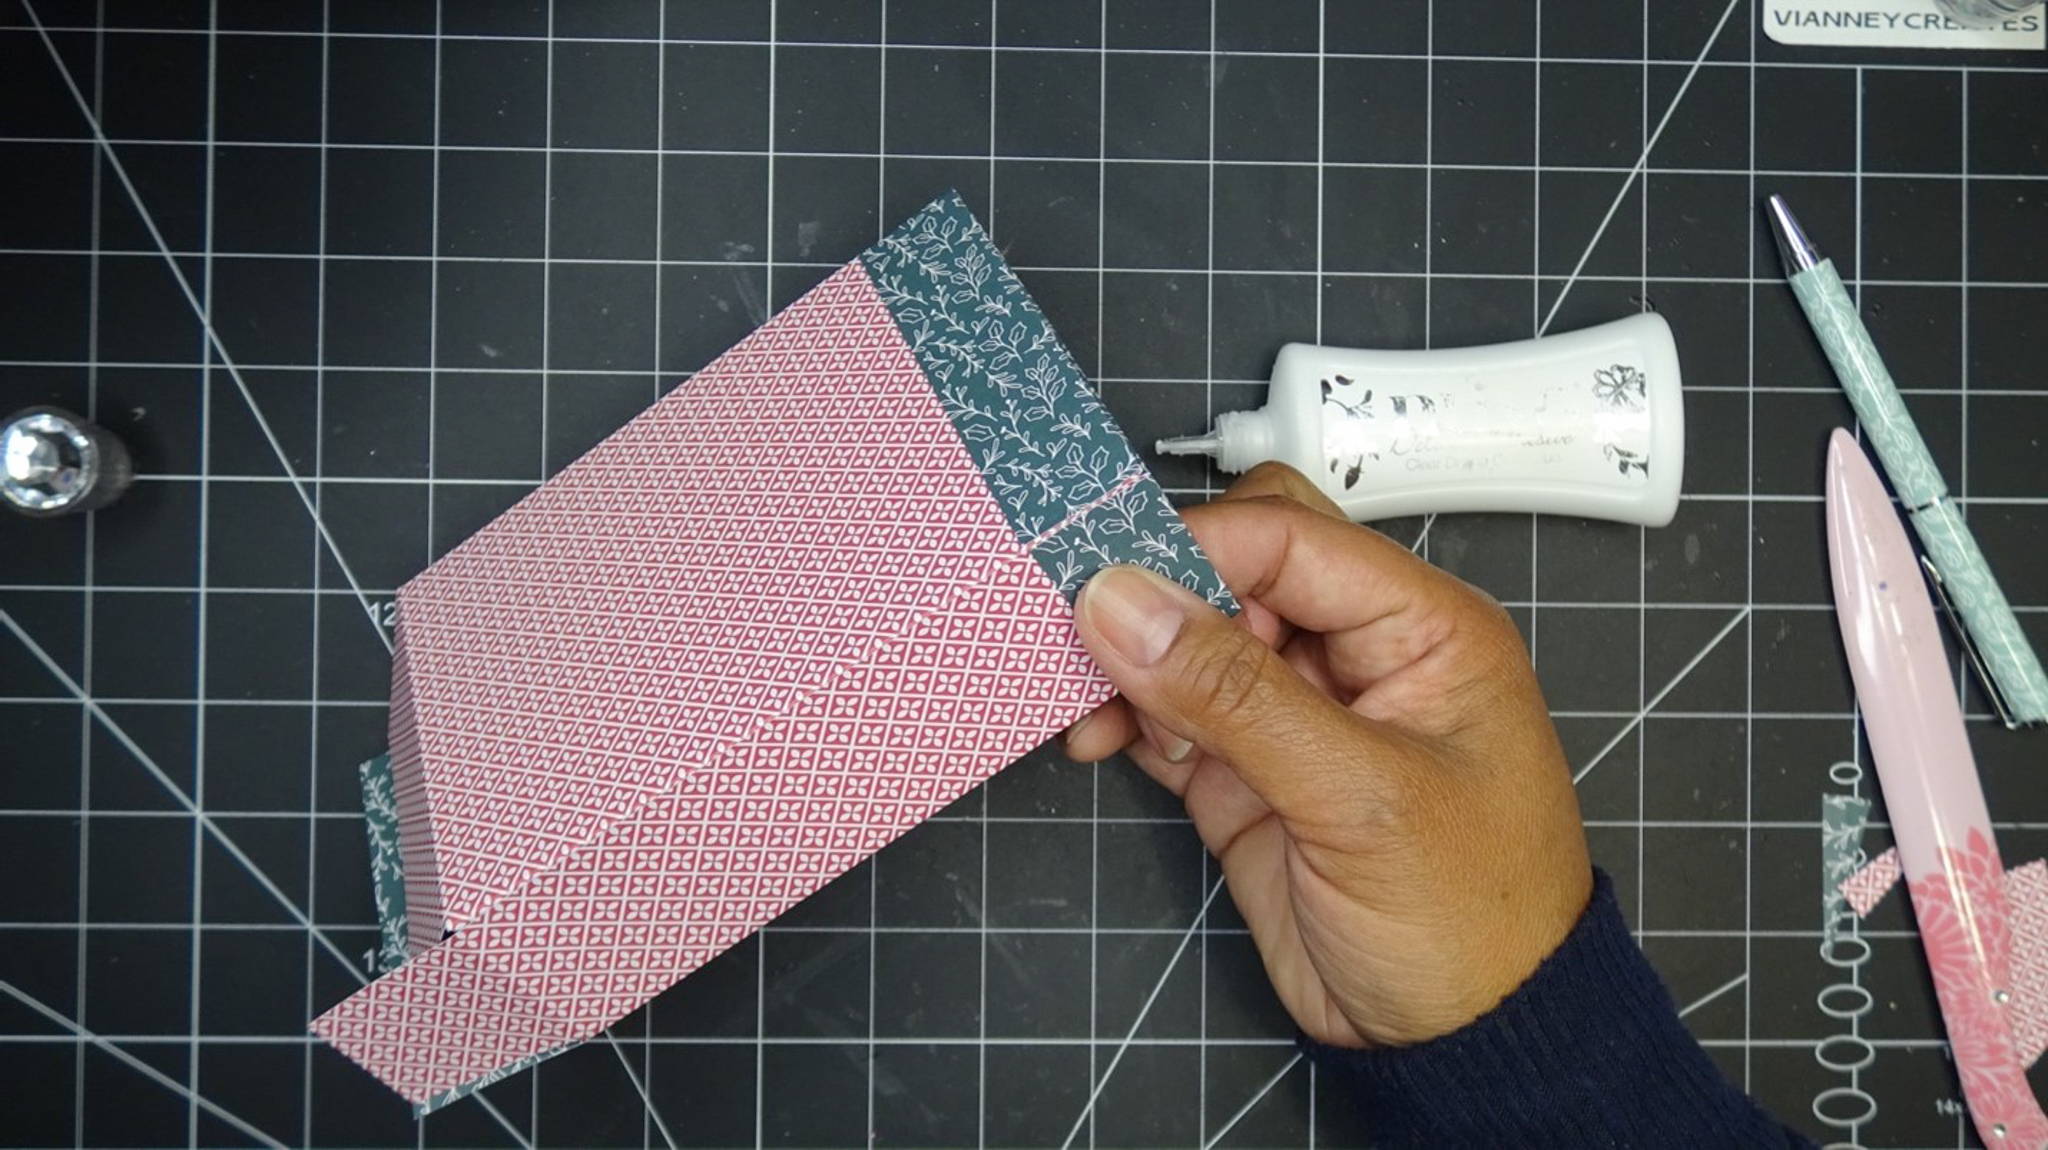
To assemble the gift bag, apply glue to the side glue tab and adhere to the opposite side creating the bag shape.
Step 5
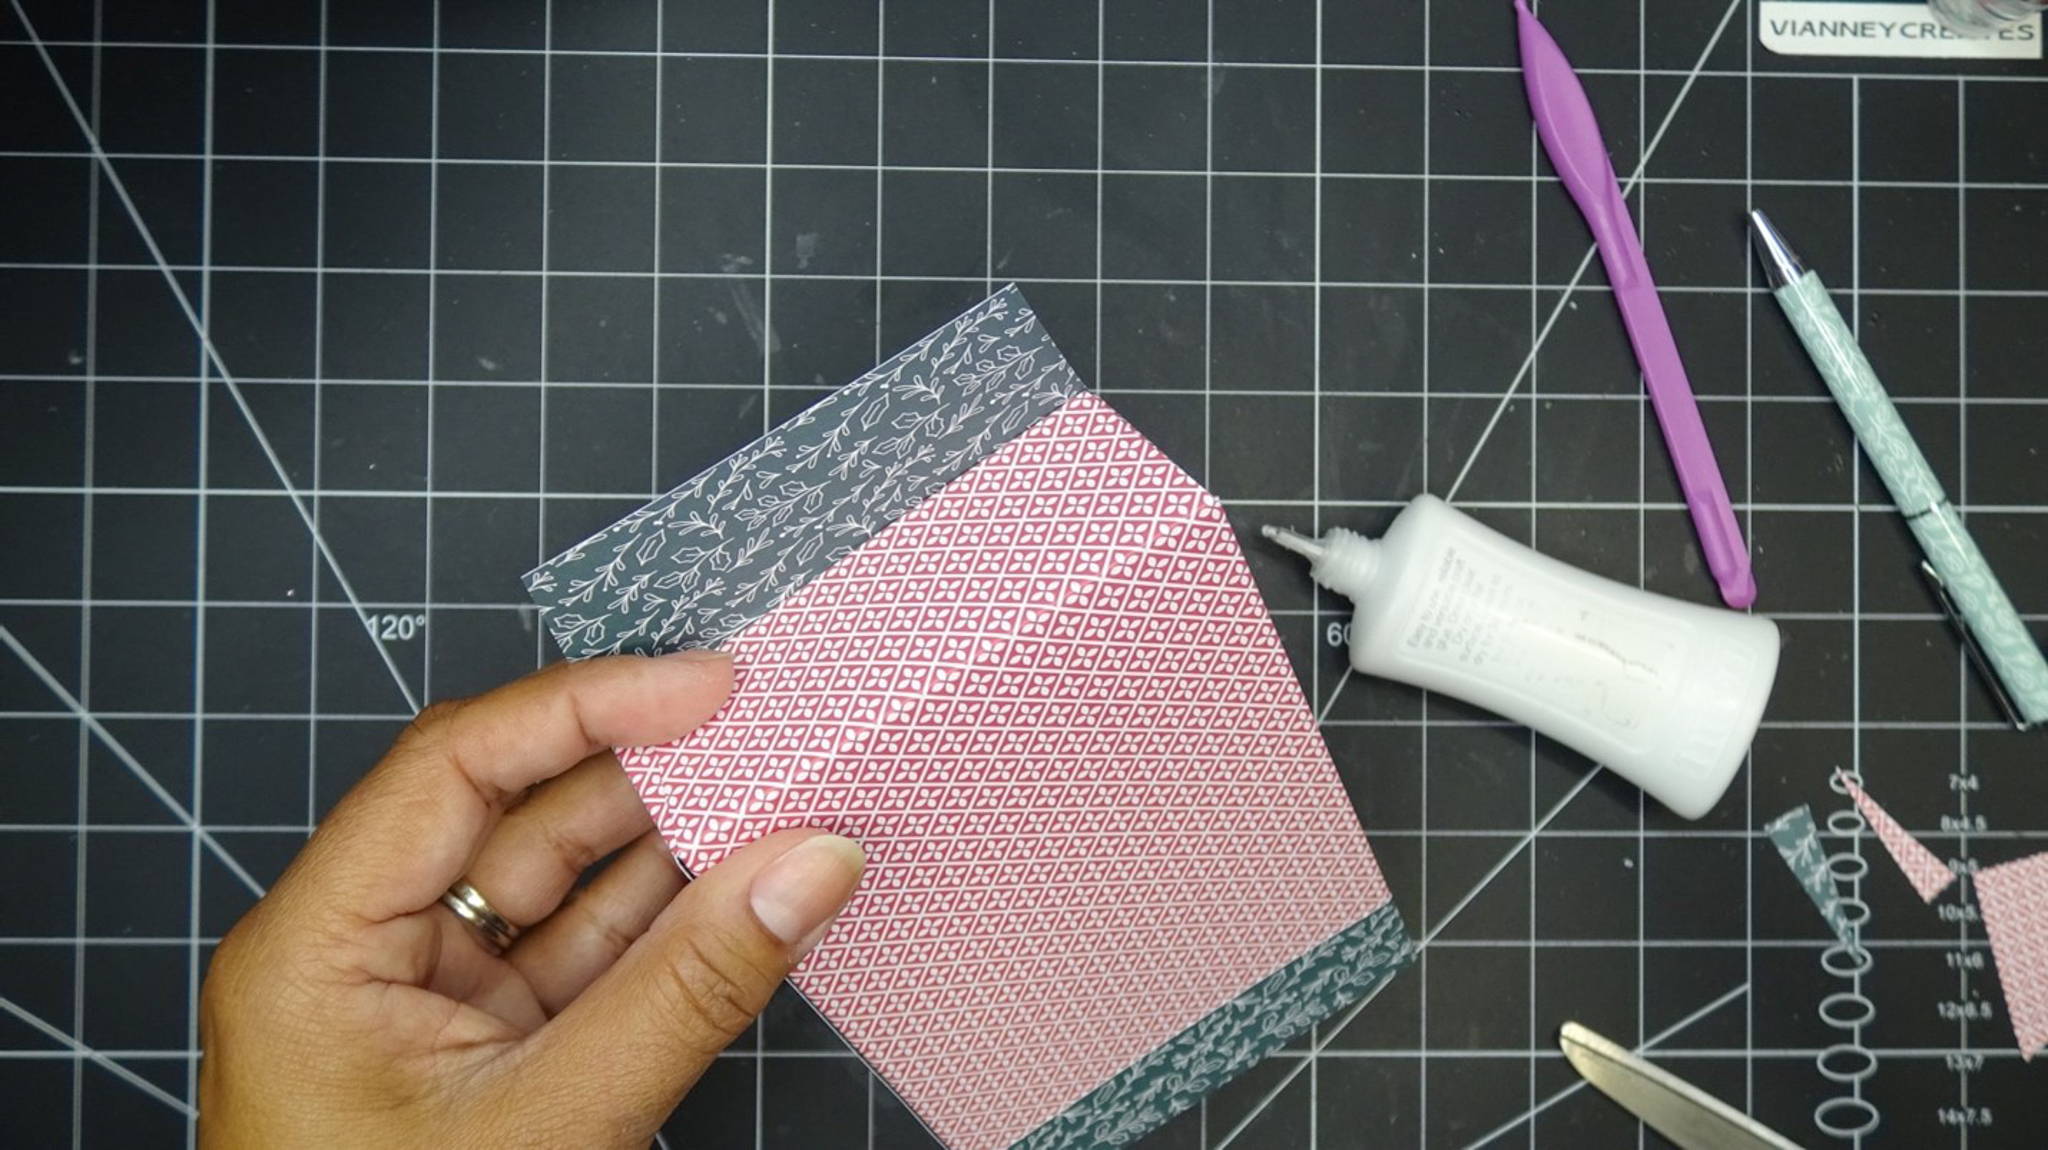
Apply glue to the bag base glue tabs and assemble, creating a nicely reinforced base. I usually fold in the small tabs, apply glue to them, then bring in and glue down the larger bag base flaps.
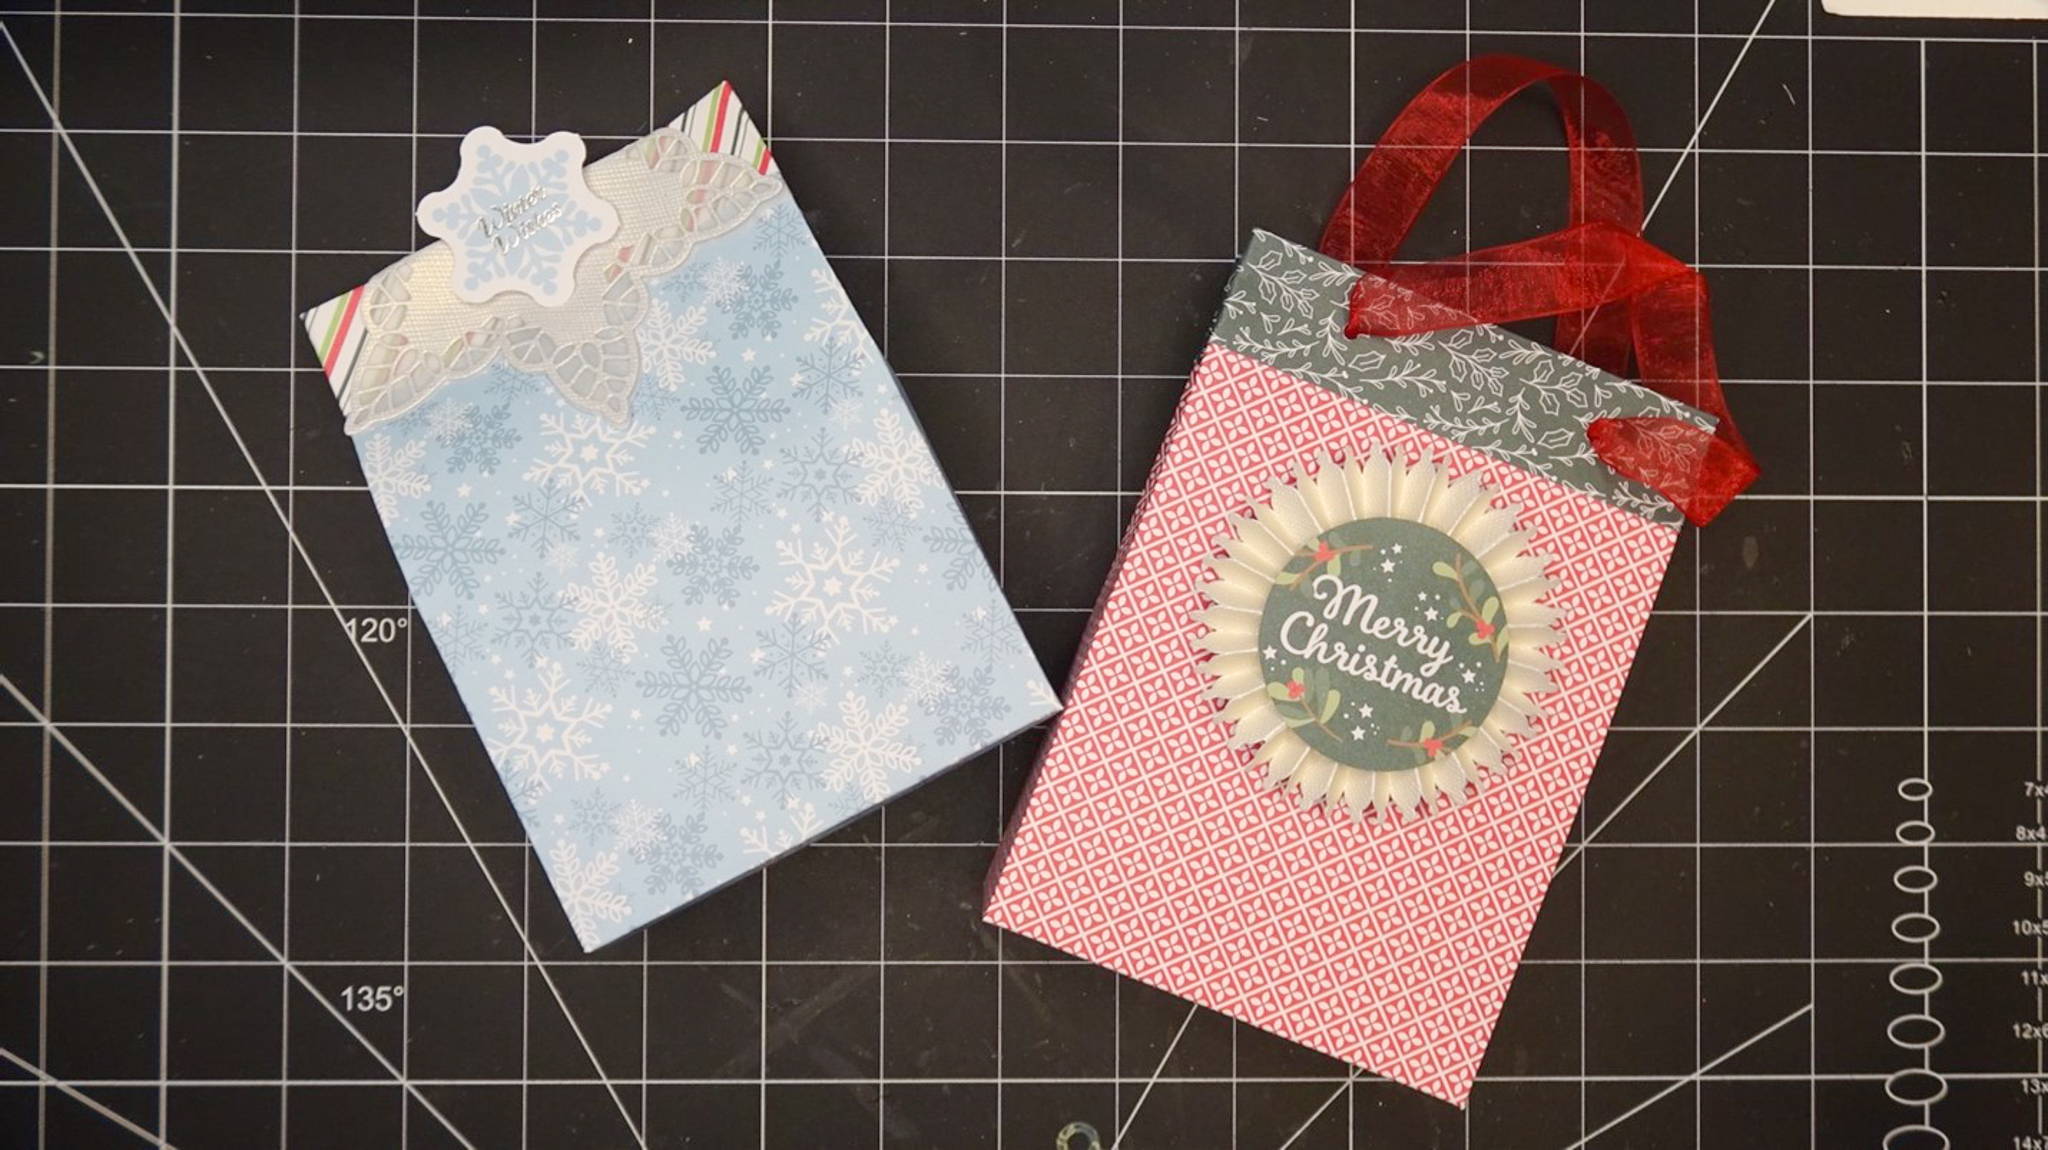
Step 6
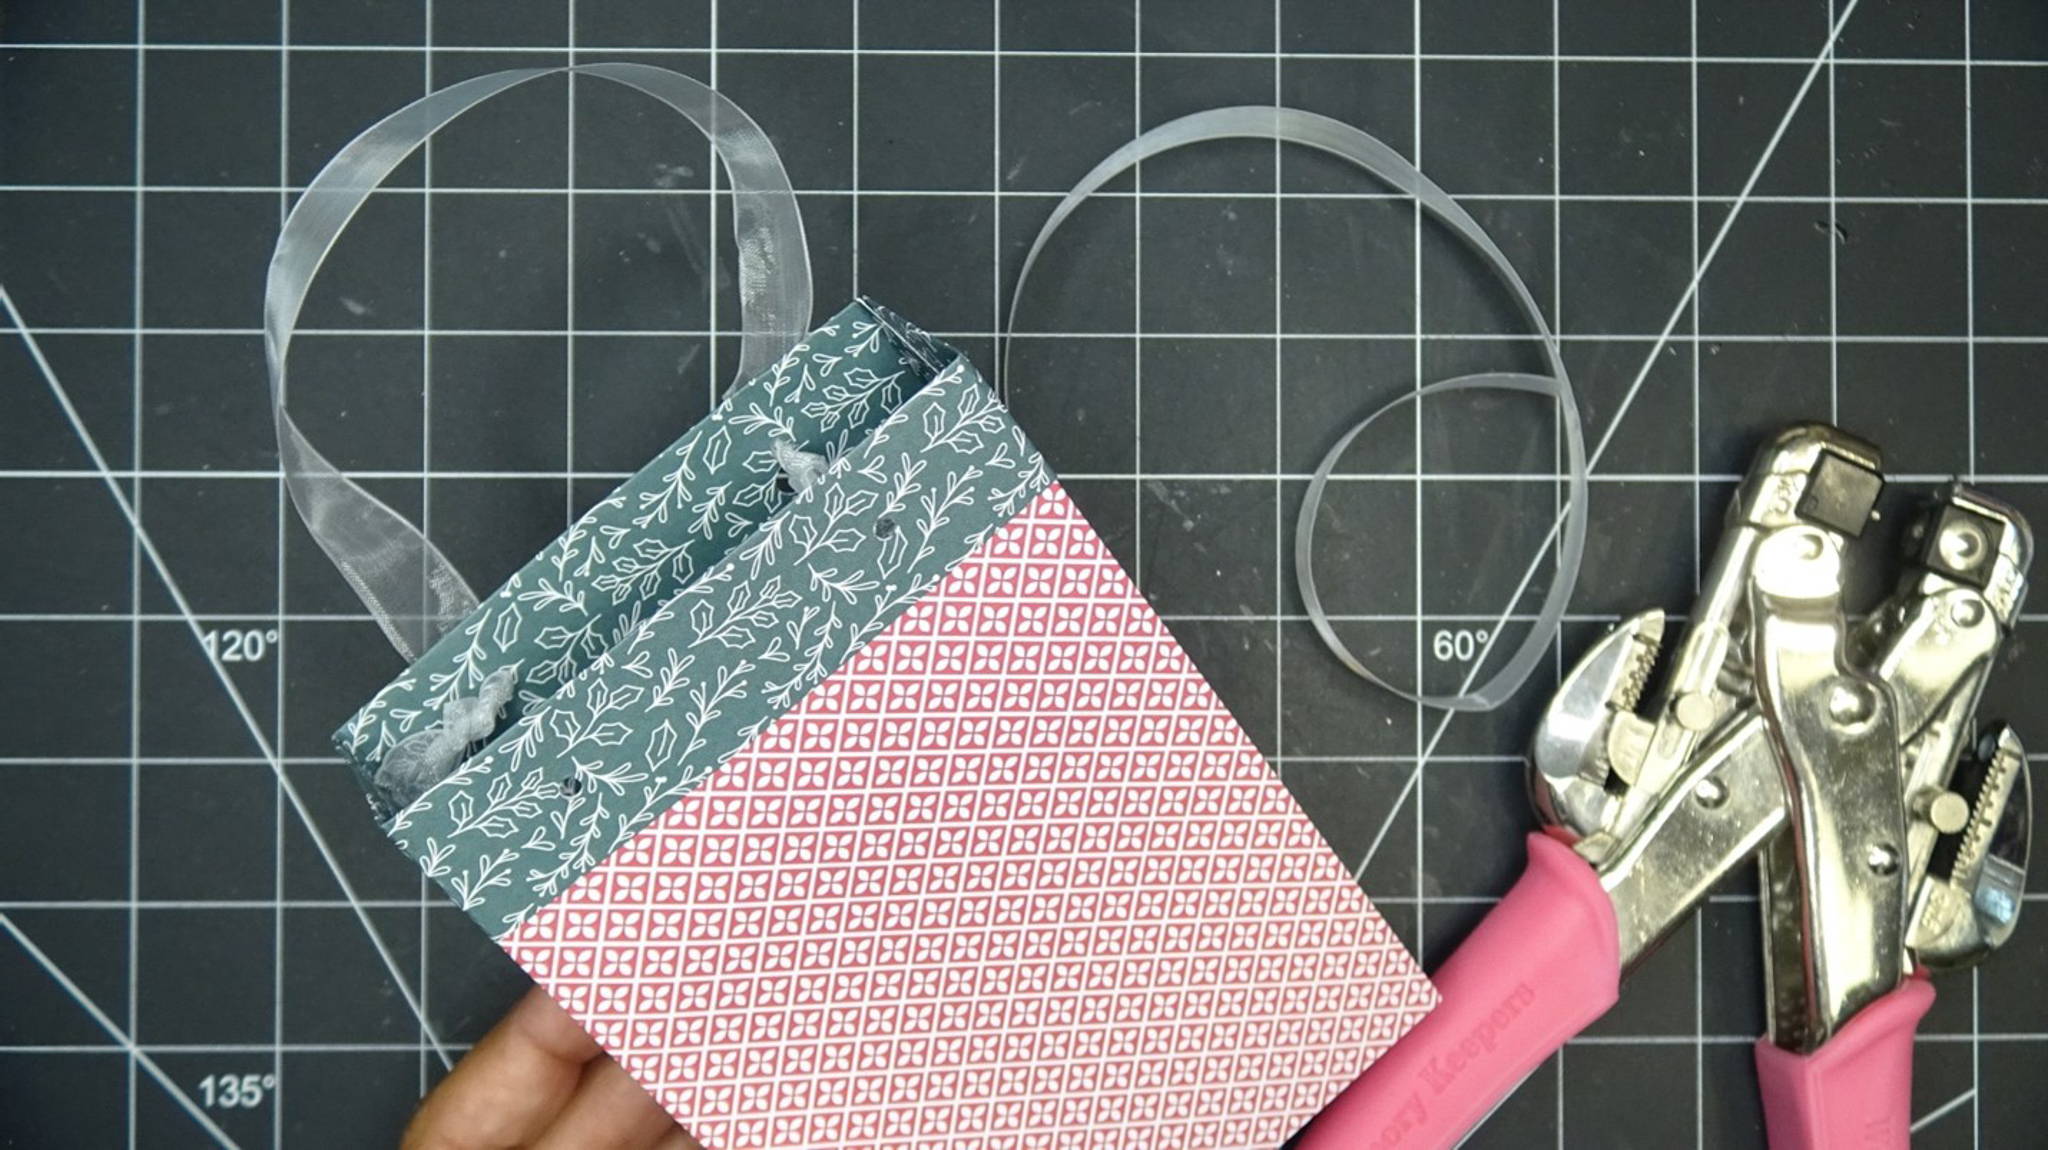

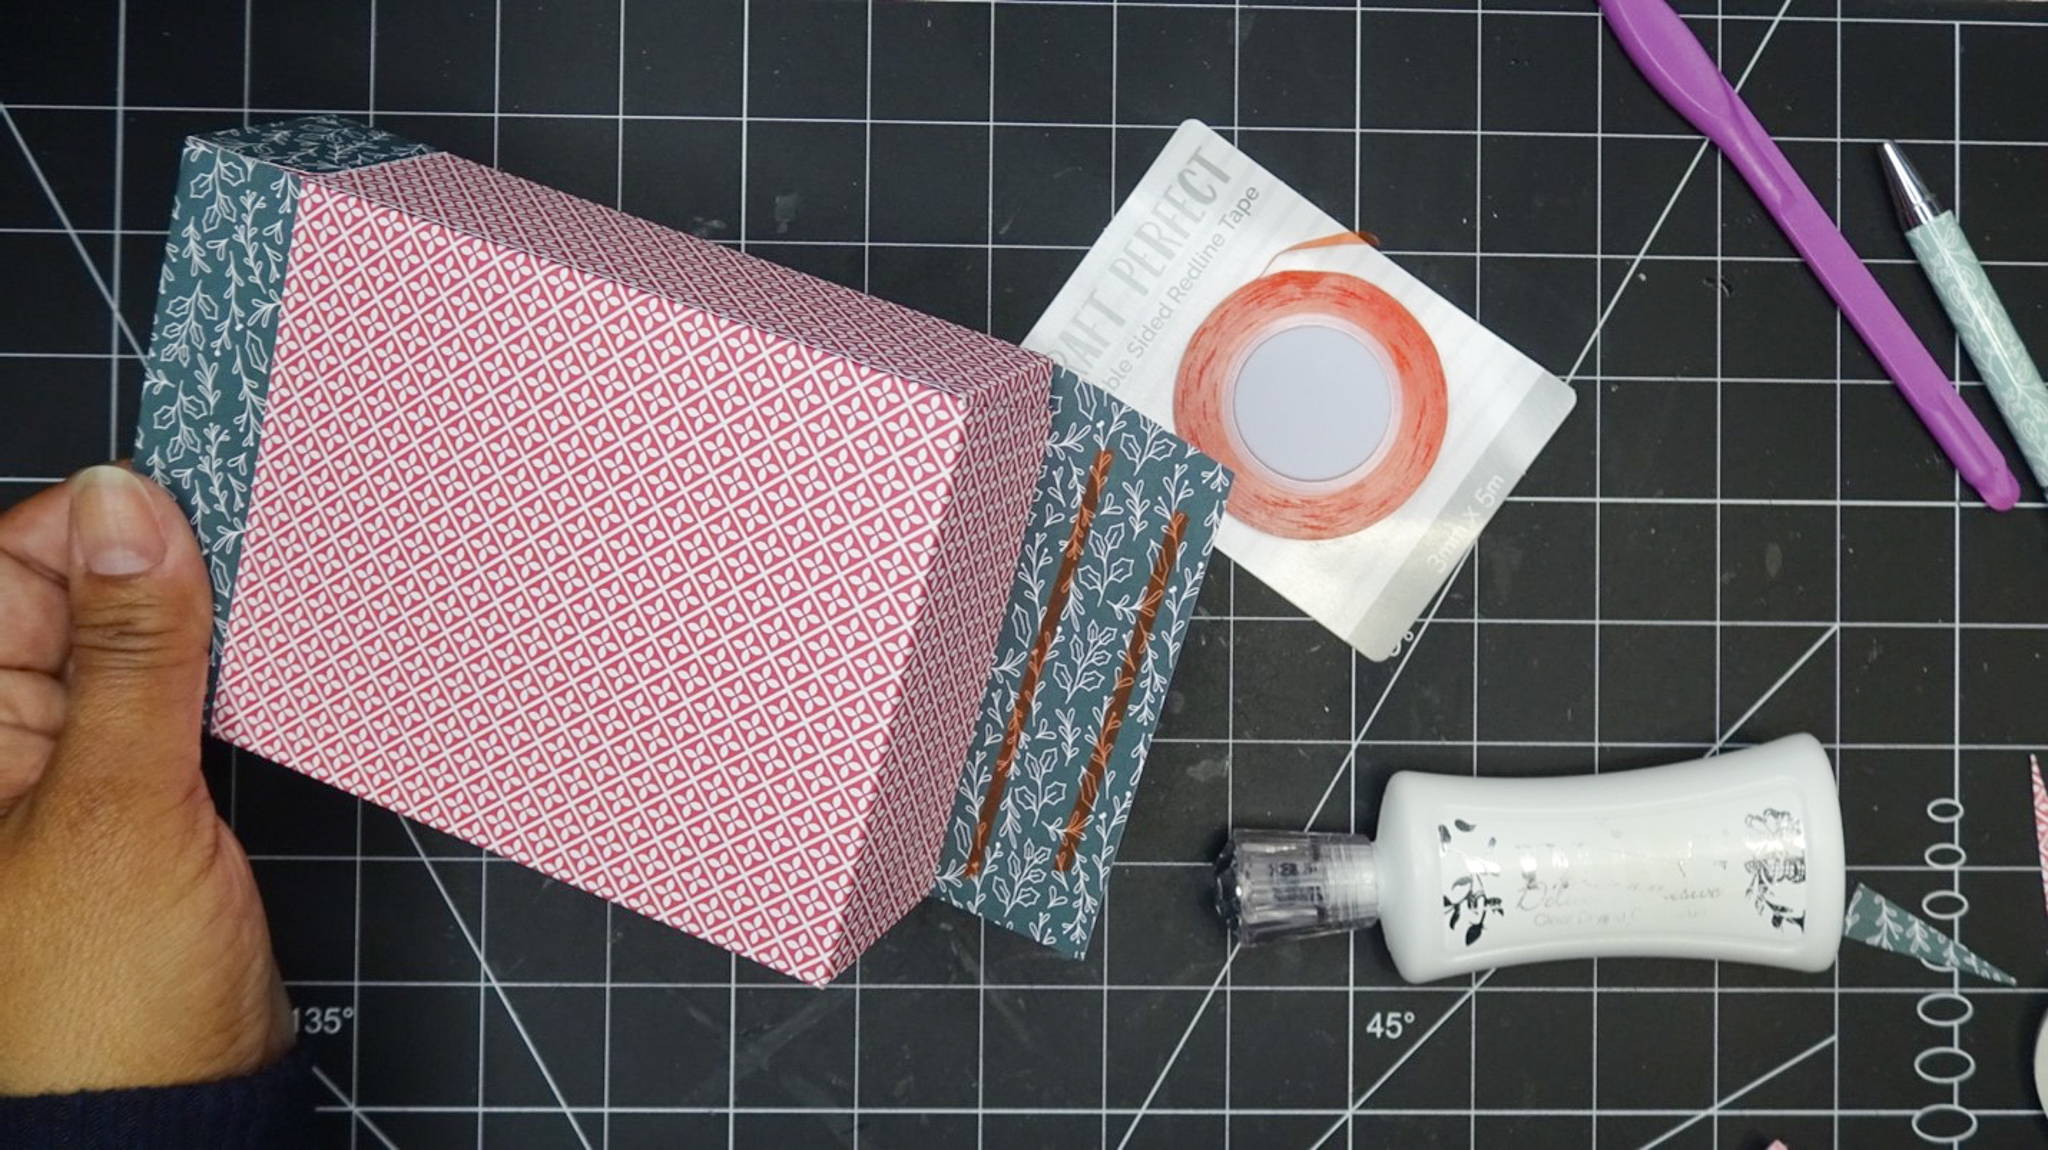
This bag can be finished several different ways. You can punch holes in the reinforced top and add handles or a bow closure. It can be closed plainly across the top, or left open. Then decorated with toppers, rosettes, and tags! Optional: crease the bag in on the sides beginning at the top to about 3” down for a gusseted look.
Buy The Craft Project