 Gem Rewards

The heart squeeze box is such a fun and easy box to assemble :D I’ve done the step by step photos with the smaller box as they’re easier to photograph, but the process is exactly the same with the larger size too. You can decorate them as elaborately as you like with all the dies included but I’ve kept mine really simple just to show the construction :D Also you can cut all the pieces for the smaller box using A5 cutting plates :D Christine xxx
Step 1
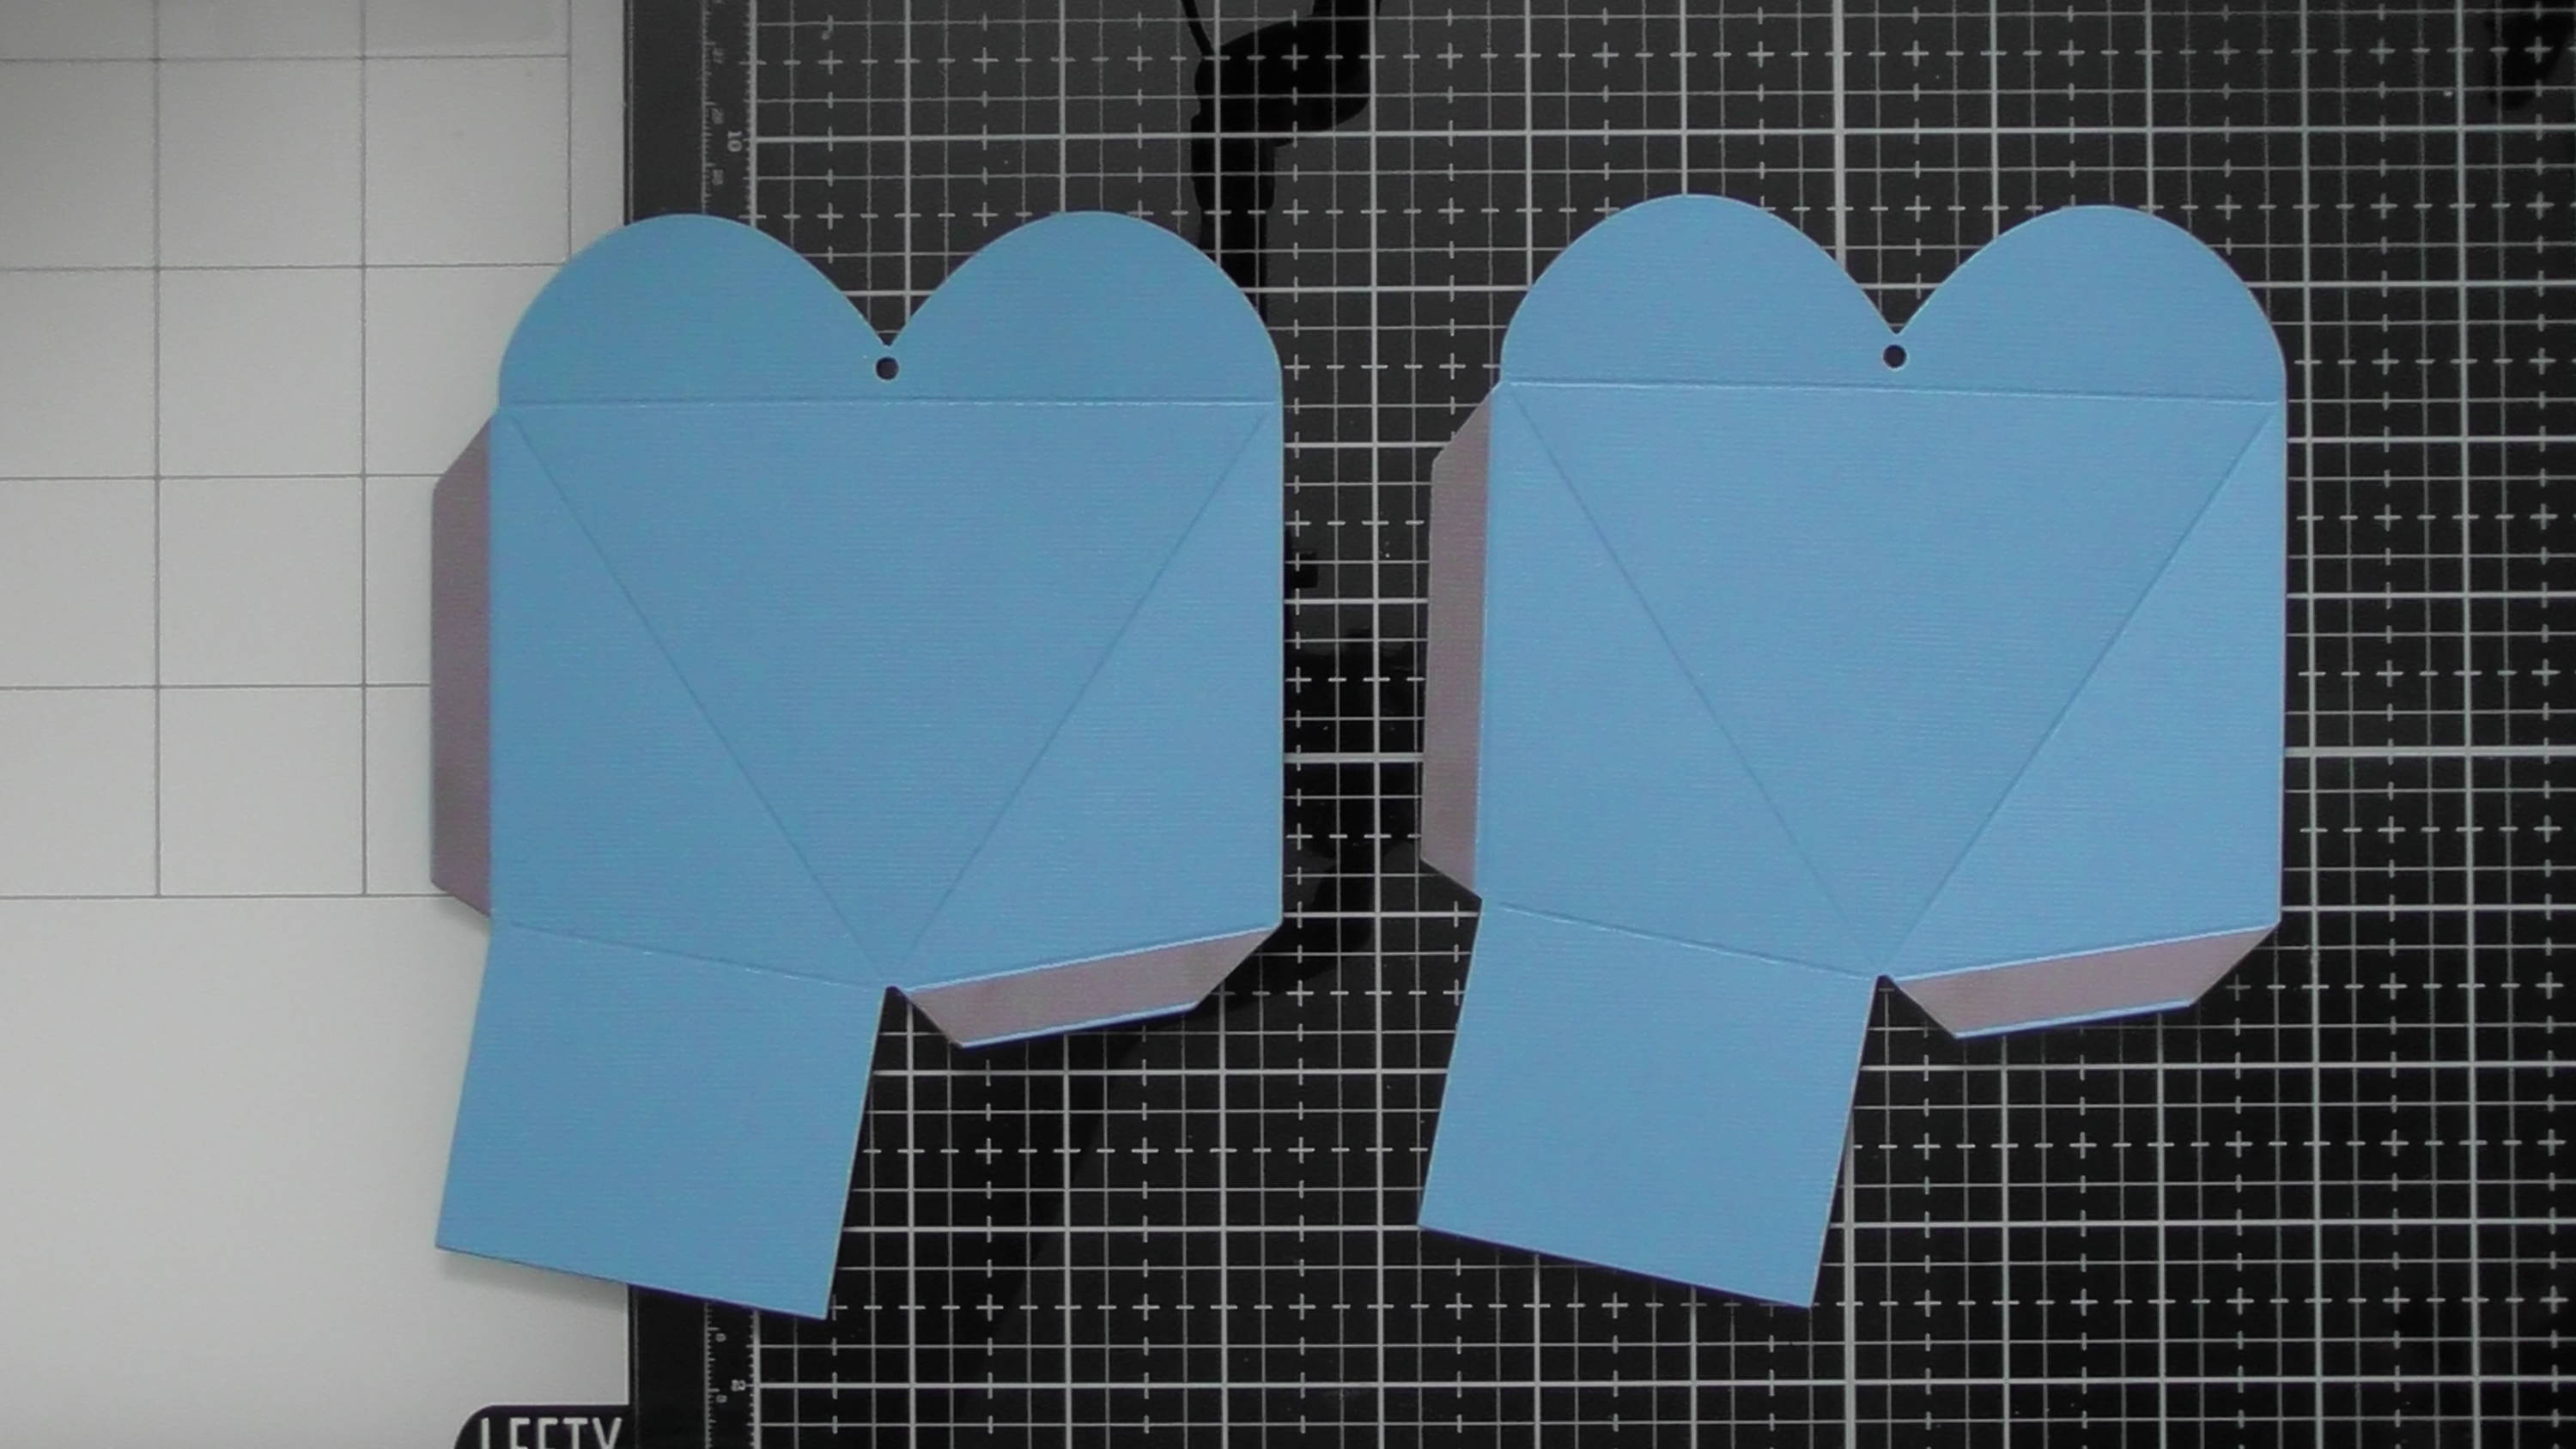
Die-cut 2 of the main base piece, and add red liner tape as shown. Make sure to add the tape right up to the corners of the glue tabs as this will give a neater finish, just use a longer piece of tape and trim the excess off.
Step 2
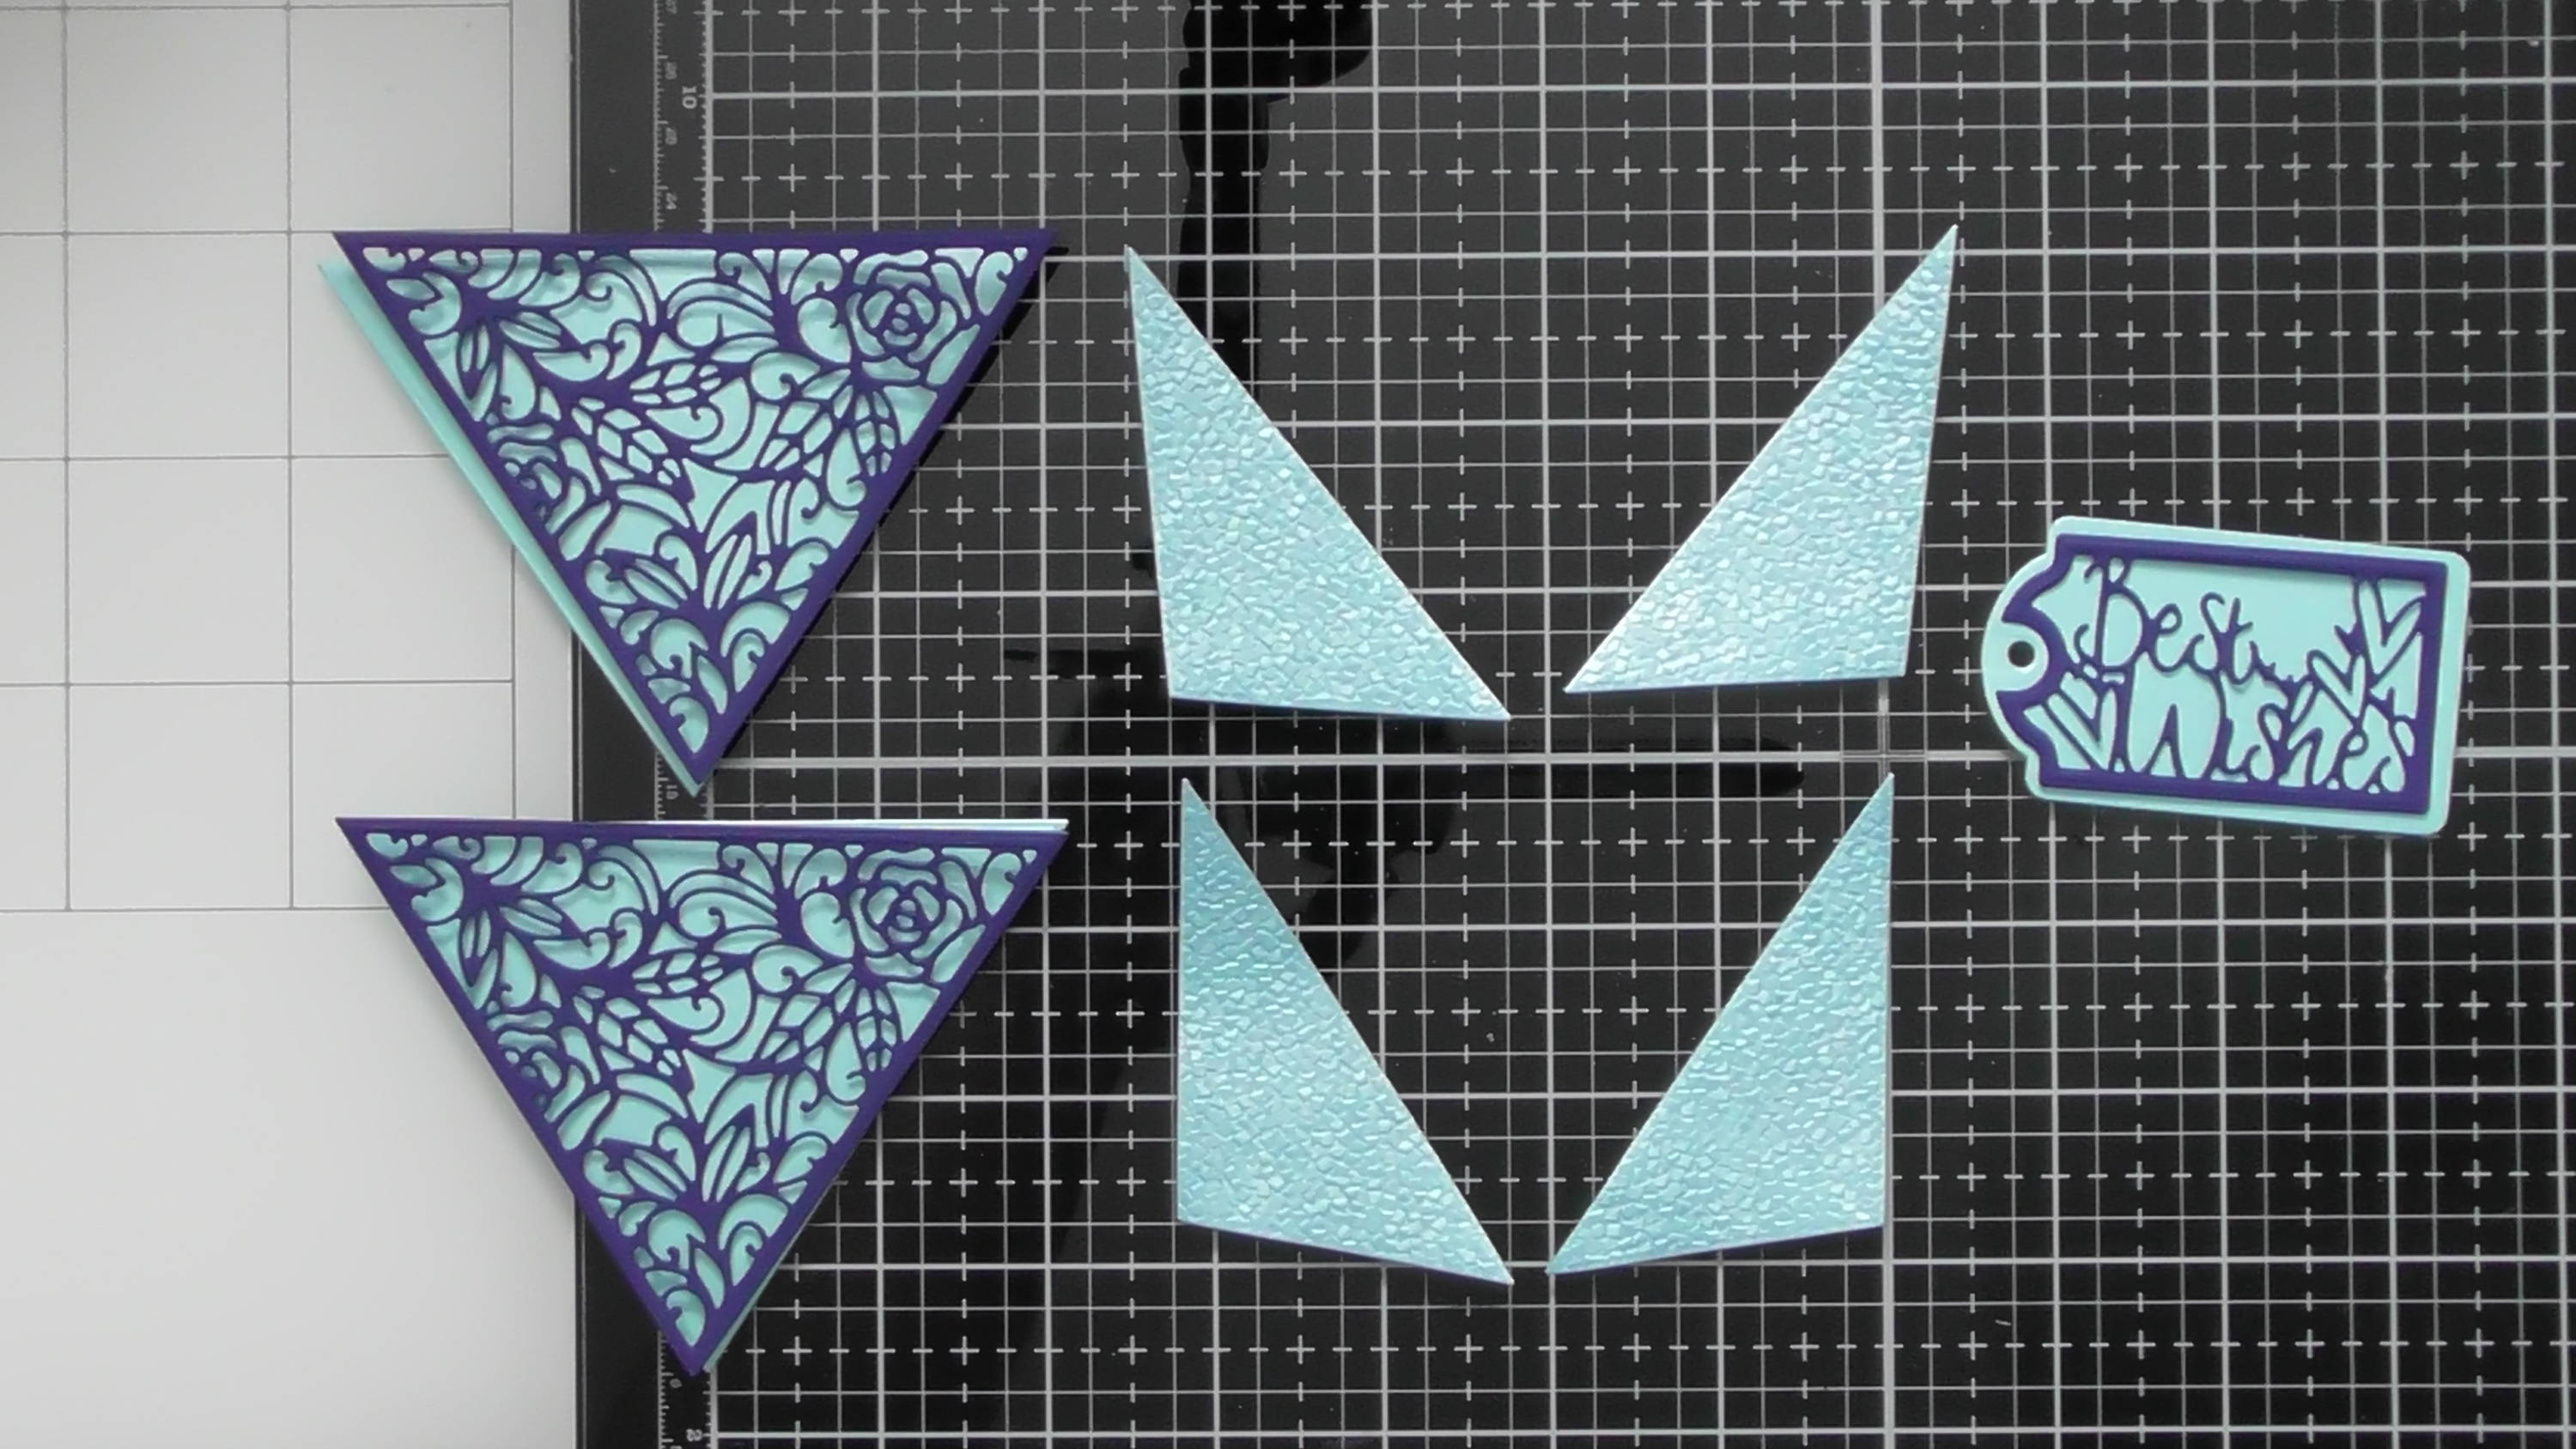
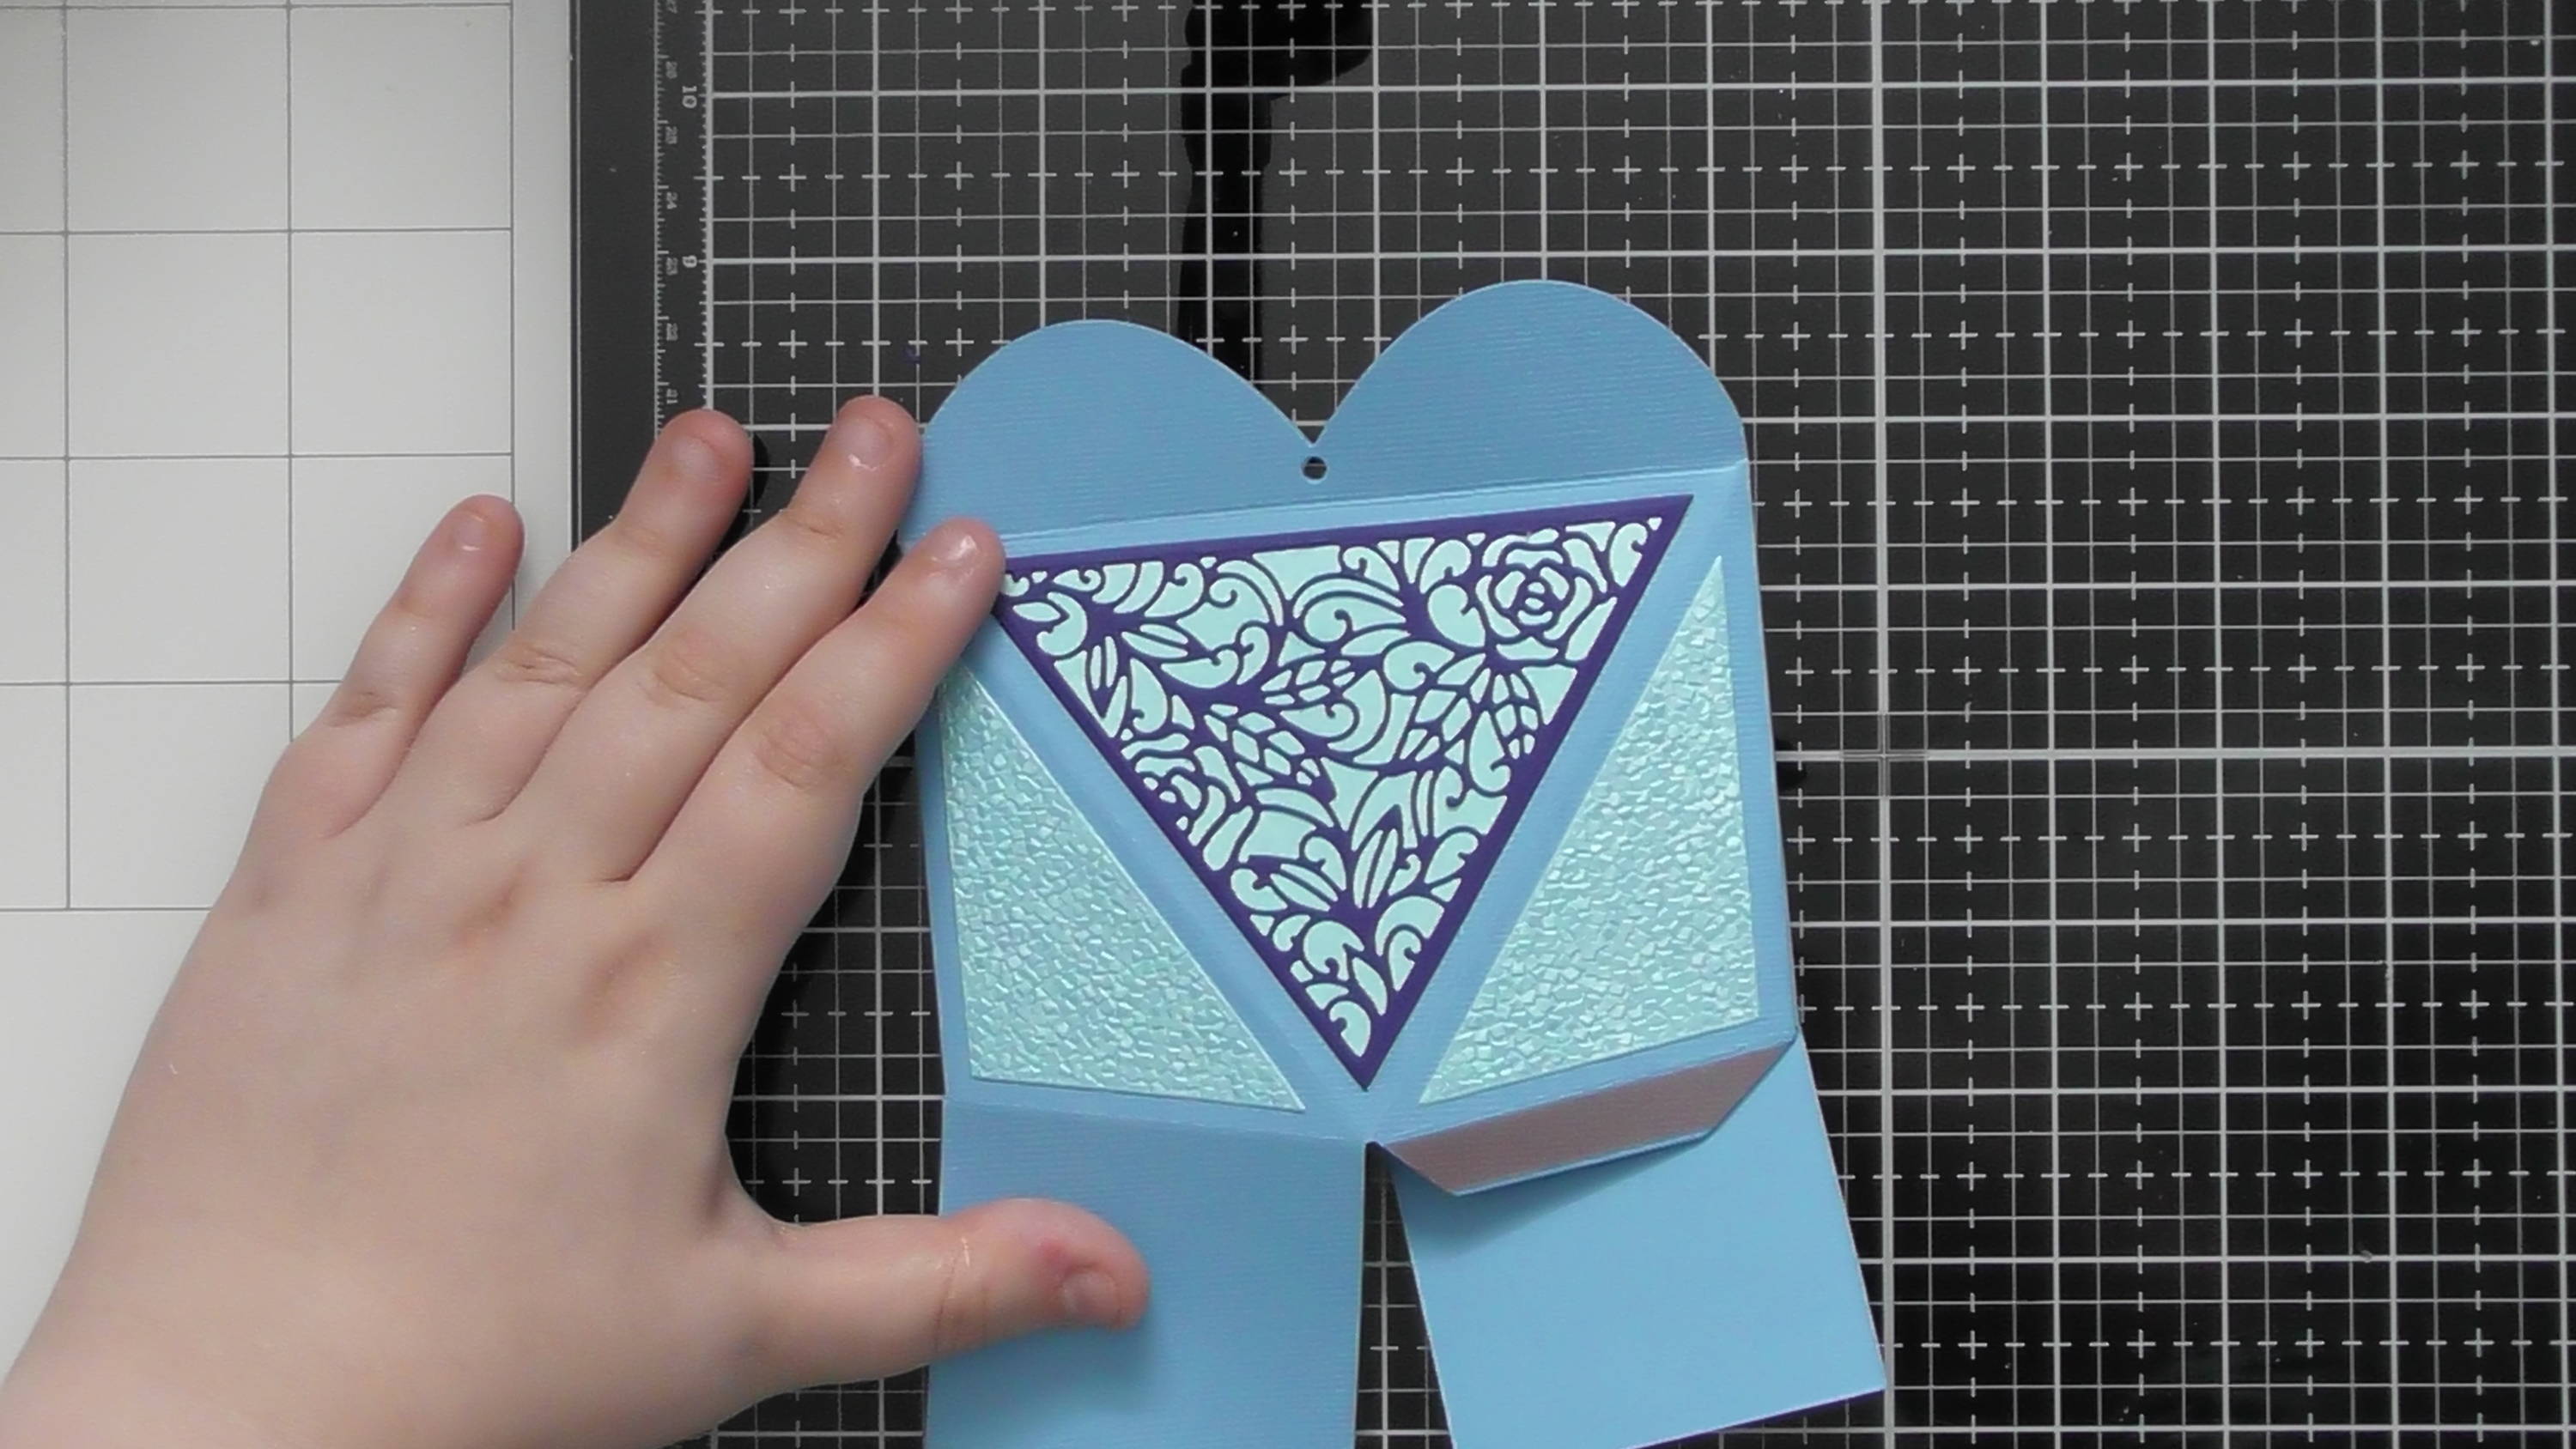
Die-cut your chosen decorative panels (and tag). The 2 pieces that go either side of the large triangle are mirror images, so to decorate one side of the box you’ll need the large triangle and the two smaller ones. You do also have dies to decorate the semi-circles at the top of the box as well.
Step 3
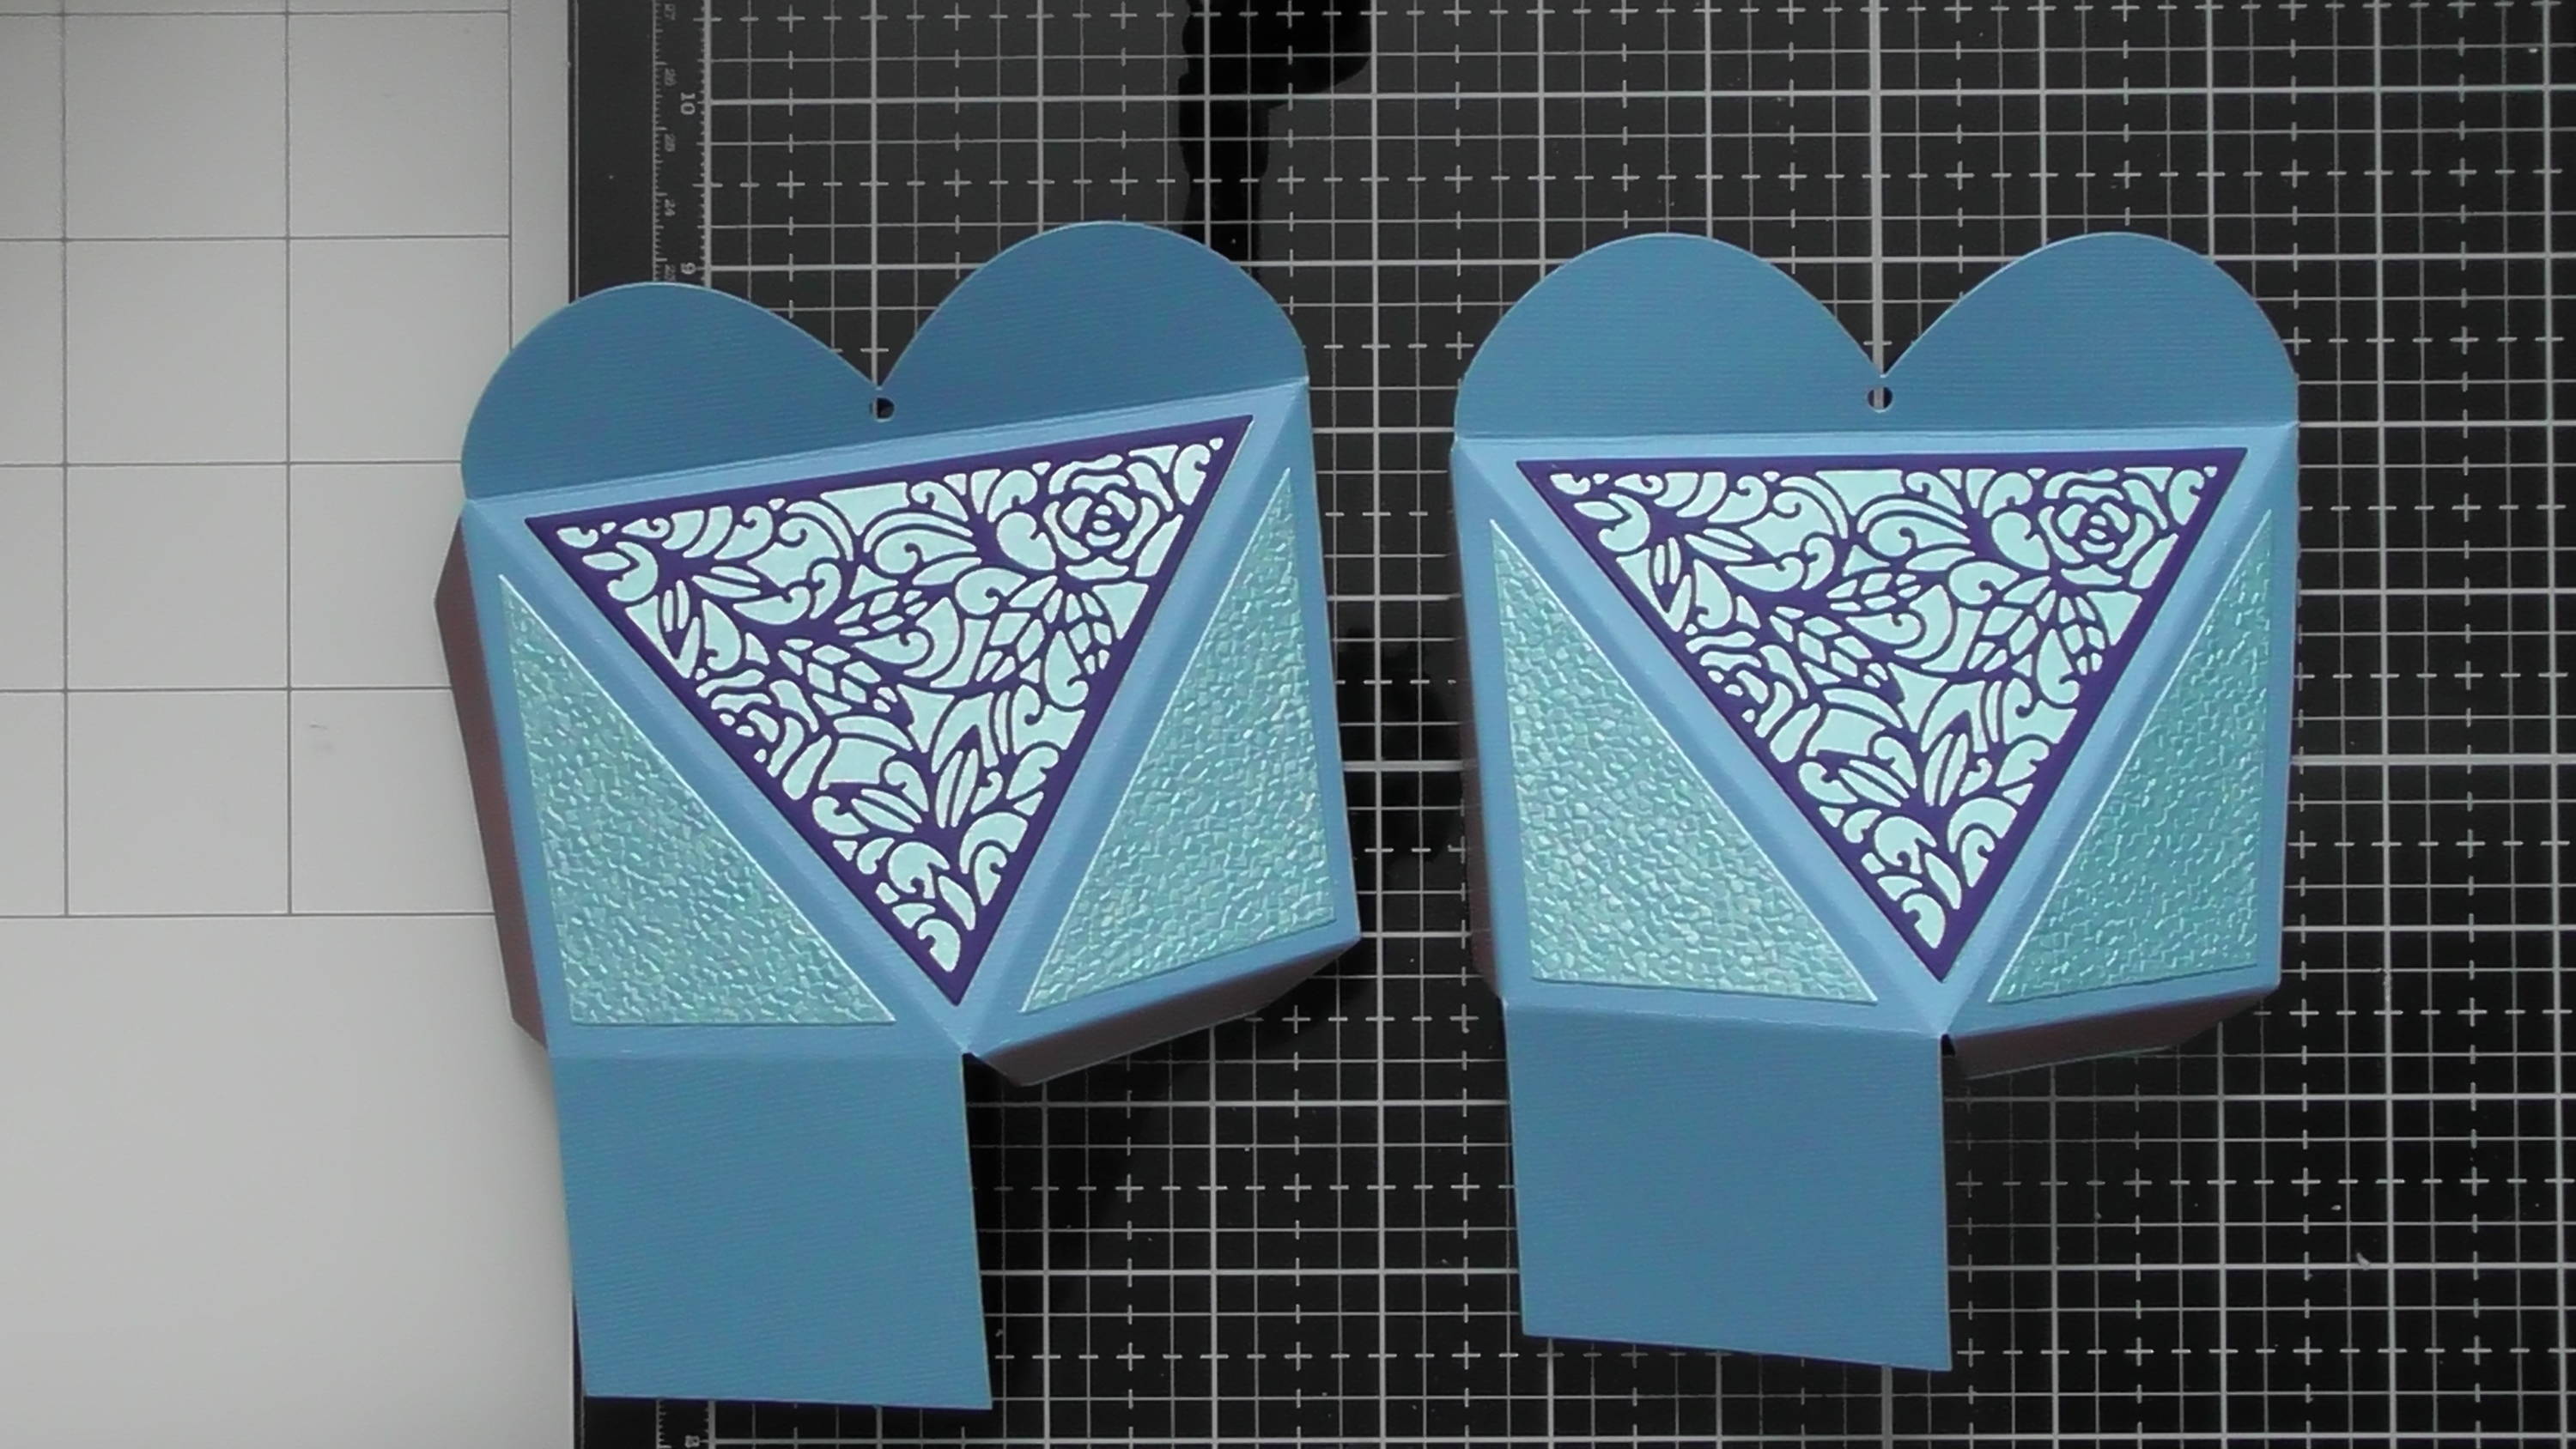
Glue all of your decoration onto your main box pieces. Then once the glue is dry, pre-fold all the score lines, this will make it super easy to assemble.
Step 4

Stick the 2 main panels together using one of the side glue tabs.
Step 5
Fold one die-cut over the other and adhere the other side glue tab. It’s symmetrical so you can press it flat to do this.
Step 6
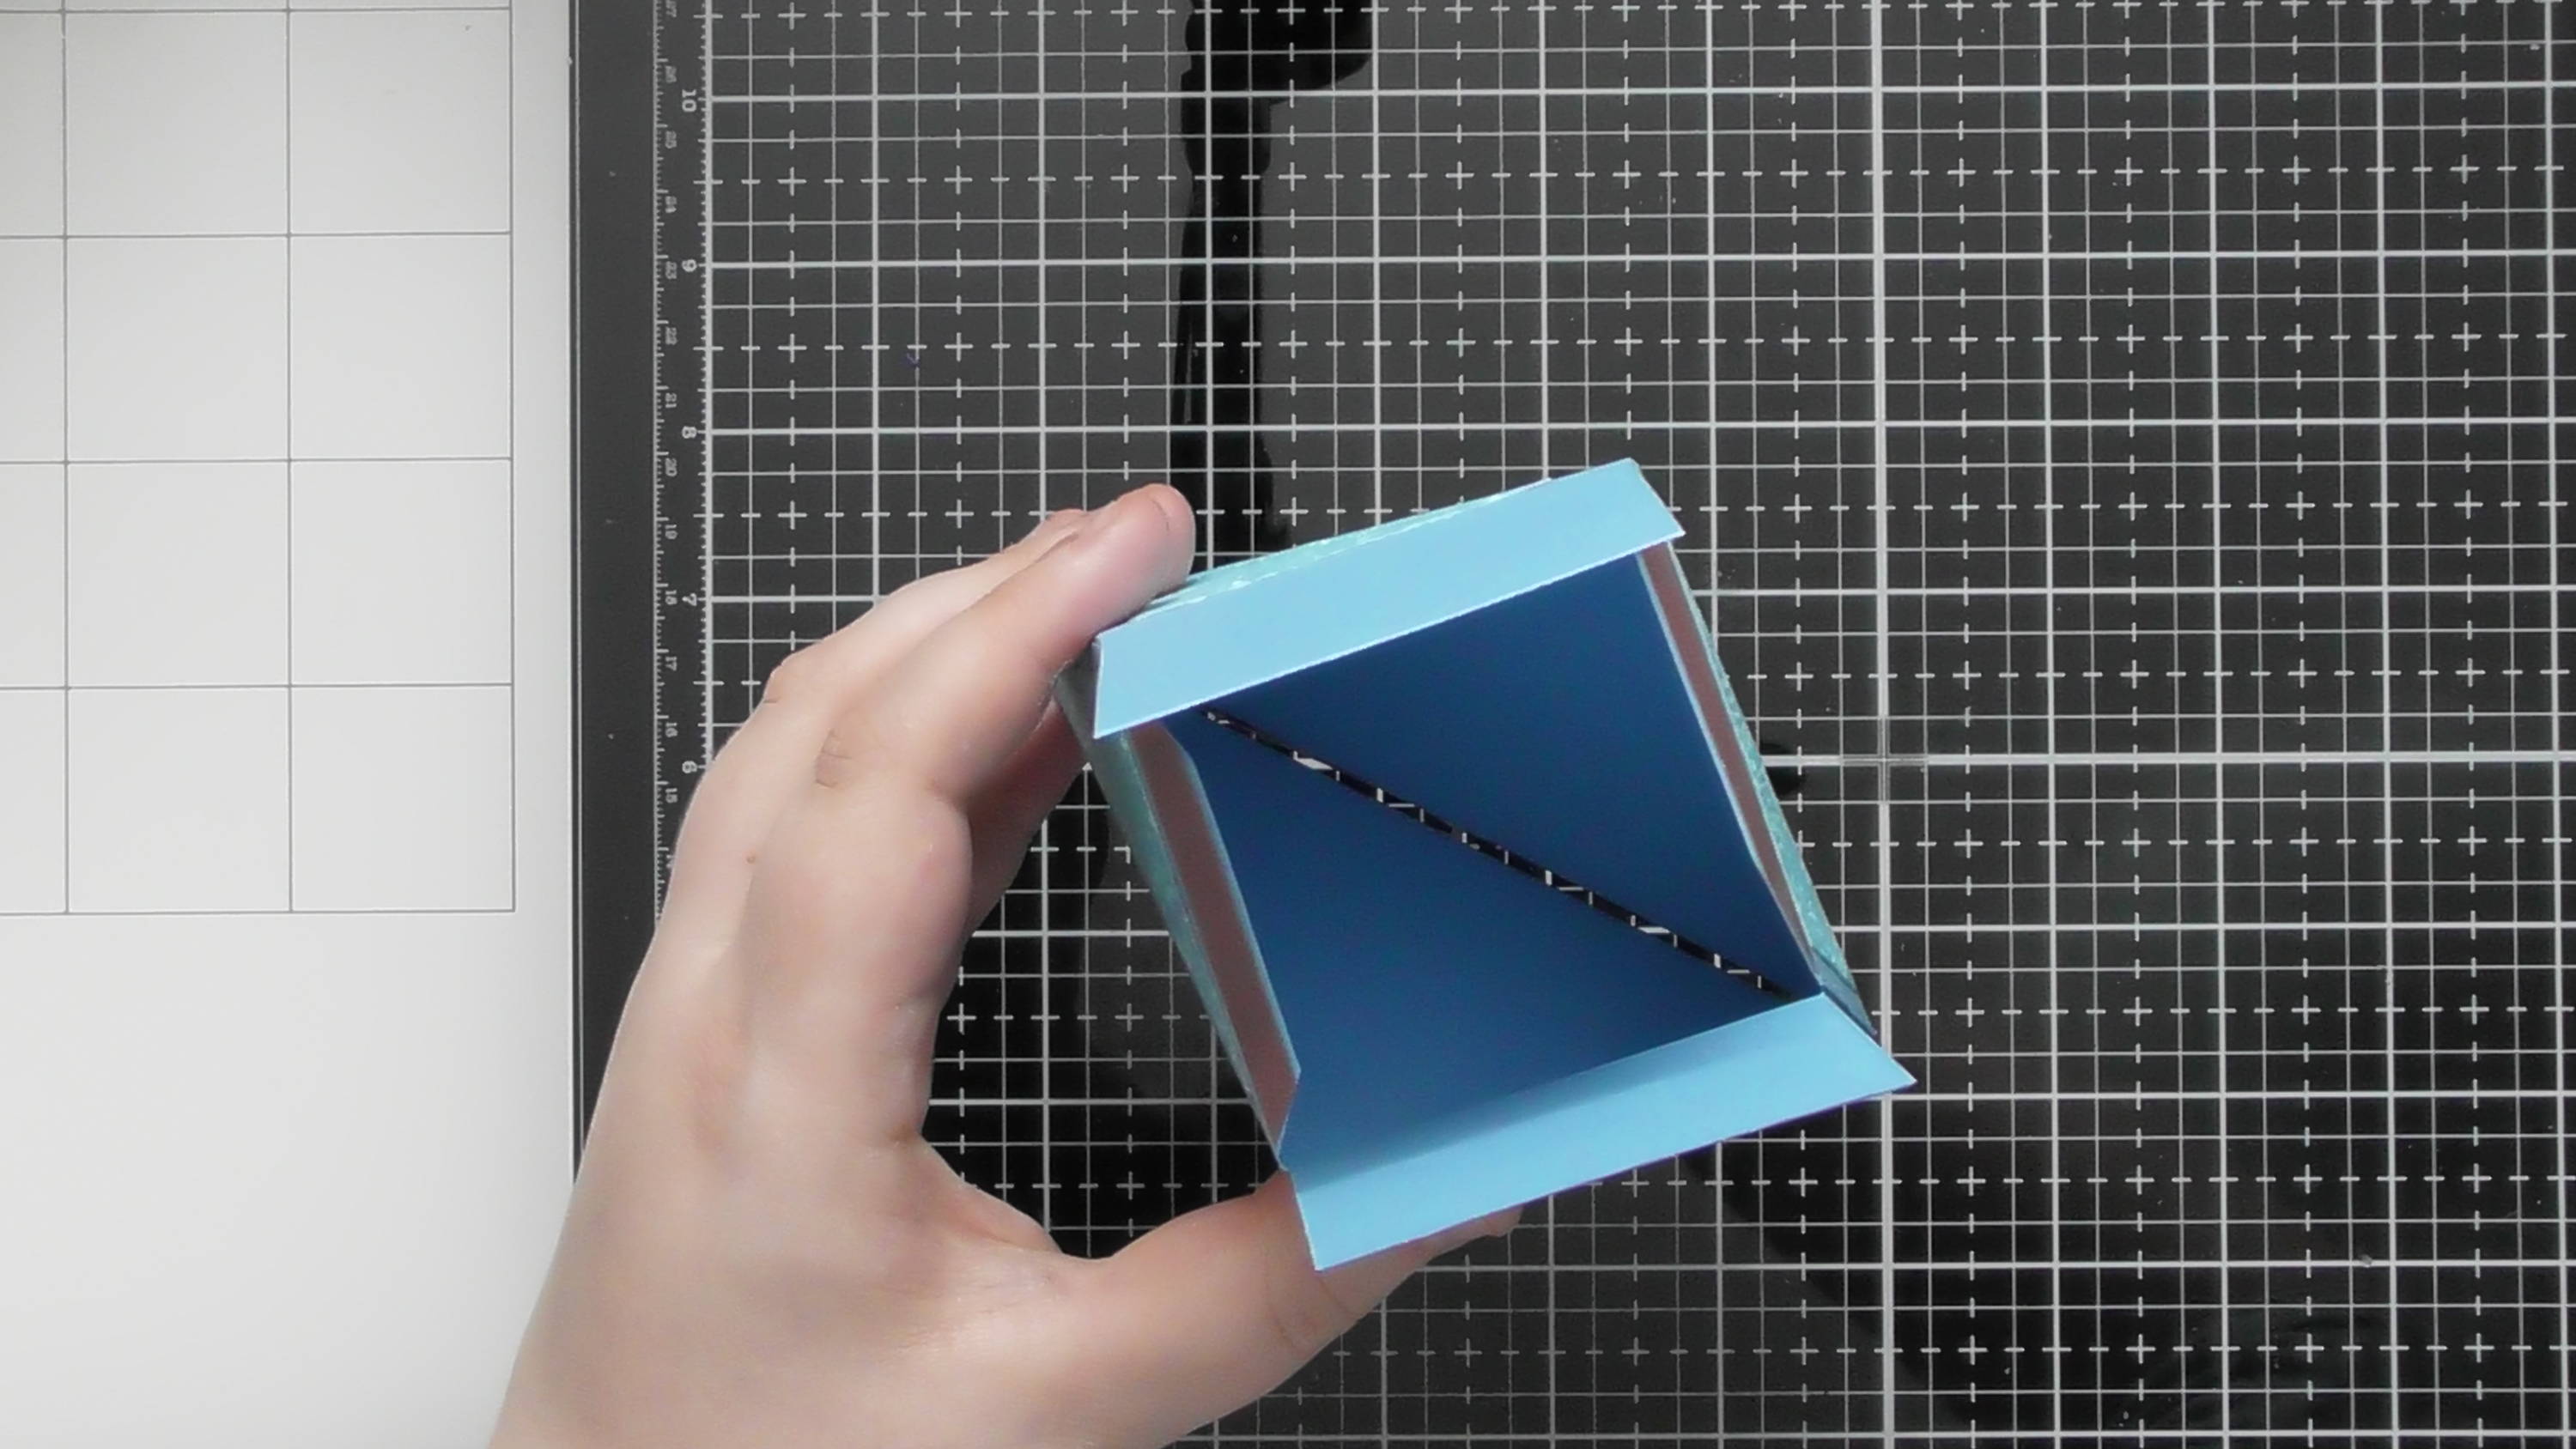
Turn it upside down, as we now need to secure the bottom of the box.
Step 7
Remove the backing from the tape for the 2 glue tabs and fold one square flap over.
Step 8
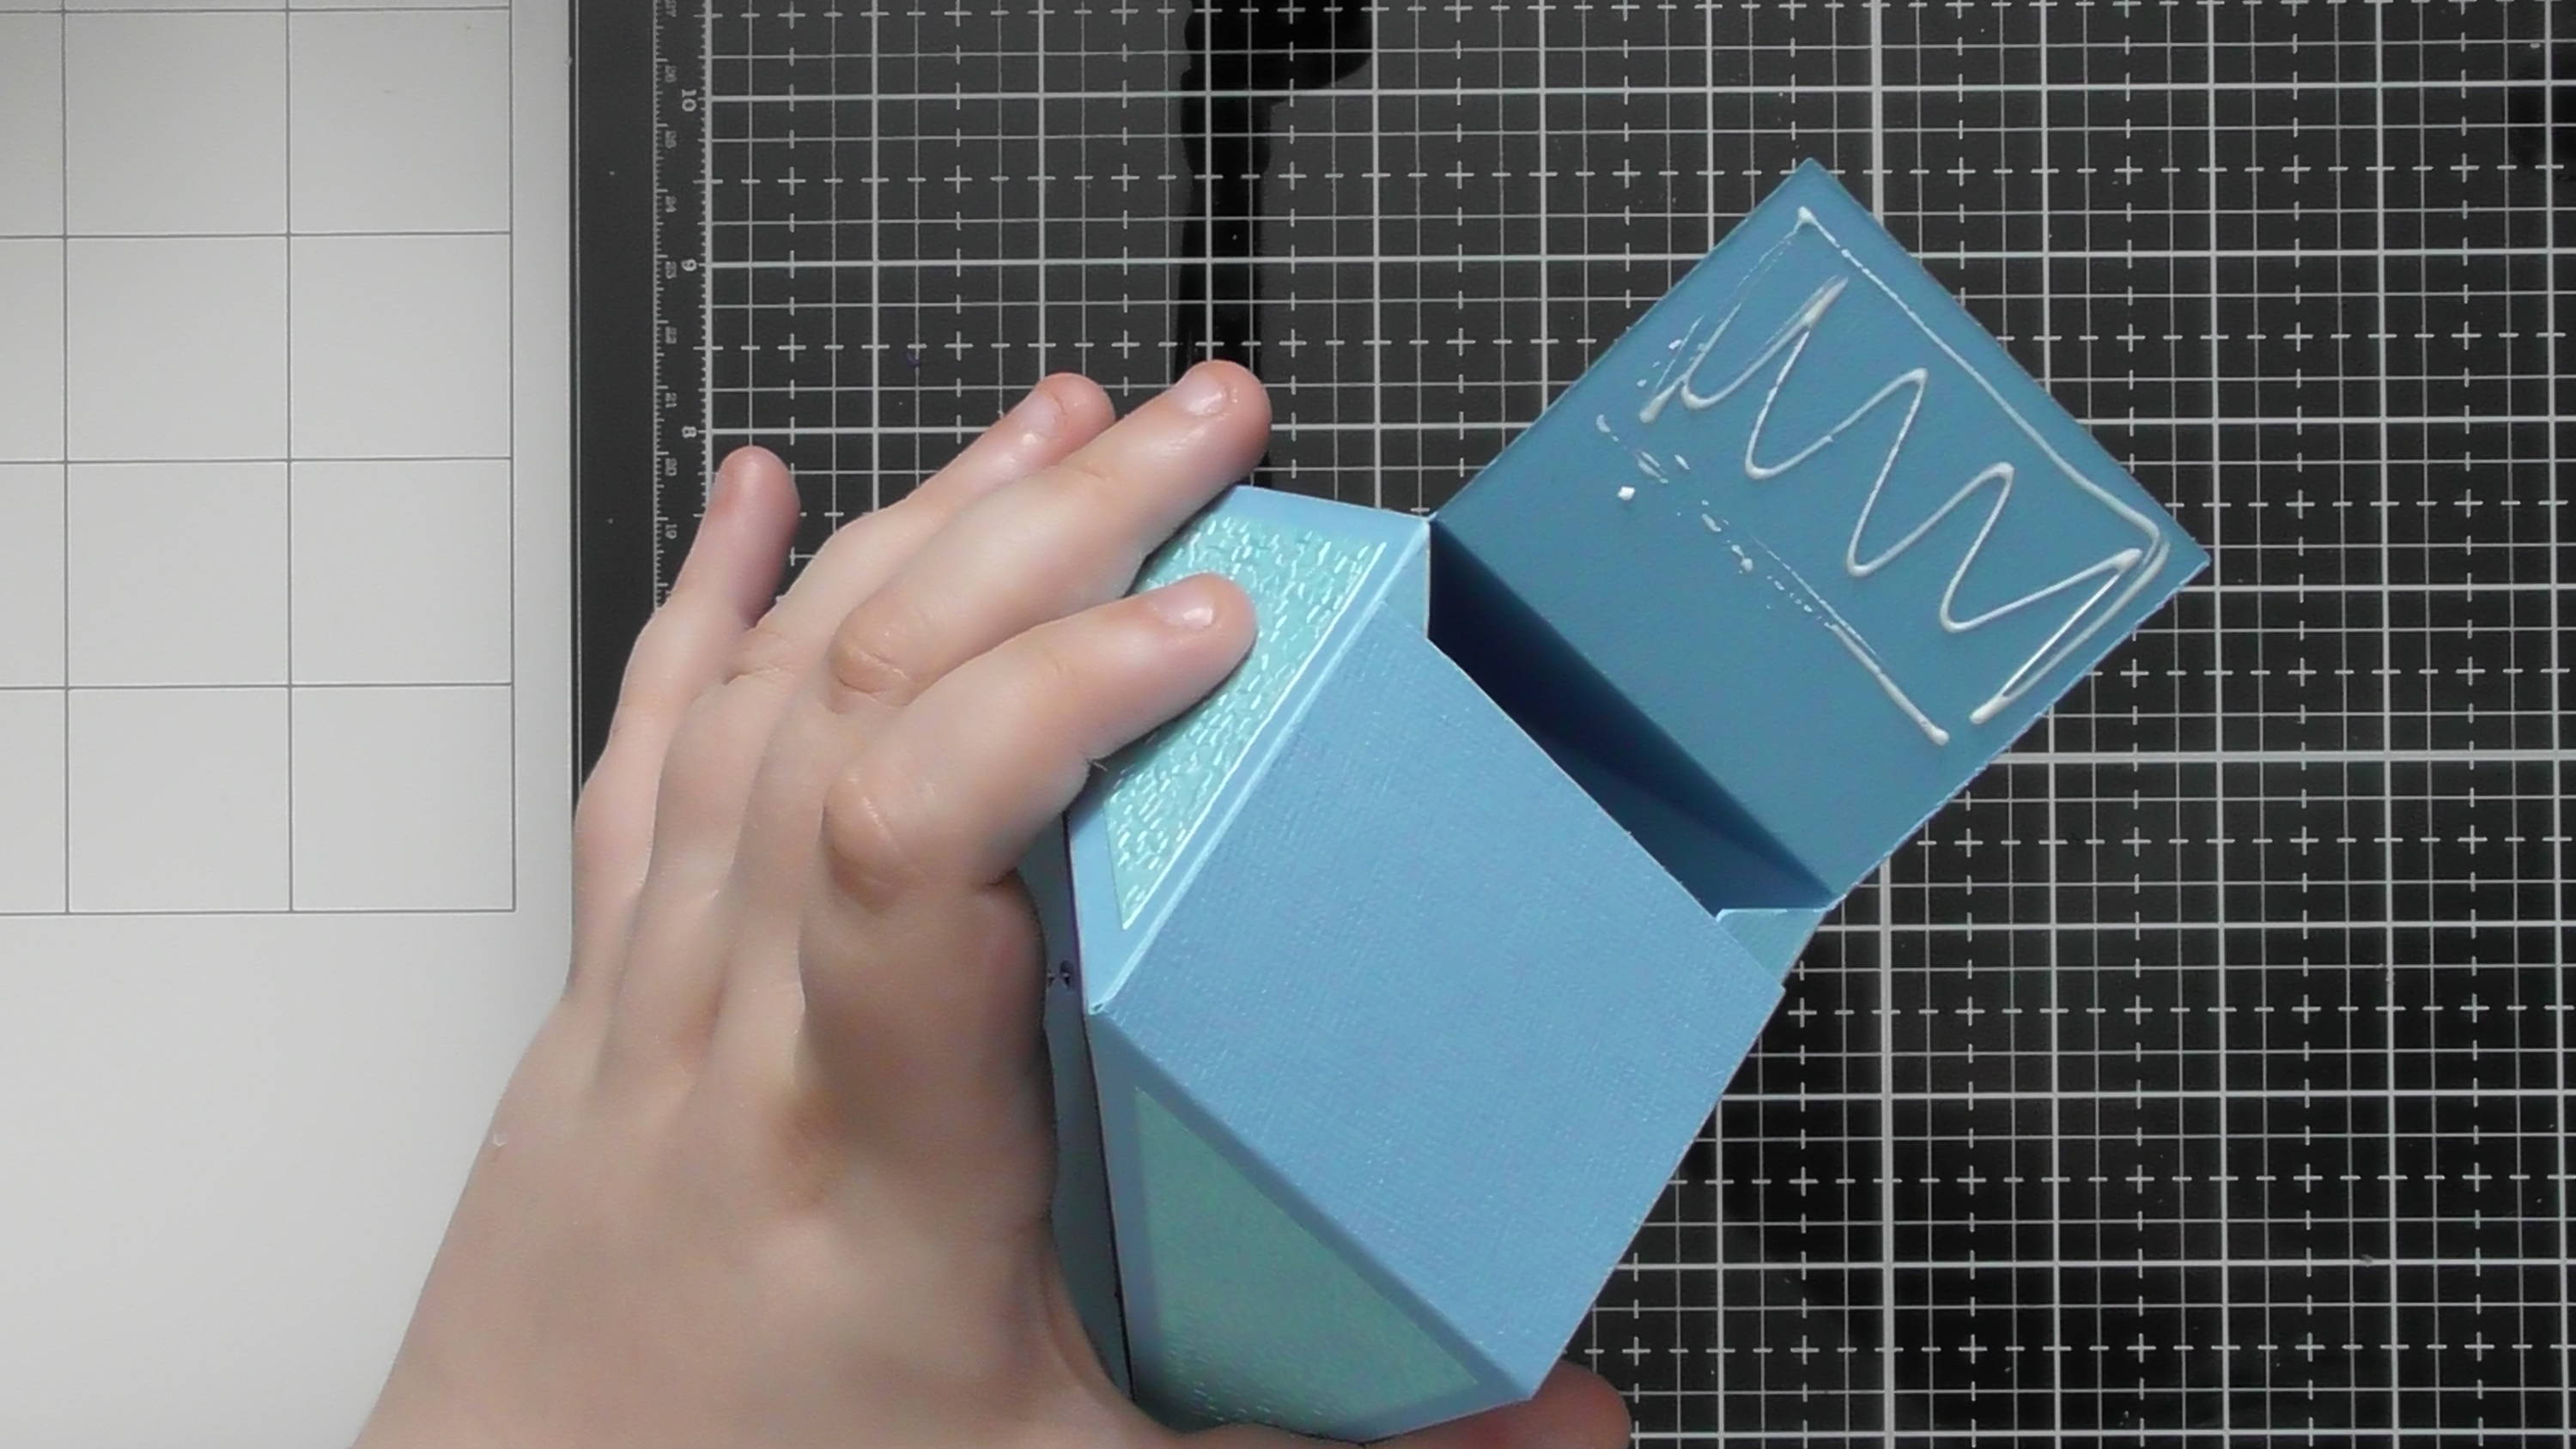
Add glue (or more tape if you’d rather) as shown to adhere down the second flap.
Step 9
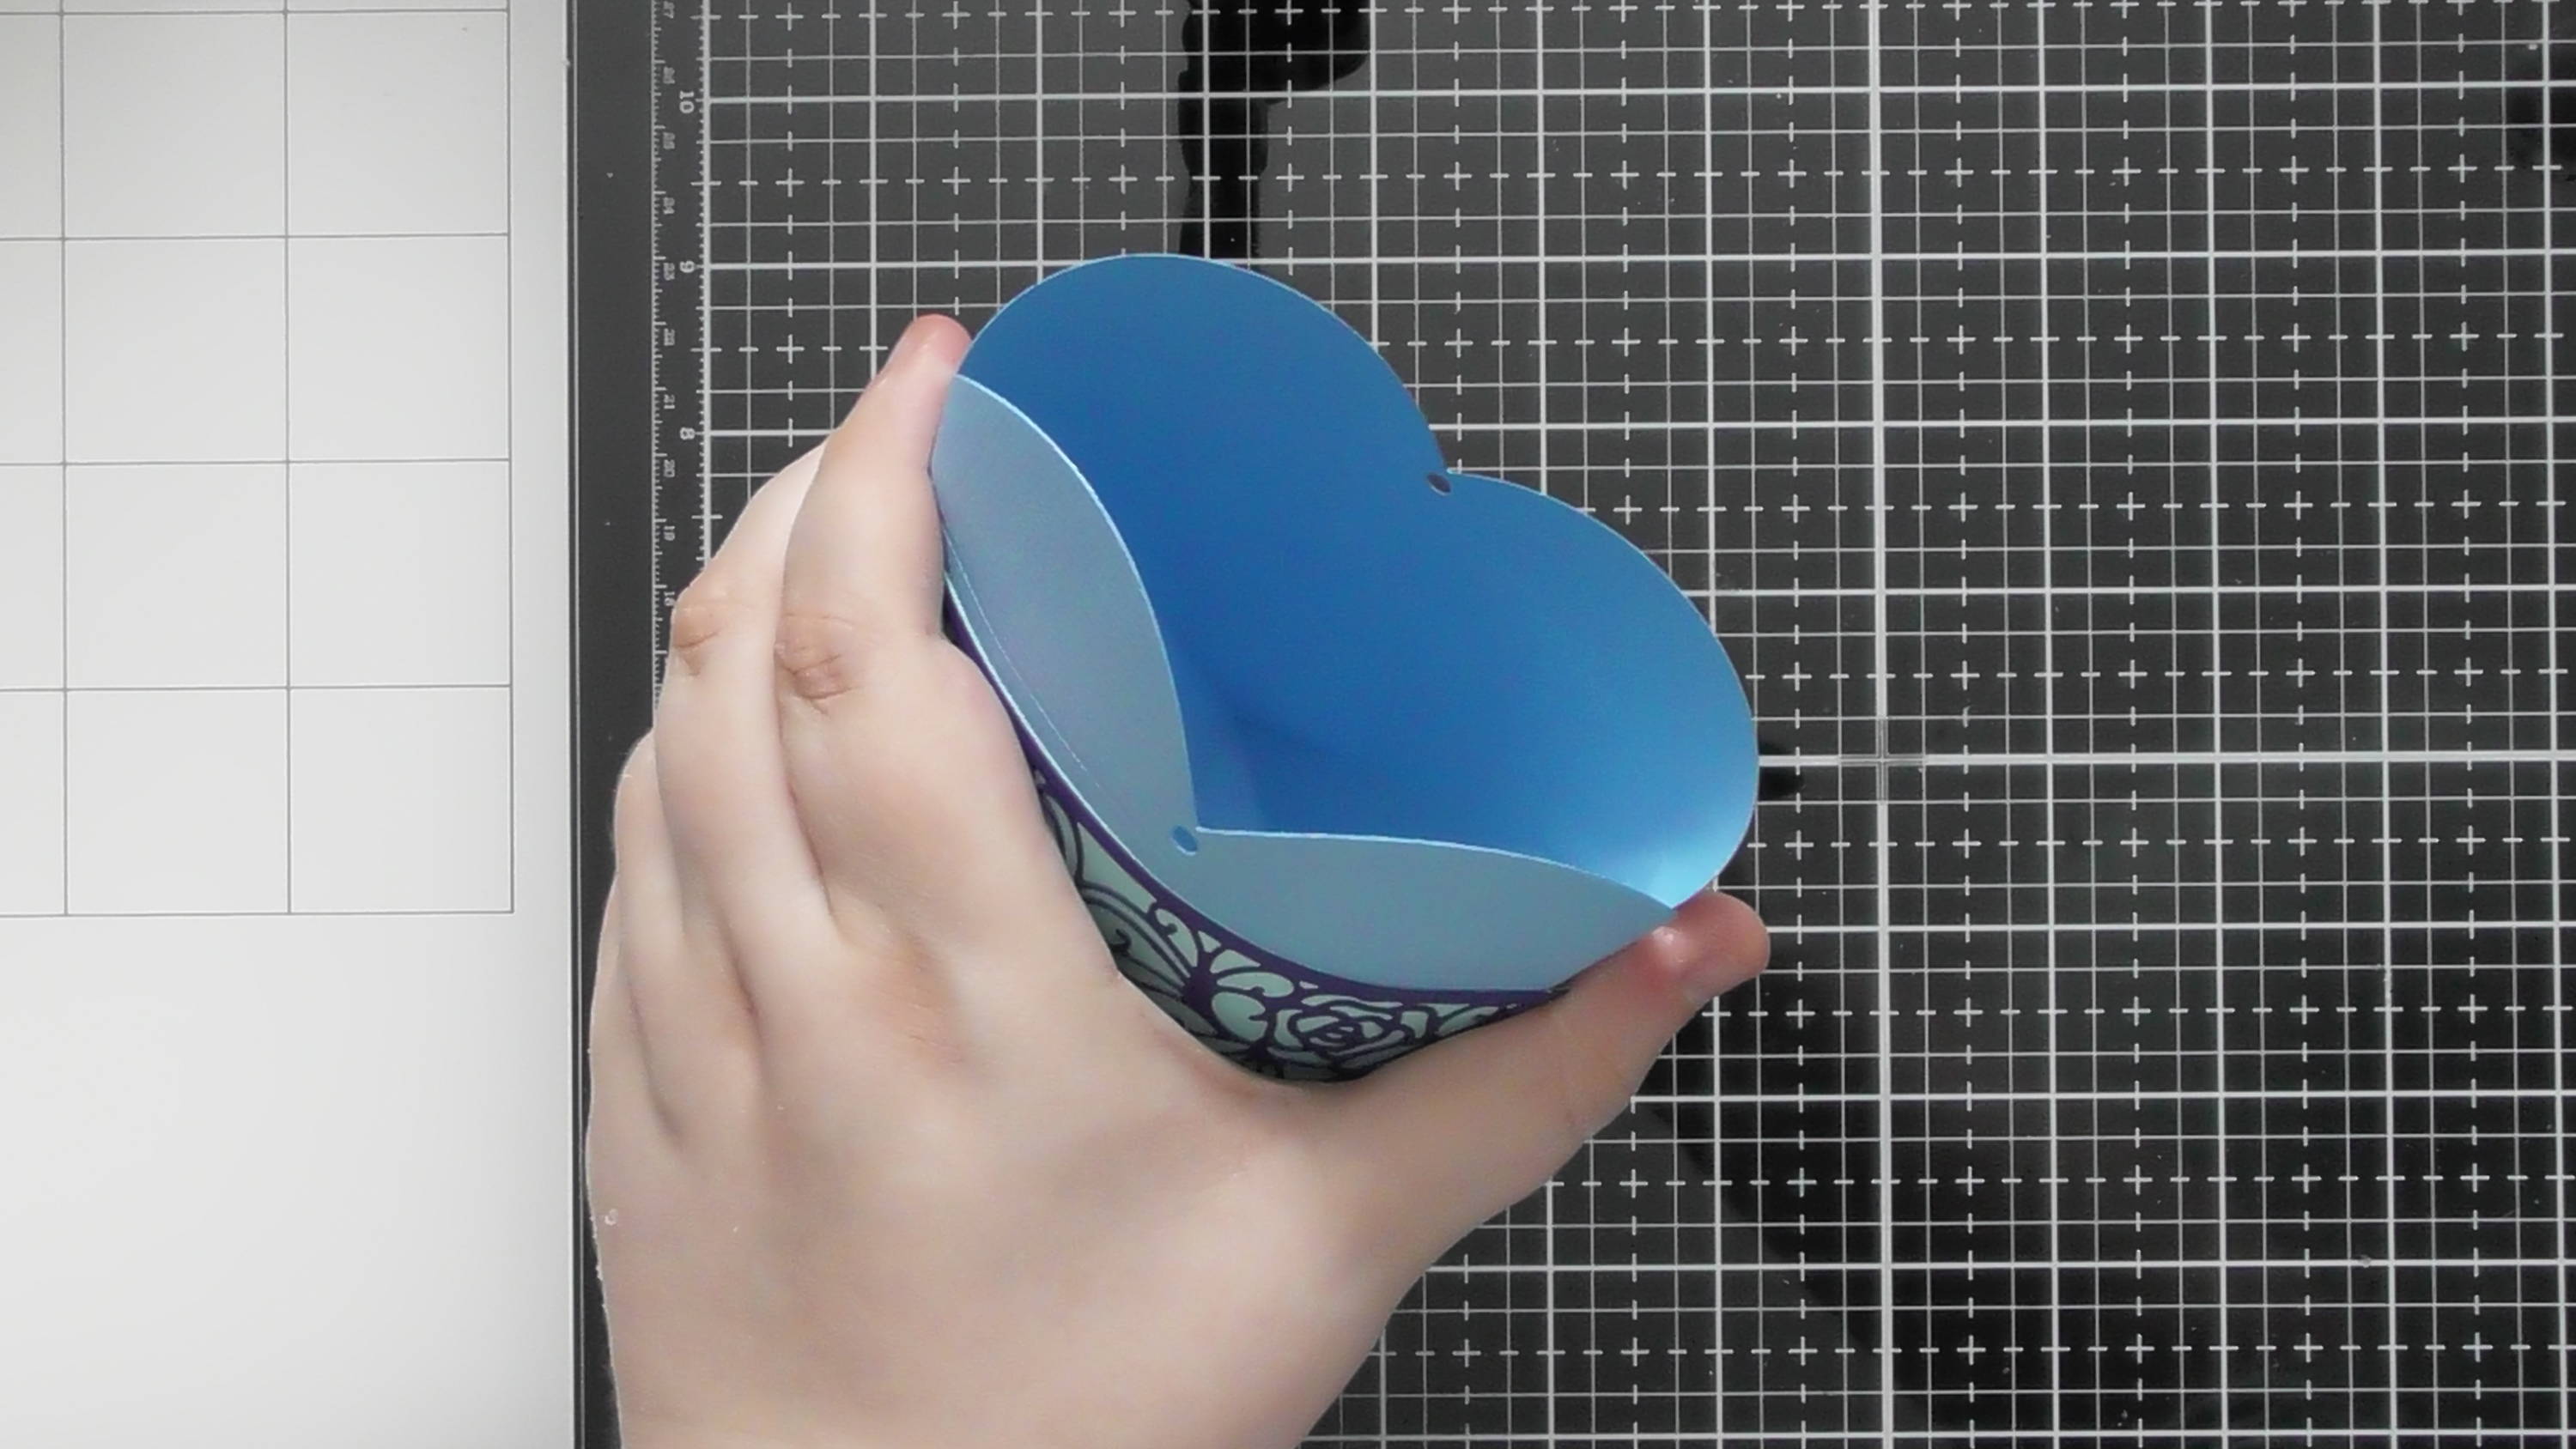
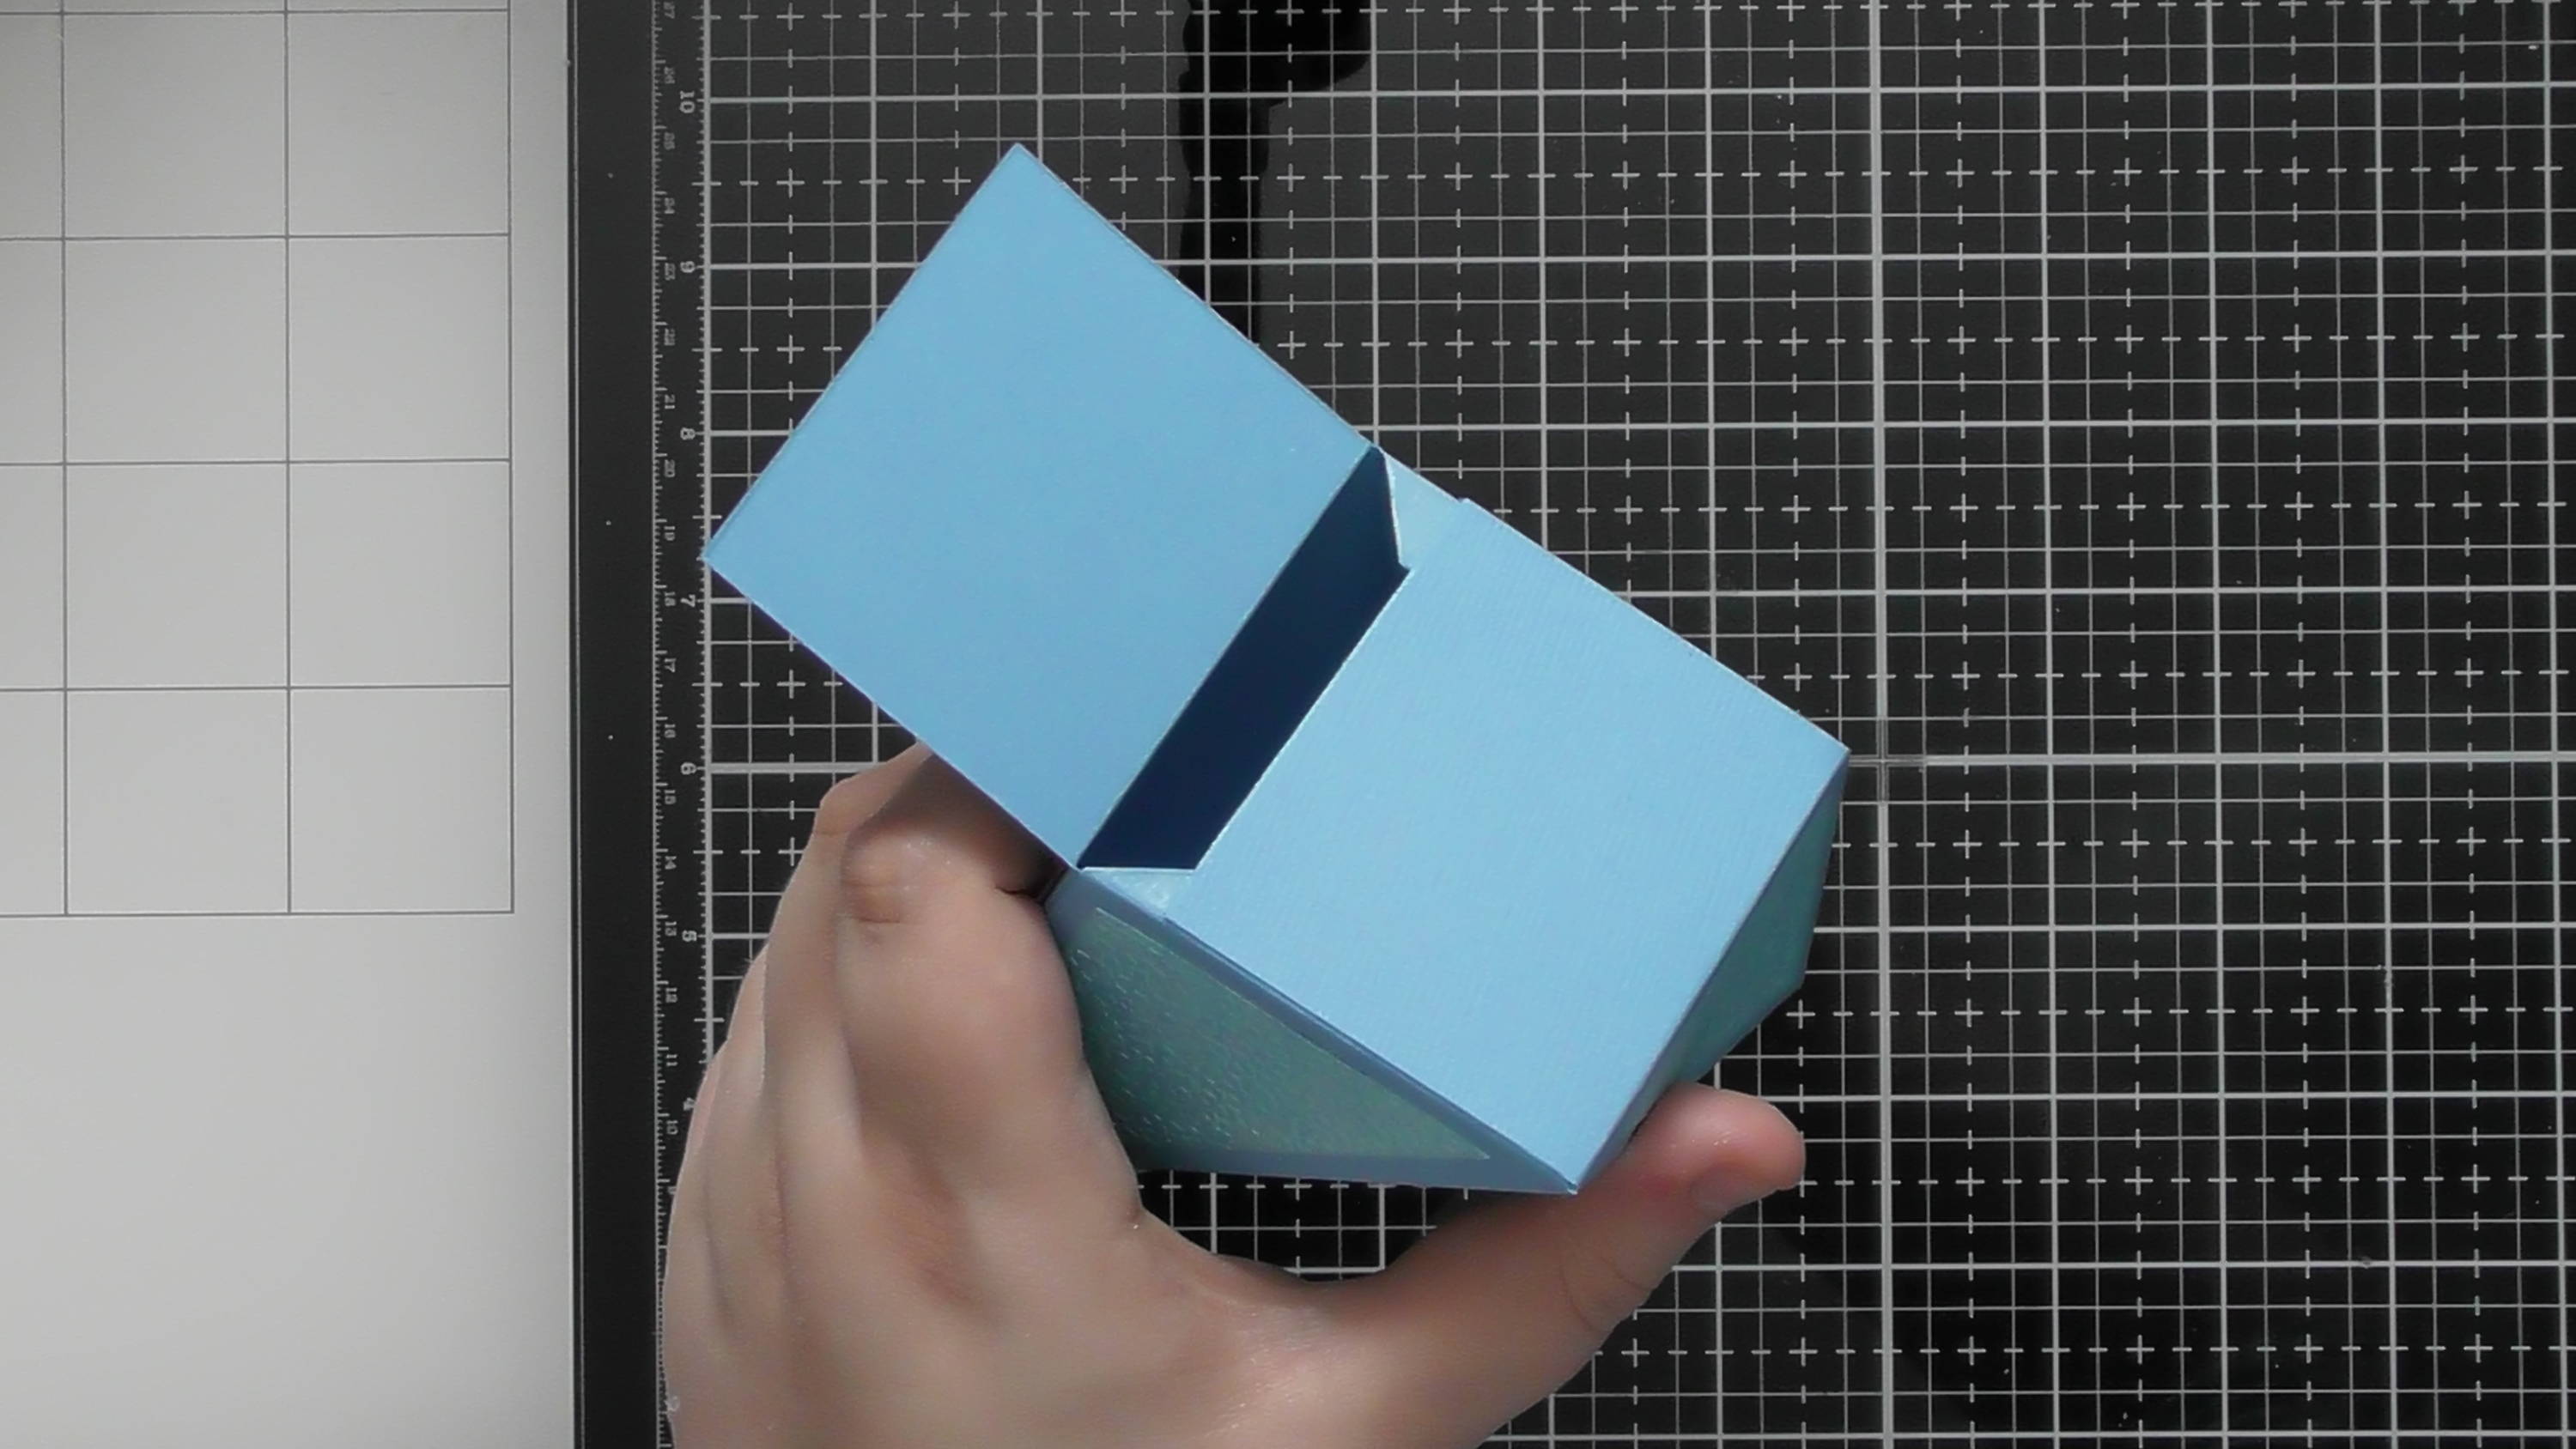
Flip your box over, and test how it opens and closes, simply pinch the box at the top corners of the large triangle and it’ll pop open as shown. Depending how many layers you’ve added onto your box, you might need to tease the sides so they get used to the action of opening and closing the box.
Step 10
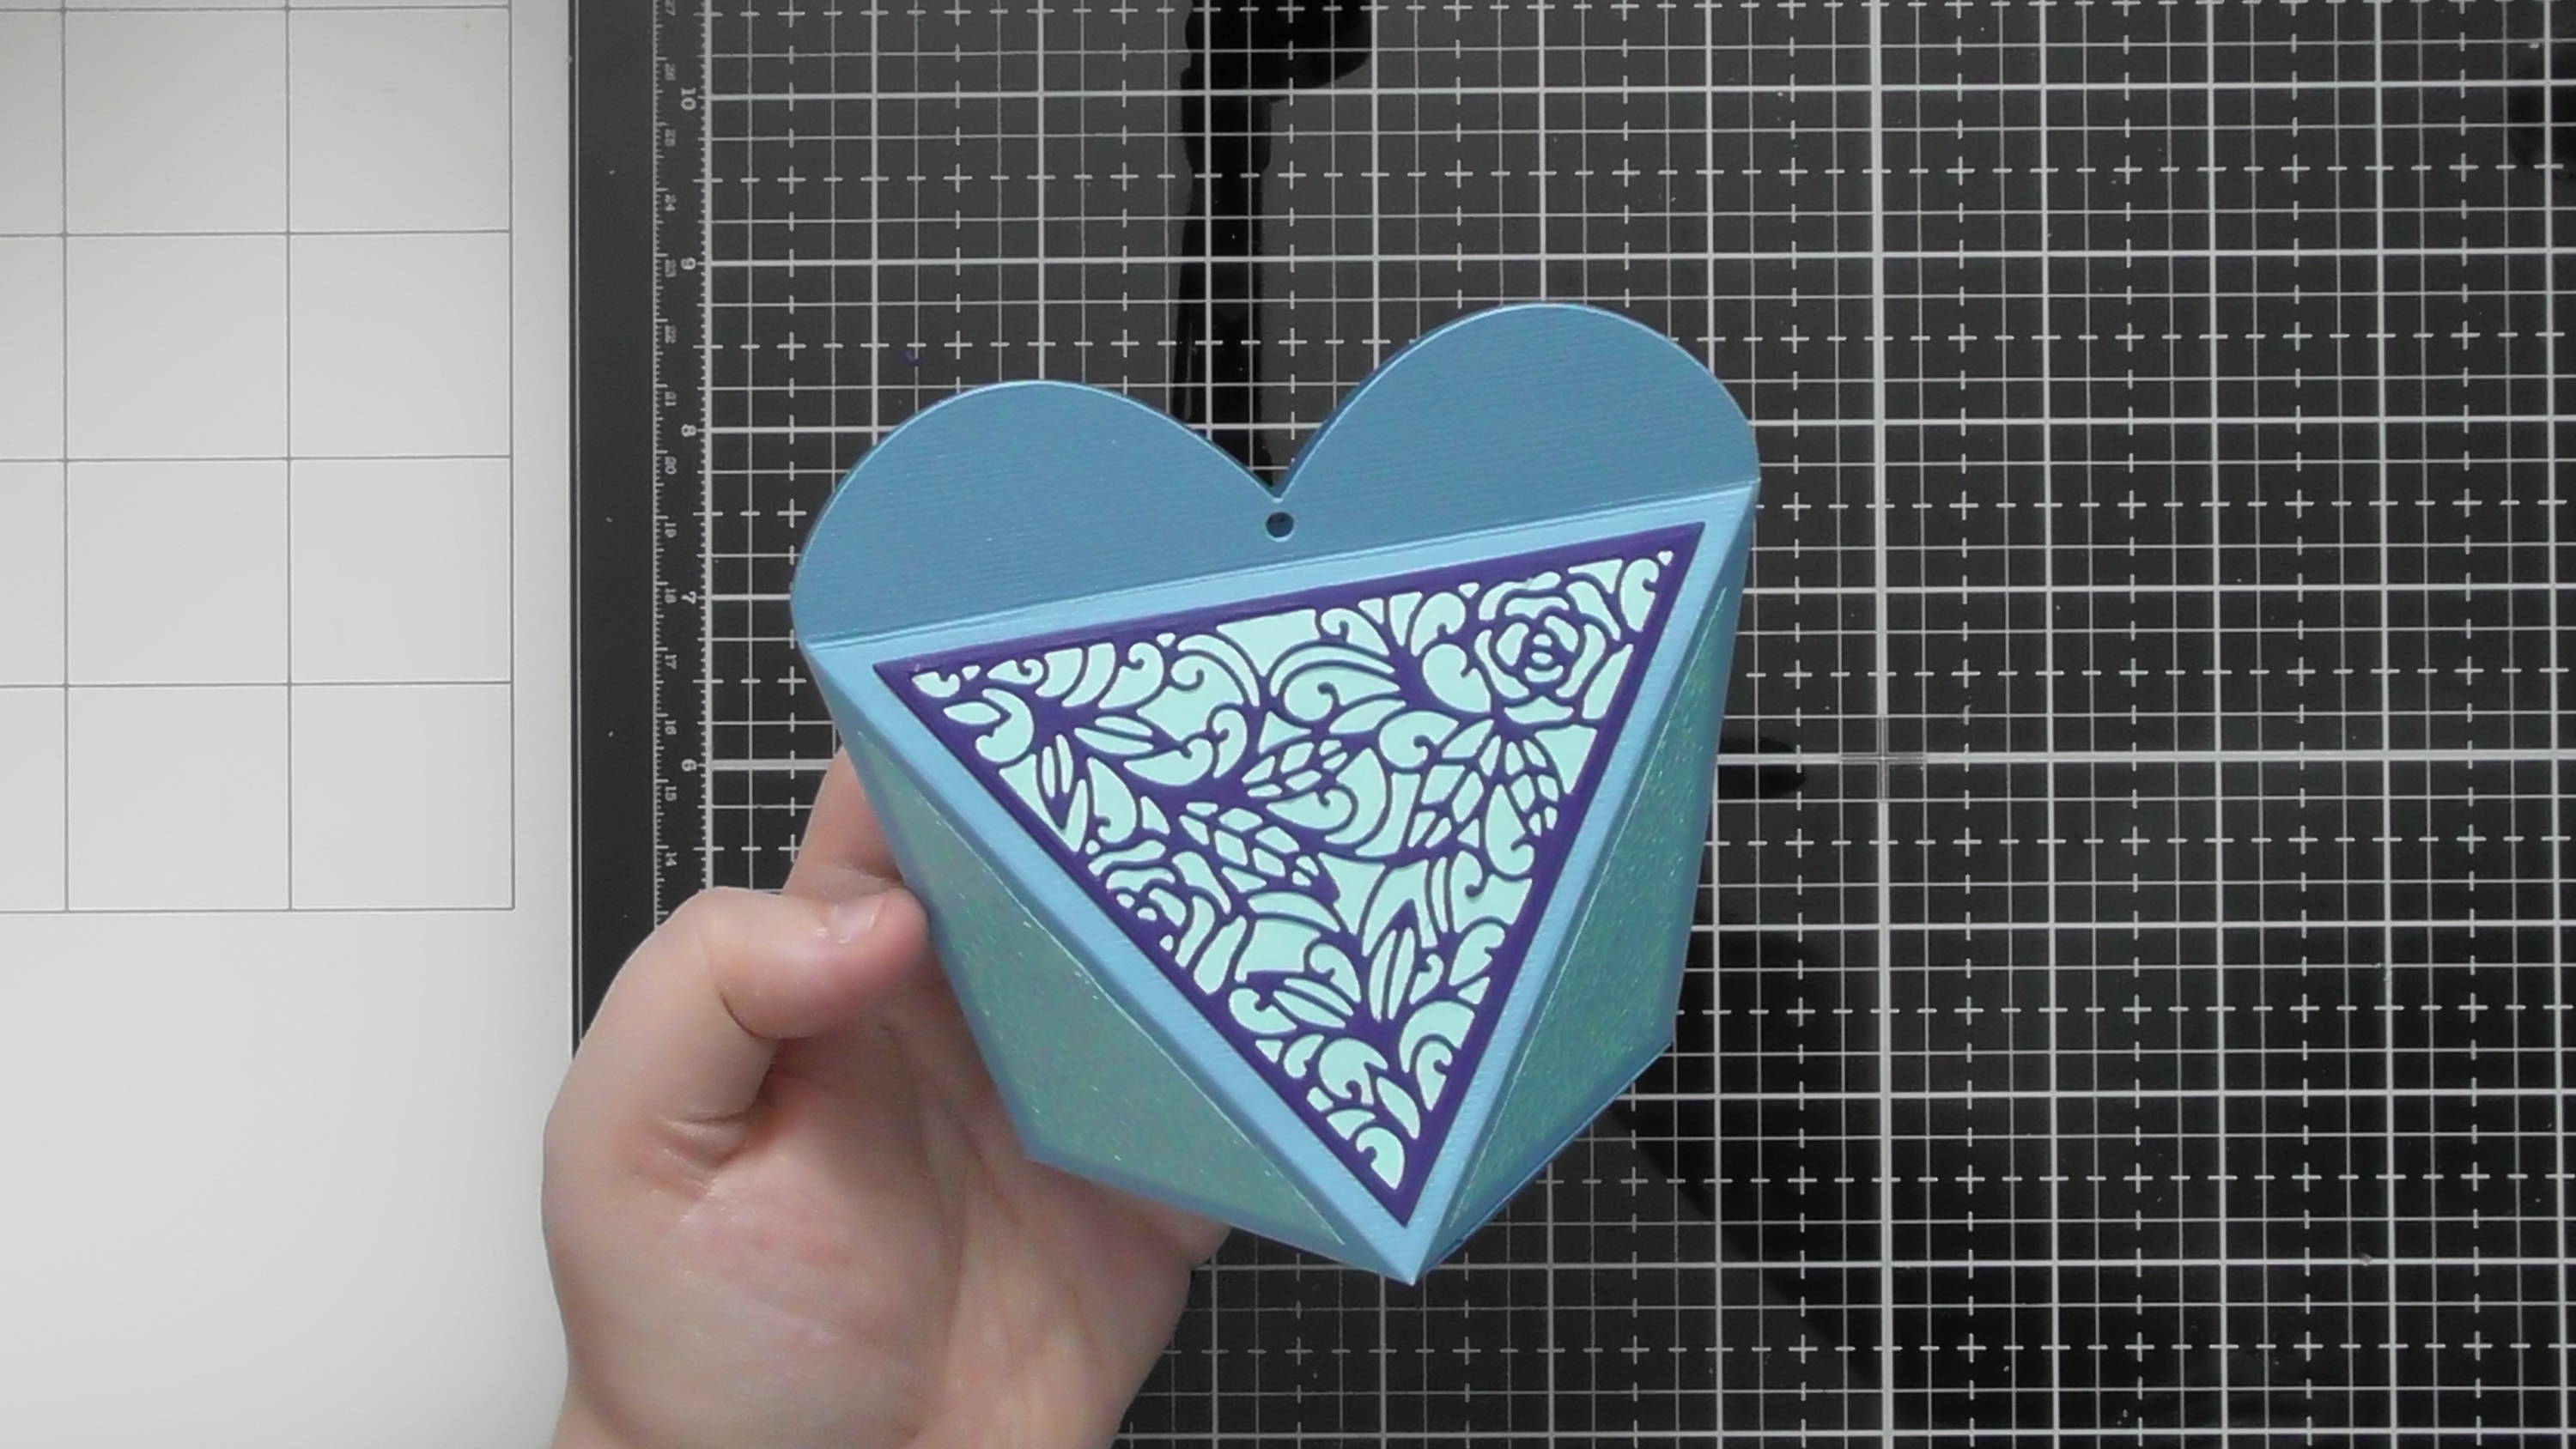
This is what the final box looks like when it’s closed, and you’ll notice there’s a small hole where the 2 lobes of the heart meet…
Step 11
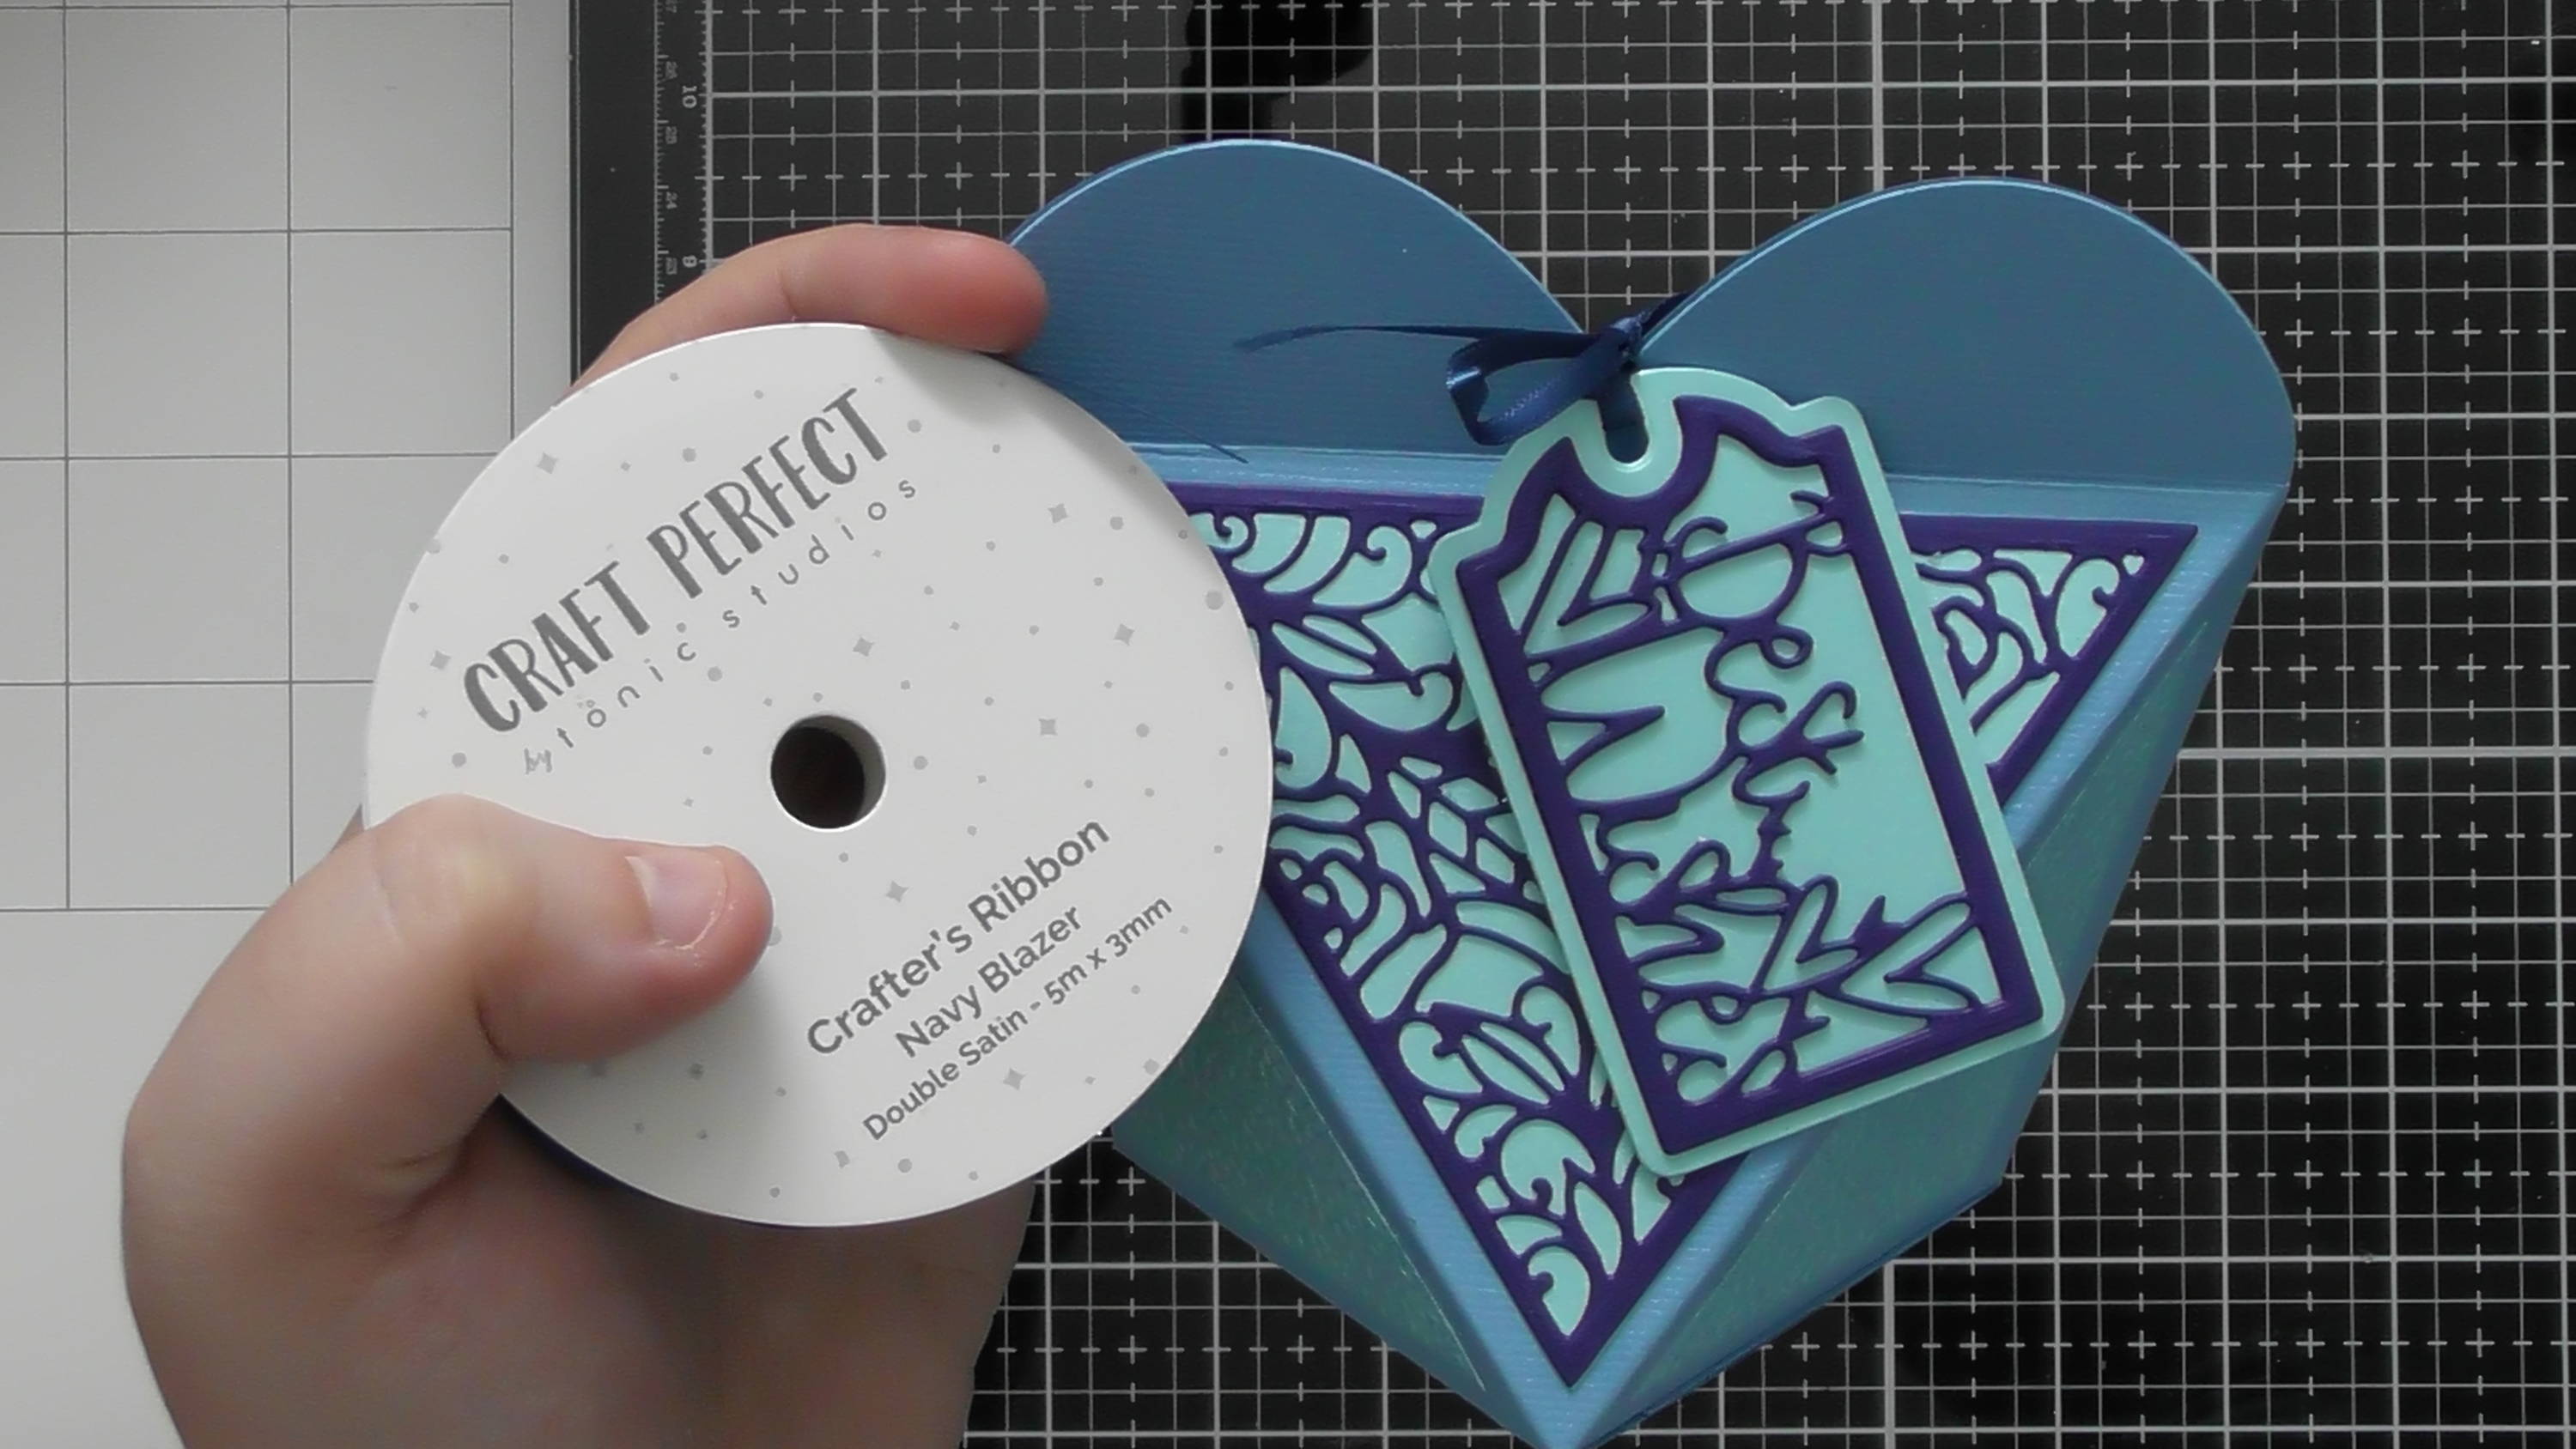
You can use this hole to add your gift tag to your box, and the brand new 3mm satin ribbon from Craft Perfect is fantastic for this! :D
Have fun playing! Christine xxx
Buy The Craft Project