


Hi everyone!
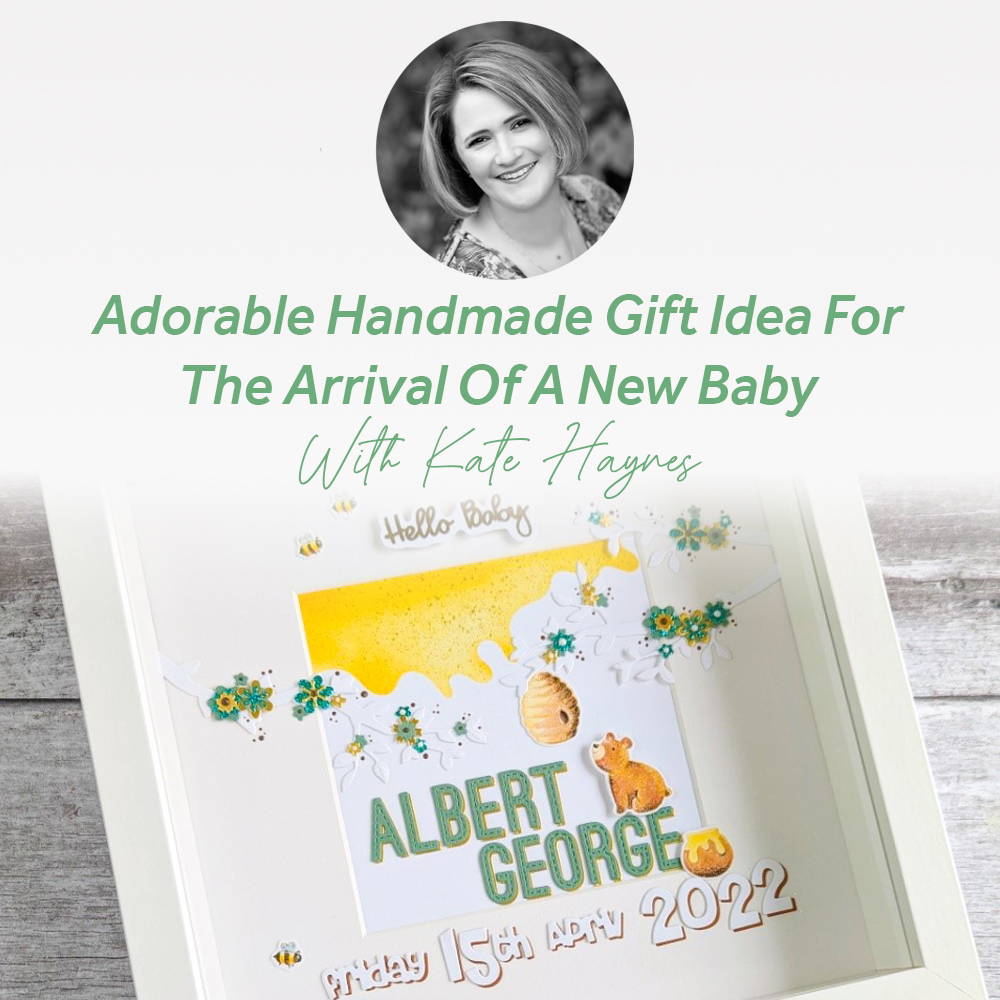
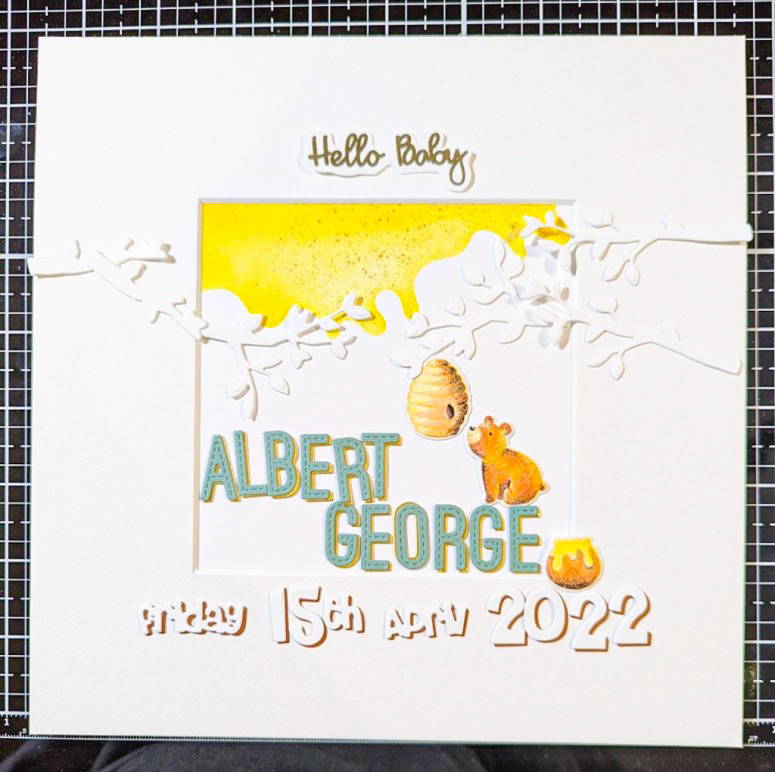
I have been having a lot of fun playing with the brand new Tonic Stamp Club set called ‘Hungry Honey Bears’ and today I bring to the Tonic blog something a little different, in the shape of a box frame. This incredibly cute set really lends itself well to ‘new baby’ crafts; be it arrival cards, baby shower/first birthday party invitations or, like I have made here, a decorative box frame which would make a lovely welcome gift for a baby’s nursery. In recent years I have made a number of new baby box frames for friends as well as for my own children and I find them so incredibly fun to create as well as, of course, being an immensely personal gift to give. I do hope you like it and are inspired to give crafting within a box frame a go!
What you will need
- Small flower dies from Tonic Craft Kit: Wildflower Garden (or similar)
- Tonic Keepsake Creator Die Set
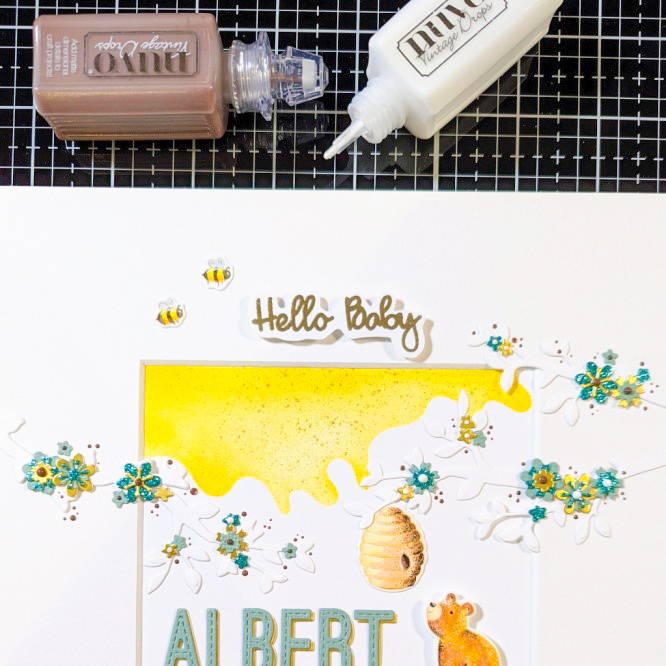
- Nuvo Hybrid Inks - Sunrise Yellow, Amber Ochre, Almond Cream
- Nuvo Sparkle Spray - Frosted Lemon
- Nuvo Embossing Powder - Classic Gold
- Nuvo Vintage Drops - Chocolate Chip & Chalk Stick
- Nuvo Classic Colour Pencil sets - Brilliantly Vibrant & Hair and Skin Tones
- Craft Perfect Cardstock - Sea Salt Green (Classic), Turquoise Lake (Glitter), Gold Pearl (Mirror), Smooth White (300gsm), Kraft Card, Ginger Pie (Classic)
- Craft Perfect Adhesive Foam Pads
- Craft Perfect Redline Tape (6mm)
- Nuvo Deluxe Adhesive
- Nuvo Clear Mark Embossing Ink
Extras:
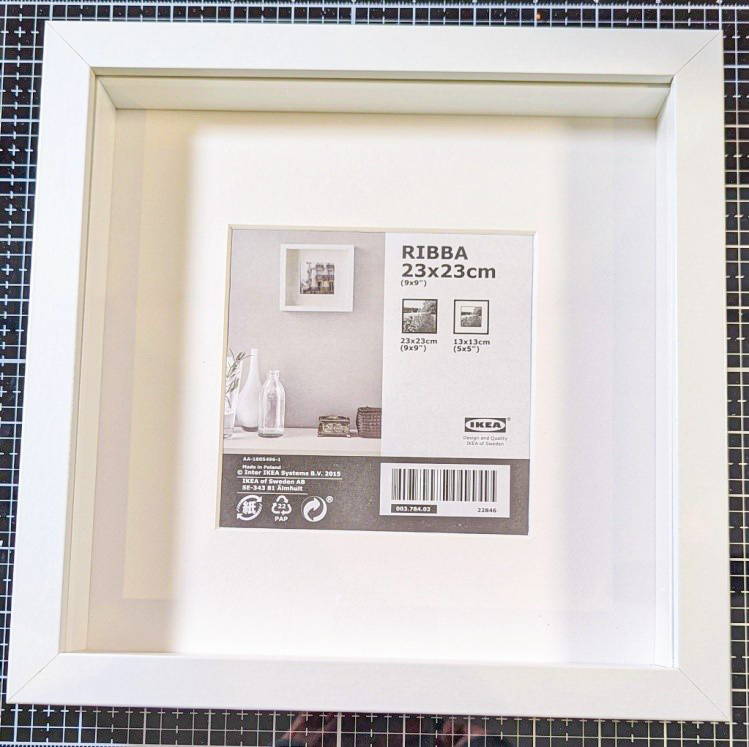
- 23 x 23 cm box frame (with mount that holds 13 x 13 cm / 5 x 5” aperture)
- Alphabet Letter Dies or Alphabet Stickers
- White Gel Pen & Black Fineliner Pen
- Tangerine Die Cutting Machine
- Magnetic Crafter’s Platform
- Ink blending tools - brushes or daubers
- Heat Tool
Step 1
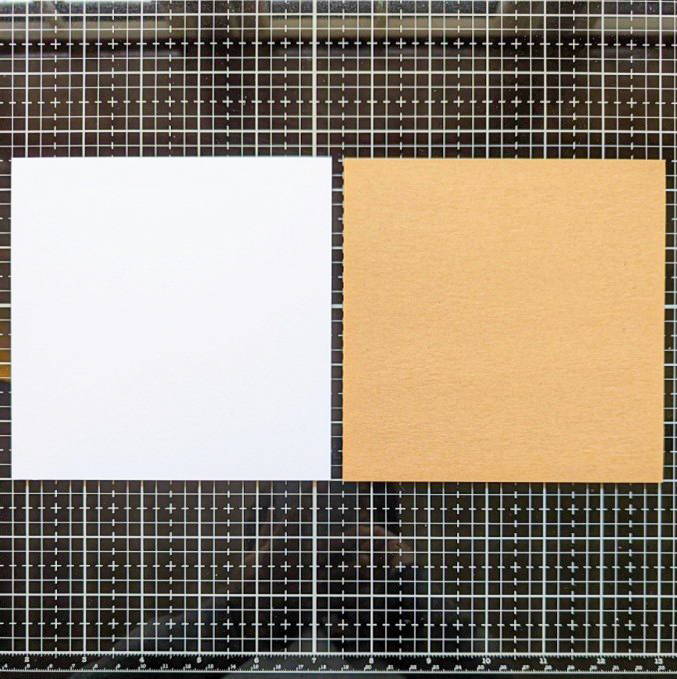
Cut a piece of Smooth White Cardstock and Kraft Card, each measuring 5.5 x 5.5” (to fit a 5 x 5” aperture)
Step 2
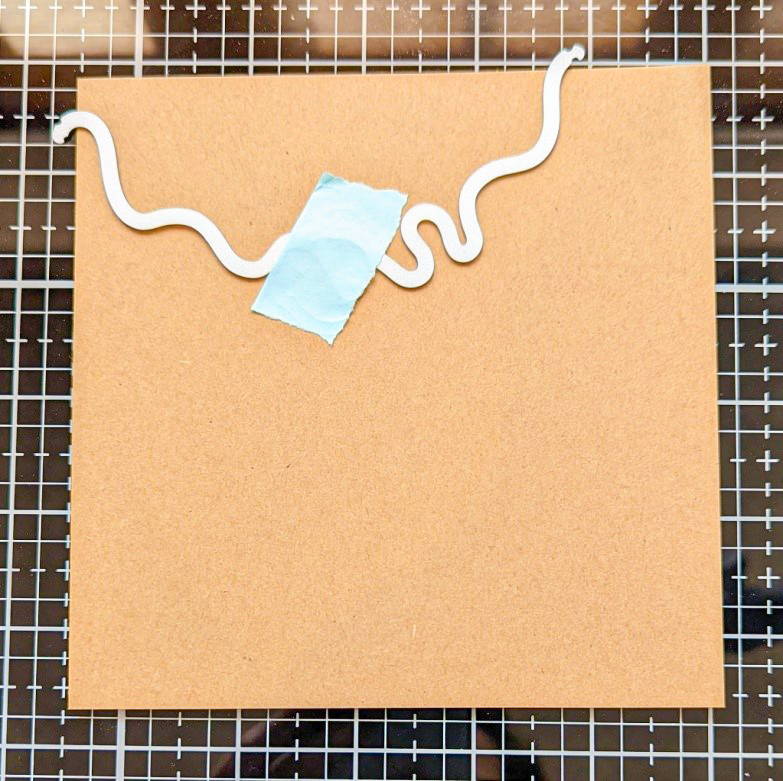
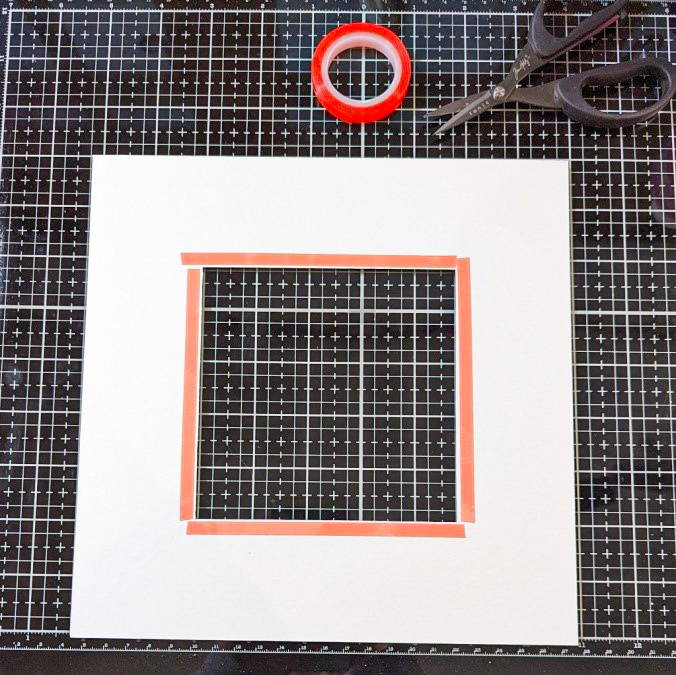
Using one of the ‘runny honey’ dies, attach to the top edge of the kraft card base as shown, using low tack tape and run through your die cutting machine.
Step 3
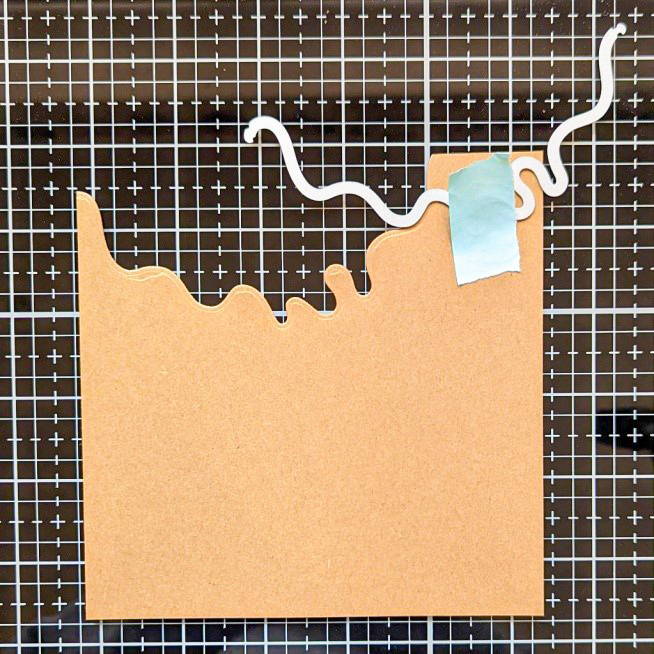
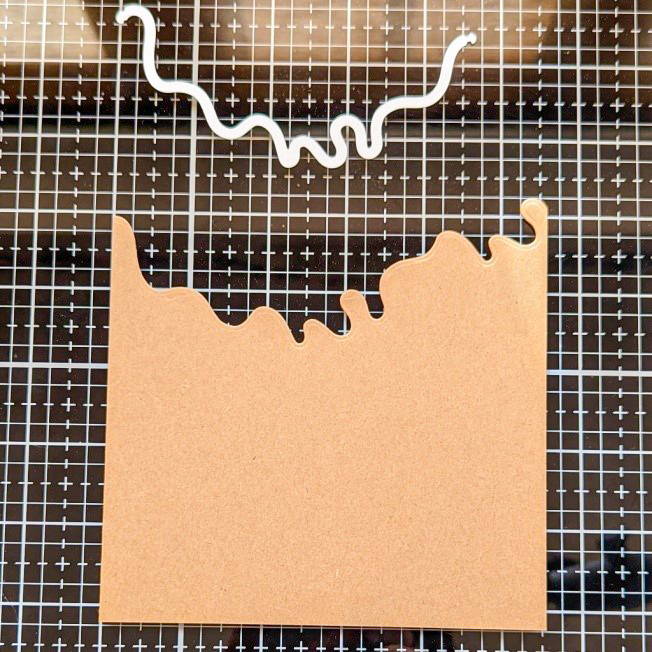
To continue the runny effect across the entire edge, line up your die as shown to extend it. Tape into position and run through your die cutting machine. This has now created a stencil for you to ink blend your honey.
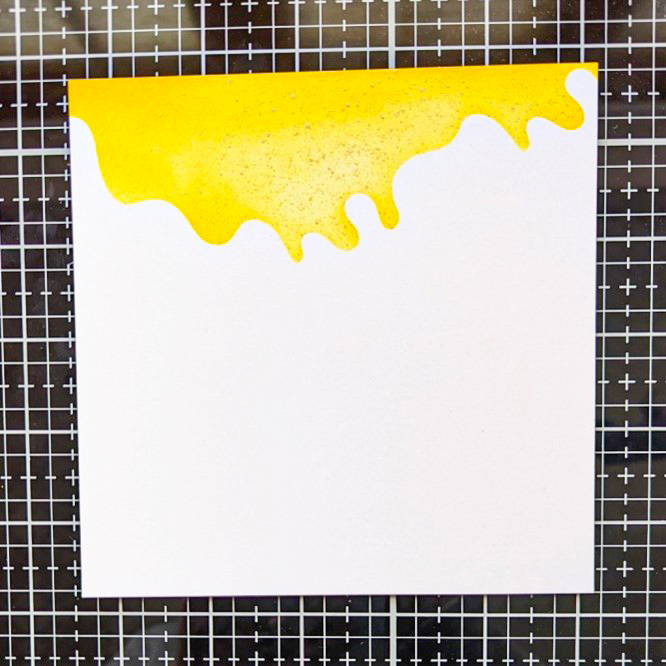
Step 4
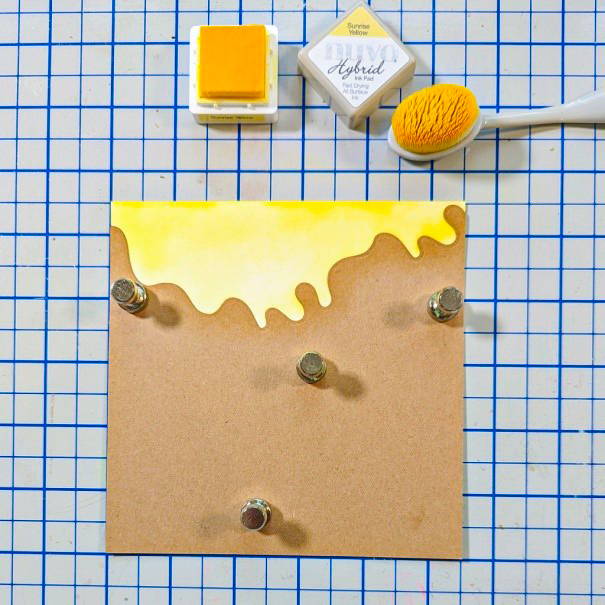
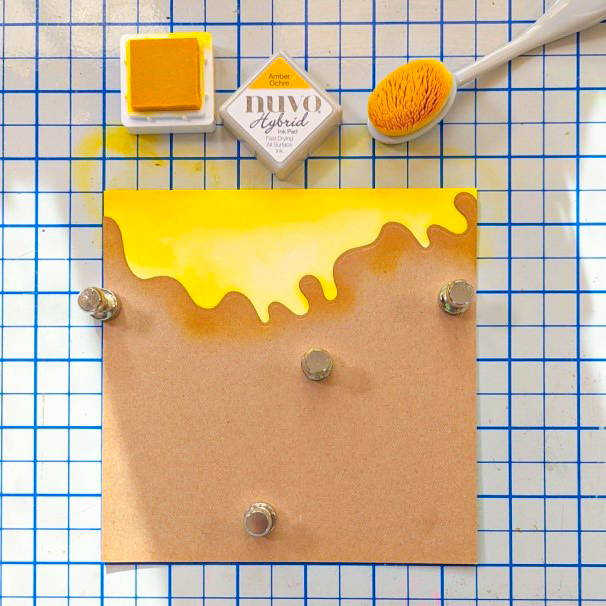
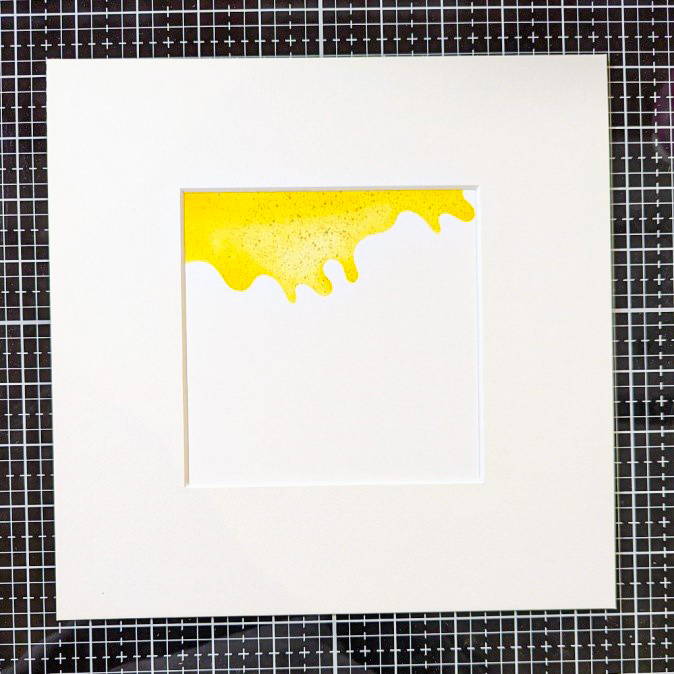
Line up the kraft ‘stencil’ over the top of your white card blank and hold it in place with magnets on a magnetic platform. Using the lighter shade of yellow ink (Sunrise Yellow), ink blend the shape, making it darker at the top and lighter on the ‘runs’. Overlay with the darker yellow ink (Amber Ochre) on the top edge and to create some shadow on the runs.
Step 5
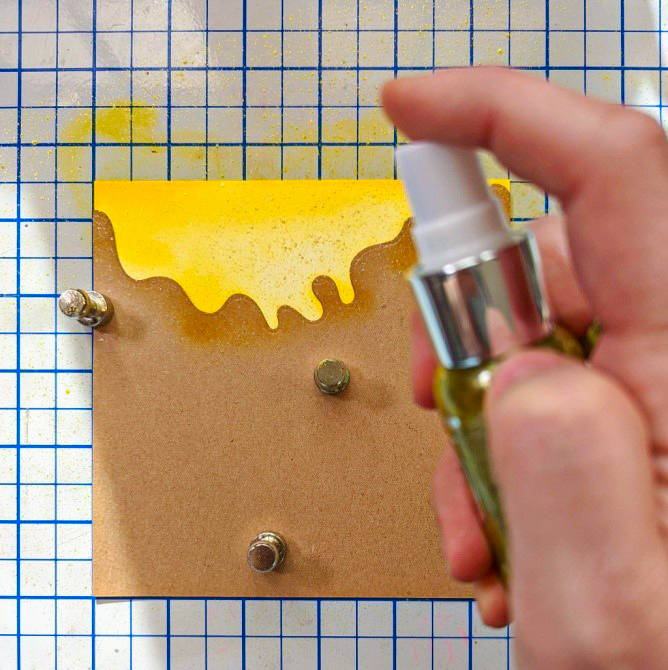
From a height of approx 25cm lightly spray the inked area with Sparkle Spray. Set aside to dry.
Step 6
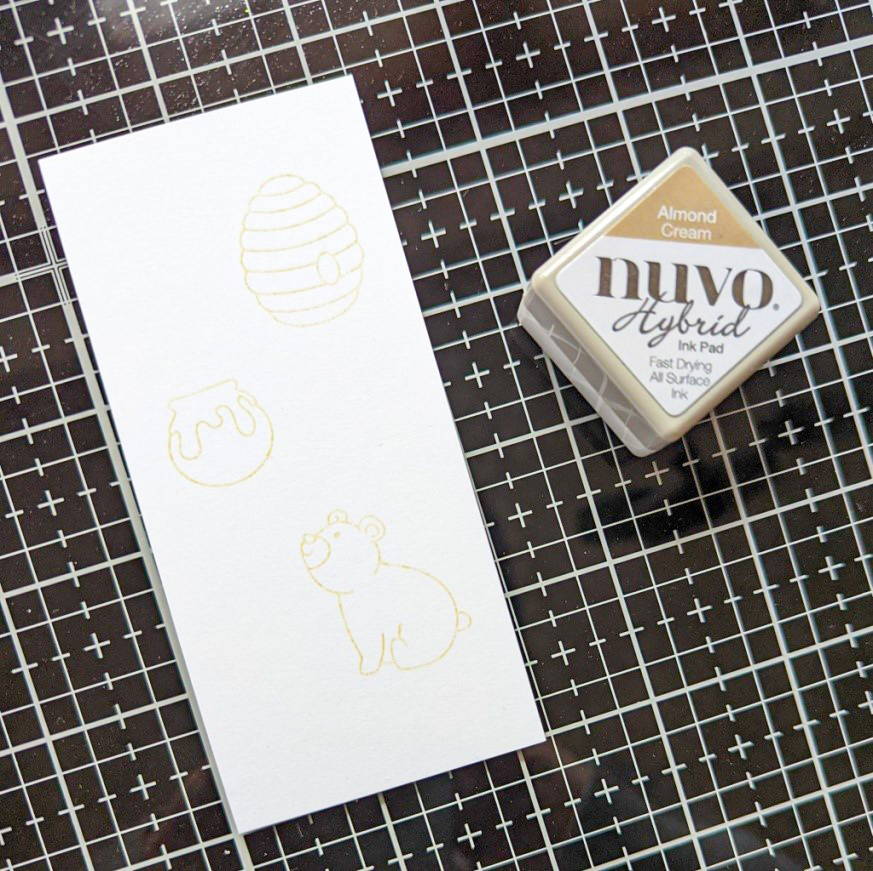
To create the effect of ‘no-line colouring’, stamp out the beehive, honey pot and baby bear images using a light coloured ink.
Step 7
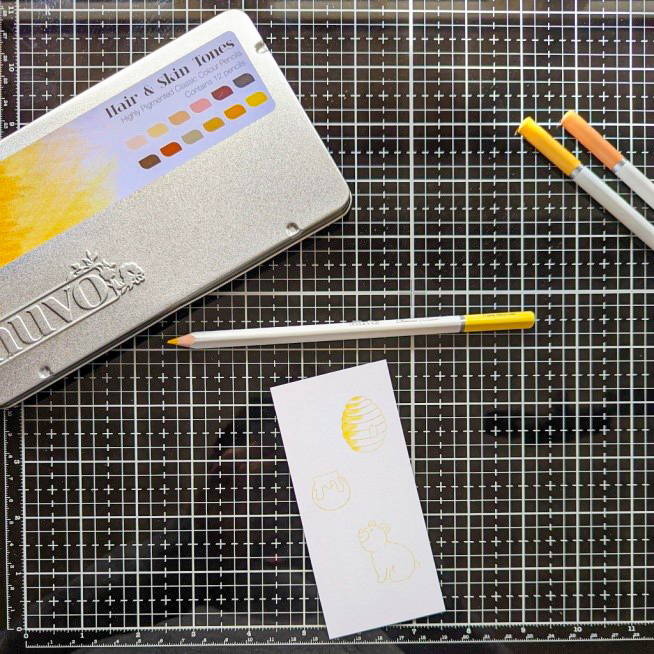
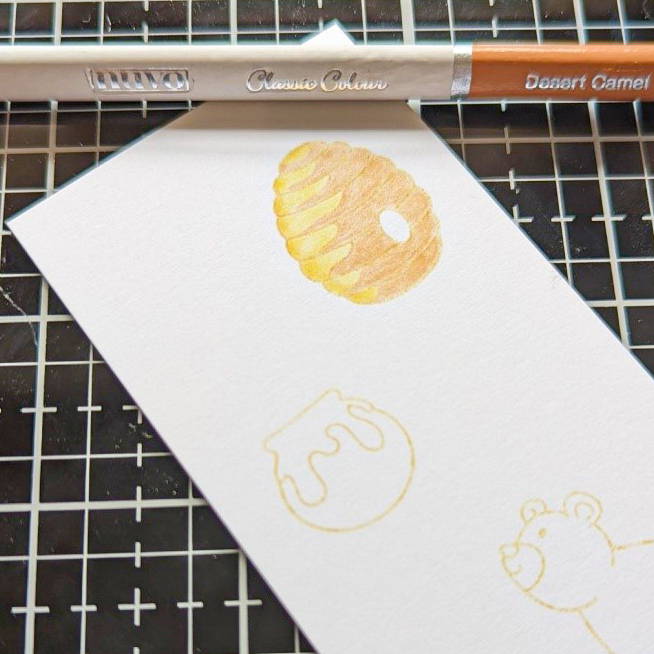

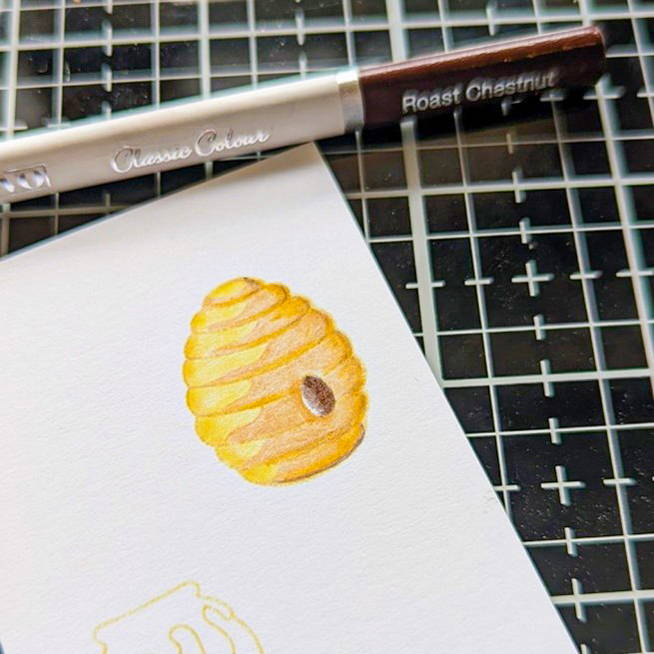
Using the ‘Hair & Skin Tones’ Nuvo colouring pencil set, starting lightest shade first and working up to darkest, colour the beehive image as shown. The colours I used, in order, are: Pale Blonde, Desert Camel, Caramel Popcorn and Roast Chestnut.
Step 8
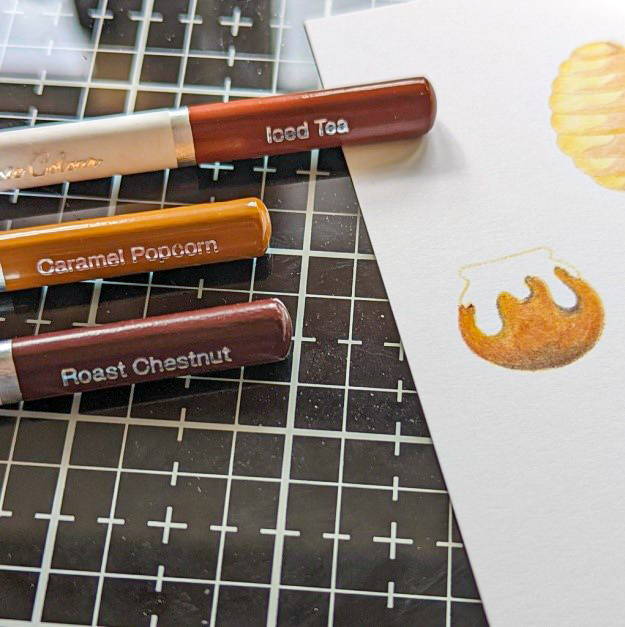
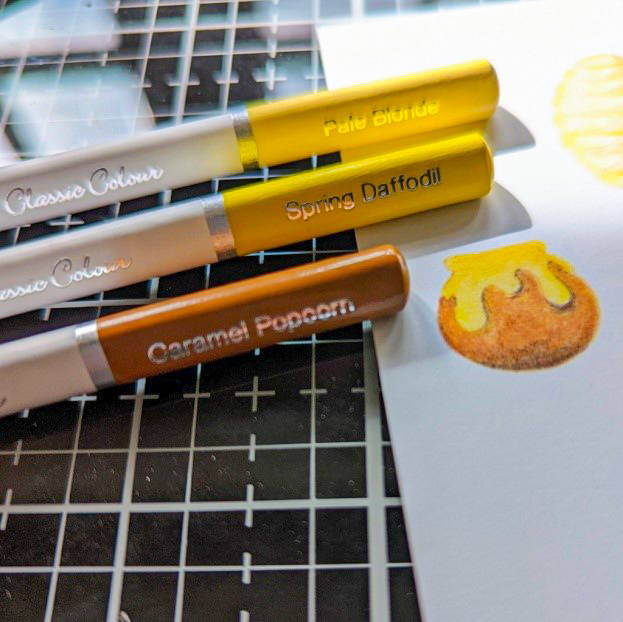
For the honey pot, I again started lightest and worked up. Colours used are: Caramel Popcorn, Iced Tea and Roast Chestnut. For the honey, I also used the Nuvo ‘Brilliantly Vibrant’ coloured pencil set. Starting lightest to darkest, colours are: Pale Blonde, Spring Daffodil and Caramel Popcorn.
Step 9
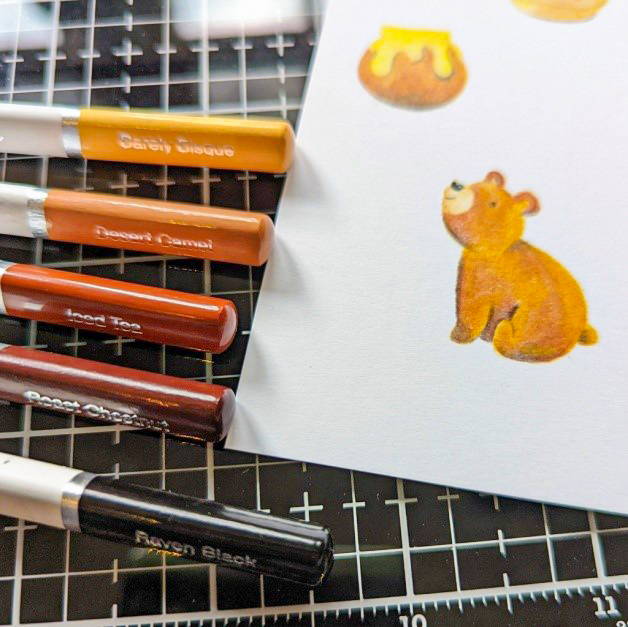
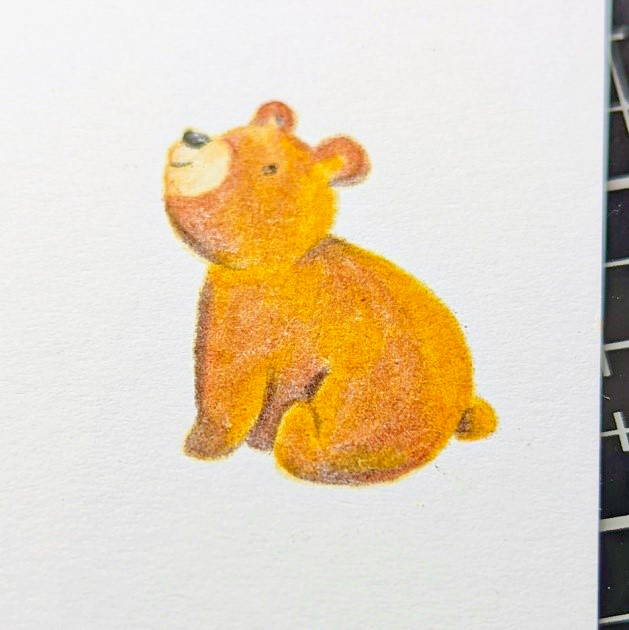
Finally, colour in the baby bear image using Barely Bisque, Desert Camel, Iced Tea, Roast Chestnut and Raven Black.
Step 10
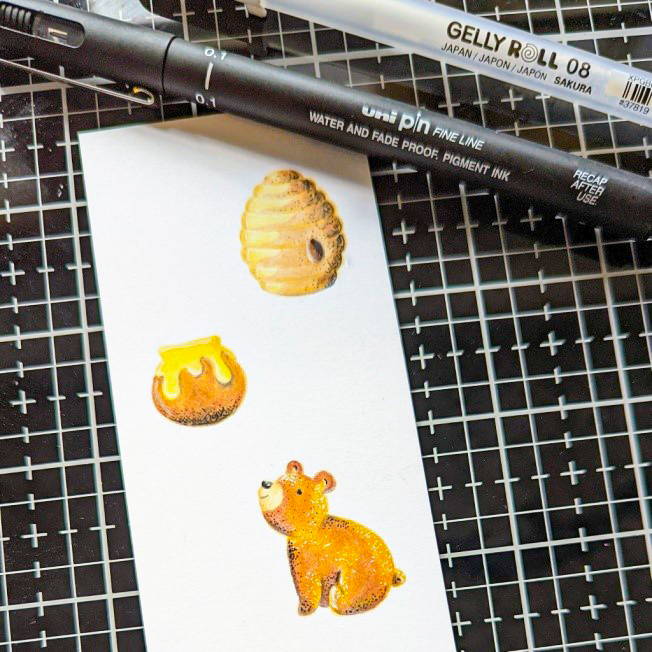
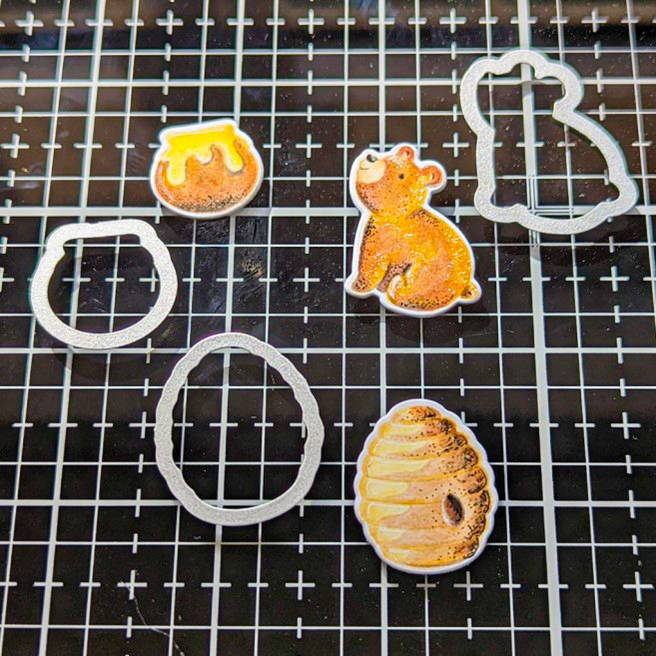
An optional extra is using a black fineliner and white gel pen to add further light and shade details to the images. I did this using a combination of dots and cross-hatch markings. Die cut the images using the corresponding dies.
Step 11
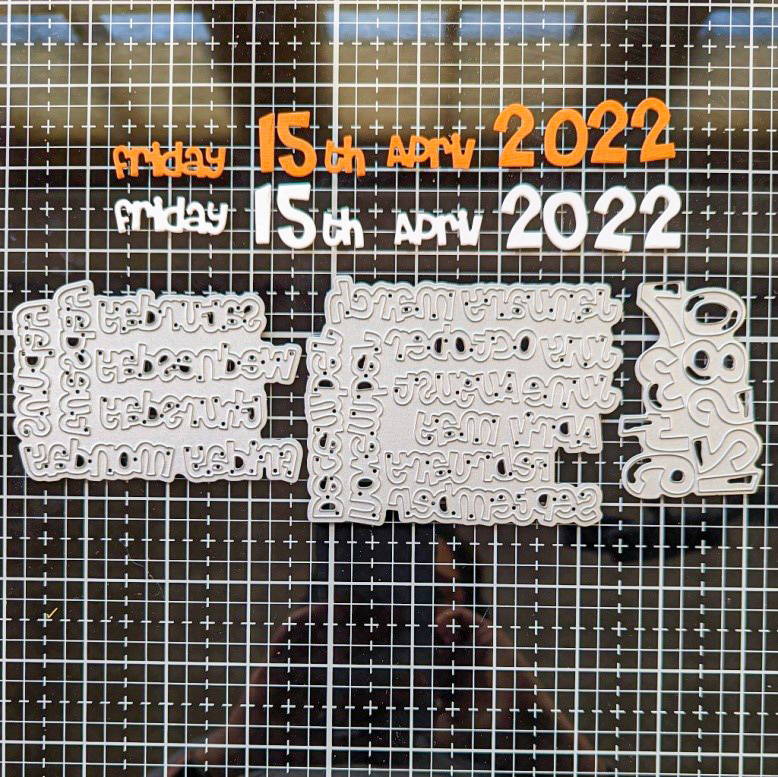
Use the Tonic Keepsake Creator Die Set to cut the appropriate birth day and date for baby. Cut them twice, once in smooth white and the second in ‘Ginger Pie’ Classic Cardstock. Glue the white, on top of the darker shade, with a sight overlap to create a drop-shadow effect.
Step 12
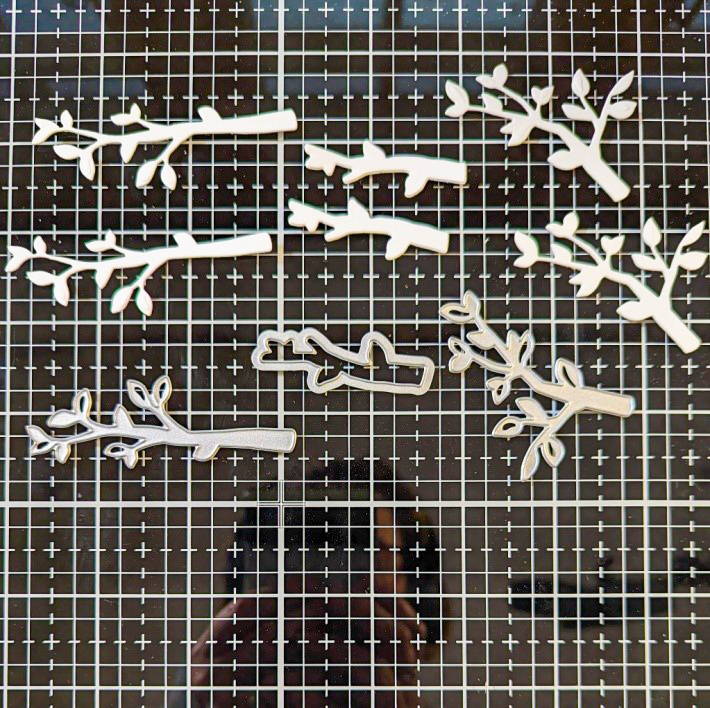
Die cut (two of each) of the three different branches in smooth white cardstock.
Step 13
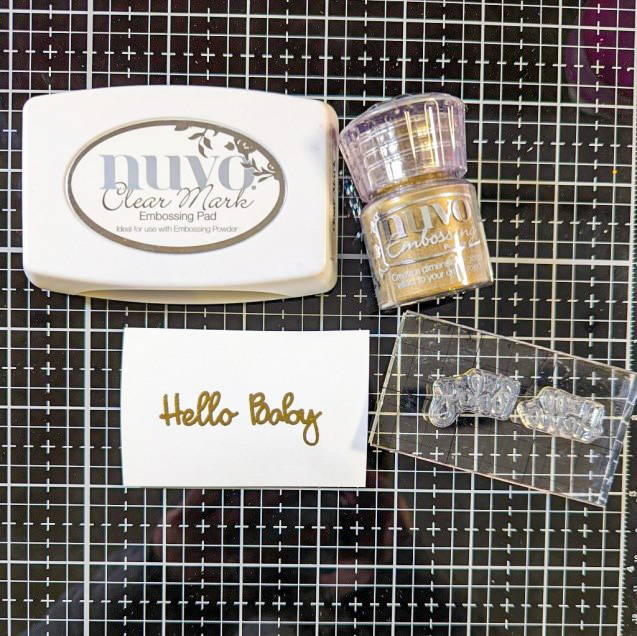
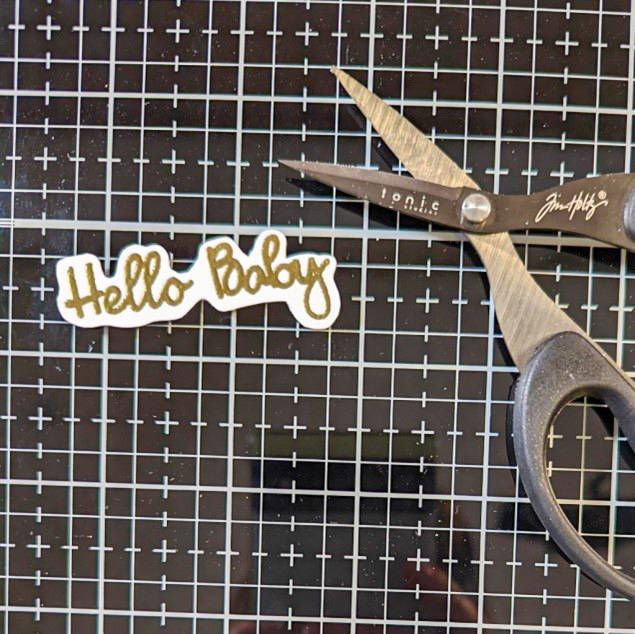
Using Clear Mark Embossing Ink, line up and stamp out the ‘hello’ and ‘baby’ sentiments to form a single sentiment. Apply and heat emboss ‘Classic Gold’ Embossing Powder. Finish by fussy cutting the sentiment.
Step 14
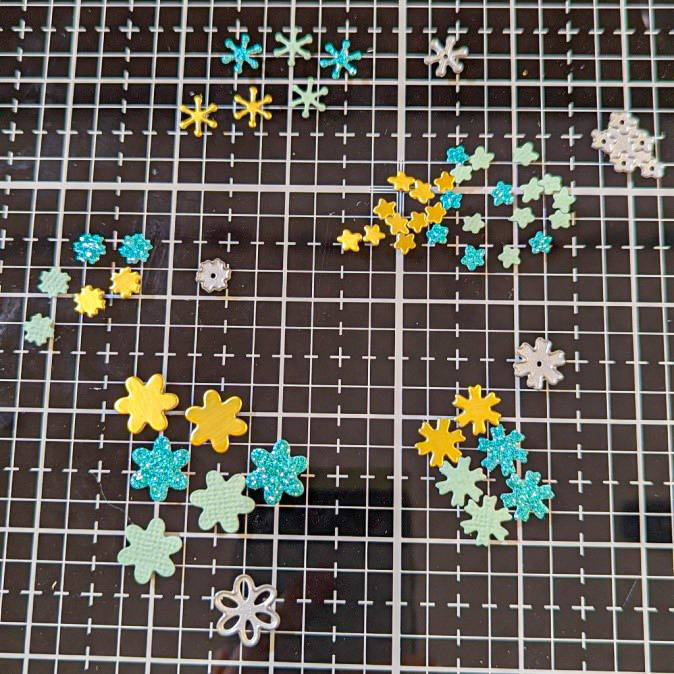
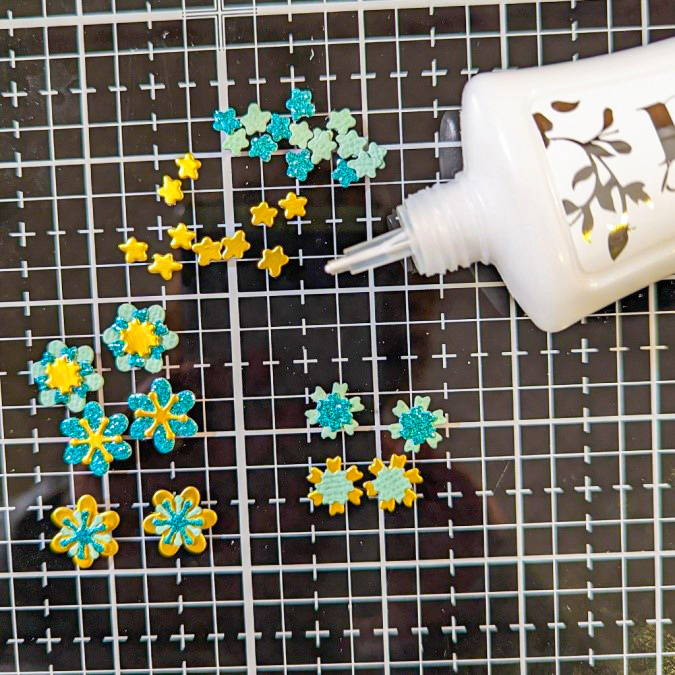
In Craft Perfect Sea Salt Green (Classic), Turquoise Lake (Glitter) and Gold Pearl (Mirror) die cut a number of mini flowers. Layer some of them up and adhere to give the flowers more detail.
Step 15
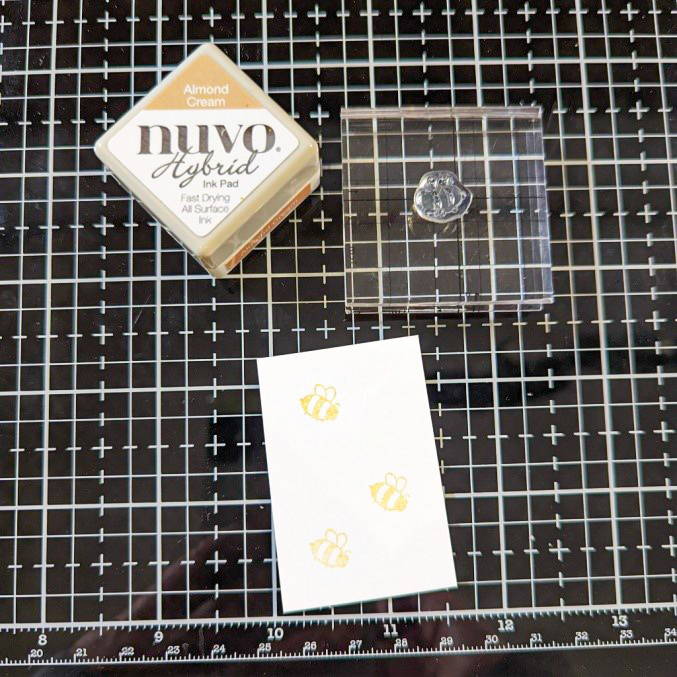
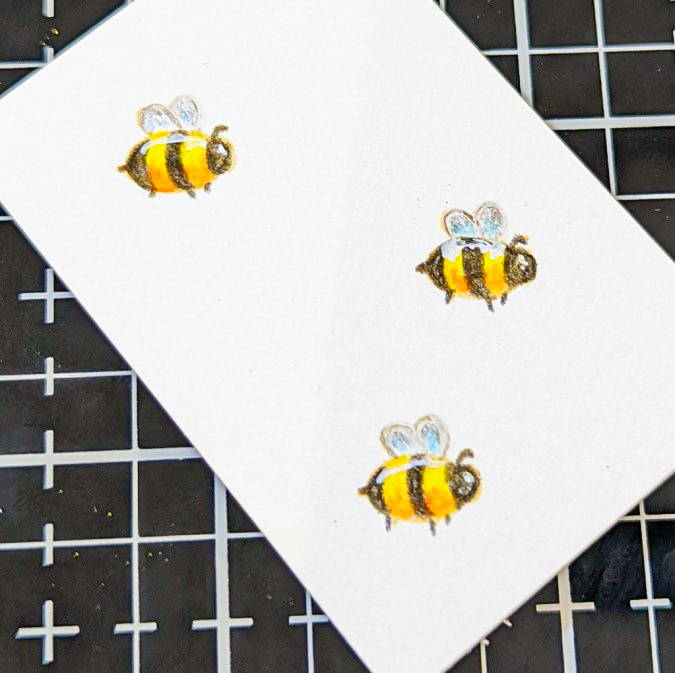
In light ink, stamp out three bees and colour. You can also add a few extra ‘light’ details with a white gel pen. Colours used are: Spring Daffodil, Caramel Popcorn and Raven Black. Once coloured, fussy-cut your bees out.
Step 16
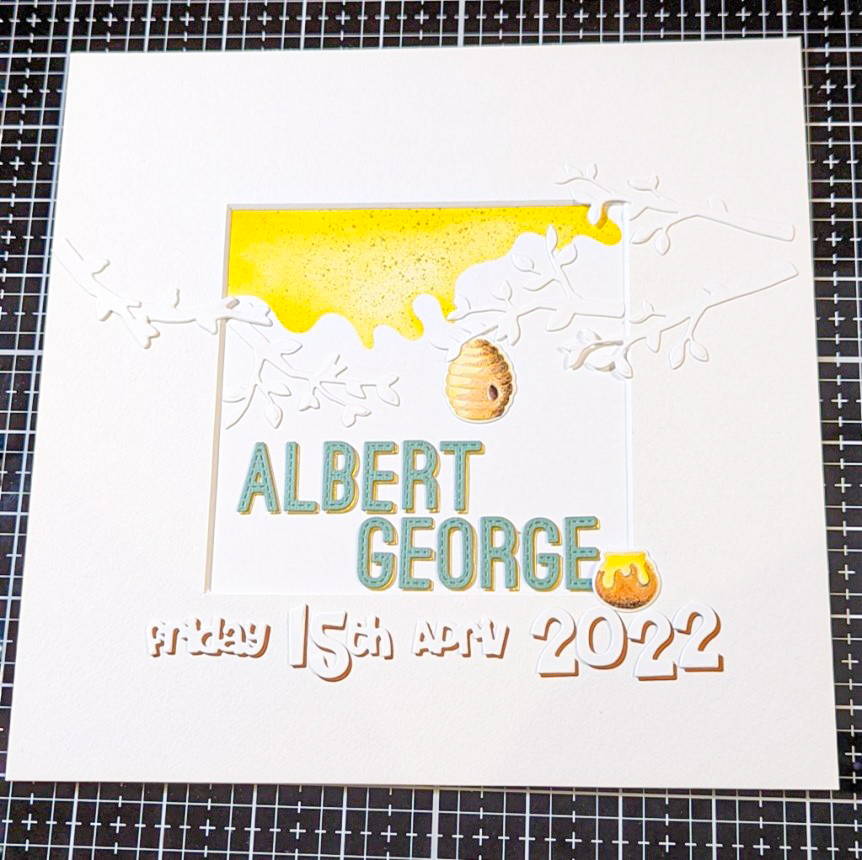
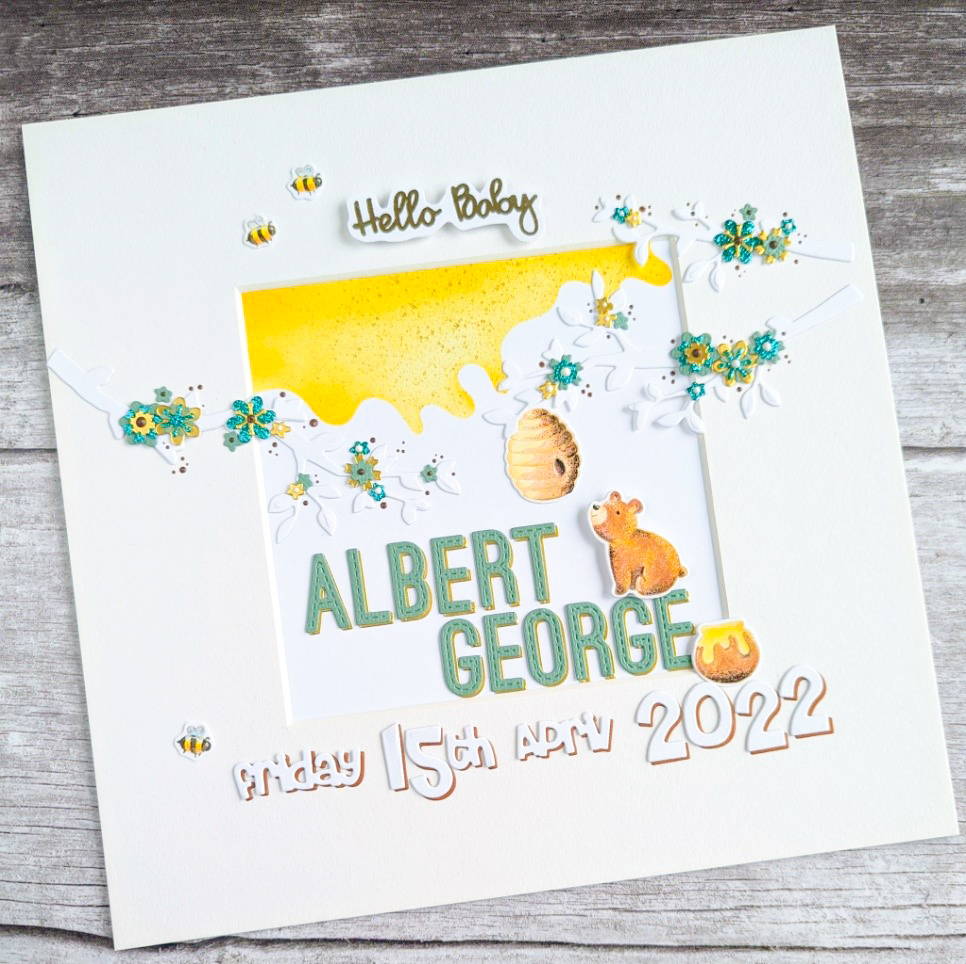
Have a play with the layout of all of your different pieces until happy with their positioning. This is how I decided I wanted it to roughly look before I committed to glueing anything down. I cut the letters for the baby’s name using alphabet dies from elsewhere but alternatively you can also find some really beautiful alphabet sticker/chipboard sets in many craft shops which would work equally as well.
To create the effect of ‘longer’ branches, I overlaid the various short ones. Any obvious ‘seams’ will be covered over at a later point.
Step 17
Remove the mount from the box frame and flip it over. Apply redline tape all around the edge of the aperture and stick into place the ‘runny honey’ card base.
Step 18
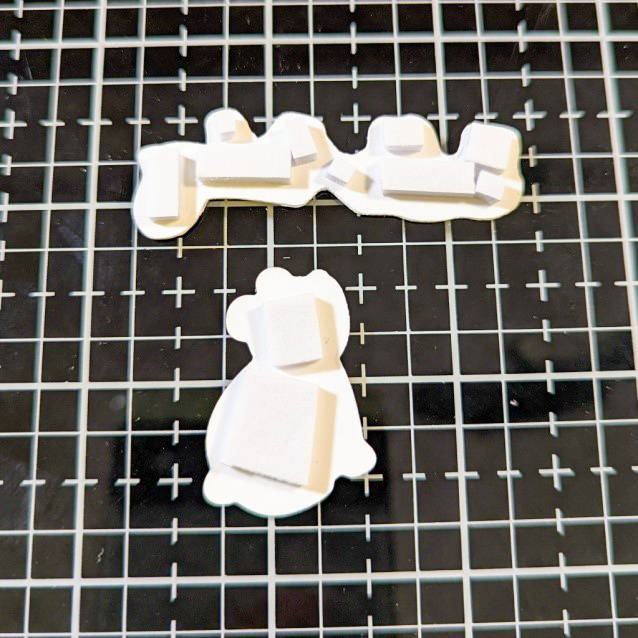
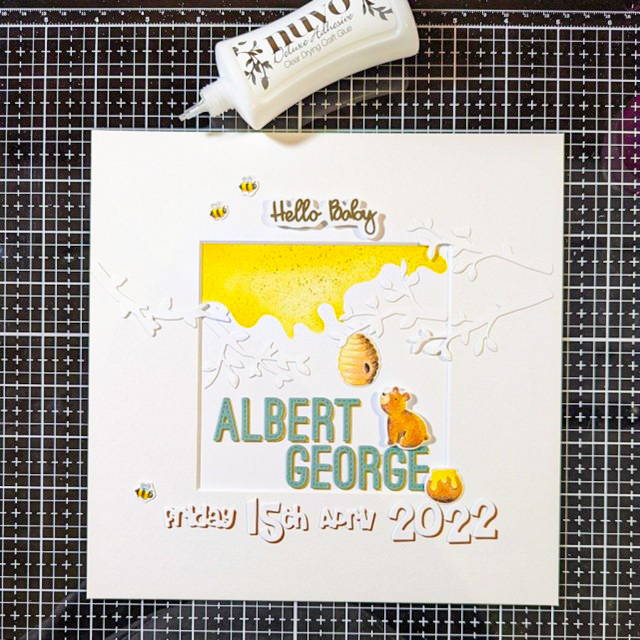
Once happy with the layout, start glueing into position. To add a little height and depth, stick the ‘bear’ and ‘hello baby’ sentiment onto sticky foam pads.
Step 19
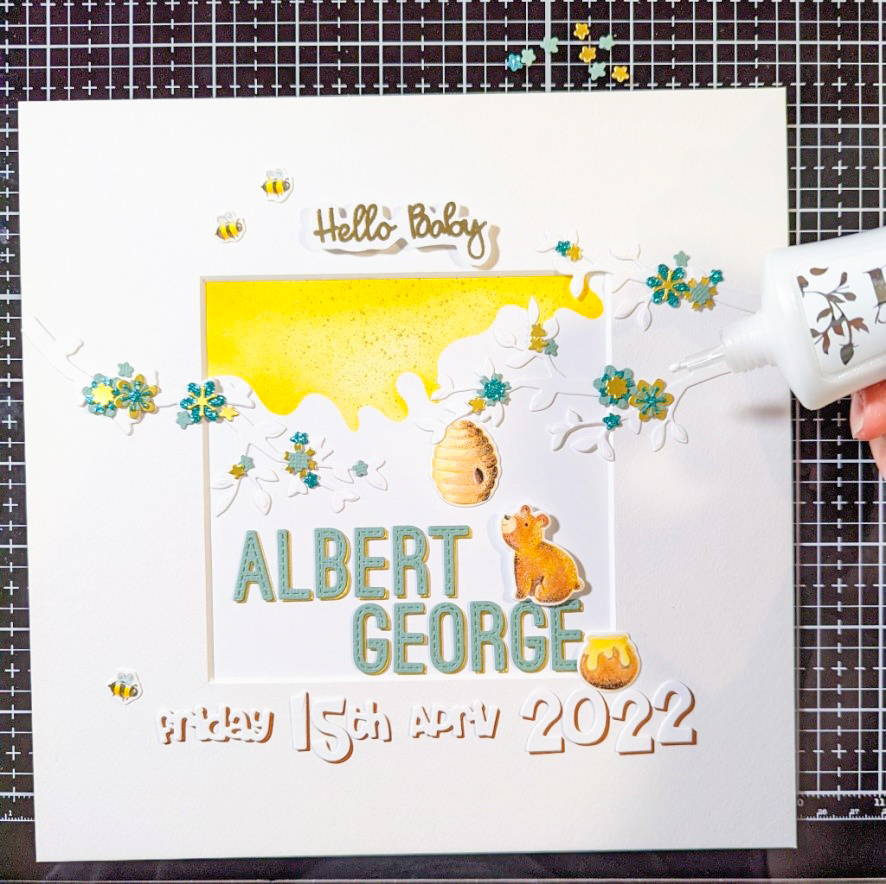
Have another play around, this time with how you want your tree blossom to look and then stick into position. I used the larger of my flowers to conceal the ‘seams’ on my branches.
Step 20

Finally, using Nuvo Vintage Drops, add some centre details to the flowers and some additional tiny drops in the immediate surrounding areas, to add to the tree blossom effect.
Step 21
Leave the drops to harden and then place into your box frame.
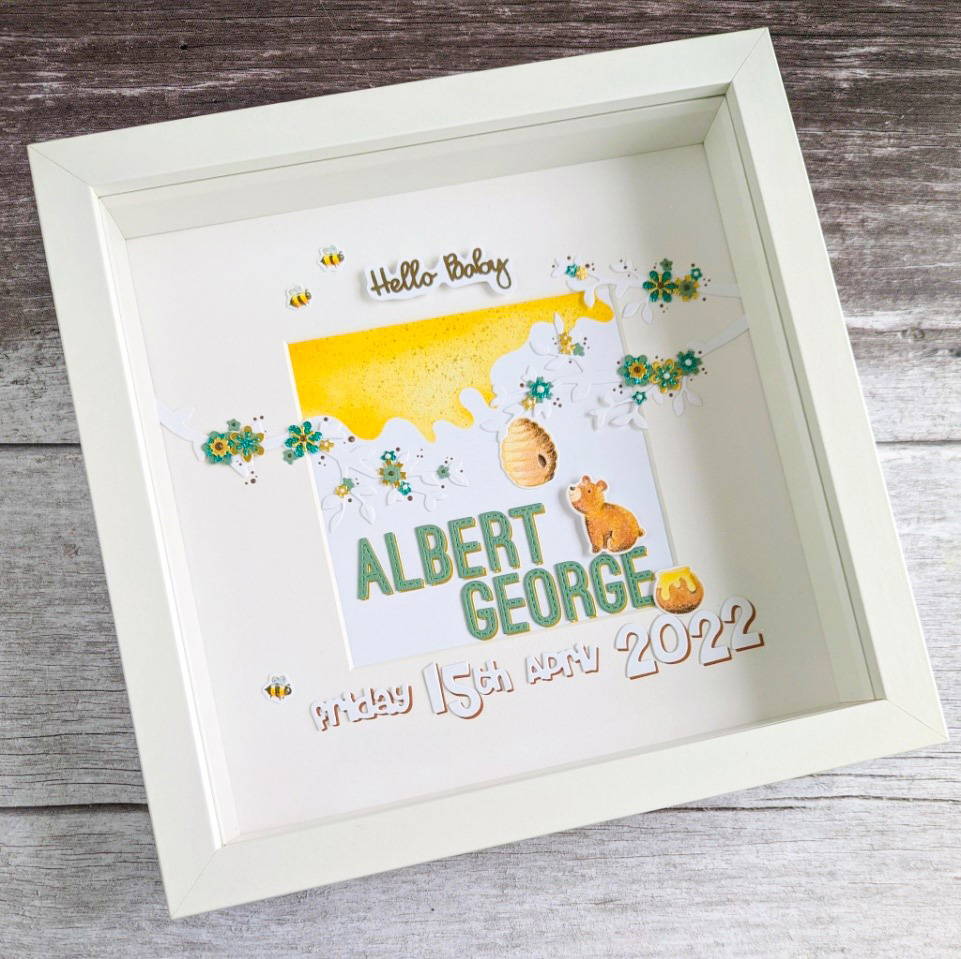
Box frame complete and ready to be gifted or hung in your own little person’s nursery!
I opted for a more ‘neutral’ colour palette with this one by pairing it with green but the beauty of the ‘yellow’ honey is that it works beautifully well with either blue or pink, if you wanted to be a little more gender specific and of course there’s nothing stopping you from having a brightly coloured bear if you didn’t fancy the more traditional brown colour scheme!
Lots of possibilities with this super cute stamp set so I hope it’s inspired you to have a play!
As always, thank you so much for visiting the blog and reading my post (apologies, it was an extra long one this time!)
Take care and happy crafting.
Kate x
Buy The Craft Project
