 Gem Rewards
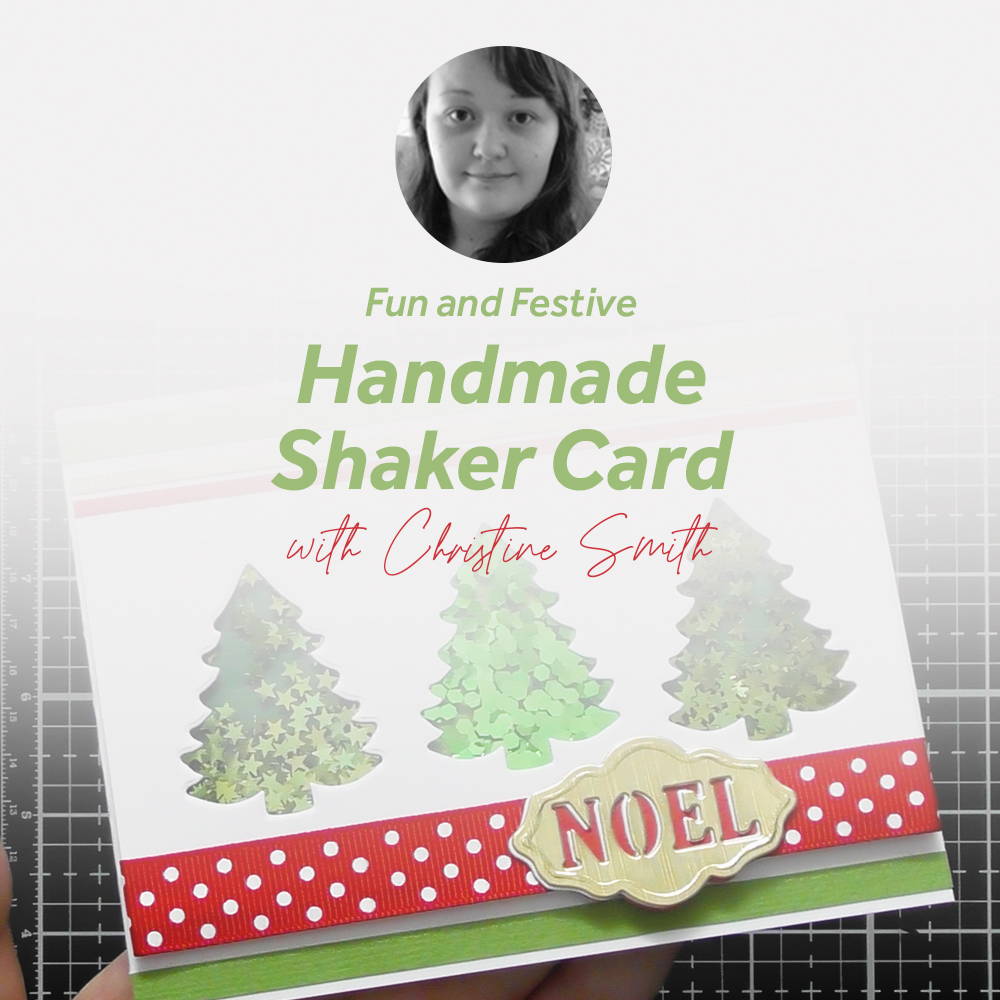

I really enjoyed working with the Festive Mason Jar Dies, Stamps and Coordinating Shaker Blisters from Tonic when they launched on Create & Craft, and luckily I filmed one of my Up Close videos when I had my samples, so you’ll have that to refer too, as well as a step by step here to make a simple multi-chamber shaker card using the little tree die from the set :D If you’ve had any of Tonic’s Shaker Creators before you’ll know just how easy they are to put together, so I thought I’d give you some inspiration for a card that doesn’t use the jar :D Hopefully it’ll spark some ideas for how to use some of the other simple dies from the set too.
If you’re after an Up Close look at the Mason Jar Dies, Stamps and Shaker Blisters, check out my video, not only do I run through the Festive Mason Jars, I also show multiple ideas of how to use the set with and without the actual mason jar.
Step 1
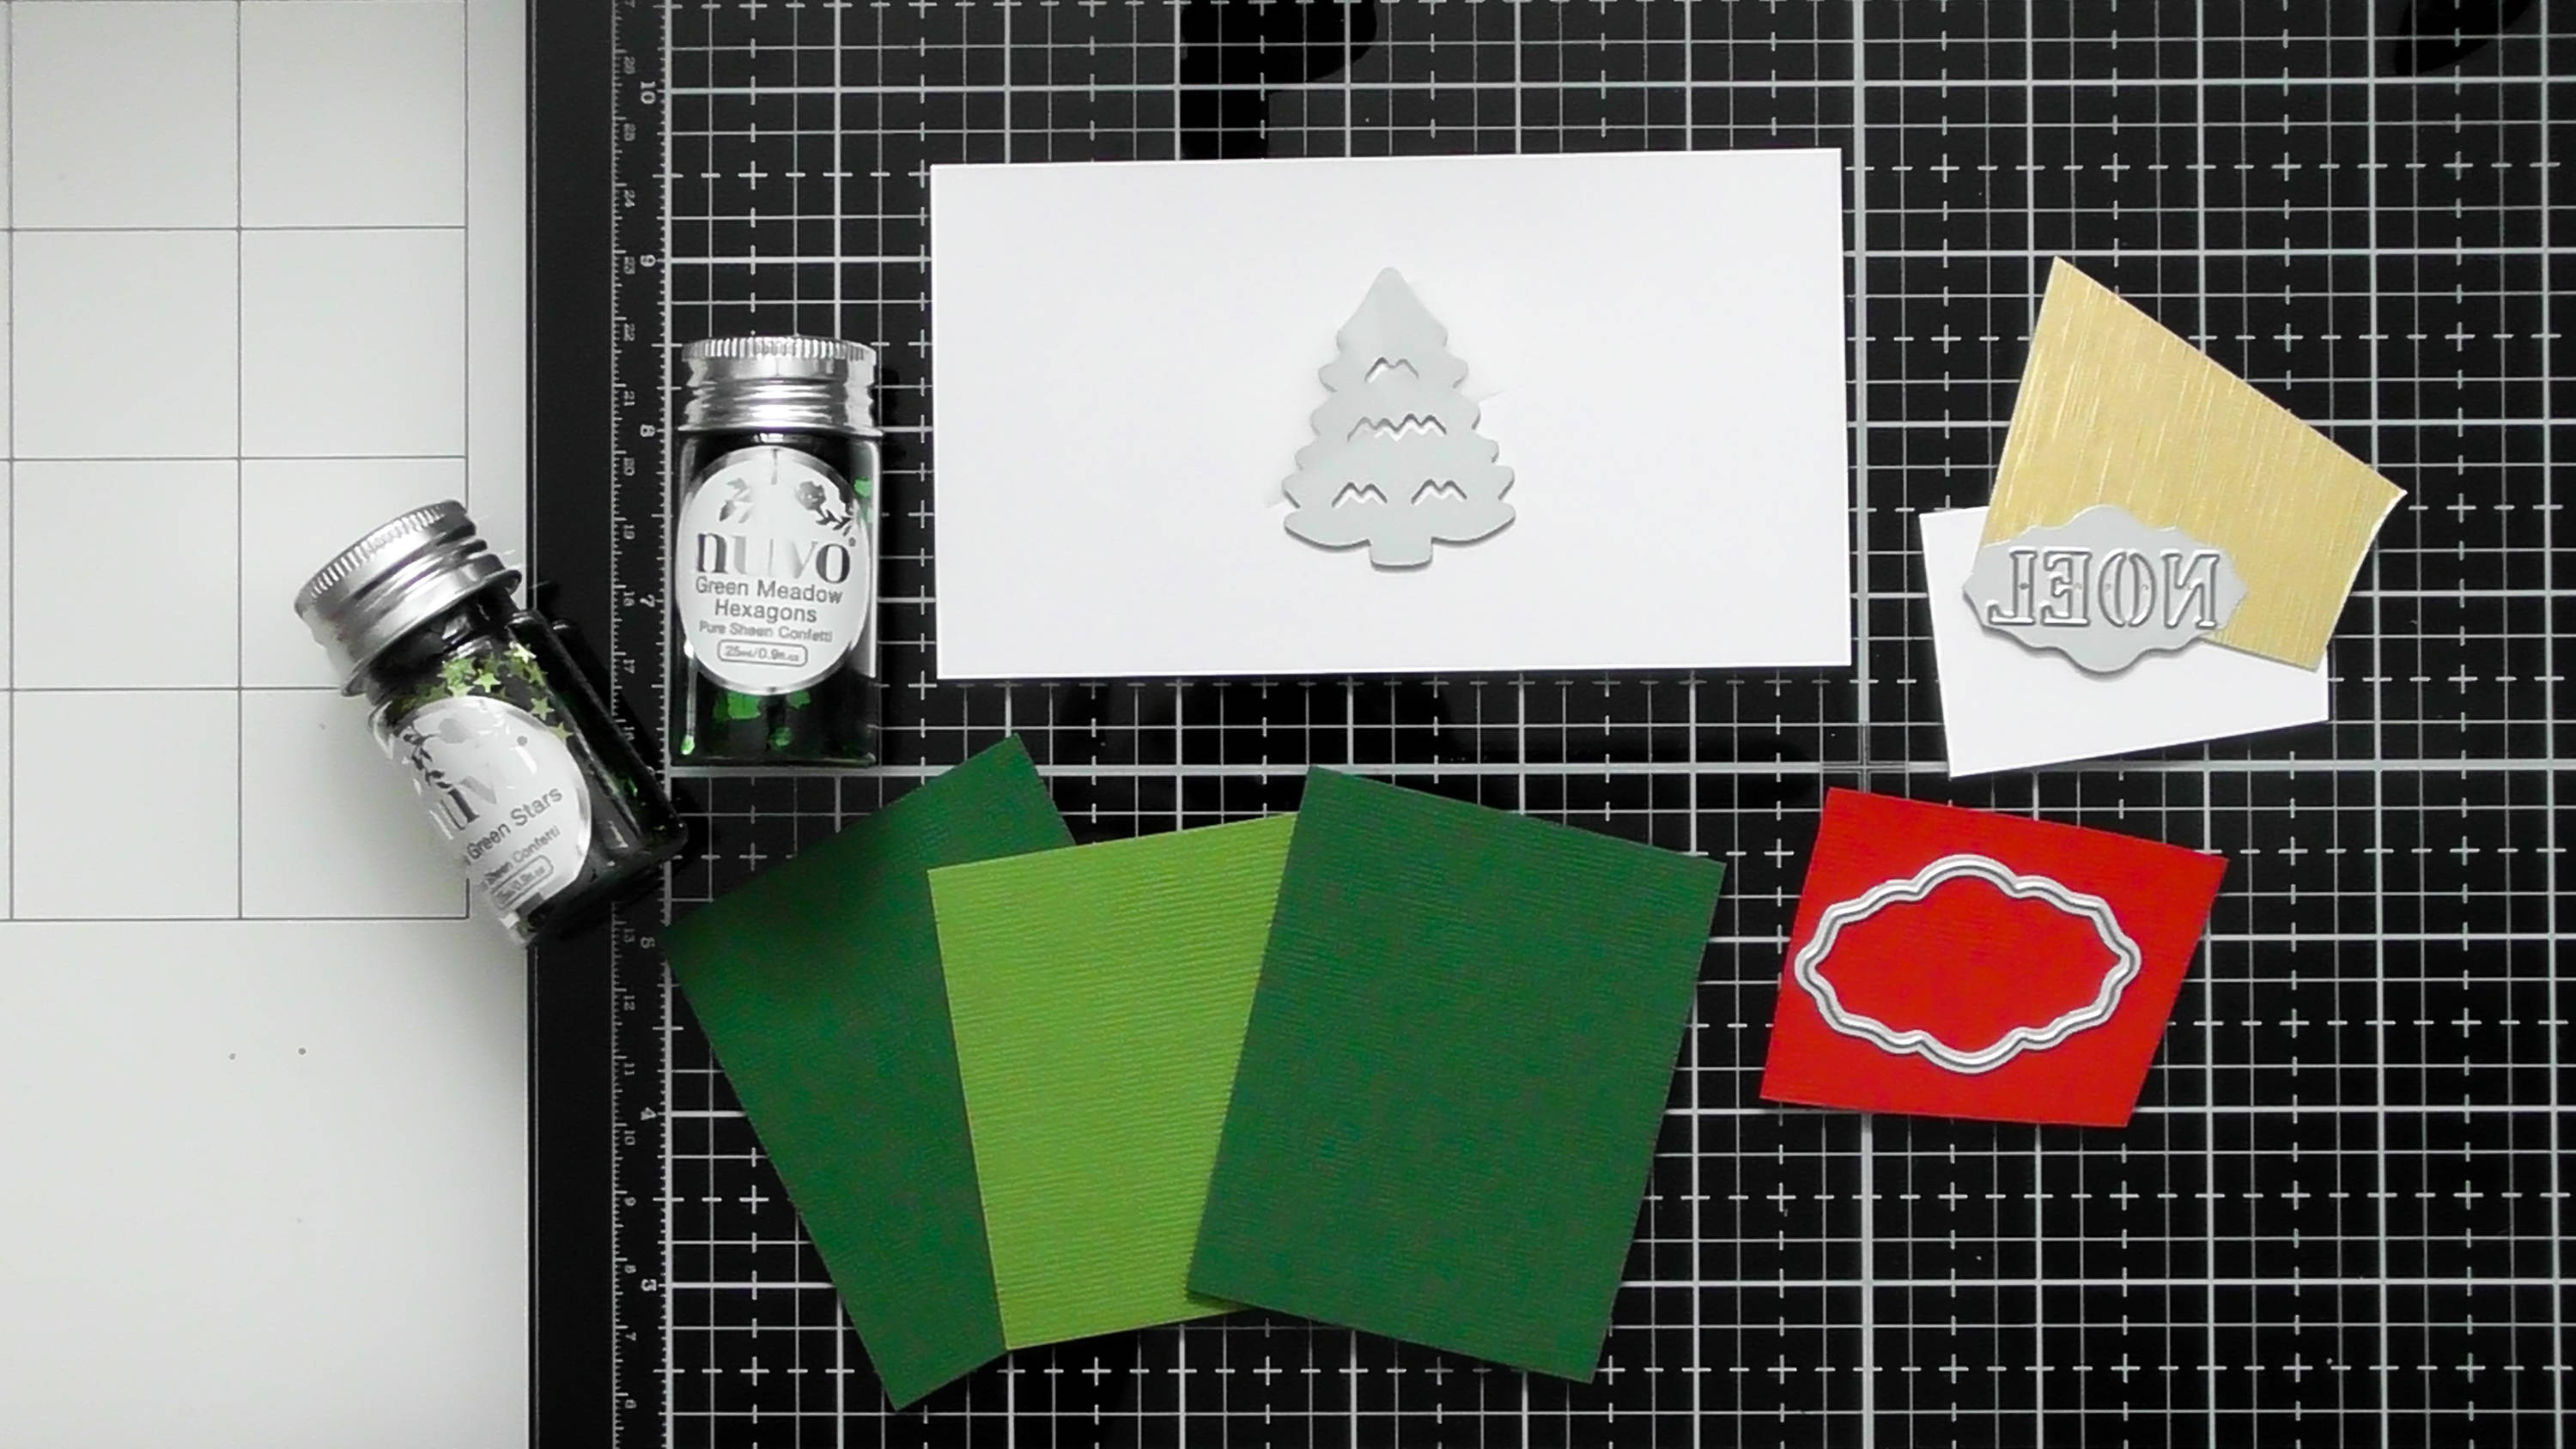
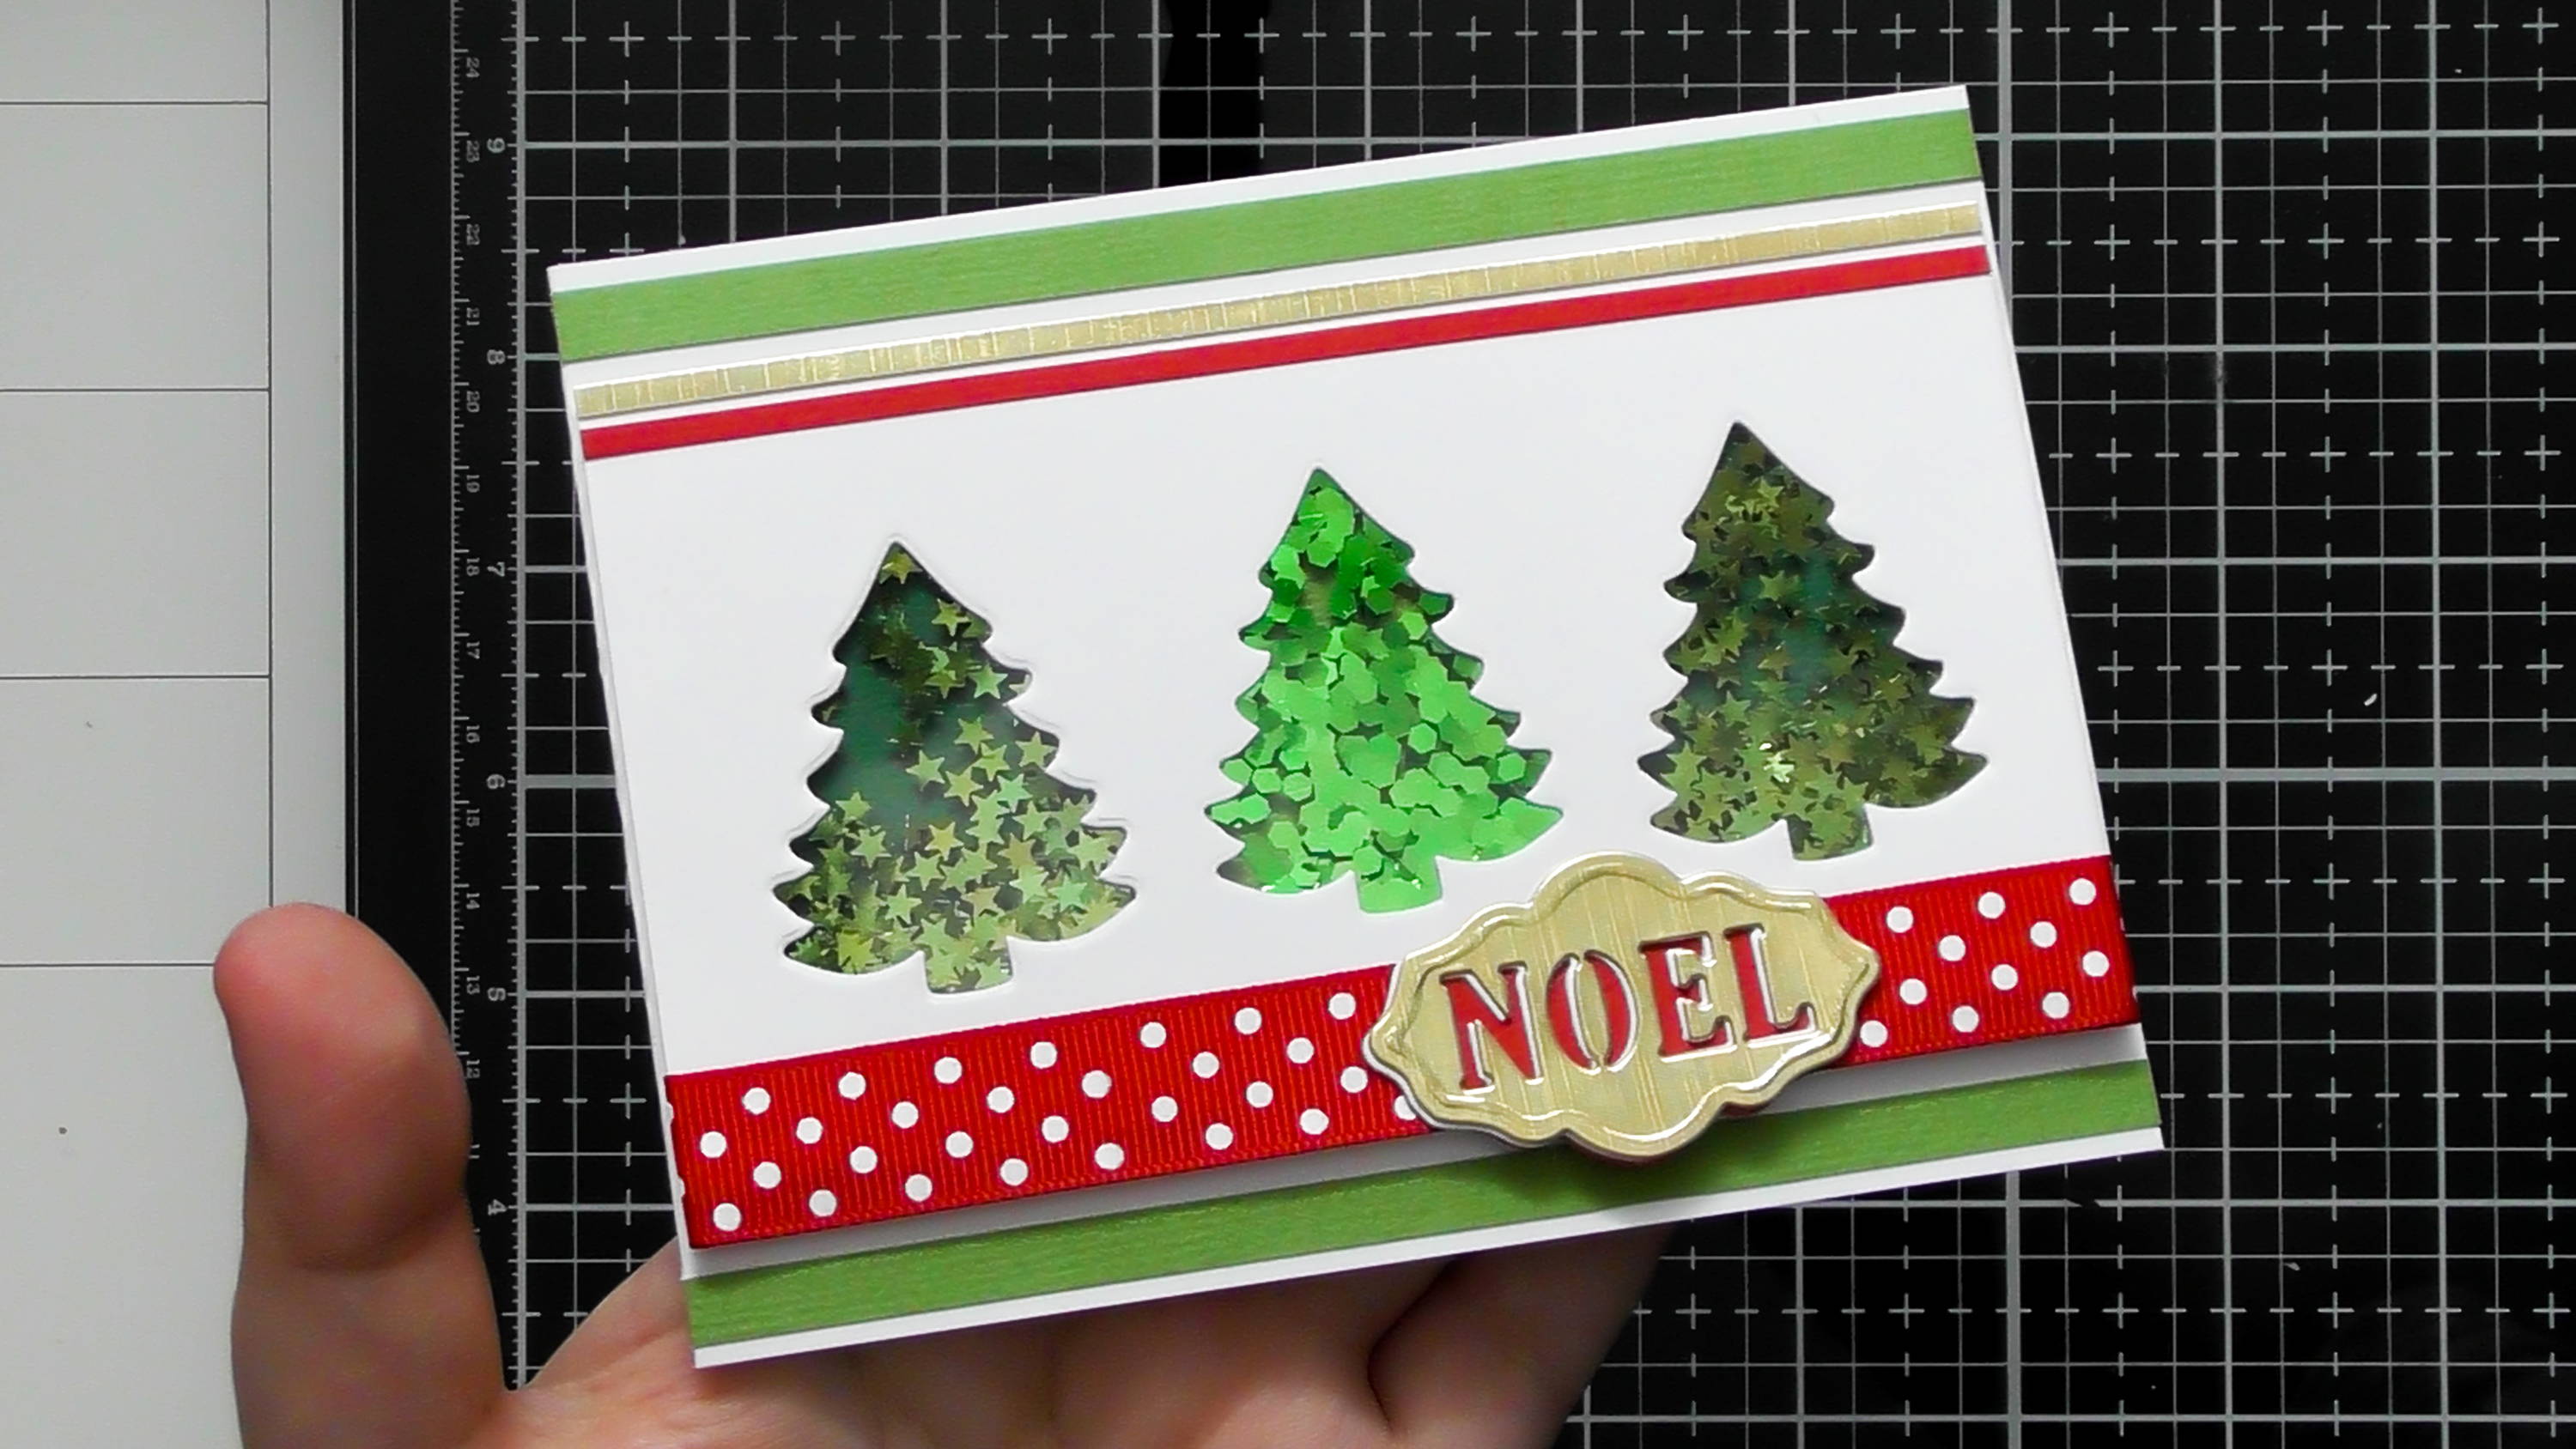
Trim a piece of white card to 7.5 cm x 13.5 cm, pick some scraps of green card to back the 3 shaker trees, and die-cut the noel sentiment from gold and white, then just the outside die from red.
Step 2
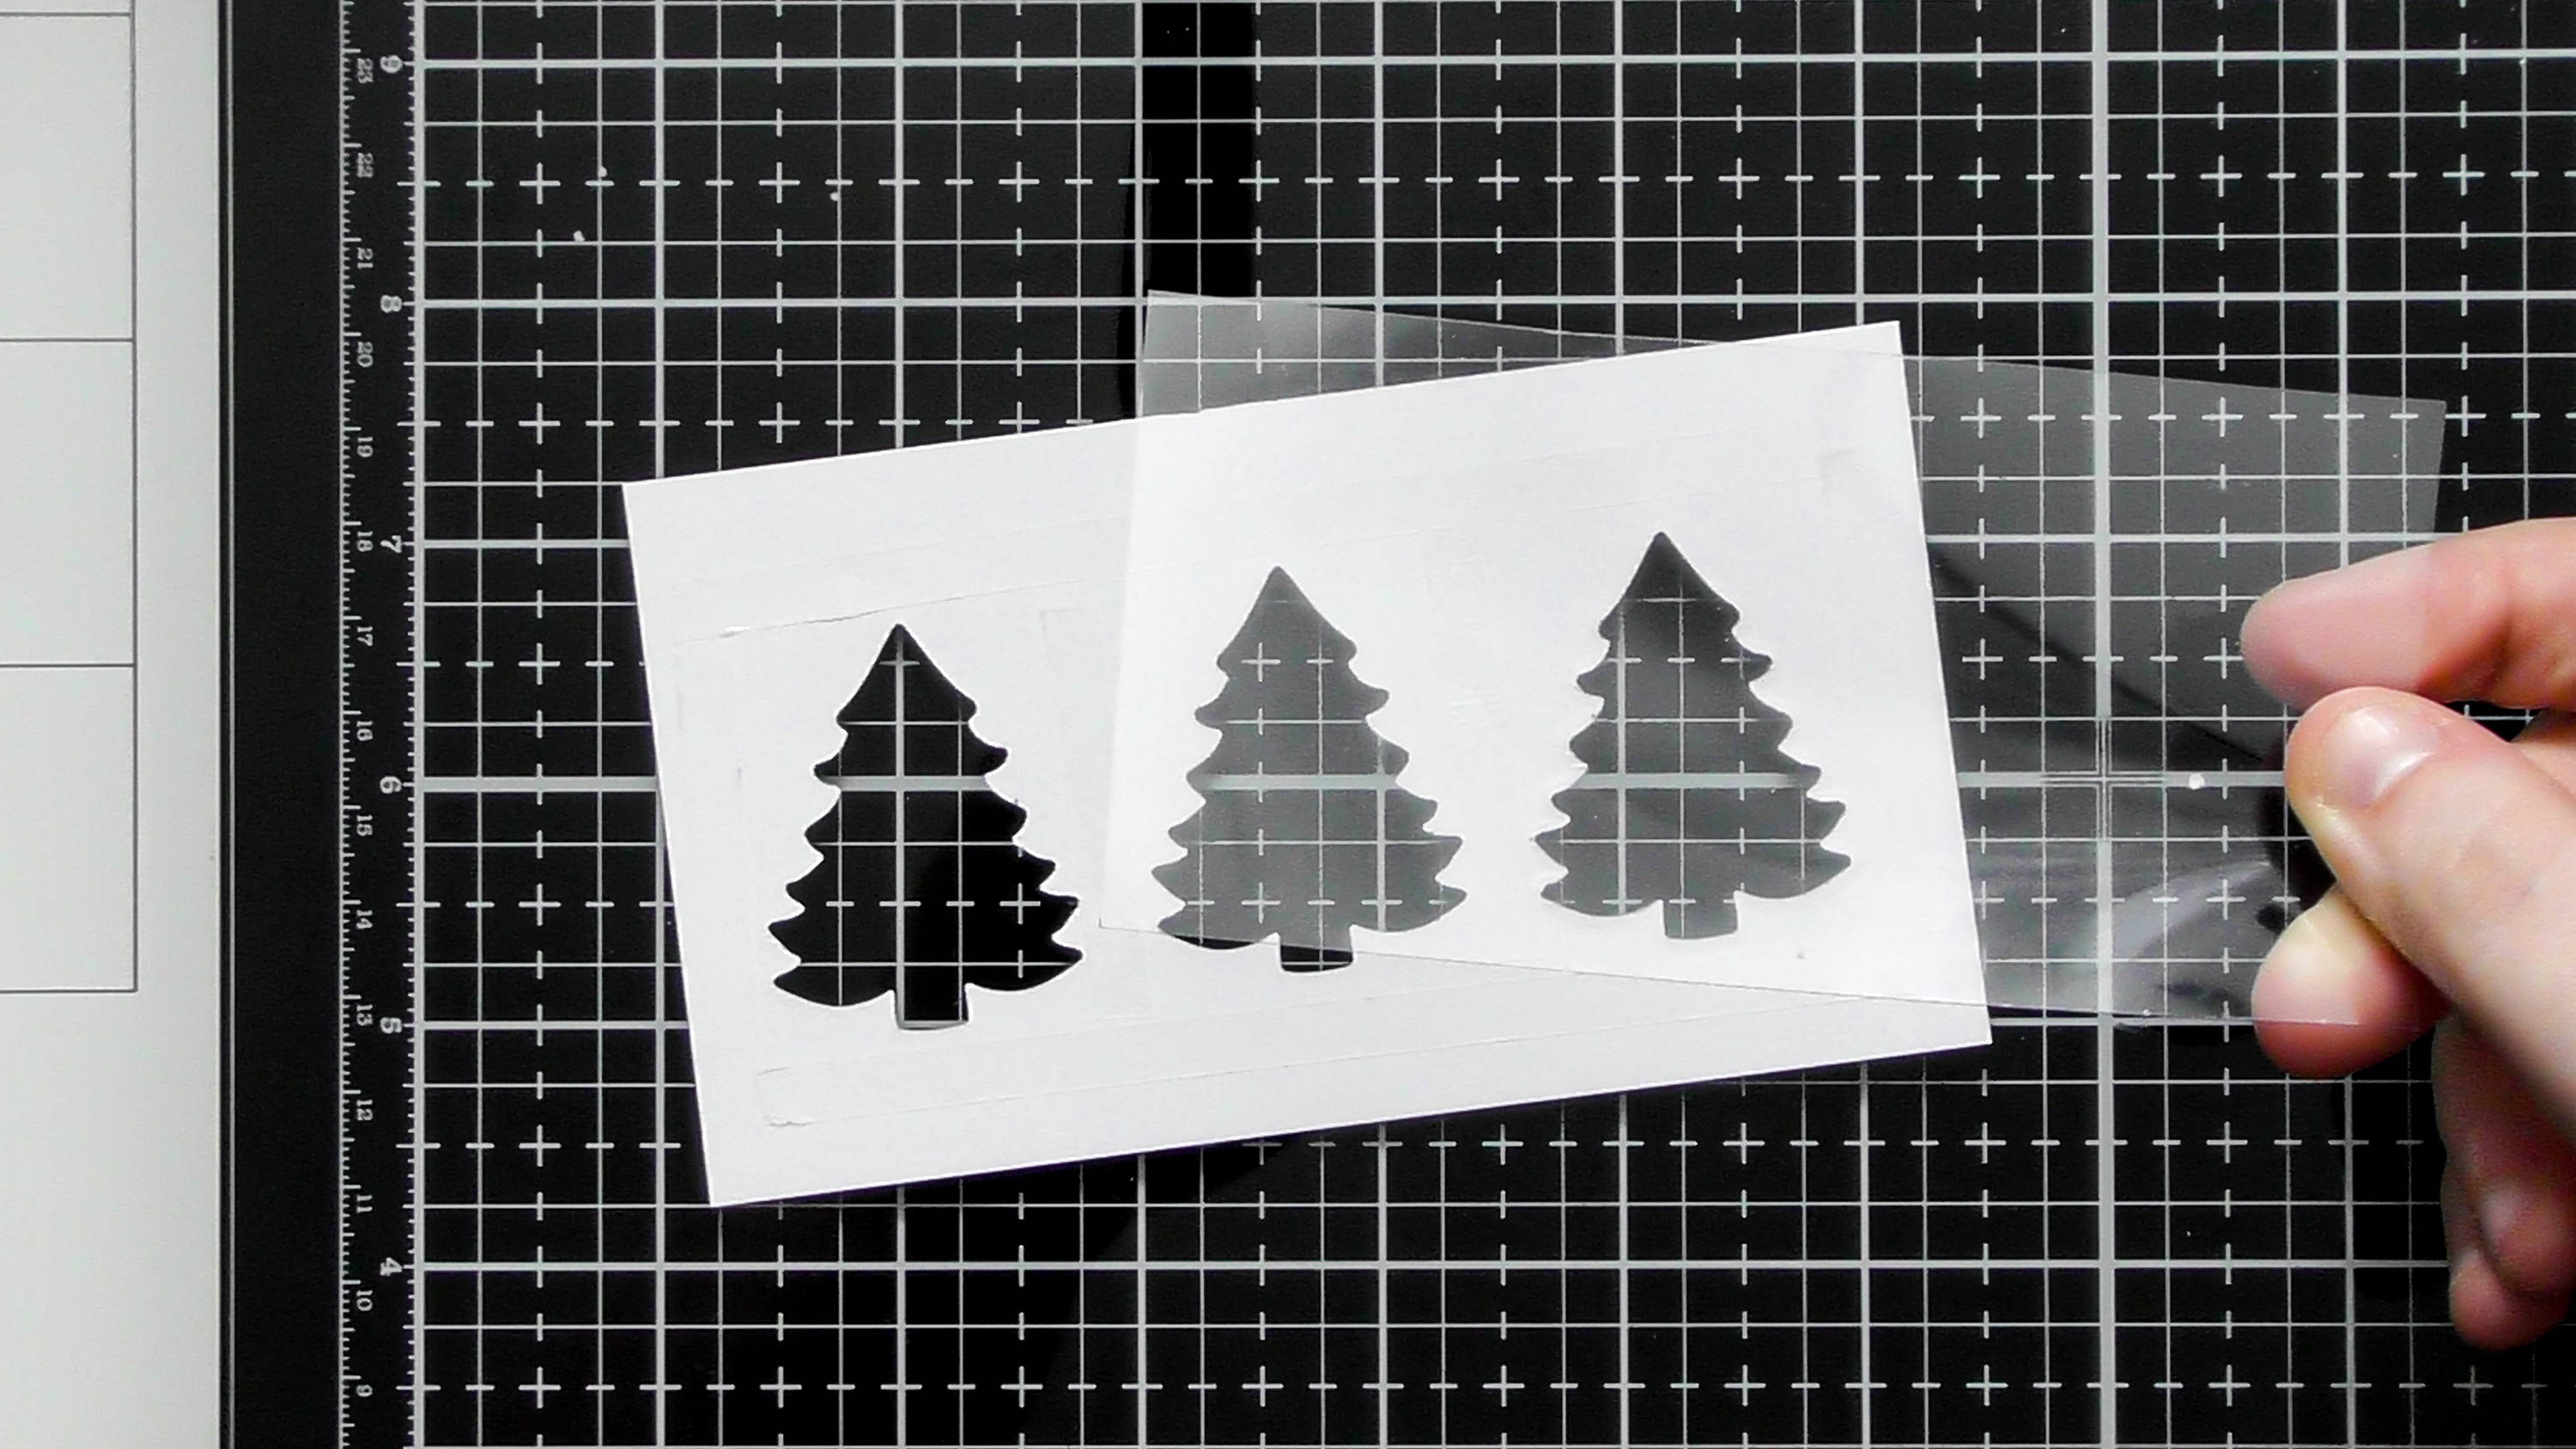
Use the small tree die from the set to die-cut 3 apertures into your white panel, then back this with some acetate.
Step 3
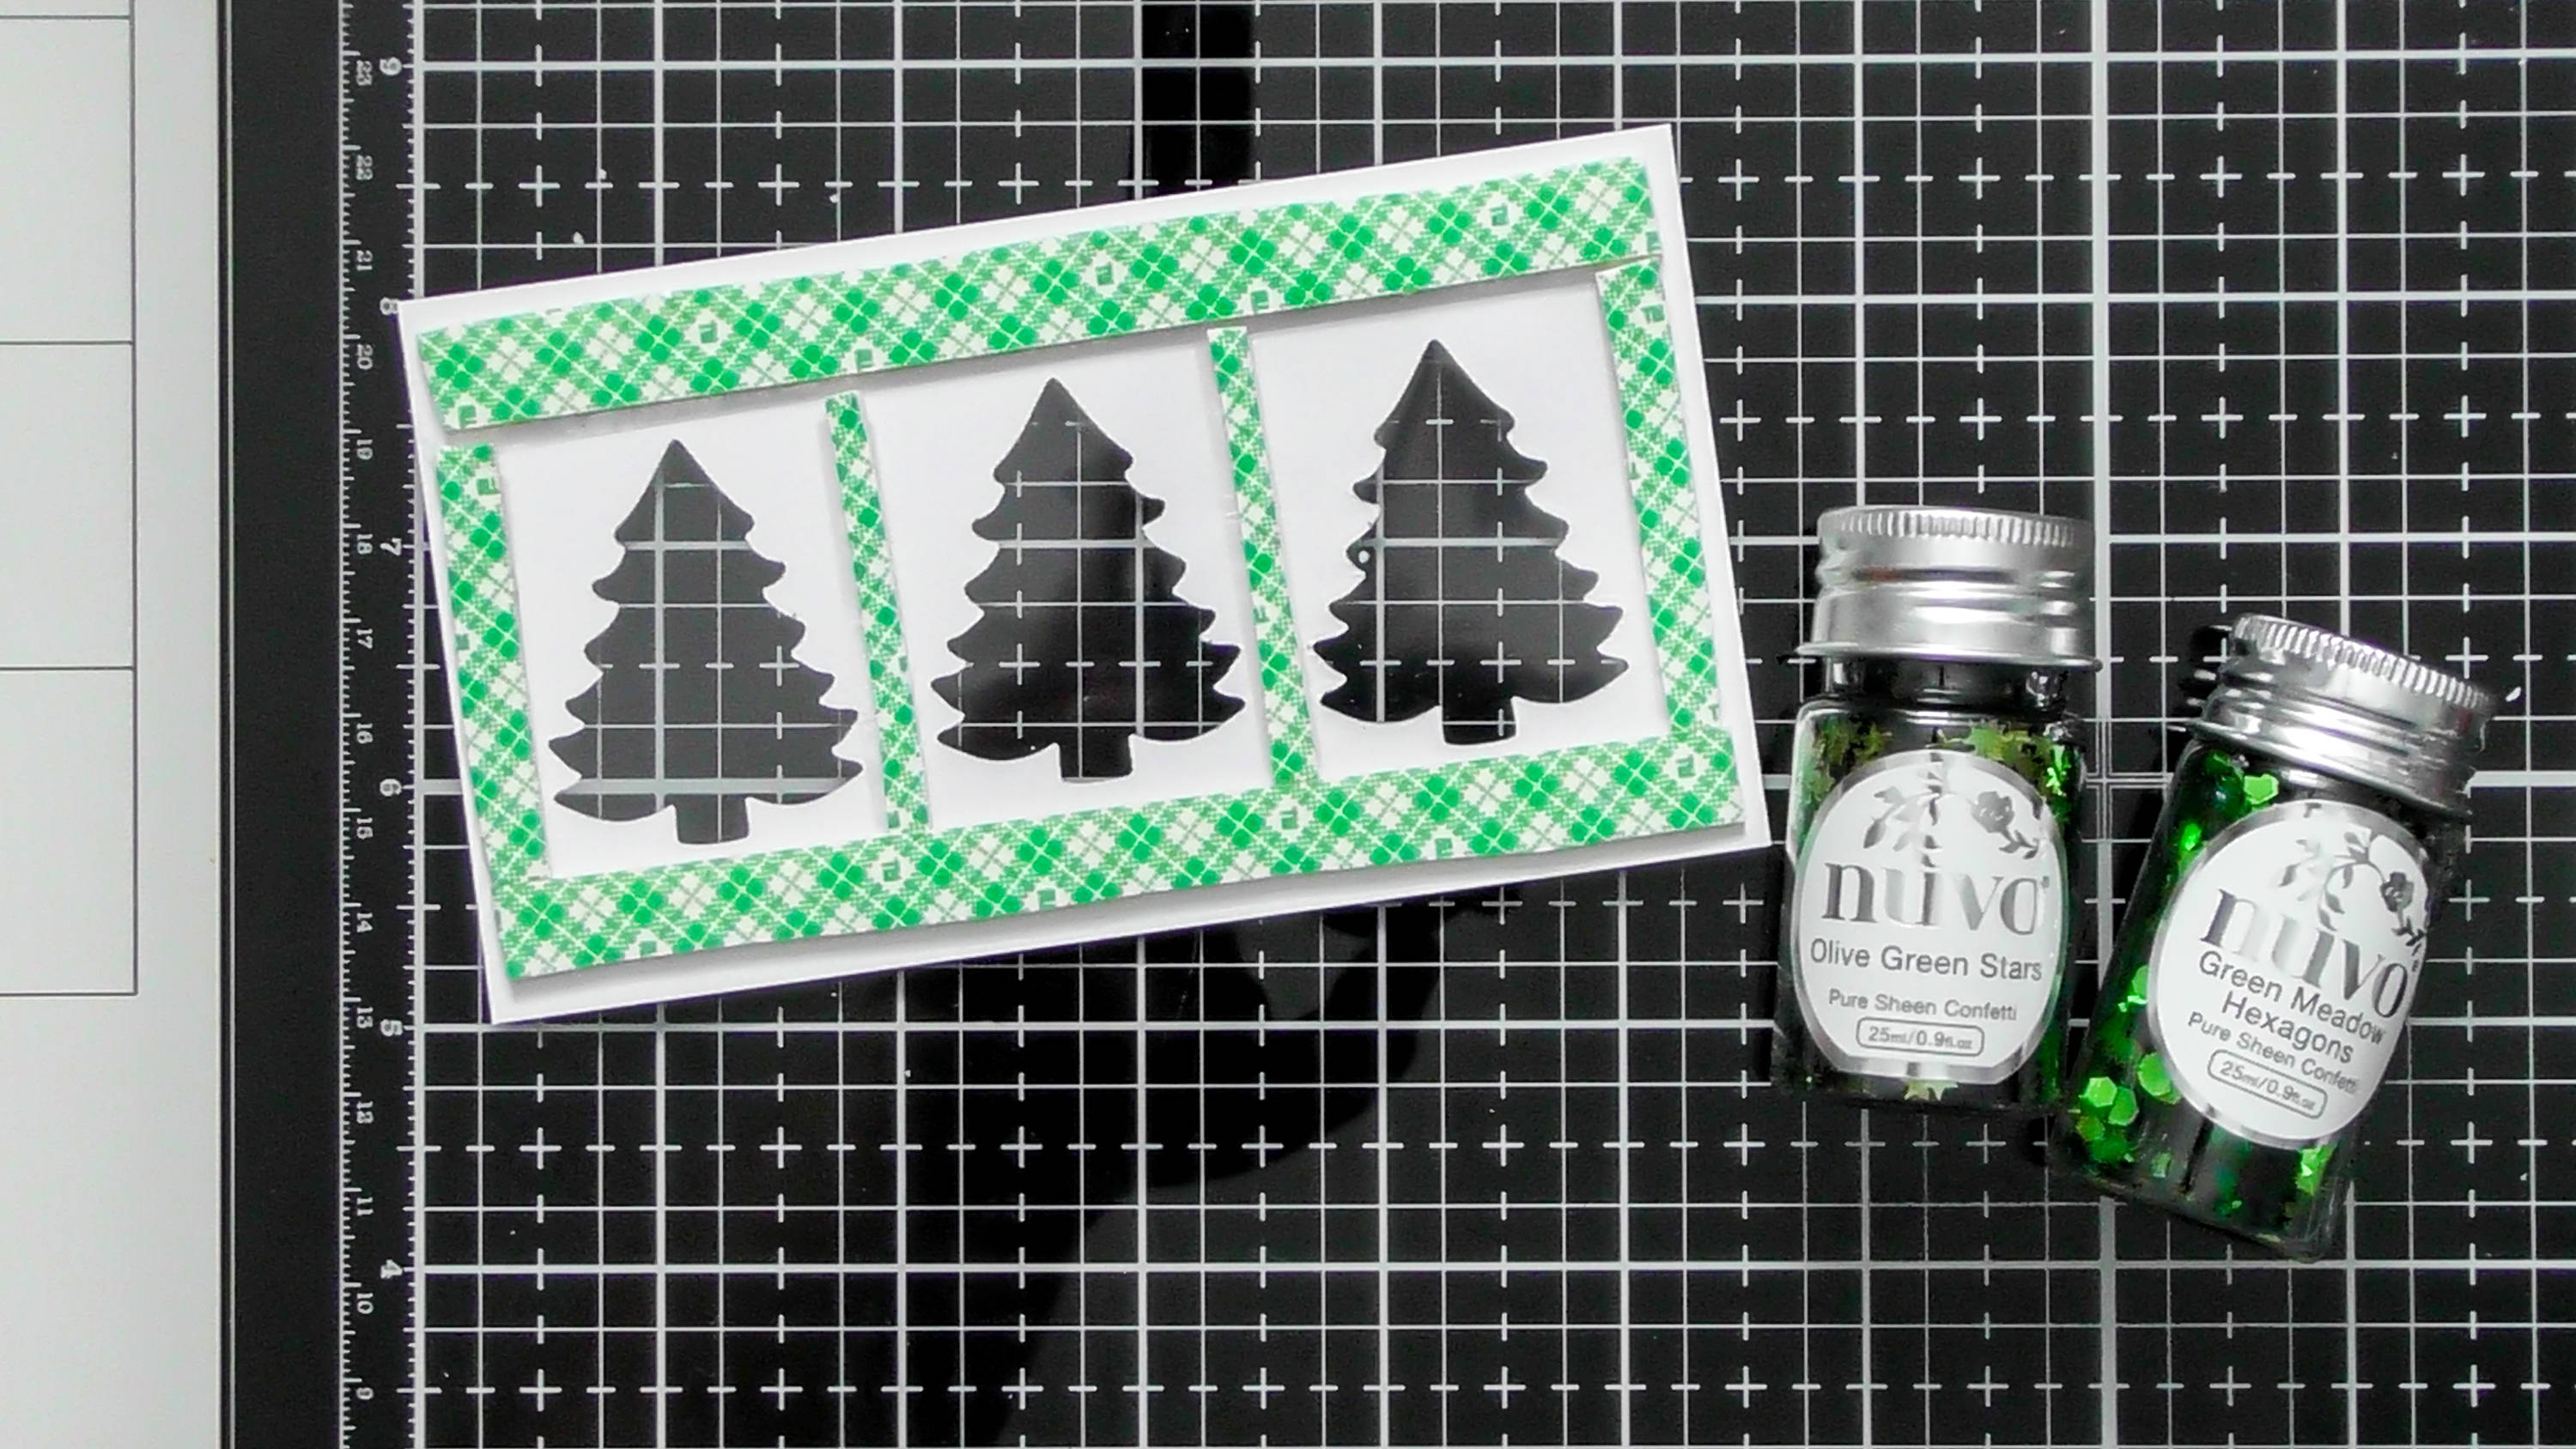
Surround the apertures with 3D foam, to create 3 separate shaker wells. And pick what confetti you want to use, either coordinating or contrasting the colours of card use chose earlier.
Step 4
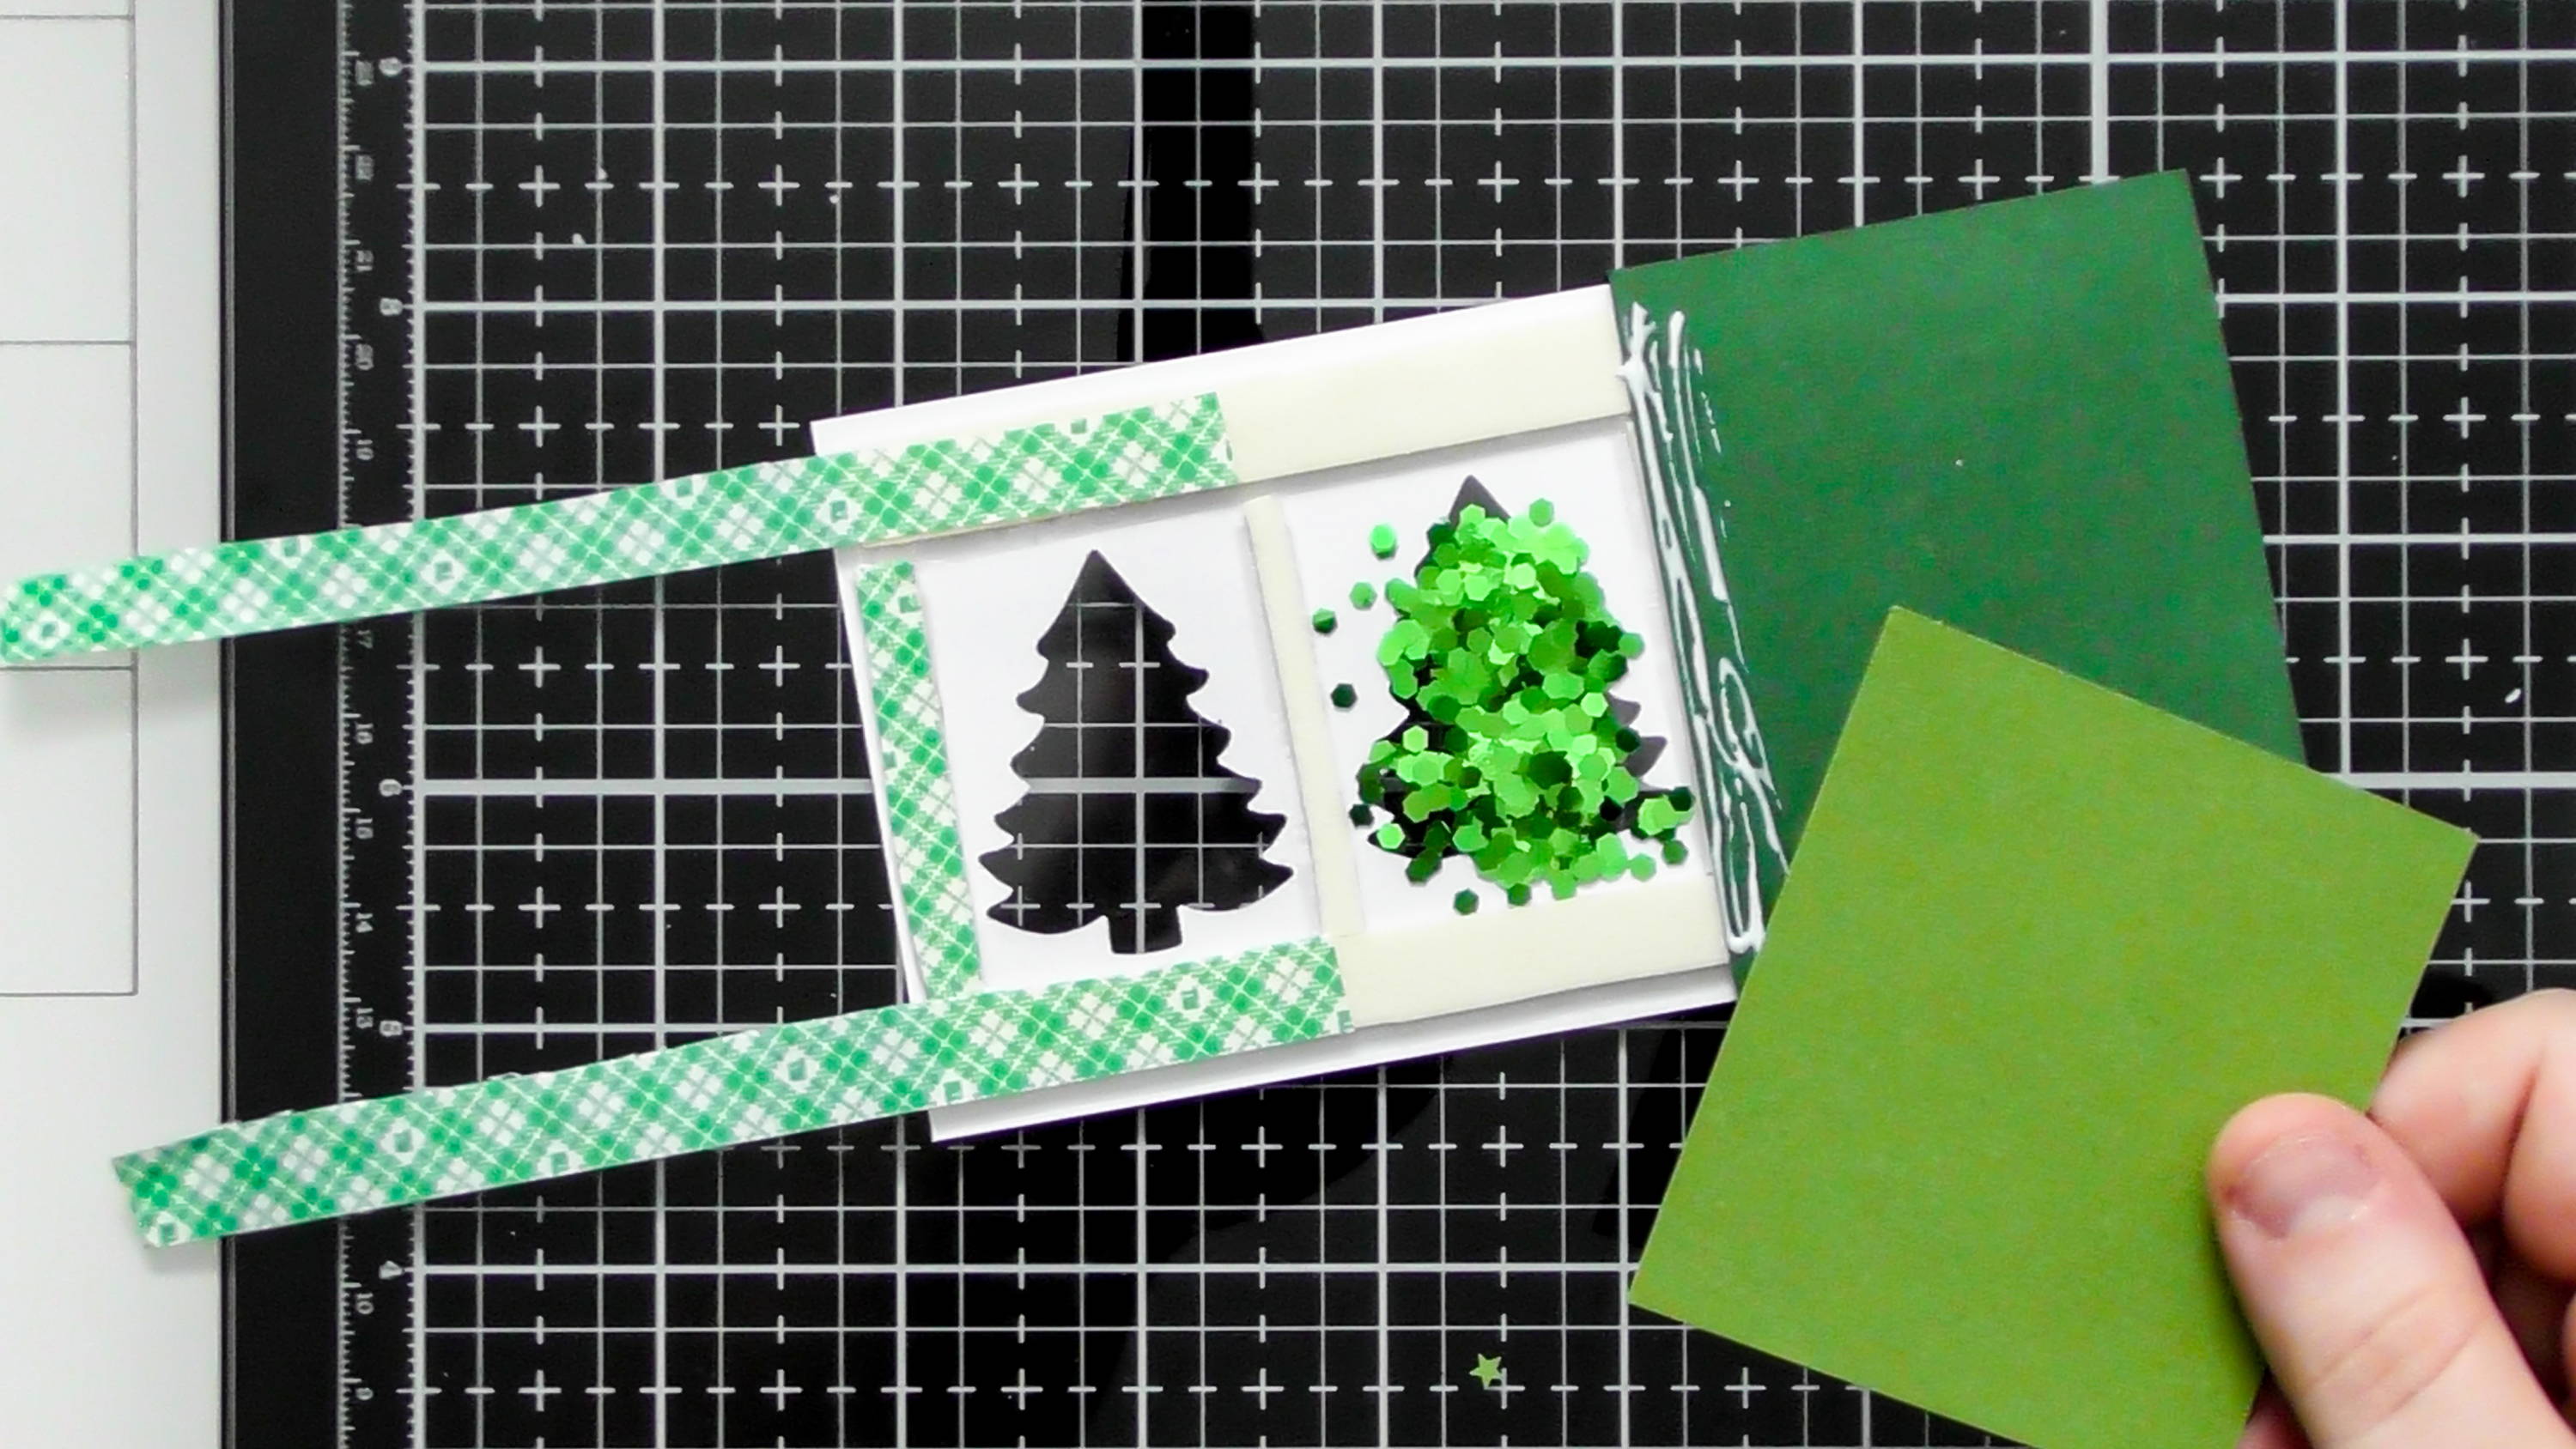
Remove the backing from the foam tape for the first well, add into your chosen confetti, and press the first piece of card on top, making sure to press firmly all the way around for a tight seal. For the second and third well, you’ll need to add glue on the 4th side, again to ensure a secure seal.
Step 5
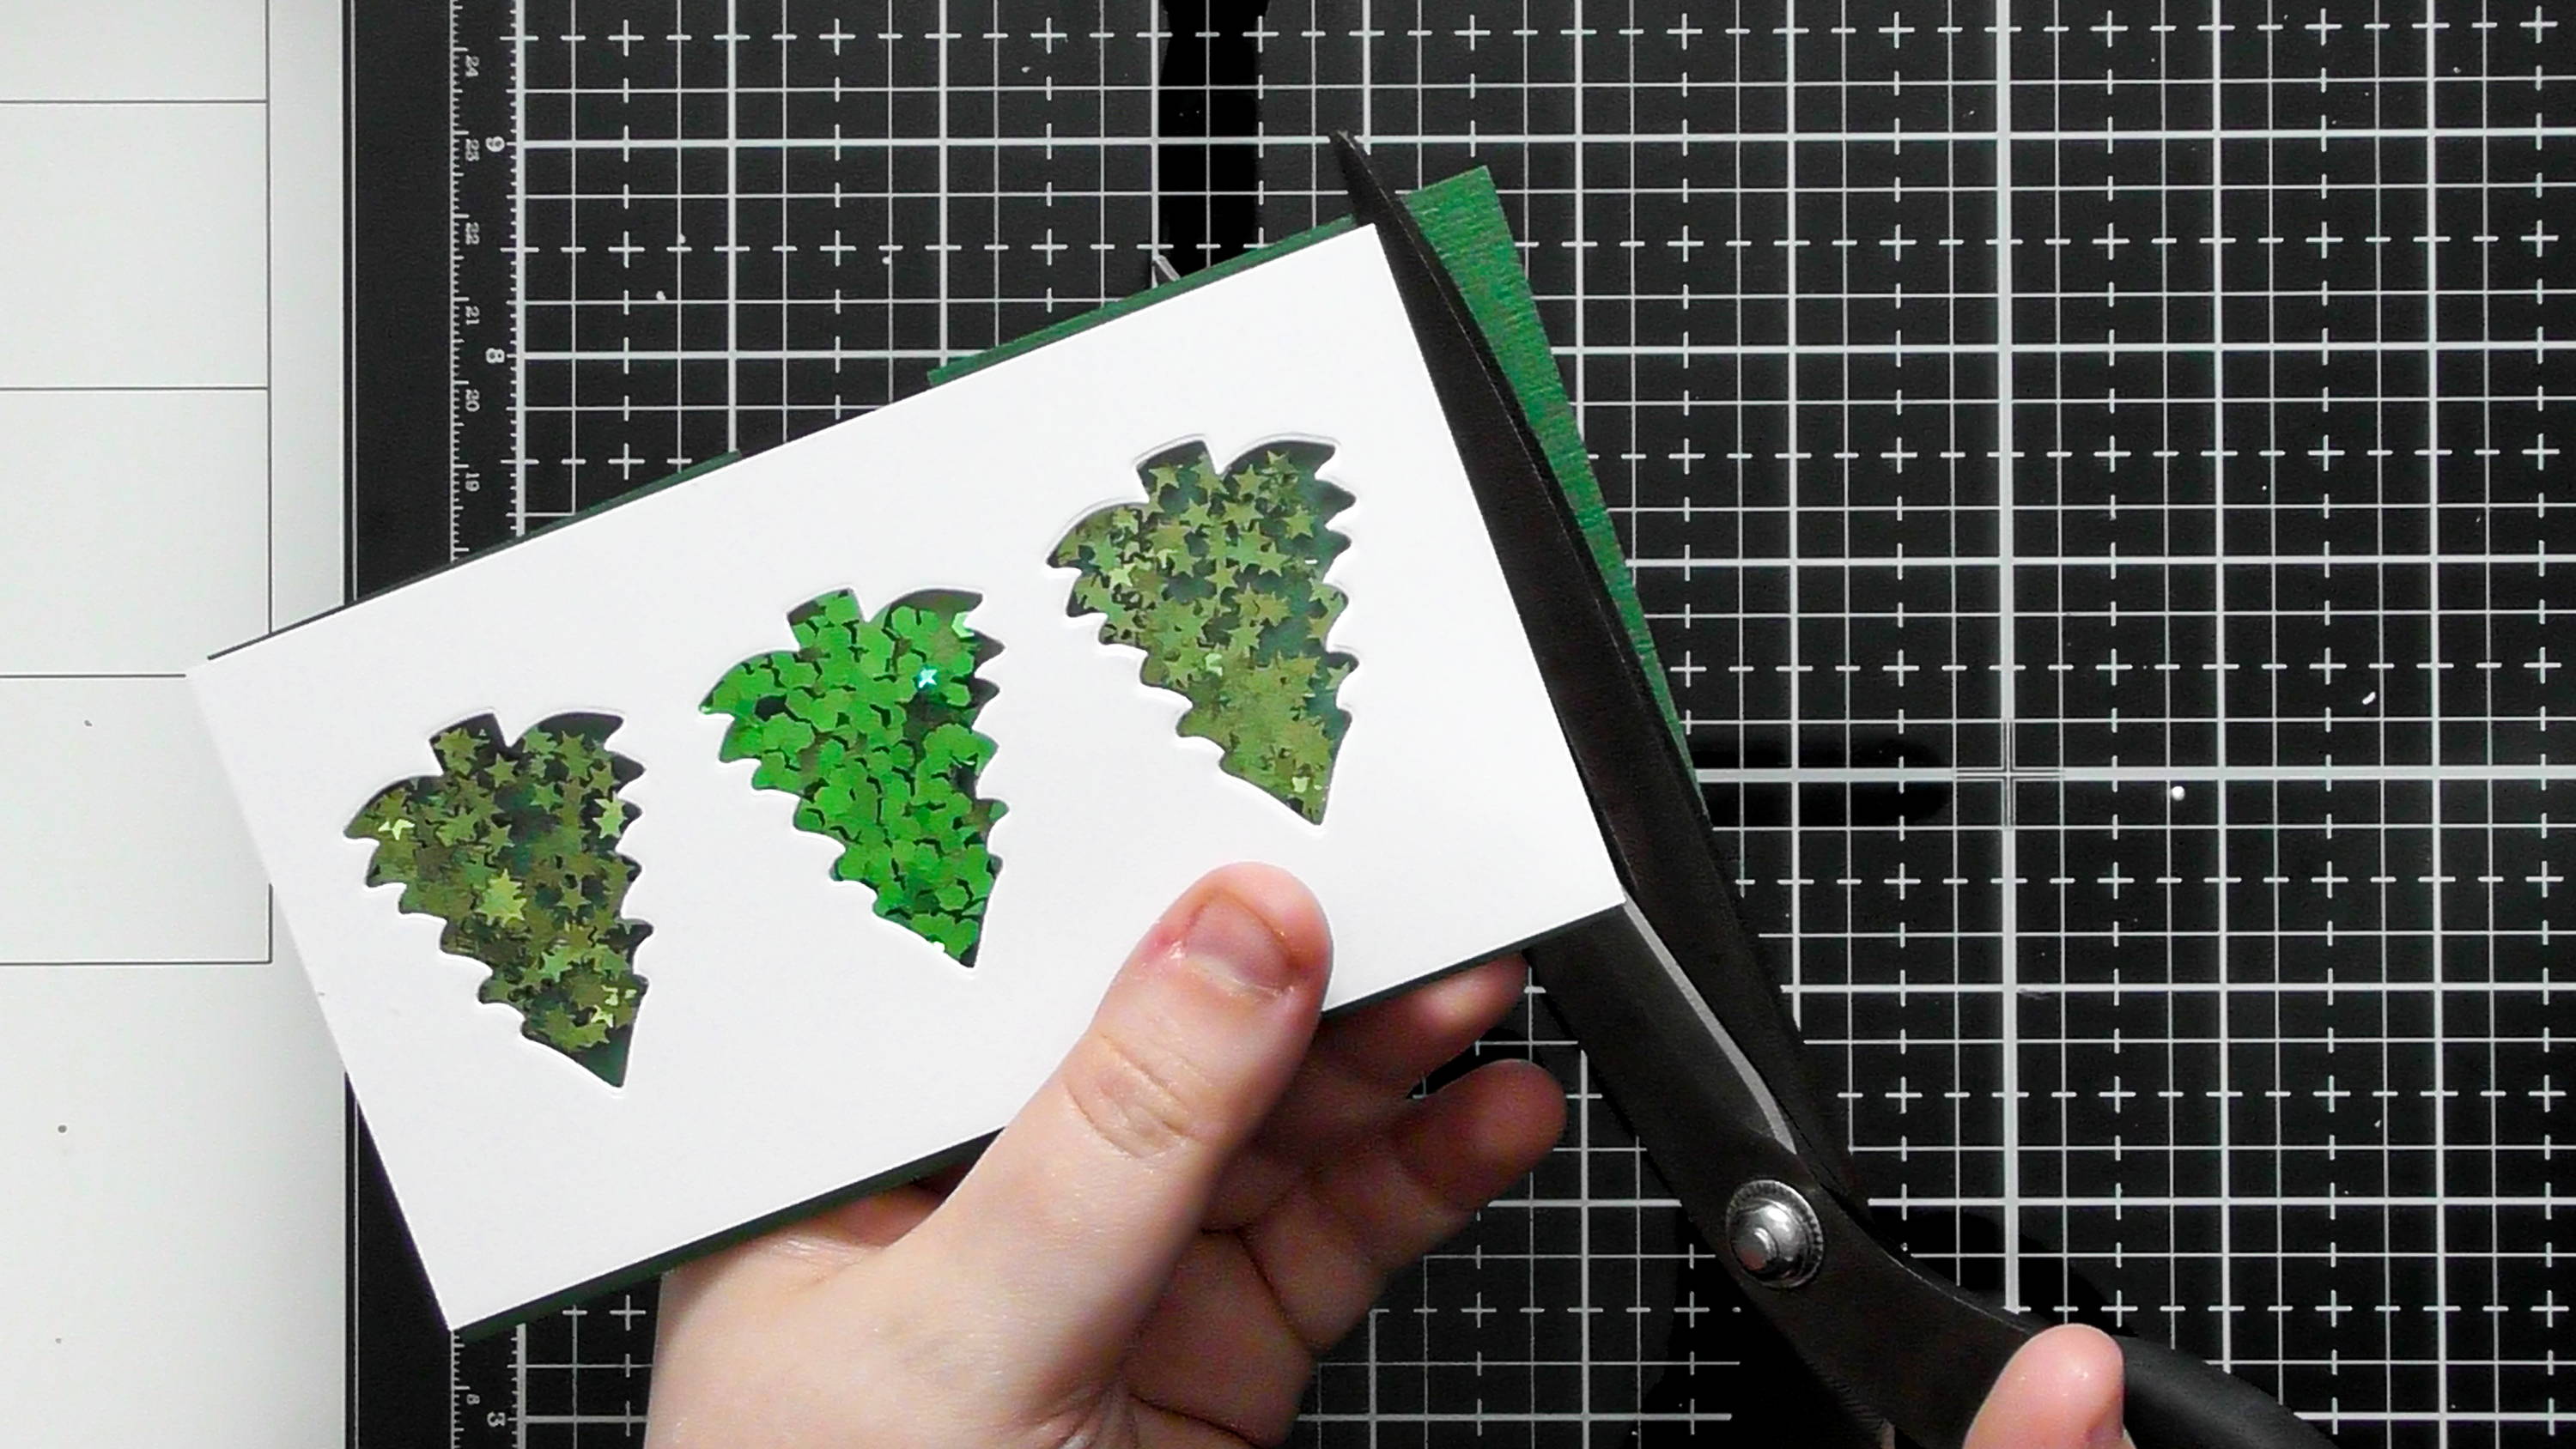
Flip your panel back over and under-cut any of the excess card that you can see around the edges. Make sure not to cut into the foam tape though otherwise you’re confetti might escape.
Step 6
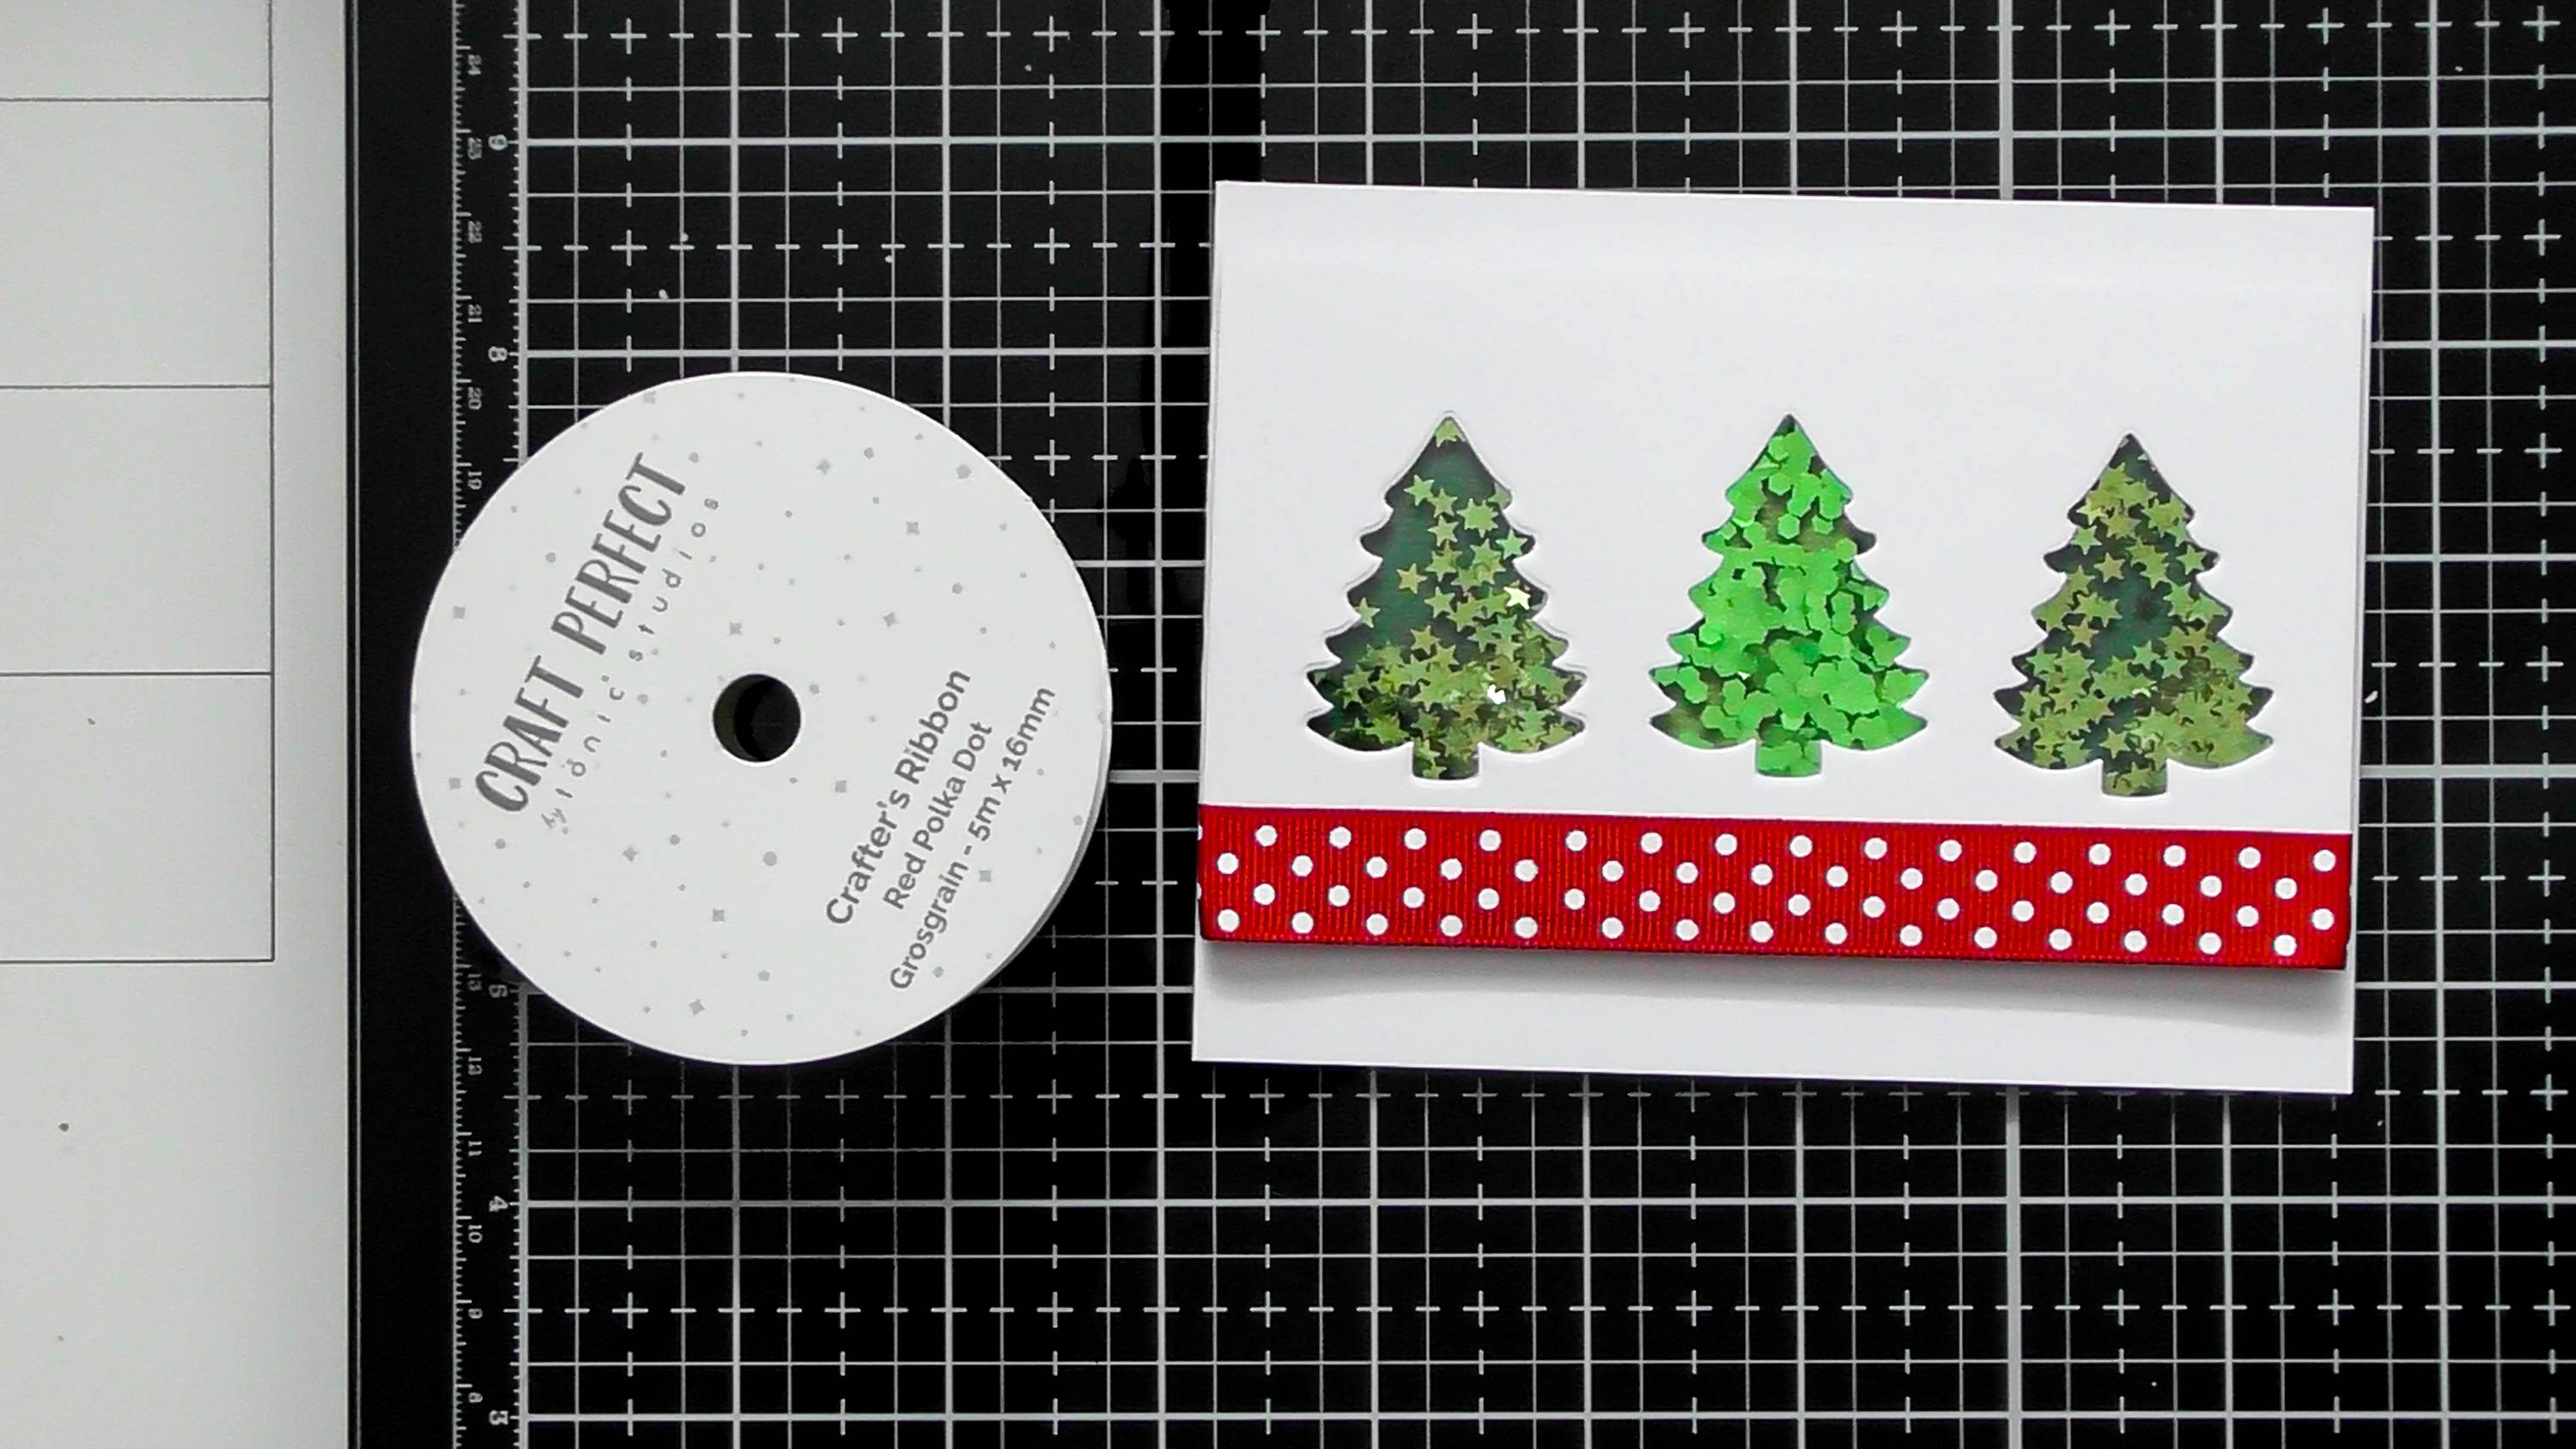
For some extra decoration, take a spool of Tonic’s new red spotty grosgrain ribbon and add it to the bottom edge of your panel.
Step 7
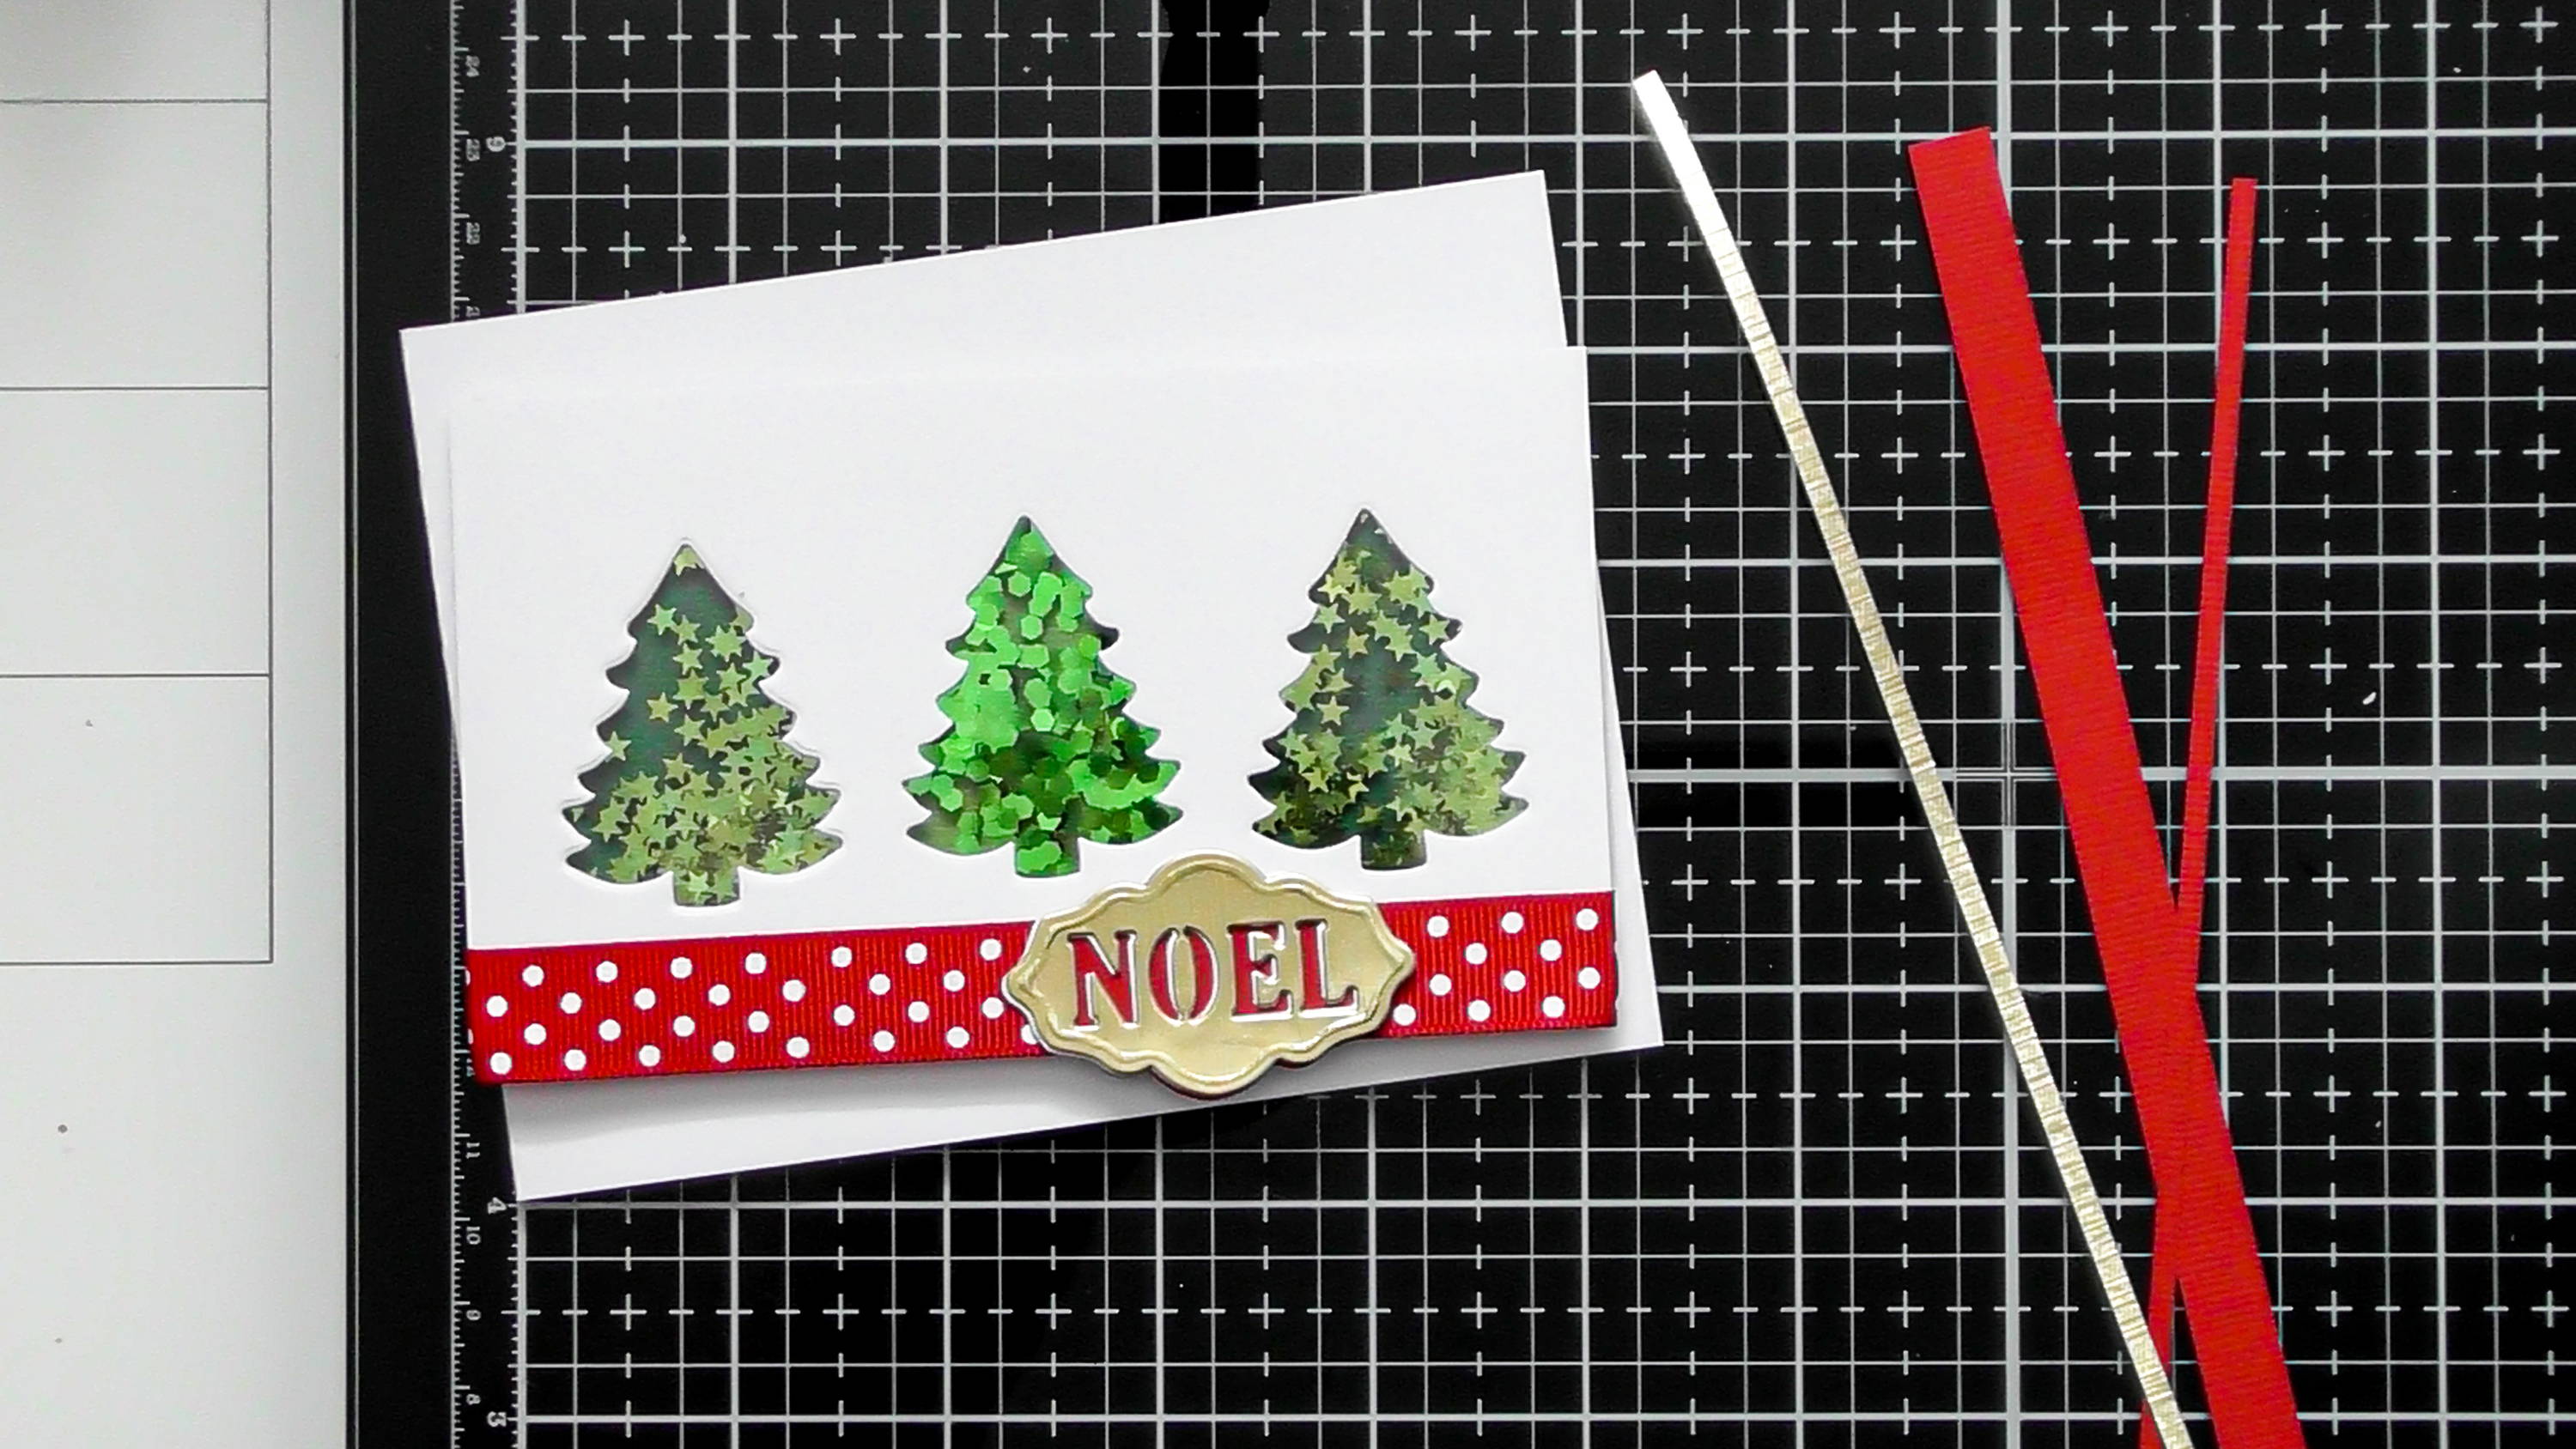
Add your die-cut and layered sentiment to the ribbon, using the white Noel as a slight drop shadow for the gold. Then cut a few strips of extra card, Red, Gold and Green.
Step 8
Adhere your shaker panel to your card blank (13.5 cm a 10.5 cm) then add the extra strips of coloured card where you think they’re needed to balance the card.
I hope you found these photographed steps easy to follow and it’ll help you to easily assemble the Magical Entwine box as well as the Enchanted Favour box as the general concept is the same :D And I hope you also liked seeing an examples of a card made with the decorative panels too, if you’ve watched any of my videos before you’ll know I LOVE to use panels from box die sets to create cards as it gives them such a unique look :D Happy Crafting! Christine aka CRaFTi PoTeNTiAl :D xxx
Buy The Craft Project