 Gem Rewards

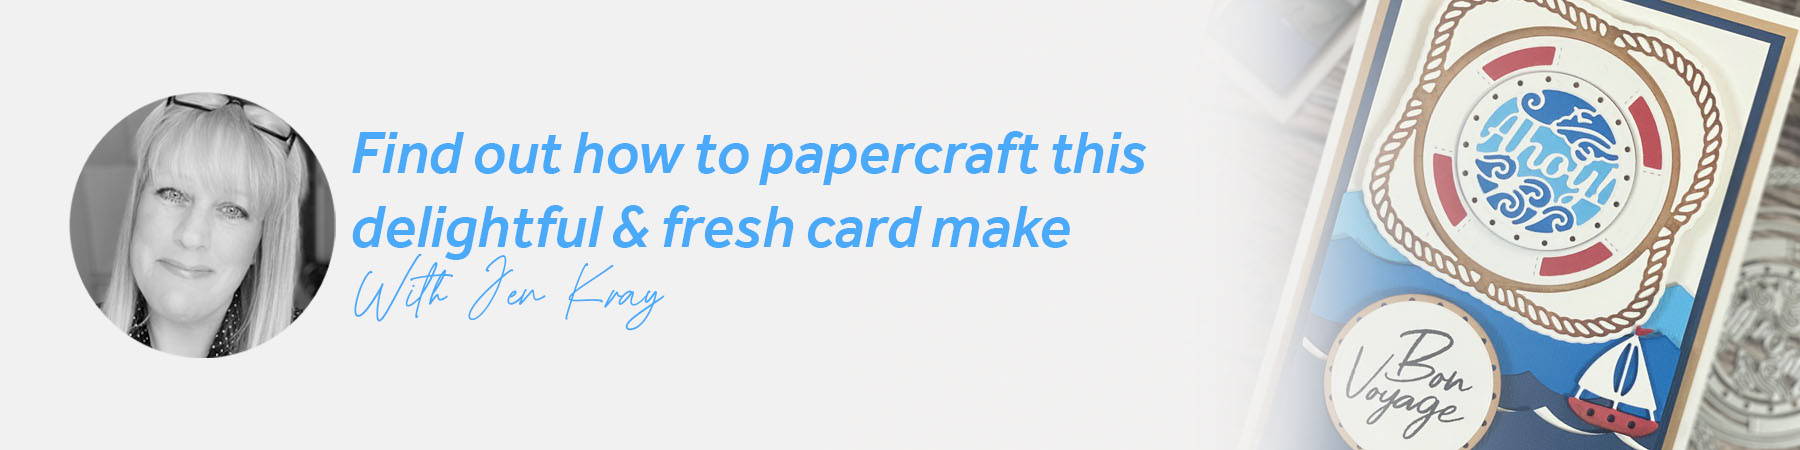
Hi everybody!
Today I’m sharing a super fun tutorial with the brilliant ‘Ahoy Sailor’ Stamp and Die Set! I absolutely love everything about this set, from the wave die, to the gorgeous little sailboat, the clouds, and delightful seaside cliff. This is a perfect set for stampers, scene building, and die craft cutters.
Materials
- Tangerine Die Cutting Machine
- Tim Holtz Stamping Platform
- Craft Perfect 216gsm Card – Chilli Red, Cornflower Blue, French Blue, Navy Blue.
- Buff or Kraft Card, Smooth White Card
- Nuvo Black Hybrid Ink
- Nuvo Alcohol Markers, 379, 381
- Nuvo Deluxe Adhesive
- Craft Perfect Foam Pads
- Tim Holtz Trimmer
- Craft Perfect A2 Card Blank
Step 1
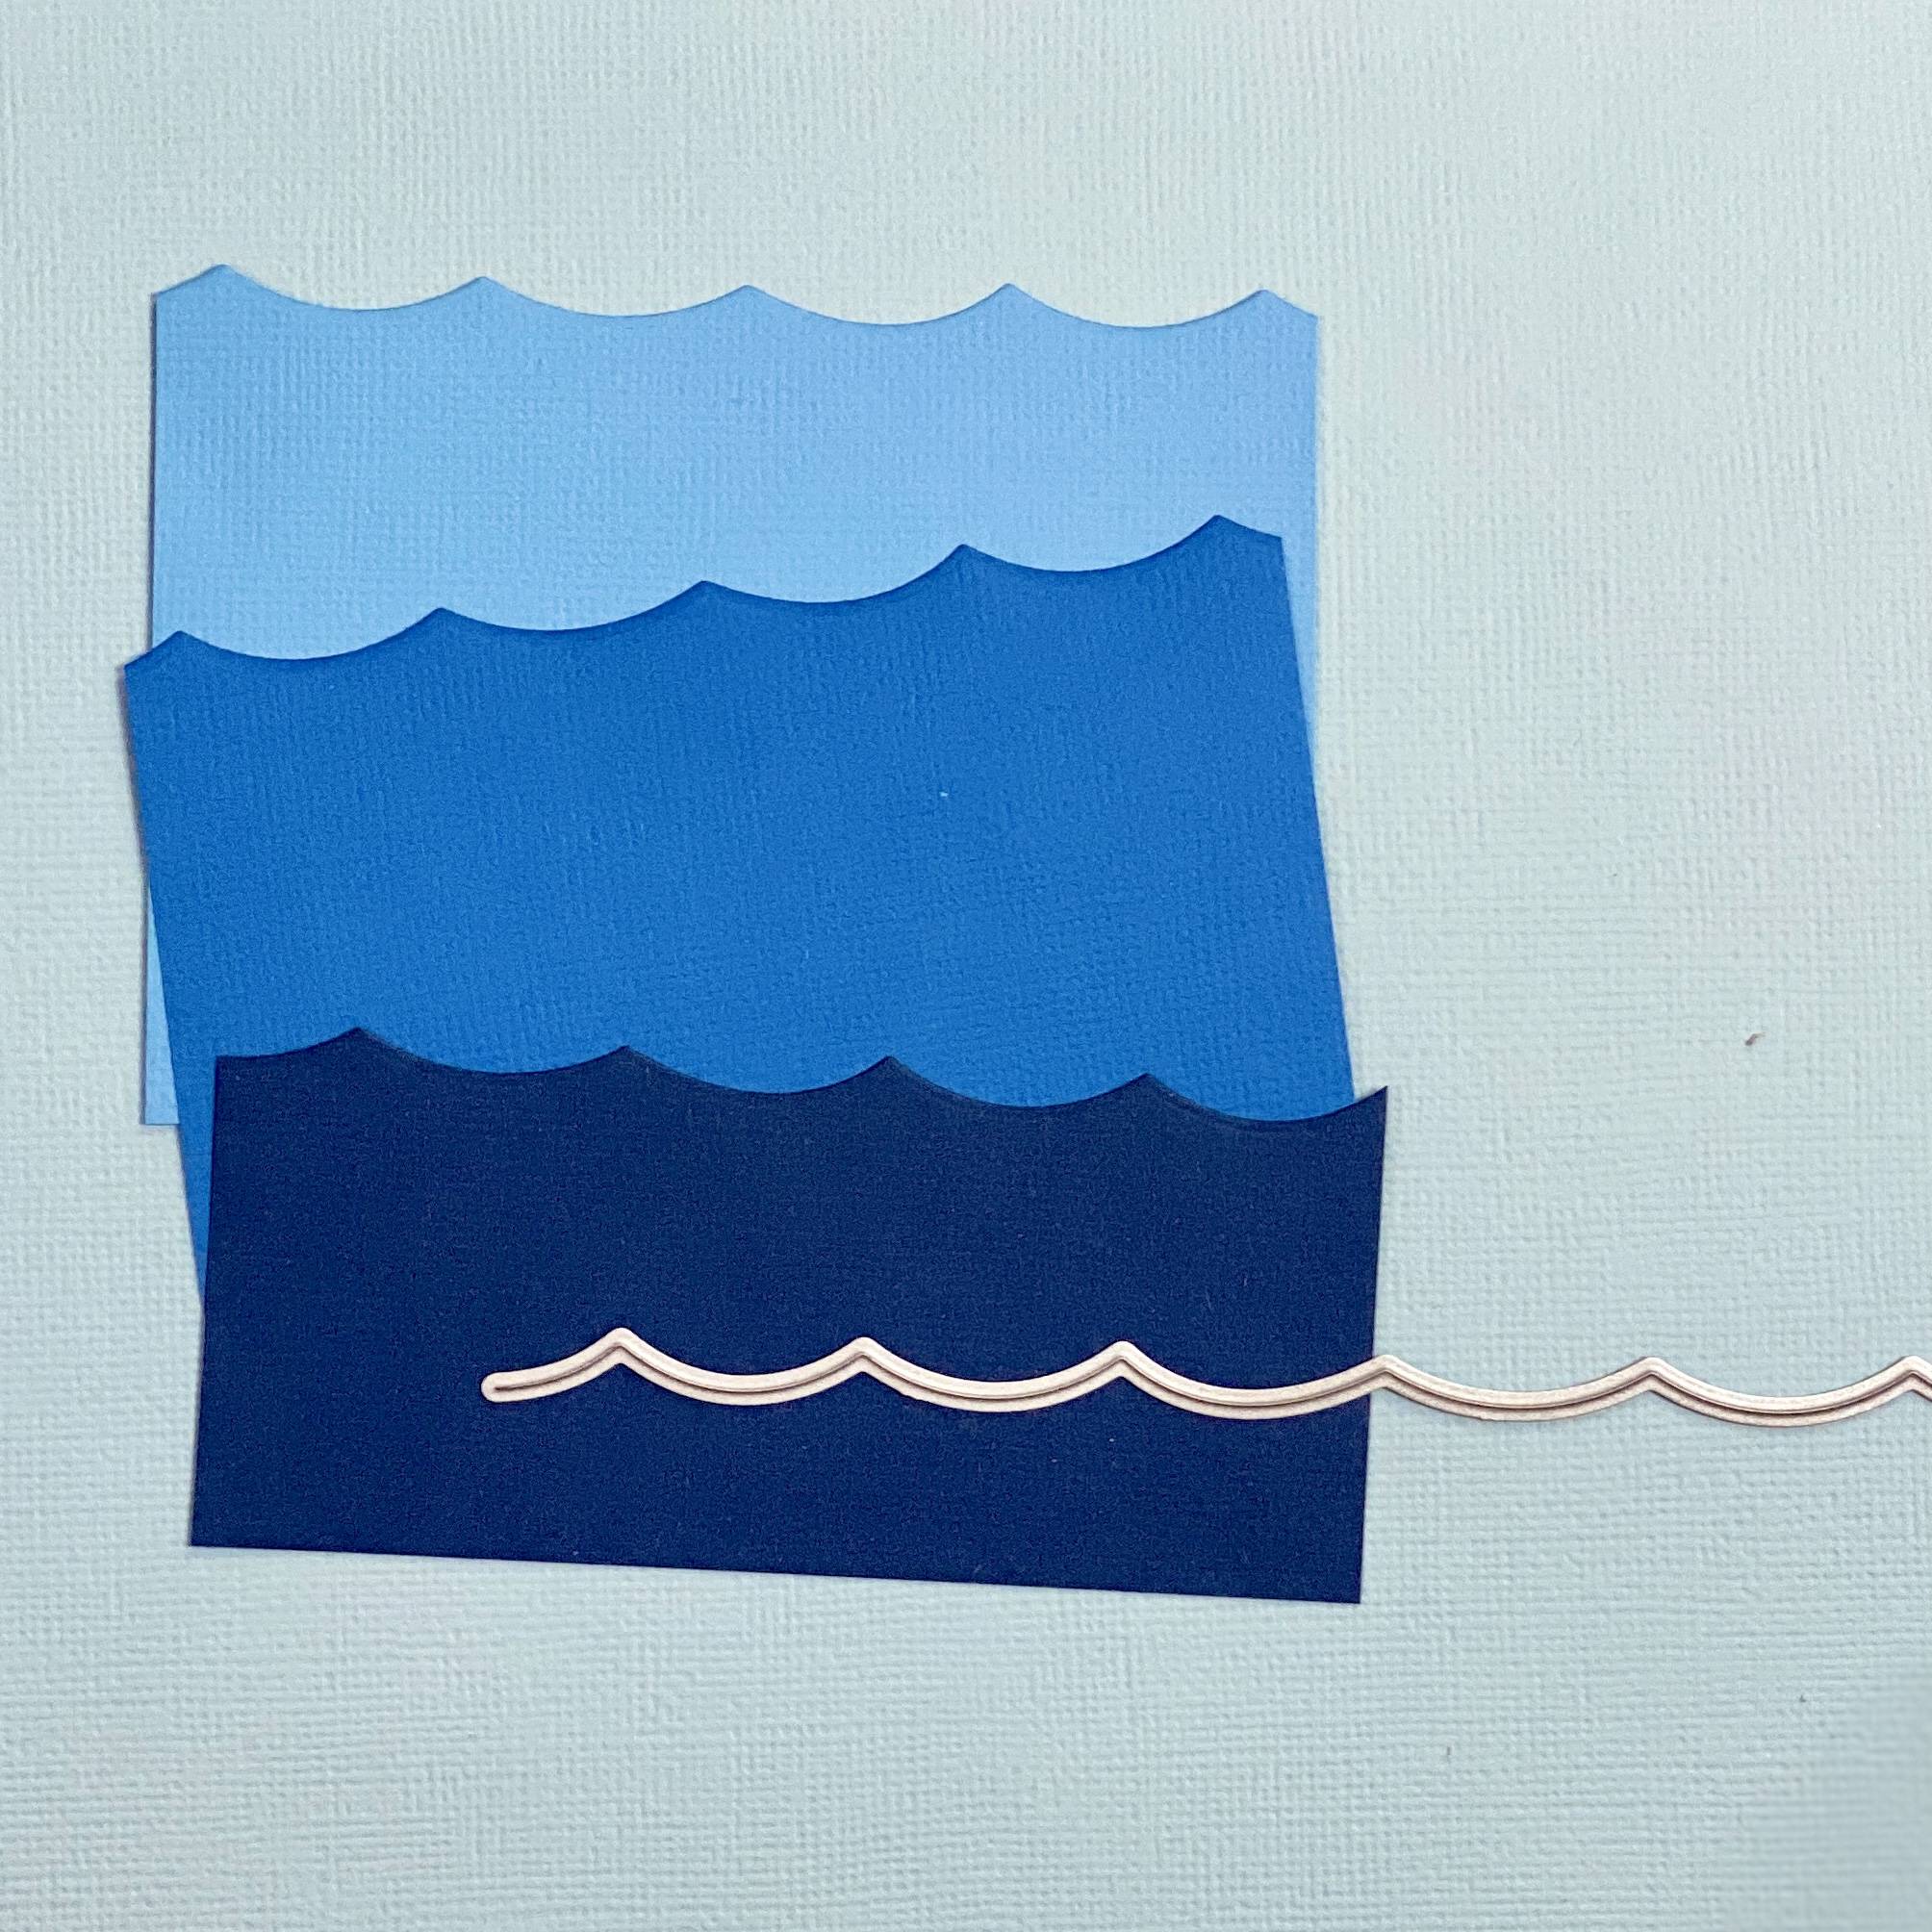
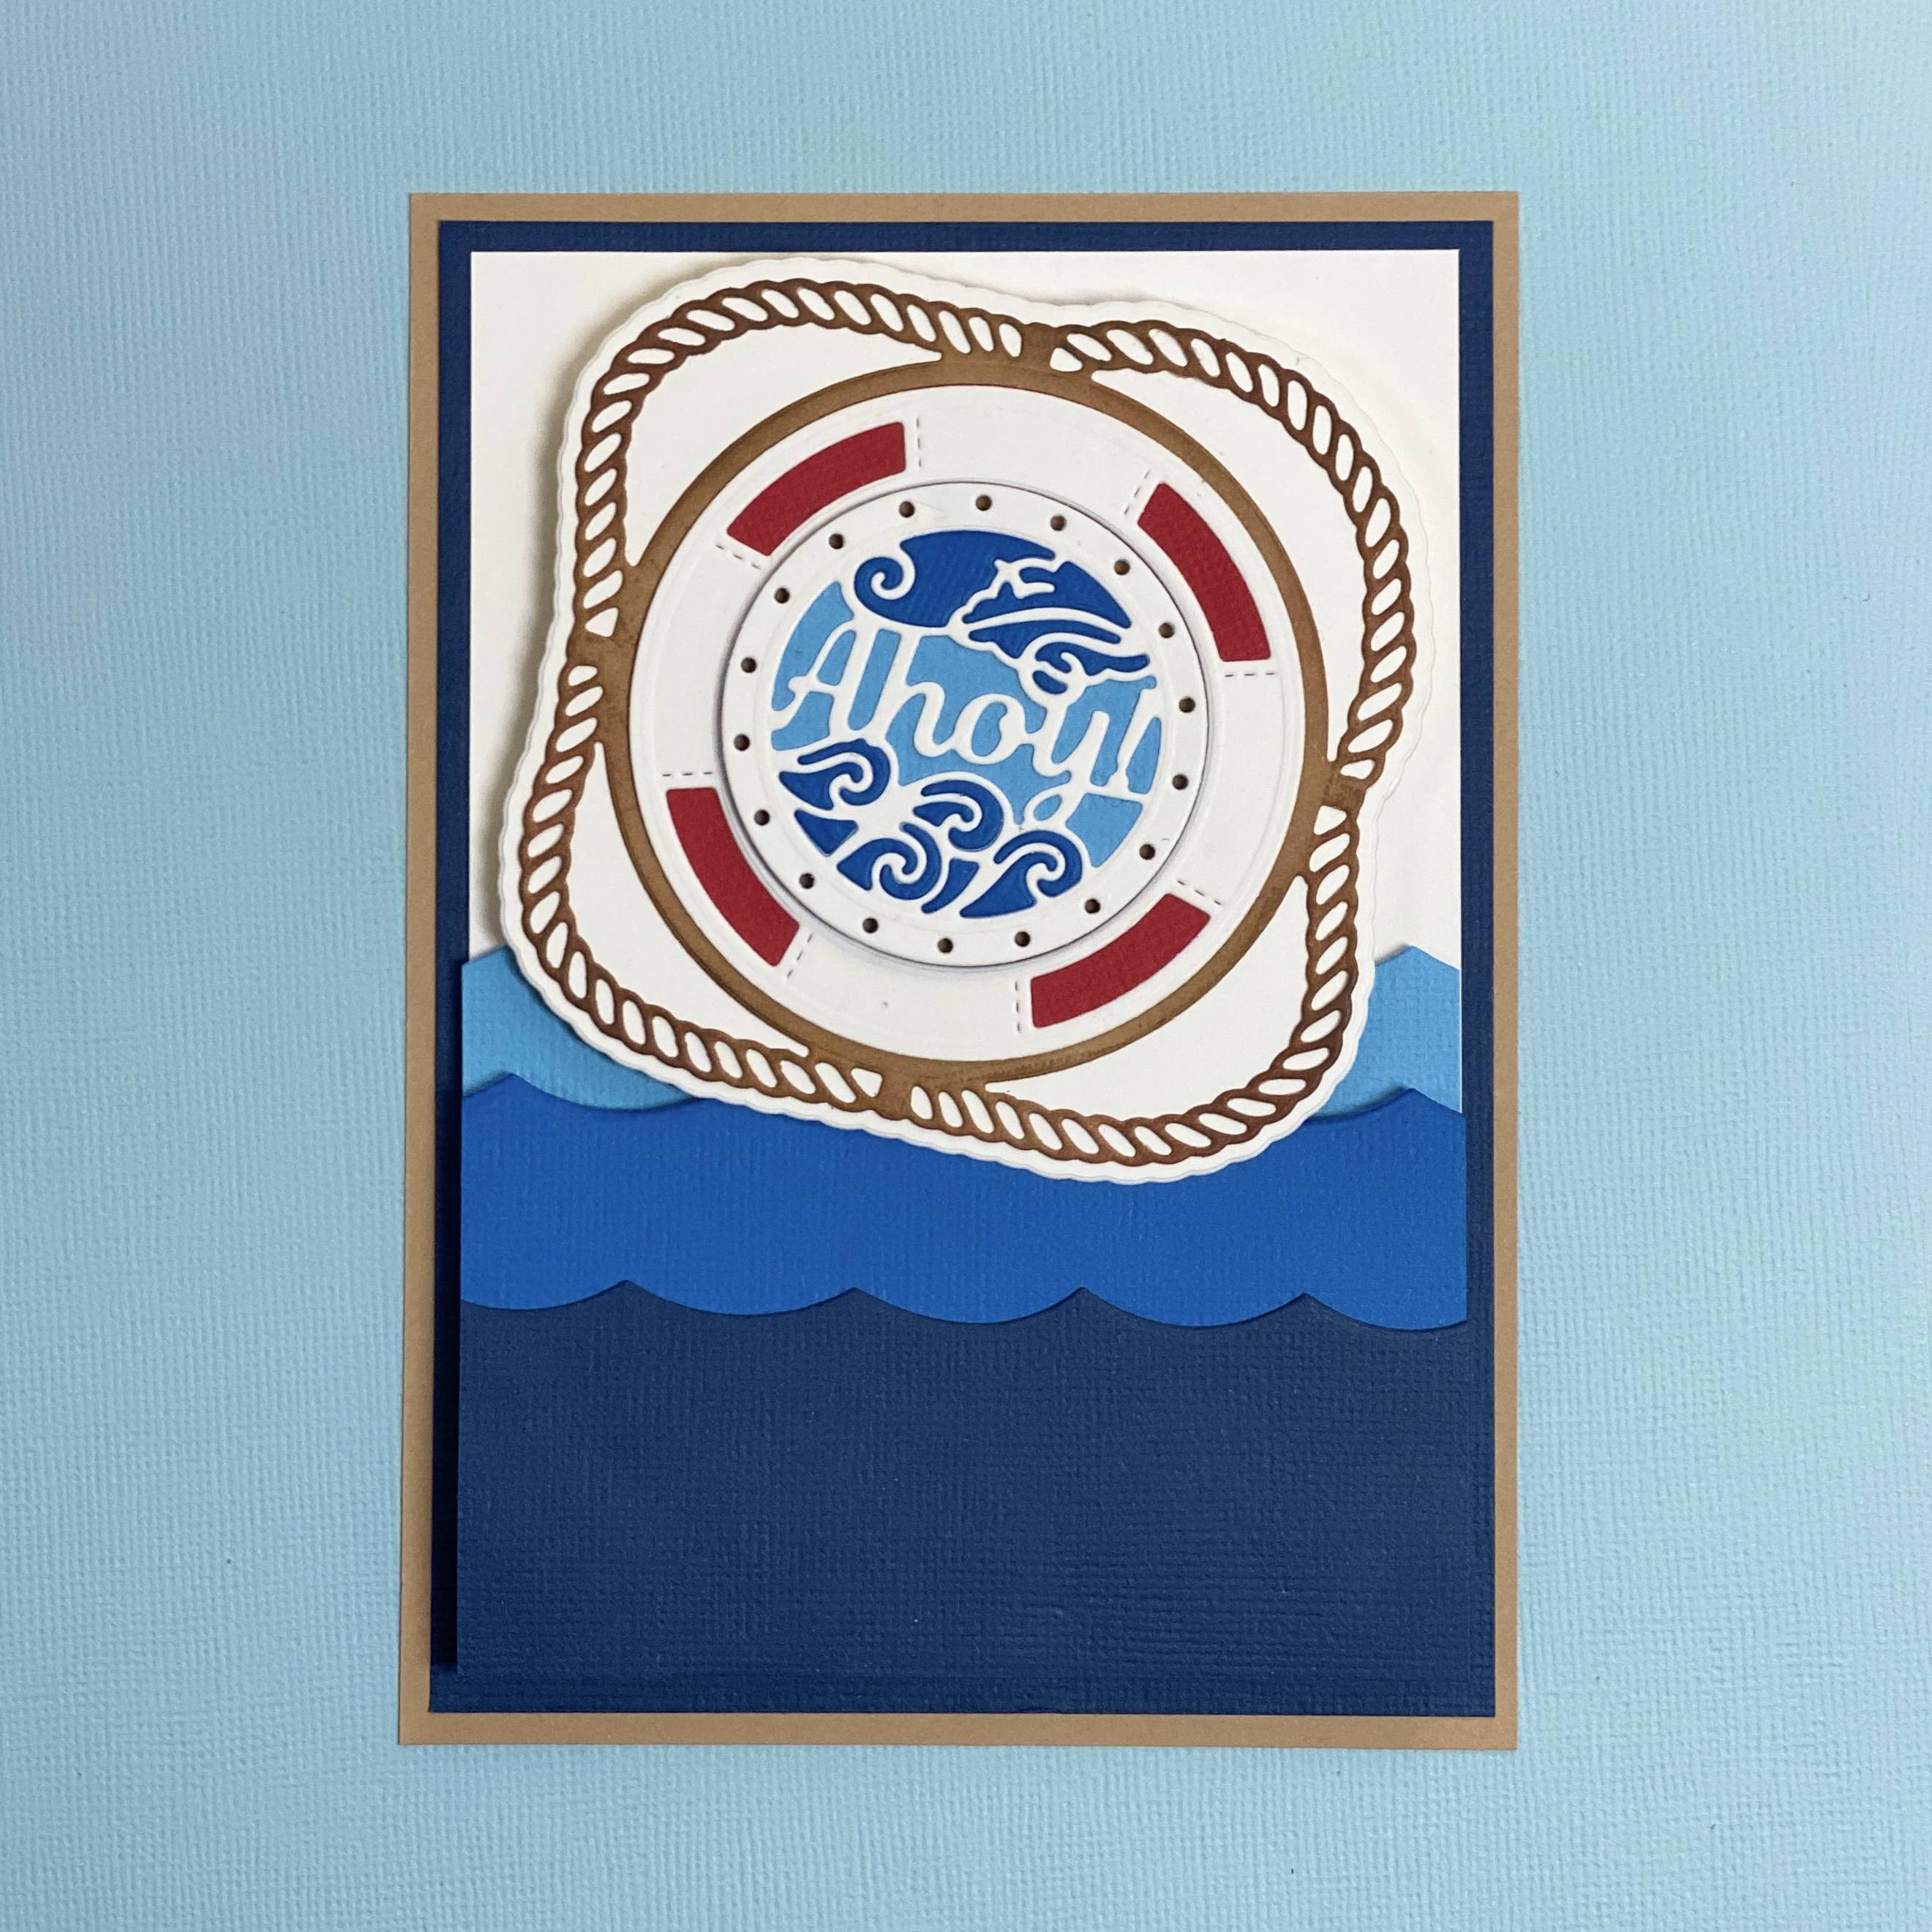
Cut Cornflower Blue, French Blue, Navy Craft Perfect card approx. 4 inches wide, using the wave generator die.
Step 2
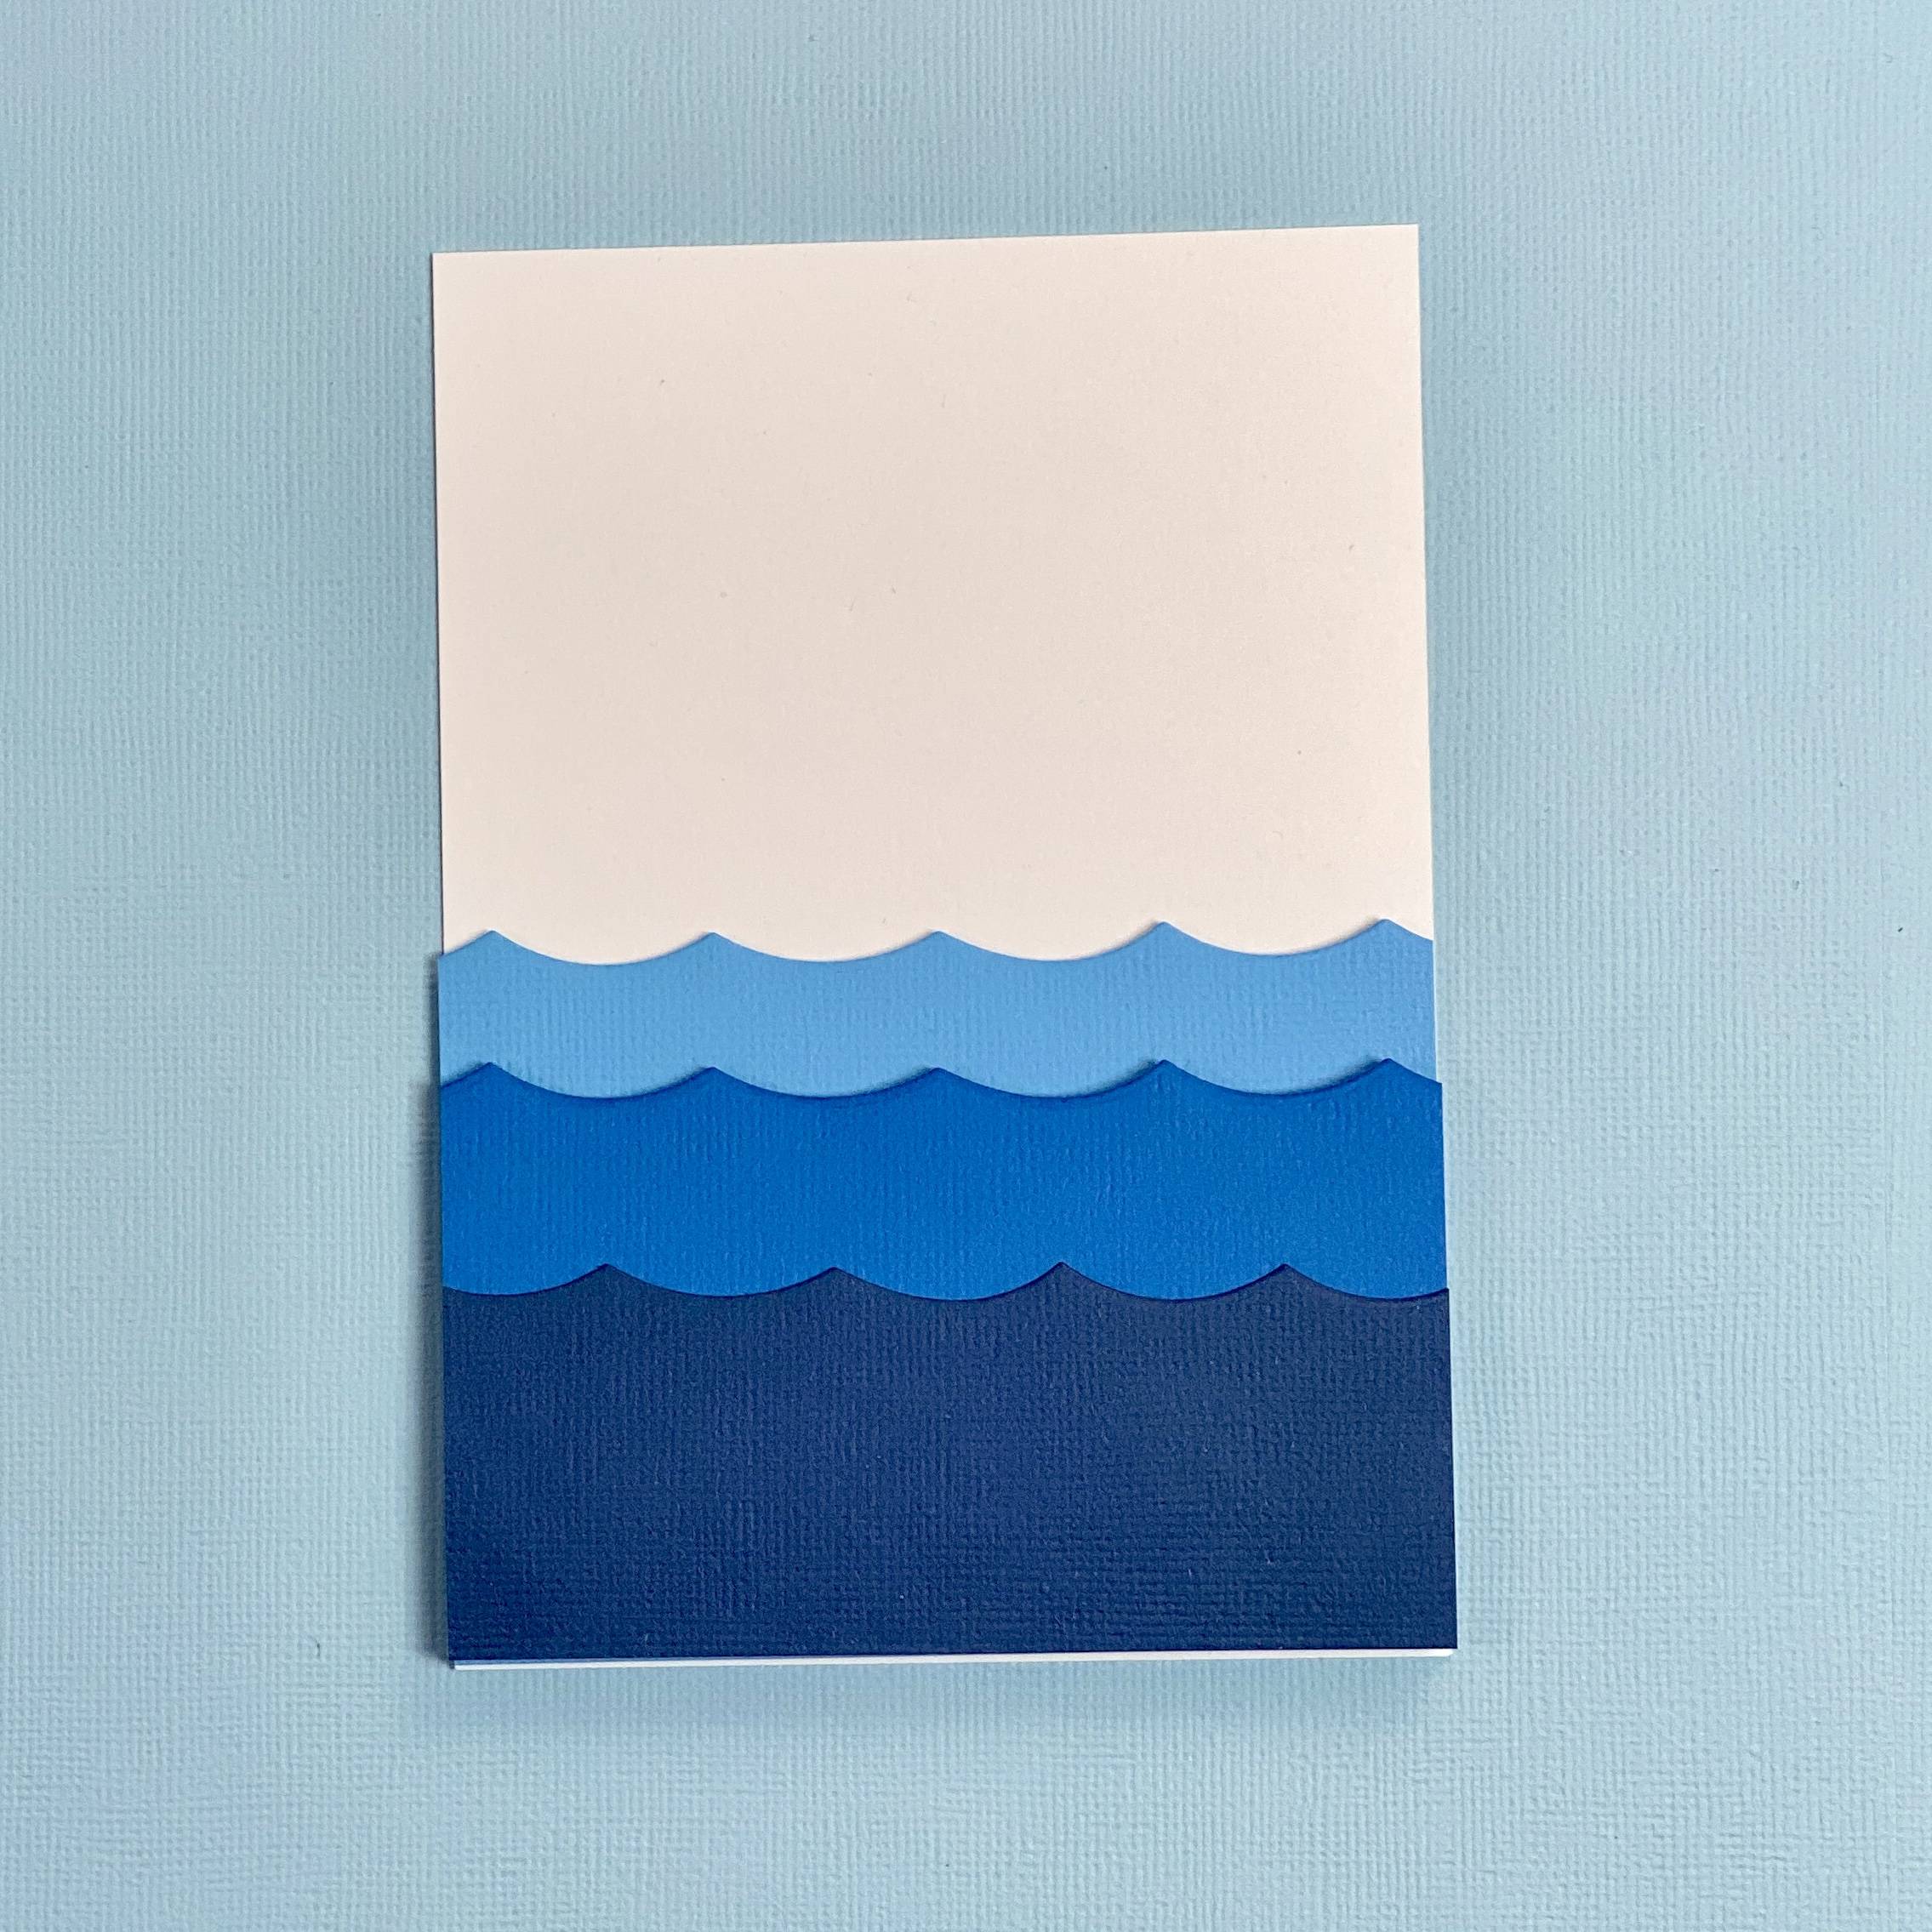
Cut panel from smooth white card, 3.5 inches by 4.75 inches, and stagger the ombre waves as shown. Trim to size, attach with foam pads and set aside.
Step 3

Die cut the pieces shown, in Chilli Red and White.
Step 4
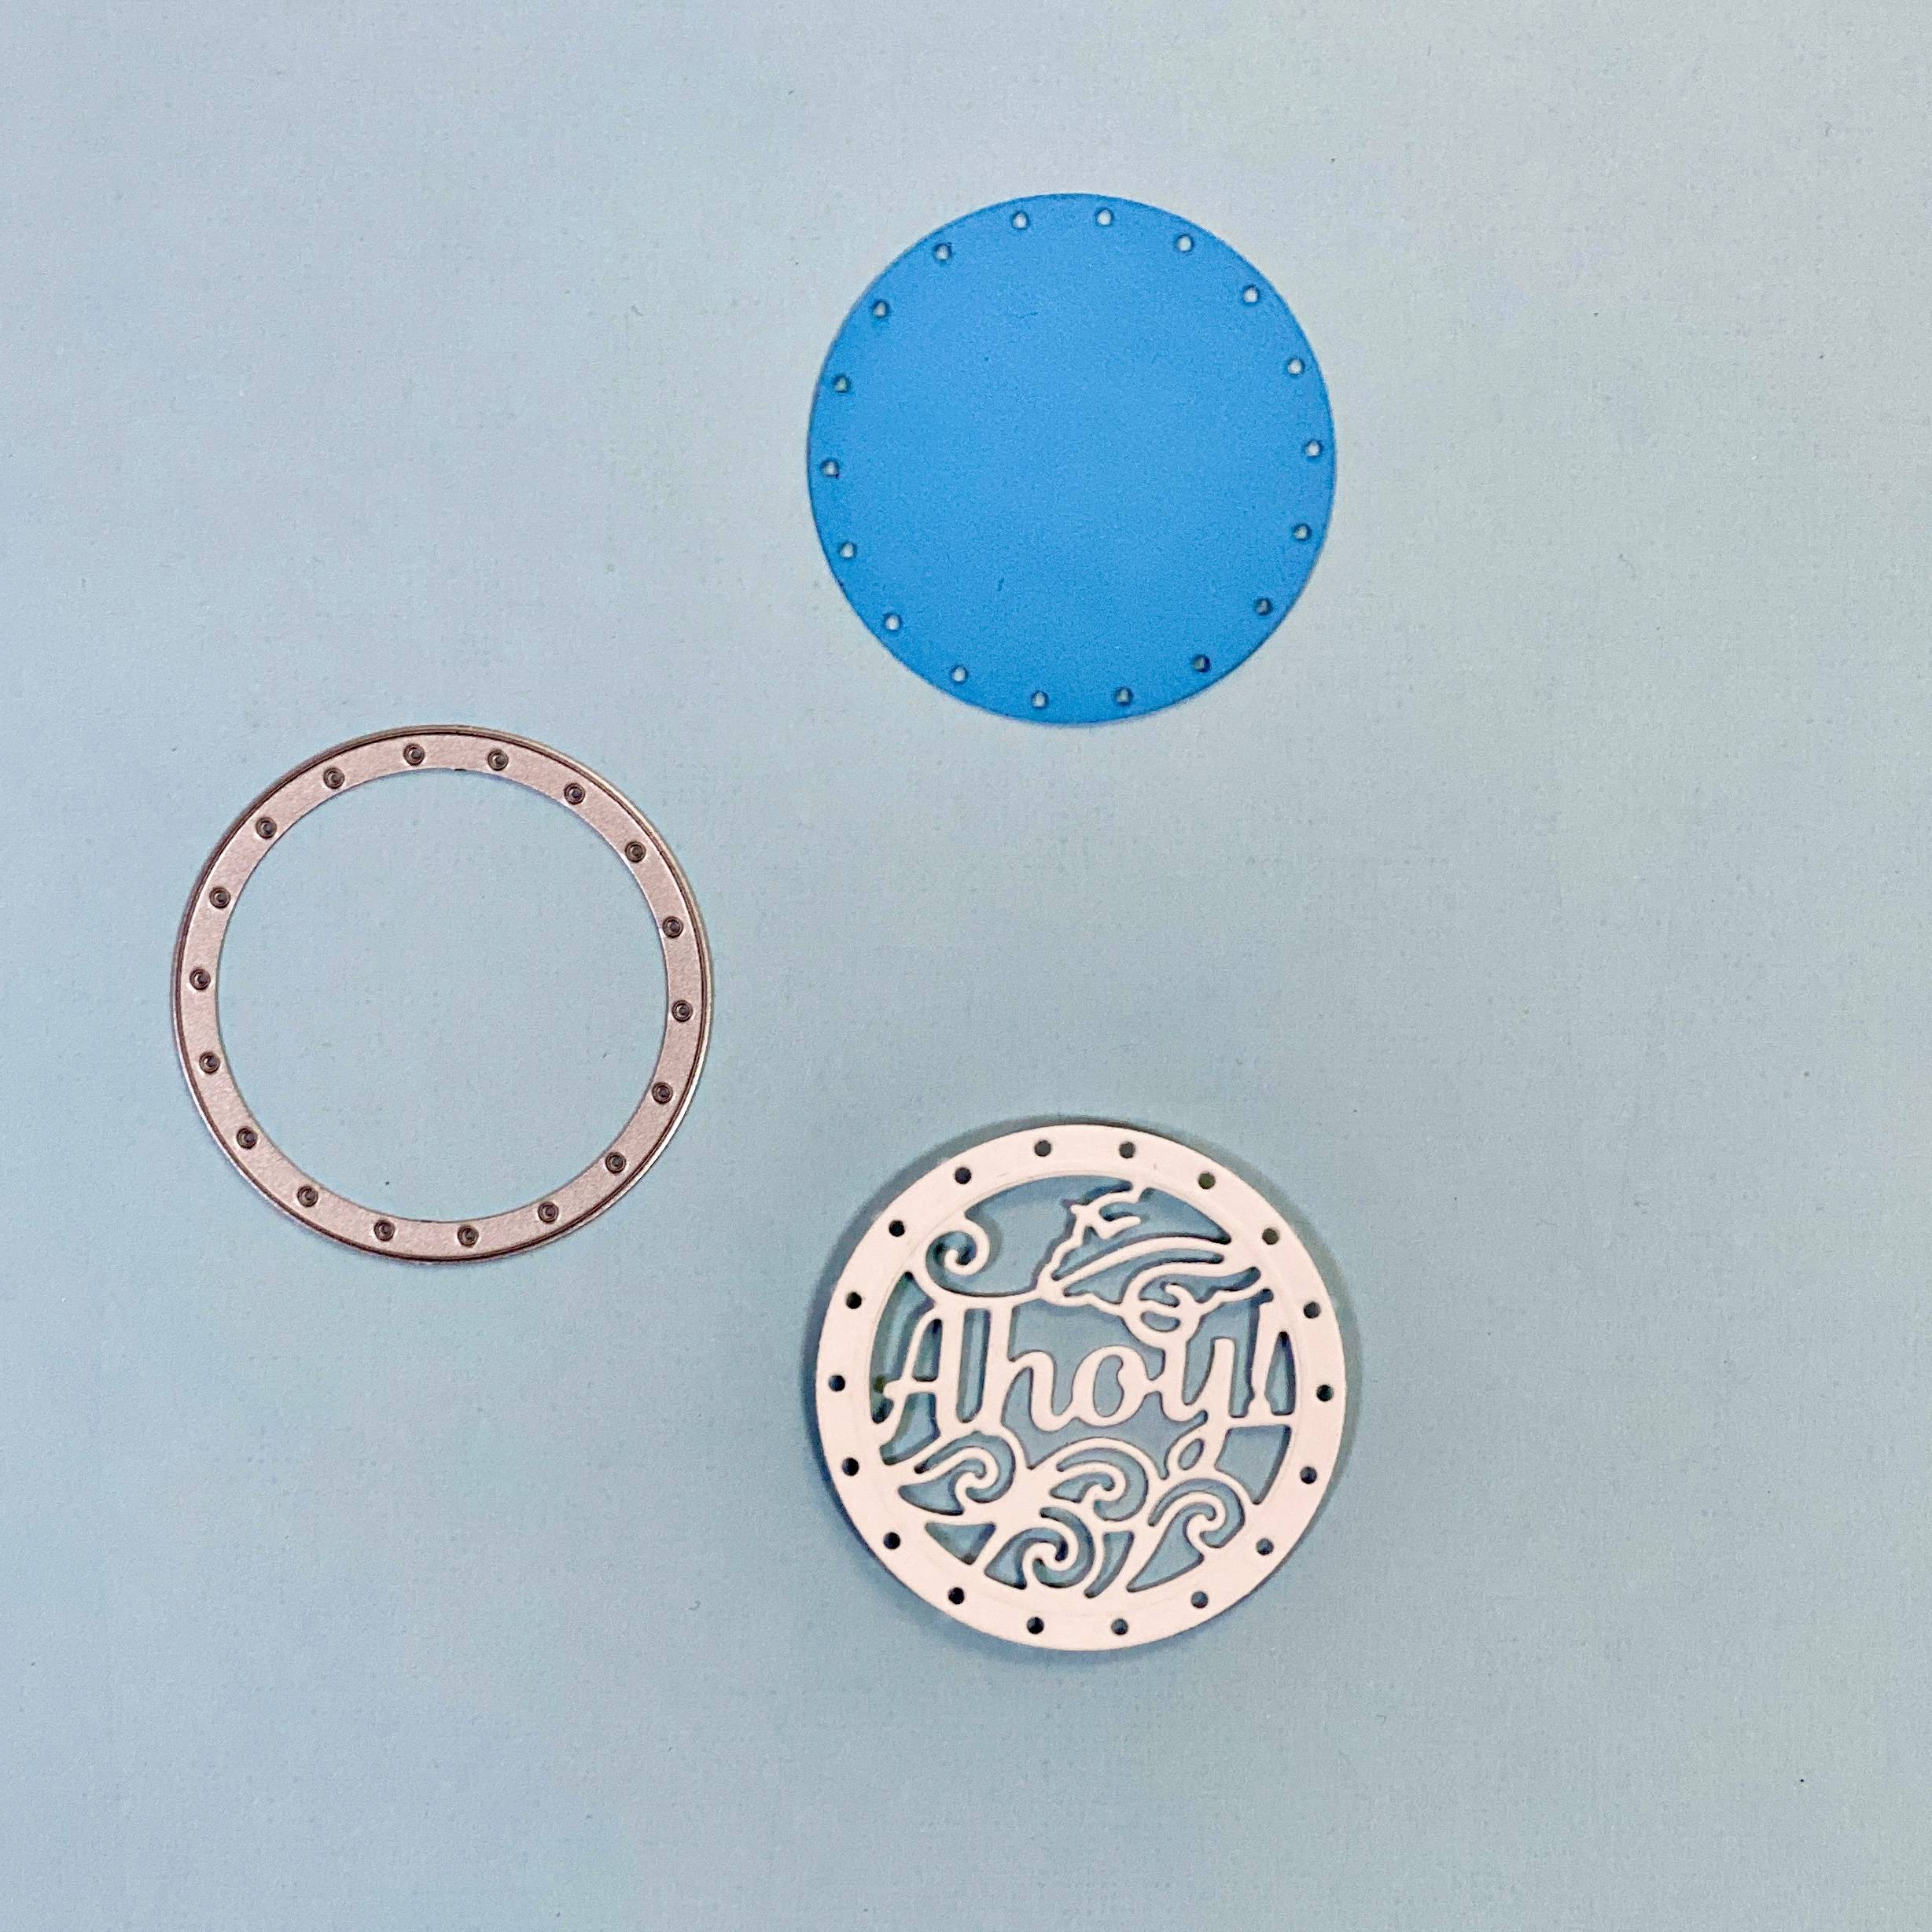
Next, die cut the smaller circle sentiment in white with the backing plate in Cornflower Blue.
Step 5
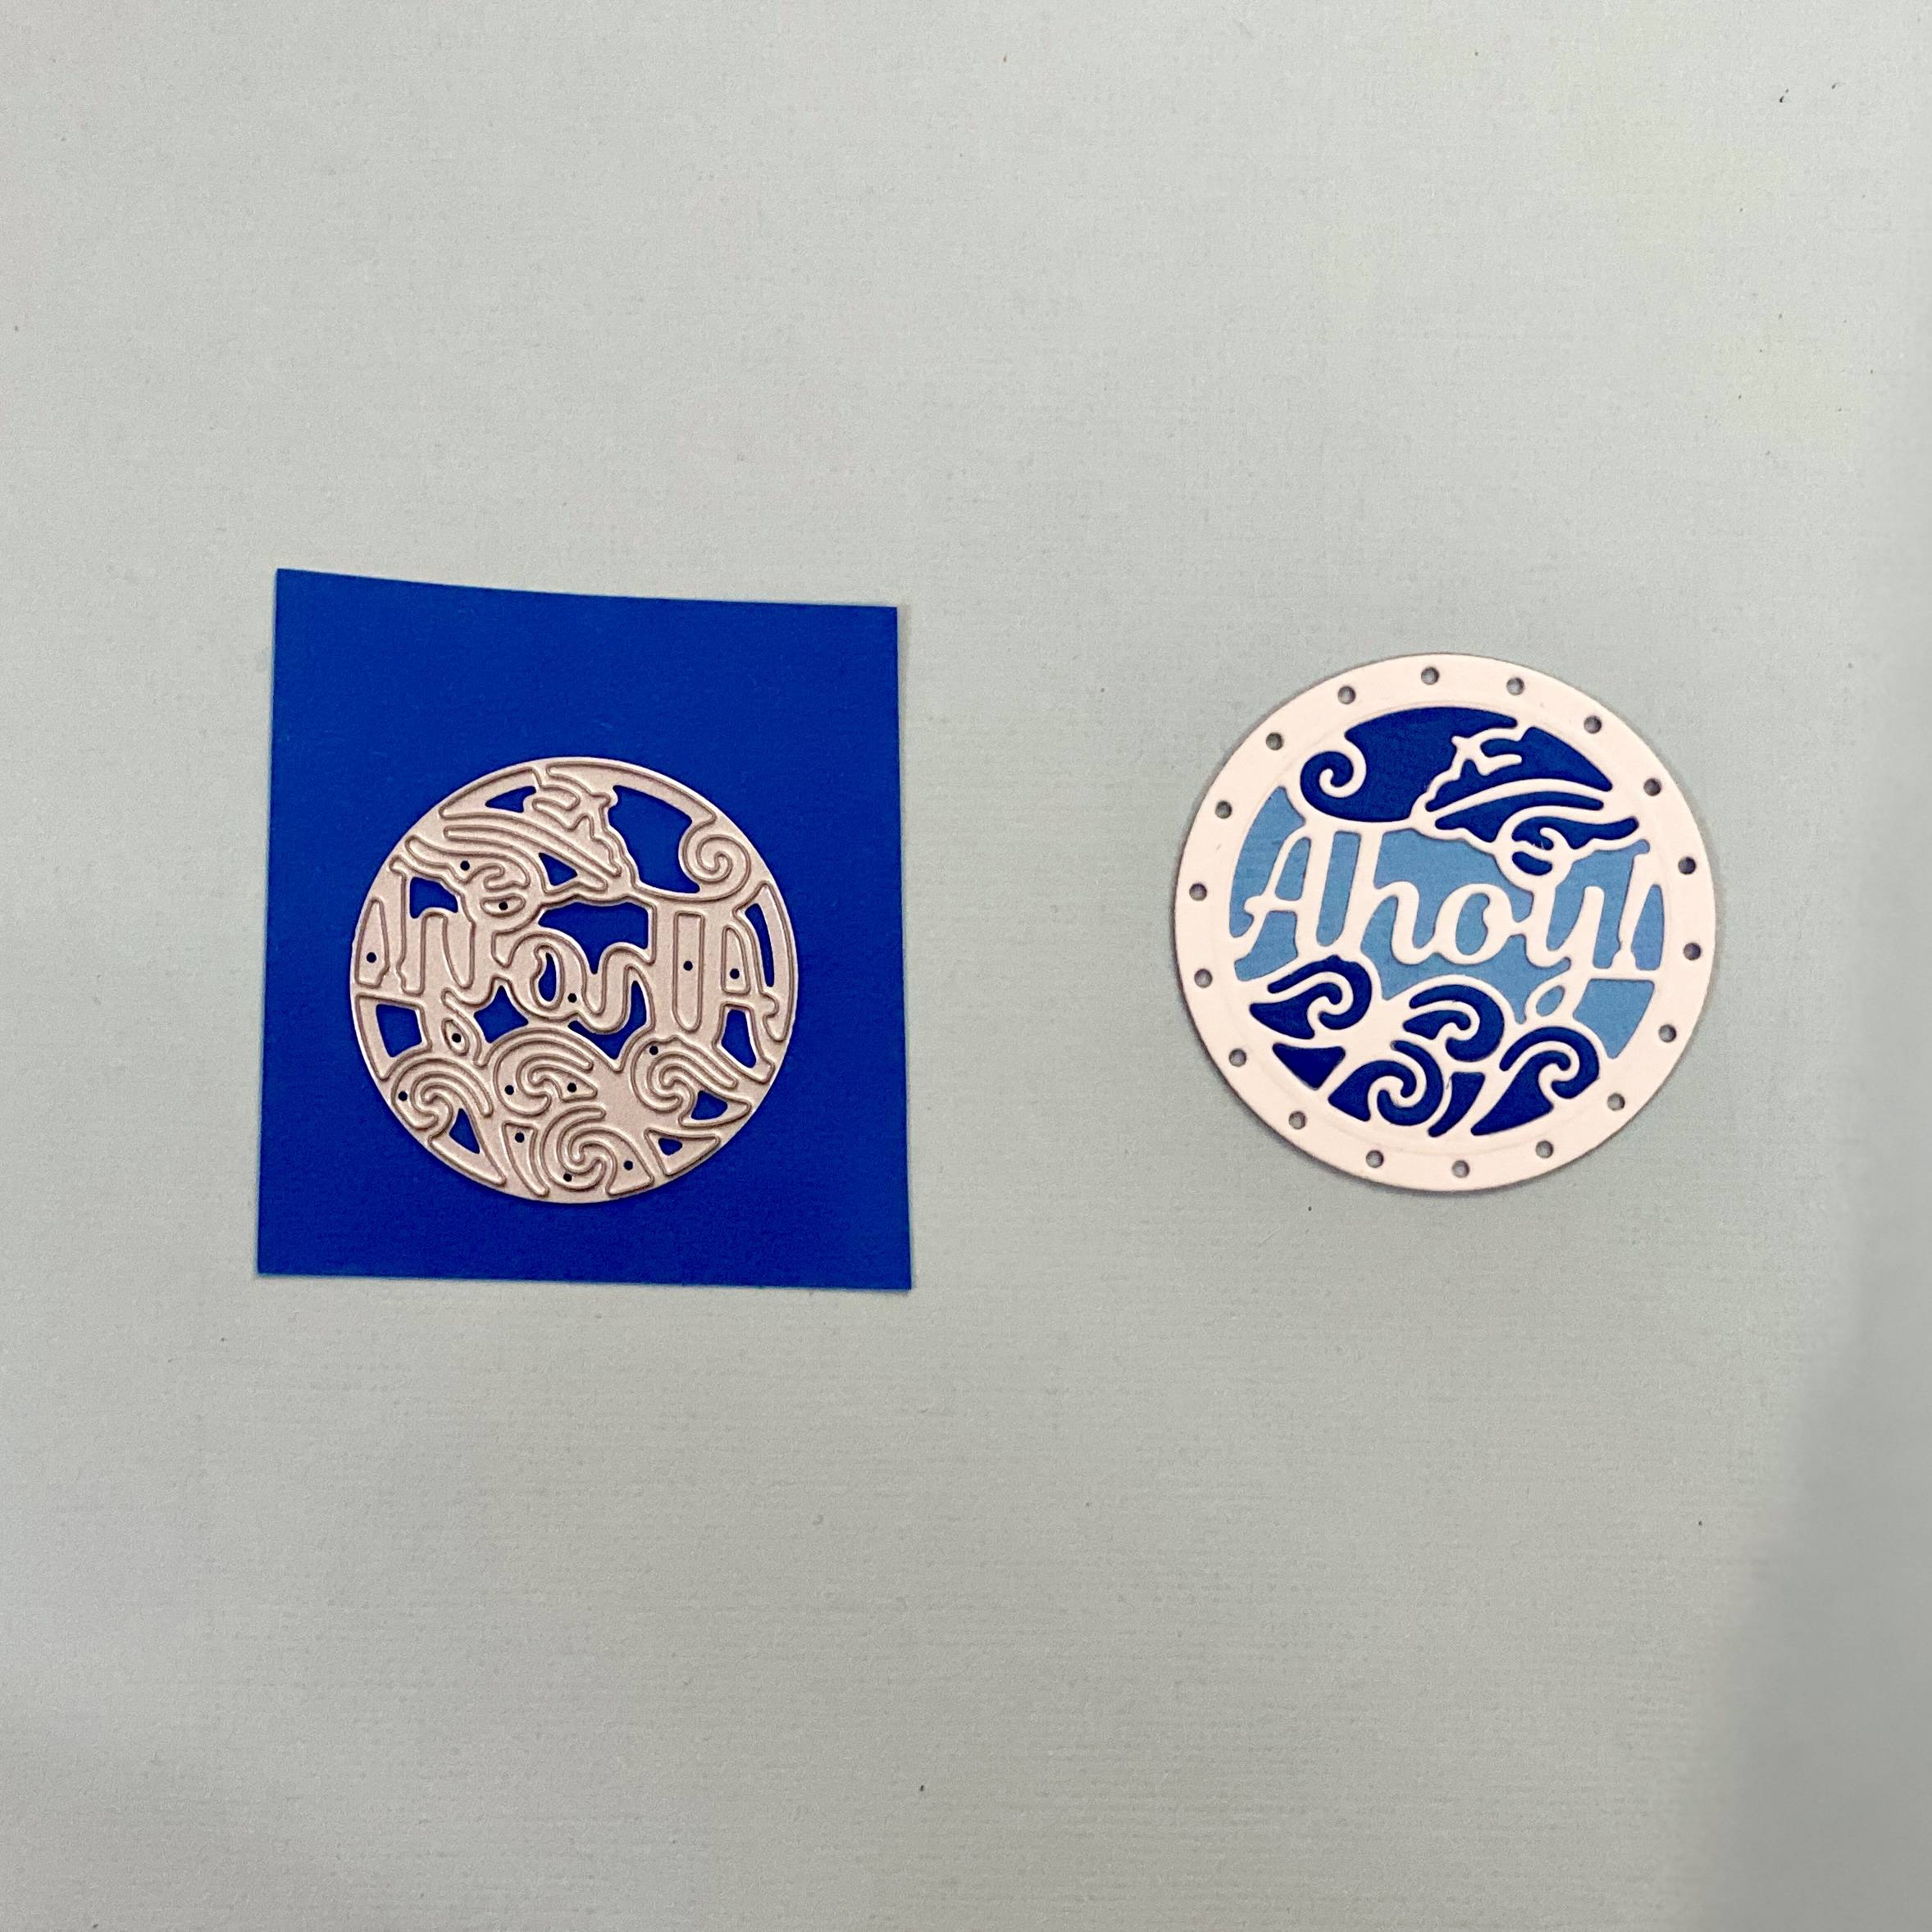
Paper piece the waves in the circle sentiment, French Blue.
Step 6
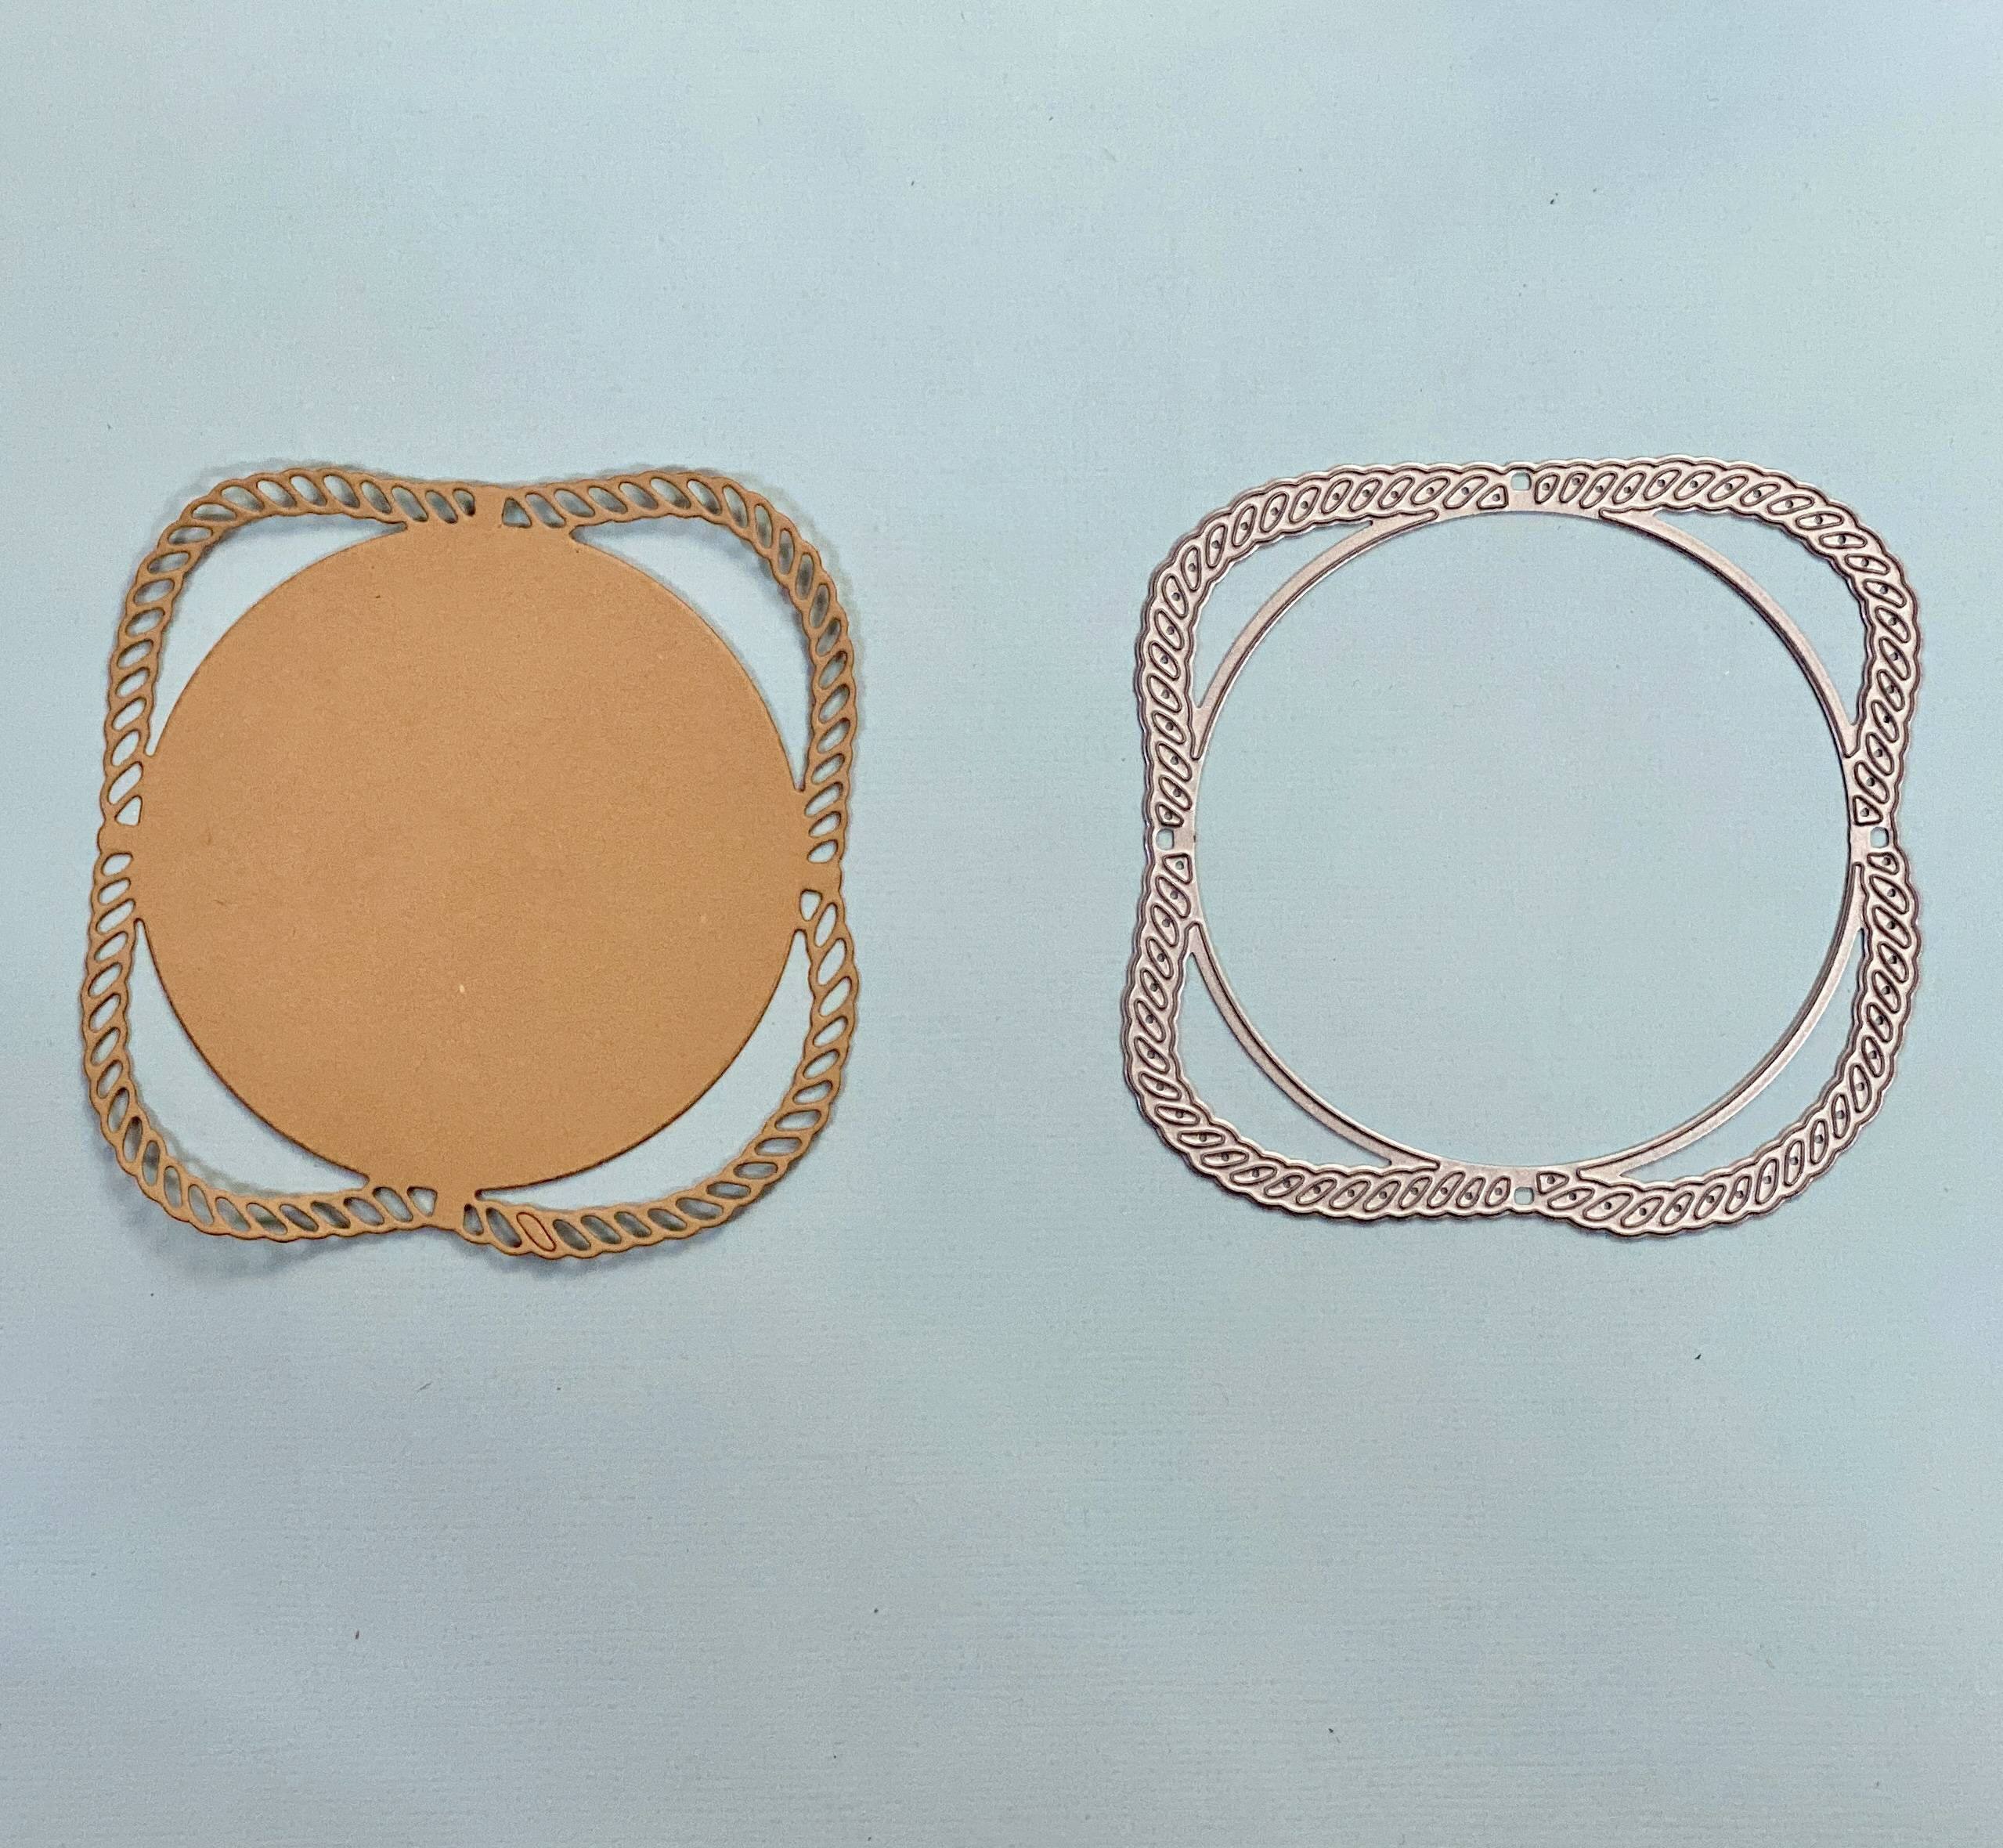
Die cut the large Rope die in Kraft or Buff card.
Step 7
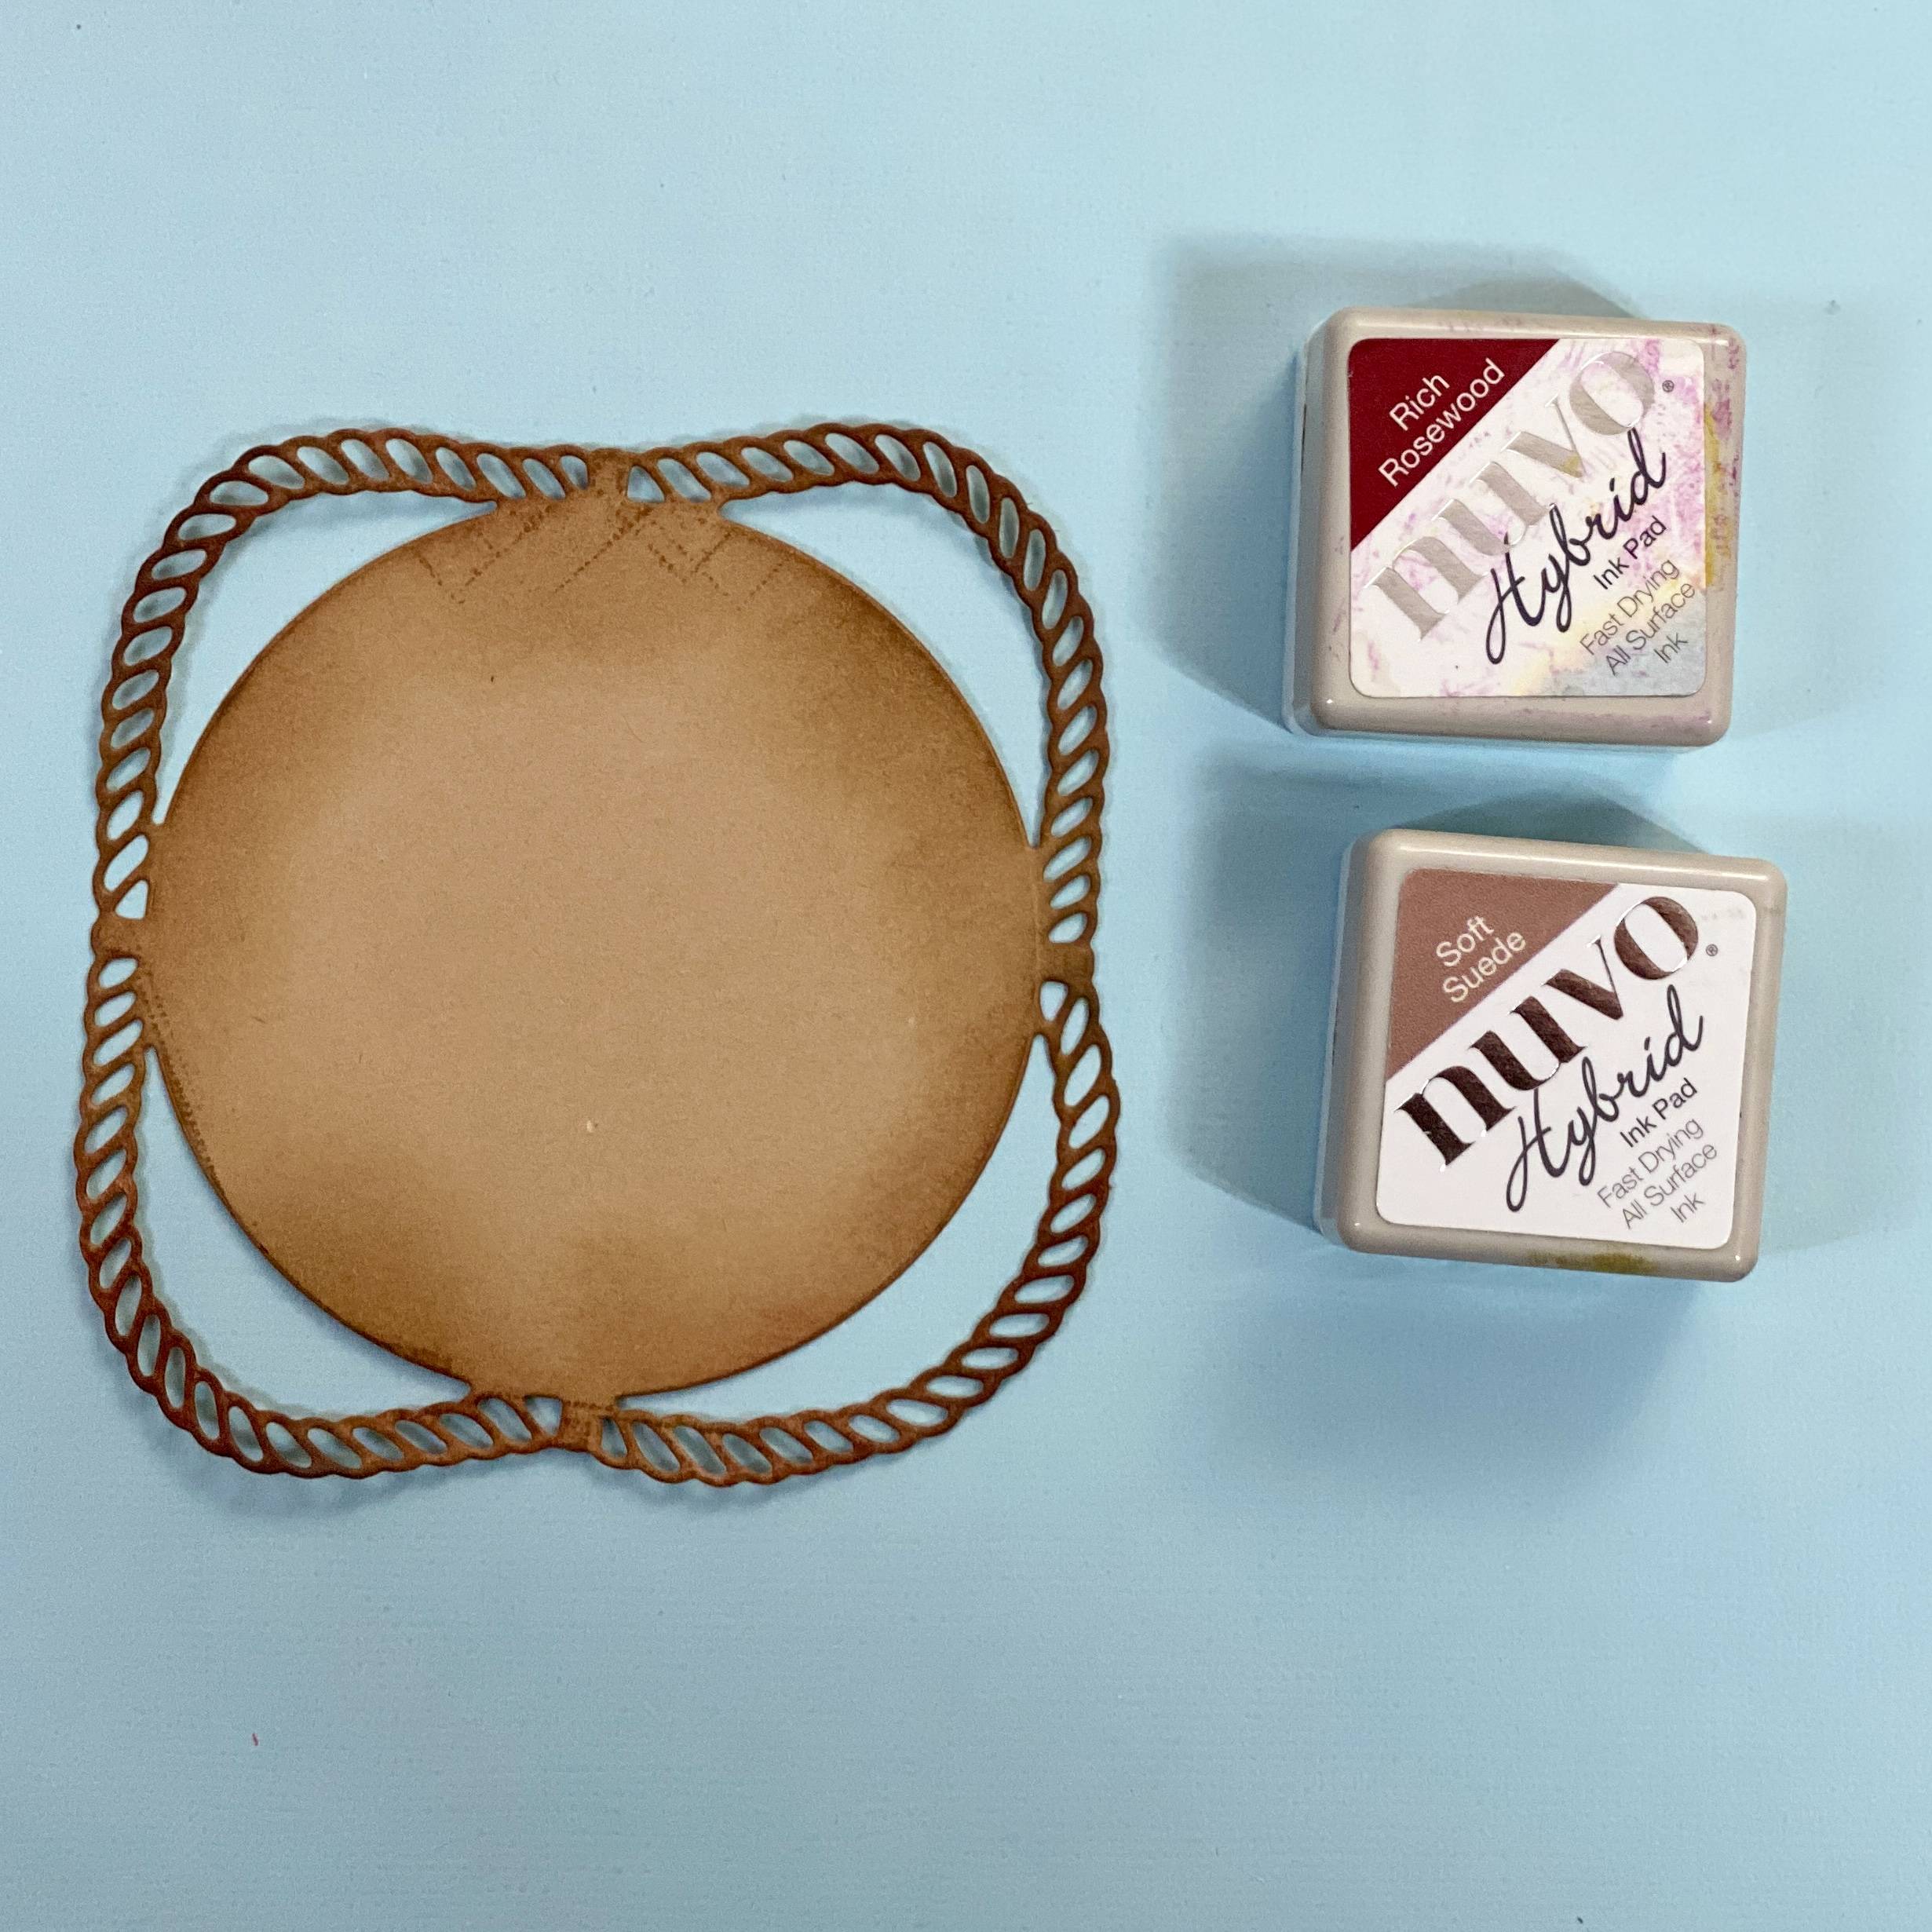
Add inky details with Nuvo Hybrid Inks, Soft Suede and Rich Rosewood.
Step 8
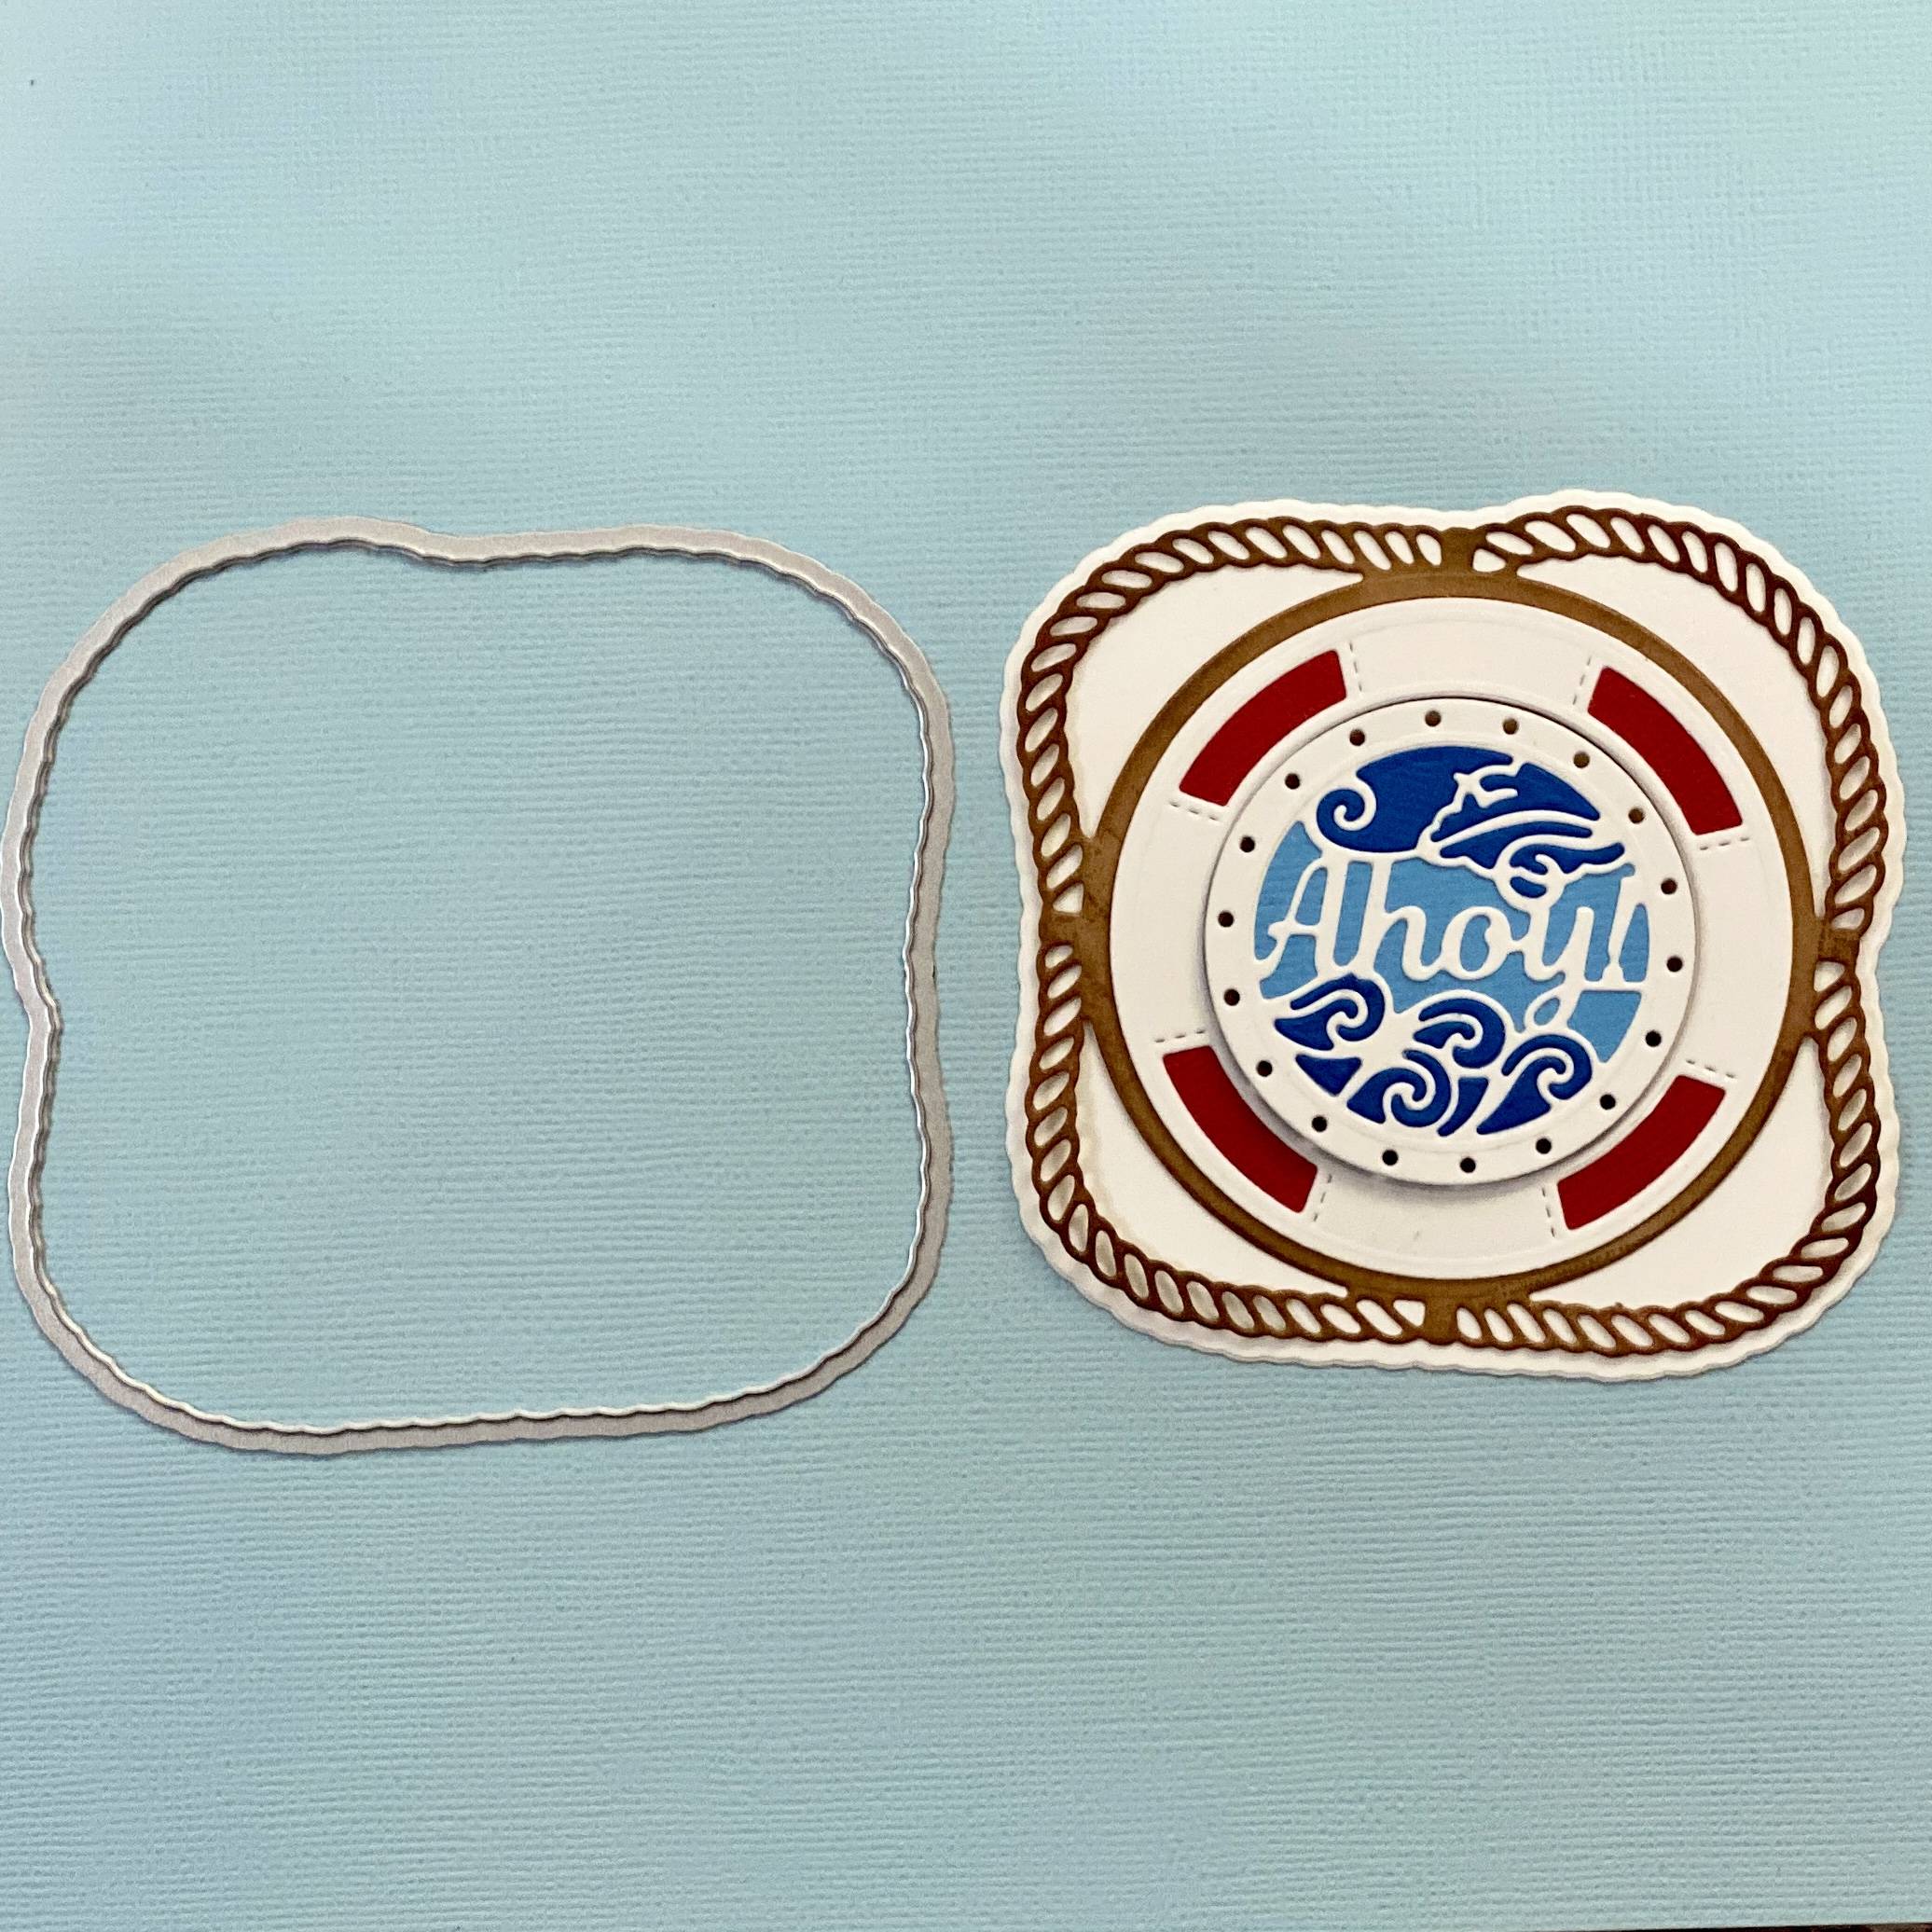
Adhere and Layer the circle die cuts into the larger rope, and add a white backing plate.
Step 9
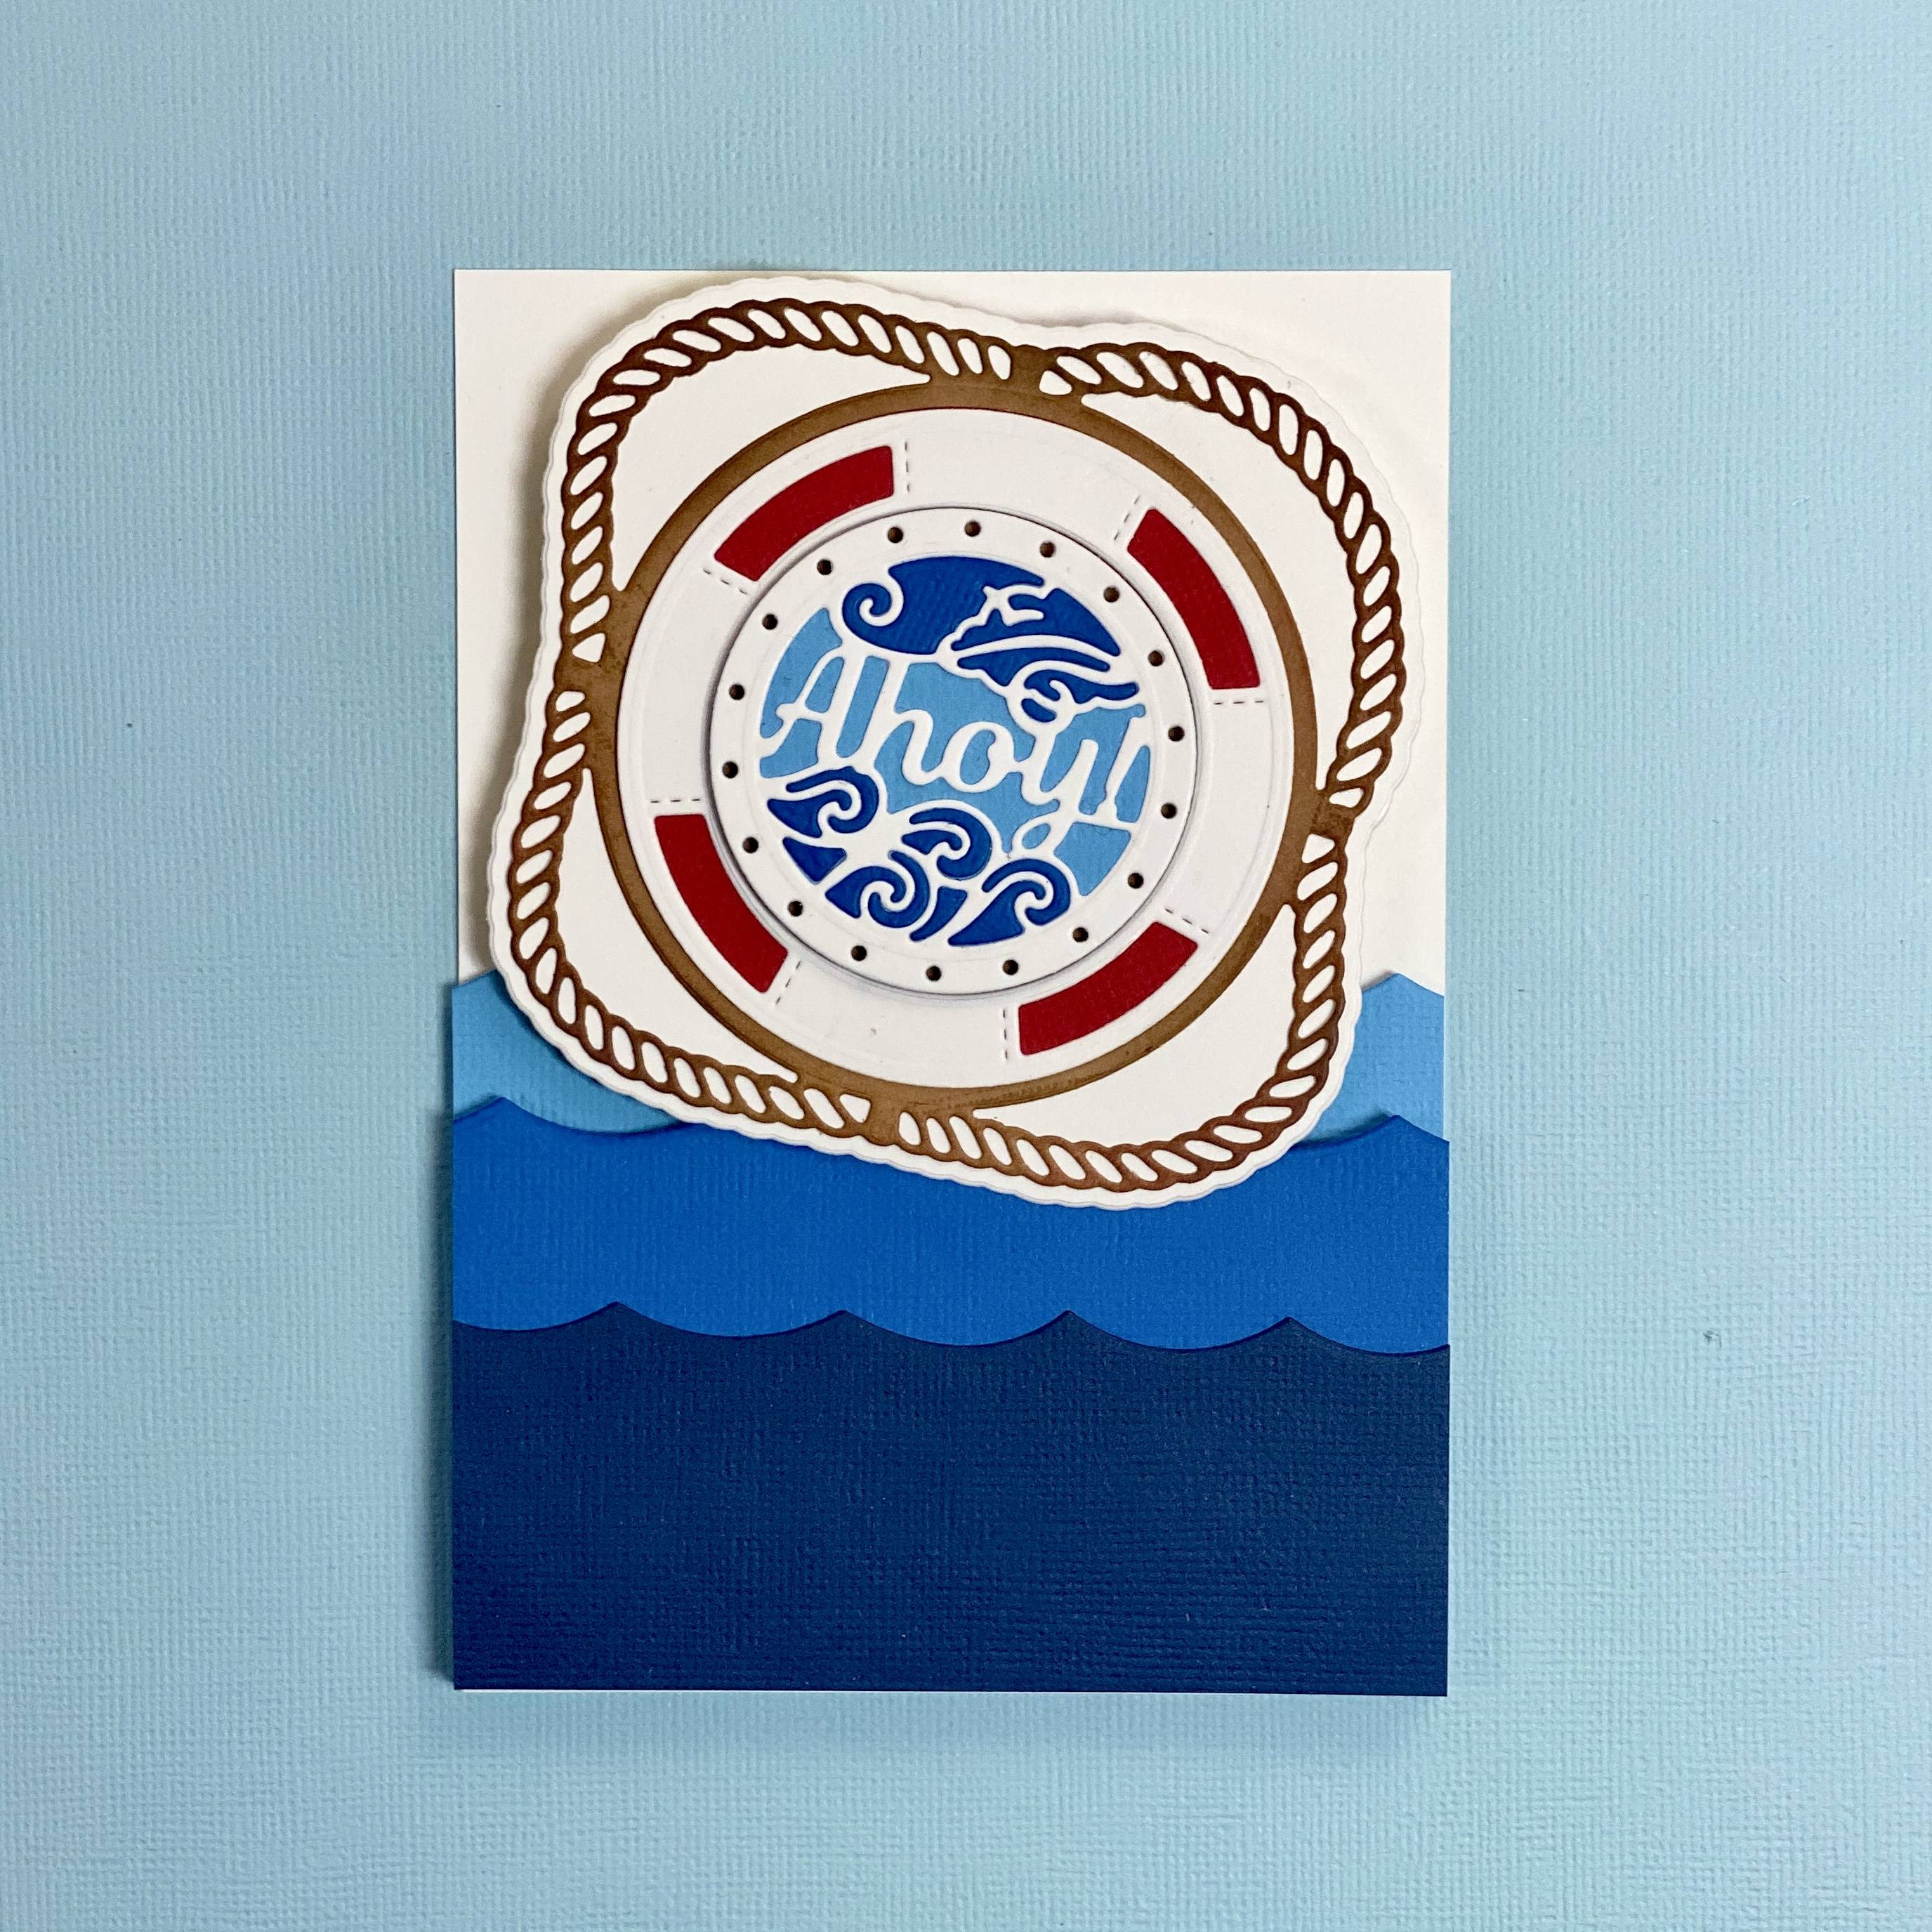
Attach your large sentiment piece to the top of your wave card panel.
Step 10
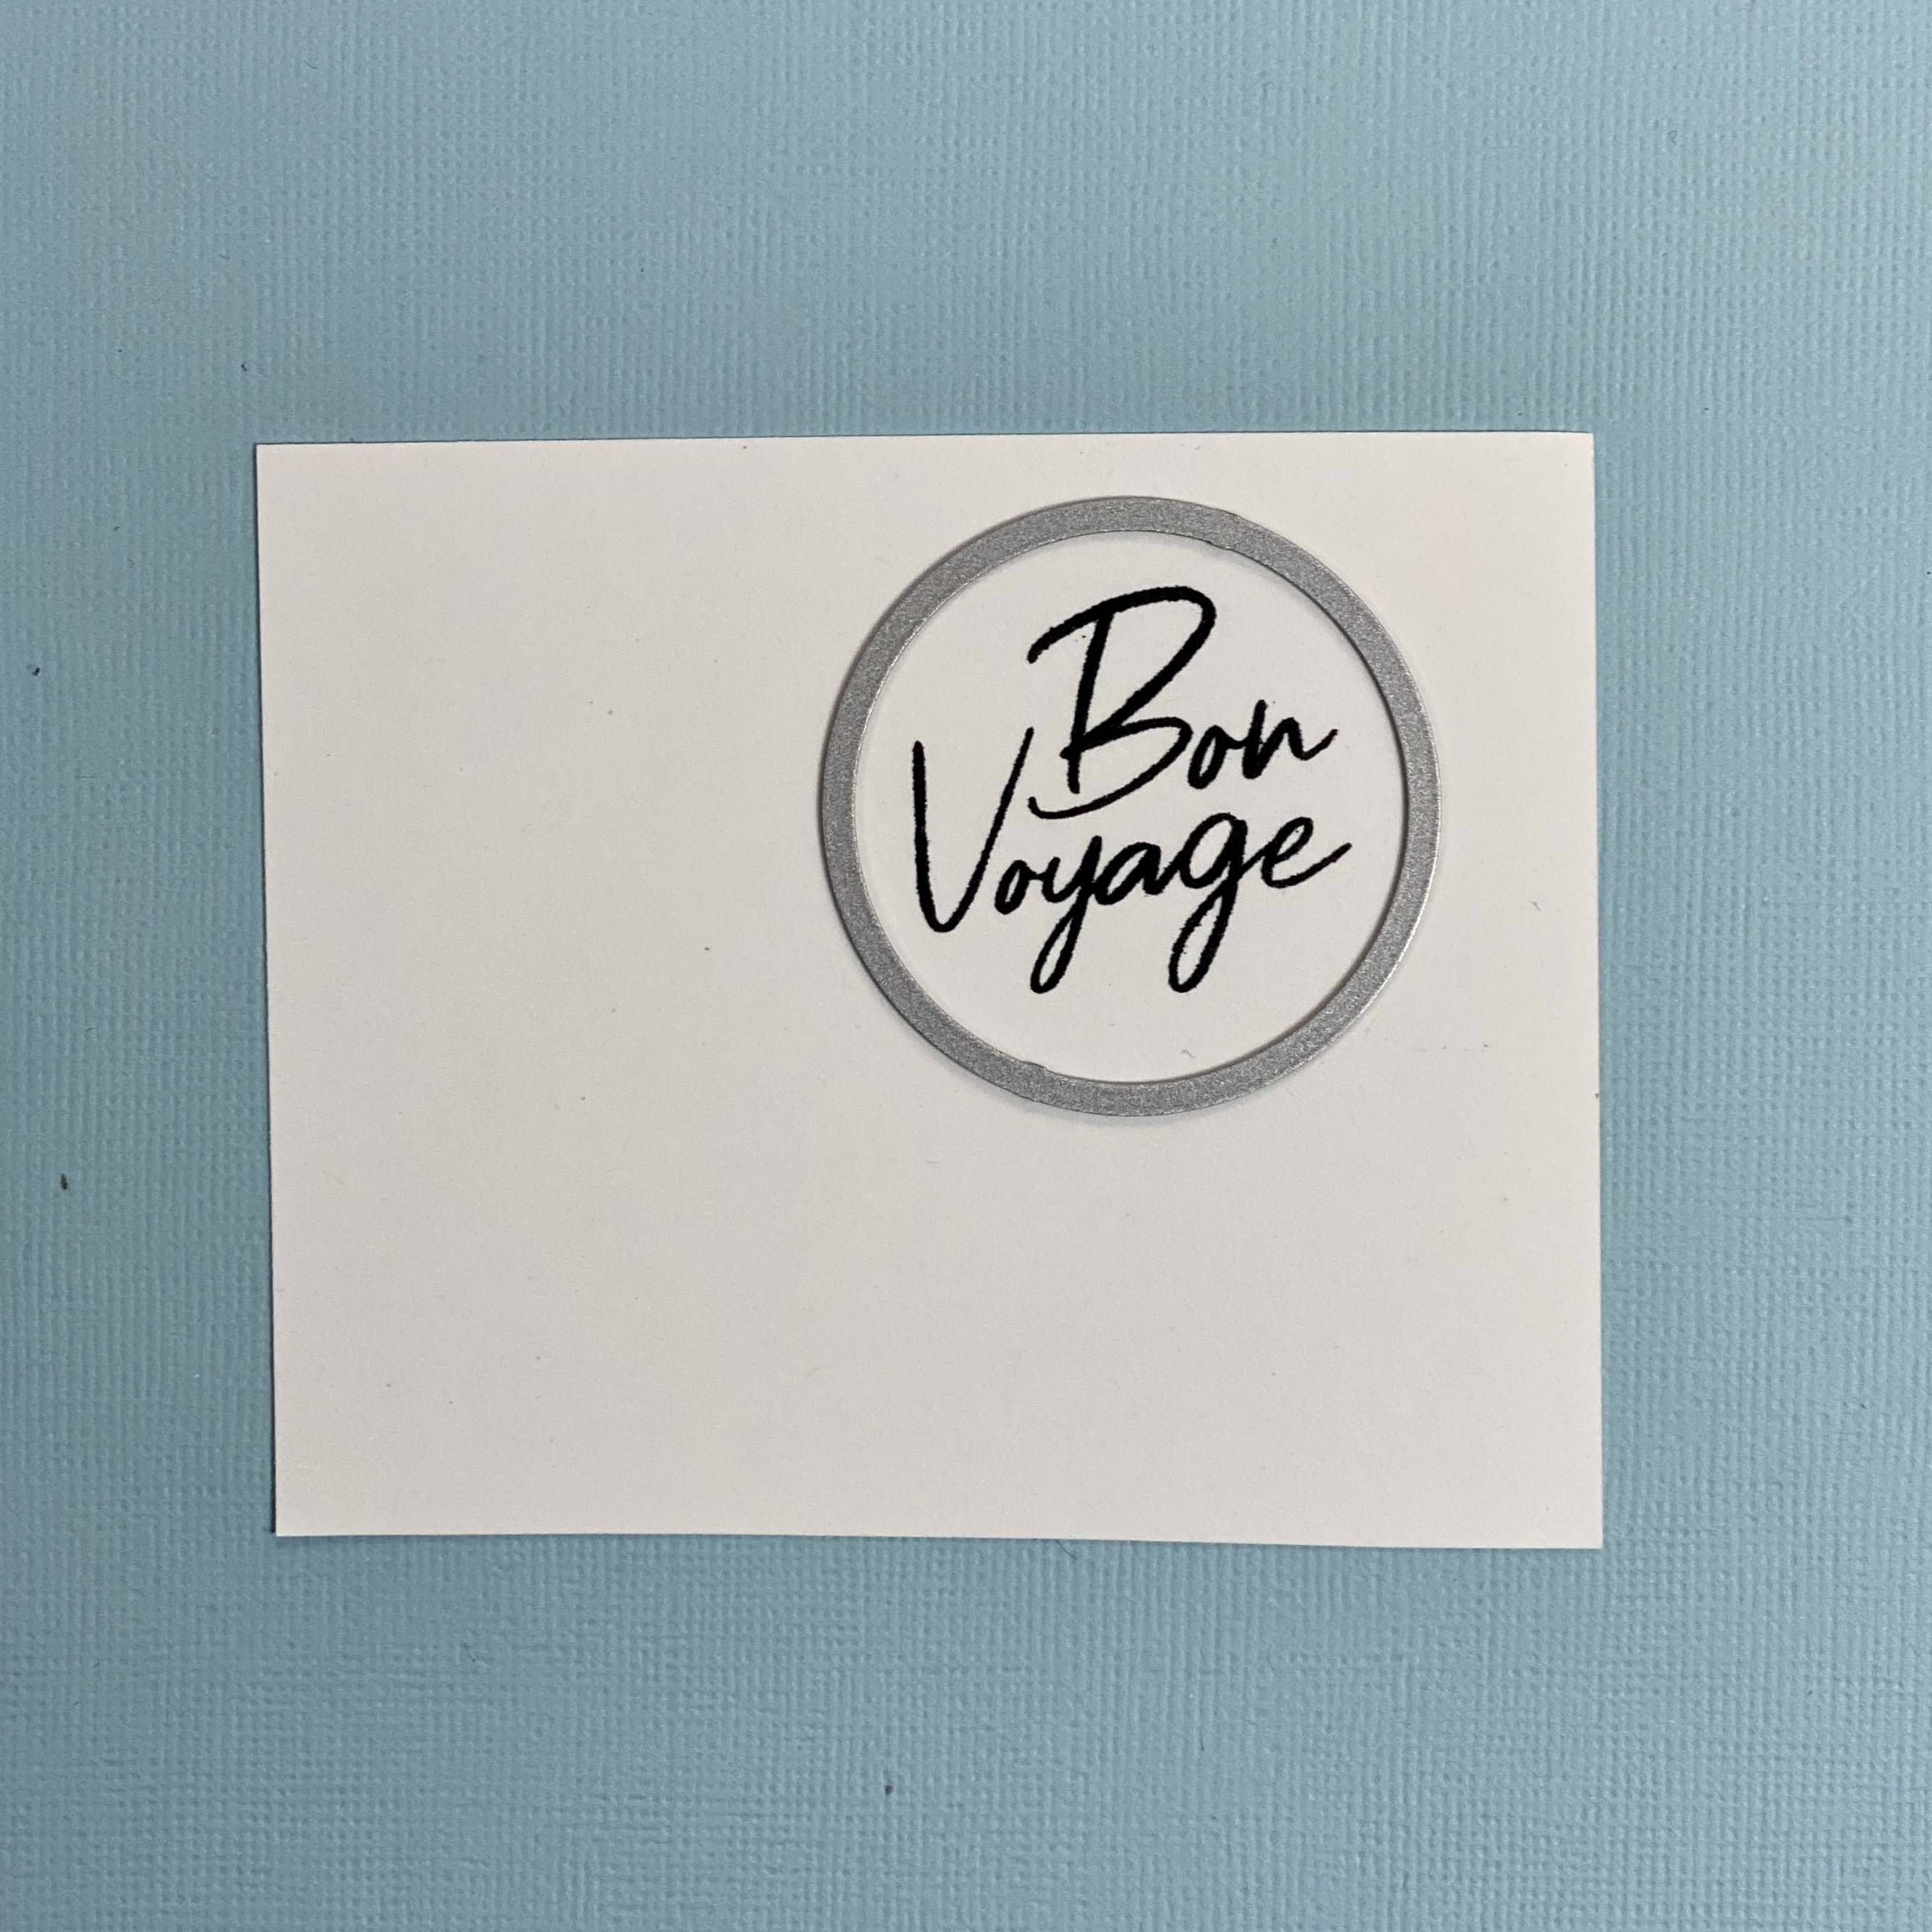
Stamp out Bon Voyage using Black Hybrid Ink and die cut using the circle in the set.
Step 11
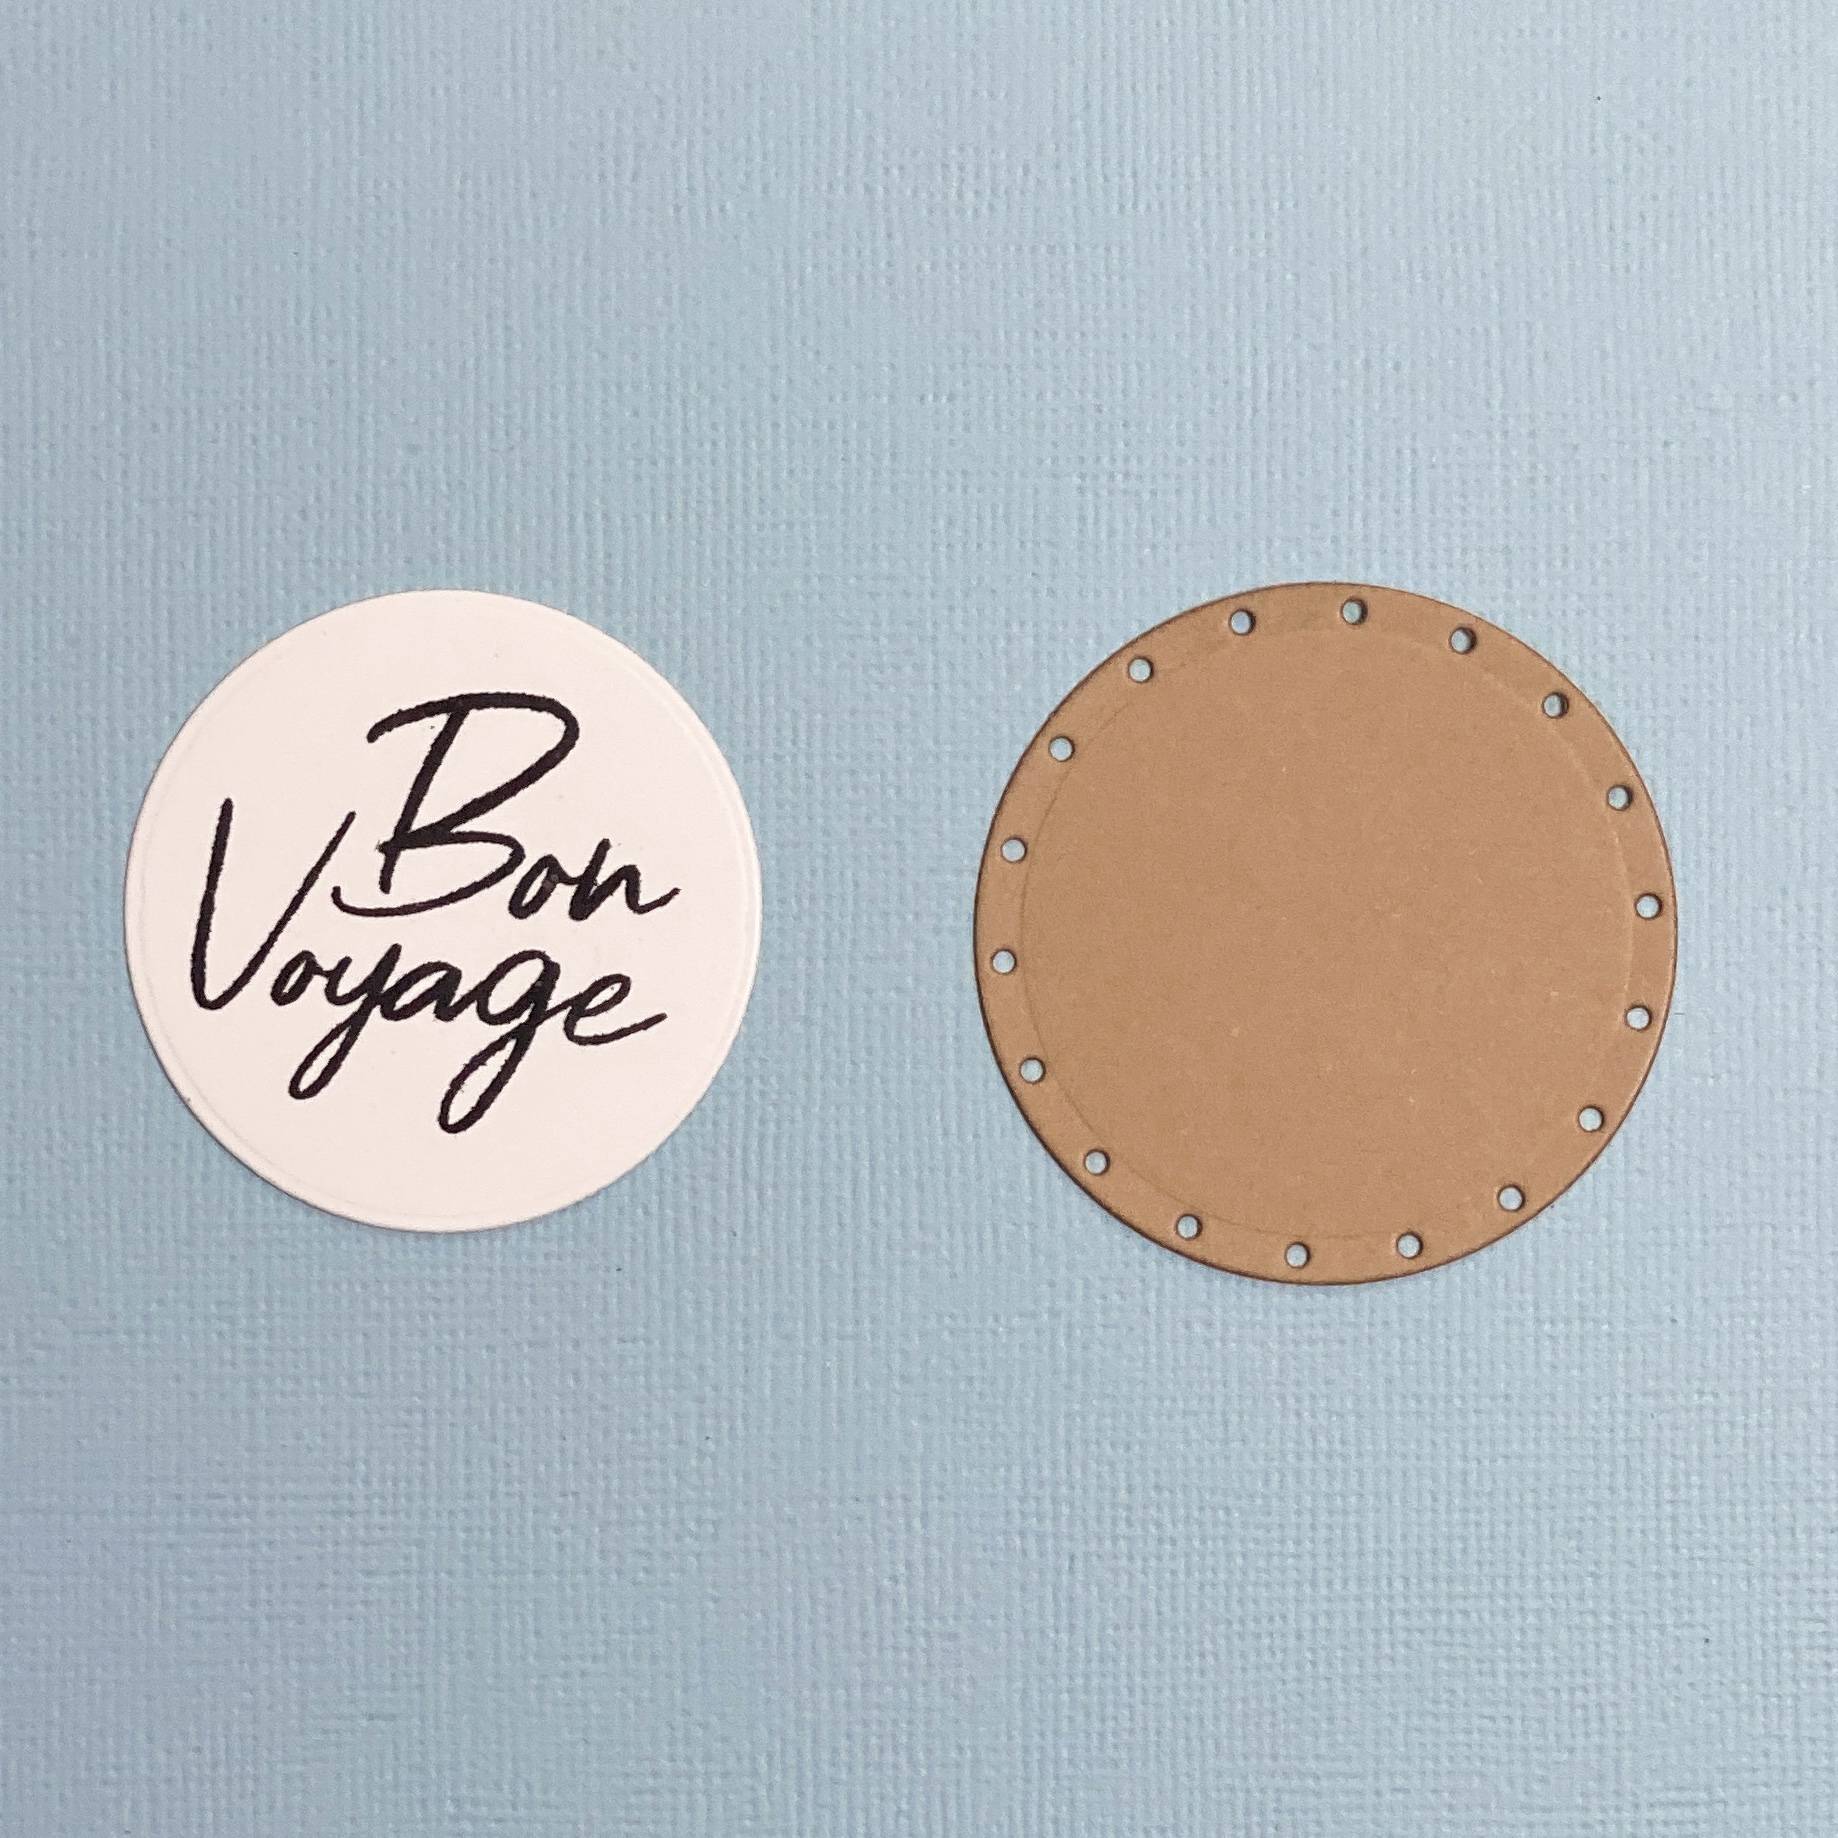
In addition to the plain circle, die cut the larger circle, as shown, in Kraft or buff and adhere together.
Step 12
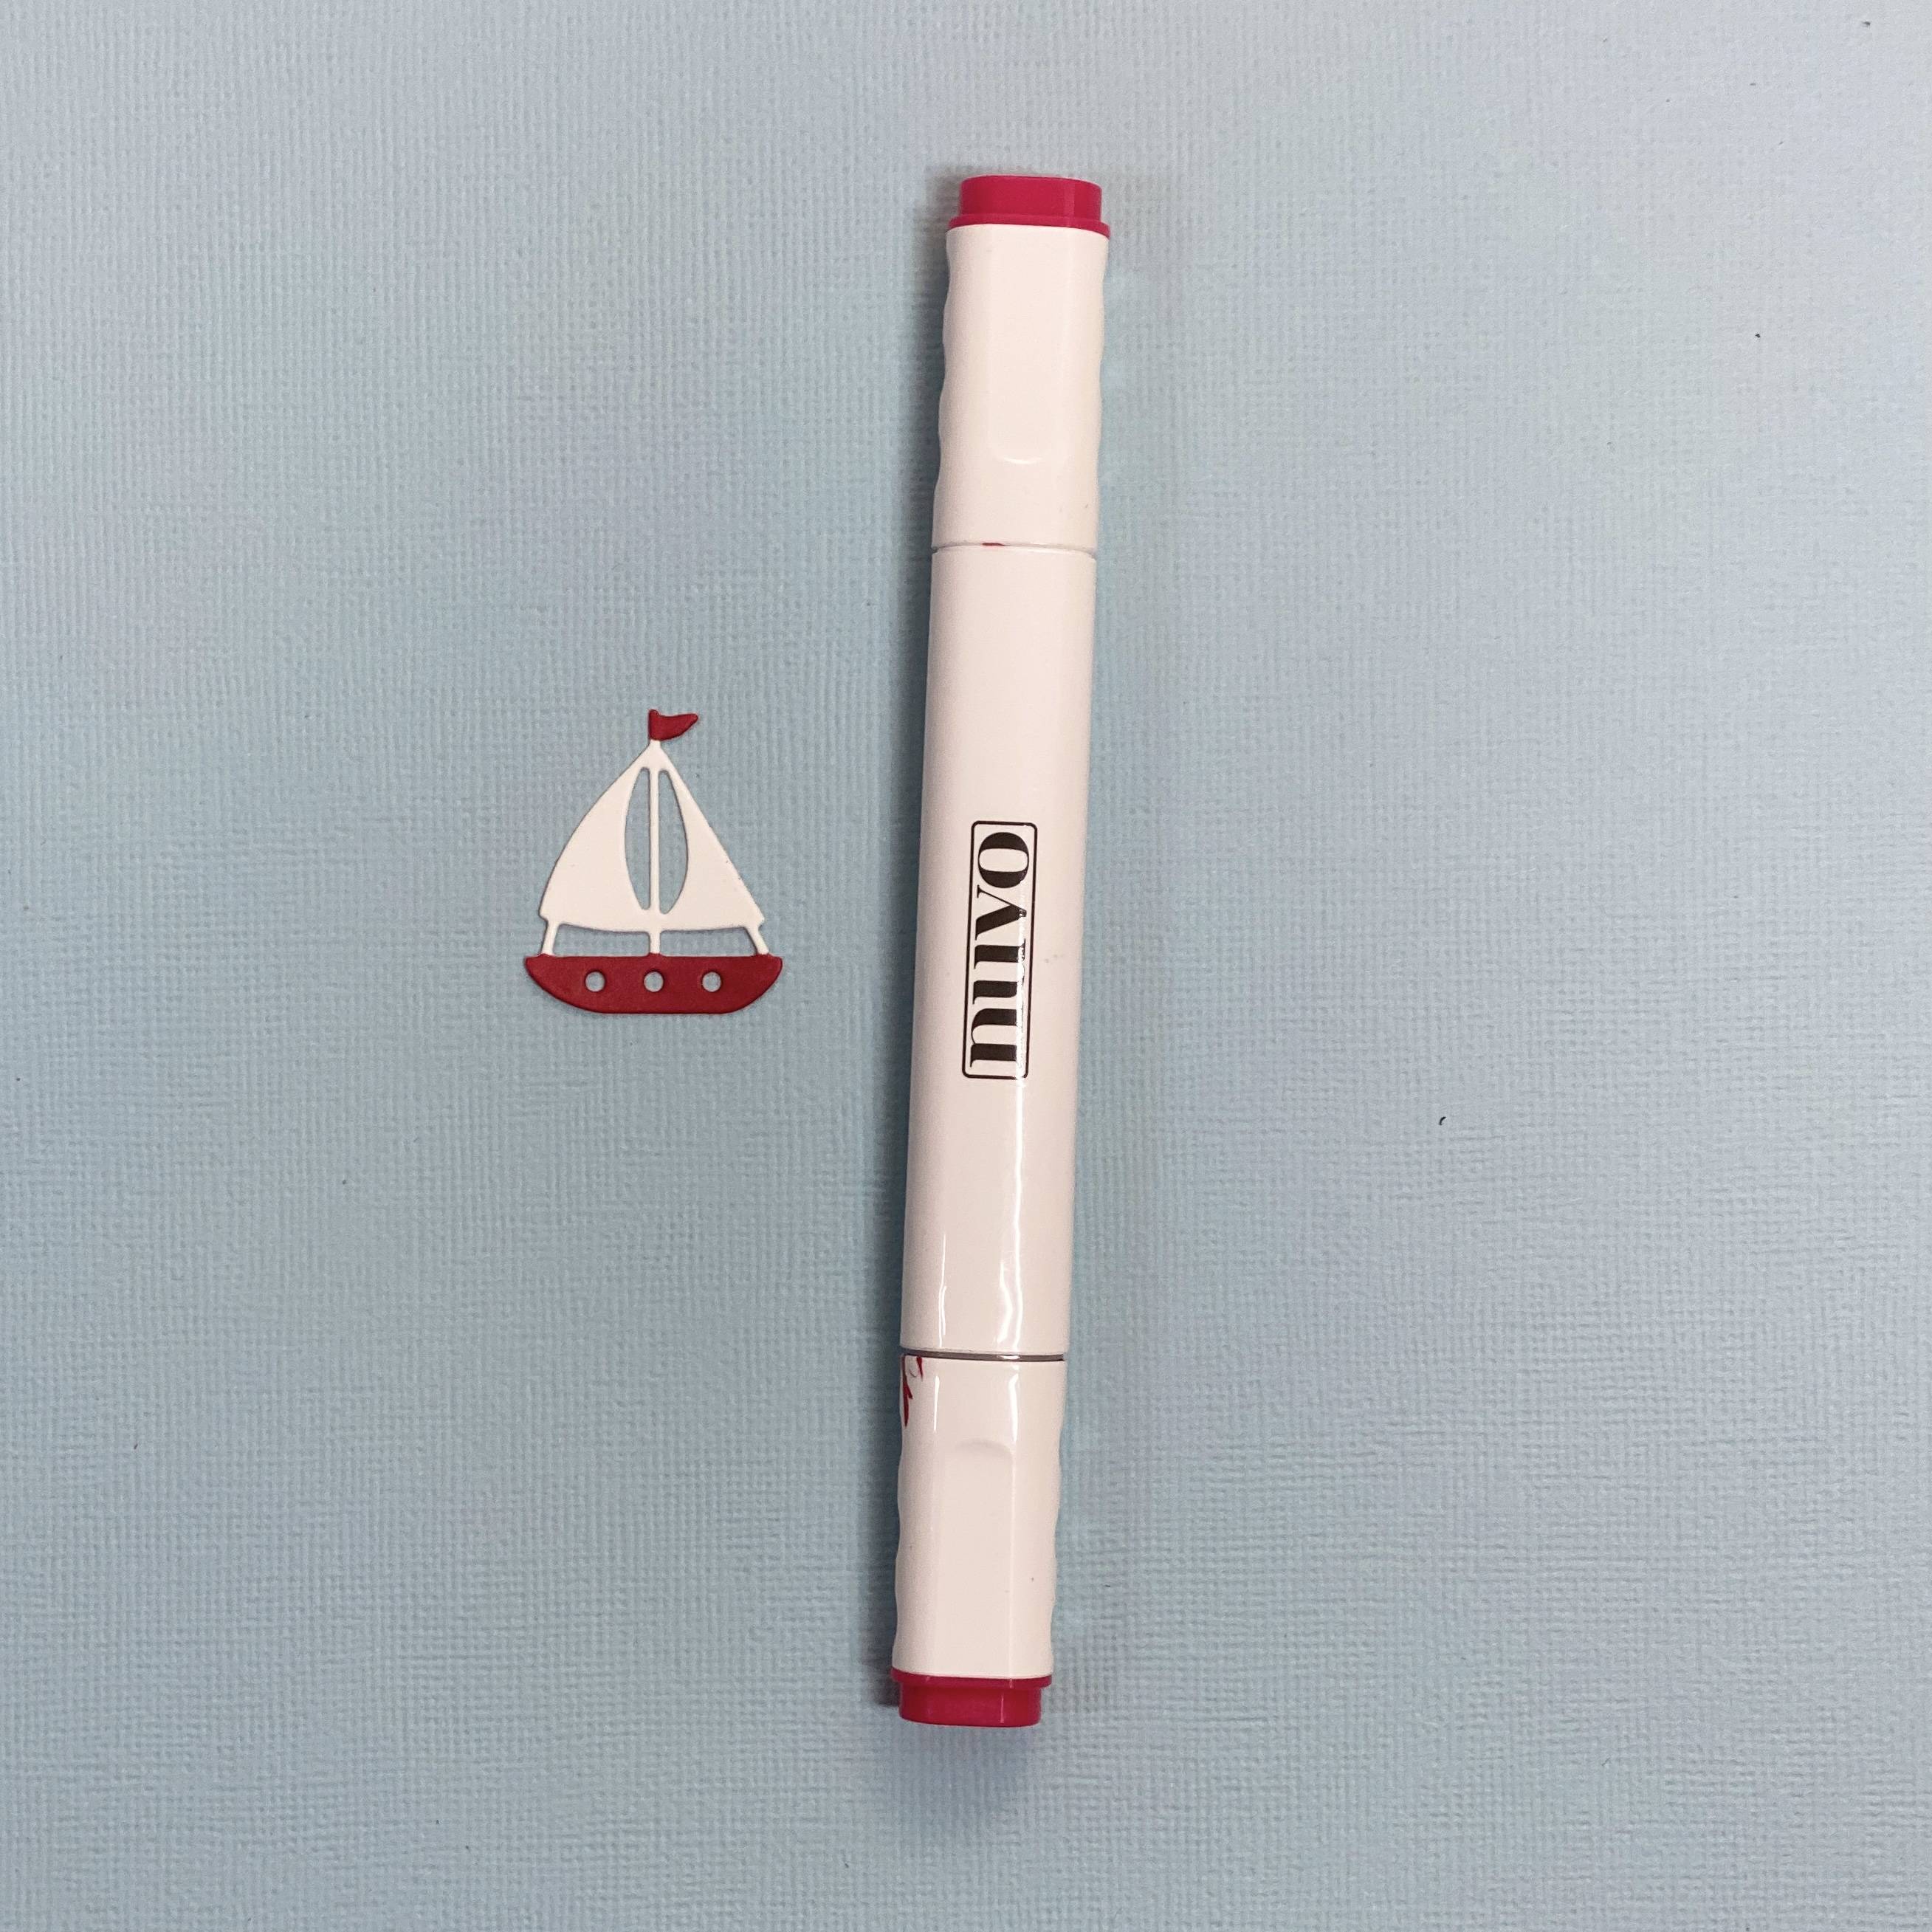
Die cut the sailboat in smooth white card and color the bottom of the boat and flag with 379, and 381 Nuvo Alcohol Markers.
Step 13
Adhere your waves panel to a navy layer, 3.75 inches by 5 inches, and then a Kraft or Buff layer, 4 inches by 5.25 inches.
Step 14
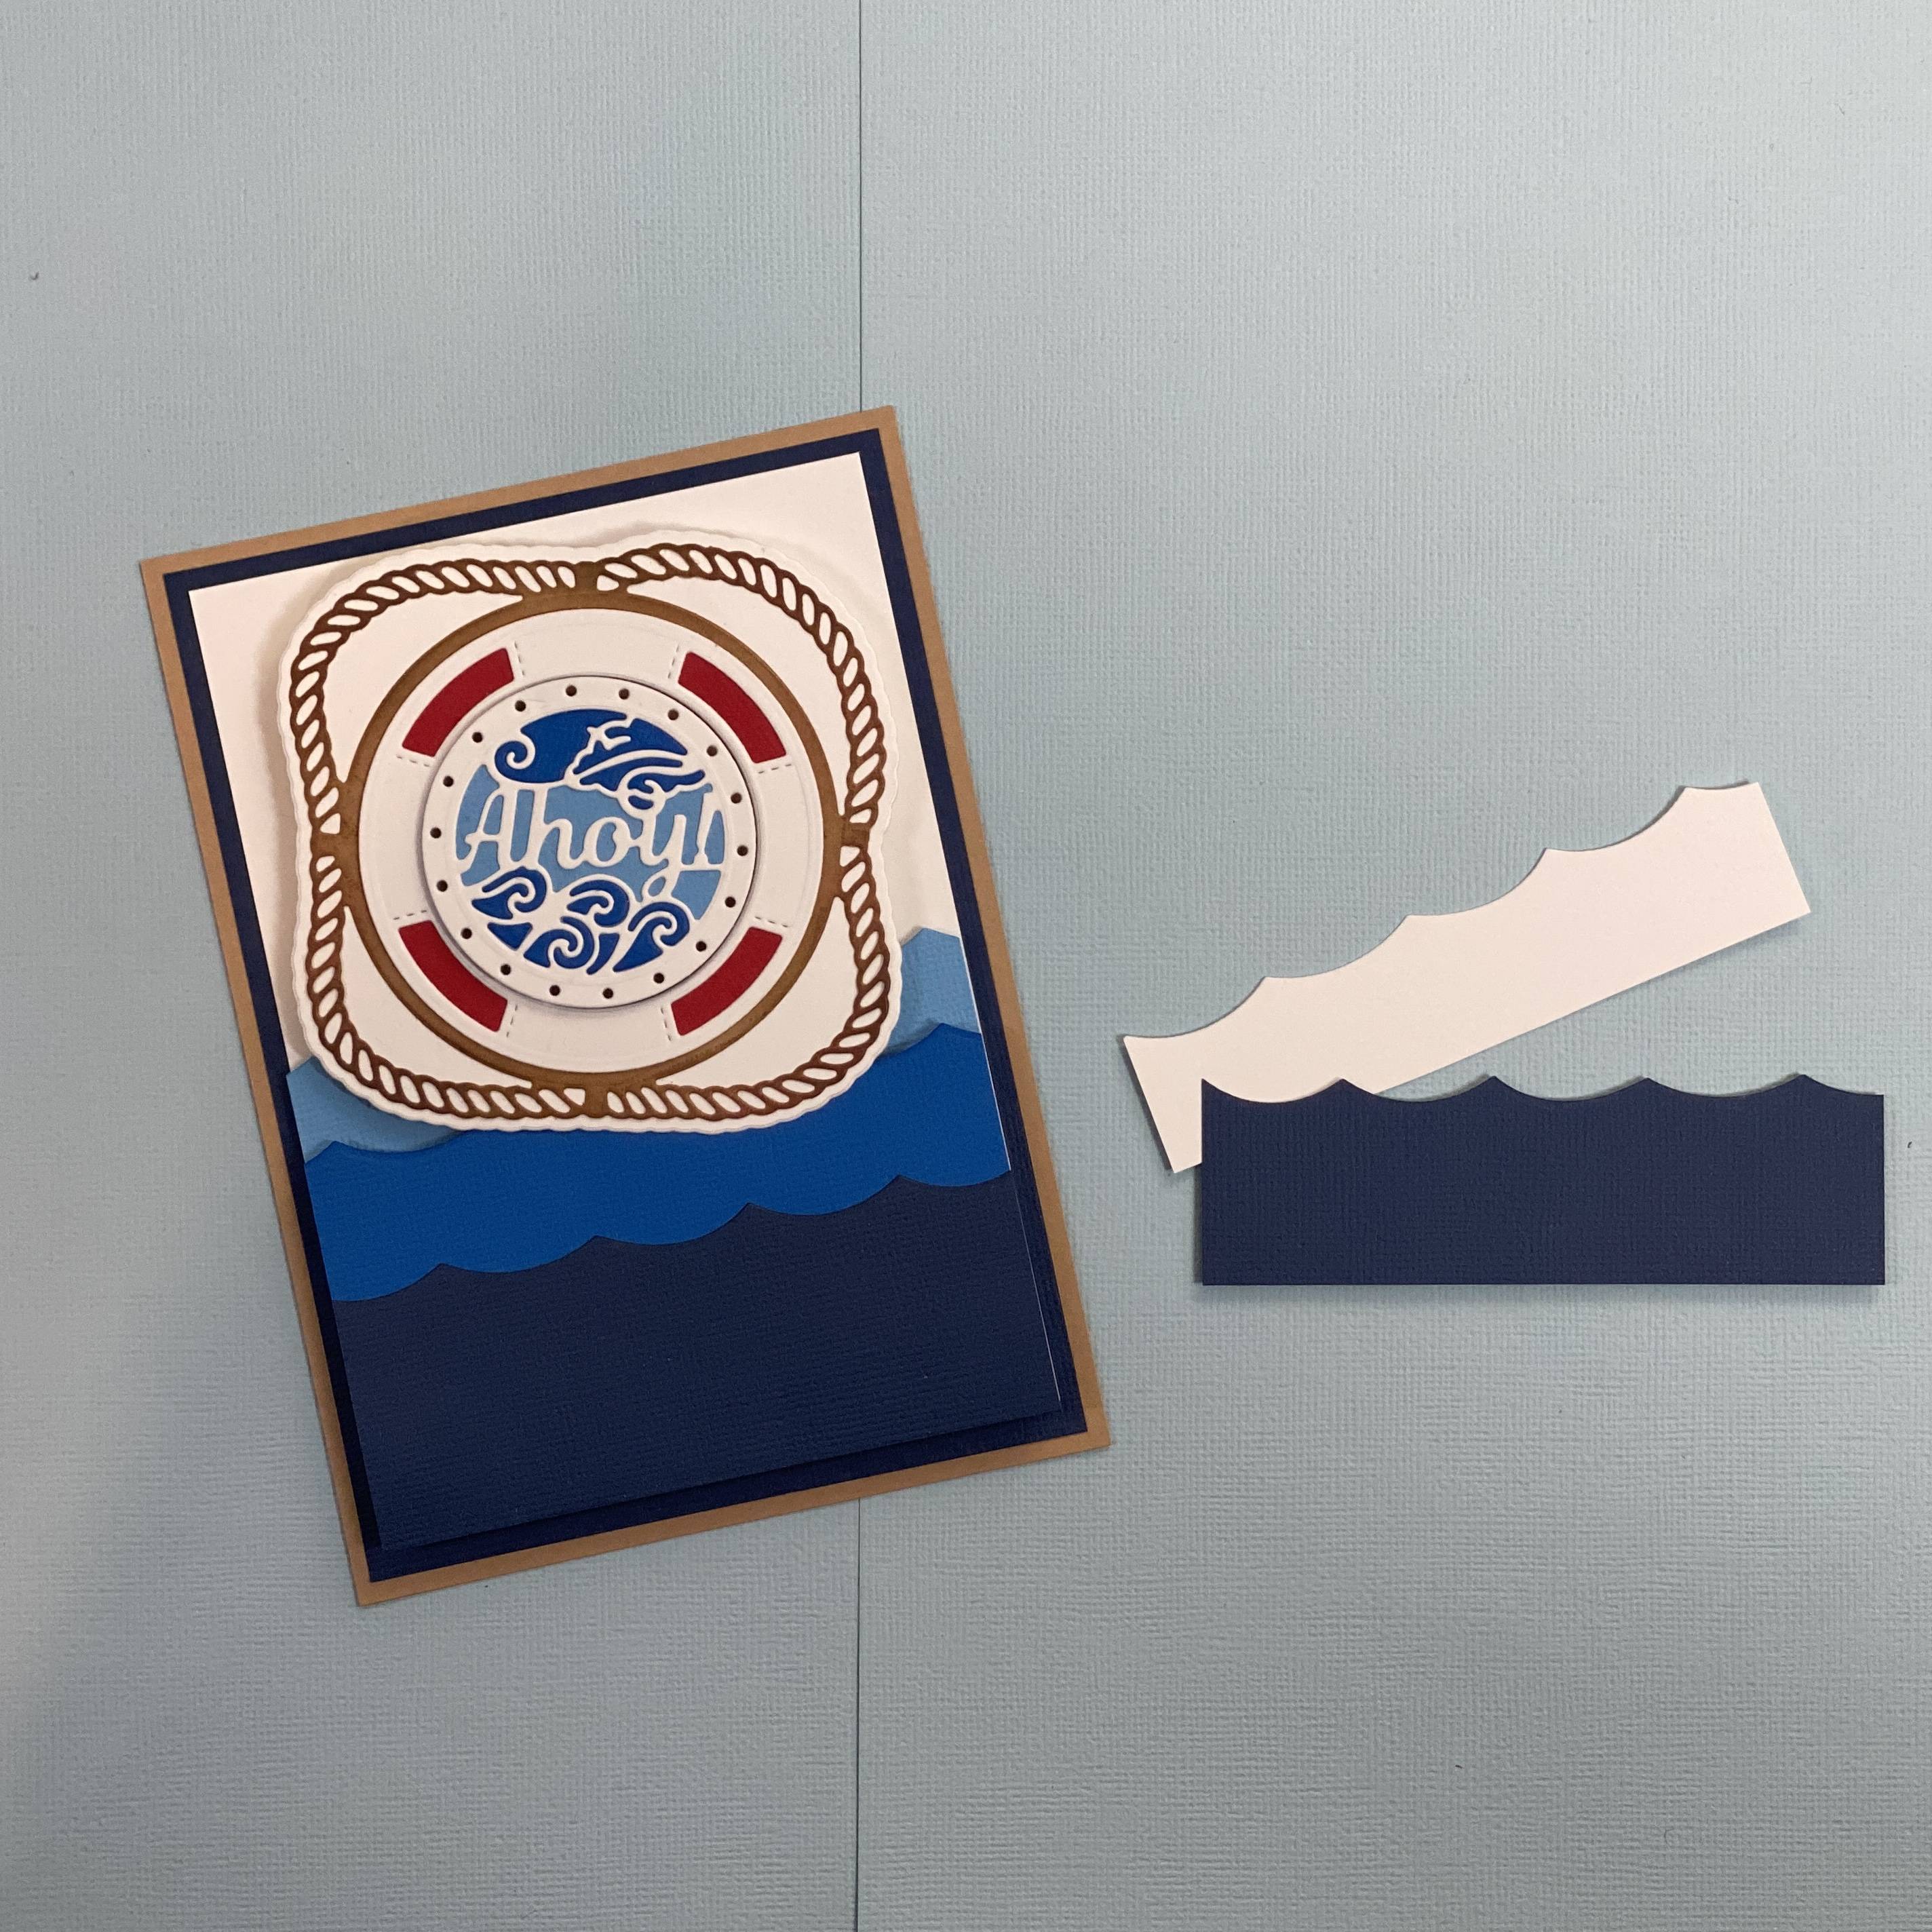
At this point I decided to make two more waves, one white and the other navy. This would be attached at the bottom of the card to add more depth.
Step 15

Attach the additional waves, with the white peaking out, the Bon Voyage circle sentiment and sailboat to complete the look of this card.
Thank you for taking the time to visit the blog today and I hope you’ve enjoyed my tutorial. Have a great day and see you soon! Sending lots of crafty love and hugs. Jen xx
Buy The Craft Project