


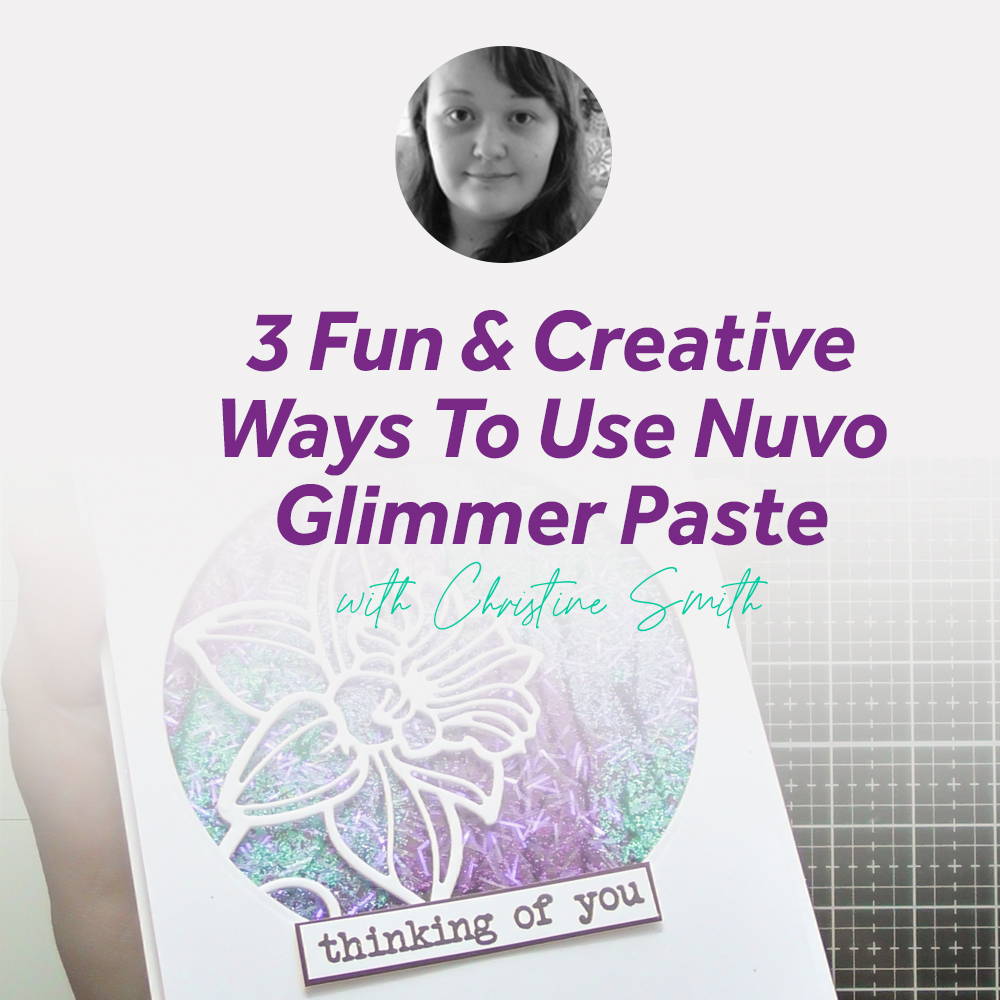
There are a multitude of different ways to use Nuvo’s fabulous Glimmer Paste, but I’ve narrowed it down to three of my favourites for this blog post :D Tonic has recently re-launched their Glimmer Paste with a new formulation that has a longer open time, this makes it much easier for you to clean off your tools and stencils without the paste drying rock hard onto them and also allows you to do techniques with more intricate placement of different colours through a stencils too :D and for the re-launch they’ve also updated the packaging so they’re now in octagonal pots rather than round, so if you still have some of the original pastes you’ll easily be able to tell them apart.
Below are photographic steps showing you 3 of my favourite Glimmer Paste uses, but I also show a few more and give you some more info about the new Glimmer Pastes in my Up Close video over on my CRaFTi PoTeNTiAl YouTube channel.
The Squishing Technique
Step 1
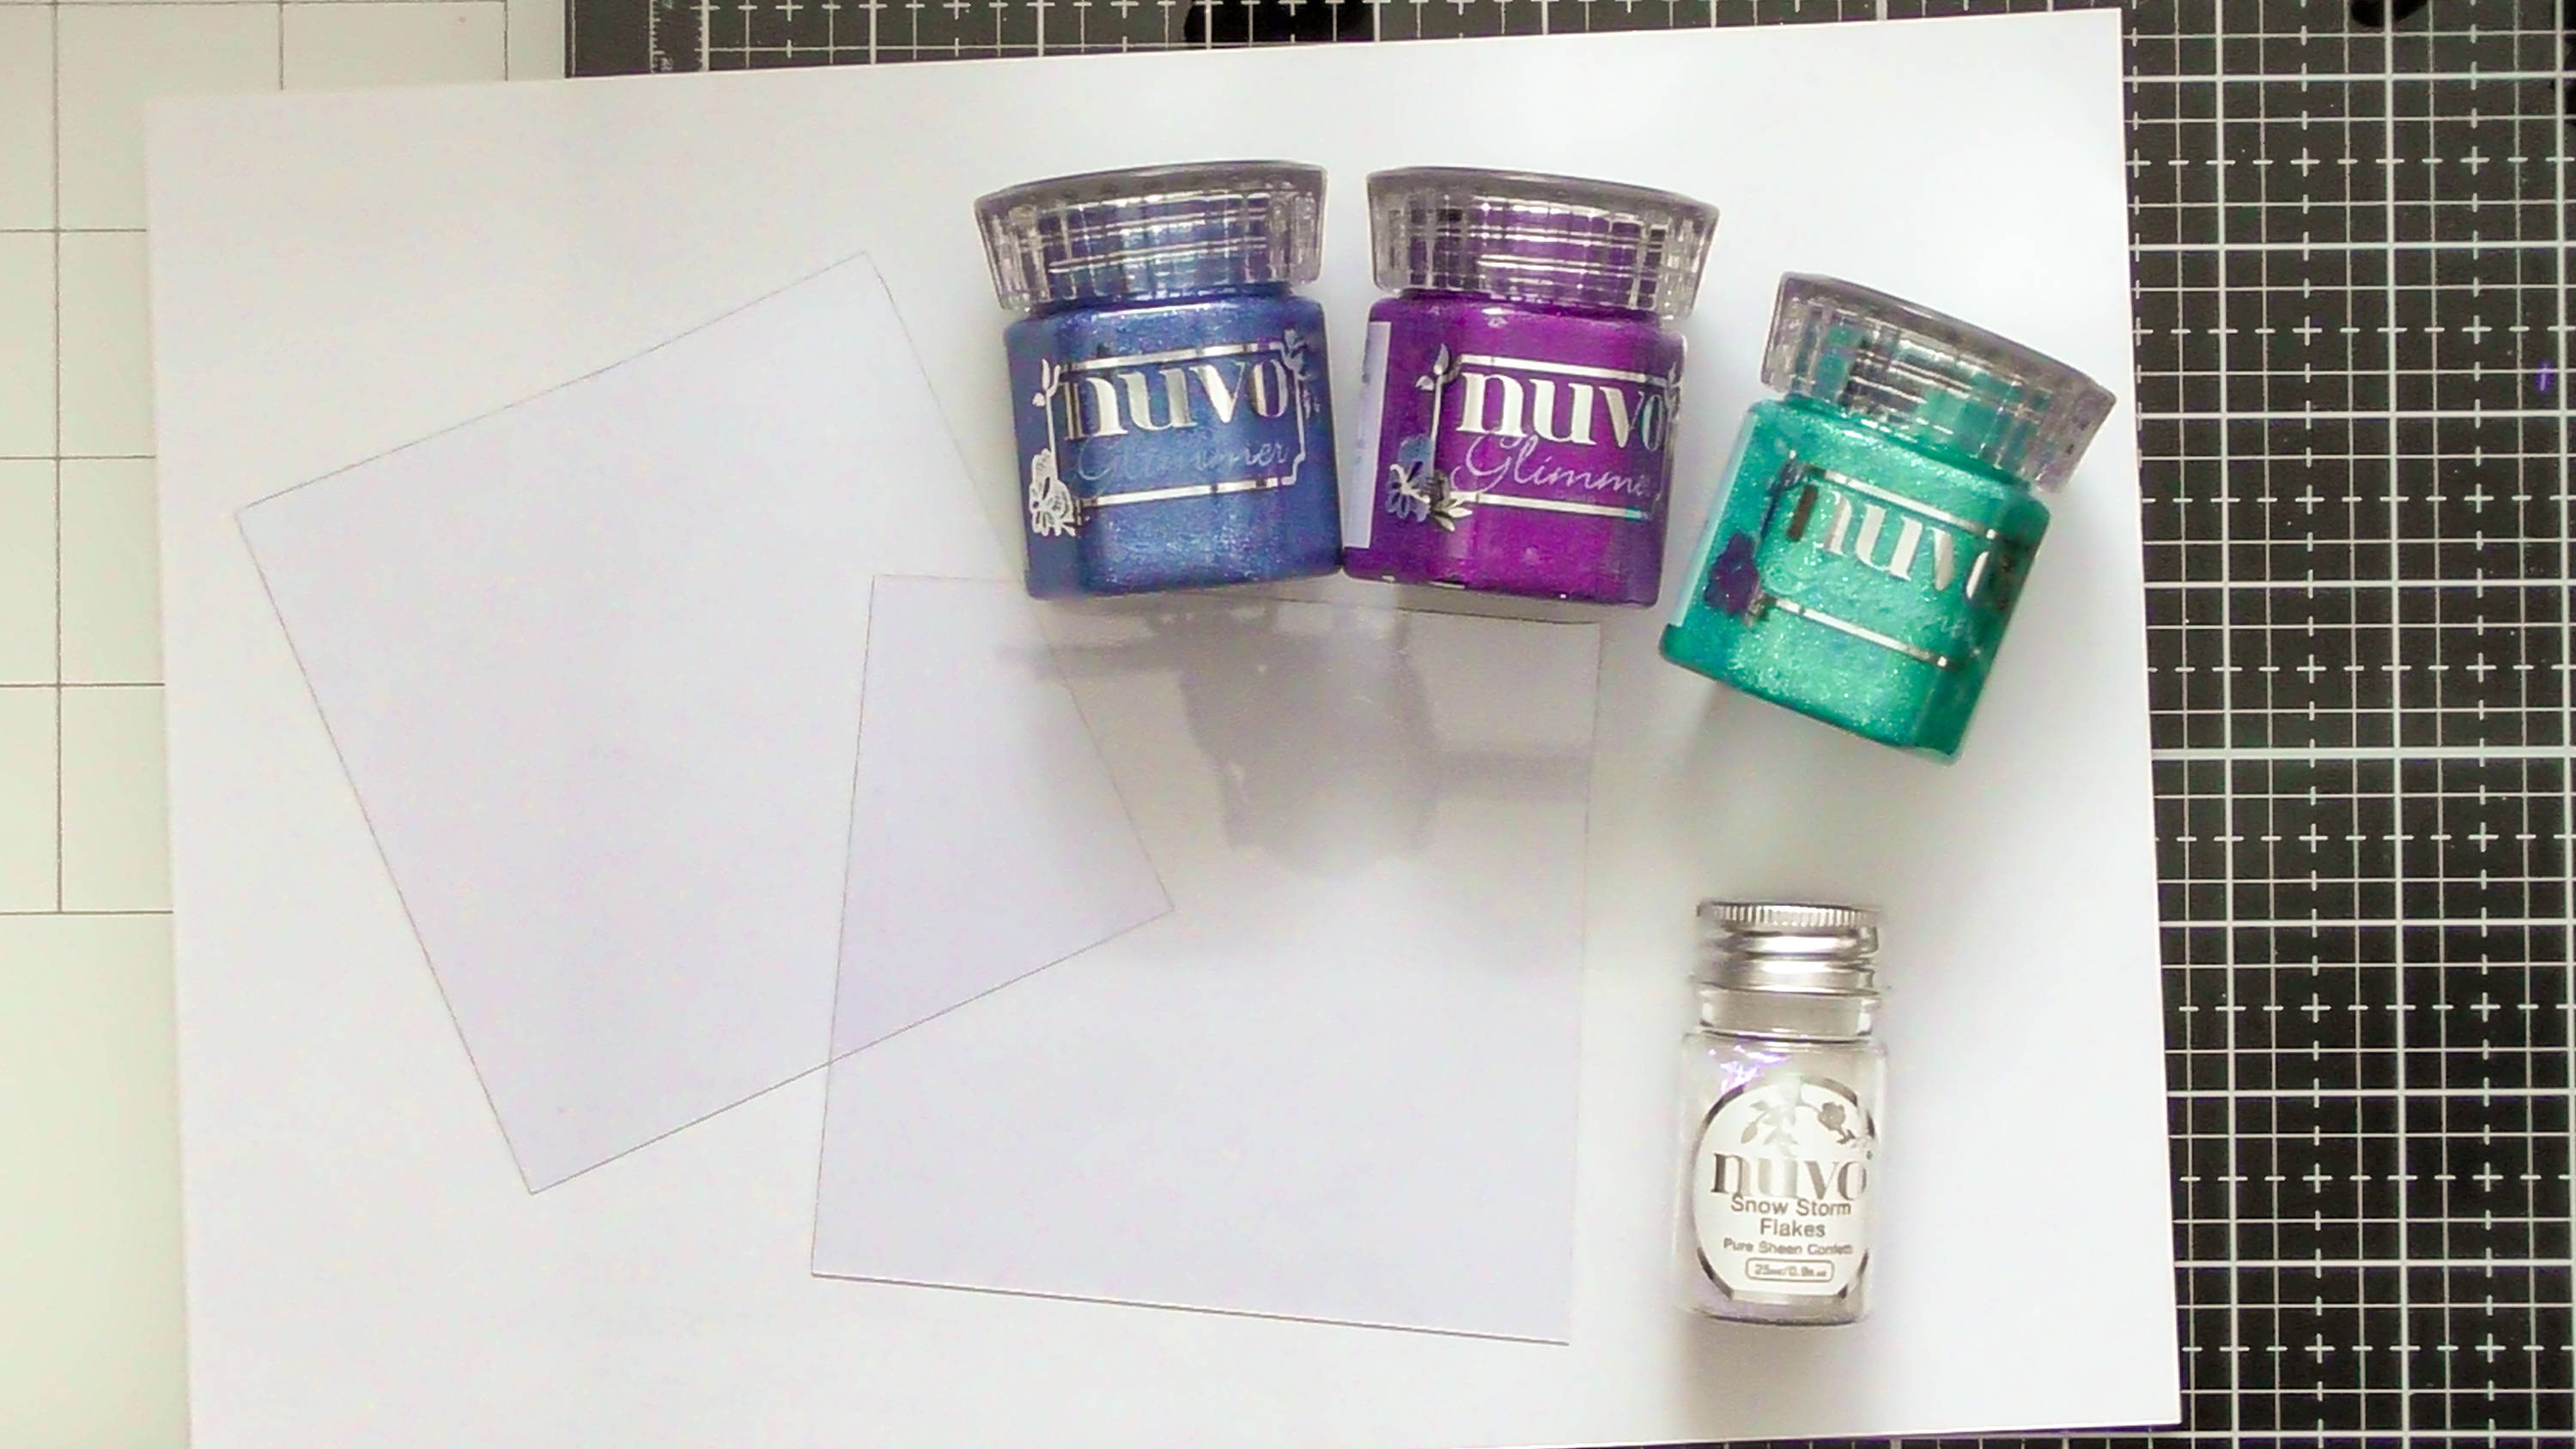
For this technique, you’ll need to choose a few colours of pastes, get 2 pieces of acetate, or card if you’d prefer, plus an optional addition of some Nuvo Confetti too
Step 2
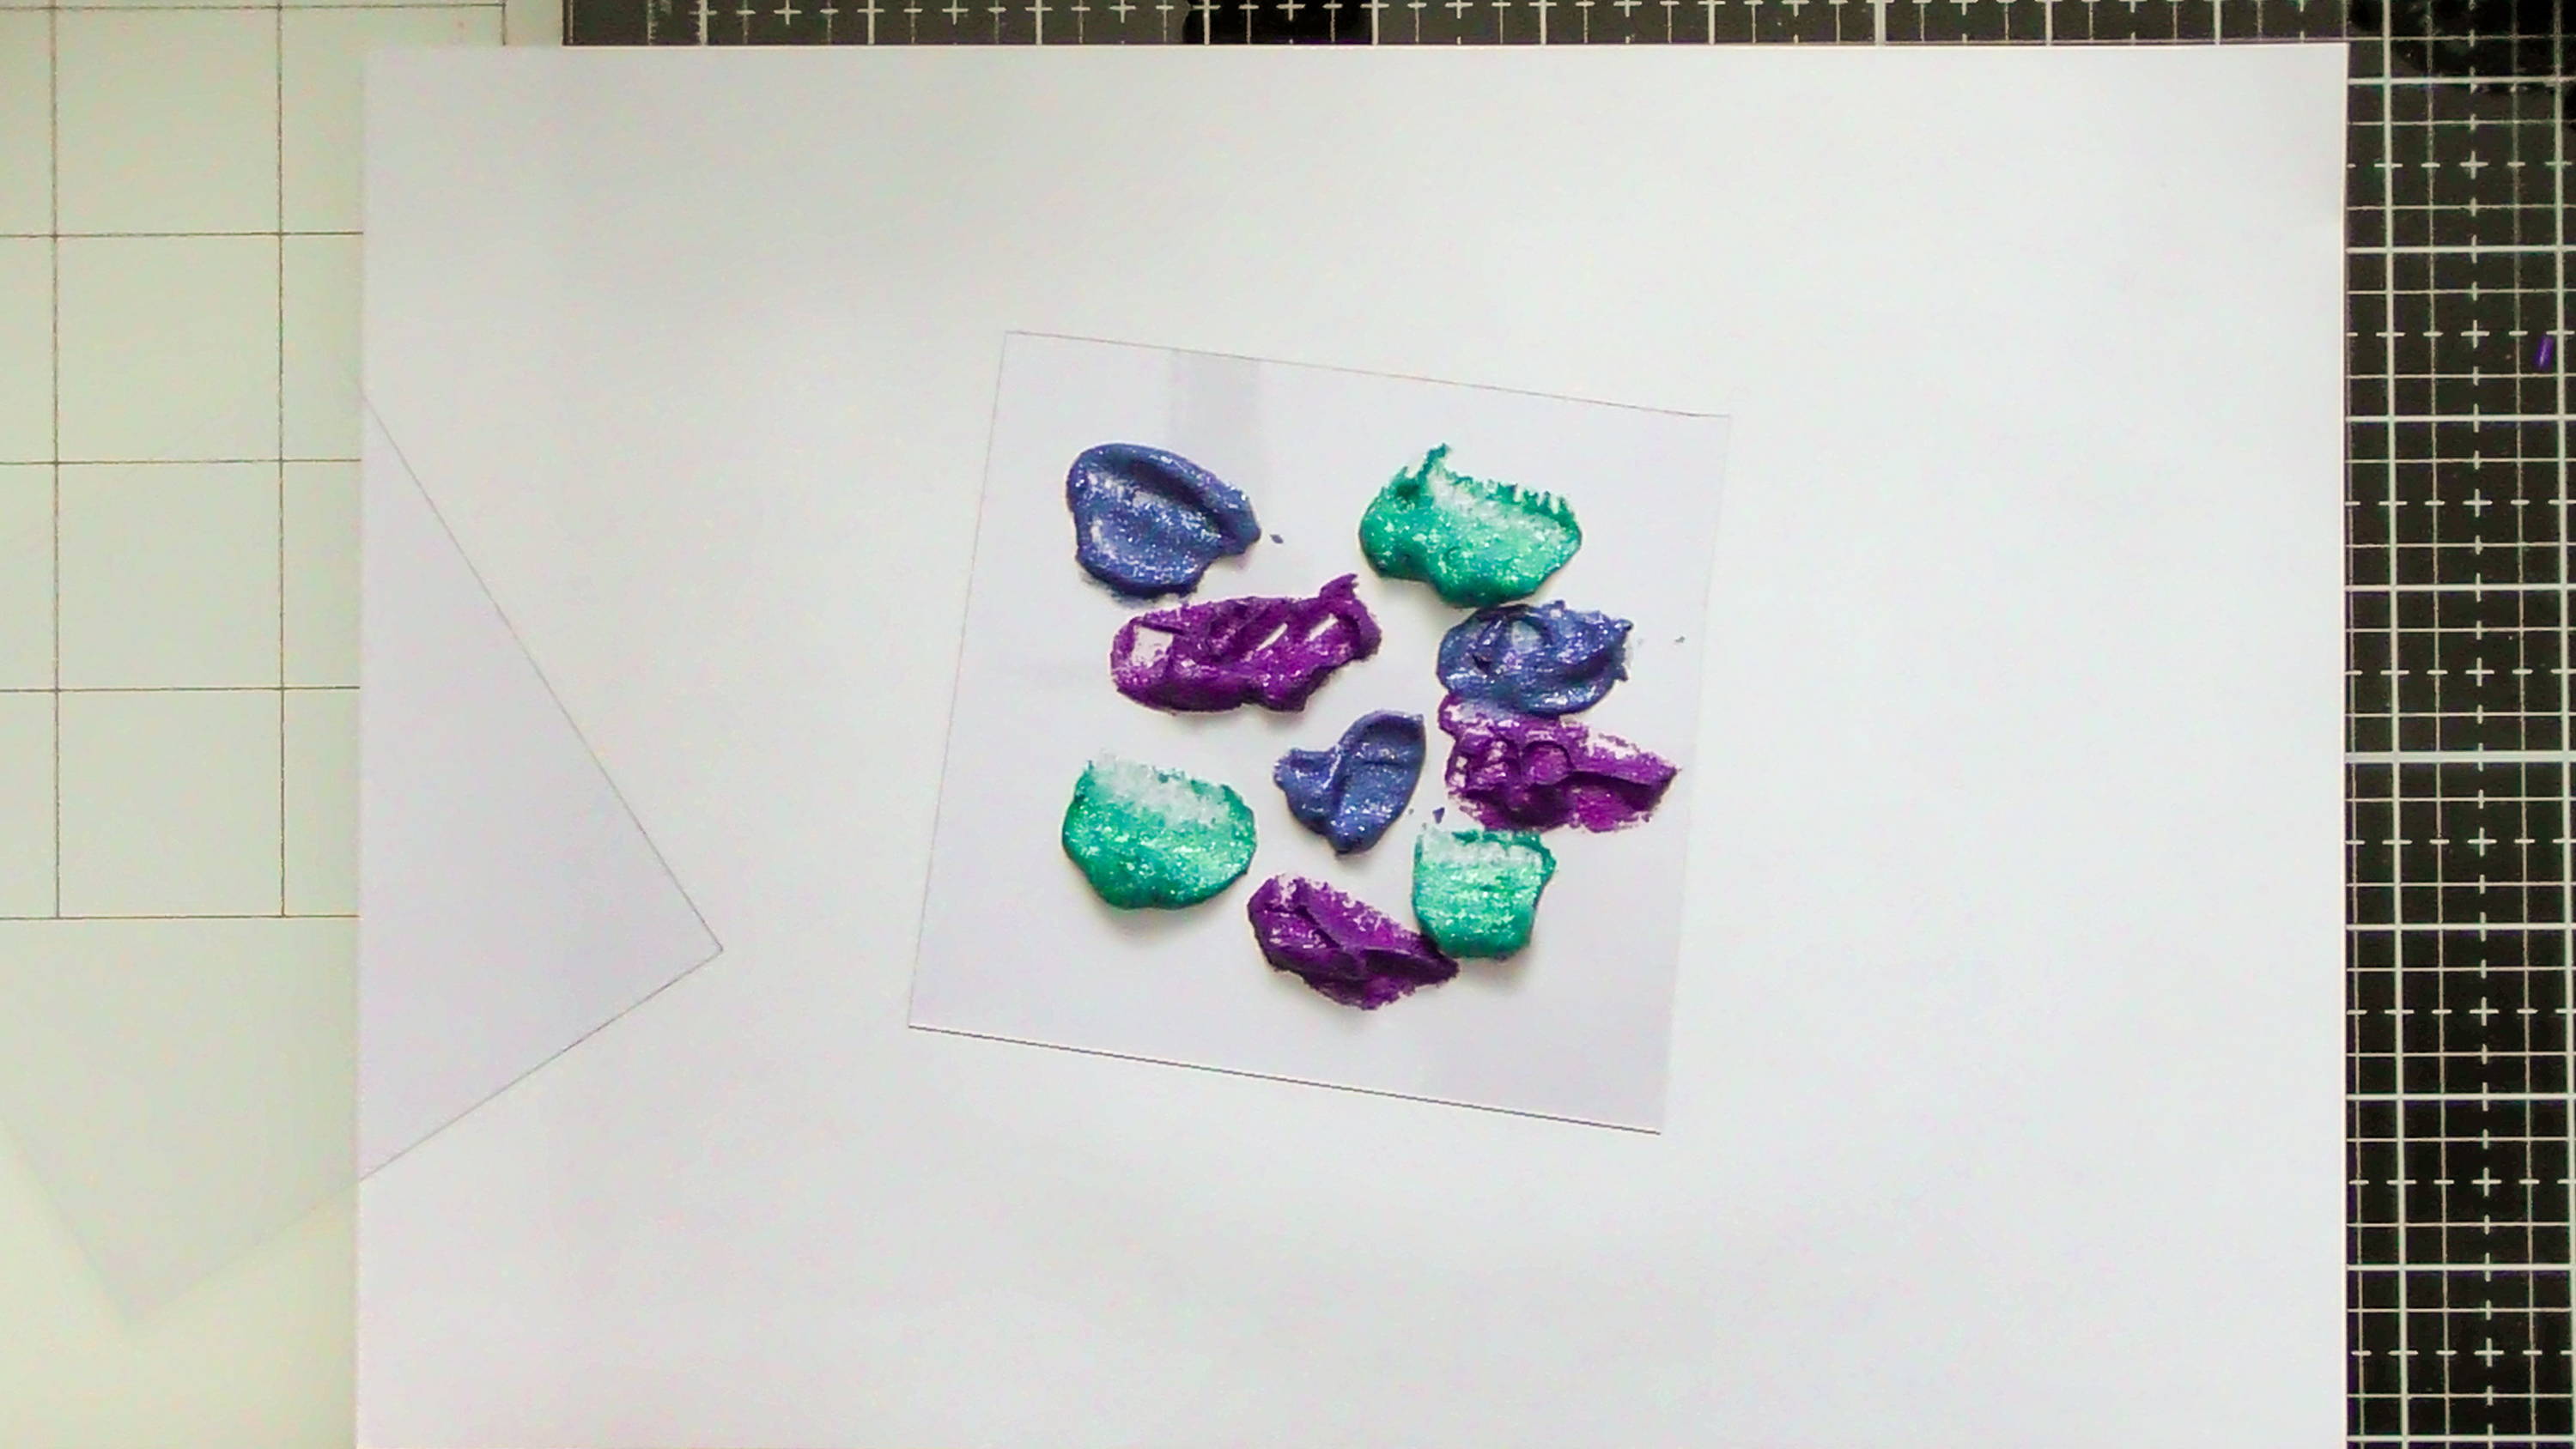
To begin with add some dollops of Glimmer Paste to one piece of acetate making sure to space your colours out, or add them in a linear fashion to create a stripy design.
Step 3
Then simply take your second piece of acetate, place it on top and press down to squish all the pastes together into a solid piece, you can judge by feel how much to press to spread the paste out. Try not to press so hard that it all squishes out the edges though
Step 4

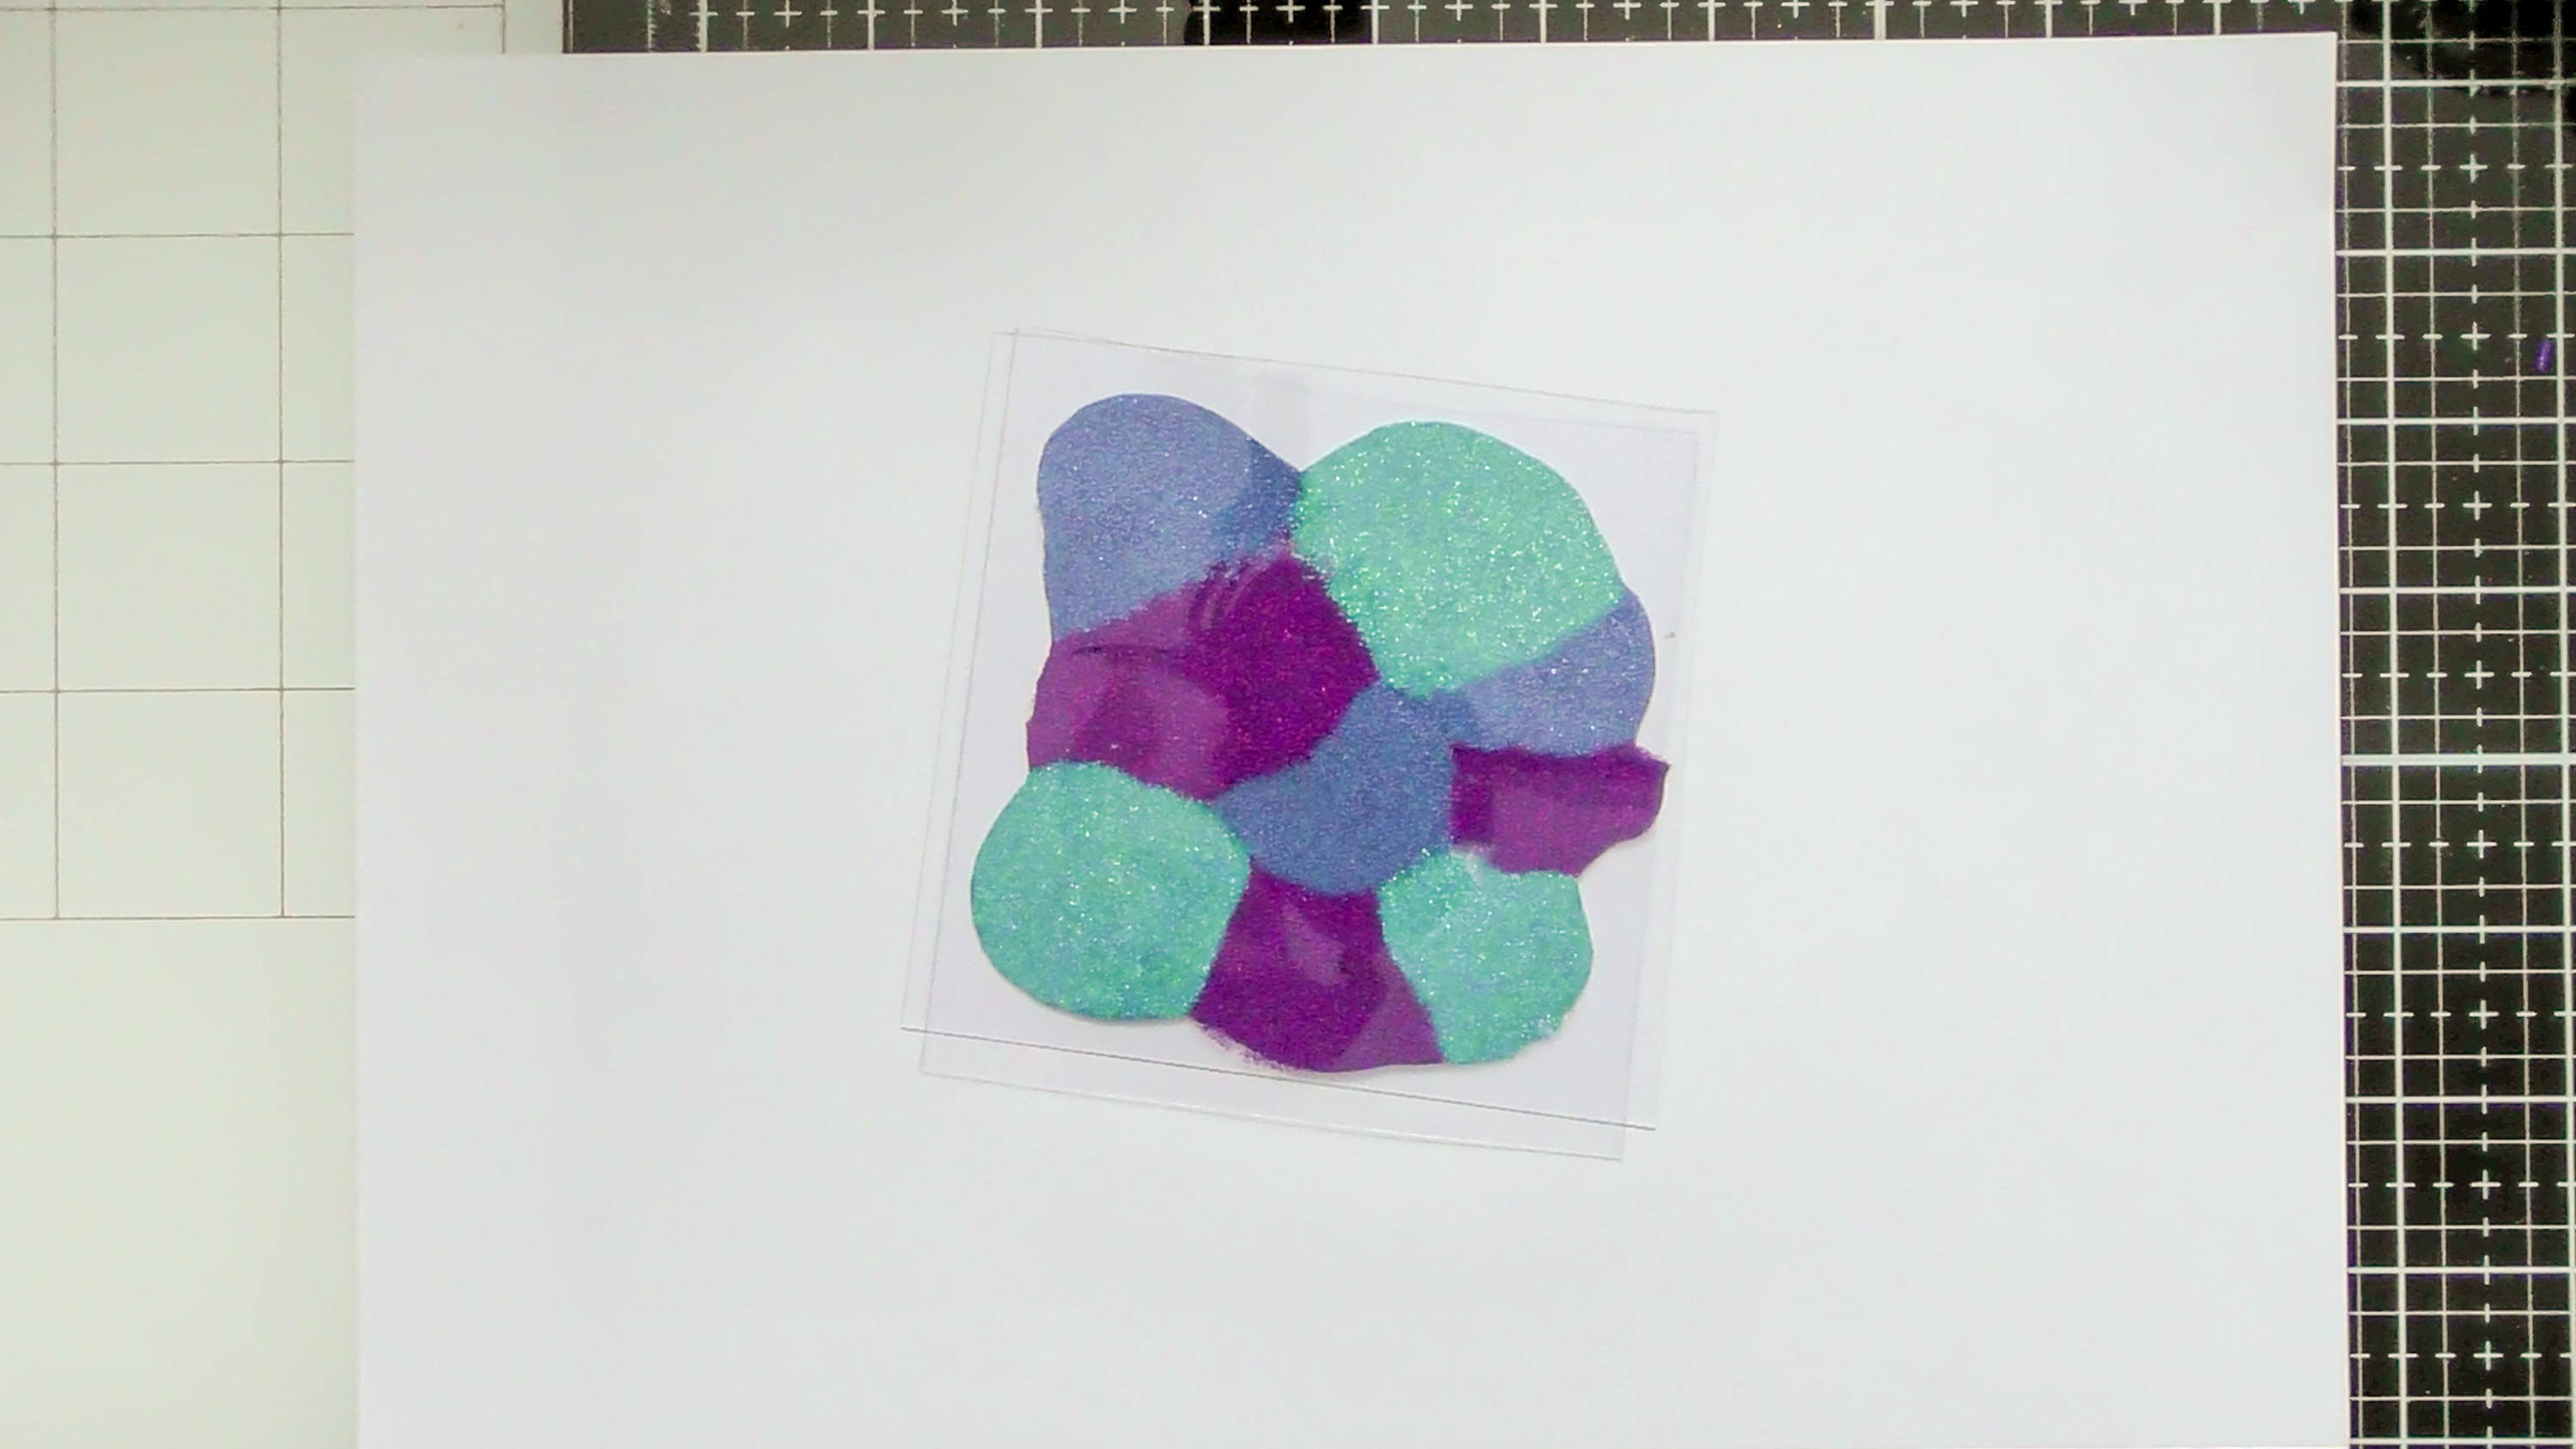
Then simply pull the pieces apart and you’ll get this cool textured effect, and you can enhance this even more by sprinkling in some Nuvo Confetti too if you want :D You have to peel the 2 pieces apart again as the acetate is a non-porous surface so the paste would have a hard time drying when sandwiched between the 2 pieces, but if you prefer the look of the paste in step 3, you can just use the smooth side of the acetate as the front
Step 5
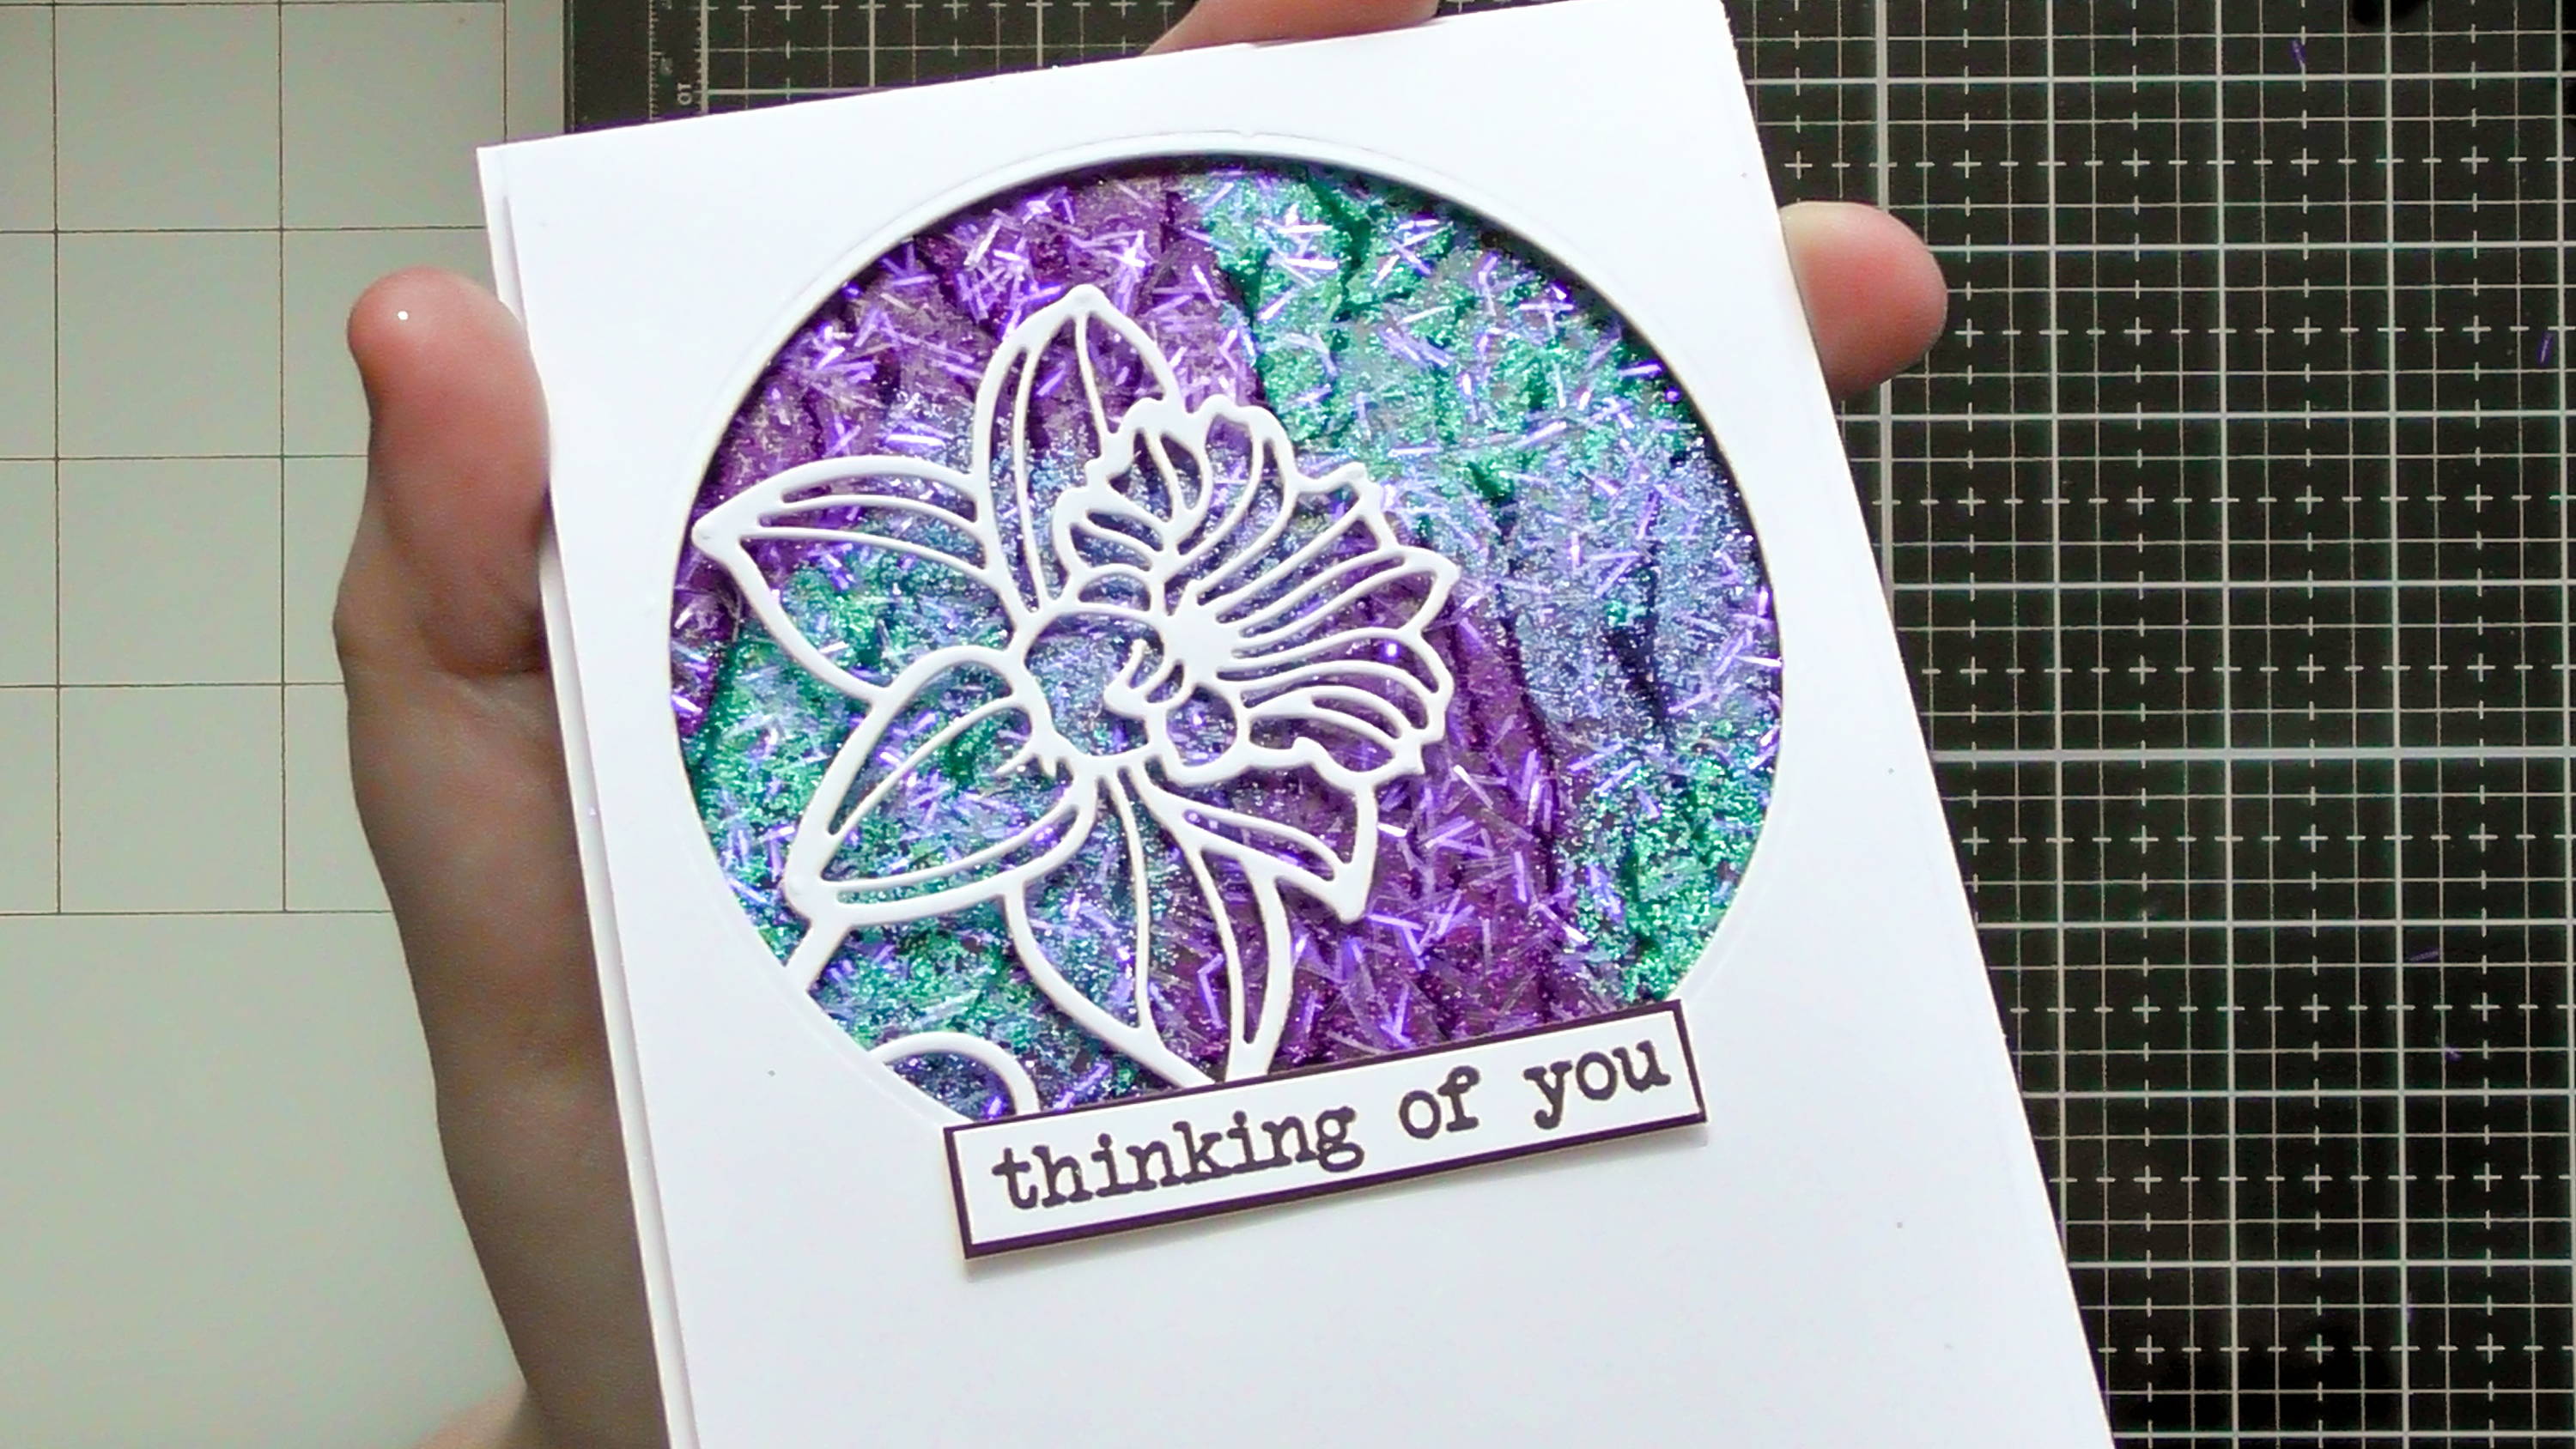
Then simply use your dry piece behind an aperture on a card :D You can also cut an aperture in the front of the card blank as well and make it a window into the centre of the card if you want to as well.
The Splattering Technique
Step 1
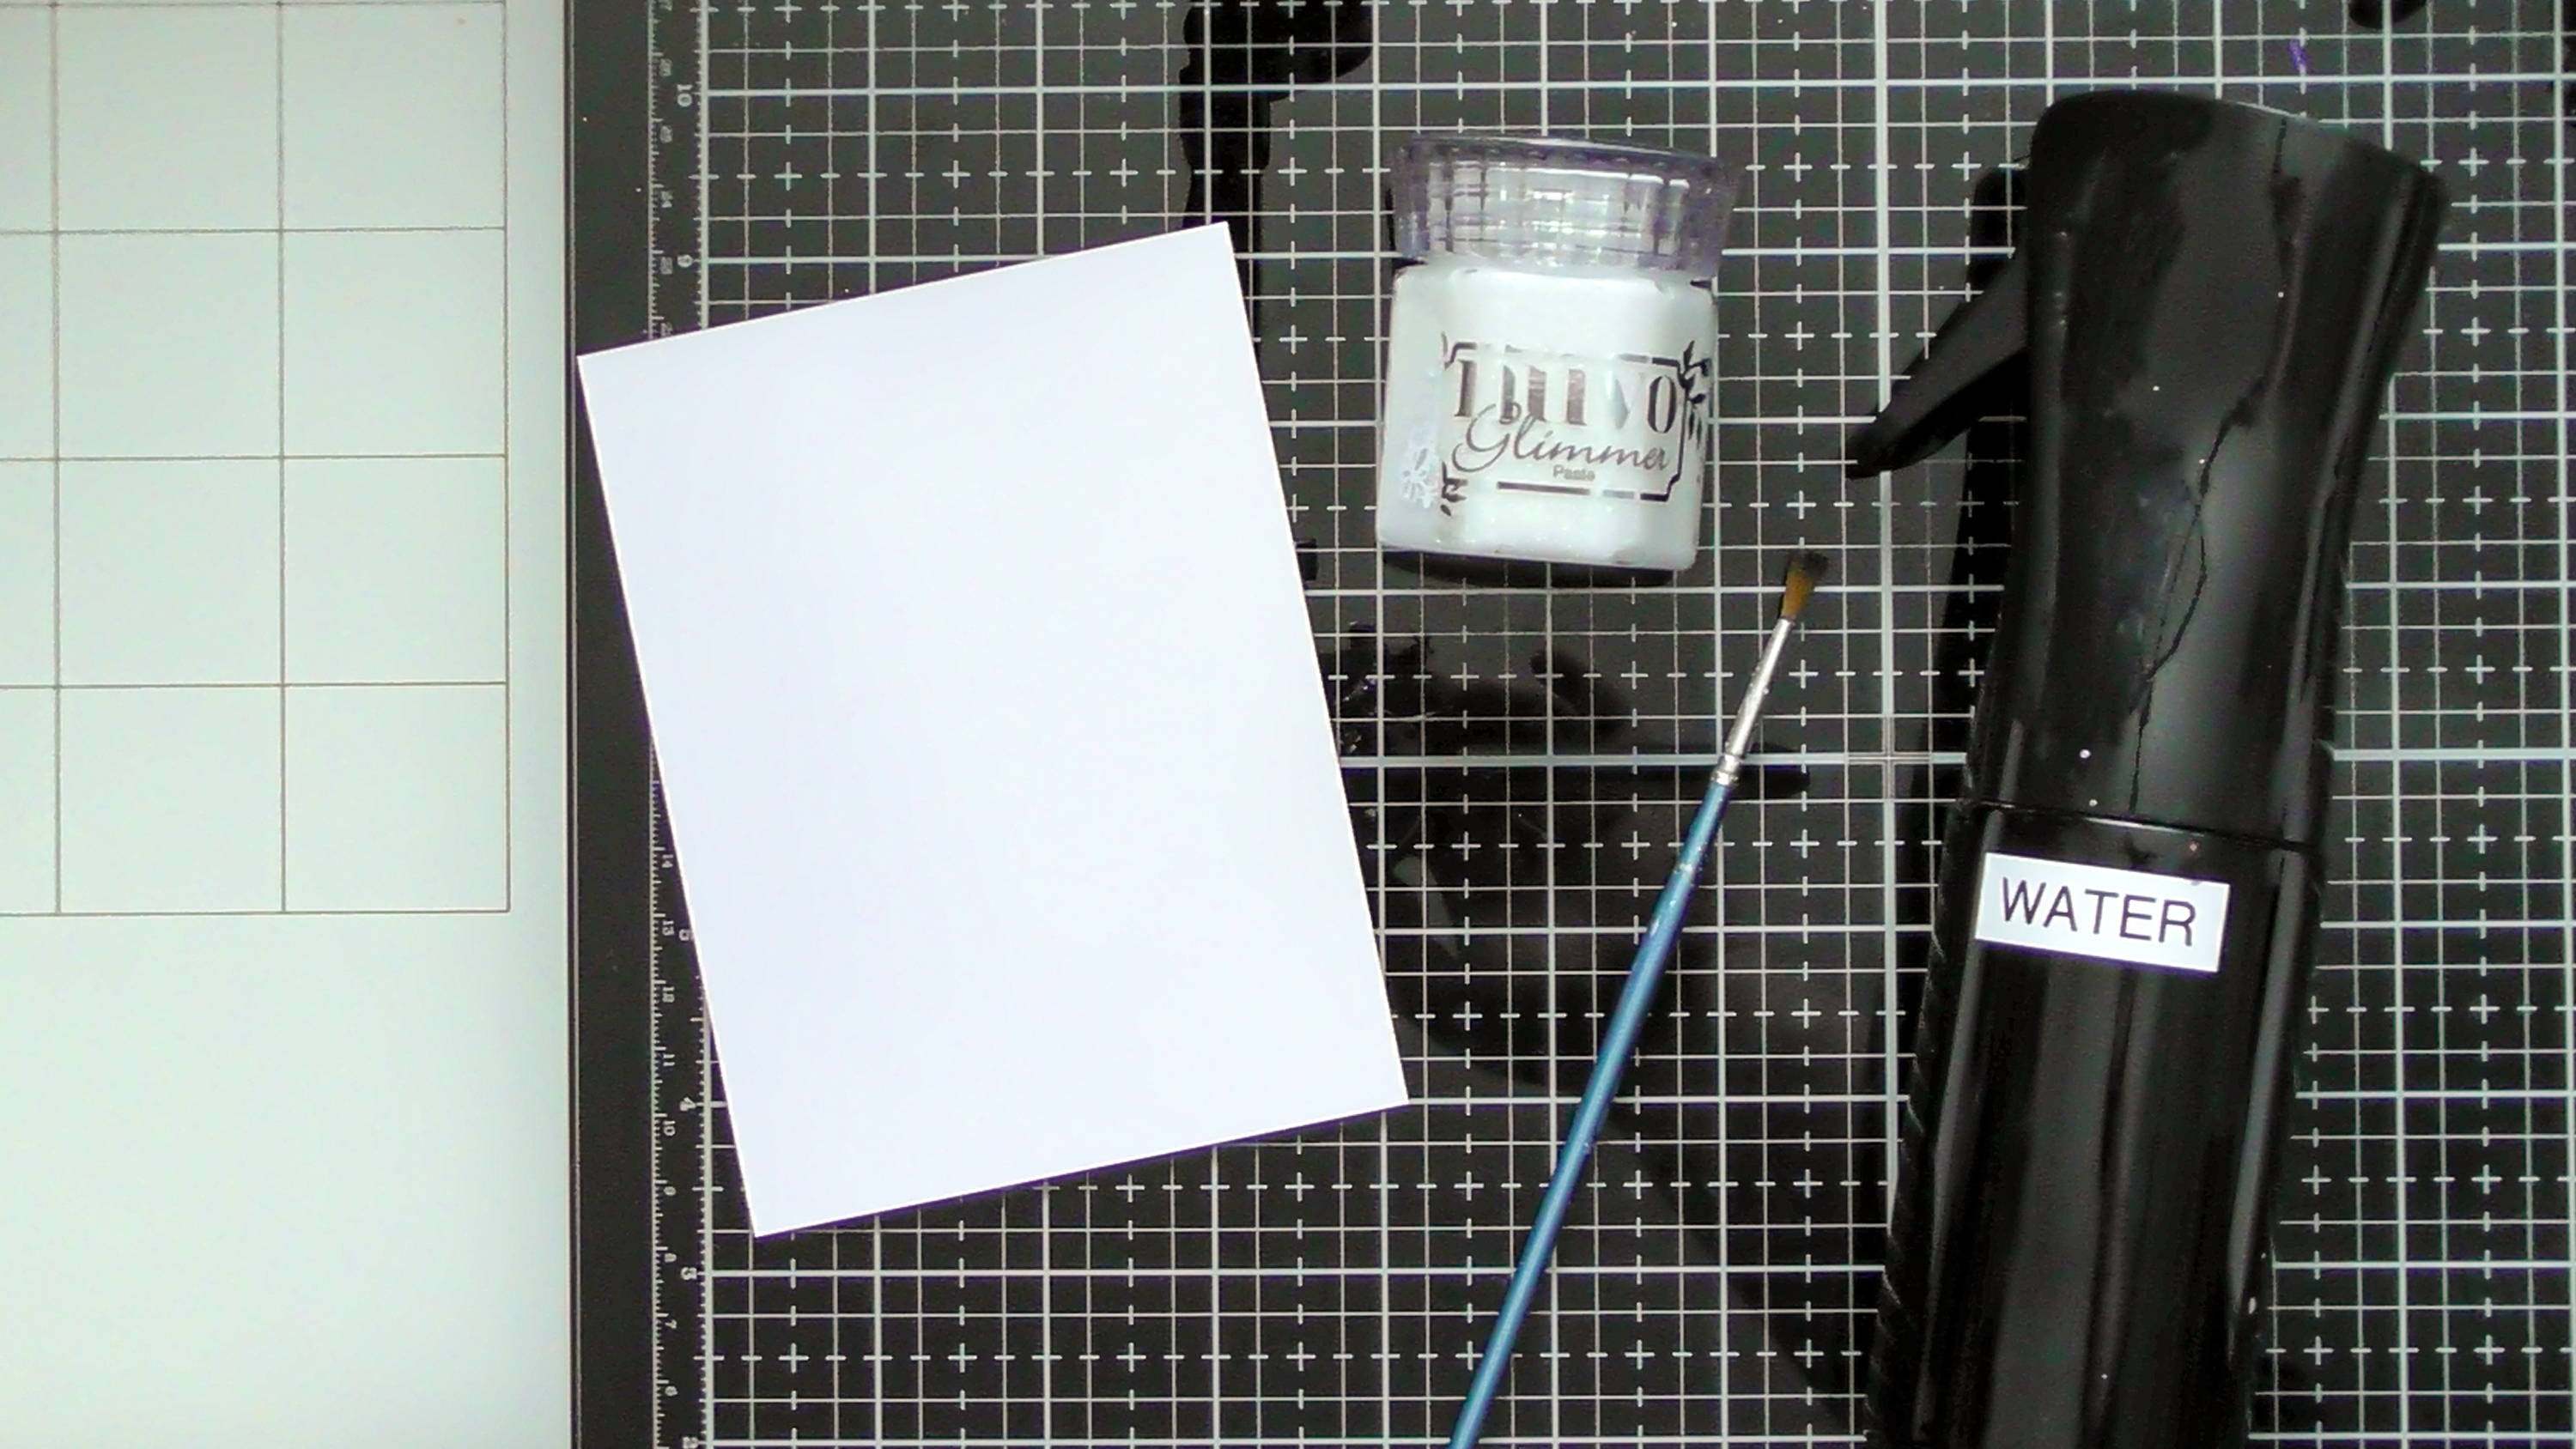
For this technique you’ll need your chosen colour/s of Glimmer Paste, an old paint brush and water. Technically you shouldn’t add water to the paste as it’ll affect it’s properties, however if you don’t mind that some glitter might rub off this is a fun way to make your Glimmer Paste even more versatile
Step 2
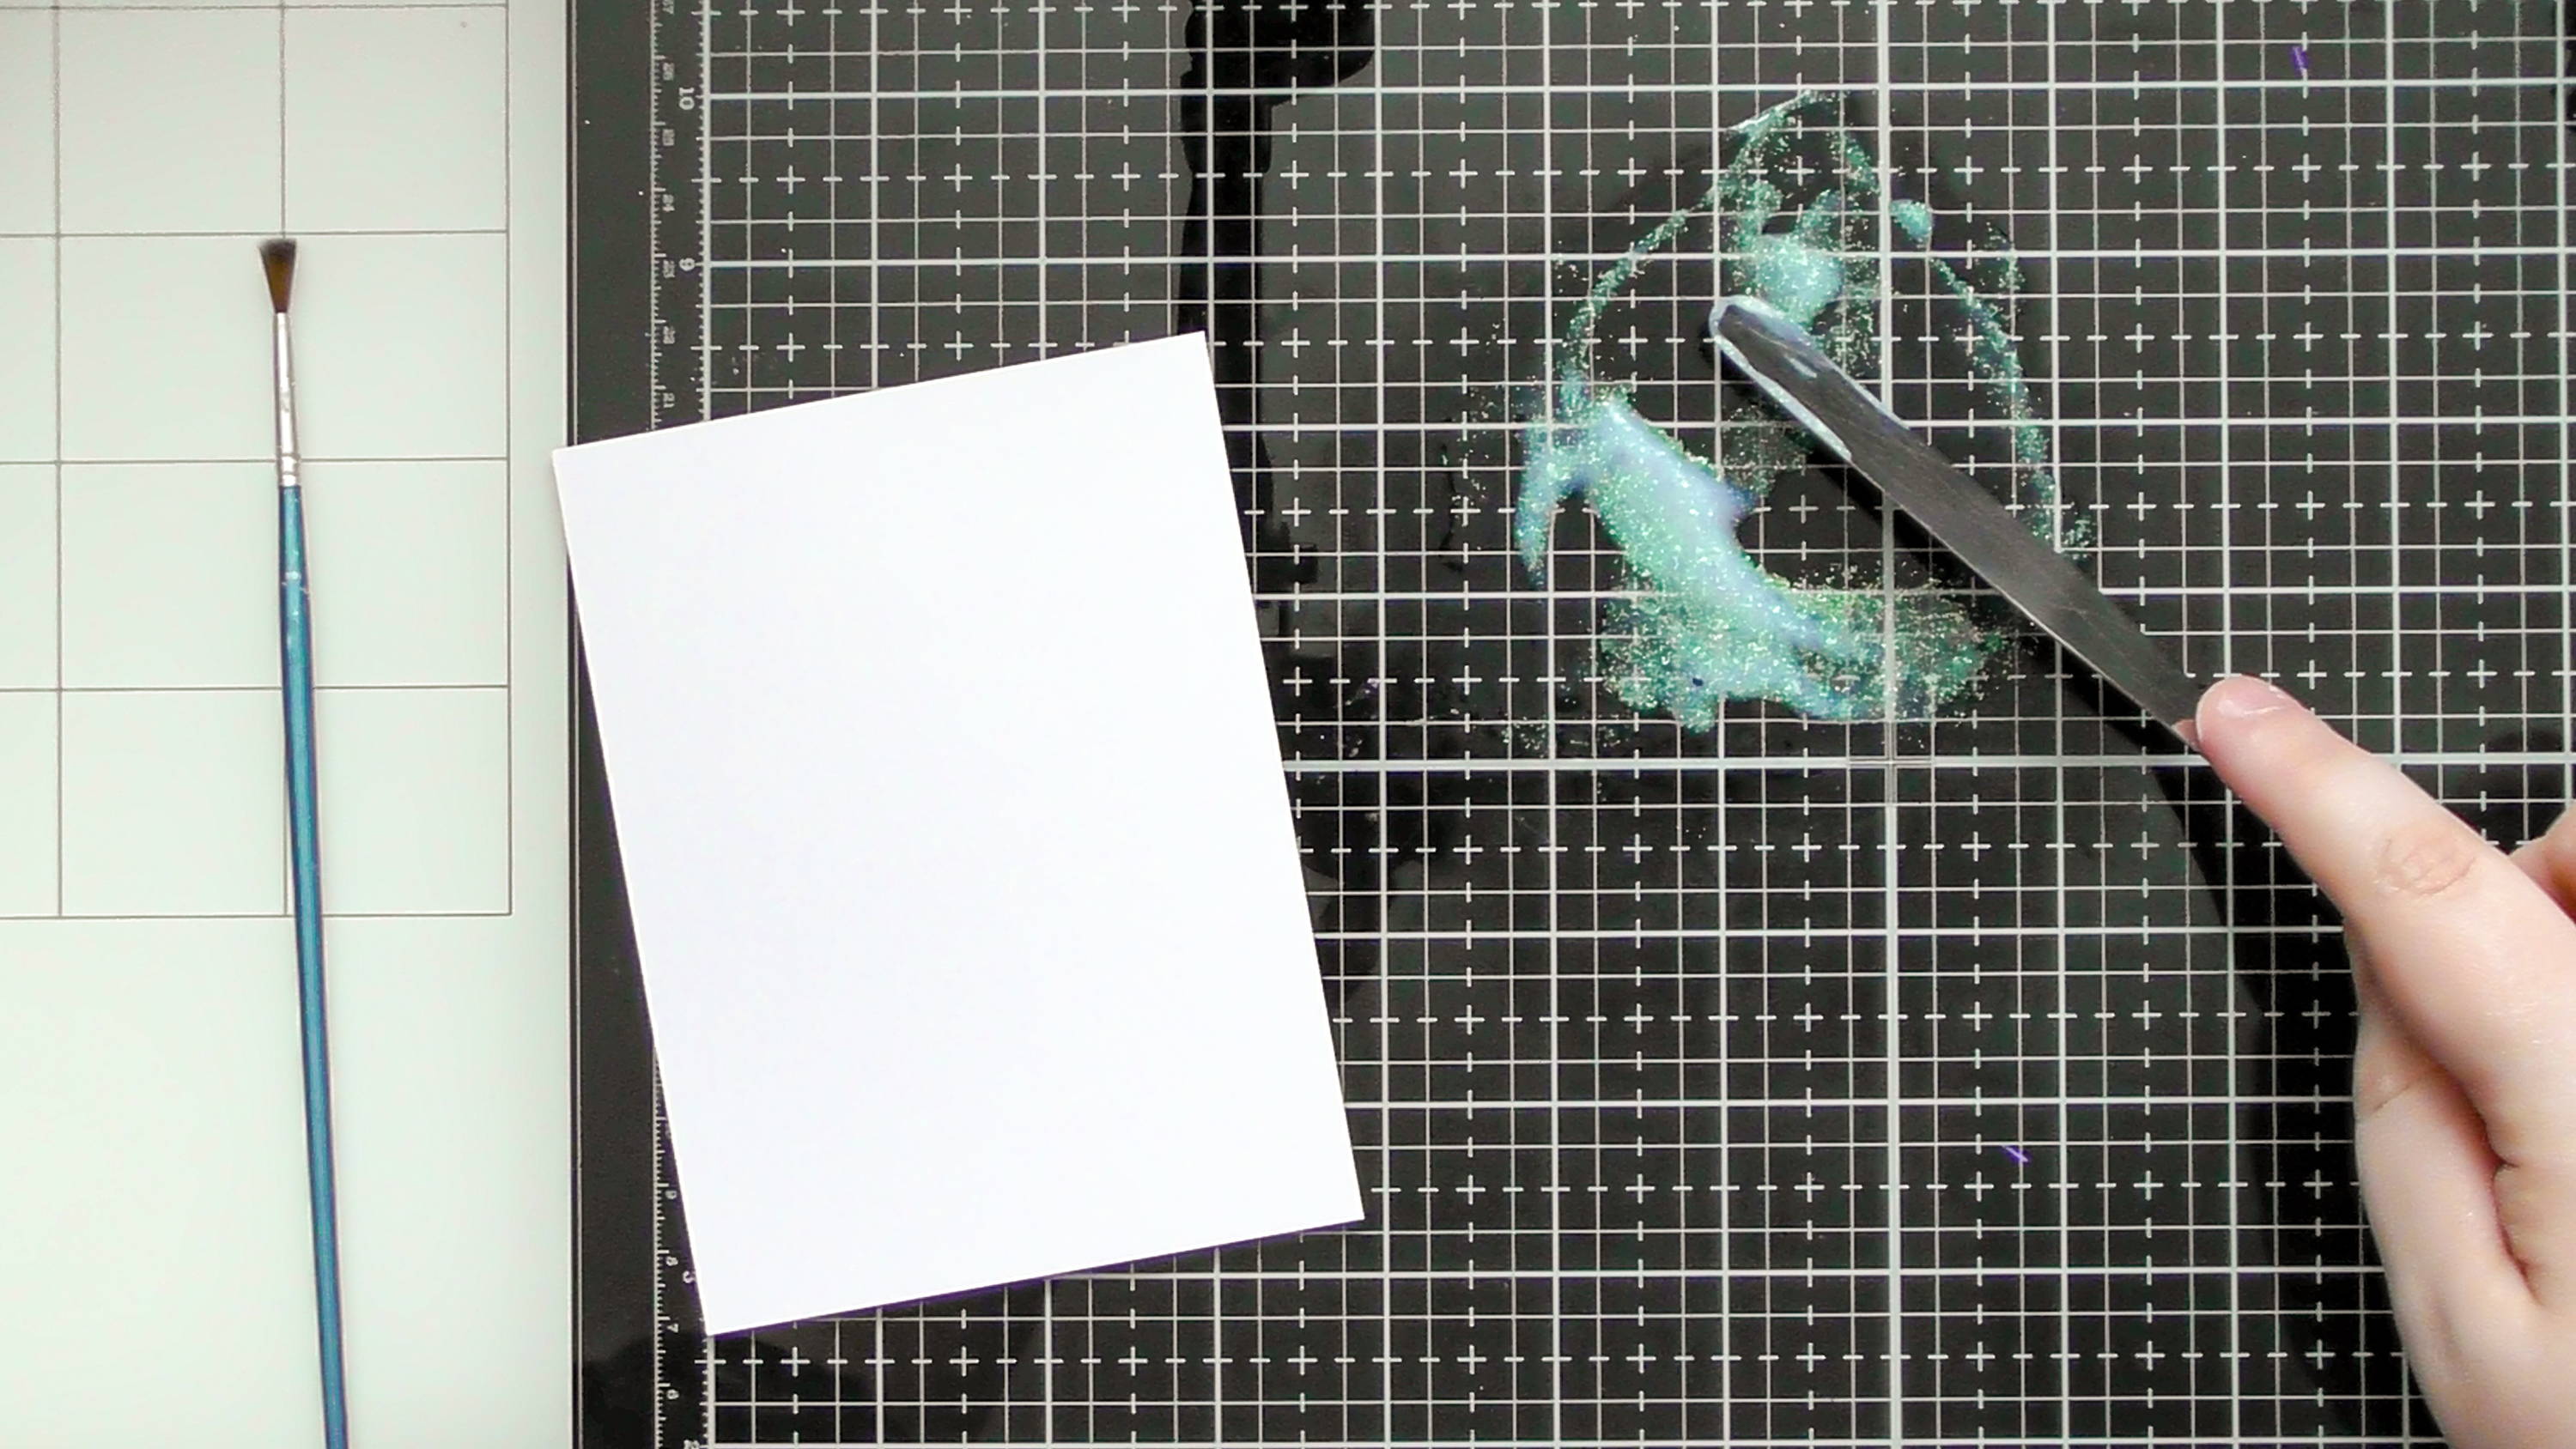
Simply take a small blob of paste and mix it with some water (add a little at a time and use a palette knife to mix so you don’t wreck your brush) until it’s a consistency that you can splatter.
Step 3
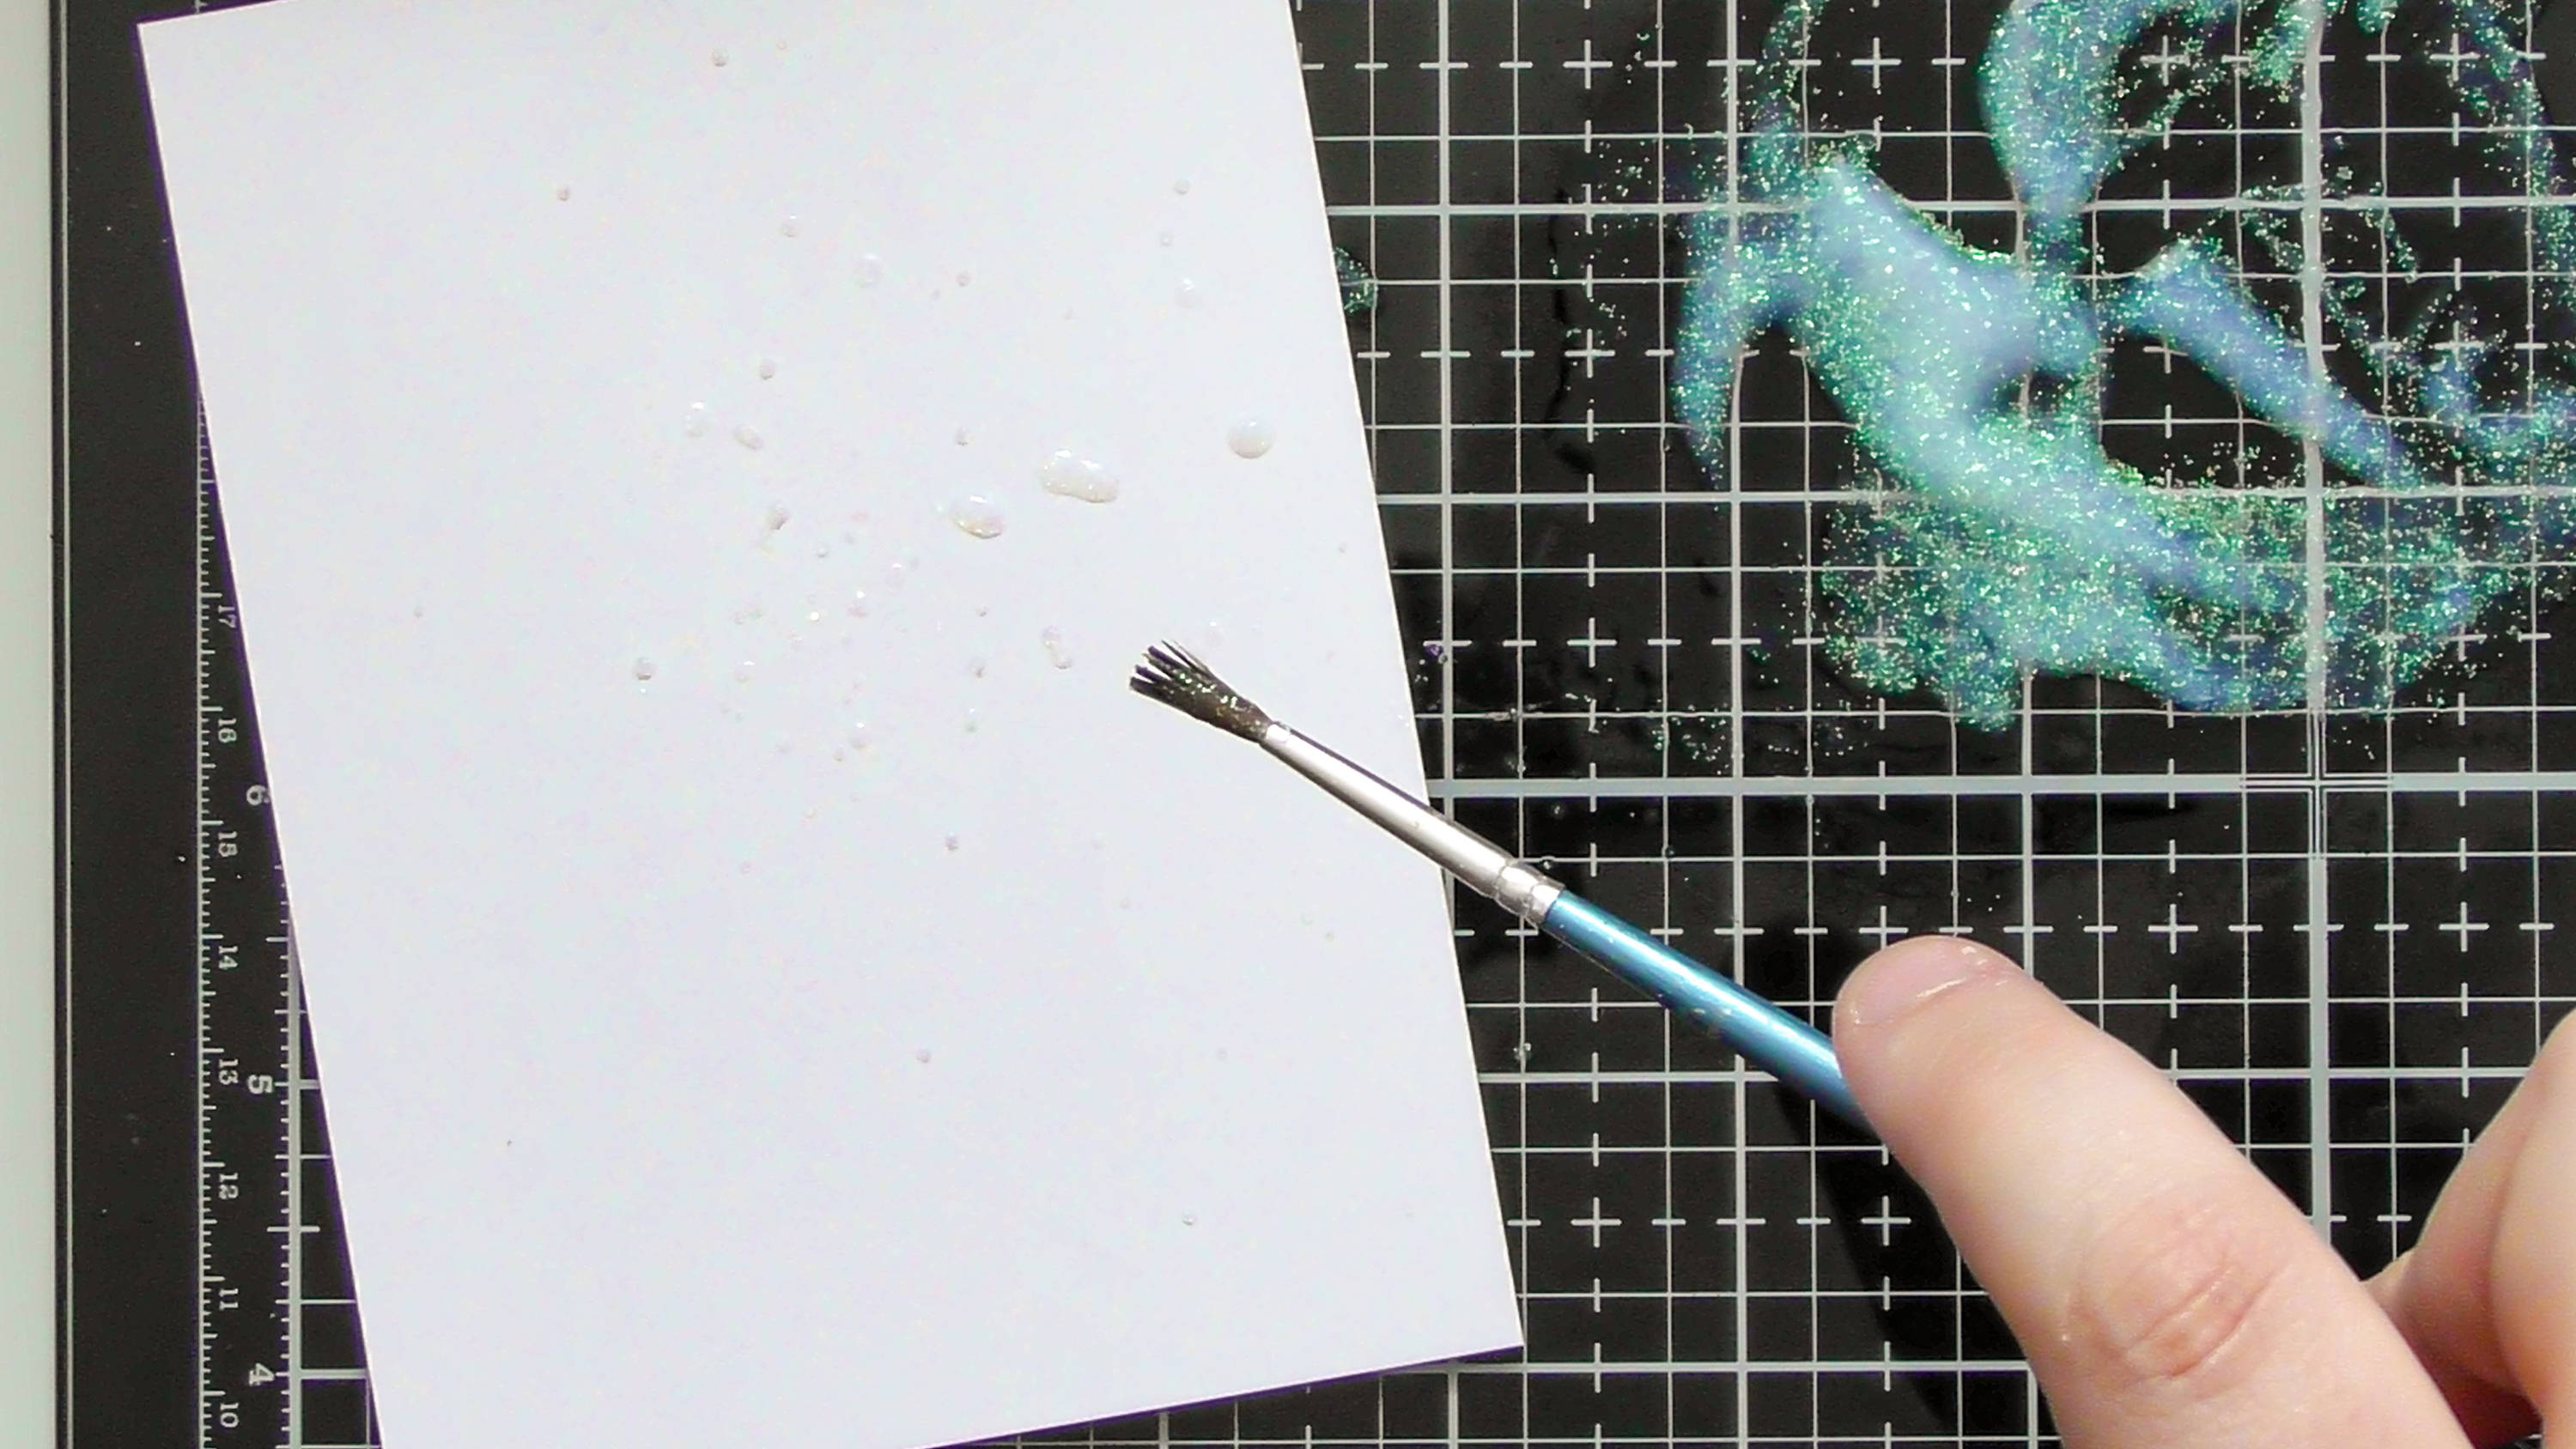
Then simply load up your brush with your mixture and splatter
Step 4
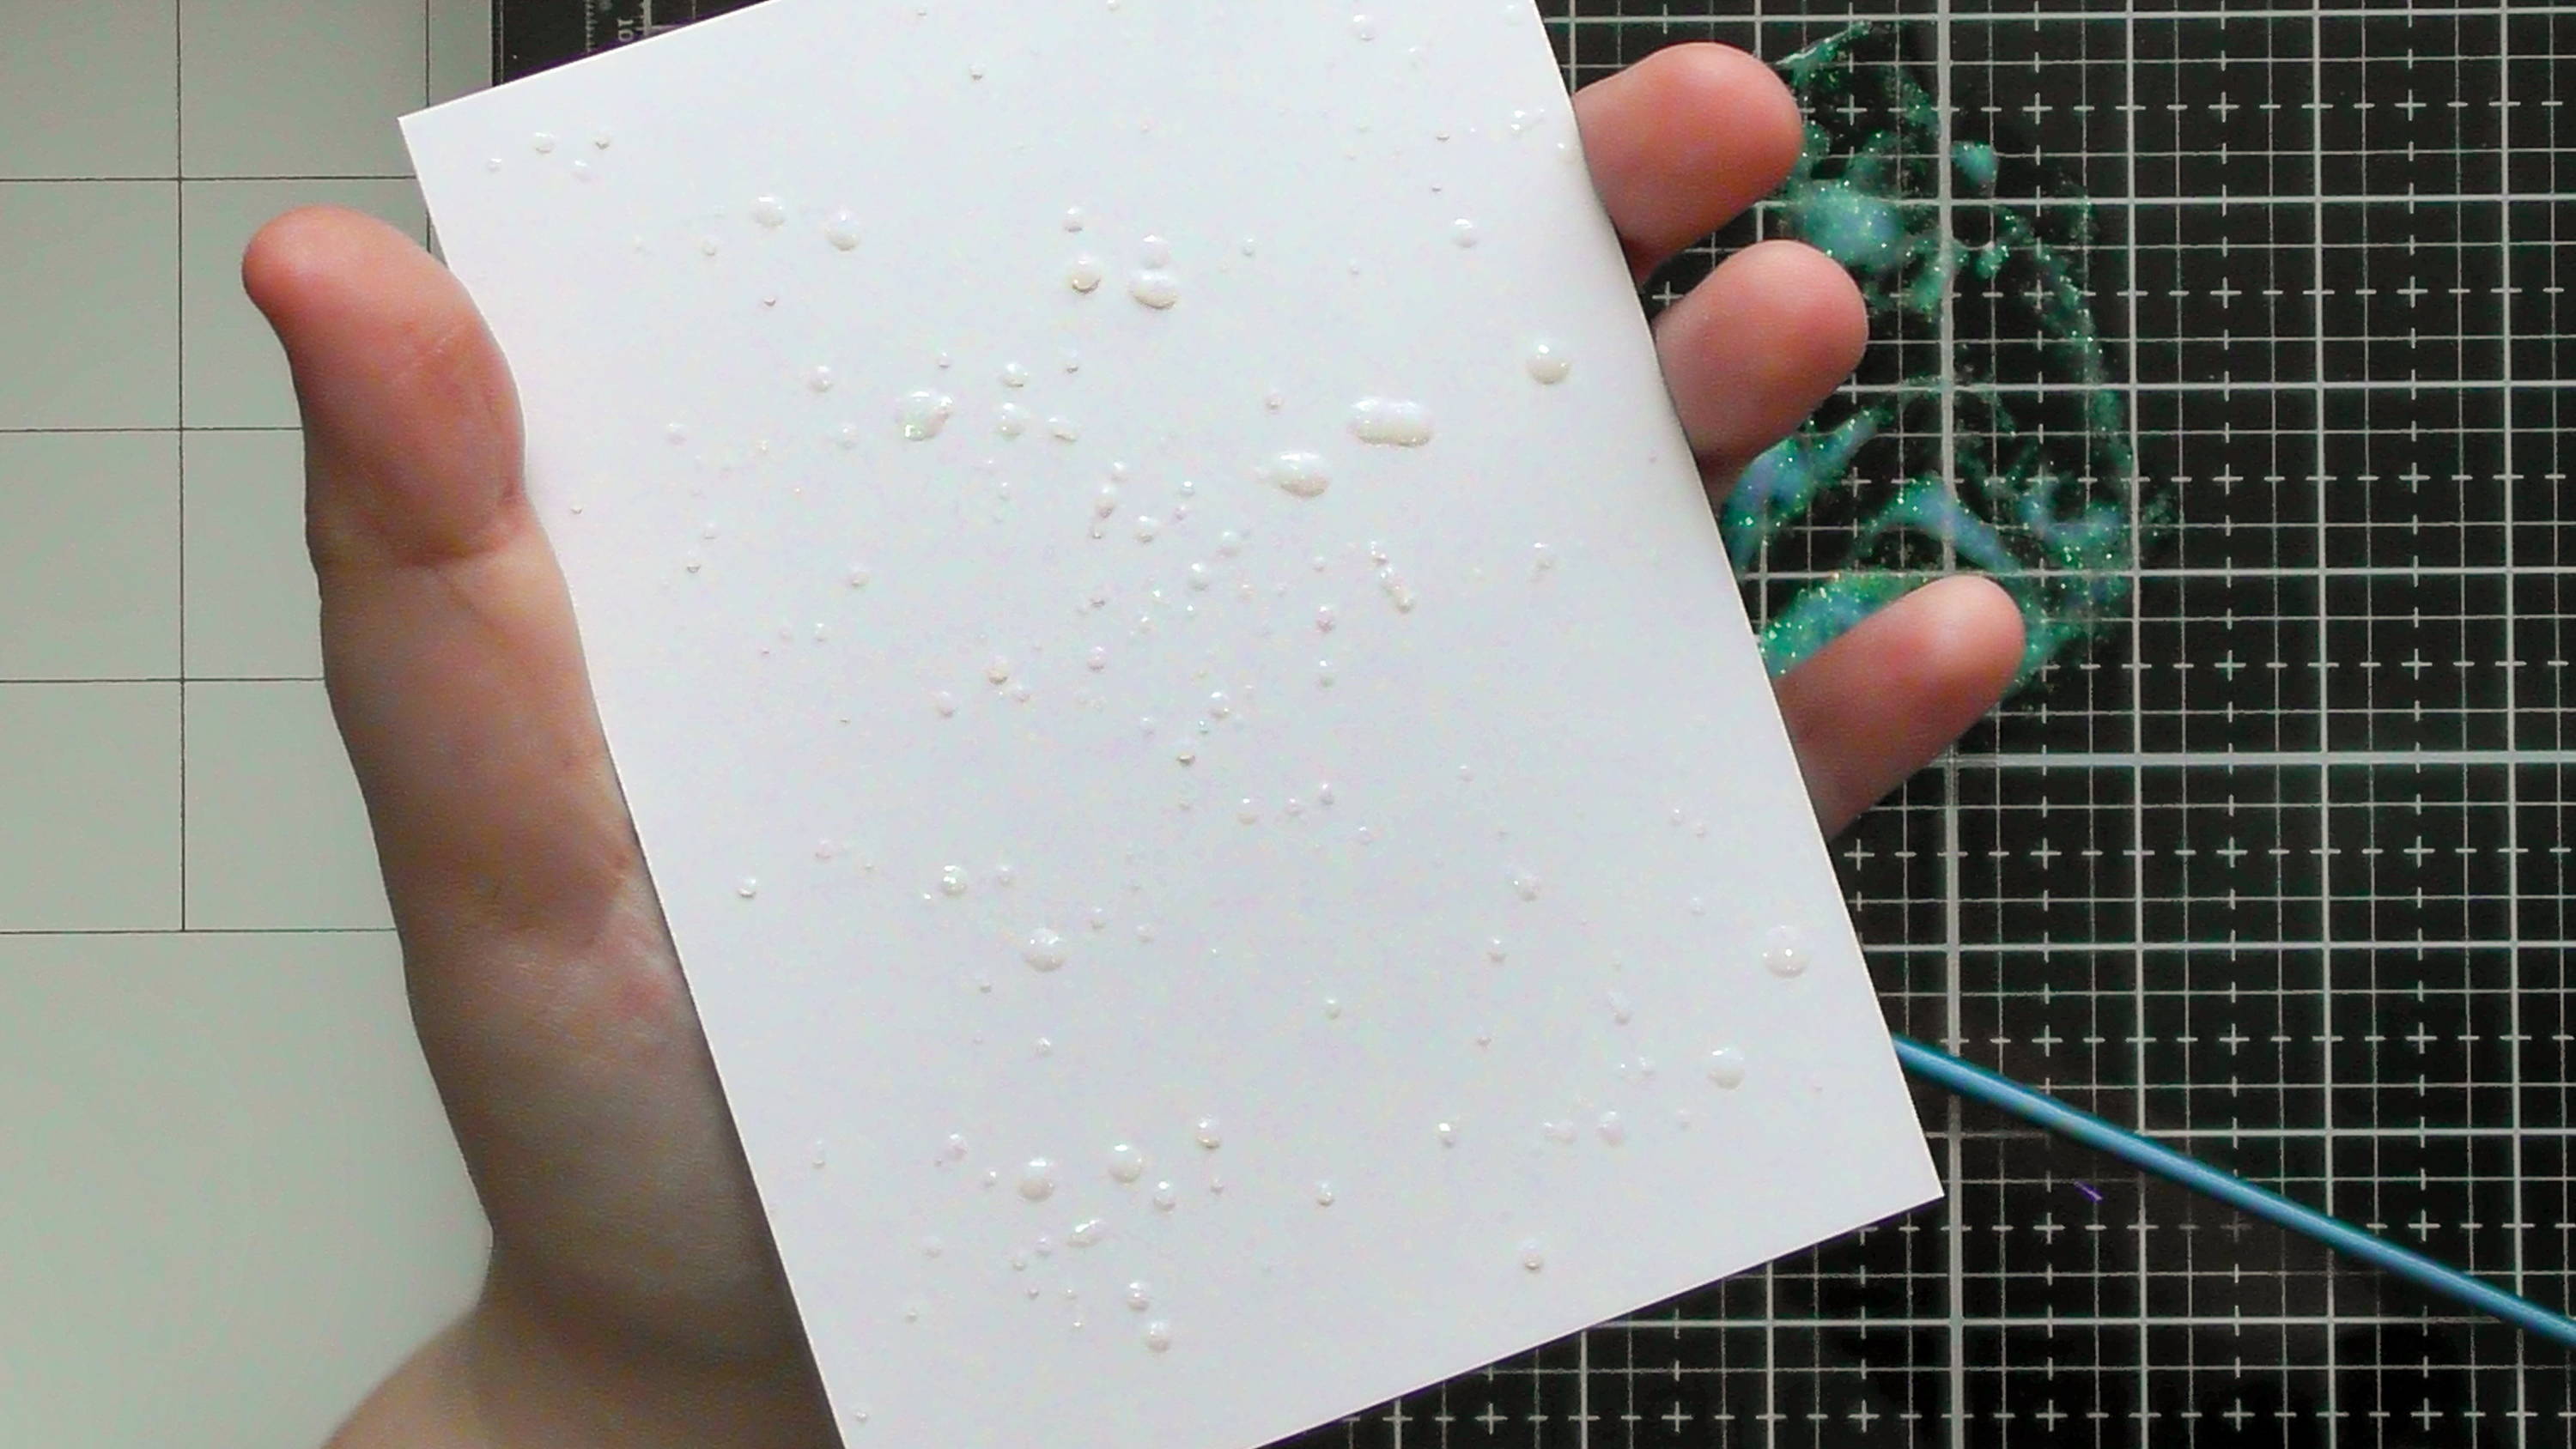
You can add as much or as little as you like and use whatever colours you want too. I was going for a resist look to give a snowfall background so I went for the Moonstone
Step 5
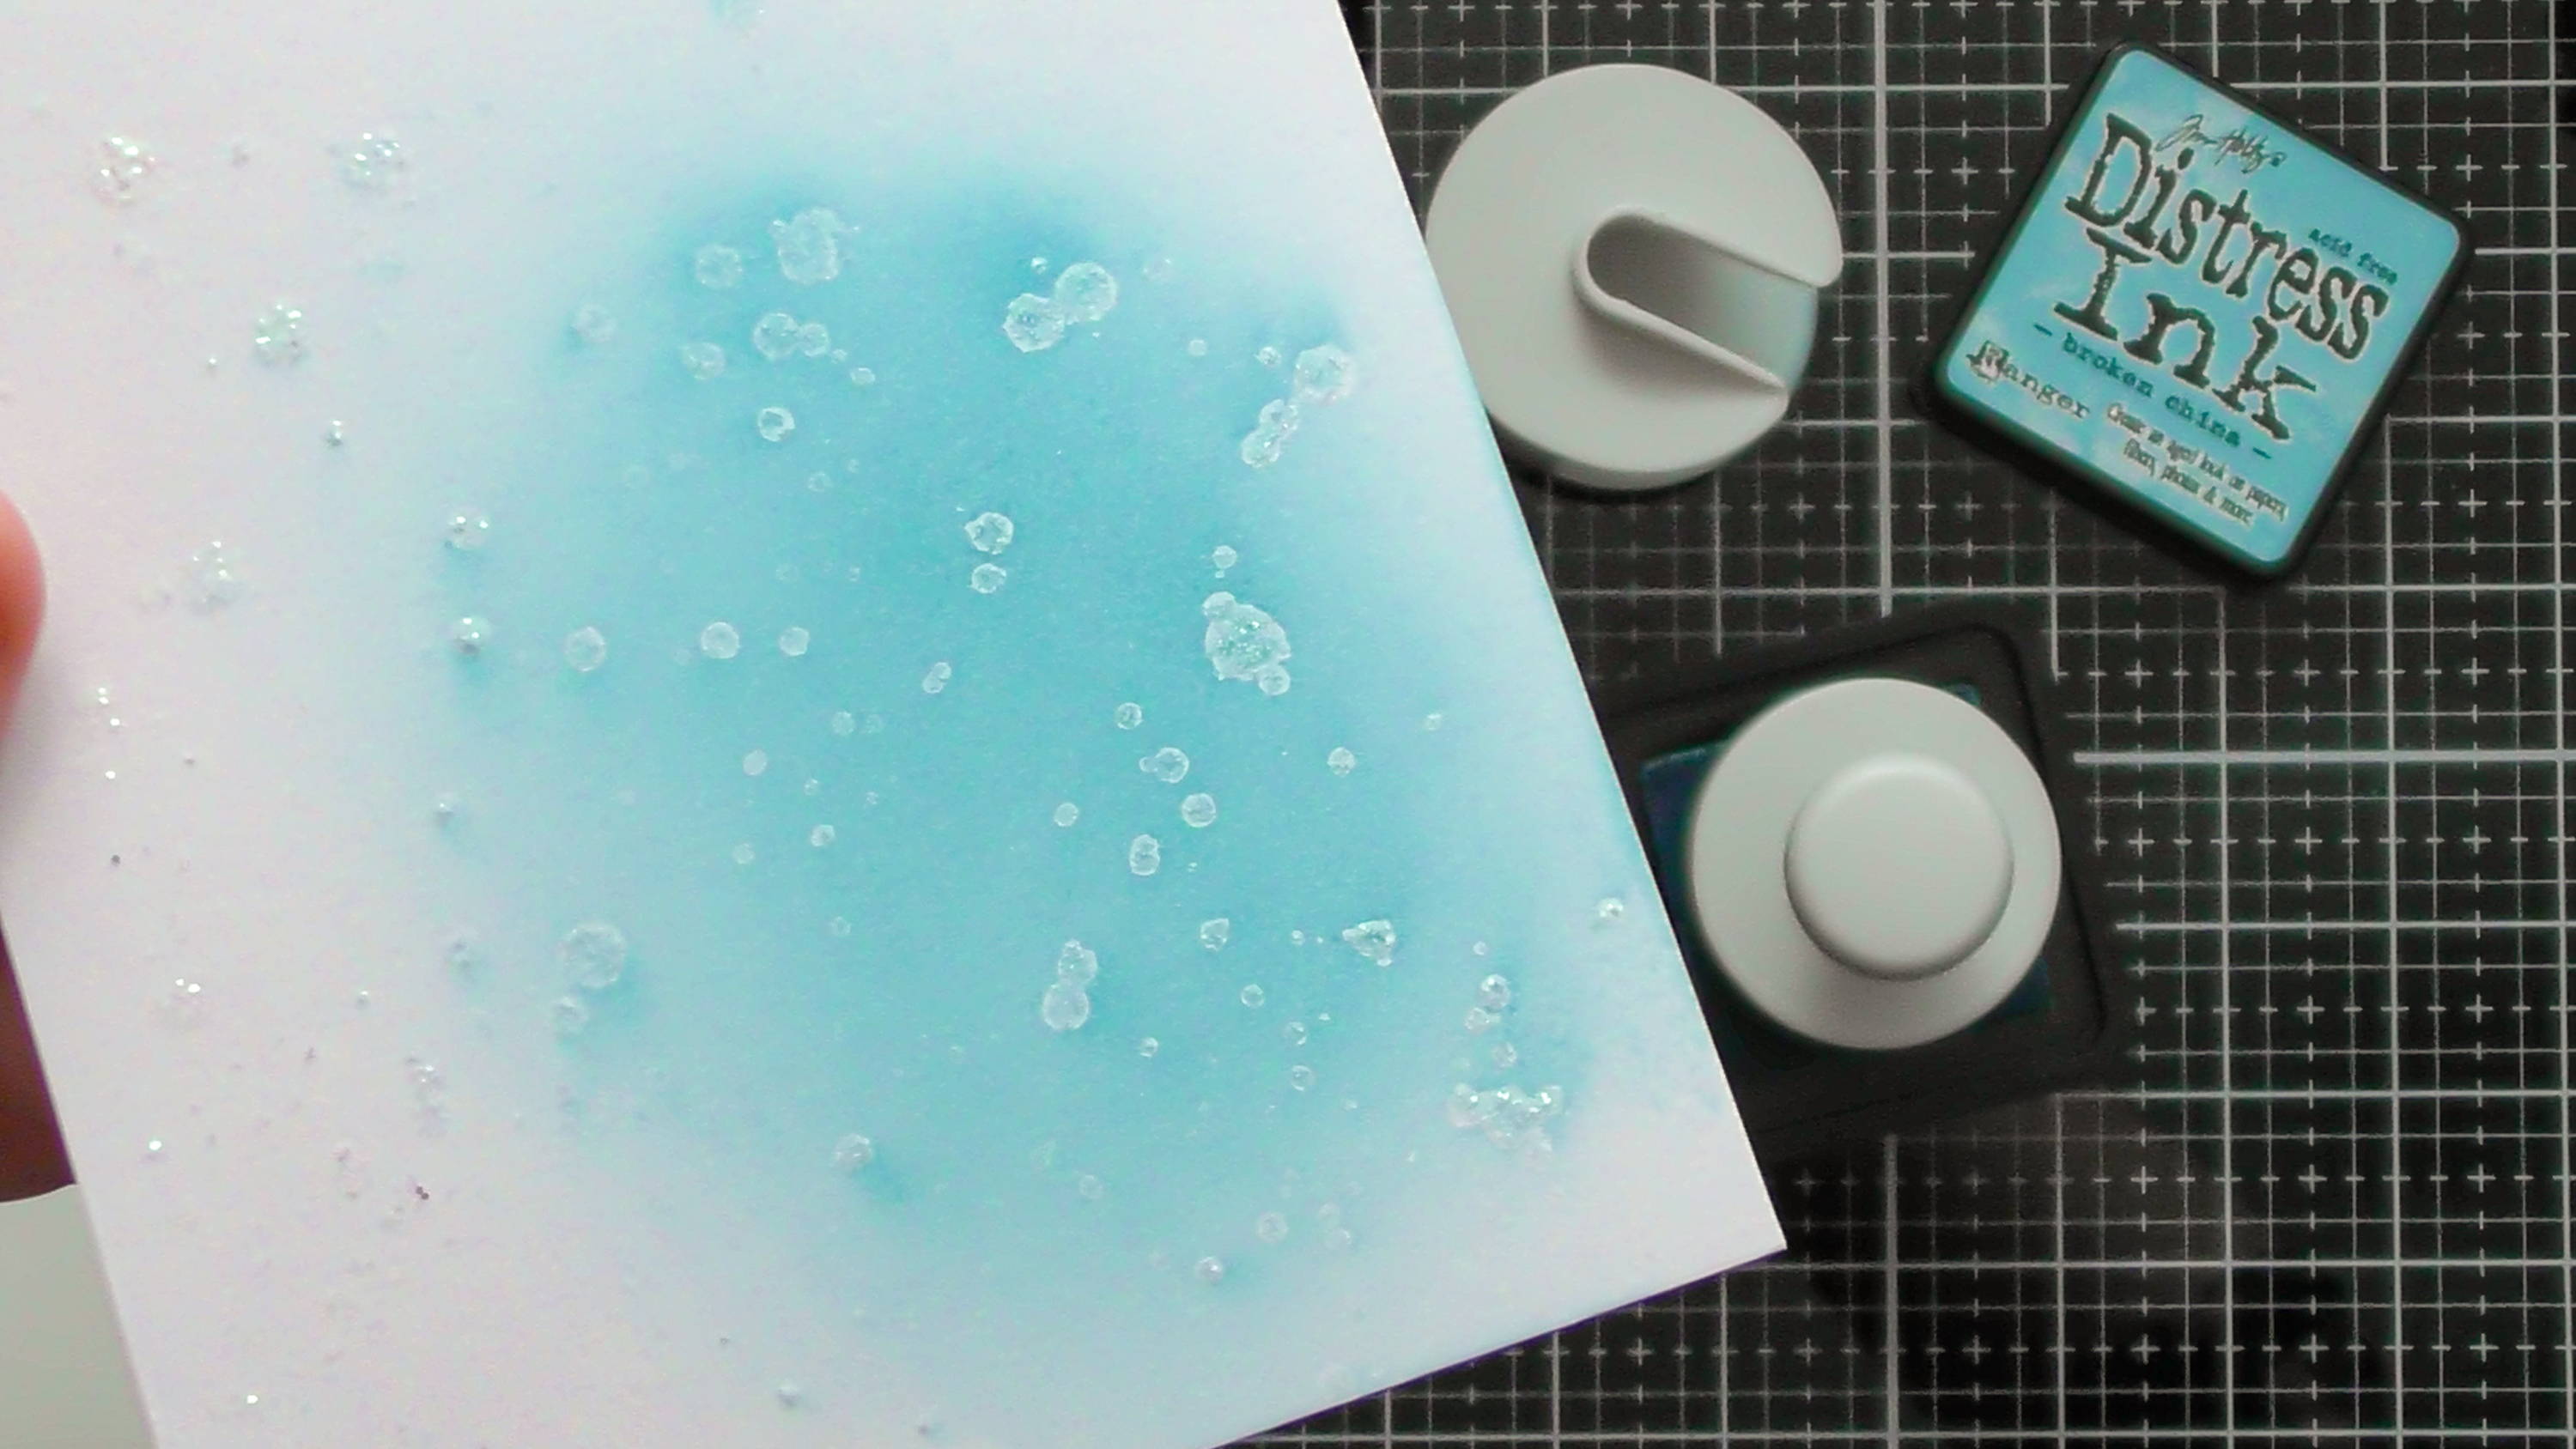
Leave your background to completely dry, then simply ink blend over the top, you might want to rub over the paste with kitchen roll to clean off the ink when using the Moonstone for a resist effect, and play around with multiple colours if you like too, I just kept it simple
Step 6
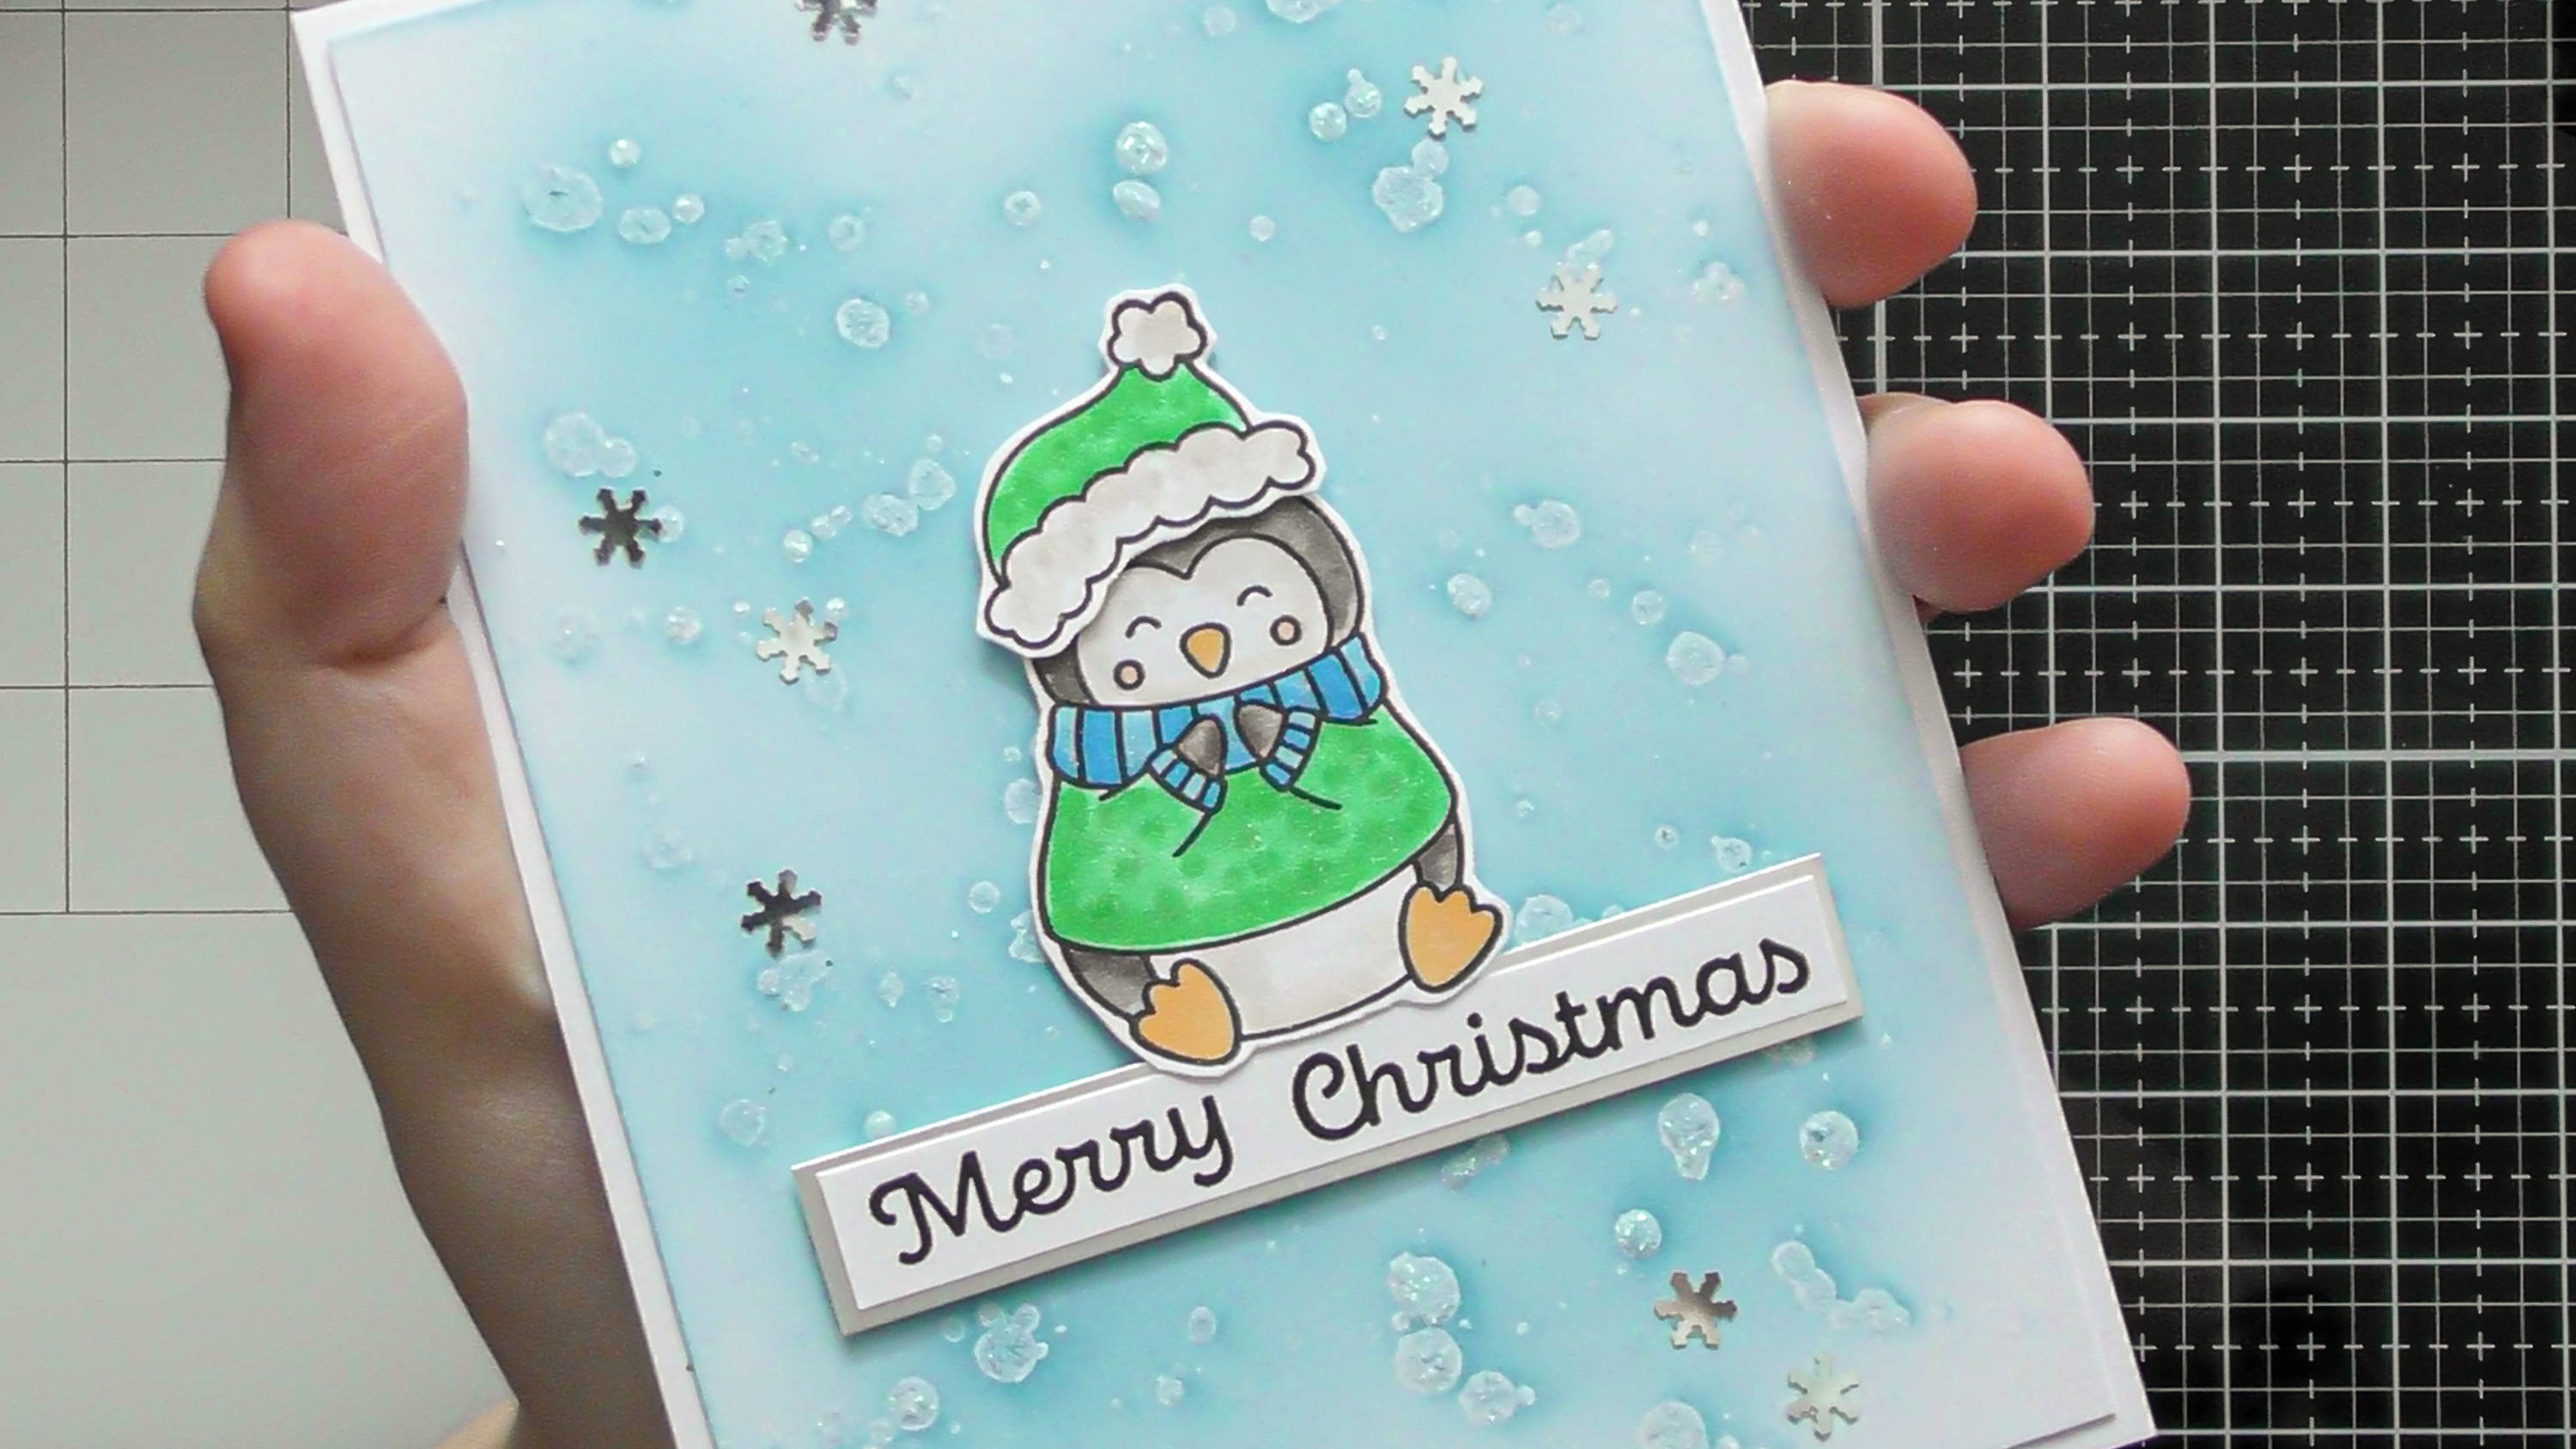
Now you have a cool sparkly snowfall background, and I finished mine off with an adorable snowman from the Birthday Celebrations ‘Snow Much Fun’ release.
The Colour Meld Stencil Technique
Step 1
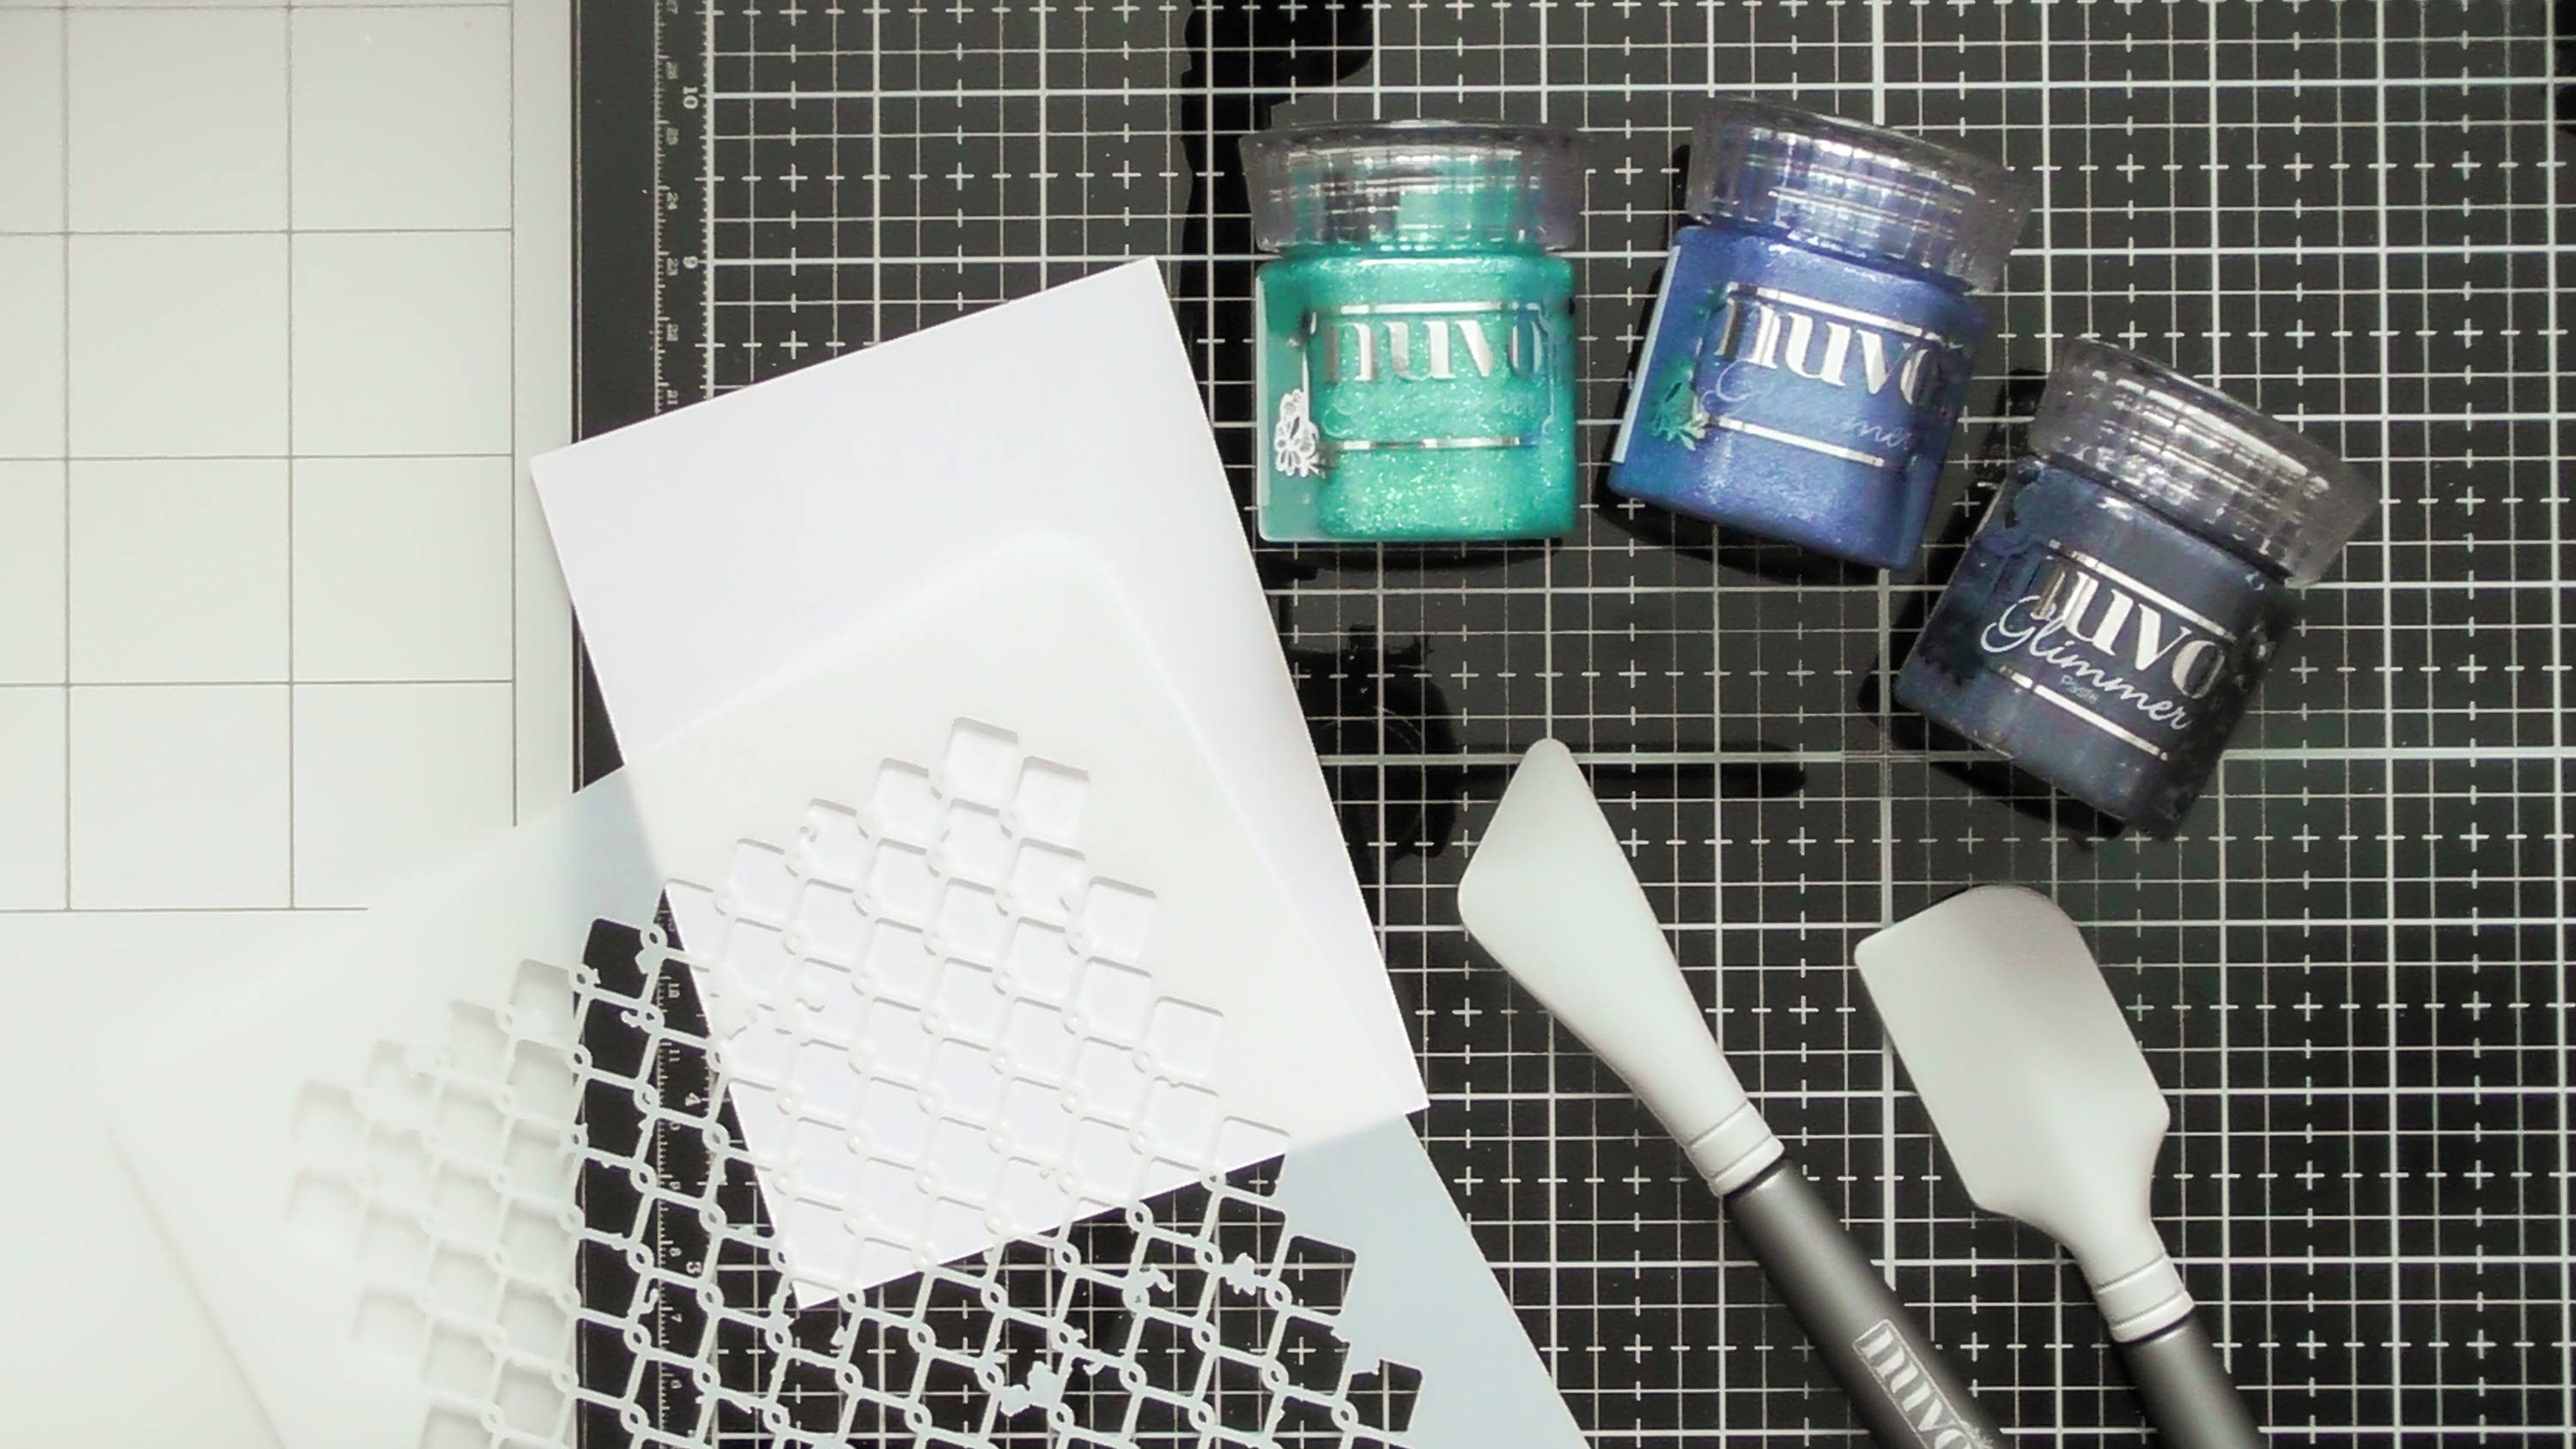
For this technique you’ll need a few colours of Glimmer Paste, a Nuvo Media Spatula and a stencil too. Using Glimmer Paste through a stencil is one of the easiest and most popular uses for this product, but I thought I’d show you how simple it is to meld 3 colours together as well.
Step 2
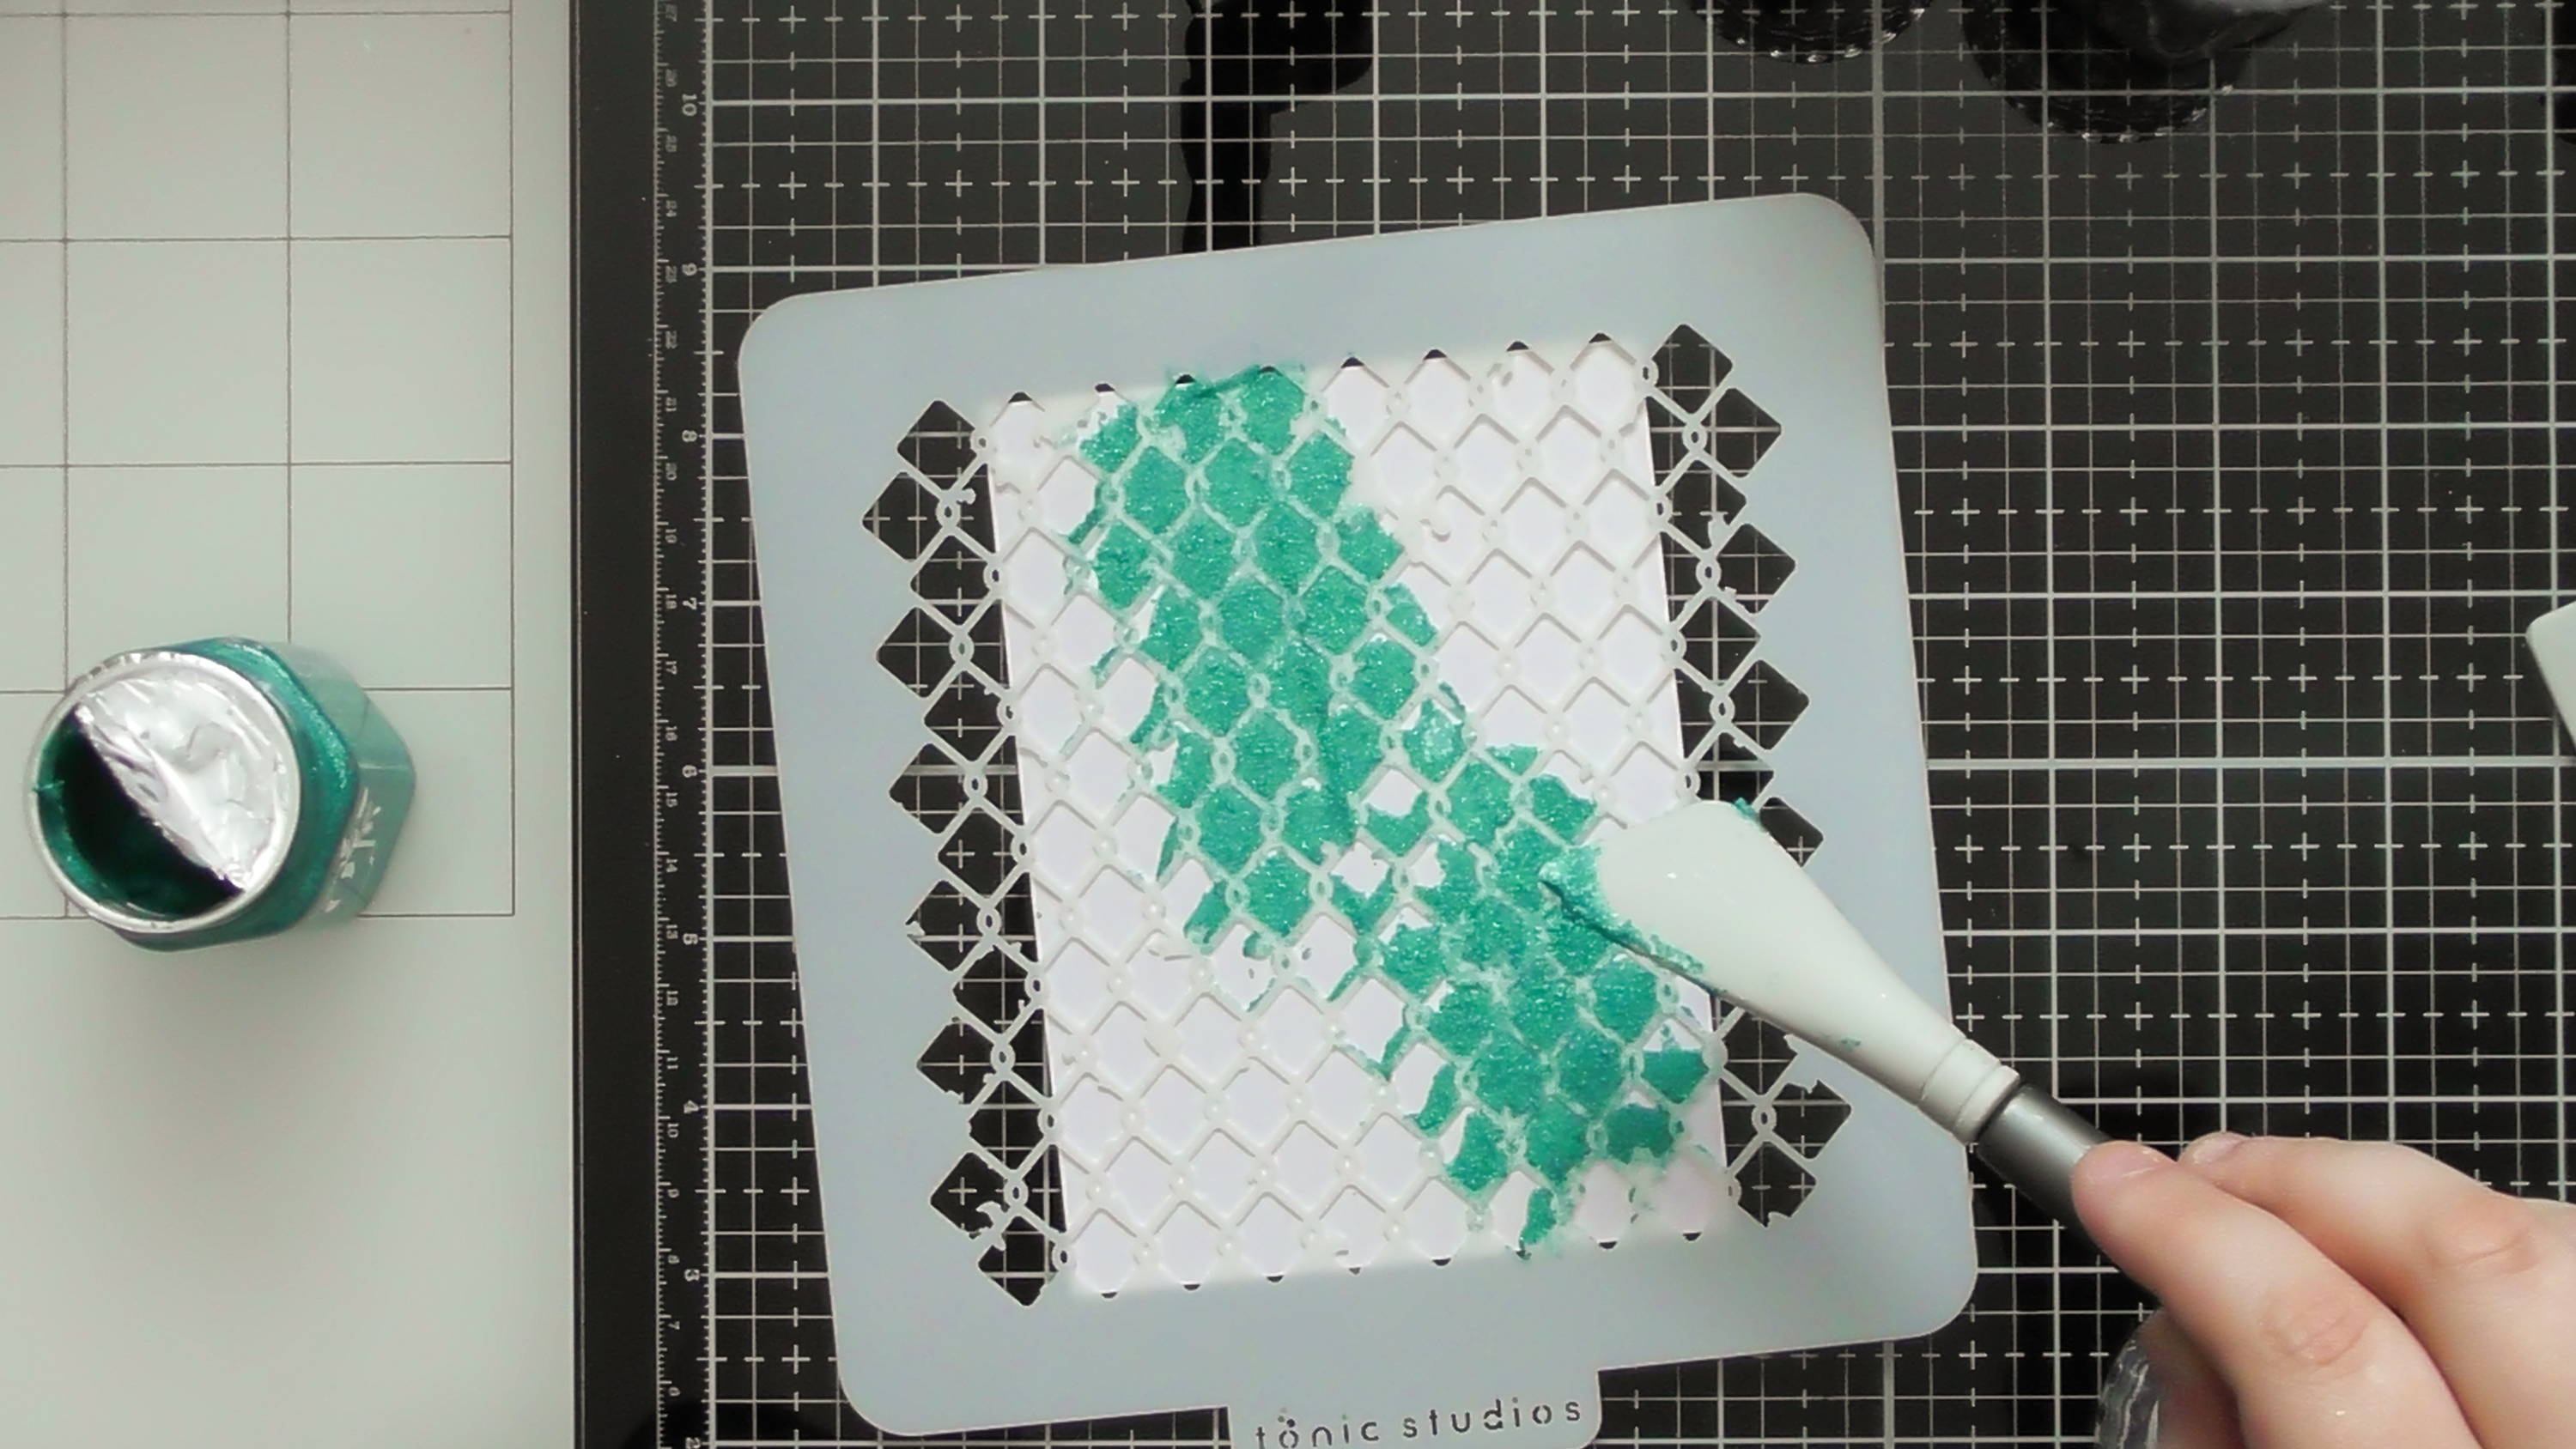
Firstly decide how you want to hold your stencil down, I usually just risk it and do nothing, but tape is a great option, or even better is the Tonic Magnetic Platform, it has really strong magnets that will hold everything in place perfectly for you :D Once you’ve secured your stencil, pick the lightest colour and apply it randomly through the stencil.
Step 3
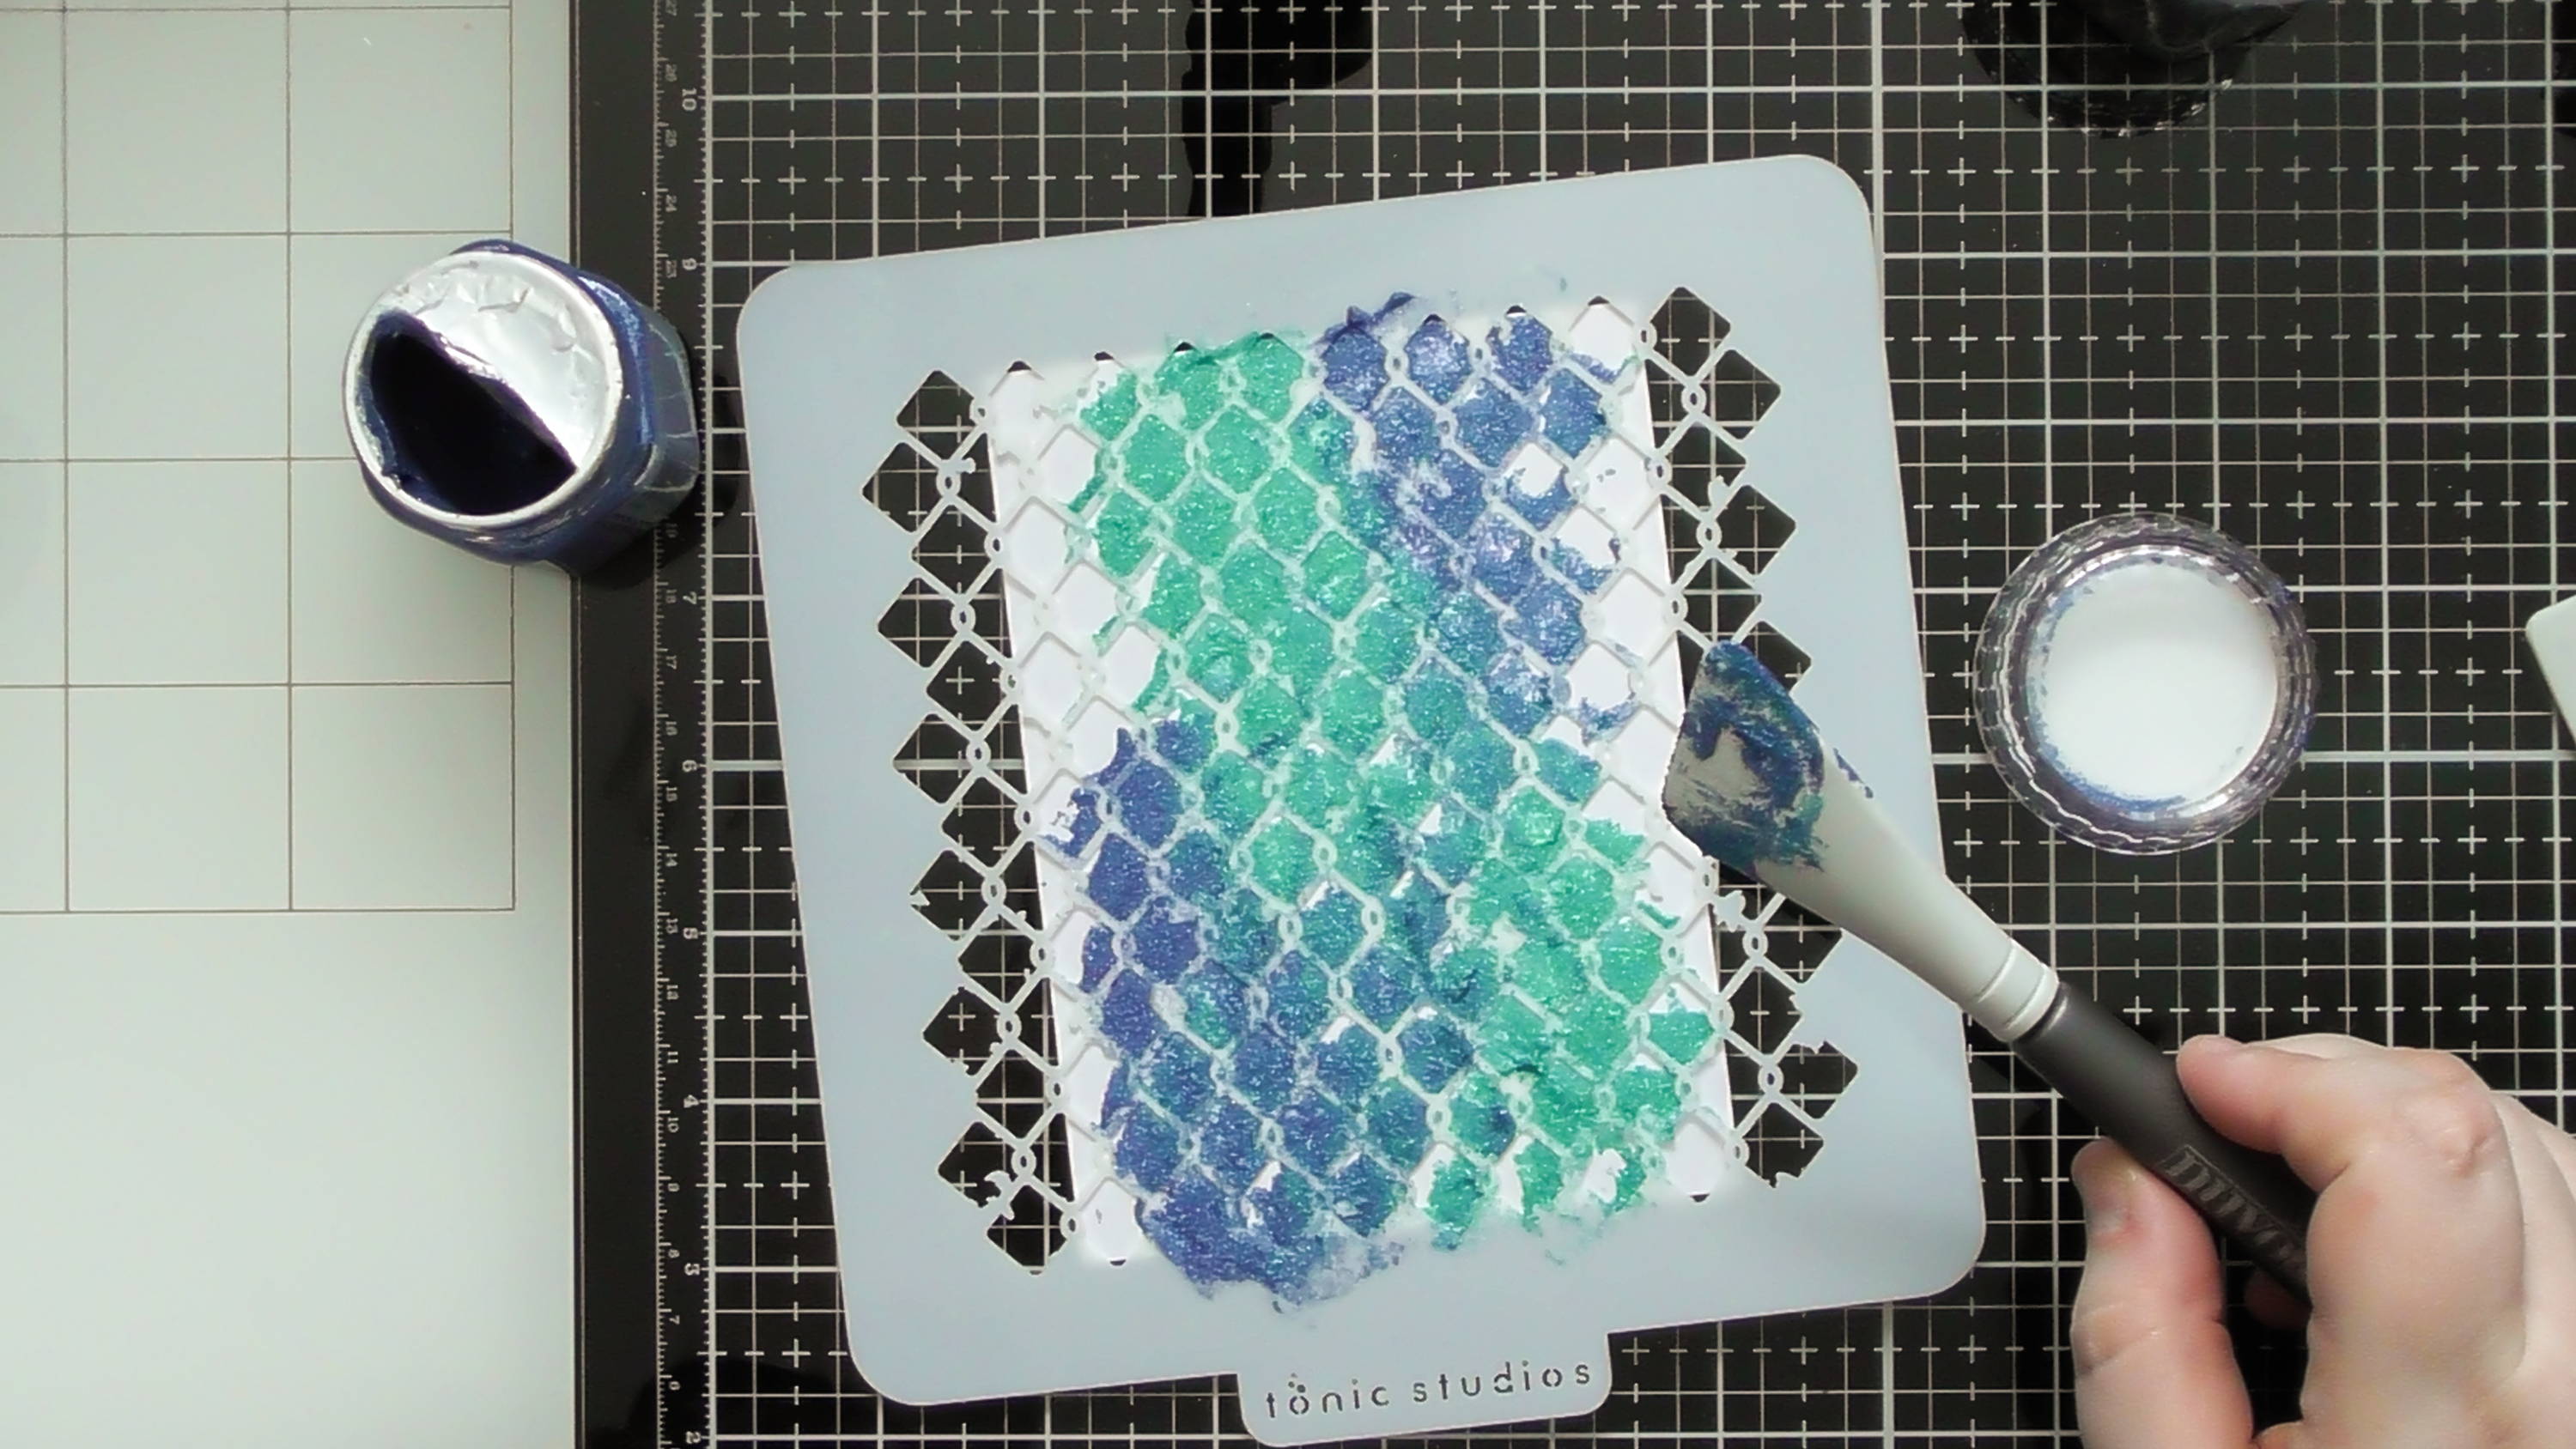
move onto the next darkest colour filling in a few more of the gaps
Step 4
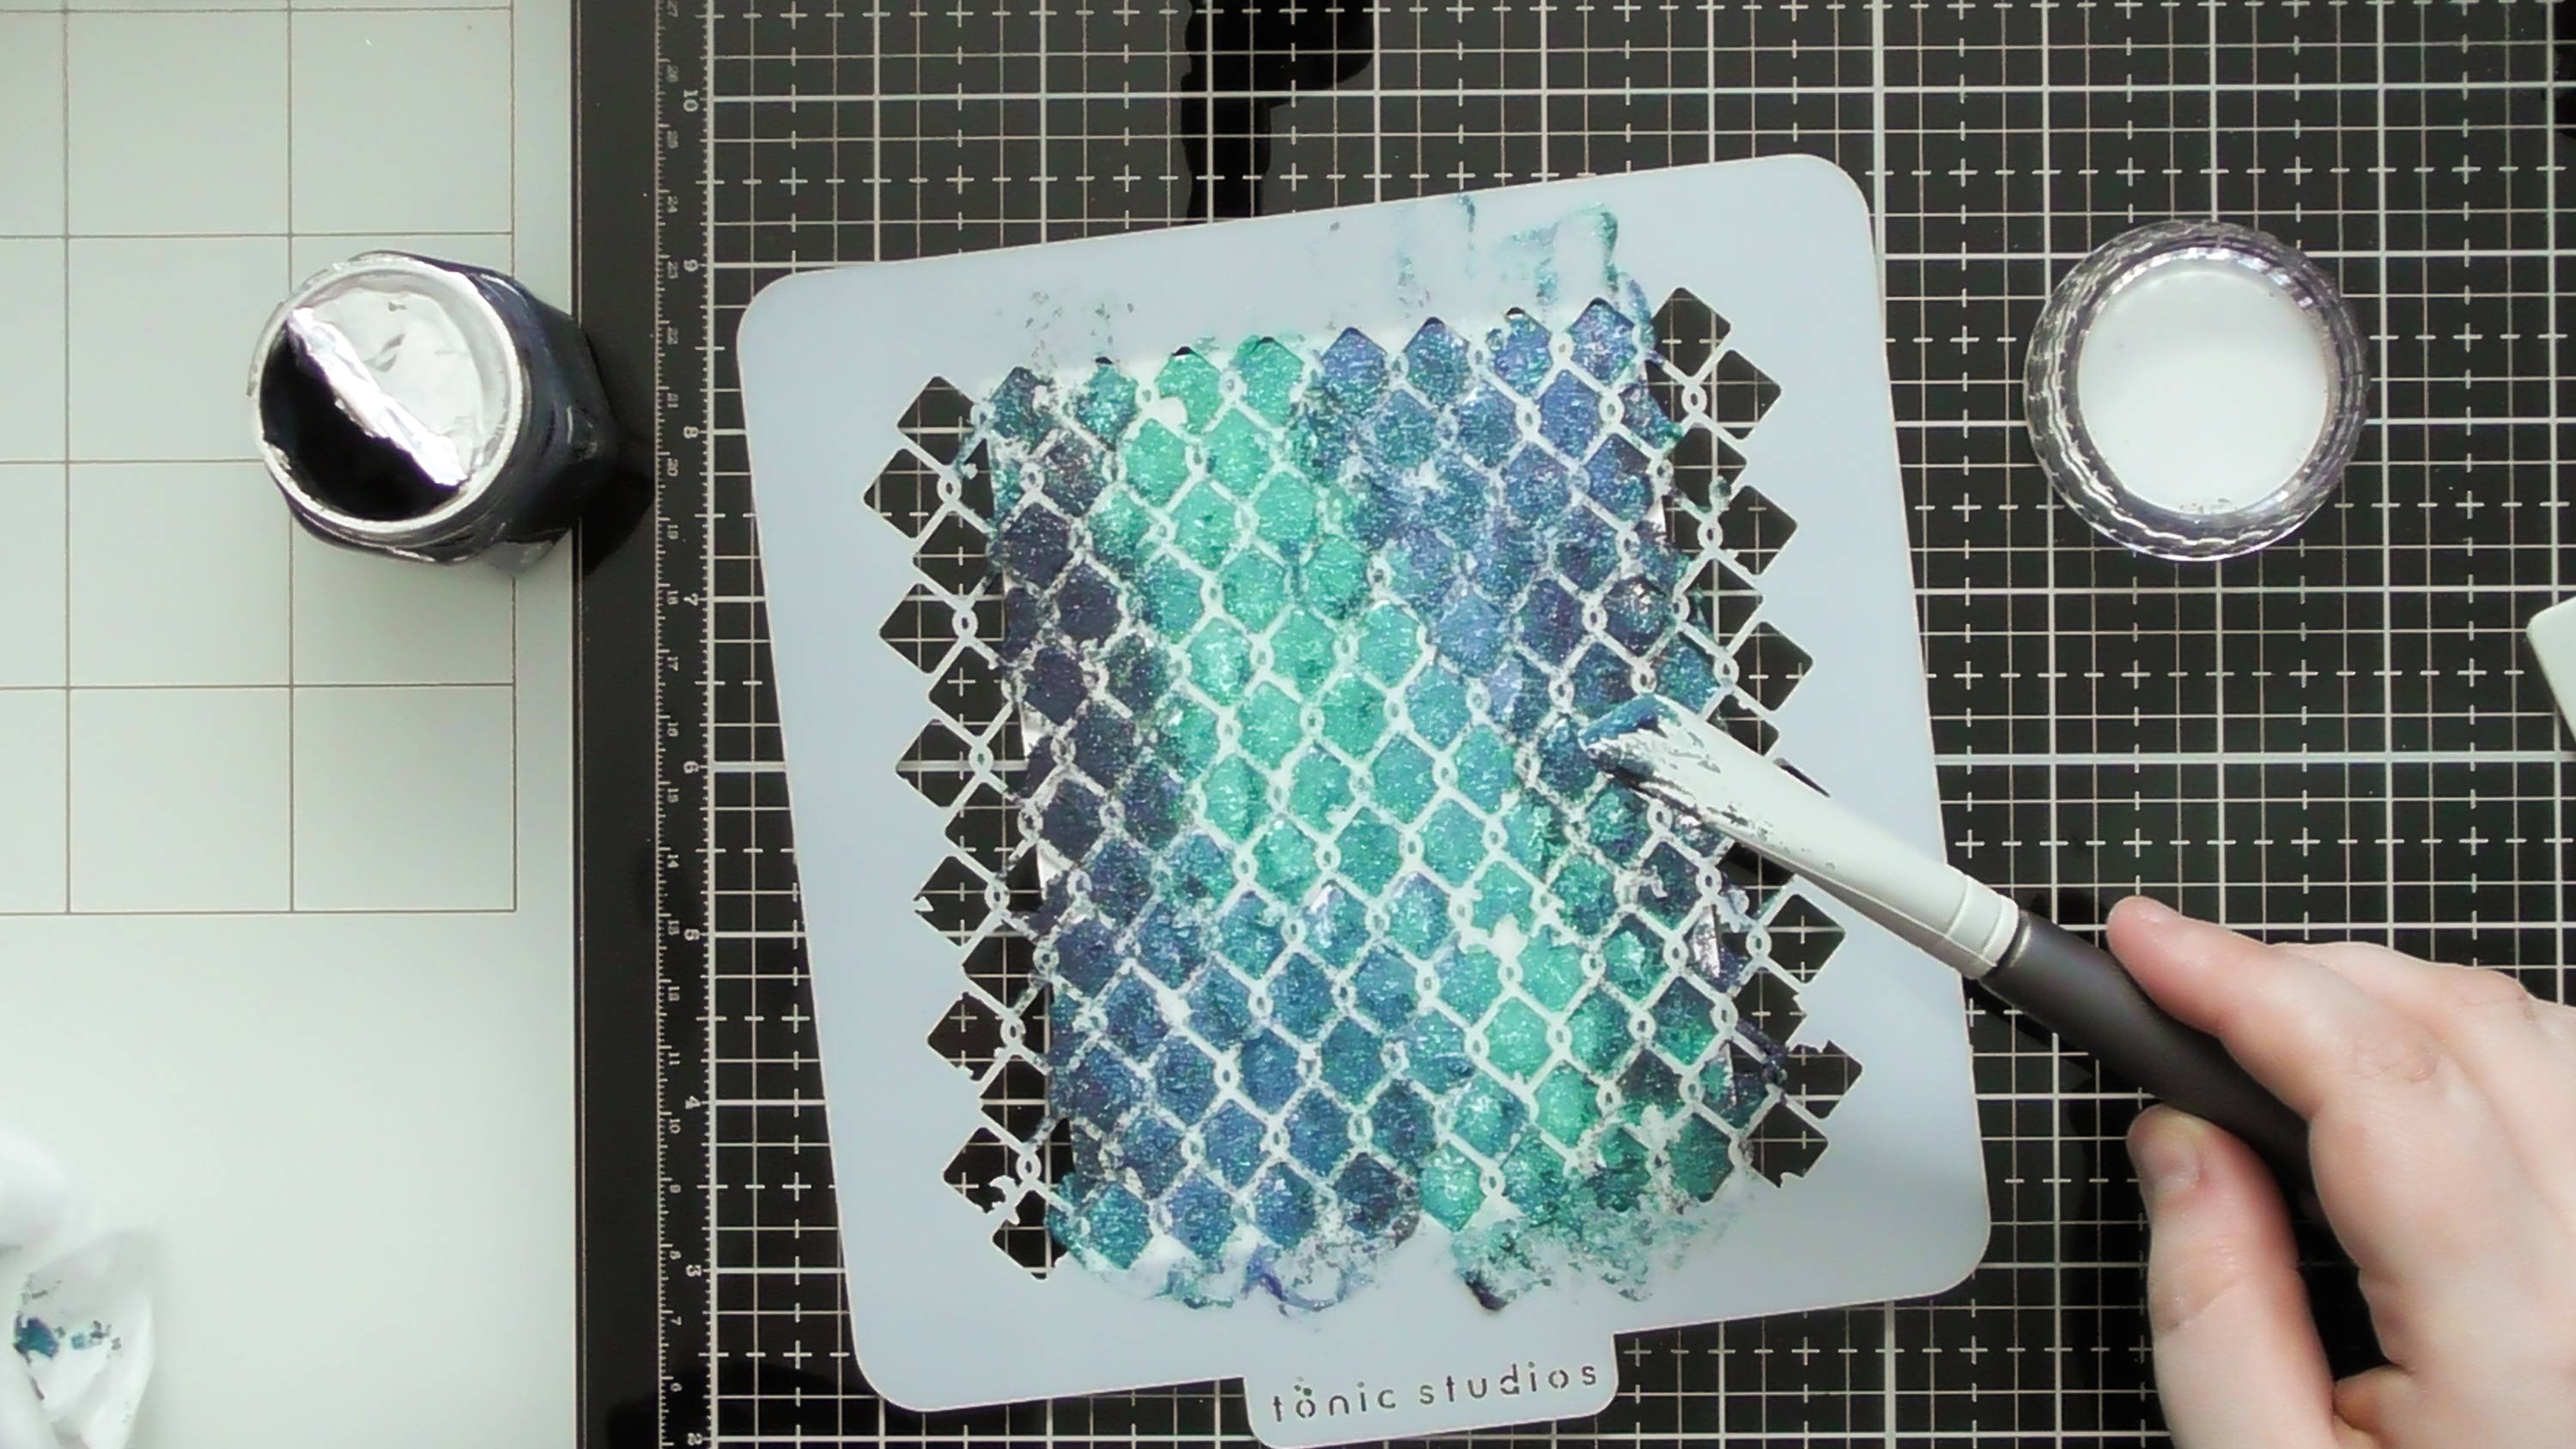
finally add your darkest colour (in this case black) you’ll want to be a little more sparing with this, then to get that melded effect, simply use the excess paste that’s on the stencil and go over the whole background a couple of times, this helps blend areas so it look less blocky
Step 5
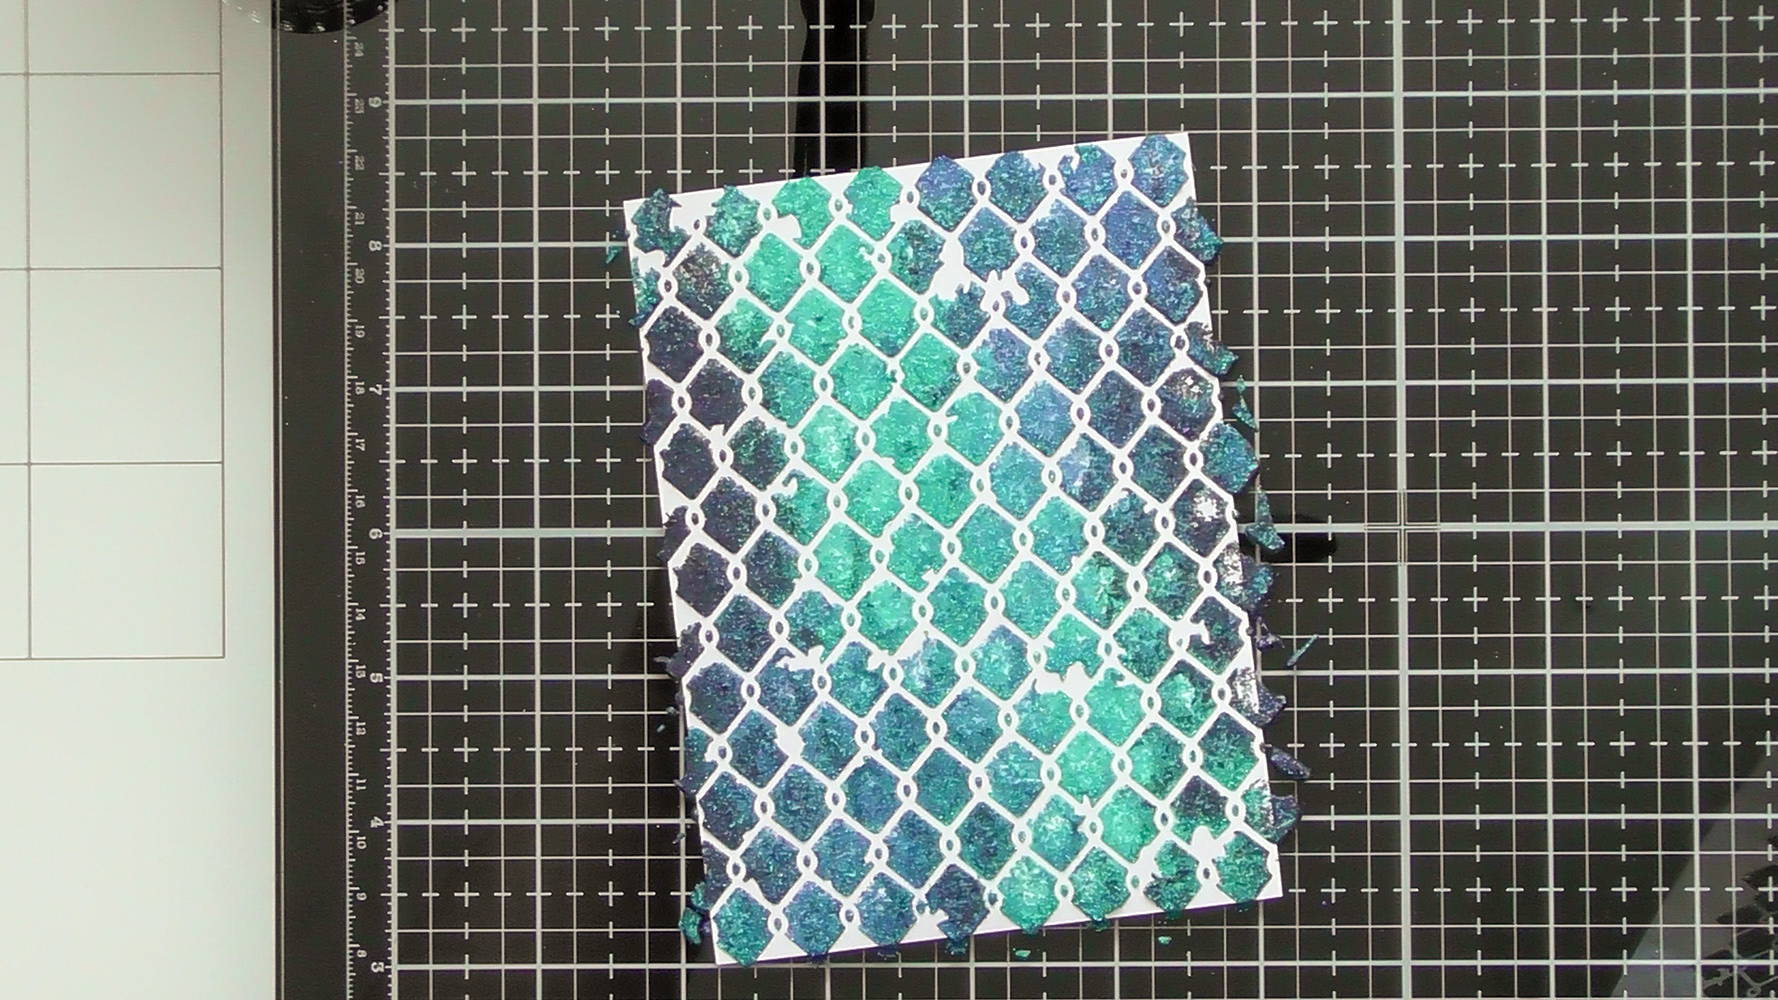
and once you remove the stencil, you’ll get this gorgeous blended look of the 3 different colours
Step 6
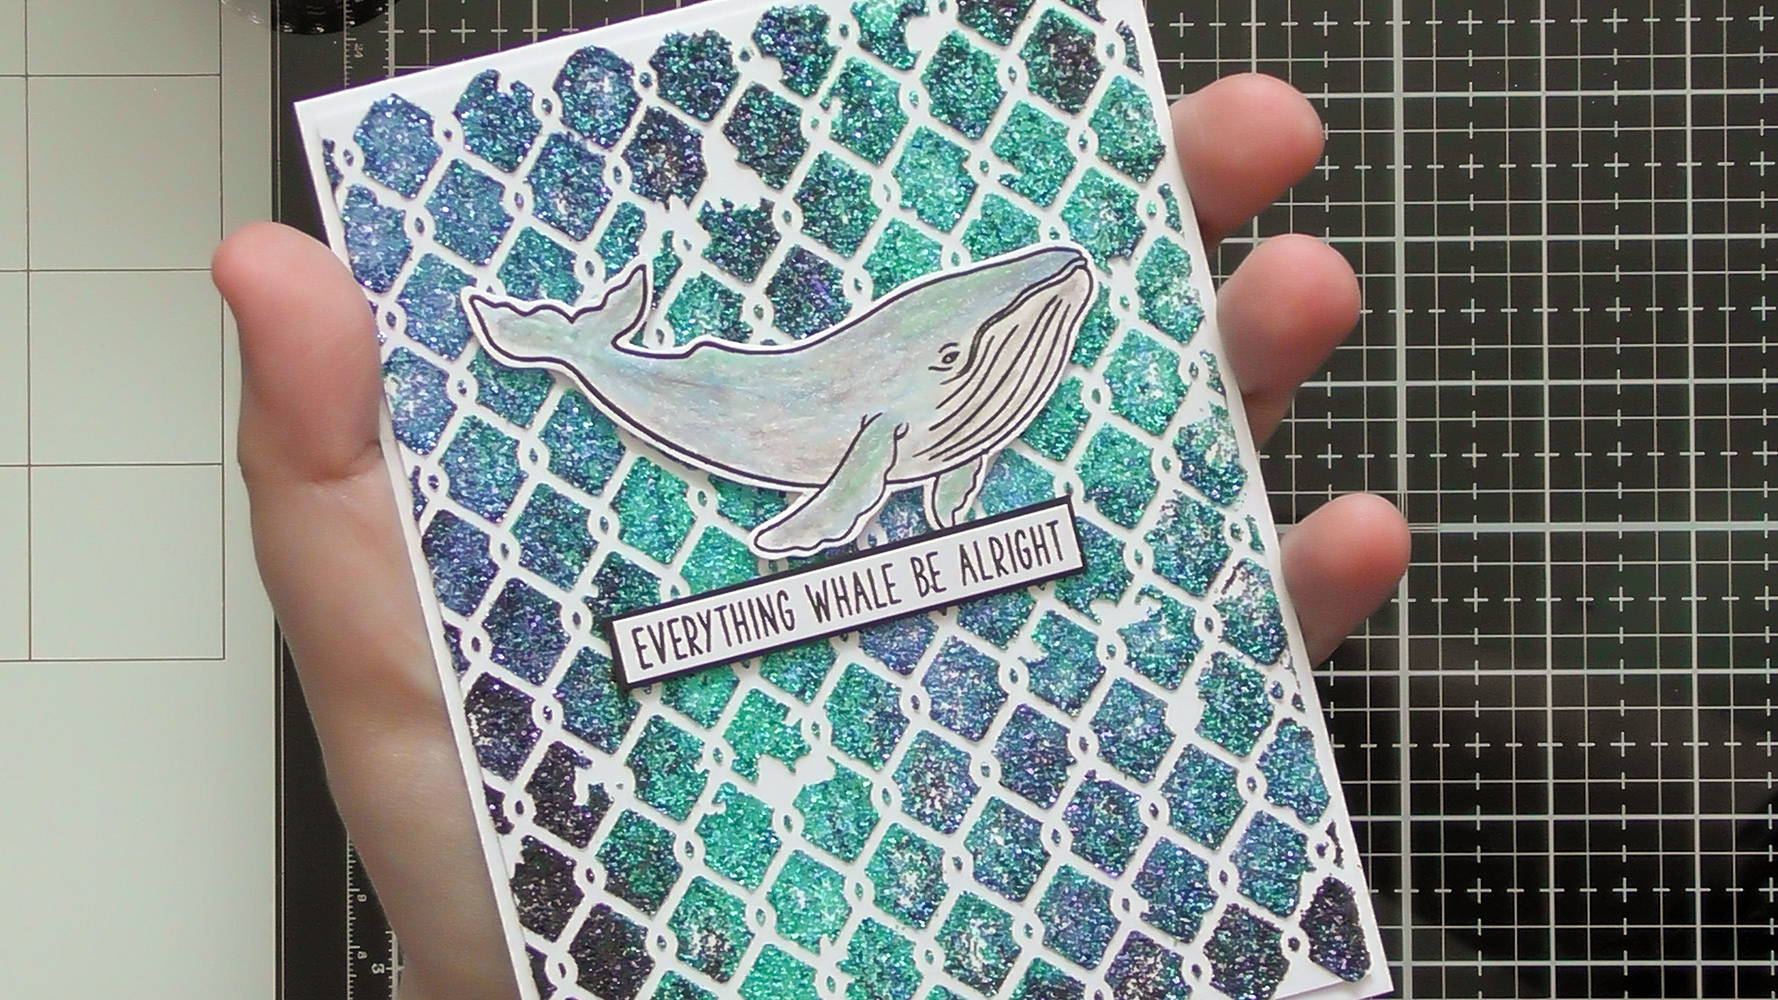
Leave to dry and you can finish your card however you like, I decided to keep it simple with a Stamp Club Whale, but you could just use portions of the background or add it behind apertures for a less bold look too.
I hope you enjoyed these 3 quick Glimmer Paste techniques, there’s tonnes more ways to use this product, and I’m sure once you start playing you’ll discover new applications and effects too :D Christine
Buy The Craft Project
