 Gem Rewards


Hi everyone! My name is Shilpa, and I’m here to share with you all a card using the detailed Circles & Scalloped Layering die sets.
These sets of dies consist of so many beautiful detailed layered dies. It’s a perfect set to create your basic shaped layers and also with the detailed verso dies, you can create very pretty patterns. By using different colours of papers and cards, the results will vary and will always amaze you. I’ve had a lot of fun cutting the different shapes and sizes to create different looks. The card I’m sharing with you is super easy to put together, but looks so striking! Hope you enjoy re-creating the card I have made for you today.
Step 1
1.You will need a Tonic Studios 6” x 6” white card blank as your card base.
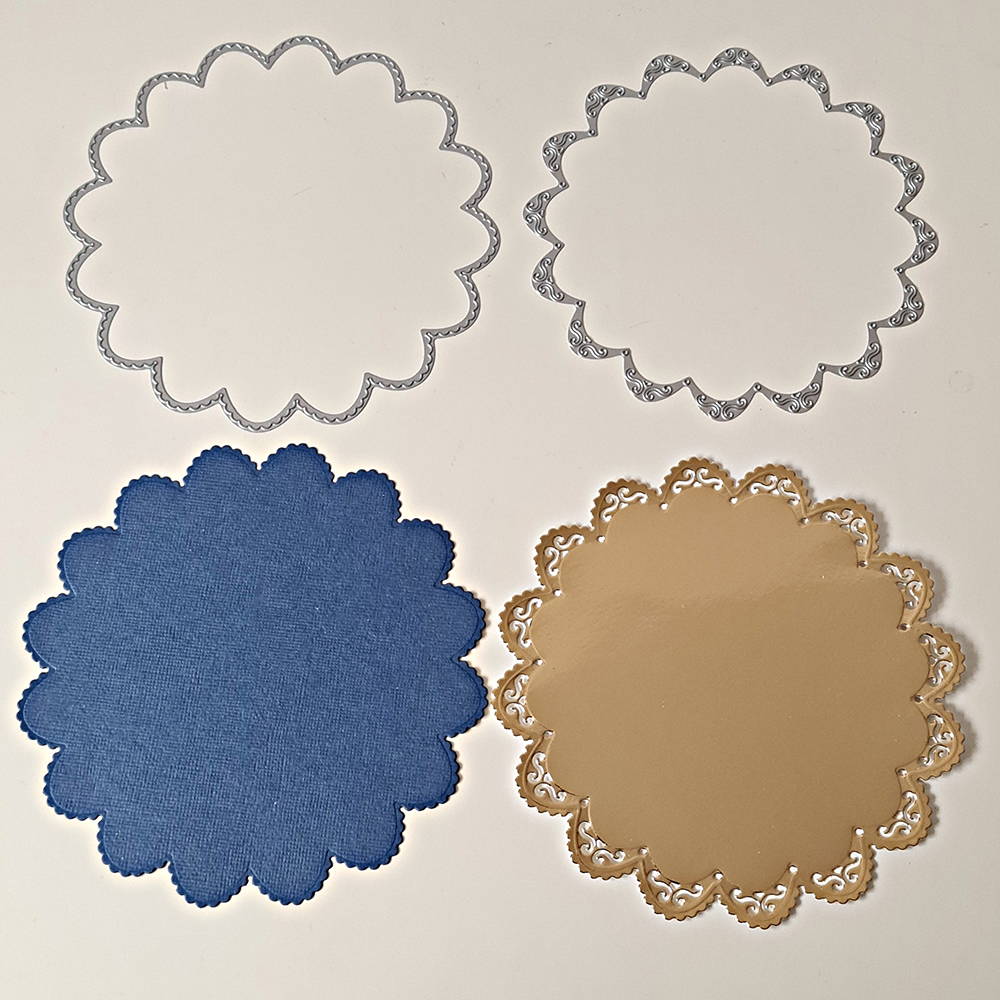
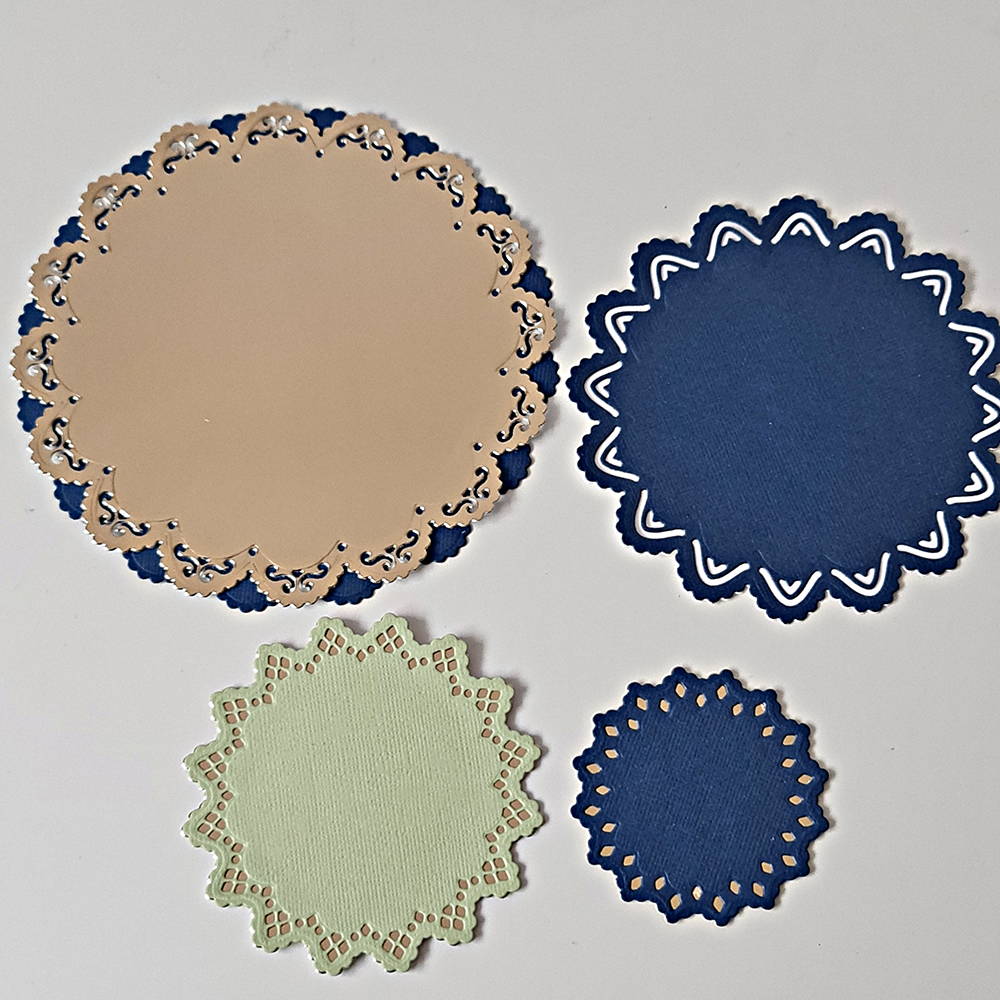
Using the largest two circle dies (one has a cutting edge and the other is a verso die, which will cut the design into the card) cut out a solid circle using Navy Blue Classic Card, and a patterned circle using Harvest Gold Mirror Card. You should end up with two scalloped circles as shown in the photo.
Step 2
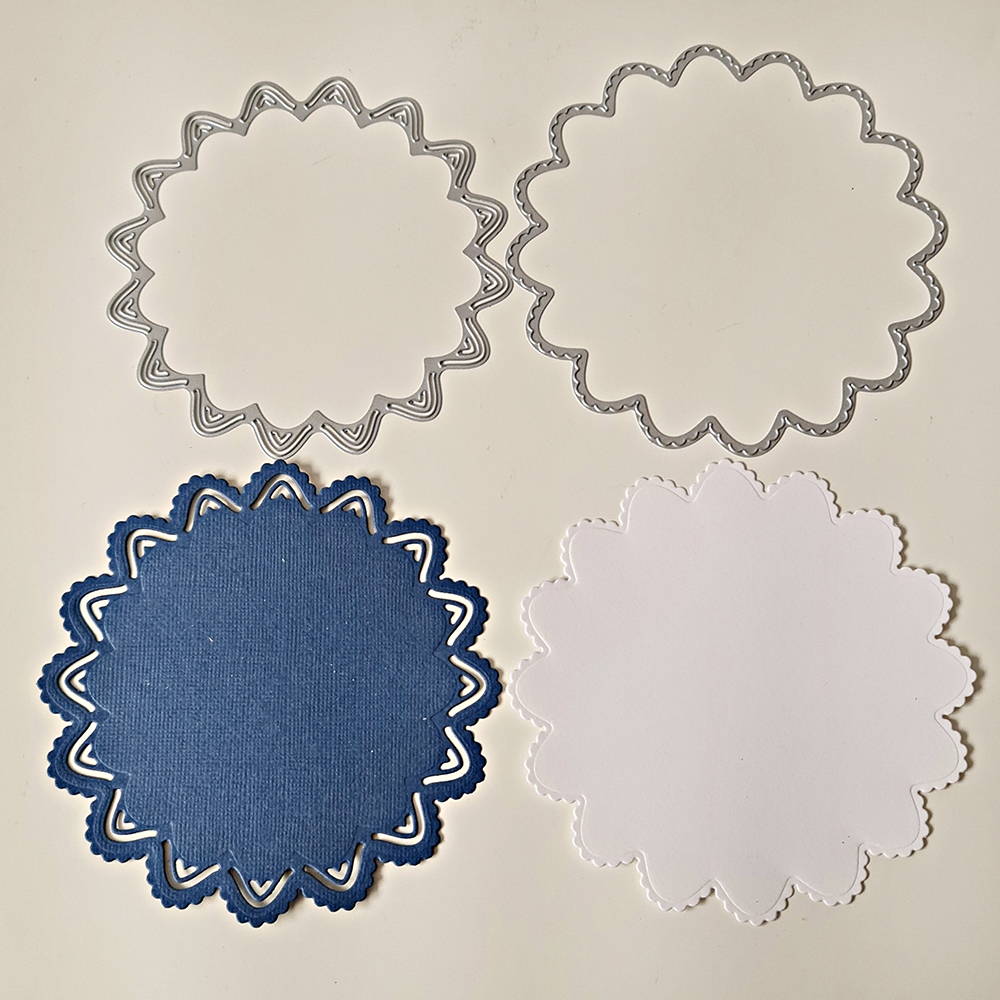
Now moving down a size with your dies, you will need to cut two scalloped circles. A solid scalloped circle using White Classic Card and a pattered one using Navy Blue Classic card as shown in the photo.
Step 3
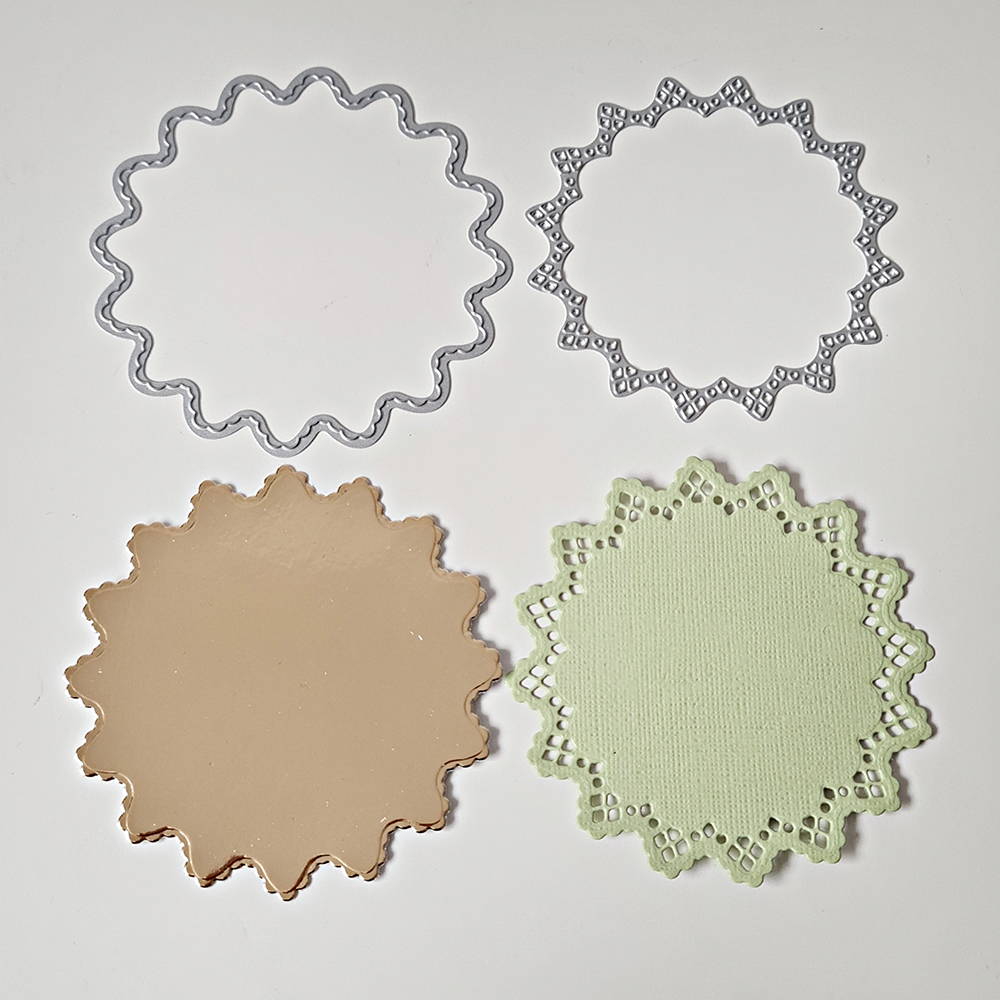
Take the dies which are the next size down from step2 and cut out a solid scalloped circle using Harvest Gold Mirror Card and a patterned circle using Pistachio Green Classic Card as shown in the photo.
Step 4
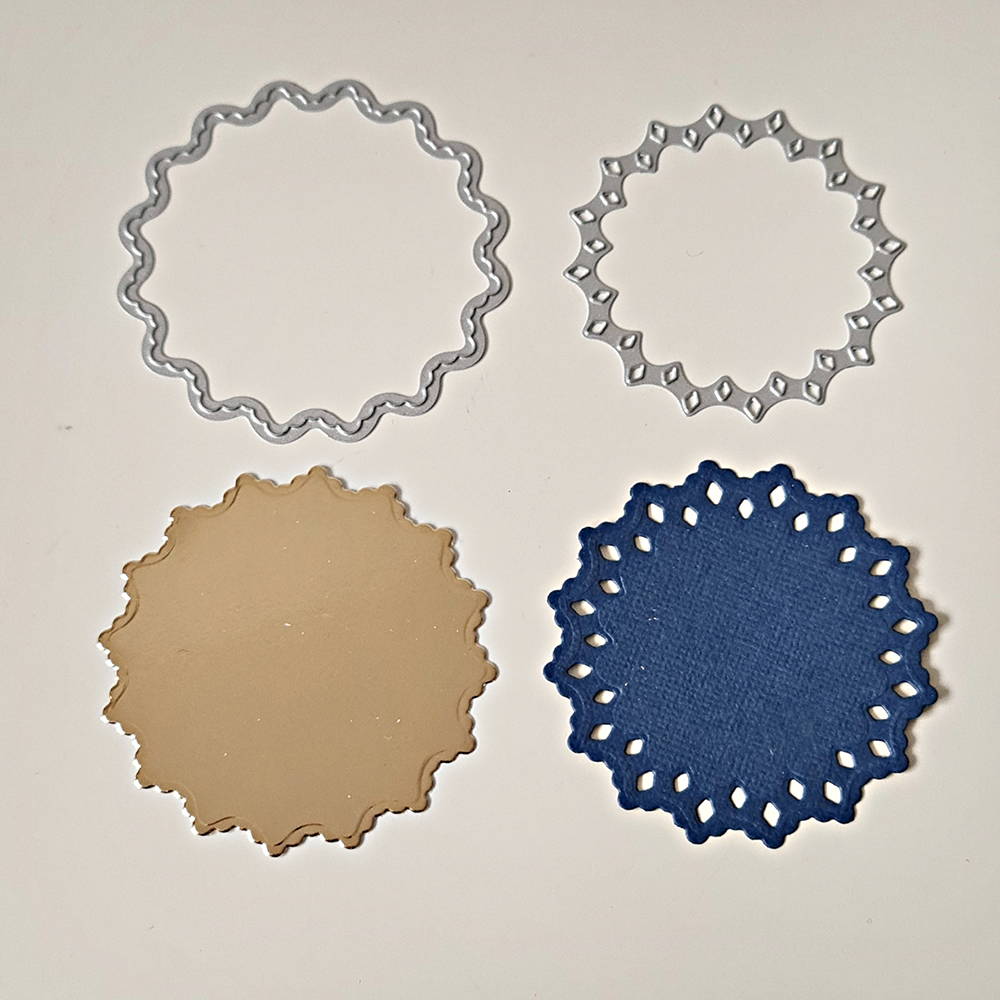
Take the dies which are the next size down from step3 and cut out a solid scalloped circle using Harvest Gold Mirror Card and a patterned circle using Navy Blue Classic Card as shown in the photo.
Step 5
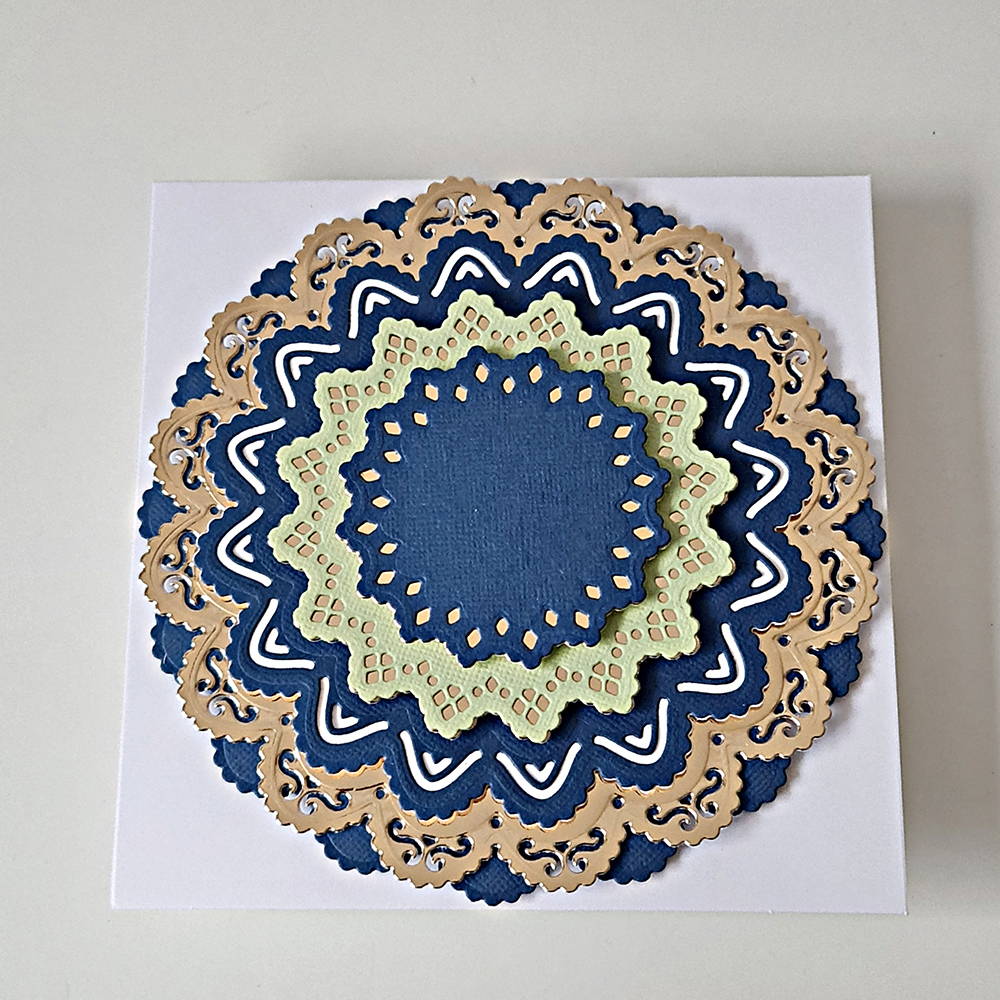
Now taking all the pairs you’ve cut, stick the pattered layers on top of the coordinating solid layers using Tonic Deluxe Adhesive. Once they’re stuck together you will need Tonic Studios Craft Perfect Adhesive Dimensional Foam Pads to stick and stack these up on your card base as shown in the photo.
Step 6
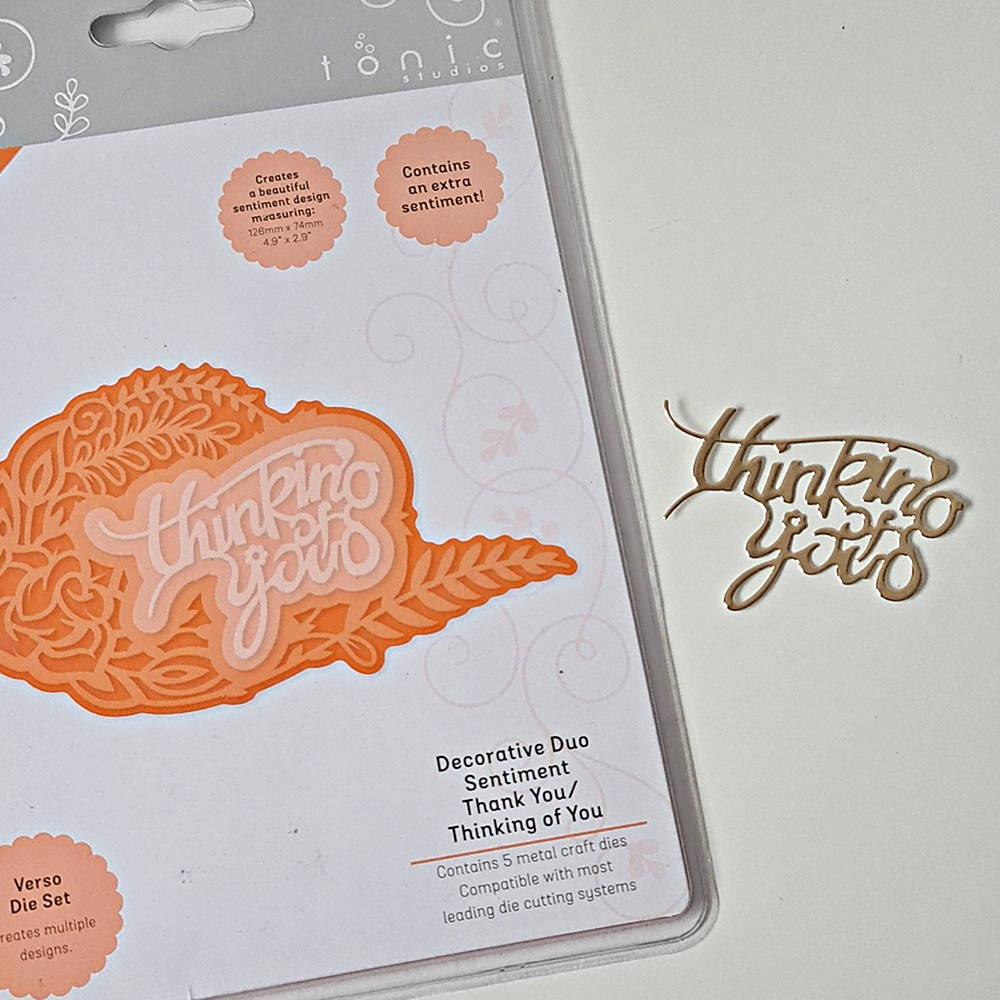
The sentiment for this card is created using Thinking Of You form the Decorative Duo Sentiment Thank You / Thinking Of You Die Set and Harvest Gold Mirror Card. Cut this out three times and stick together using Tonic Deluxe Adhesive (this will create a thick sentiment which will look dimensional on the card).
Step 7
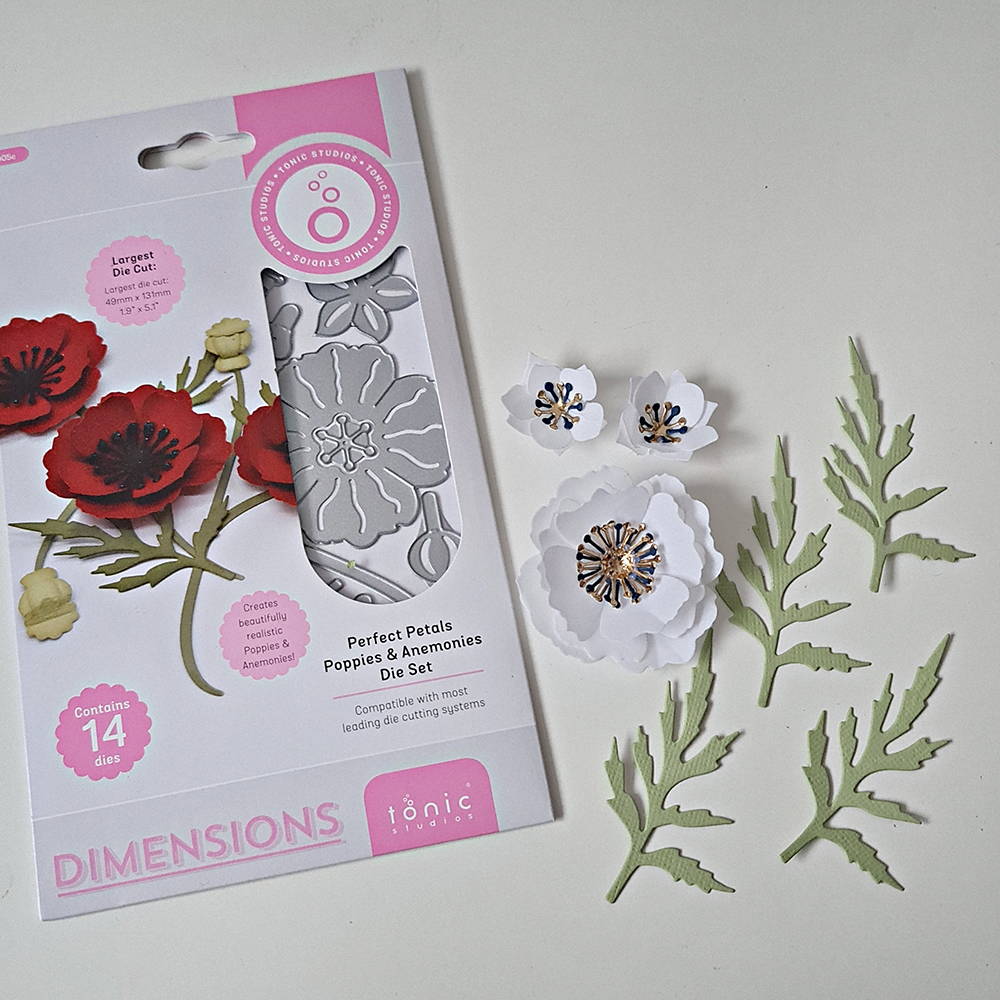
To create some floral embellishments for the card you will need the Perfect Petals Poppies & Anemonies Die Set along with some white vellum for main flowers, Pistachio Green Classic Card for the leaves and for the stamens you’ll need Harvest Gold Mirror Card and Navy Blue Classic Card. I used Tonic Studios Floral Crafters Tool Set to shape the flowers like shown in the photo.
Step 8
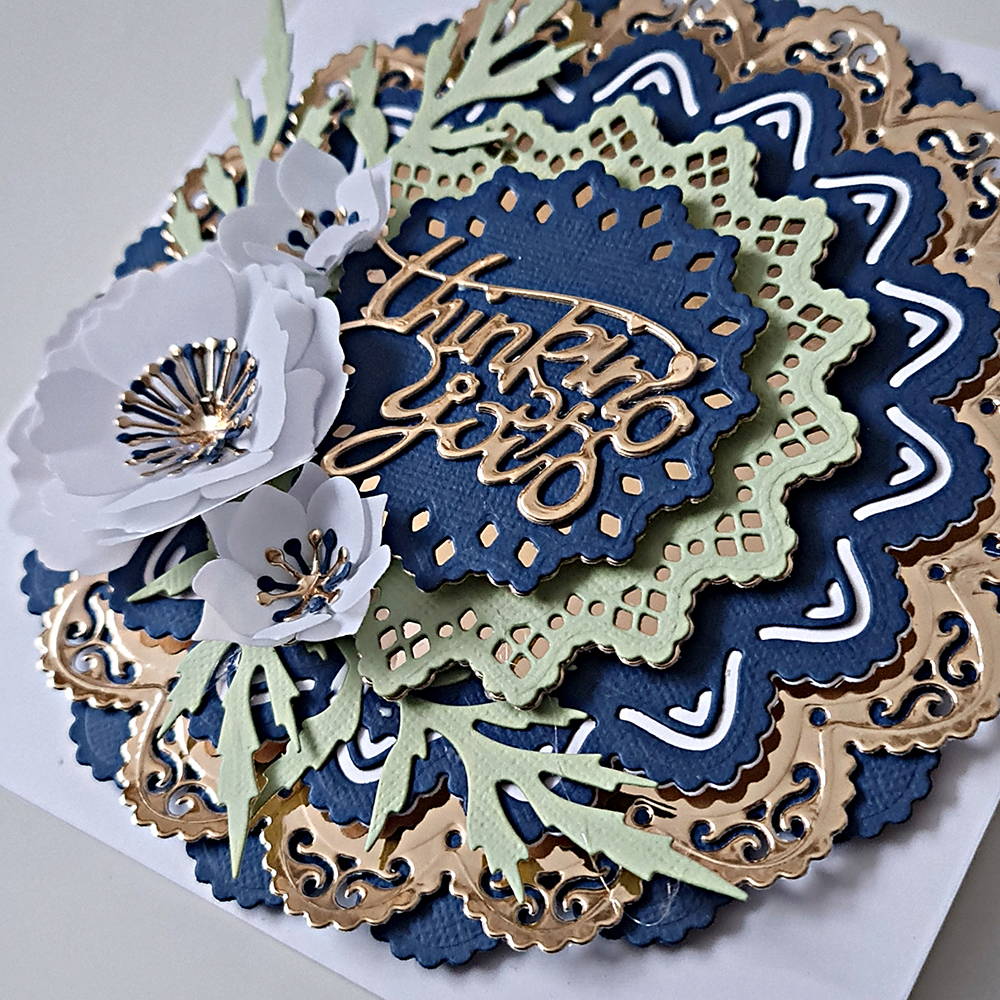
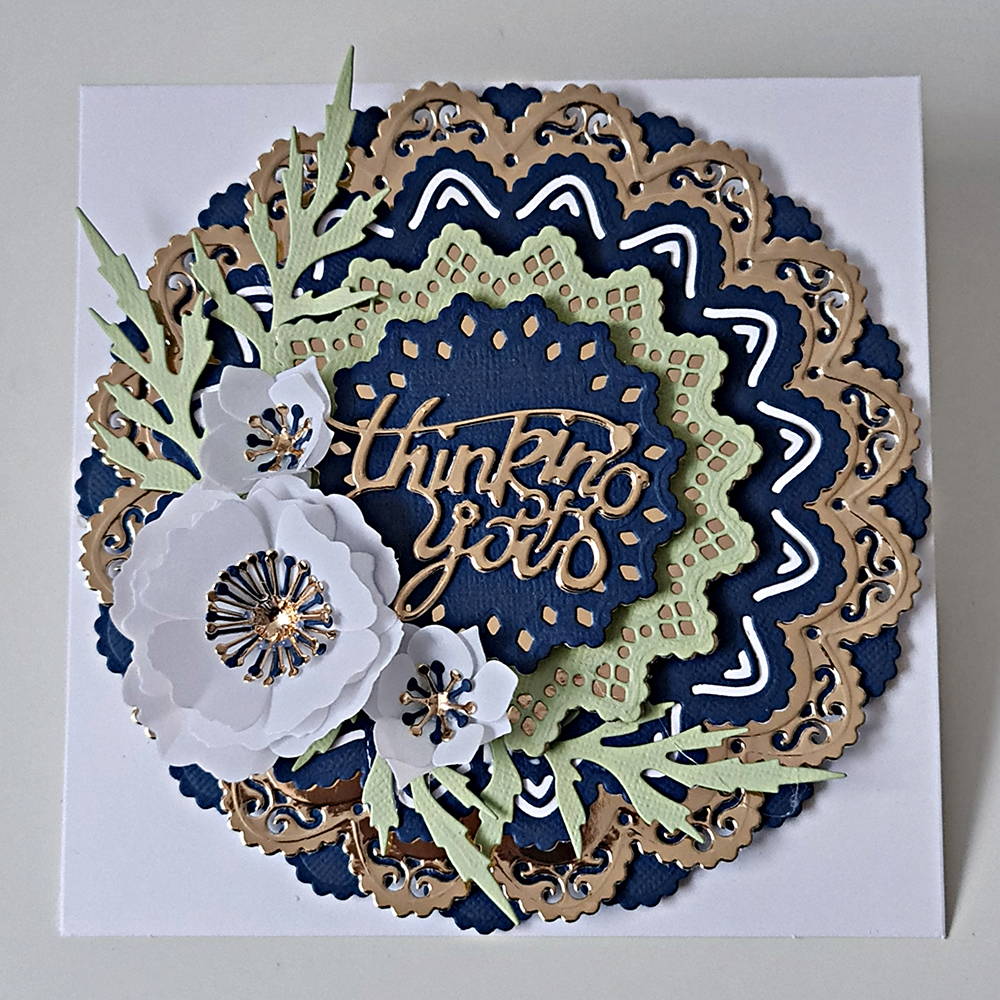
You can now assemble the flowers and leaves as you like. I have clustered them together towards the bottom left of my sentiment. Adhere them using Tonic Deluxe Adhesive. This will finish your card.
Finished Card
Buy The Craft Project