 Gem Rewards
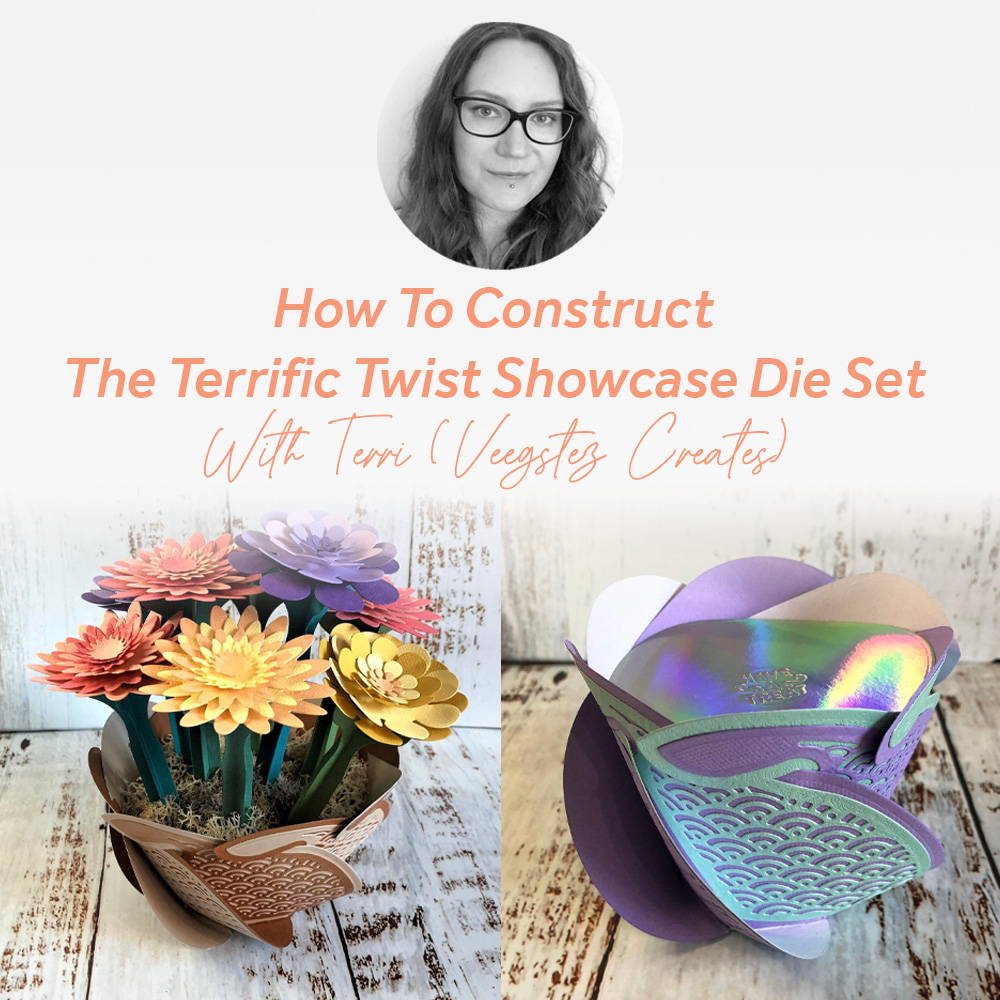
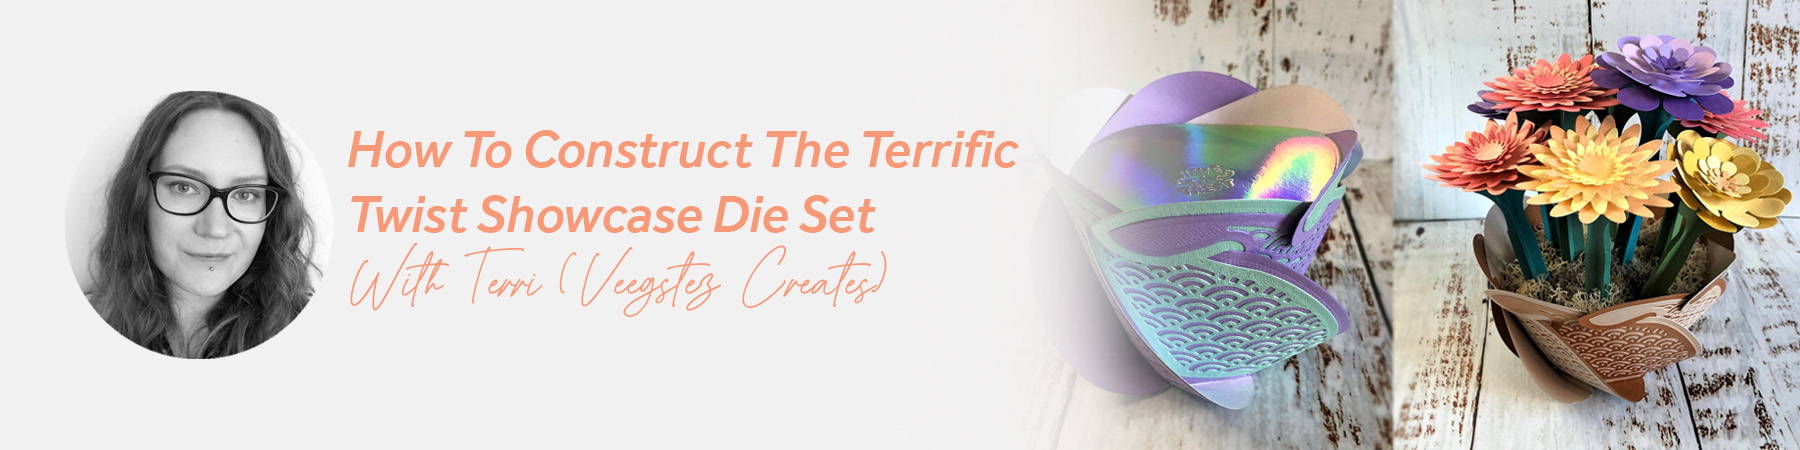
Hello crafty friends, it's Terri on the blog today to share an overview, along with a construction tutorial for the latest Tonic Studios Showcase die set. This die set enables you to create open topped boxes, which look like bowls, of two different sizes. The sides are made using the same panel dies, but there are both hexagonal and octagonal bases, meaning your bowl can be 6 or 8 sided. The 8 sided bowl is beautifully large, so much so that it inspired me to create something rather unusual with it – but more of that in a moment!
The side panels are a sort of fishtail or petal shape, and there is a very pretty verso die included in the set to enable you to create decorative panels to glue on top of your main, structural panels.
How to Construct the Terrific Twist Showcase
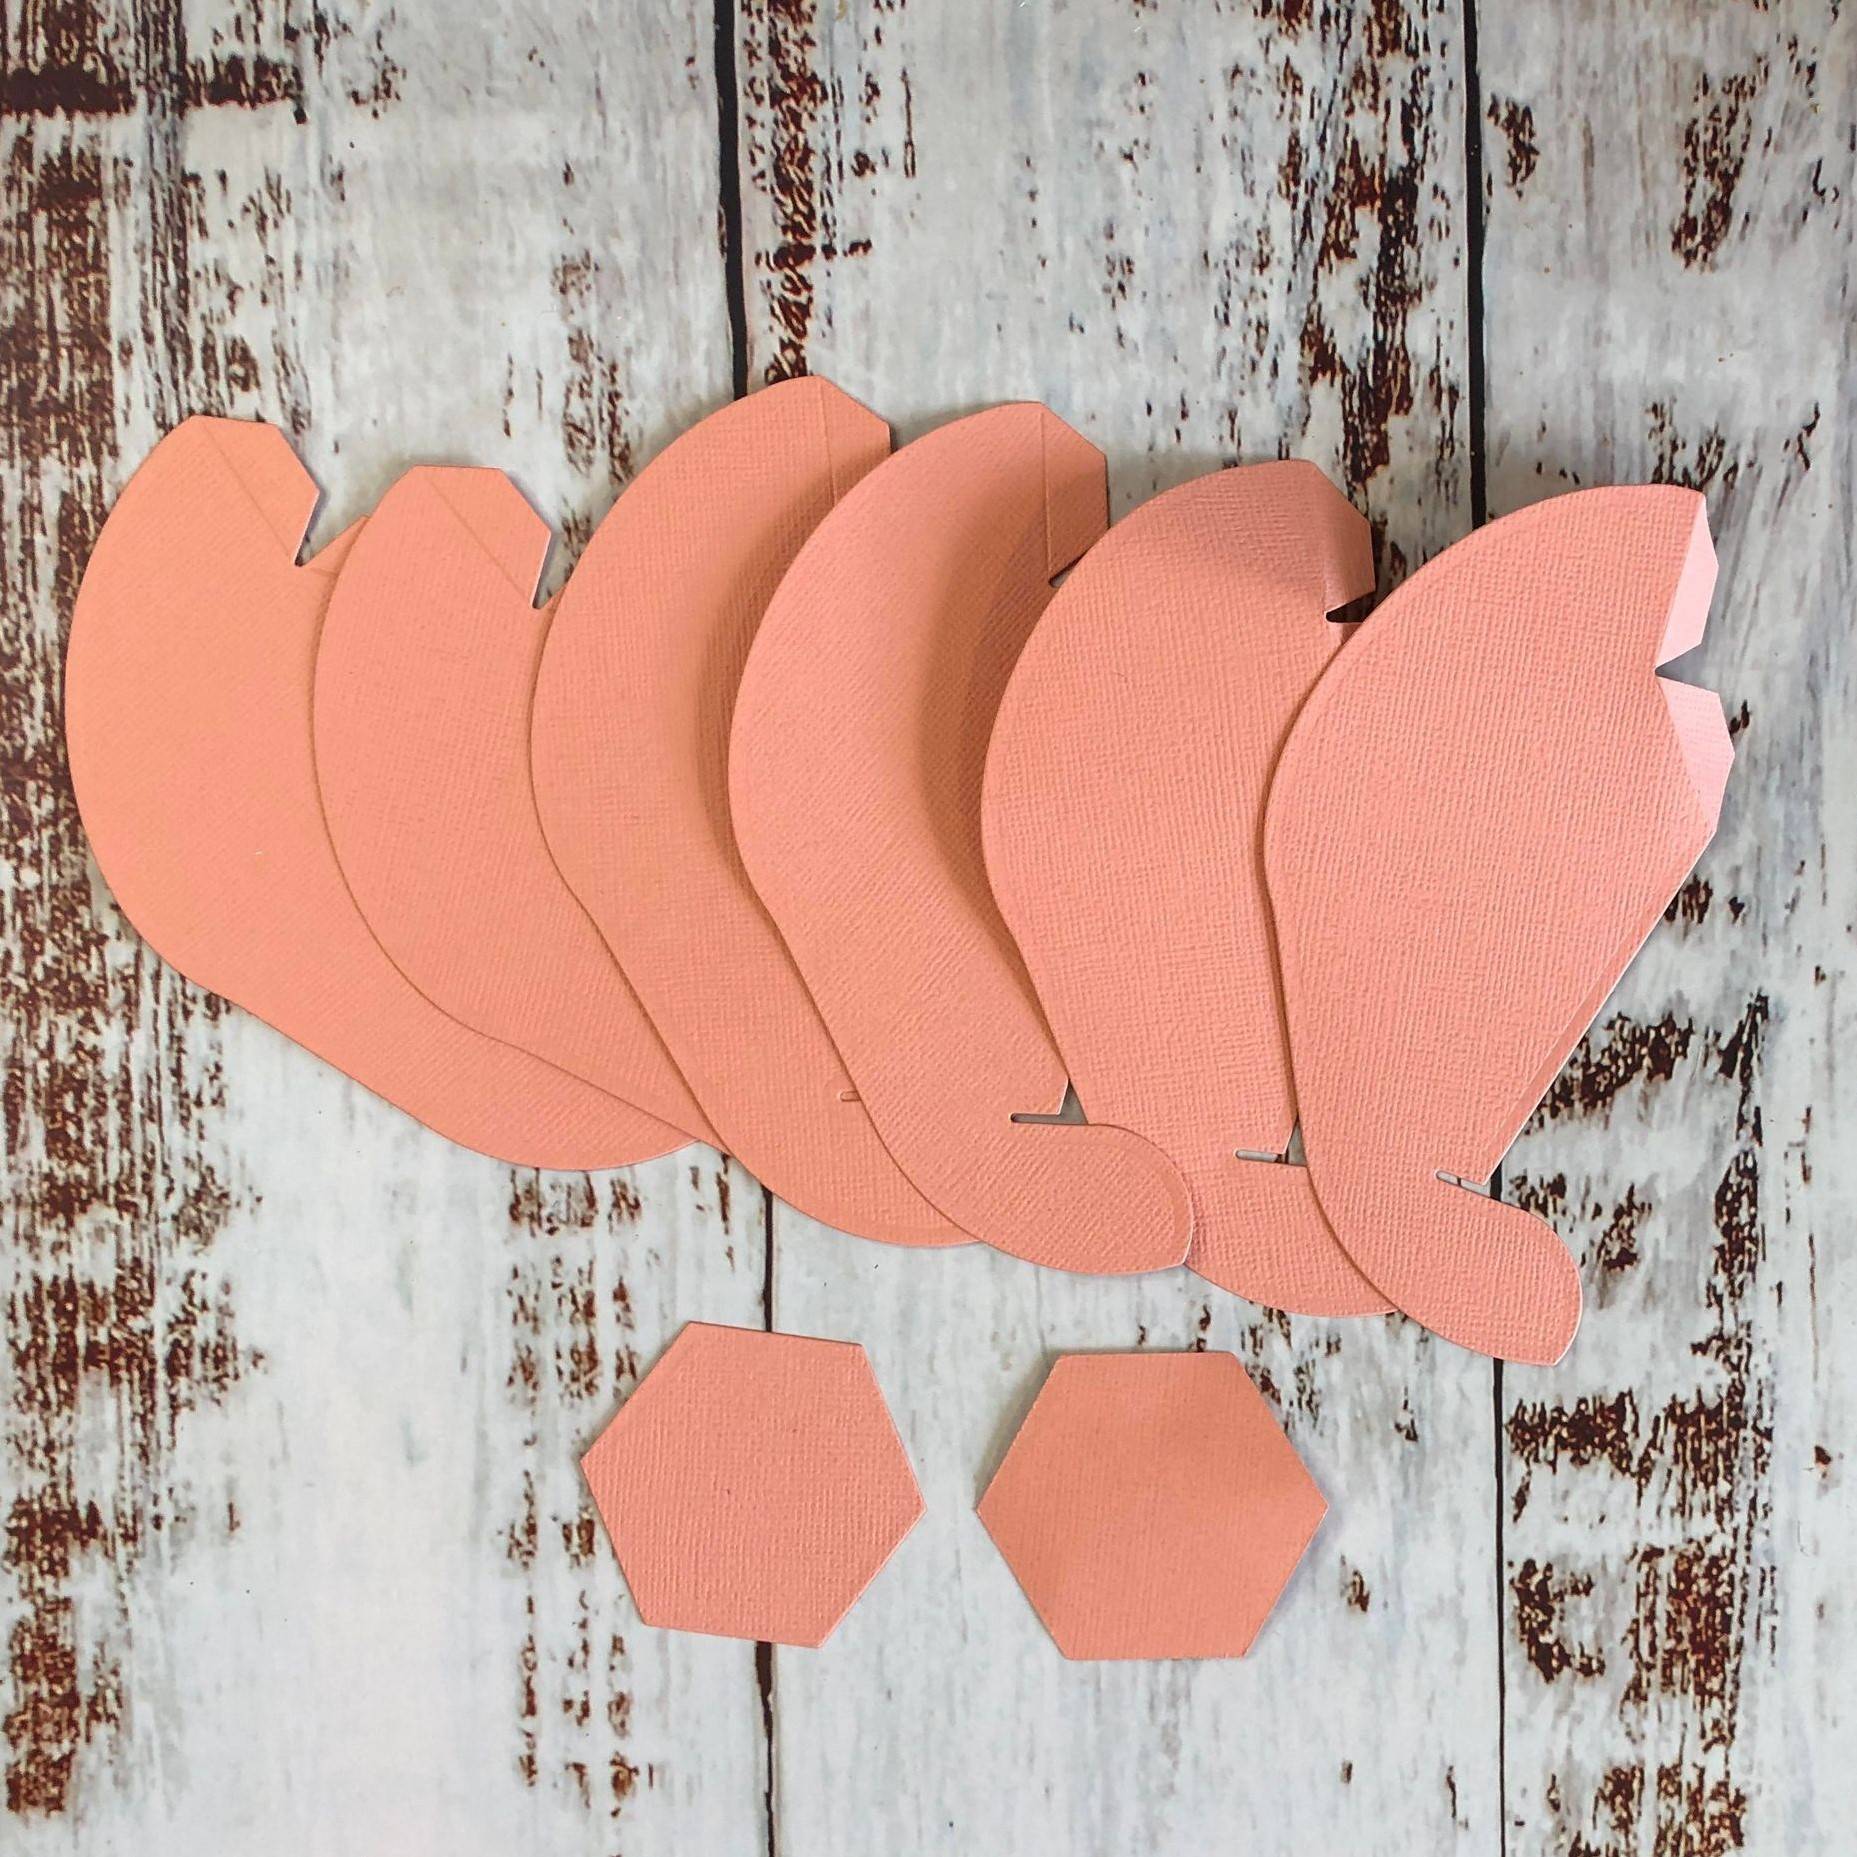
This construction tutorial will focus on creating a 6 sided bowl, so you will need to die cut six panels and 2 or 3 hexagons. You need one hexagon to adhere your six side panels to, and I added an extra to the top and the bottom for extra strength and to hid the glue tabs so it looks neater.
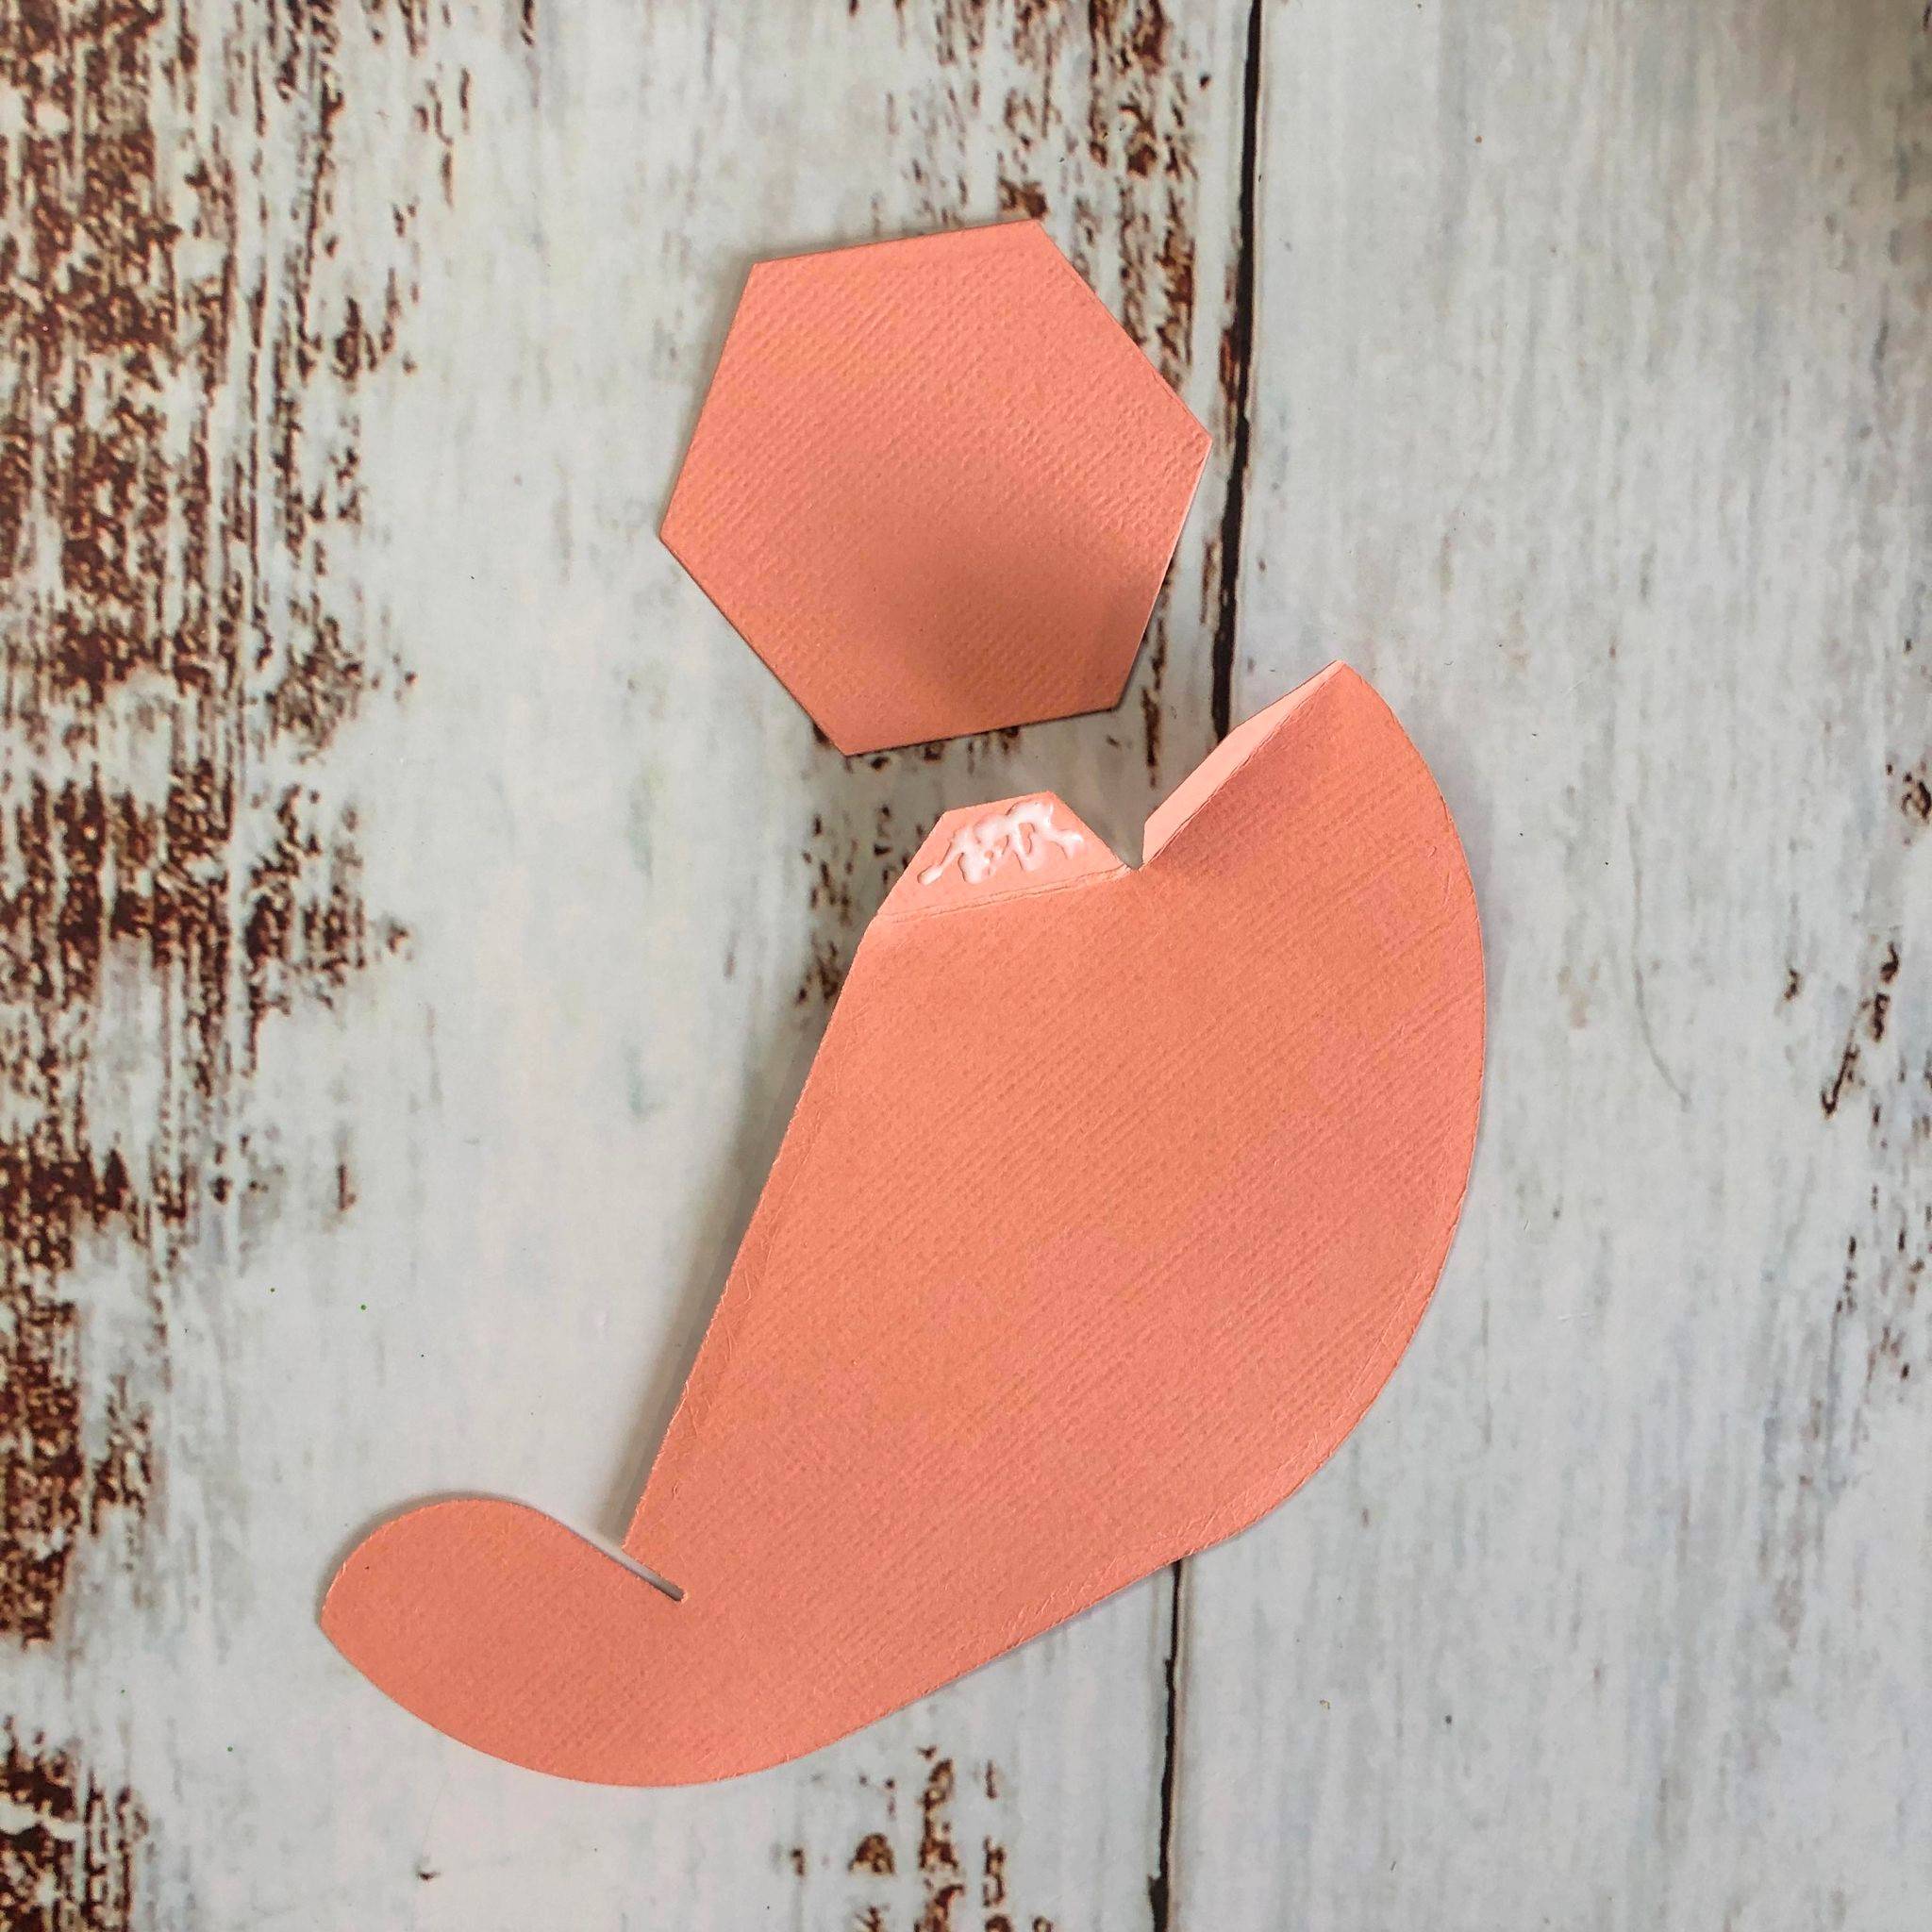
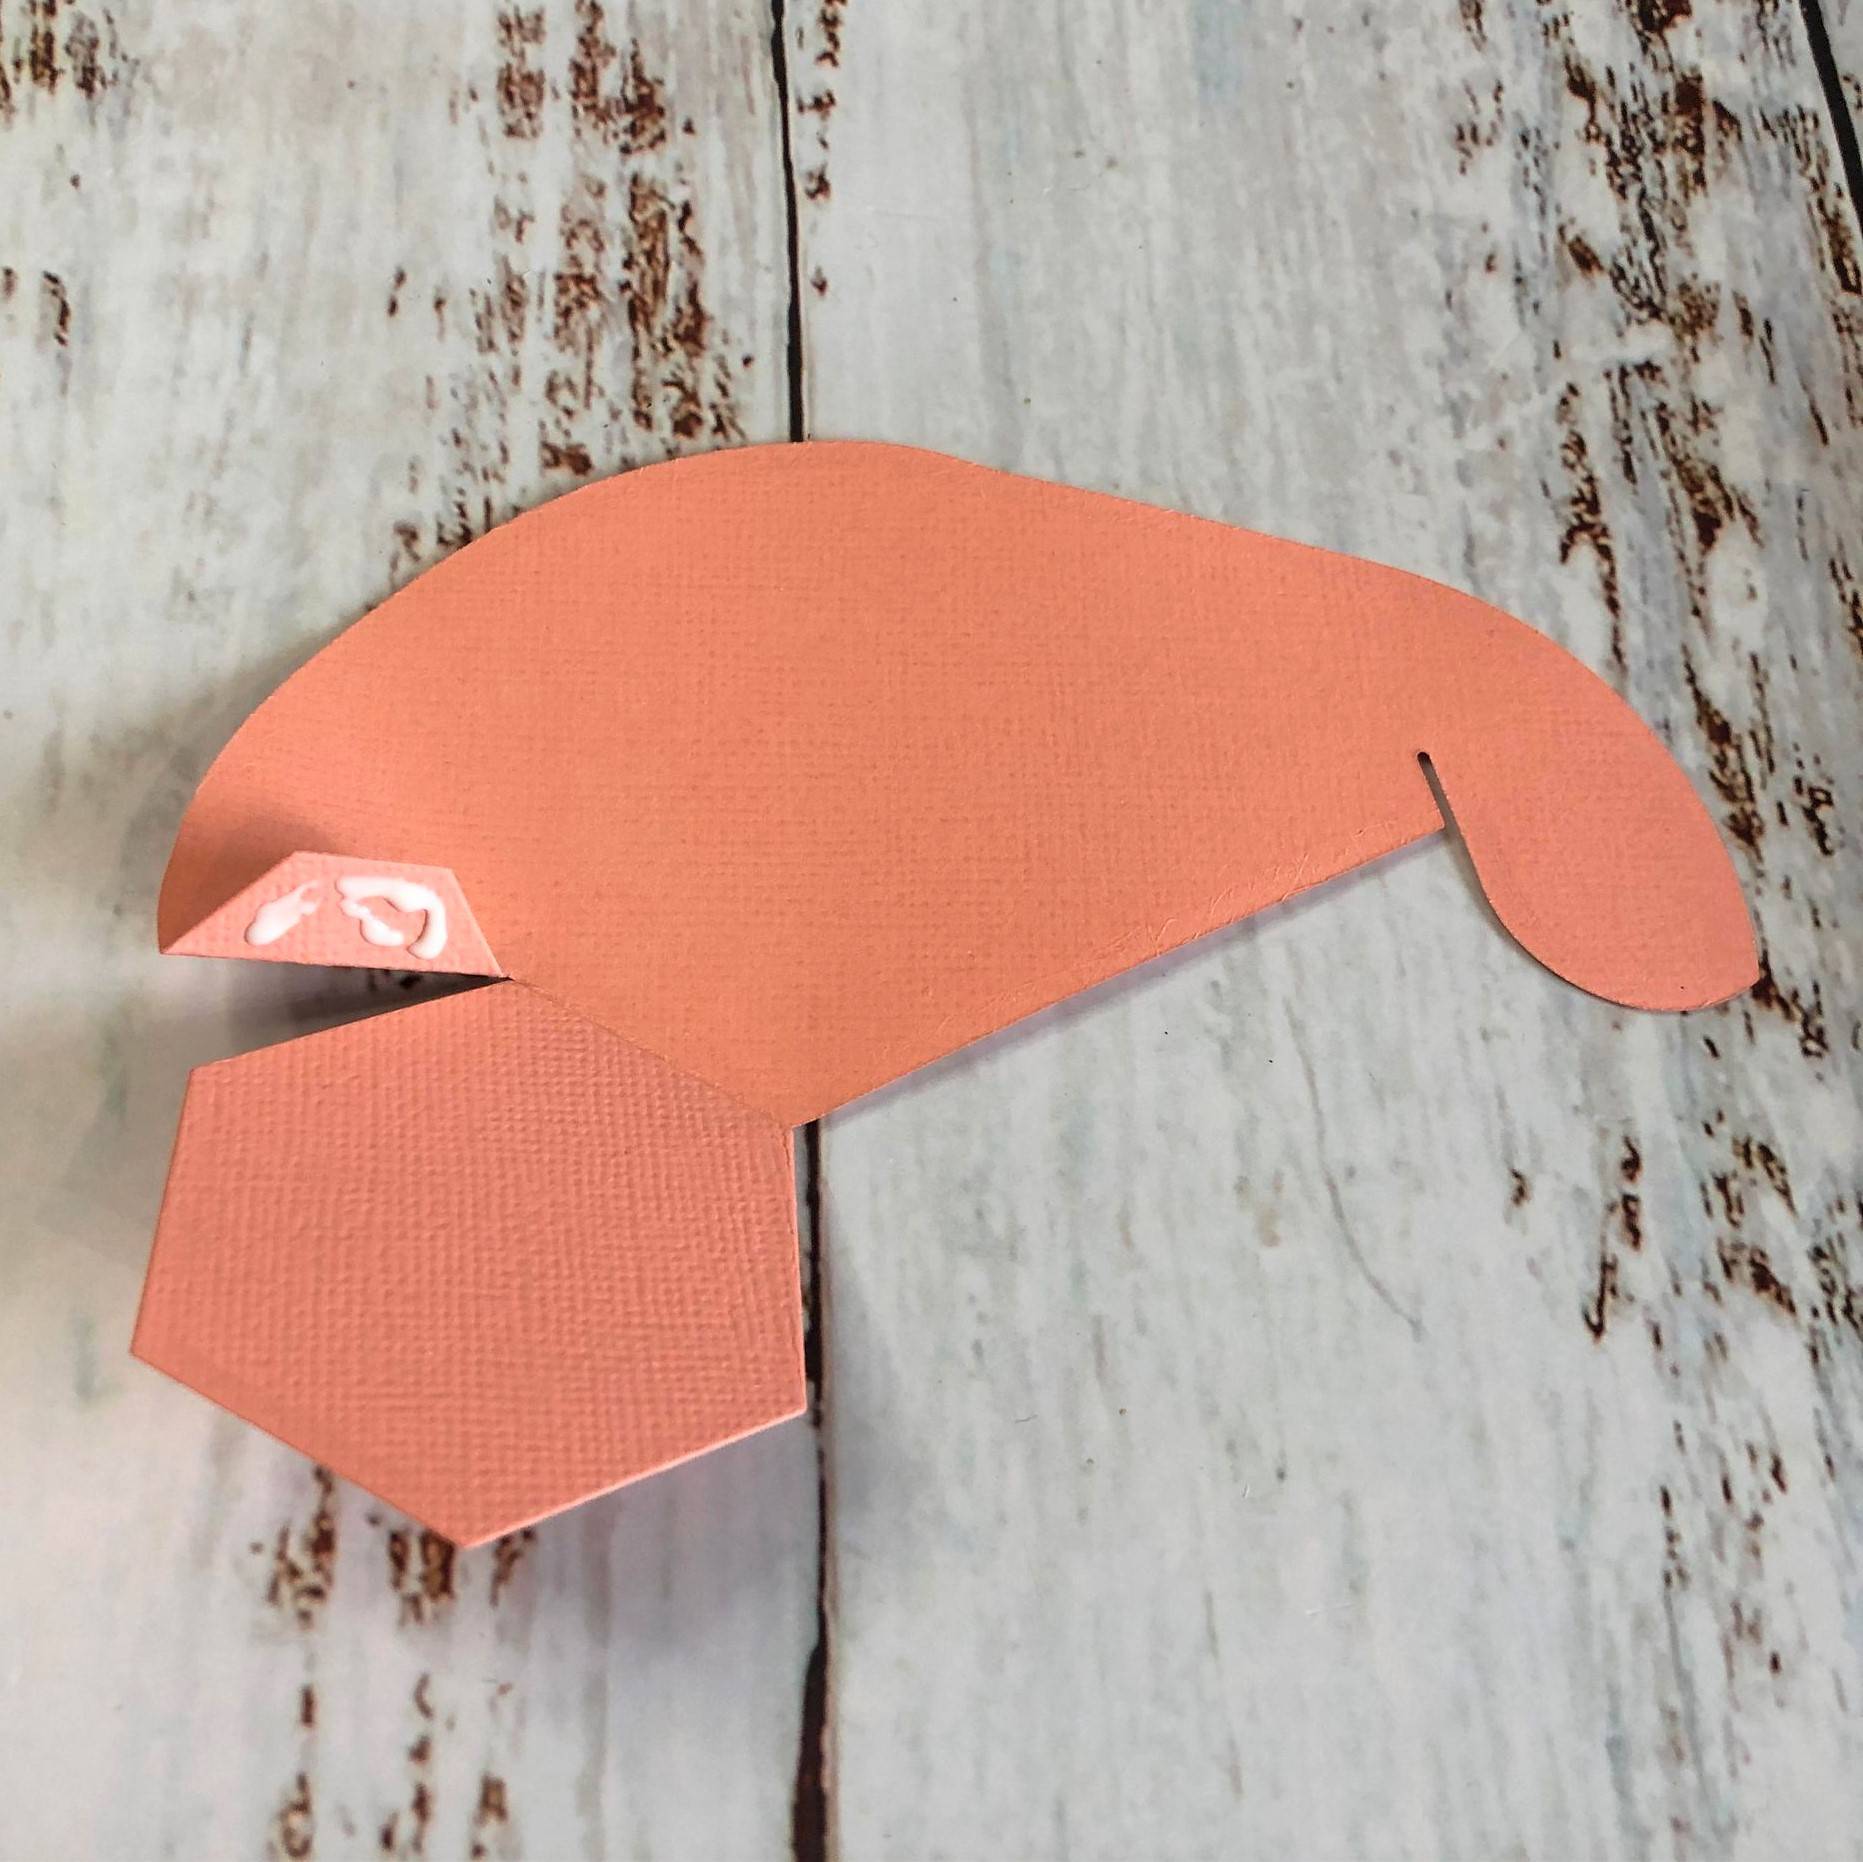
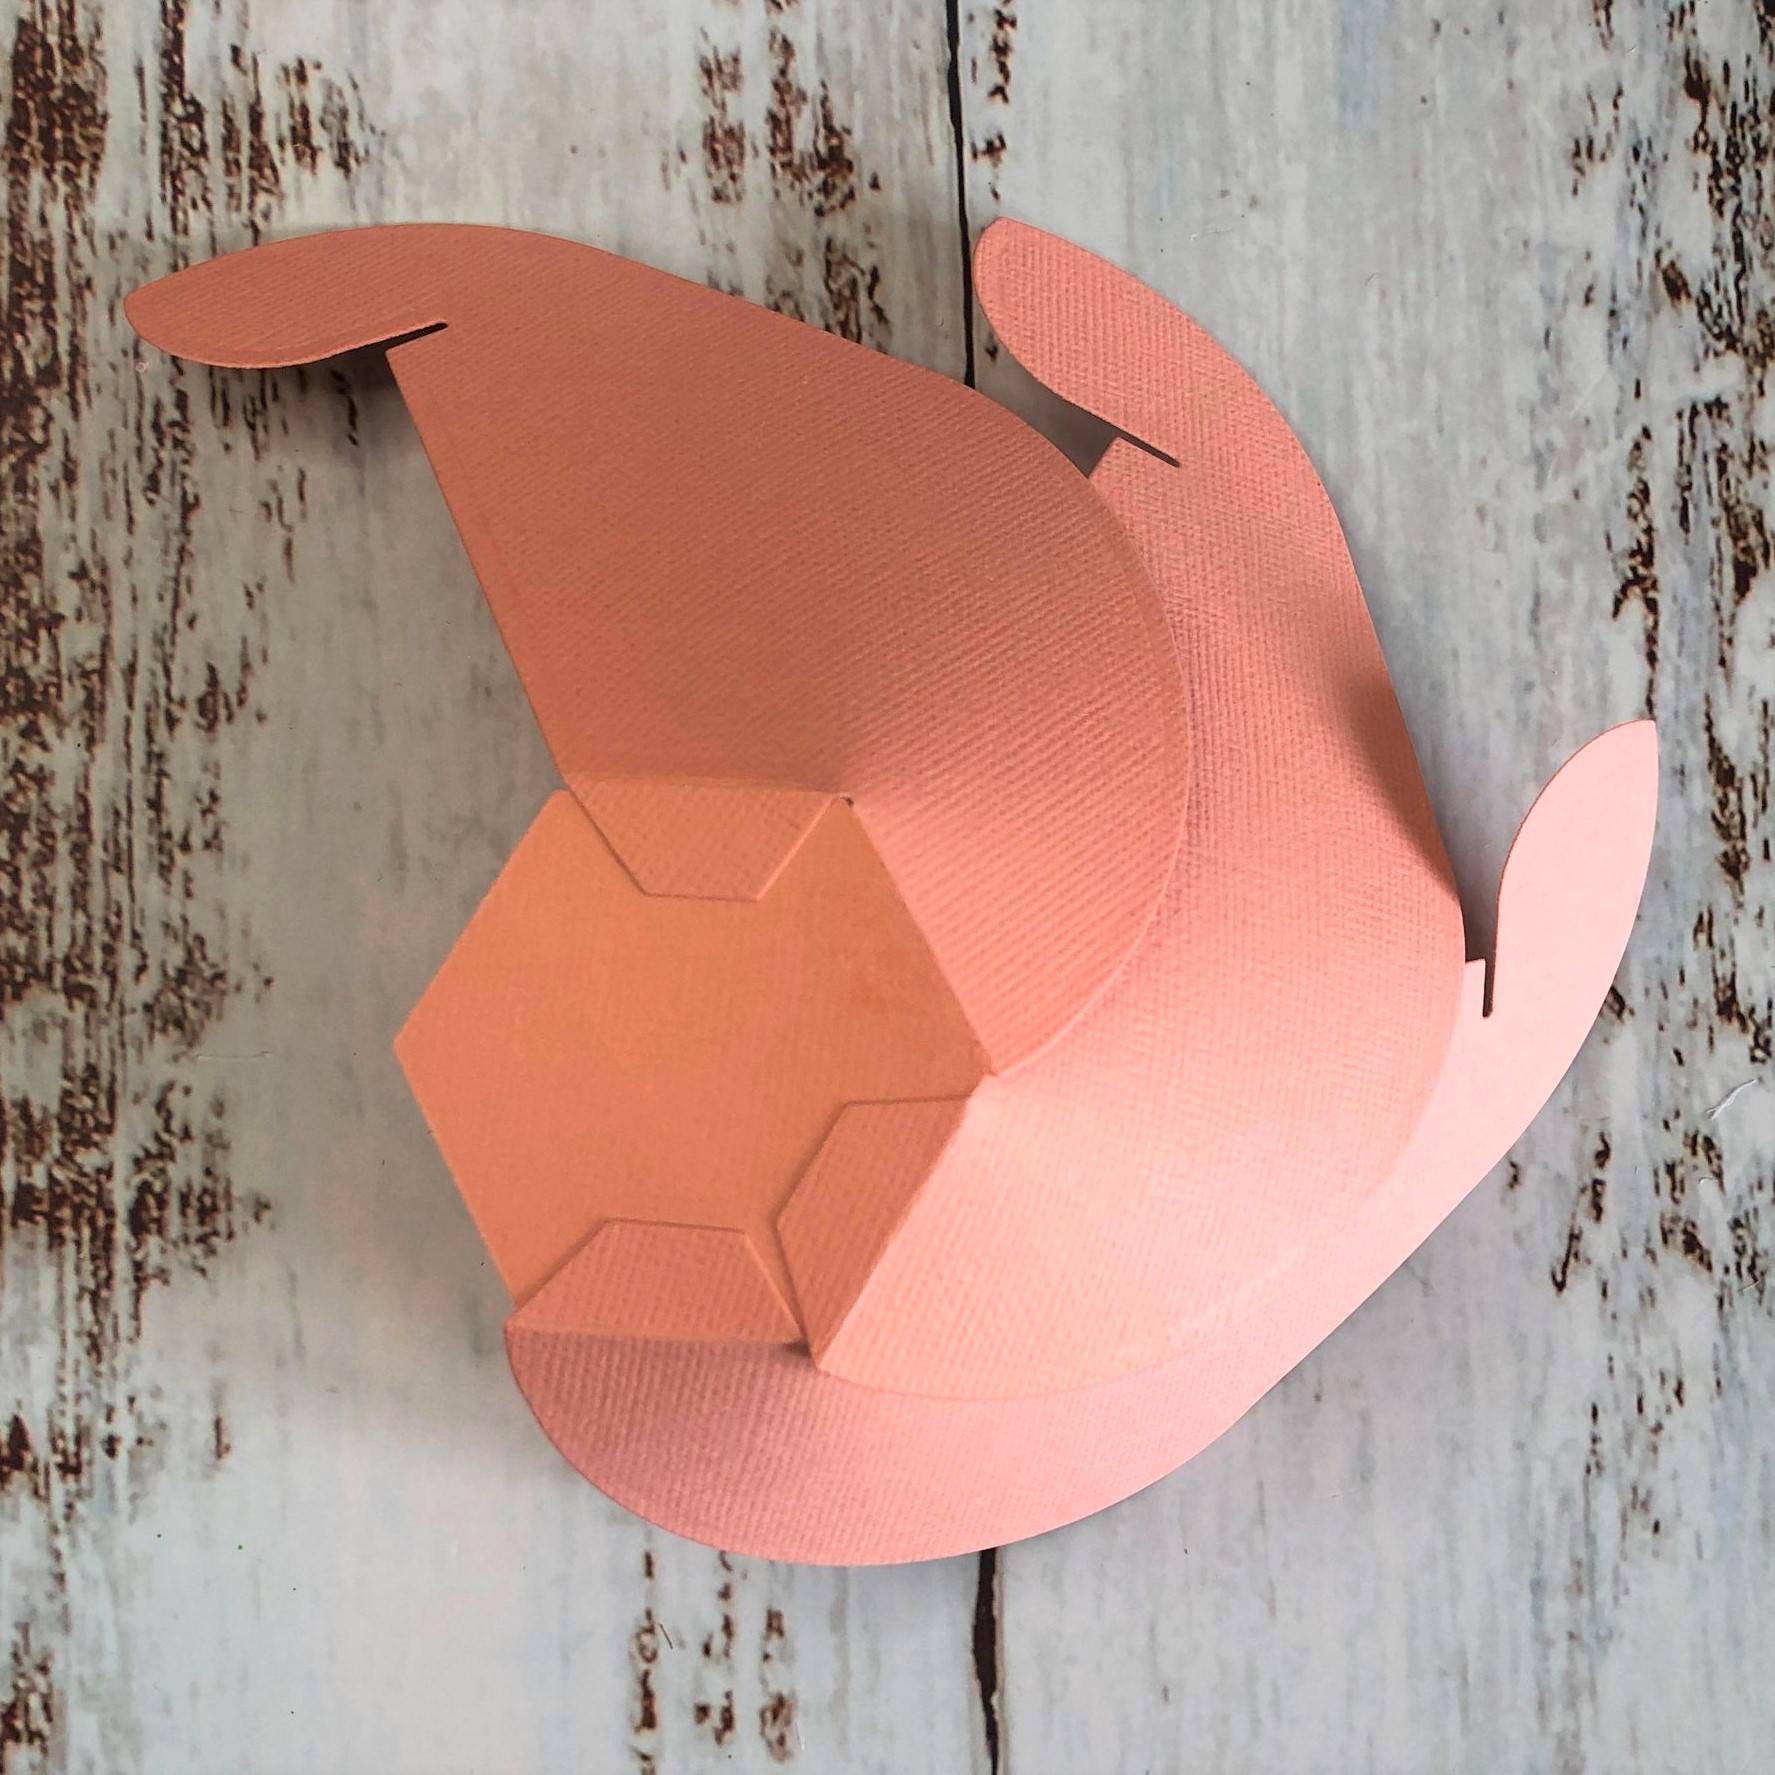
Step 1
The following process photos show you how to assemble the first few side panels. You bend and lightly burnish both of the tabs towards you. Next, using wet glue, you adhere 1 tab to the top of one of the sides of the hexagon and the other tab to the under side of the next side of the hexagon. It doesn't really matter whether you start with an under or an over, as long as with each panel, one tab is glued under the base and one tab is glued on top of the base. You will be using the other hexagon or octagon die cuts to cover the glue tabs anyway.
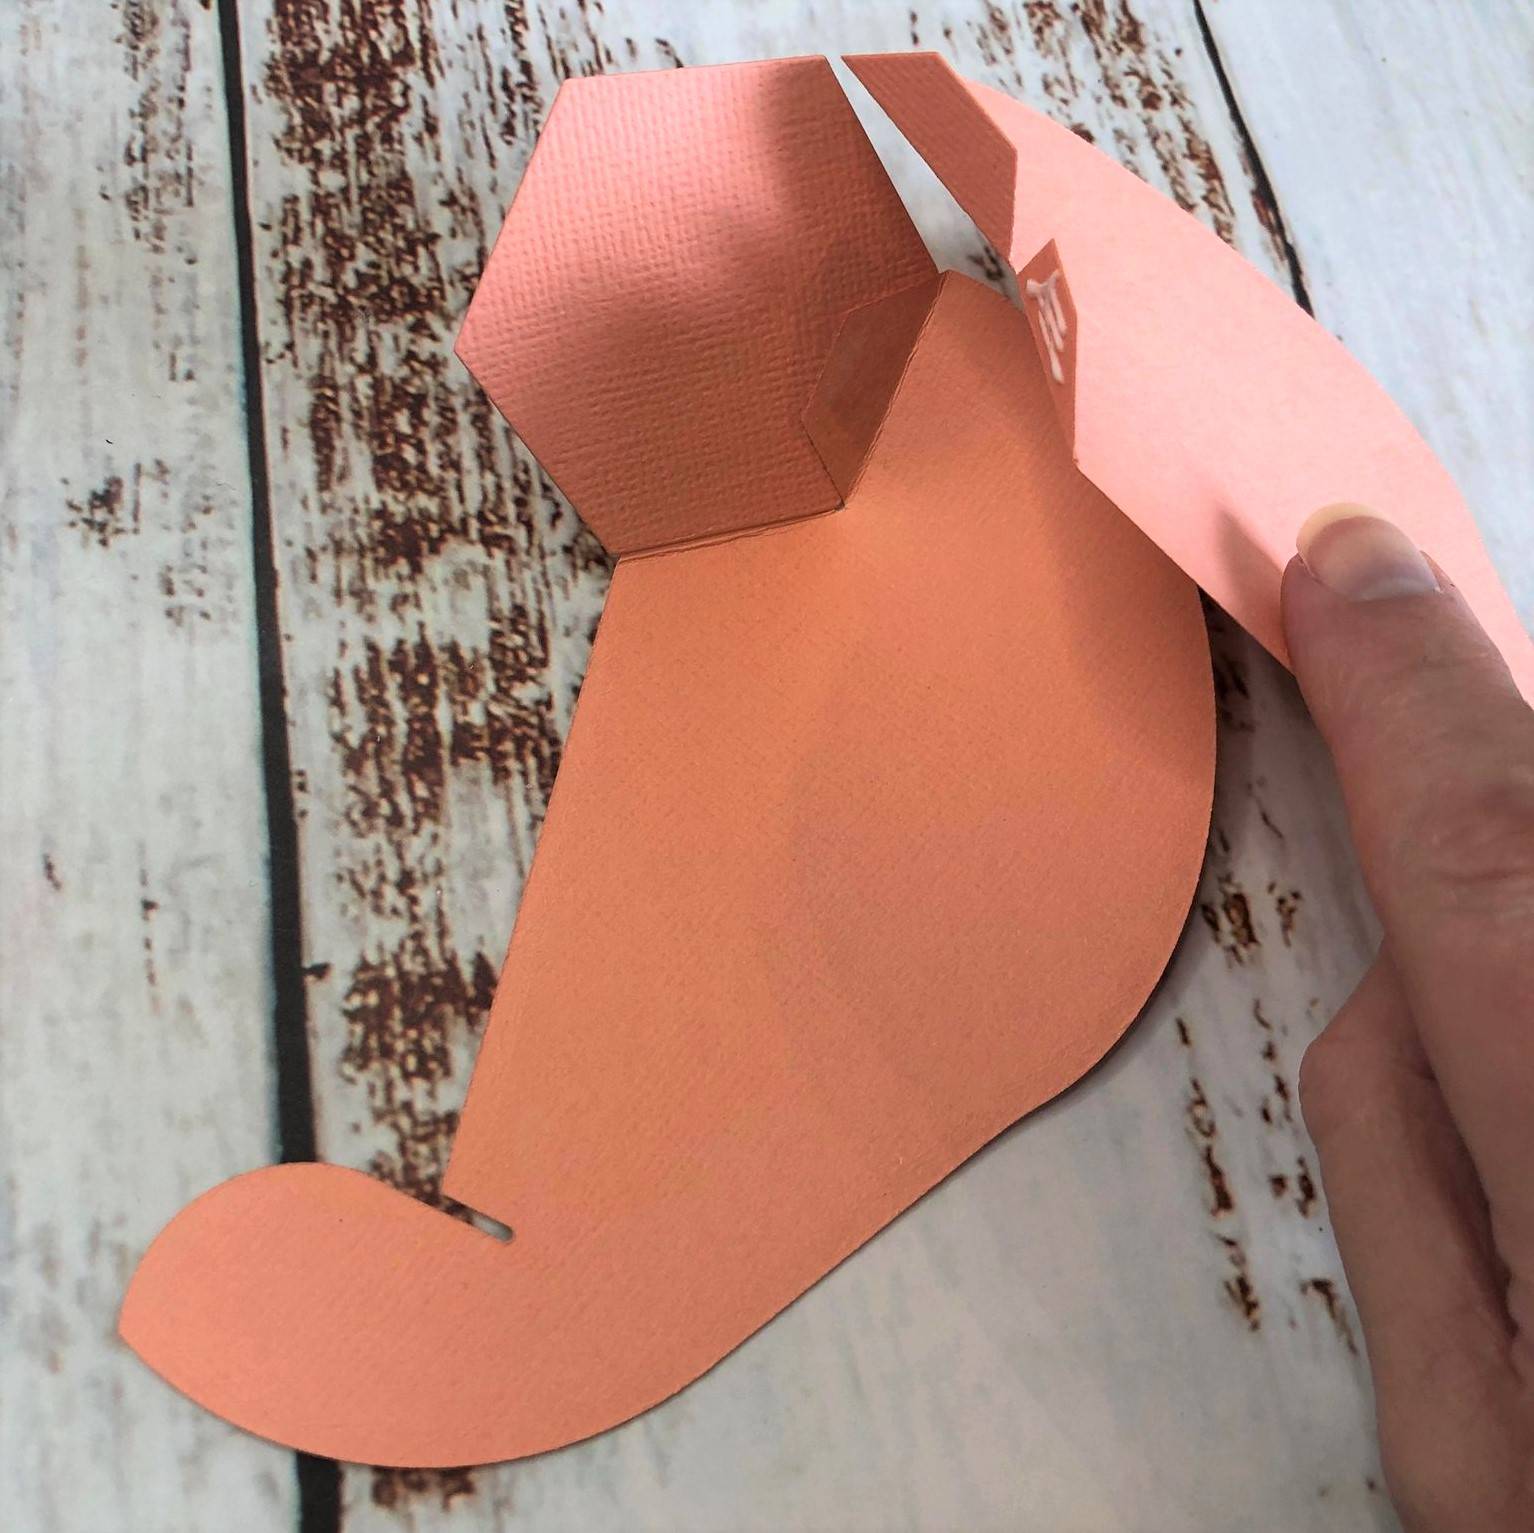
Step 2

Next you take the next side panel and adhere the first tab over the top of the side of the hexagon that has the tab of the previous side panel underneath it. The 2nd tab of the 2nd panel again glues underneath the next side of the hexagon. You have now attached 2 side panels.
Step 3
Continue with the 3rd panel as shown in the process photos.
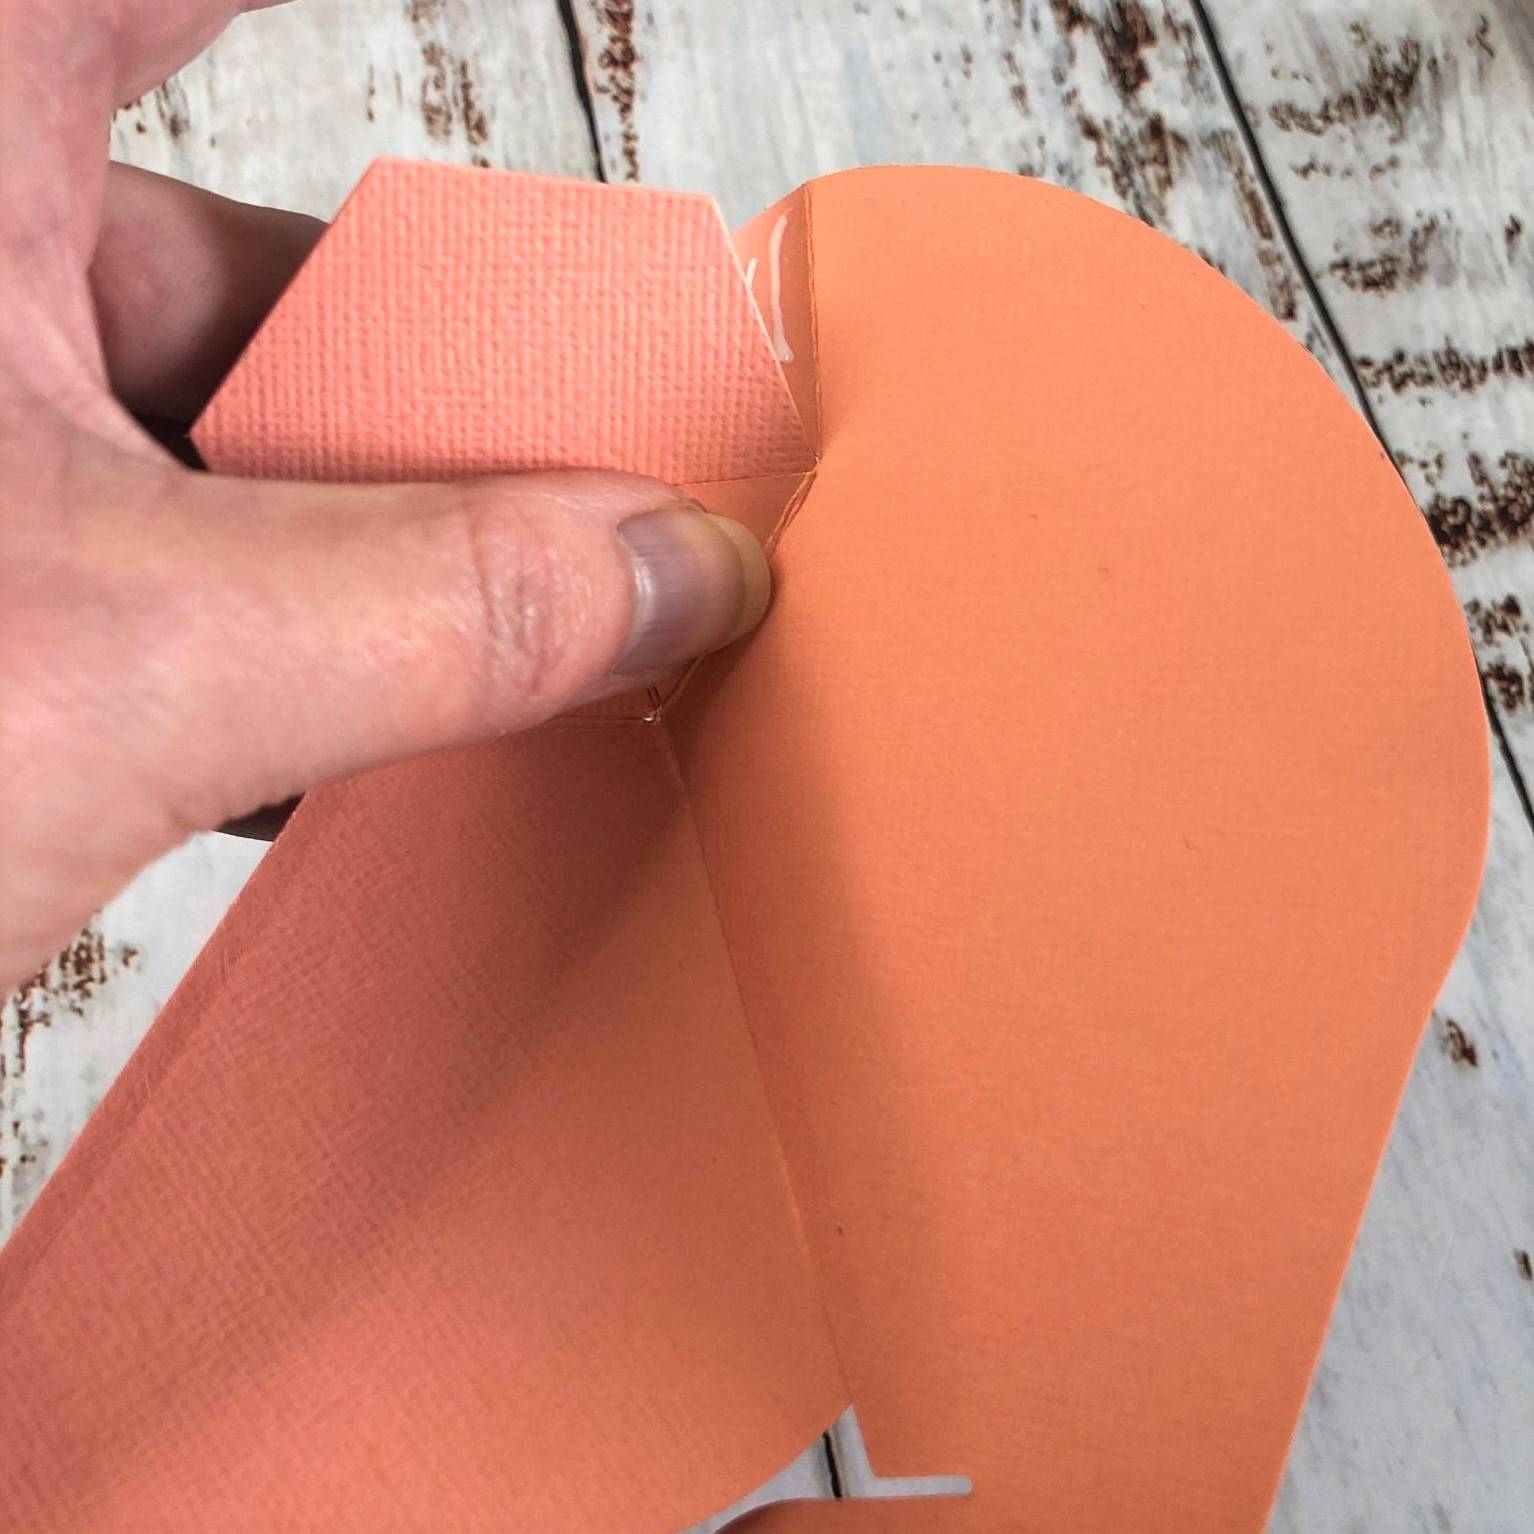
Continue with the 3rd panel as shown in the process photos.
Step 4
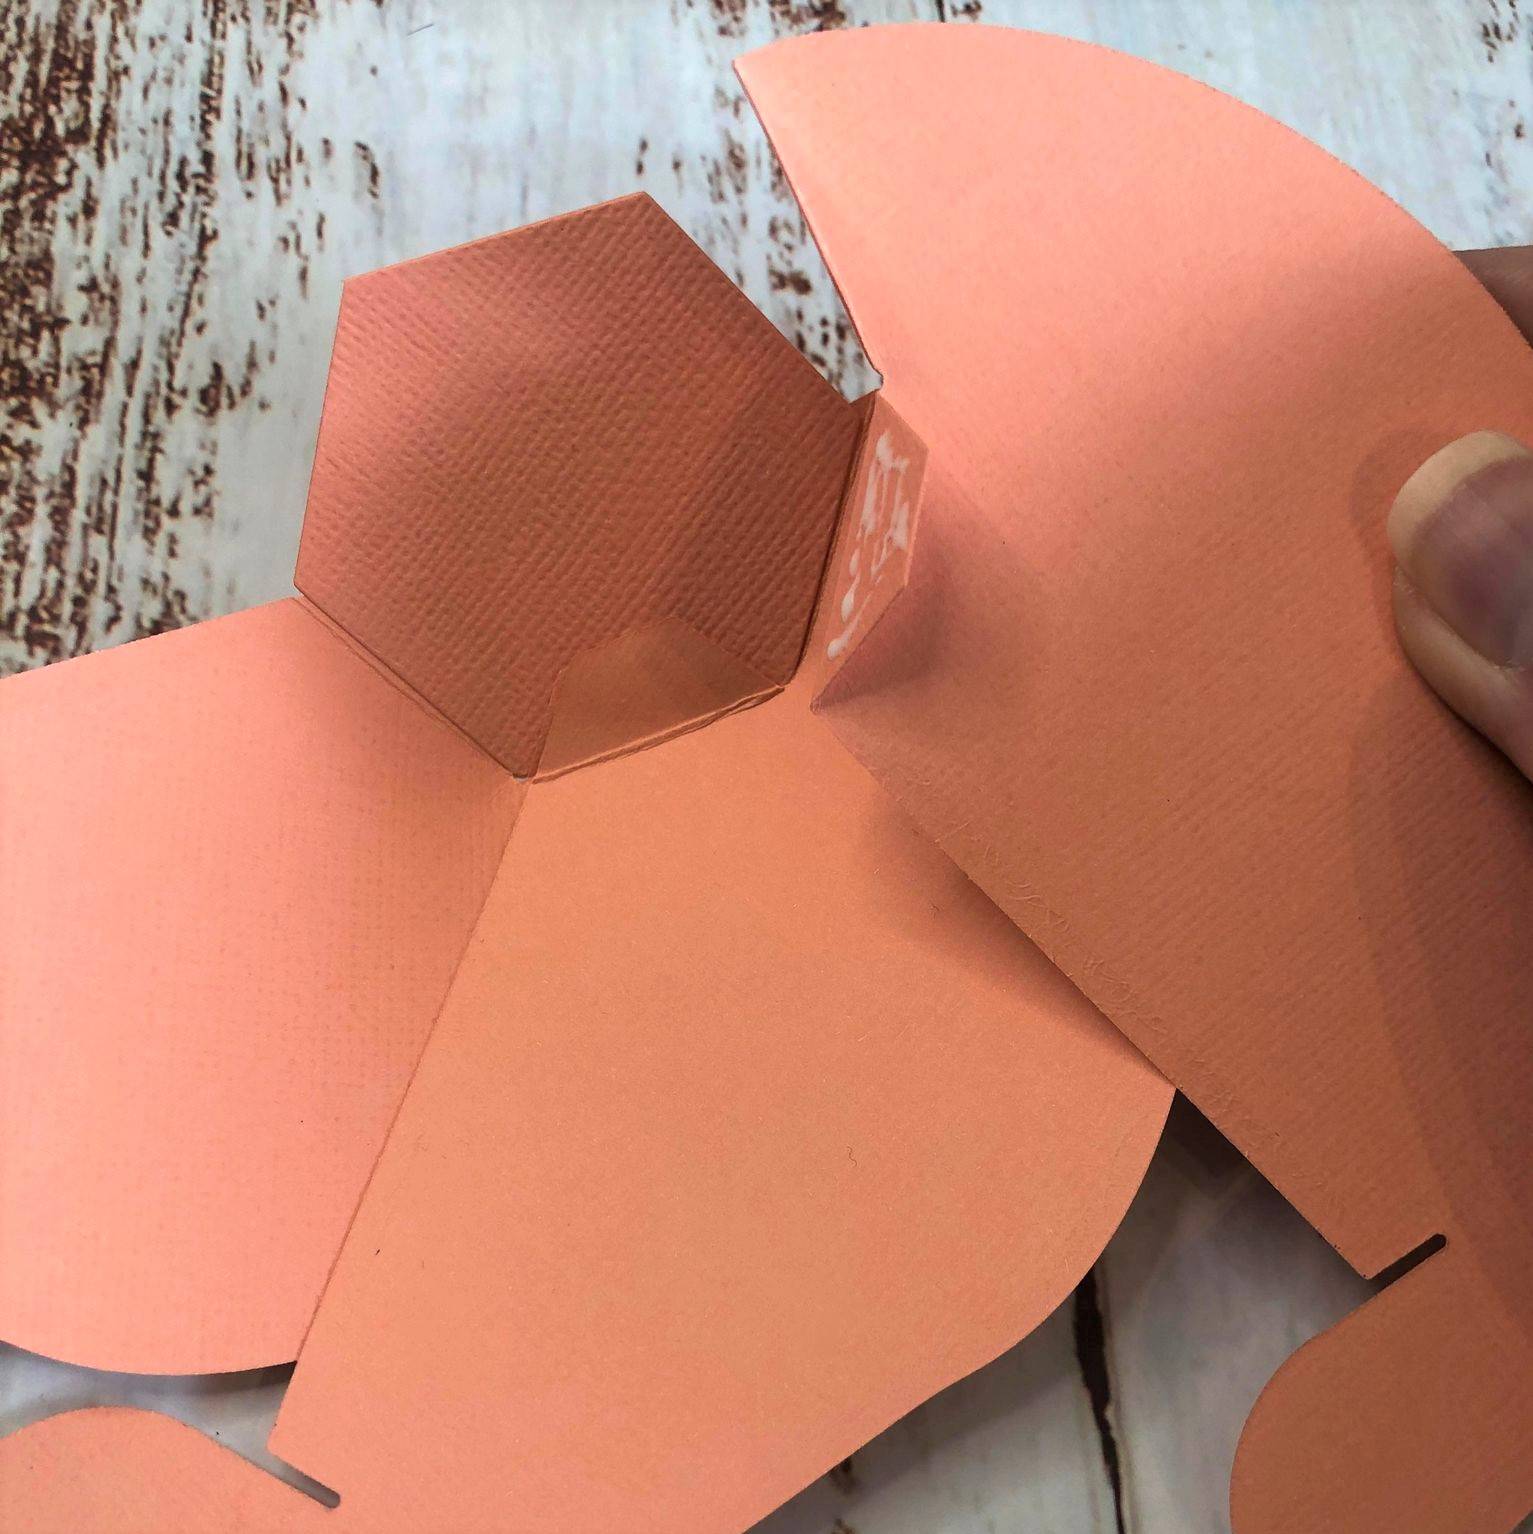

Continue in this manner until all side panels have been glued to the hexagonal base. The last one may be a bit fiddly, but just take your time, it will be worth it.
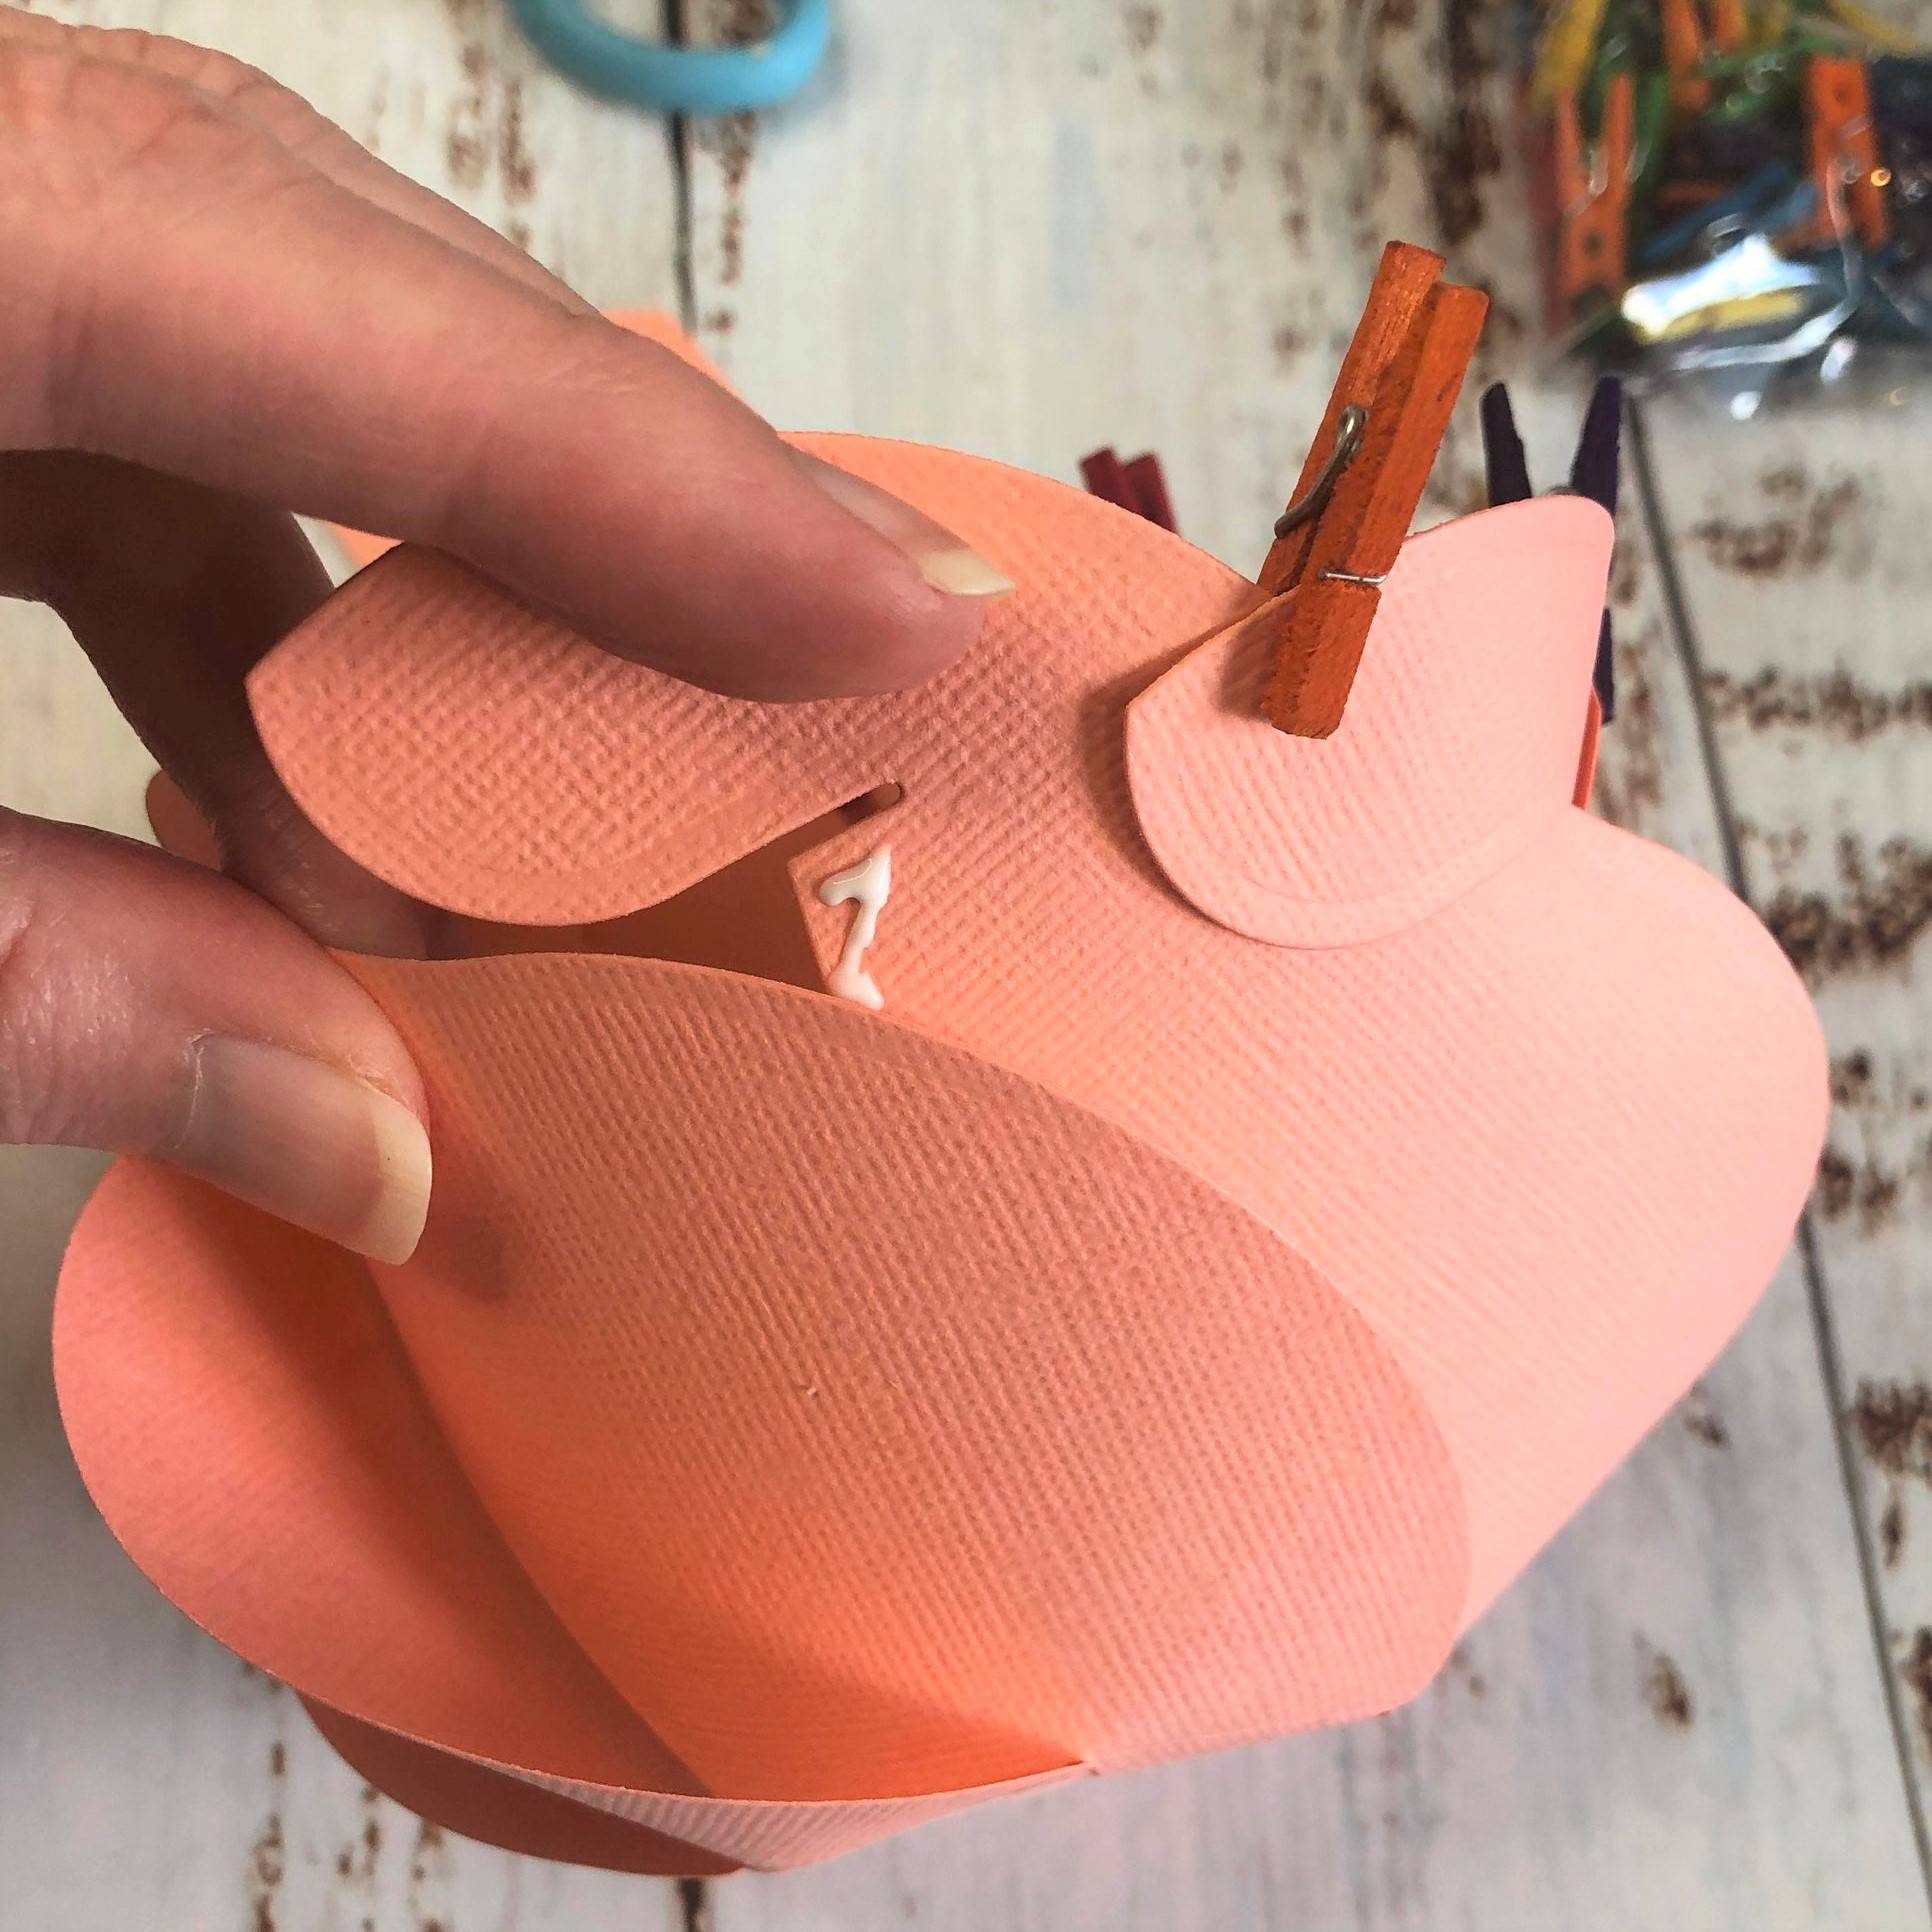
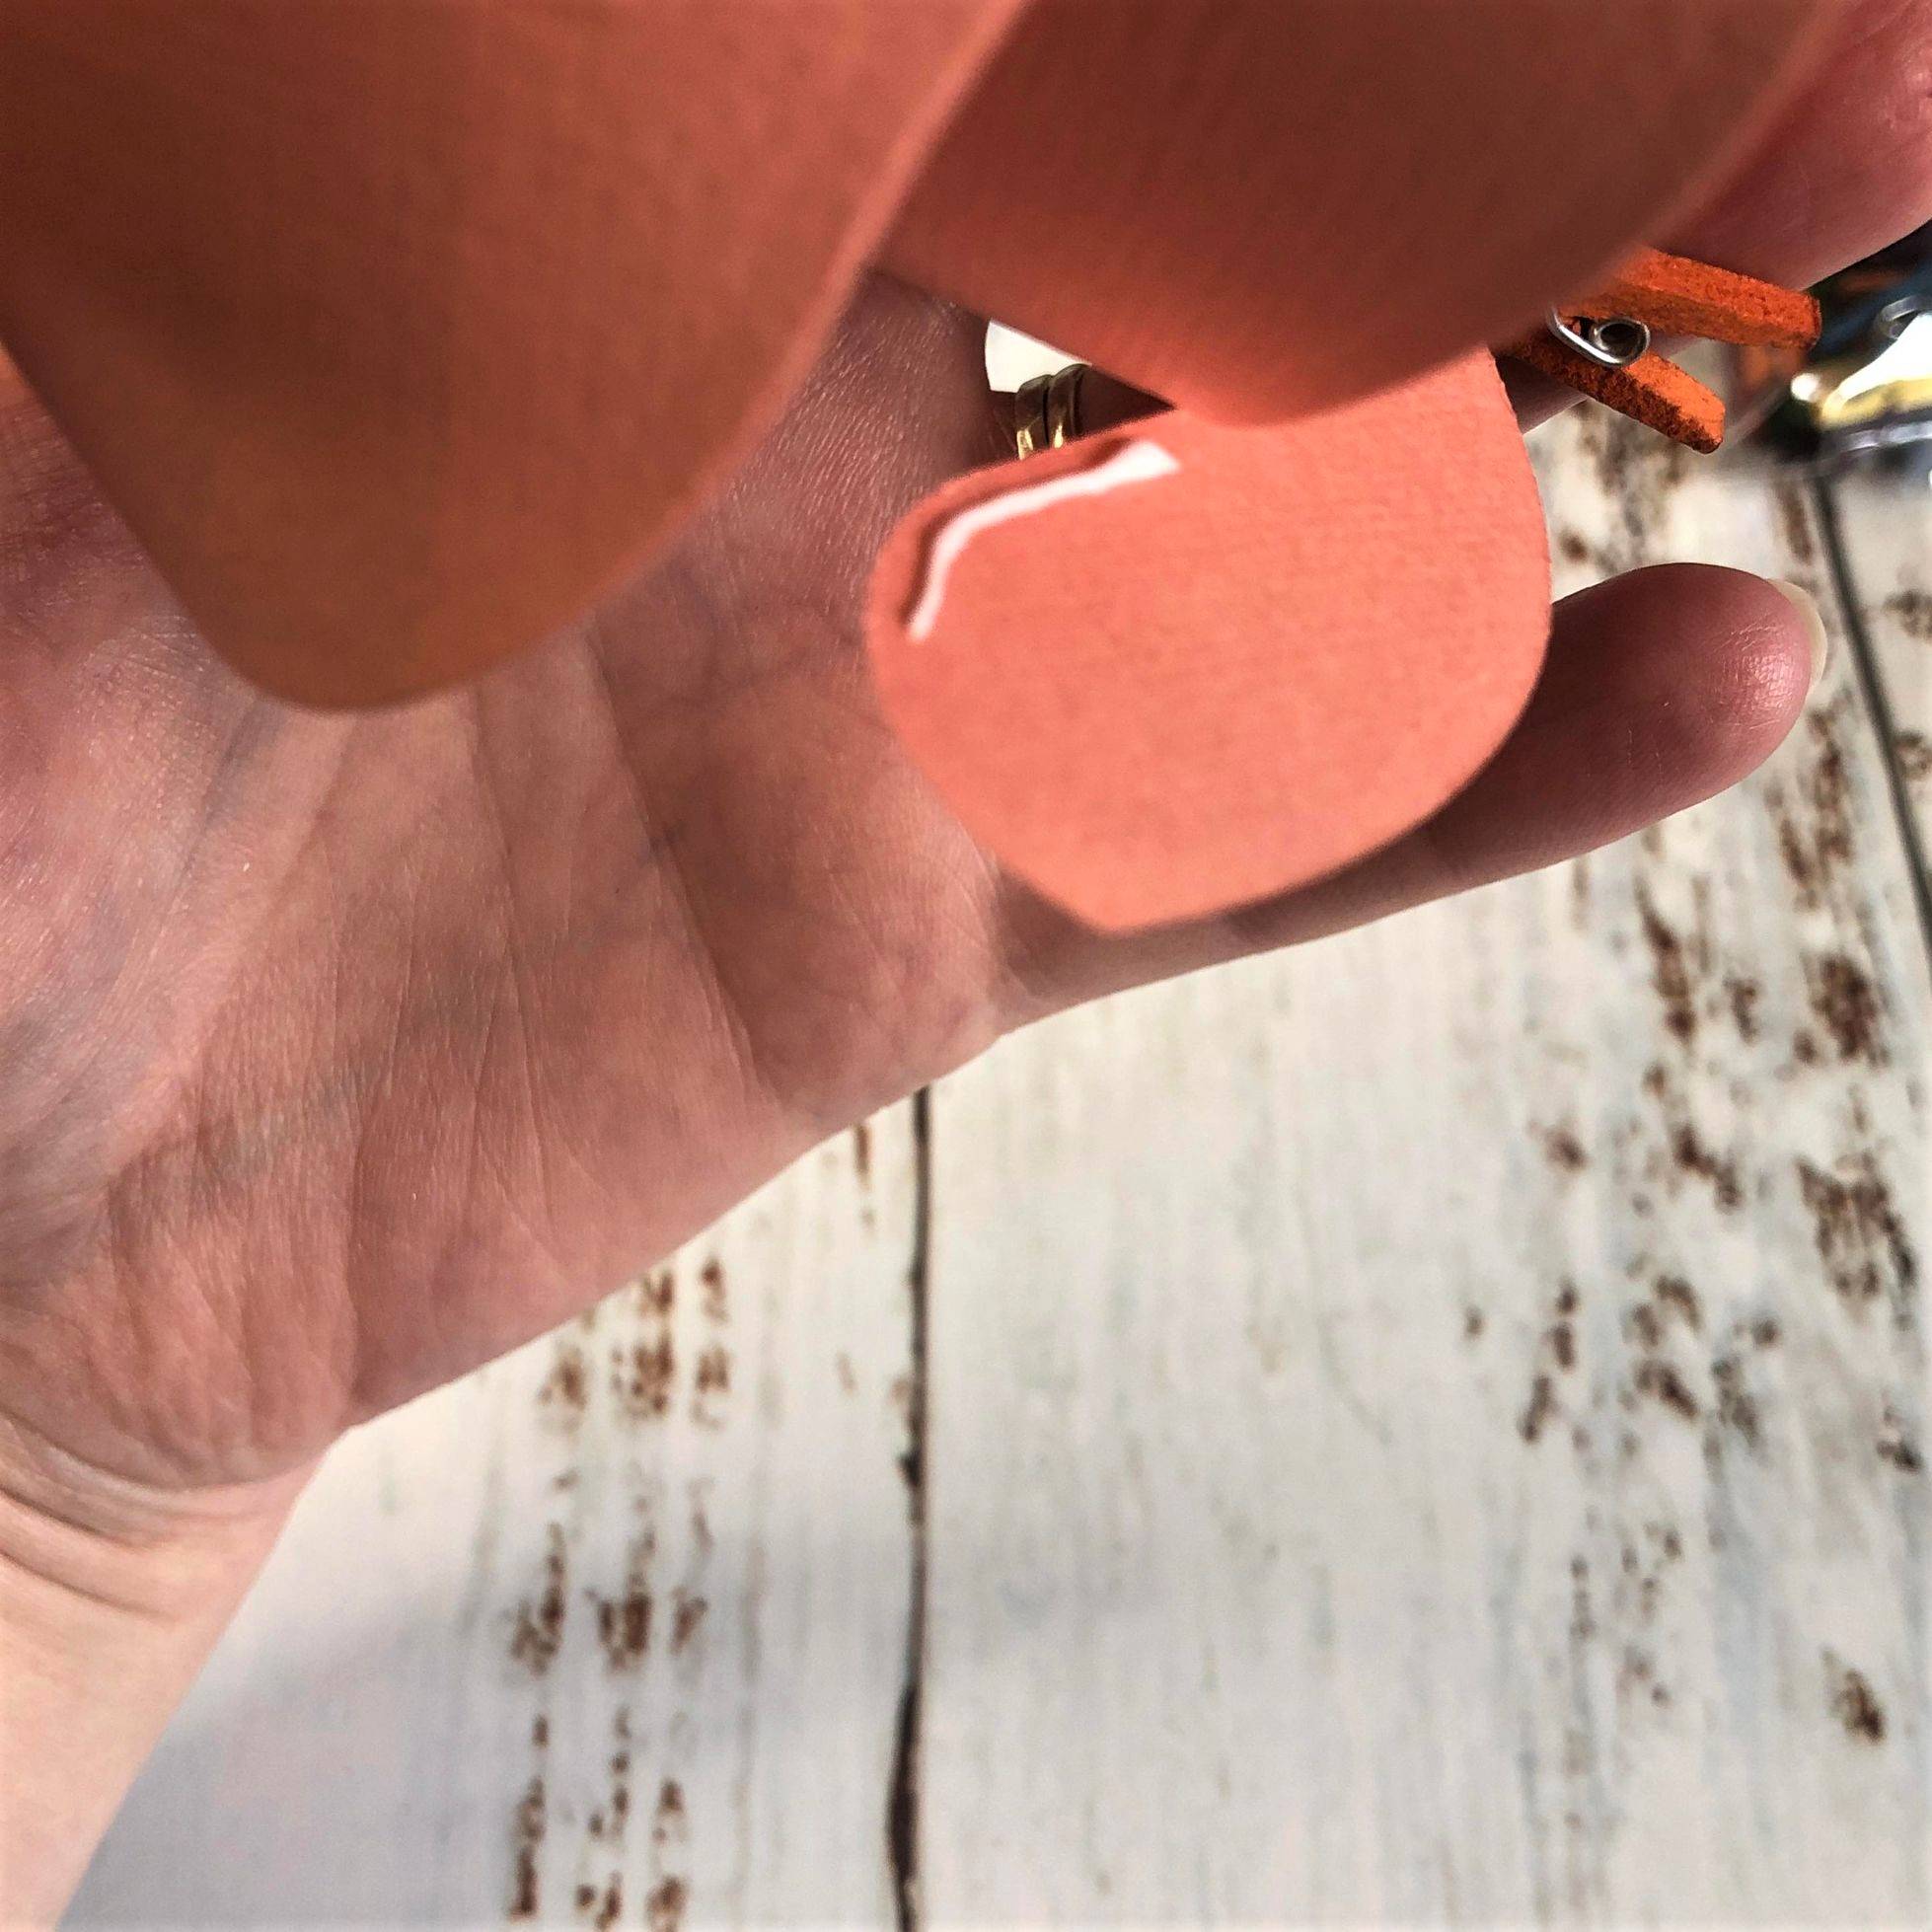
Adhering the side panels together
To adhere the top of the side panels together, in order to close your bowl and create the unique twisted effect, apply a small amount of glue in the positions shown in the process photos (corner of side panel and underside of petal/flap). I found that to speed the process up, it was handy to have some small craft pegs to hold the panels to their neighbour while the glue was drying. You could also use paper clips if you didn't have any tiny pegs.
Step 5
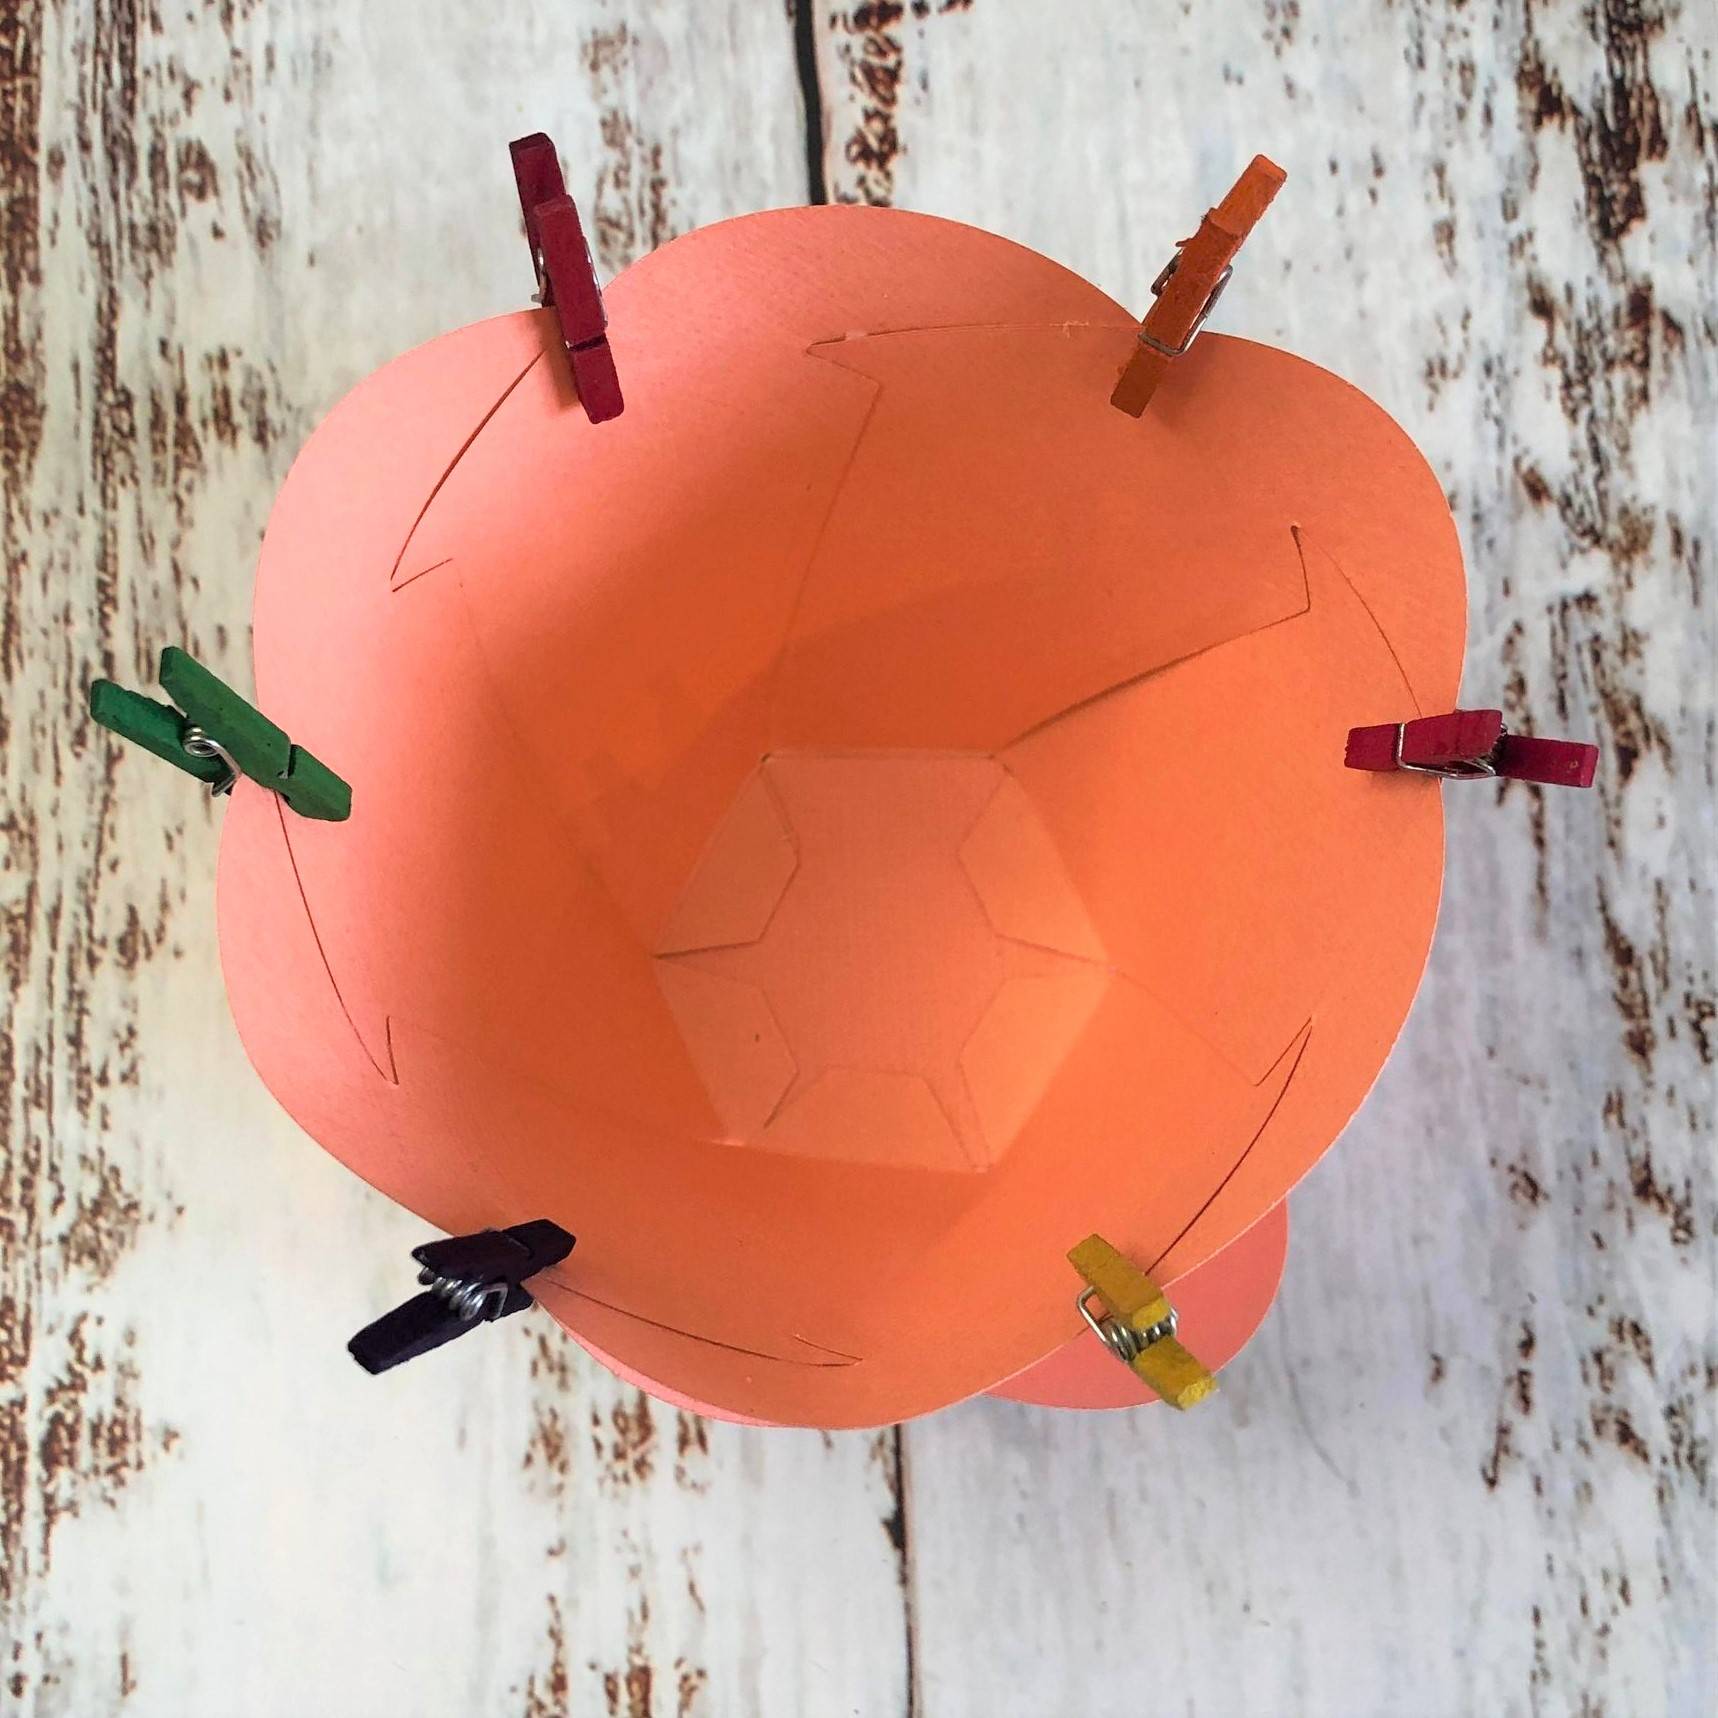
After a few minutes you can remove the pegs/paper clips and your twisted bowl will be assembled and now comes the fun task of deciding what to put inside it!
Ideas for using your Terrific Twist Bowl
• The sentiments included in the kit are all treat related so would be perfect for holding wrapped sweets or chocolates on your desk or on tables at parties.
• In one of my sample makes I cut a circle of card for a lid and partially die cut (using a very small circle die) a finger pull in one side, to hide the contents from view (see below)
• You could also use the Terrific Twist Showcase as either an open or closed top lantern. If you repeated the above step to create a lid, the top would be closed and if you used the verso die with or without a vellum backing and a battery operated tea light or small string lights, it would create a lovely glow for some ambient lighting in a room.
• You don't have to use the verso dies included, I'm sure you could find some other verso dies in your Tonic stash that would work. Alternatively you could use it as an excuse to break into some of those treasured, speciality paper or card stocks you may have been saving (if your anything like me!) and use the plain cutting die without the verso die to cut decorative panels of patterned paper or thin card.
• You could also go with a completely out of the box idea such as using it as a gift basket. If you cut a length of card stock and attached each end of it to opposite sides of the bowl with brads, it would make a lovely basket for a flower girl at a wedding, or an Easter basket.
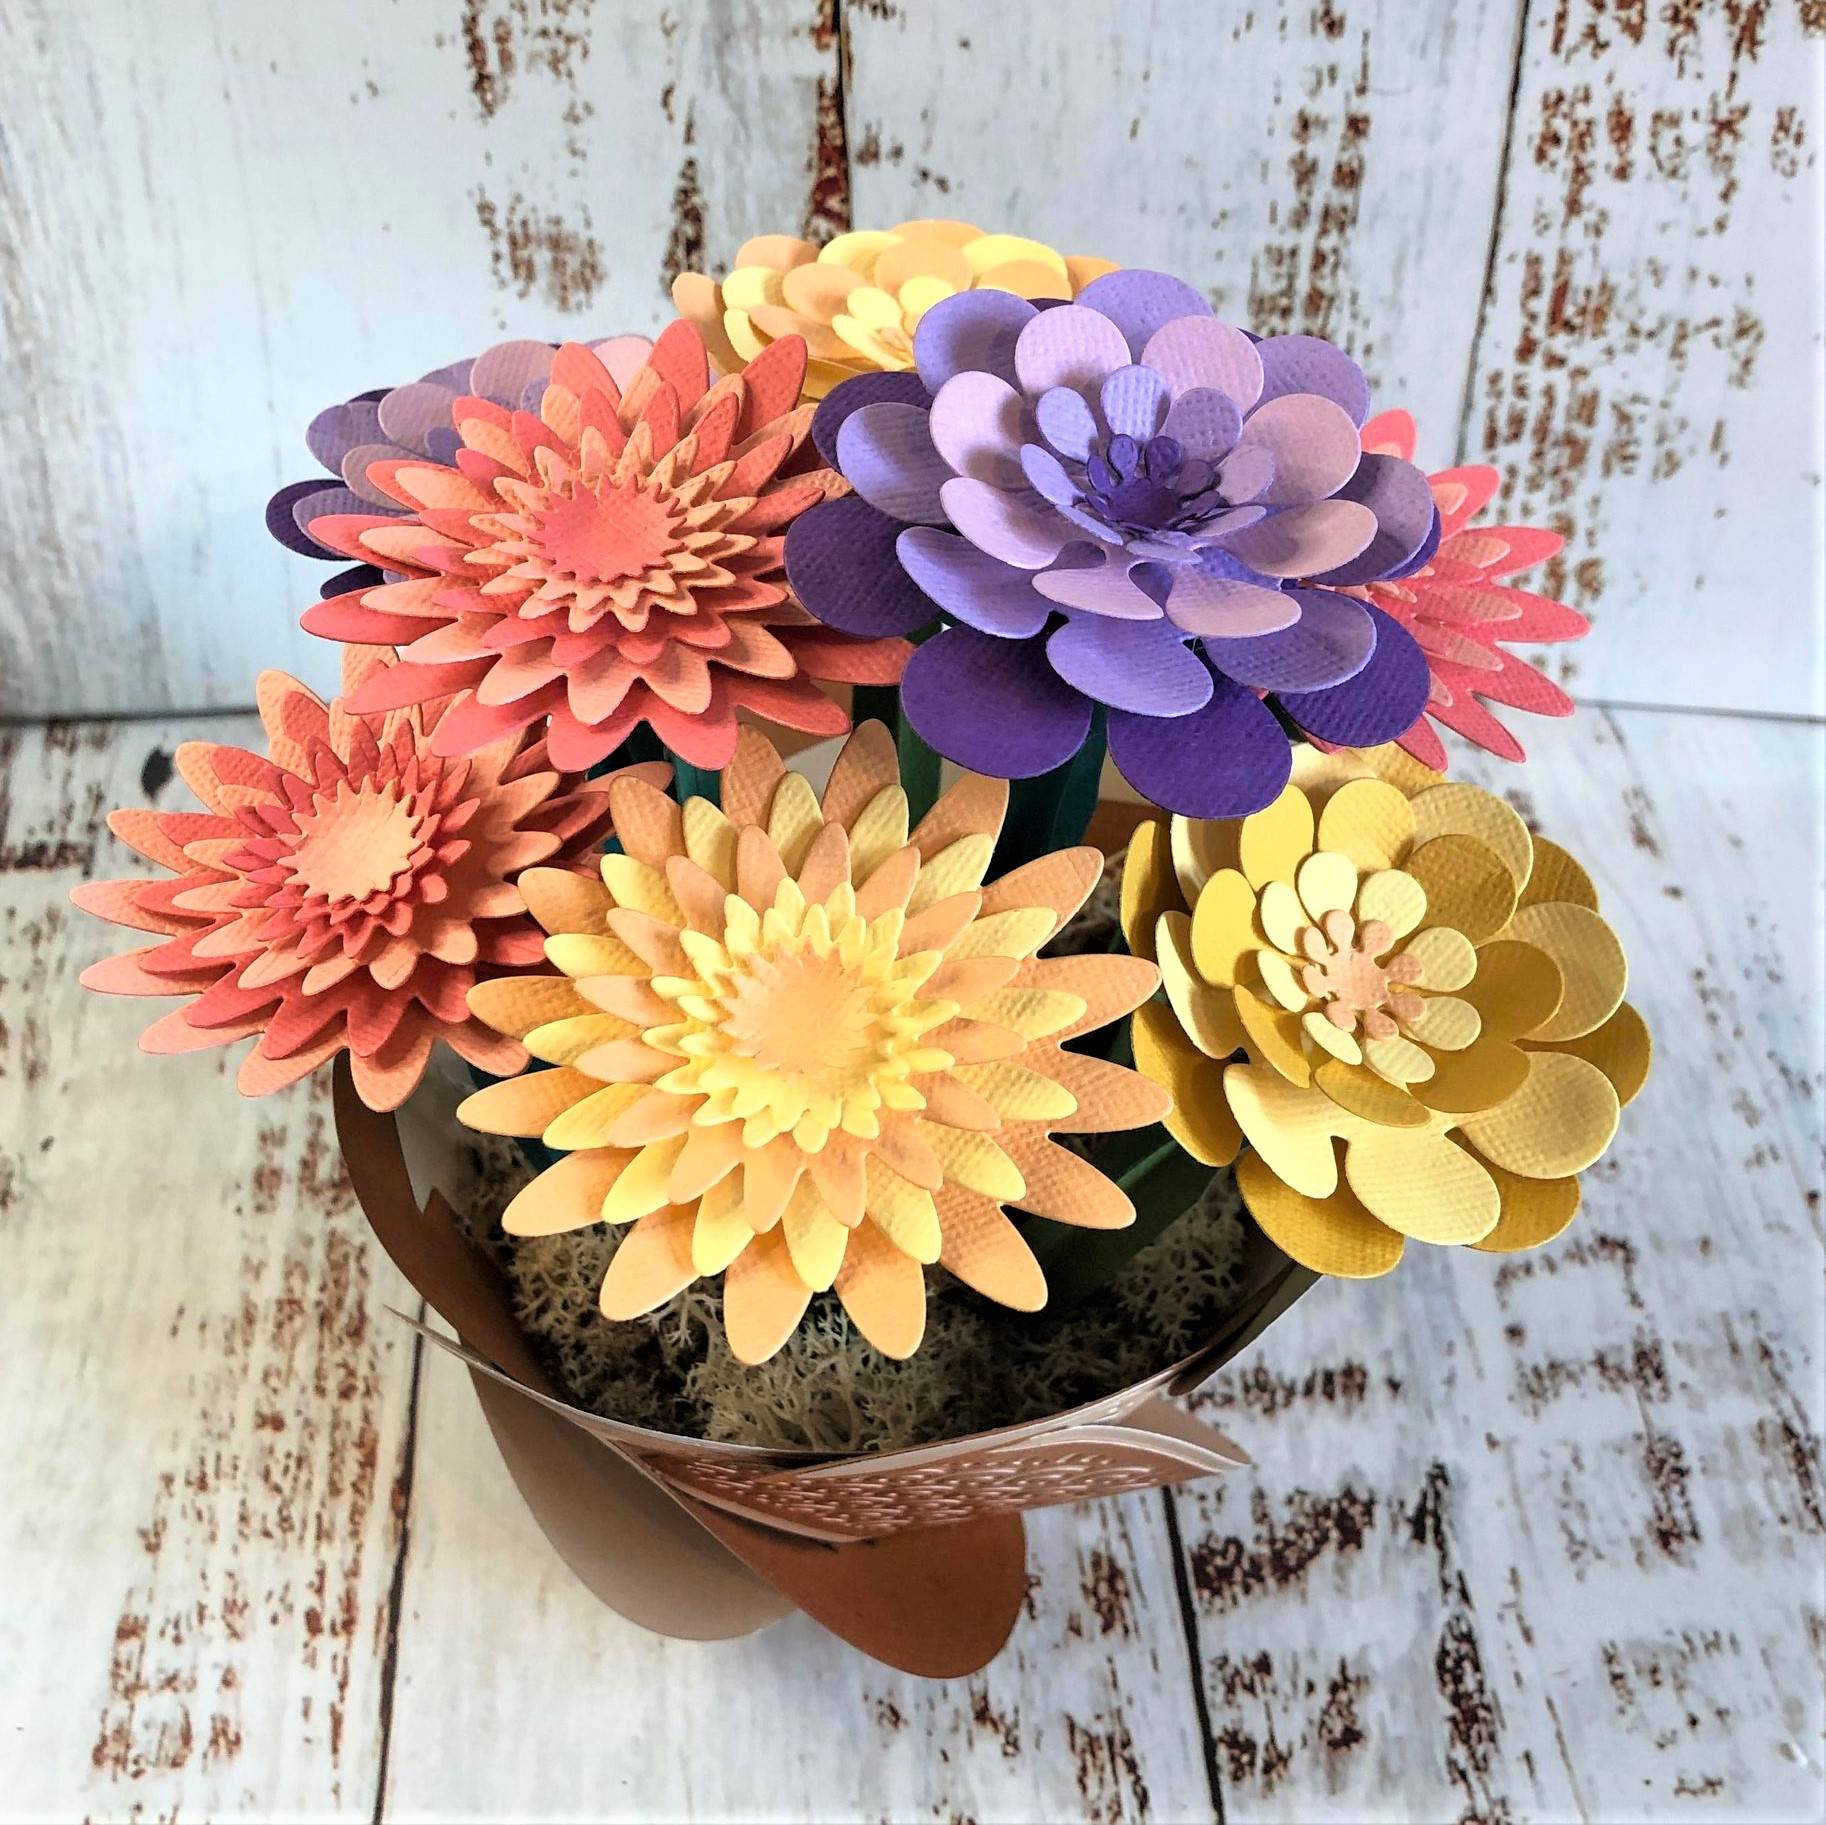
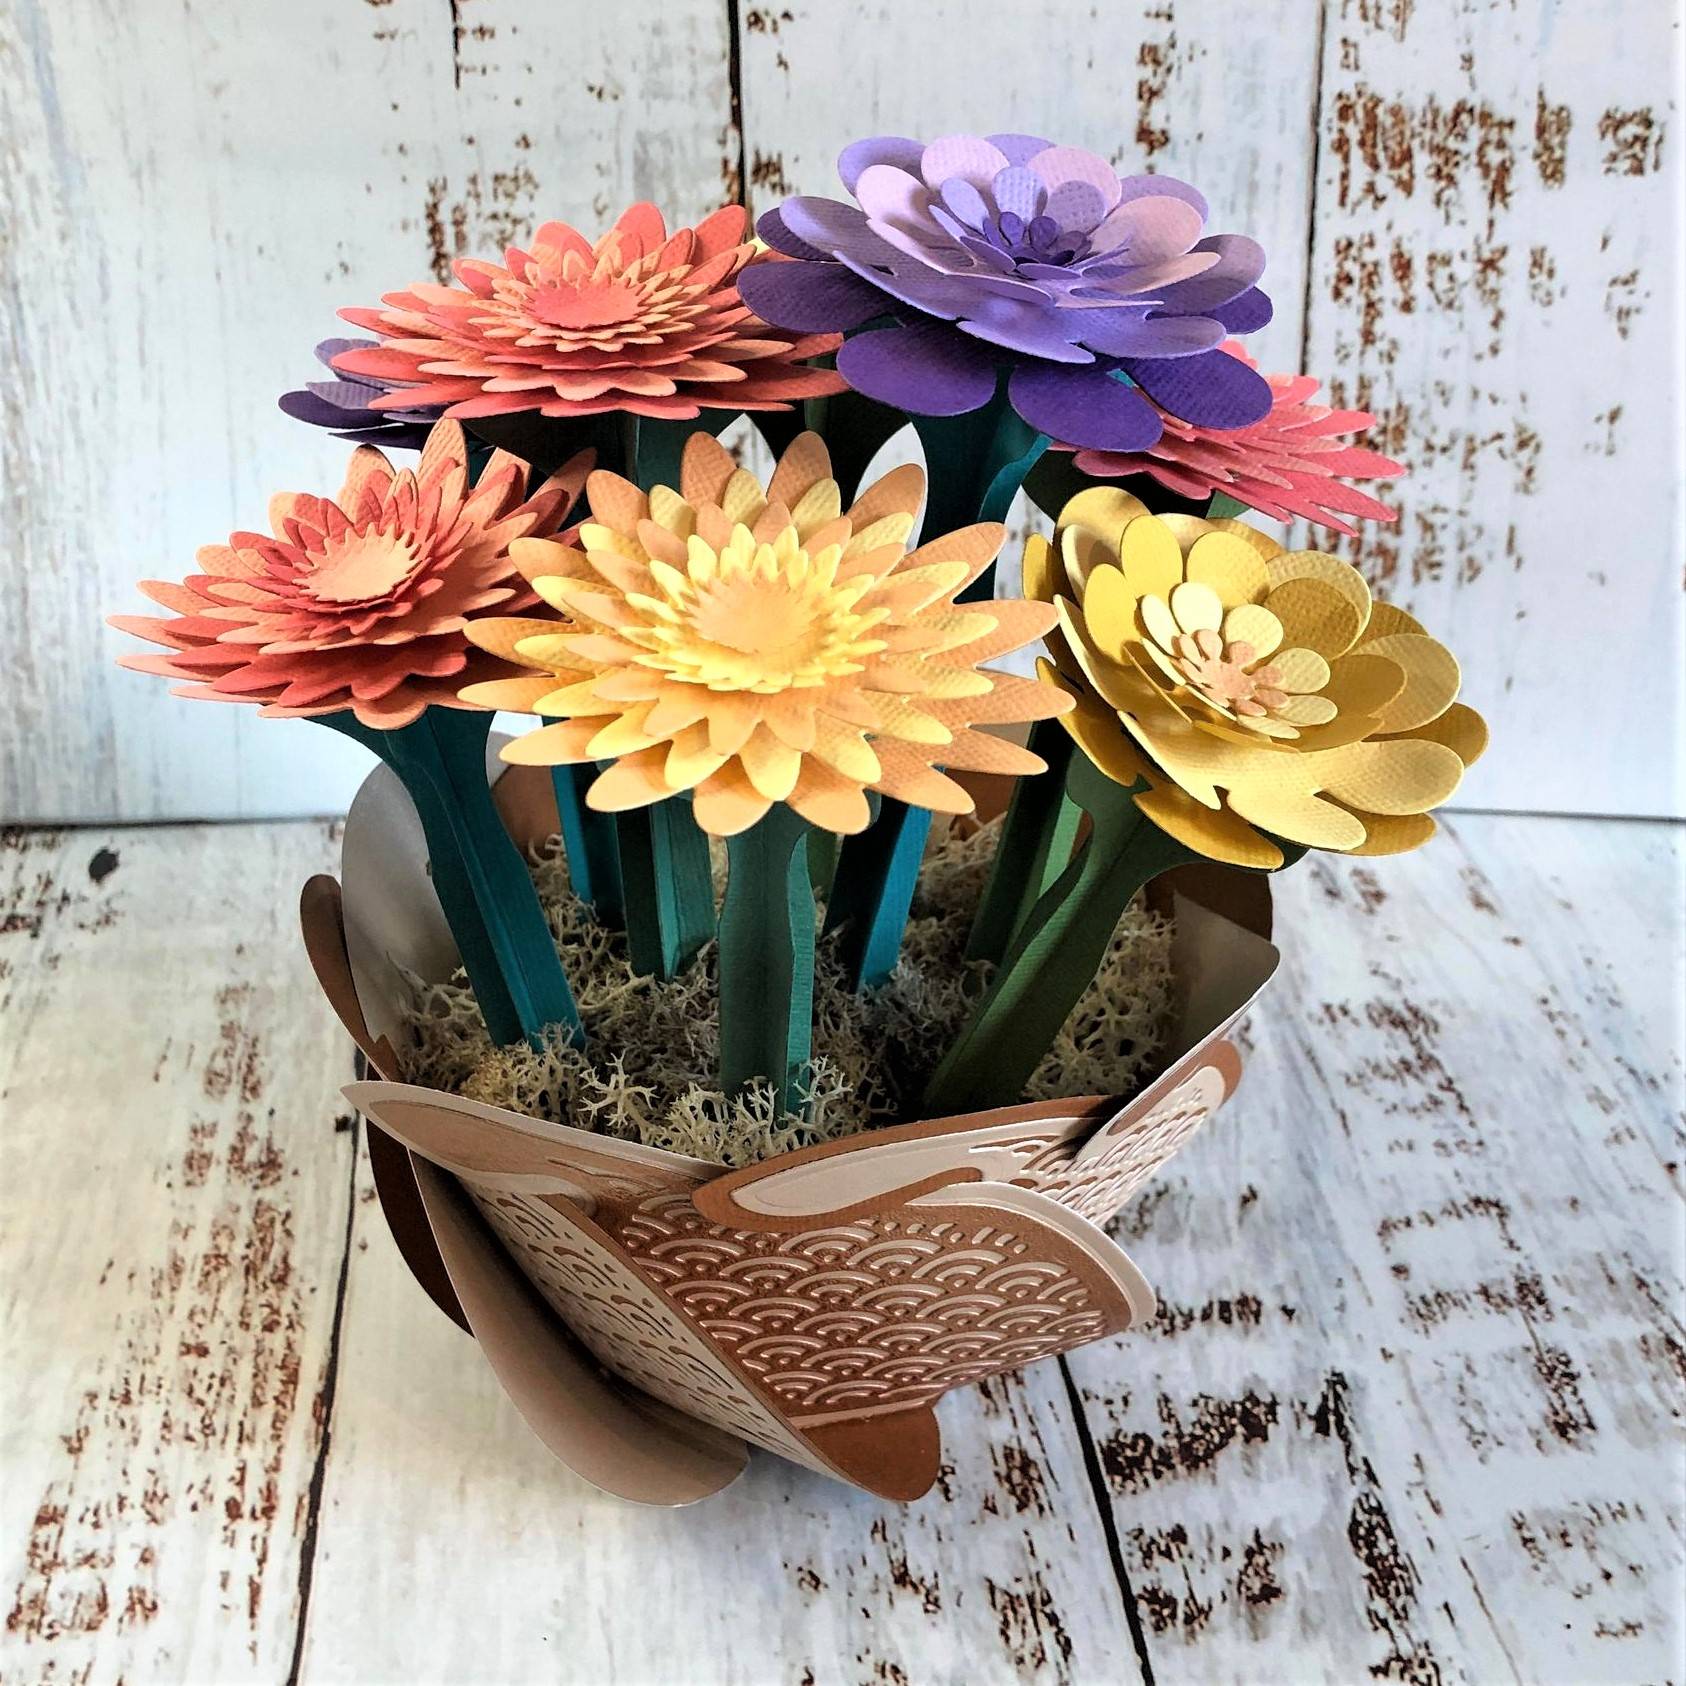
• In my second make, I chose earth toned colours that reminded me of a terracotta pot and used a Tonic Studios diet set to make some gorgeous flowers from classic craft perfect card. I added some leftover polystyrene into the base and glued it down, cut slits in it to hold the flowers in place and covered over the polystyrene with reindeer moss. The possibilities are as vast as your imagination!
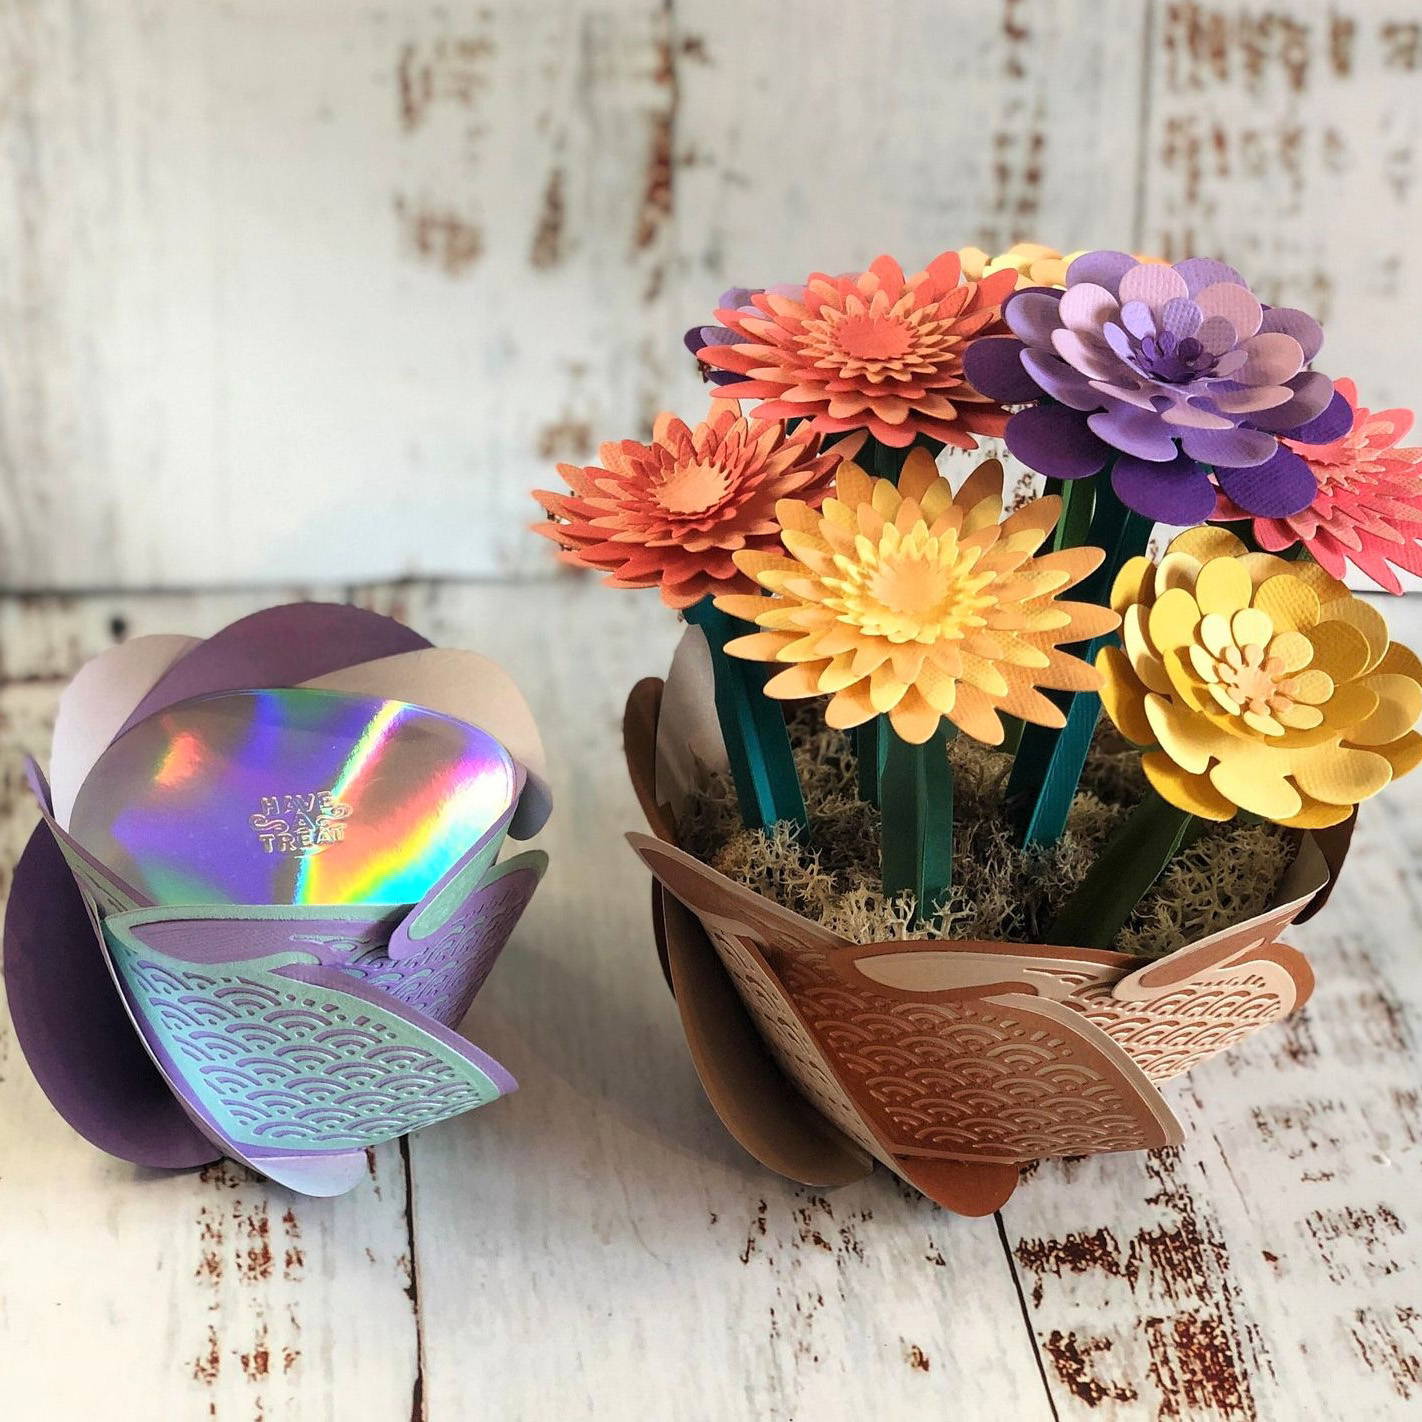
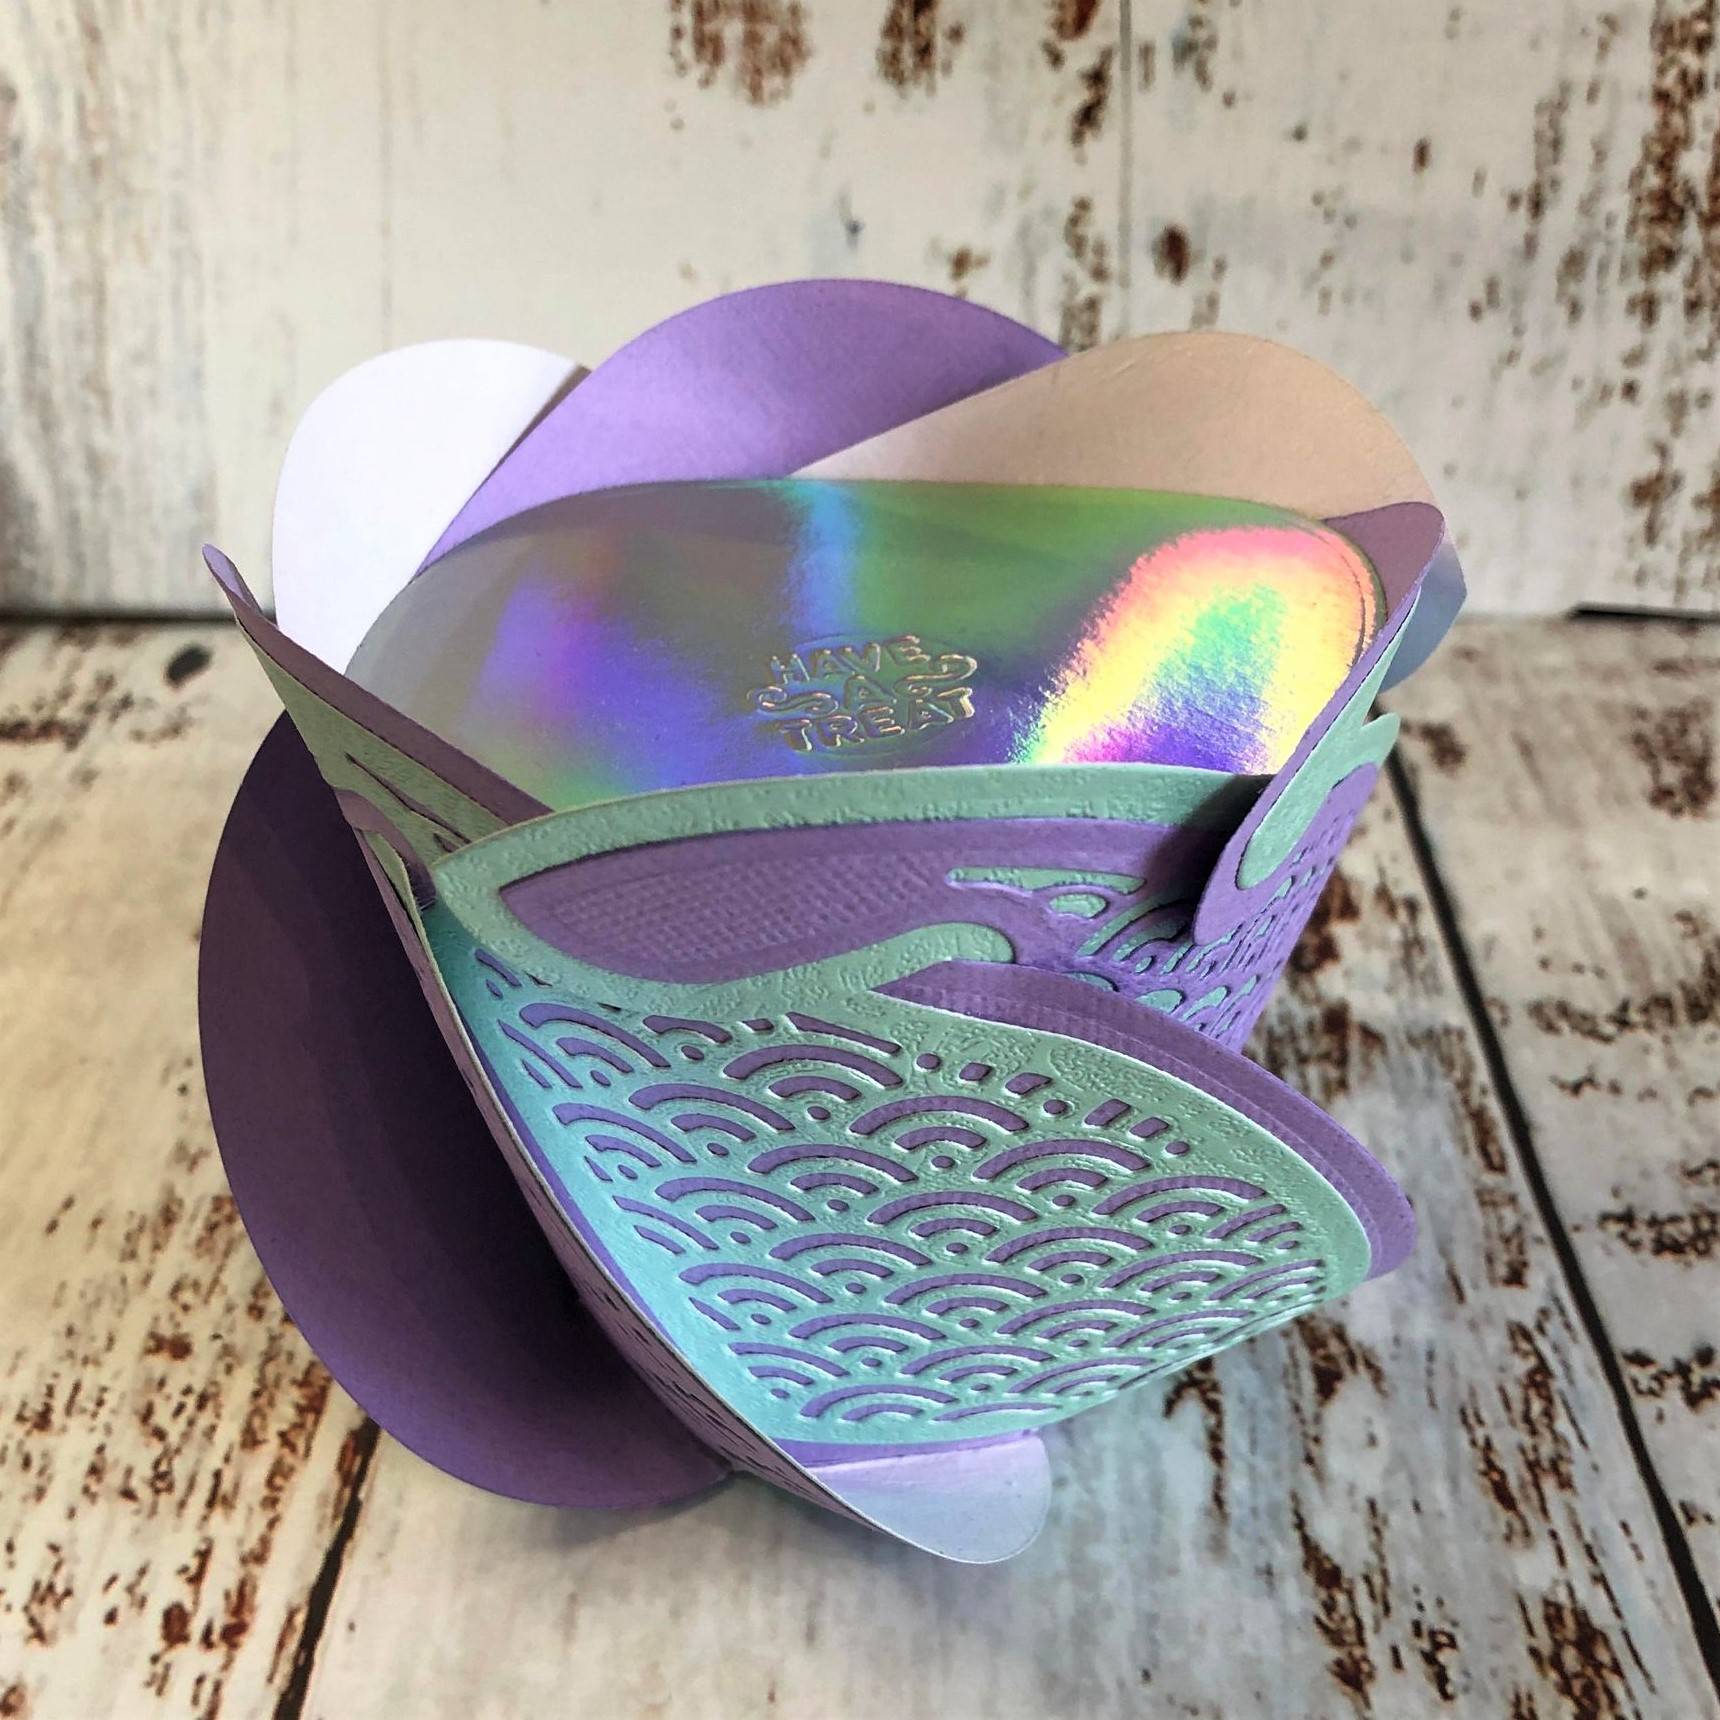
I hope you have enjoyed this Terrific Twist Showcase overview and accompanying construction tutorial. I think it is an incredibly versatile die set and I just love the pattern of the verso die – it reminds me of mermaid scales. We'd love to see what you make so don't forget to tag Tonic Studios in your makes on Social Media.
To see more of my makes, check out my socials:
Buy The Craft Project