


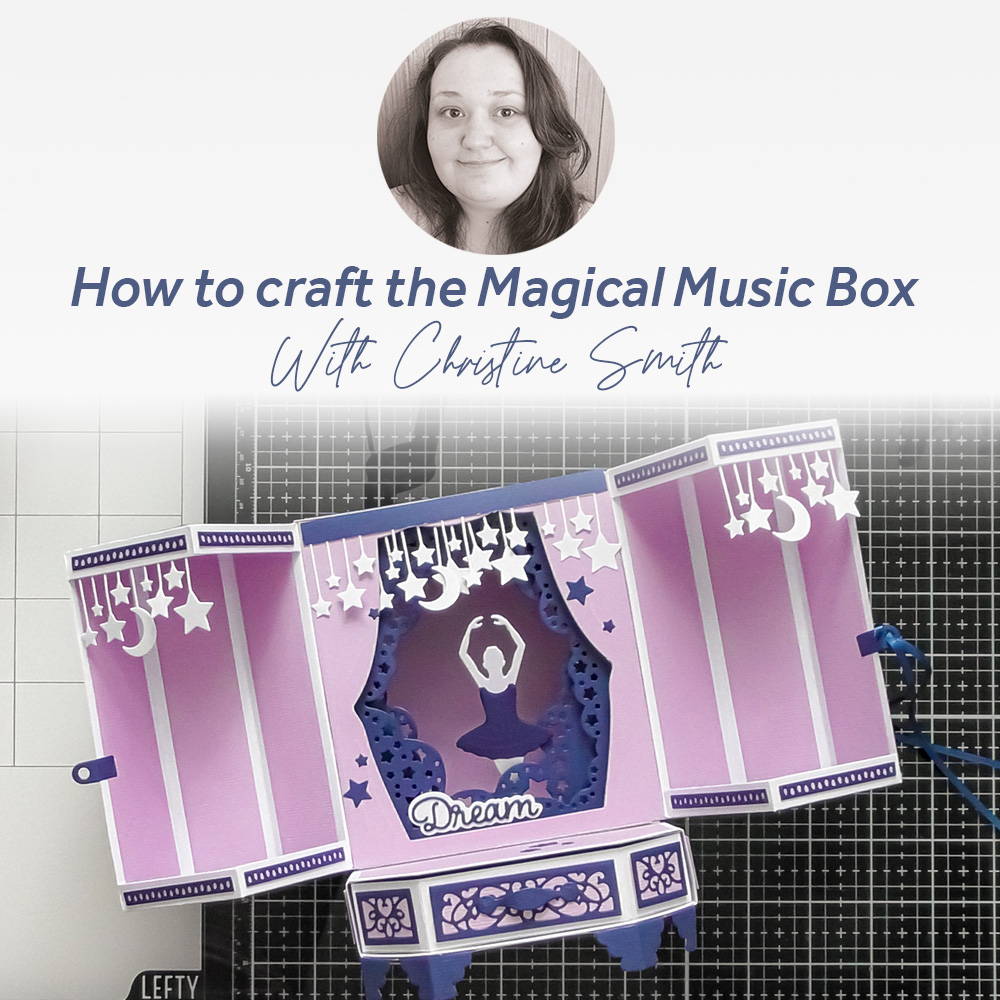
The Magical Music Box is a beautiful 3D die set that creates a gorgeous music box with magnetic ballerina and a set of drawers underneath, but don’t think it just has to contain the ballerina, think about some of your other Tonic dies. You could cut the box from kraft card and give it a carved wood appearance, or you can add in some of the adorable Wild About Zoo animals and give it a cutesy feel, the ideas are endless, so enjoy
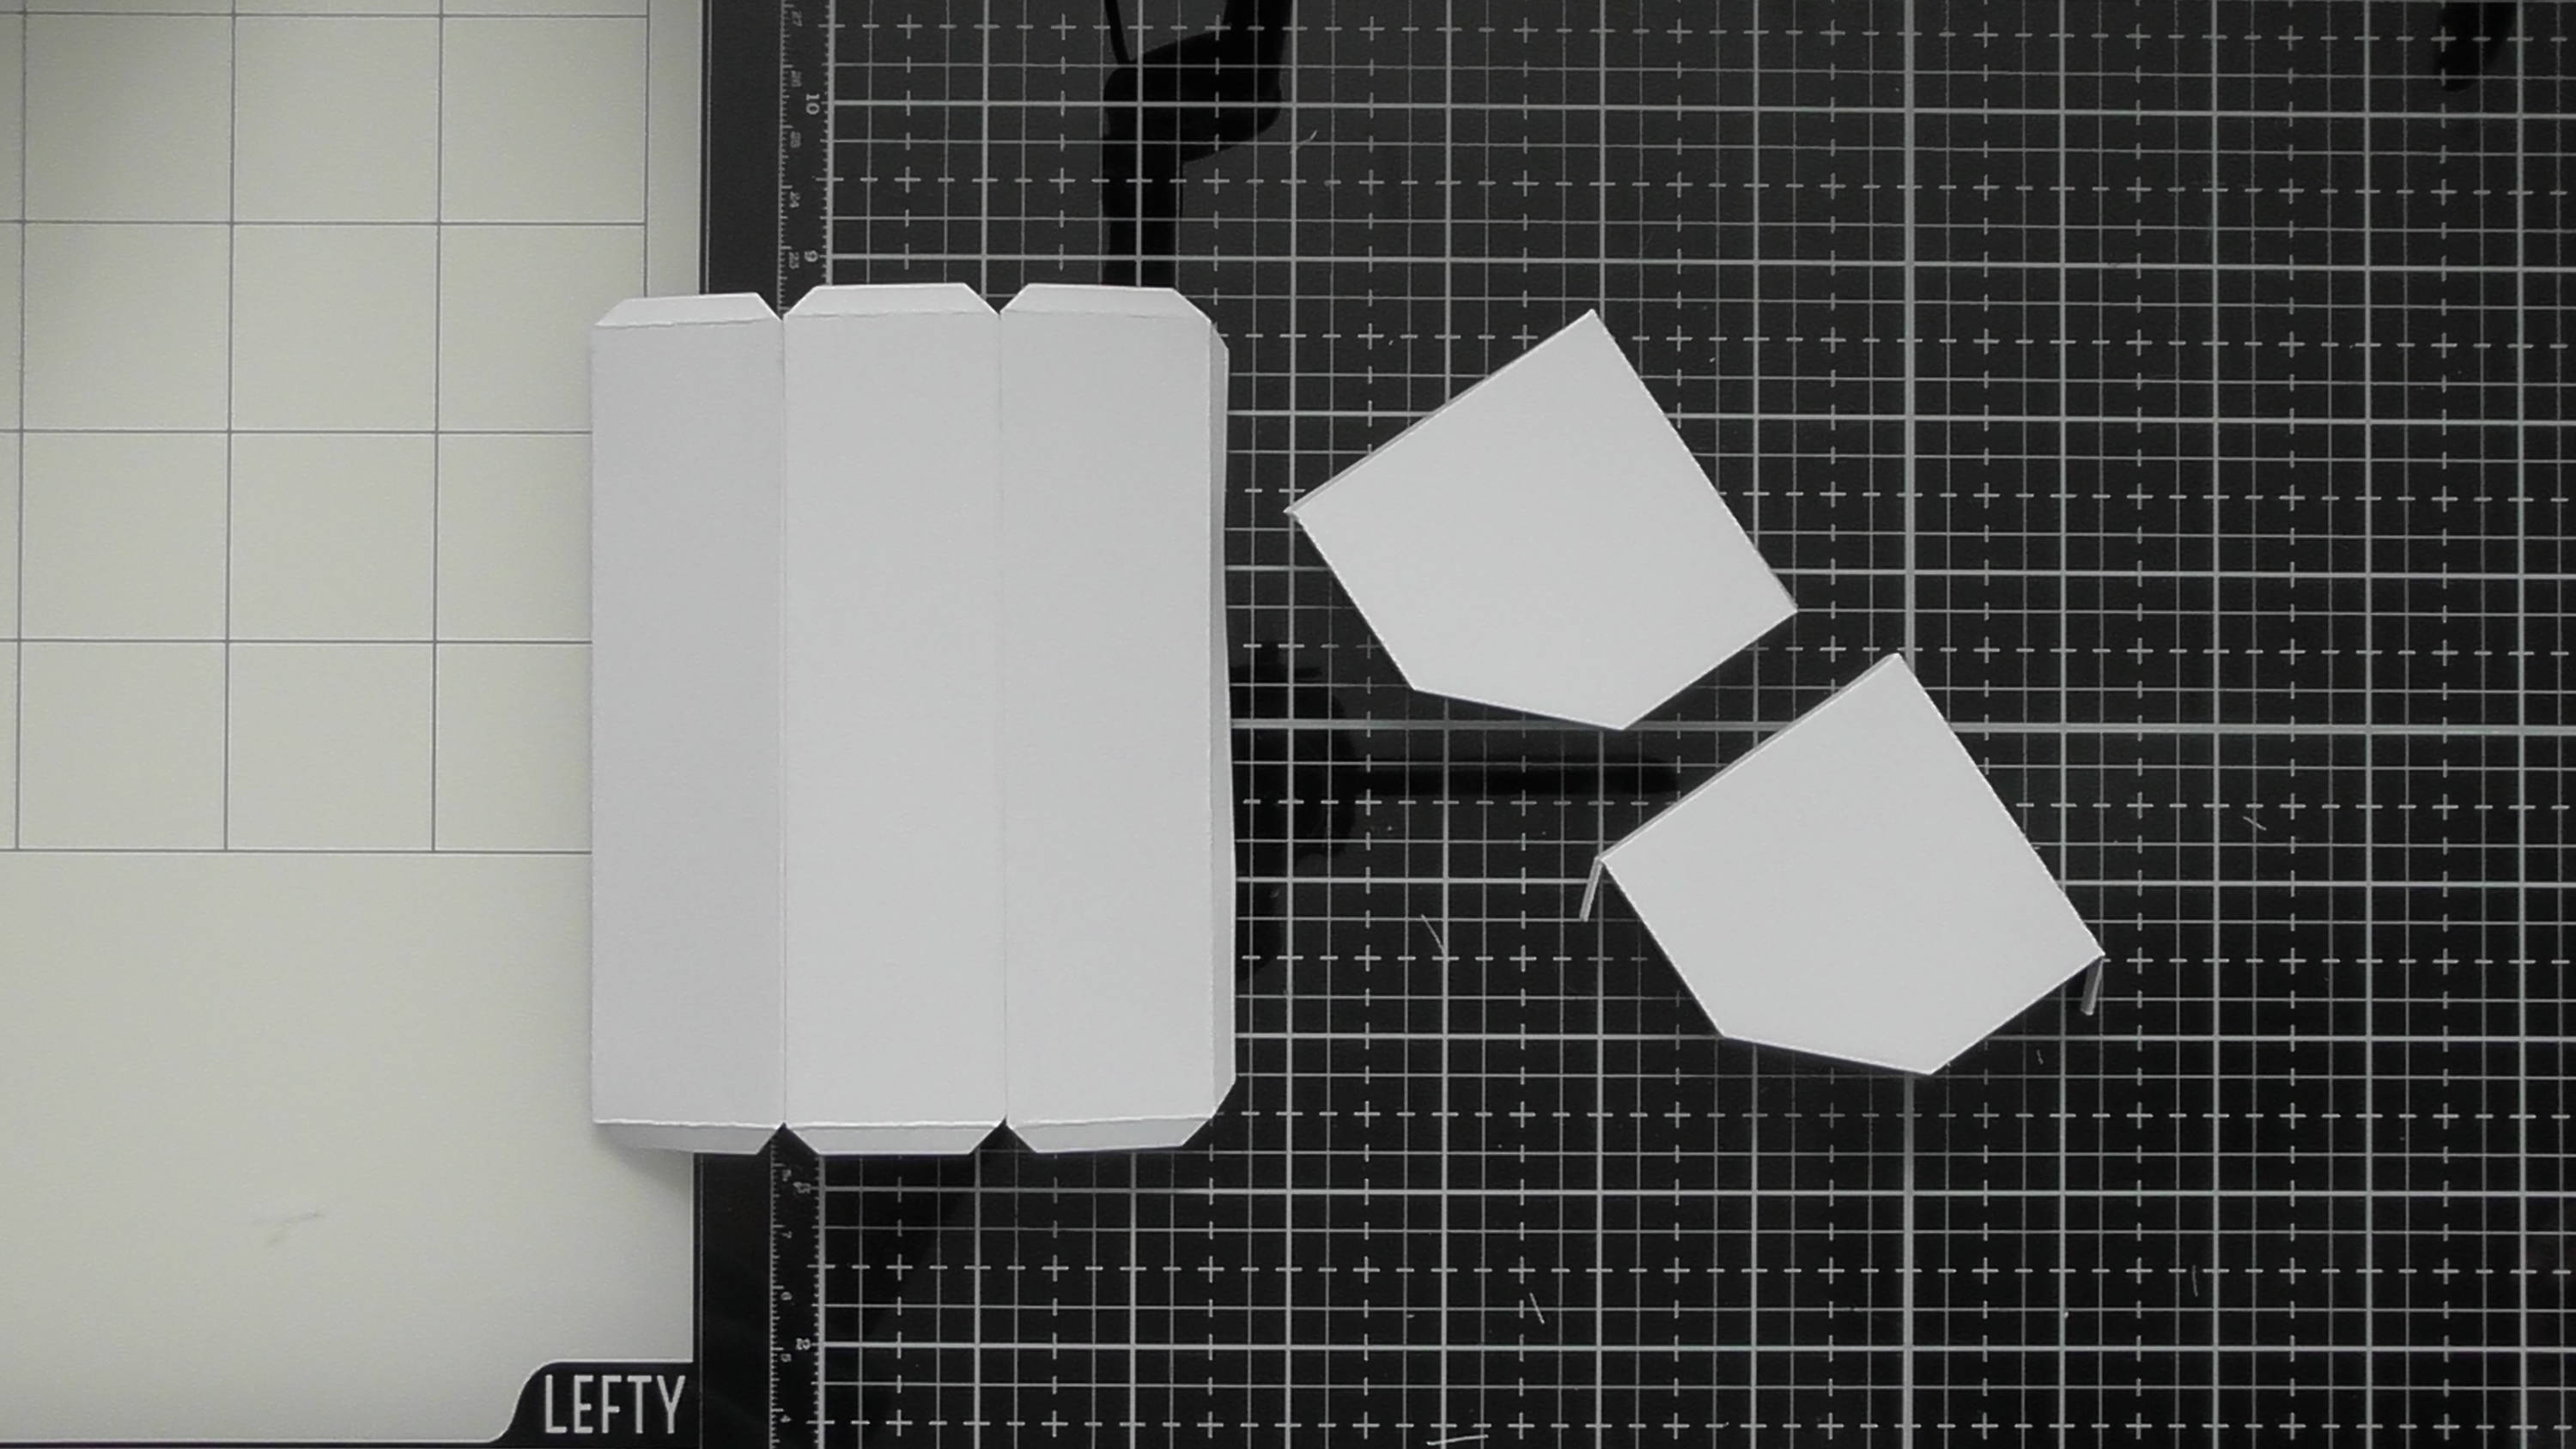
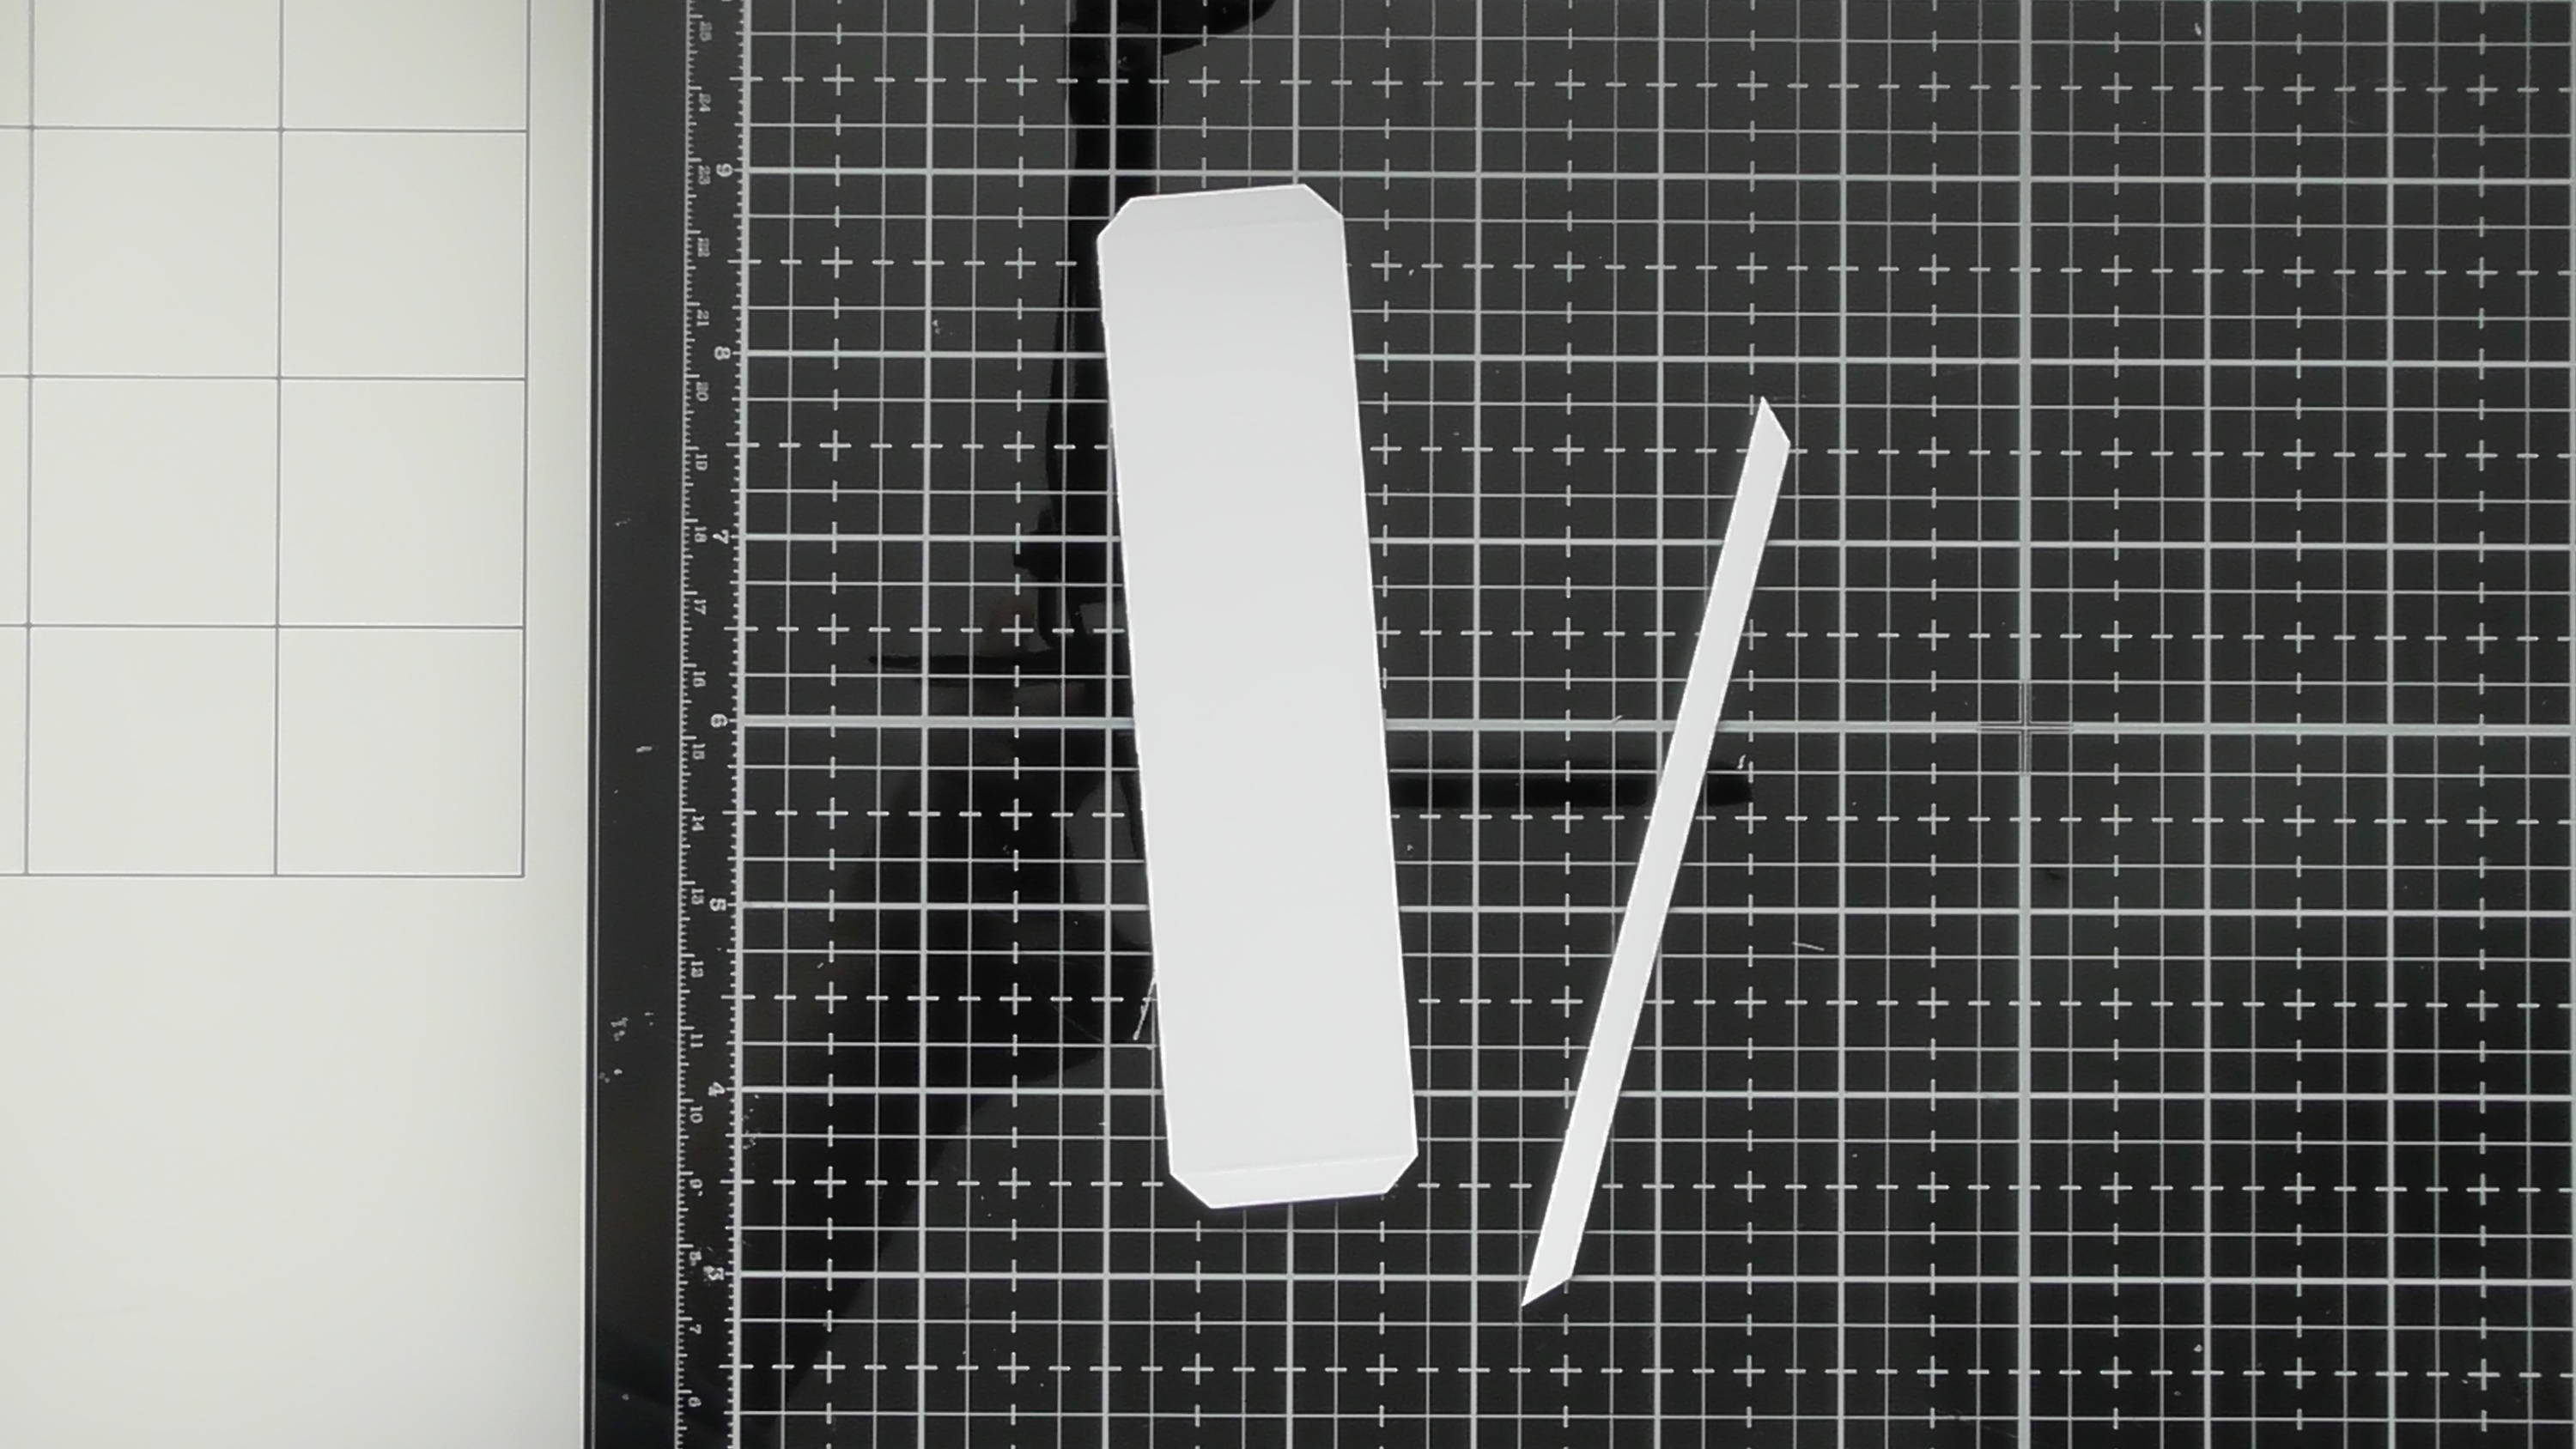
Step 1
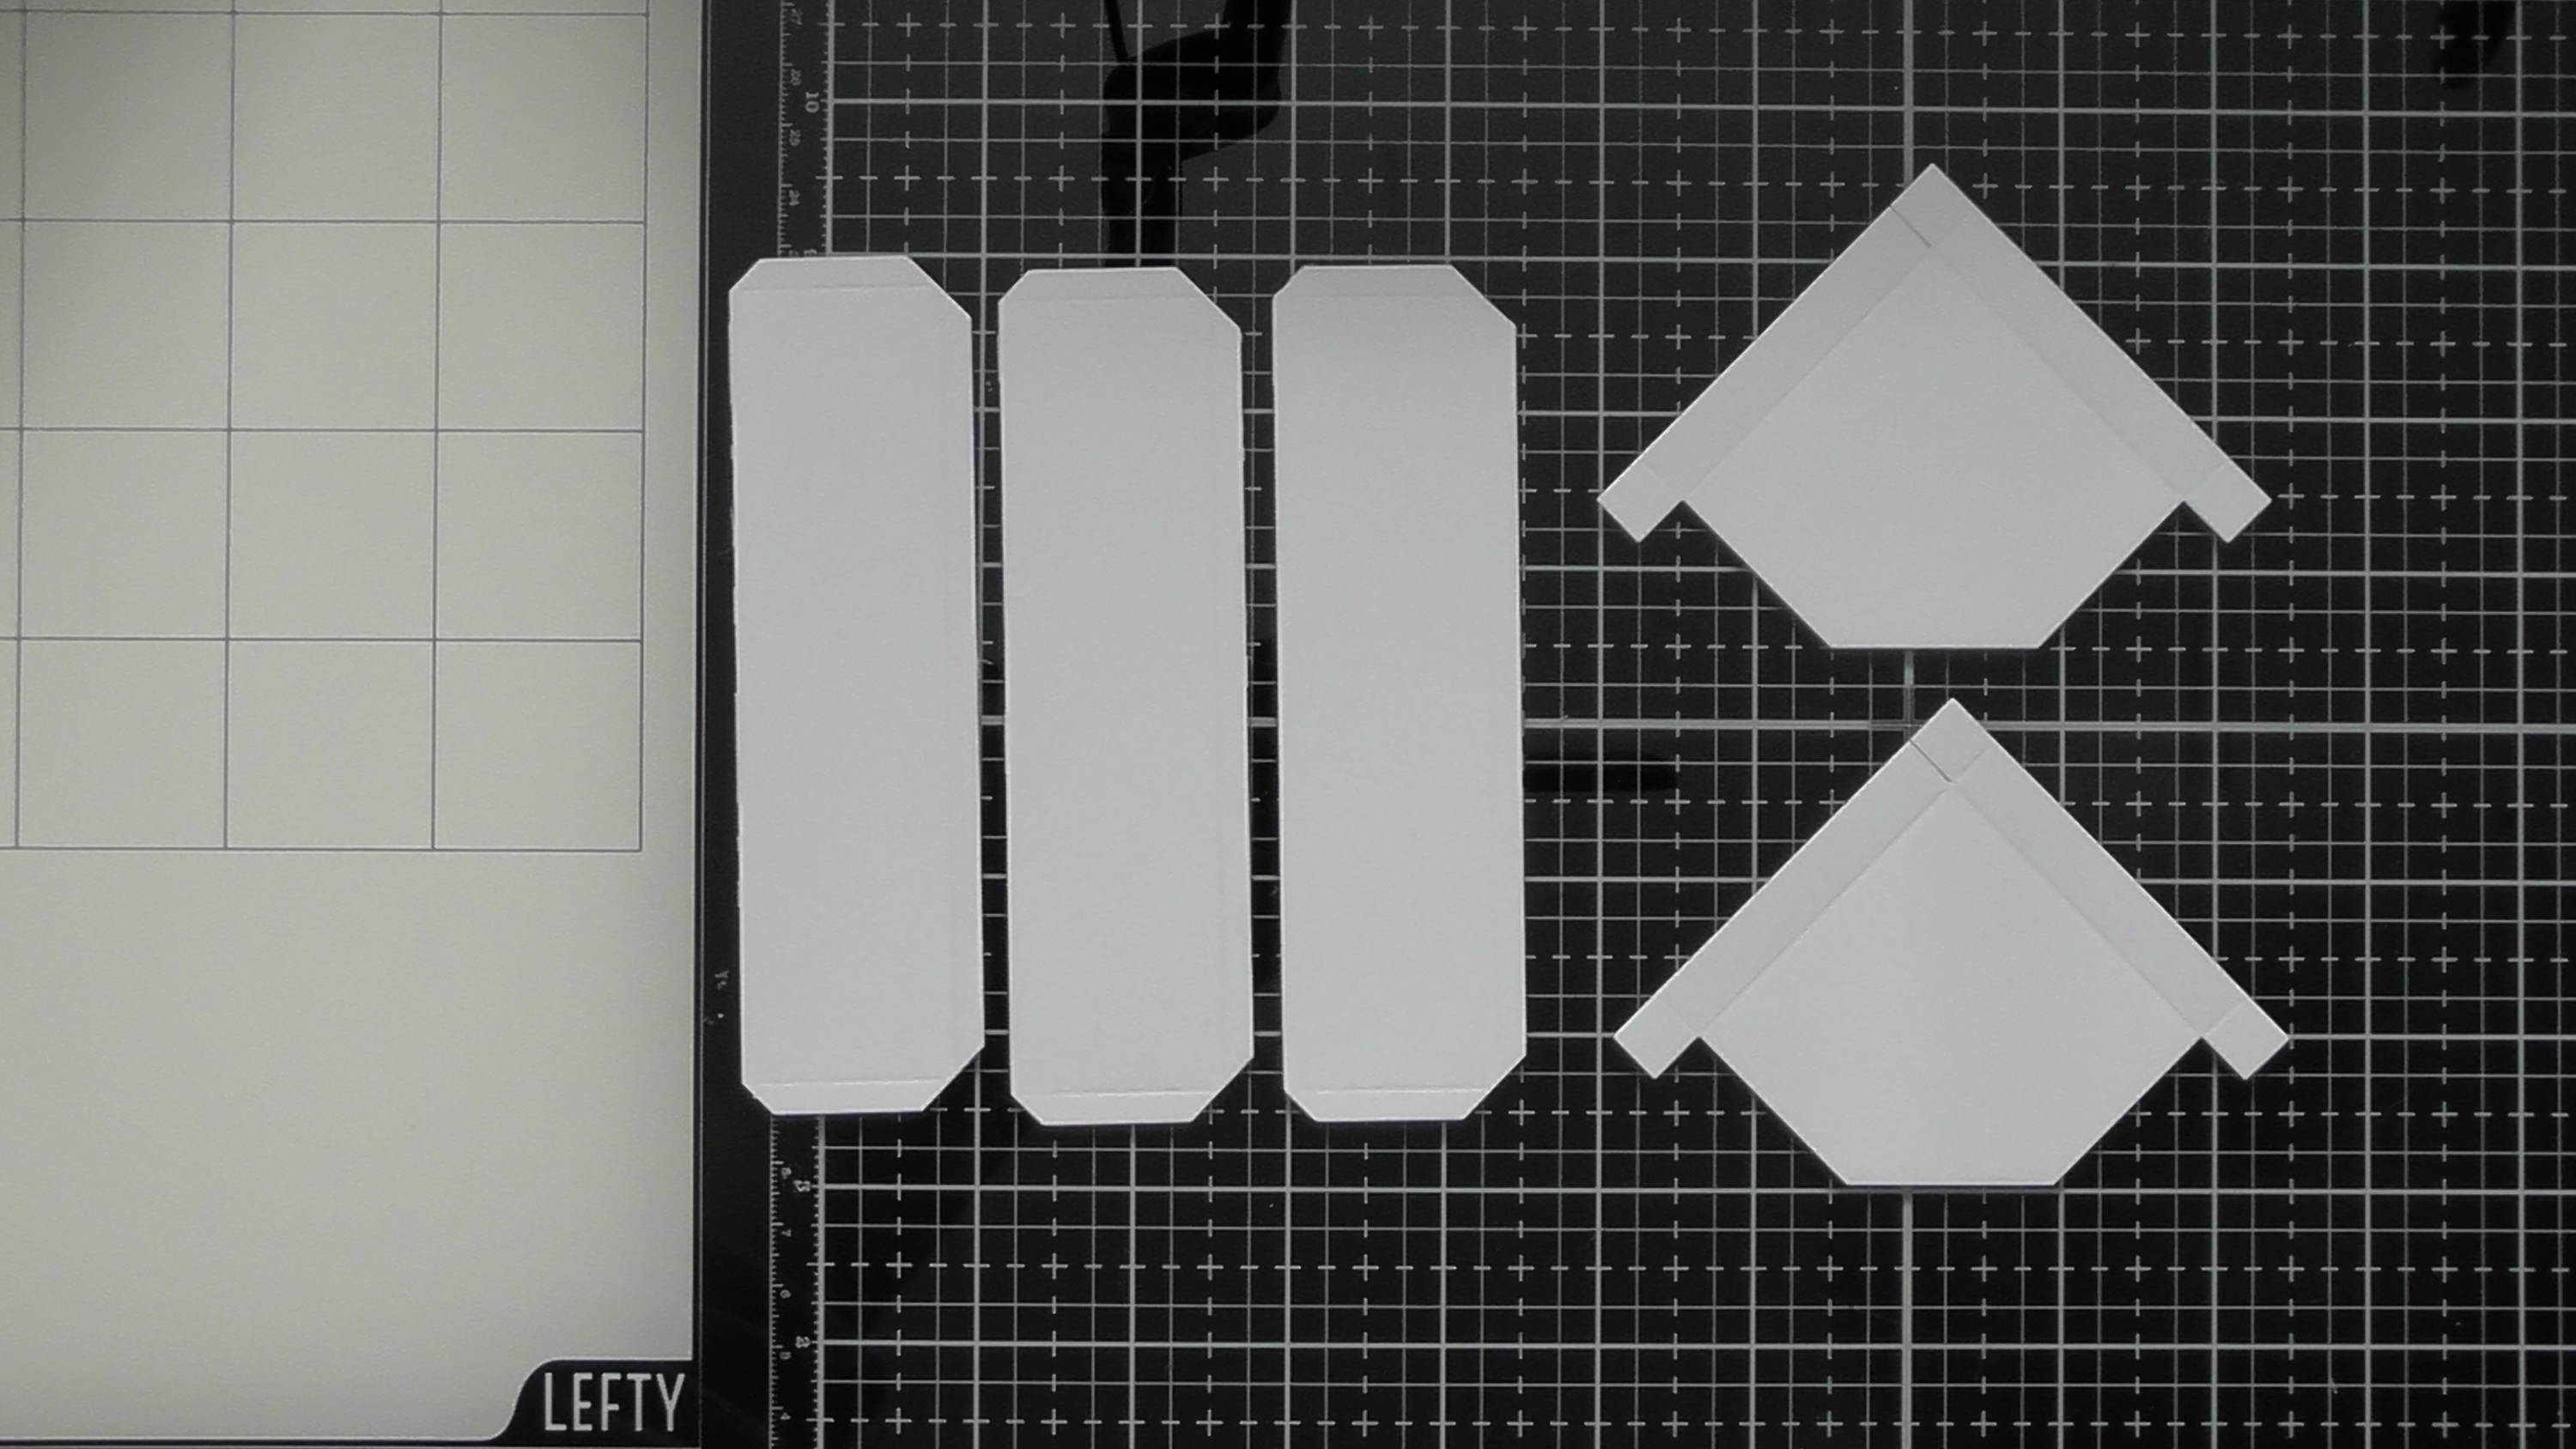
Die-cut 3 side panels, and two top and bottom panels as shown.
Step 2
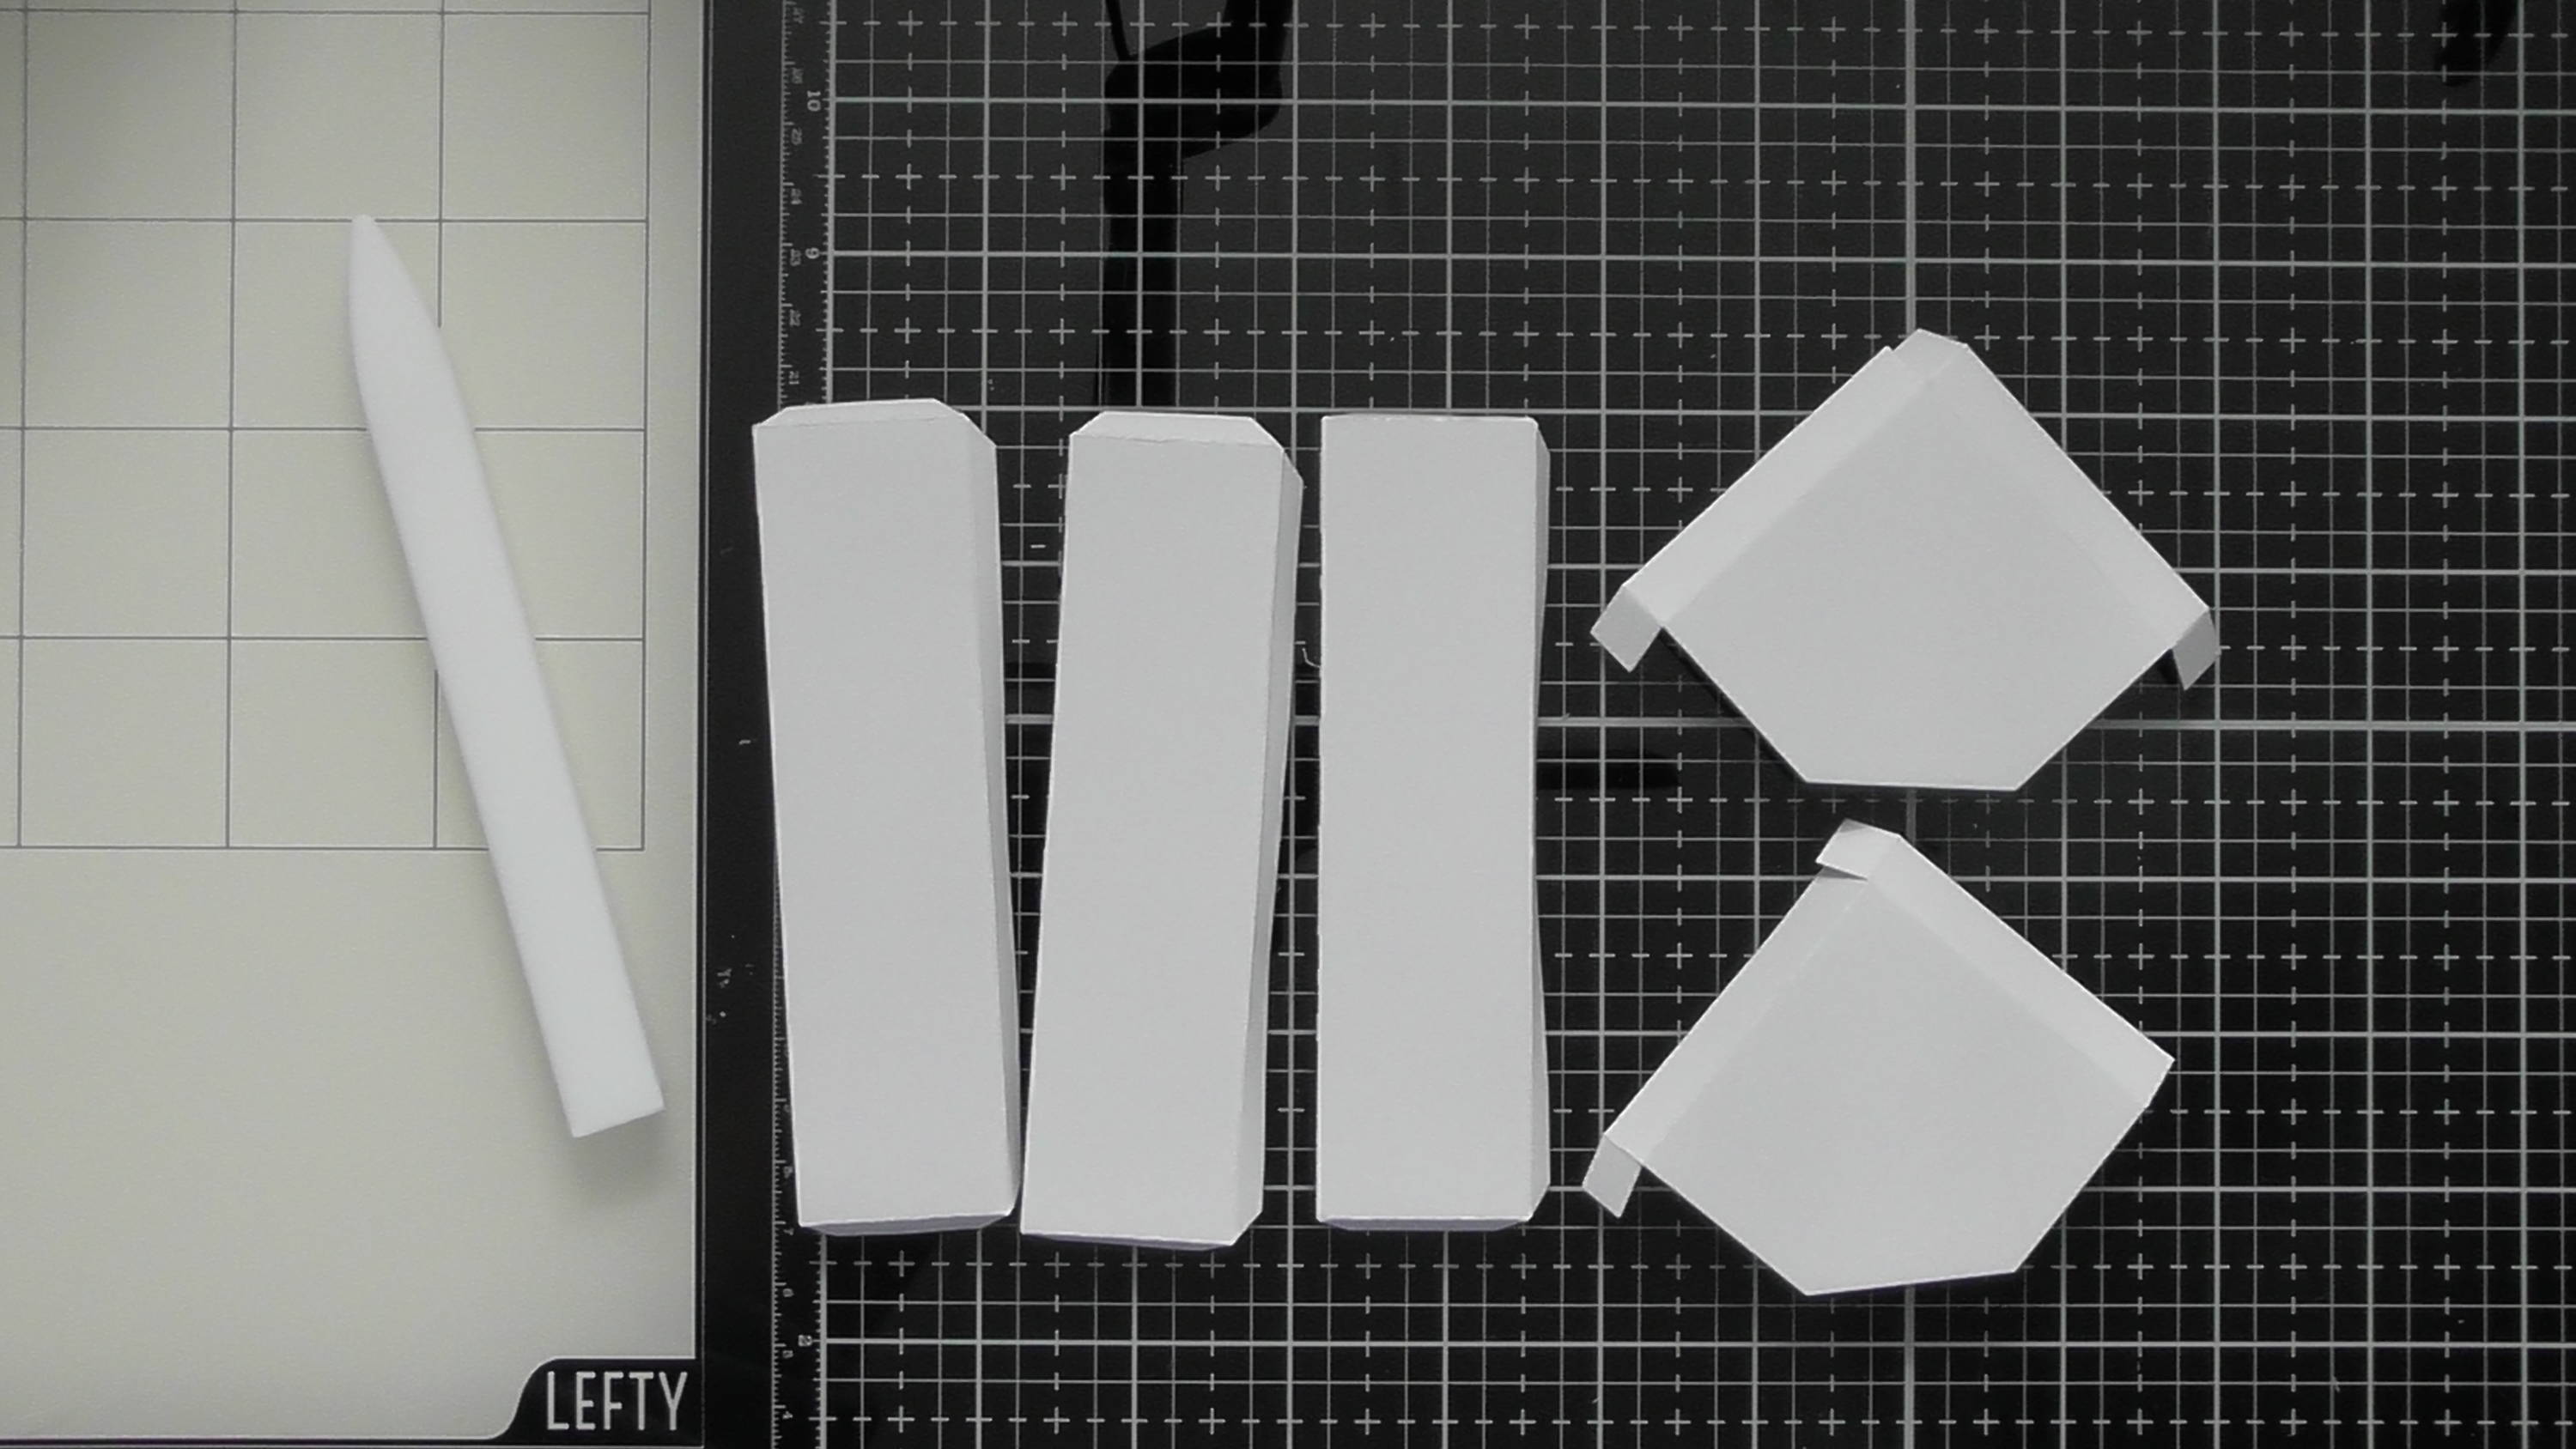
Use your glide folder to pre fold all the score lines (do this throughout the construction, but I’ll skip showing this step going forward)
Step 3
Adhere the 3 side panels together like so.
Step 4
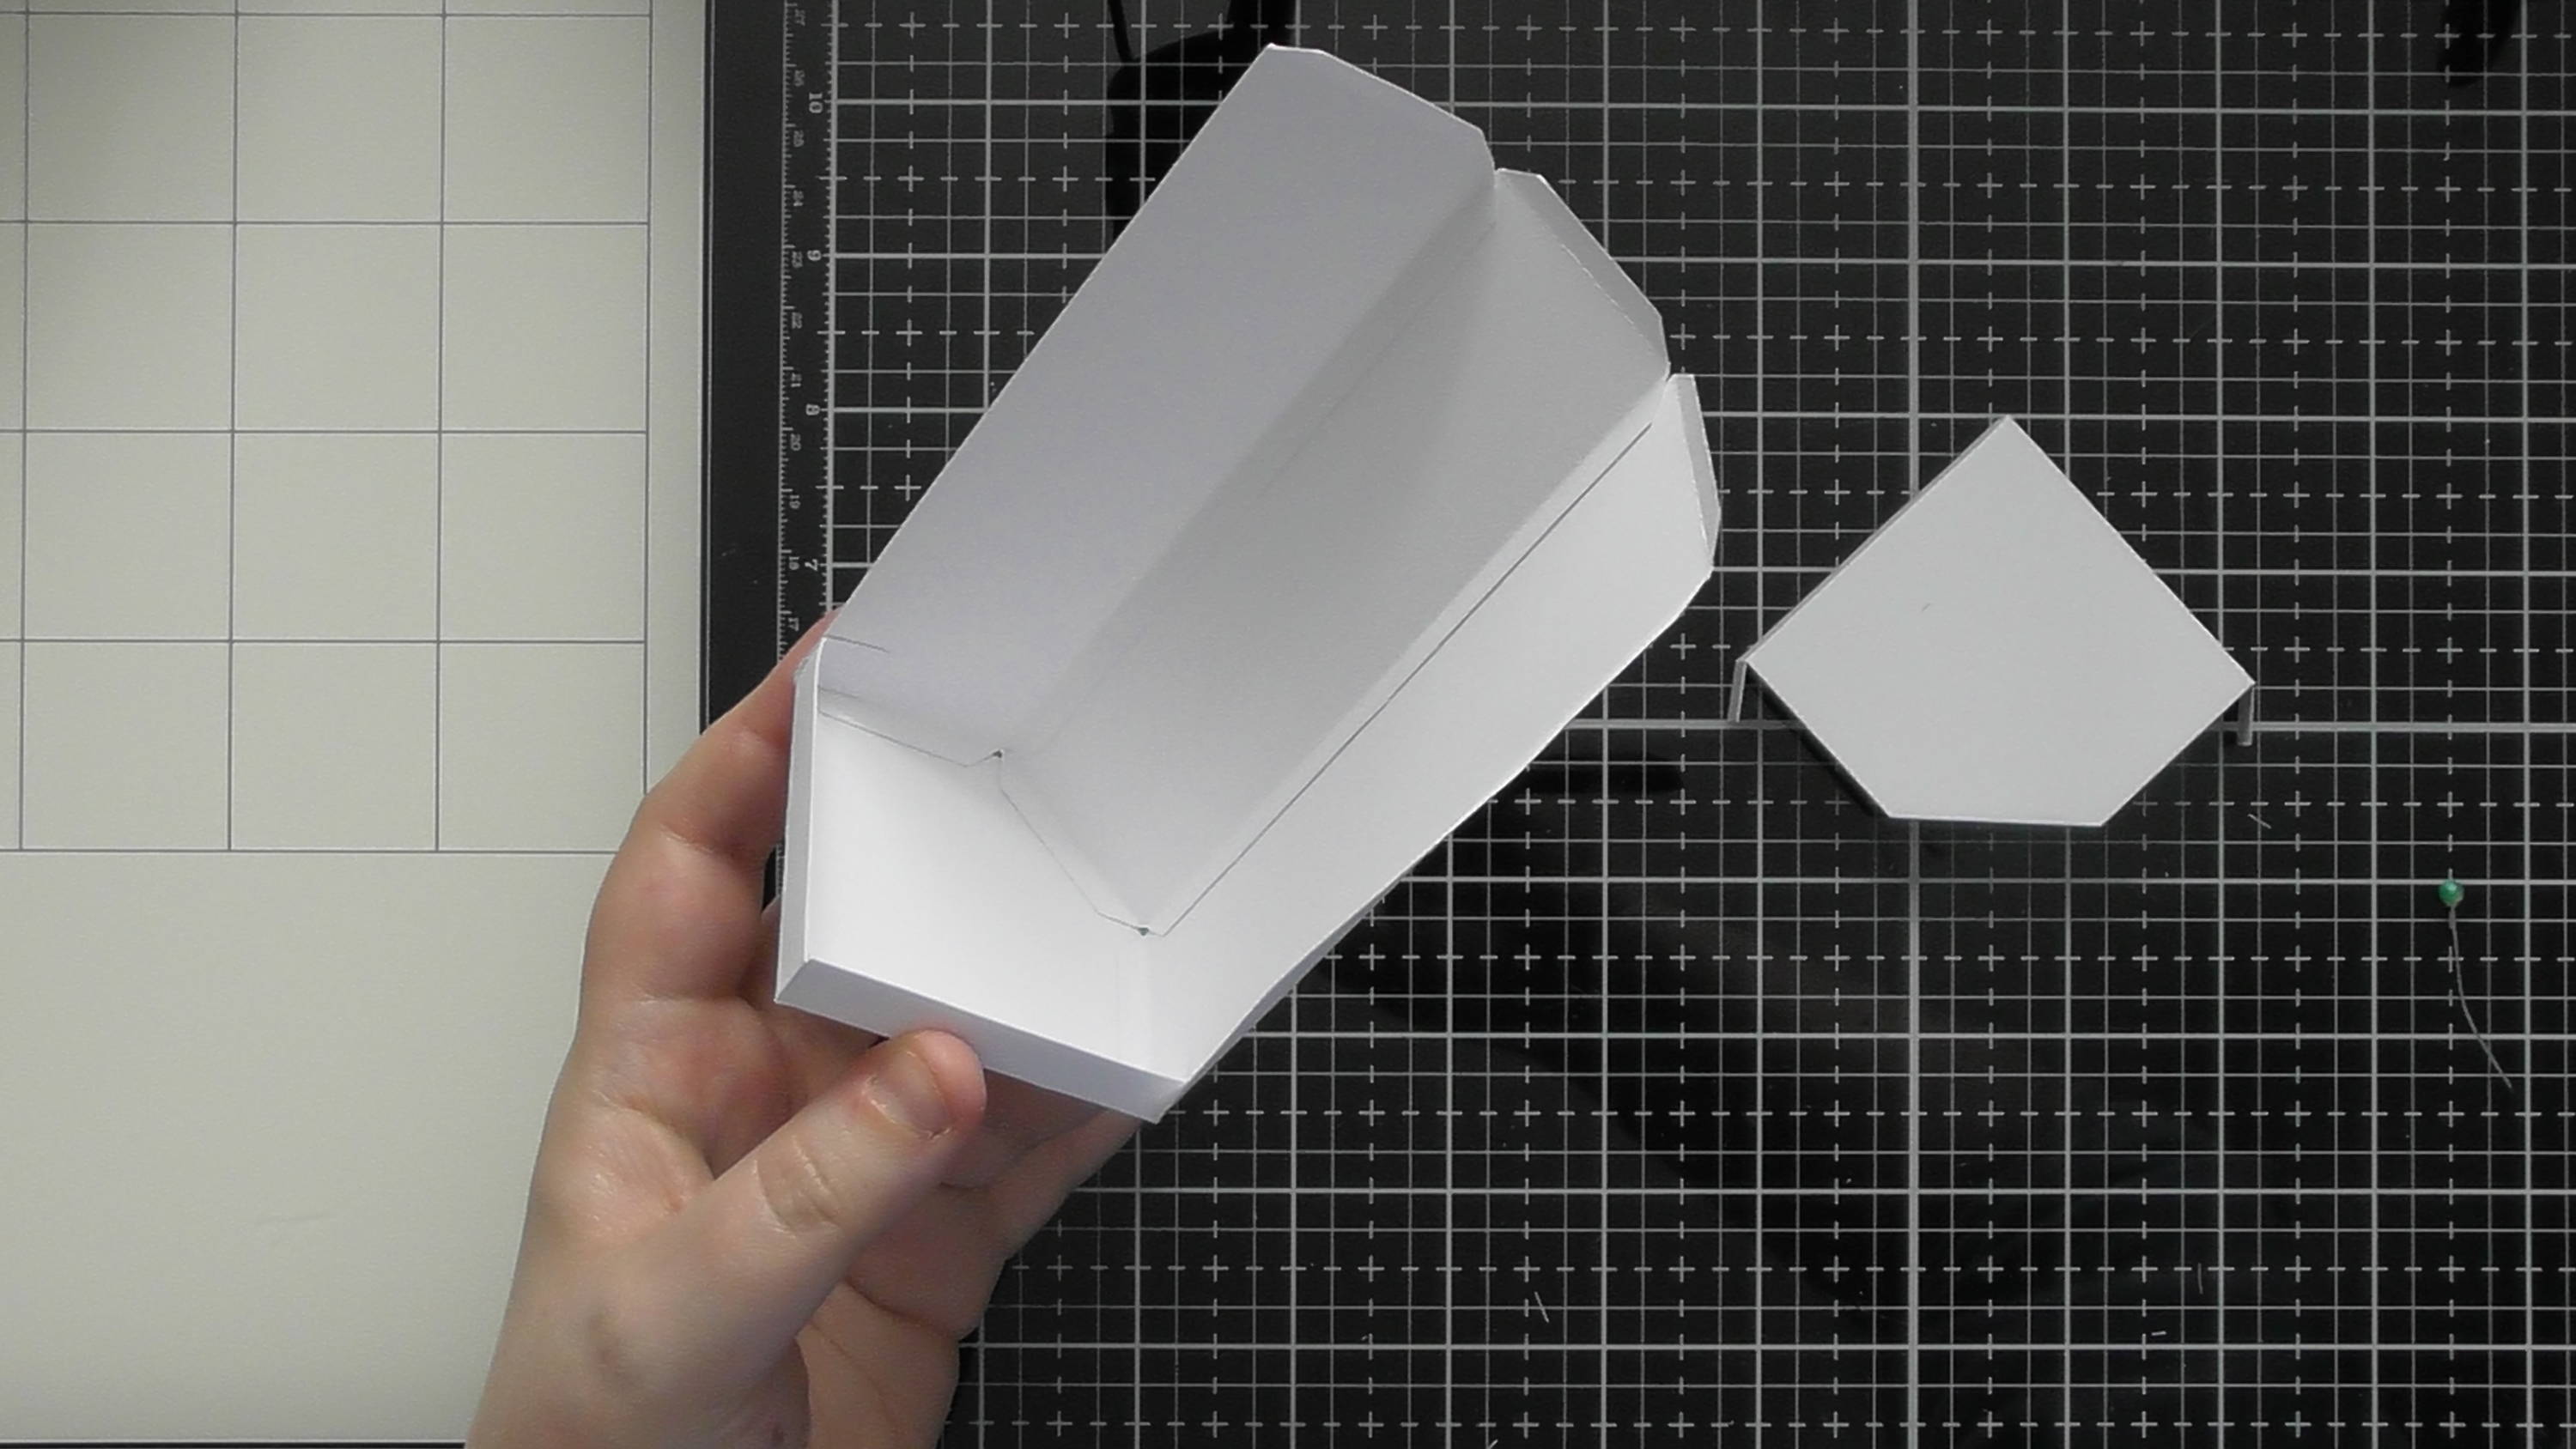
Then add the top and bottom pieces, using the glue tabs from the side panels to attach them together.
Step 5
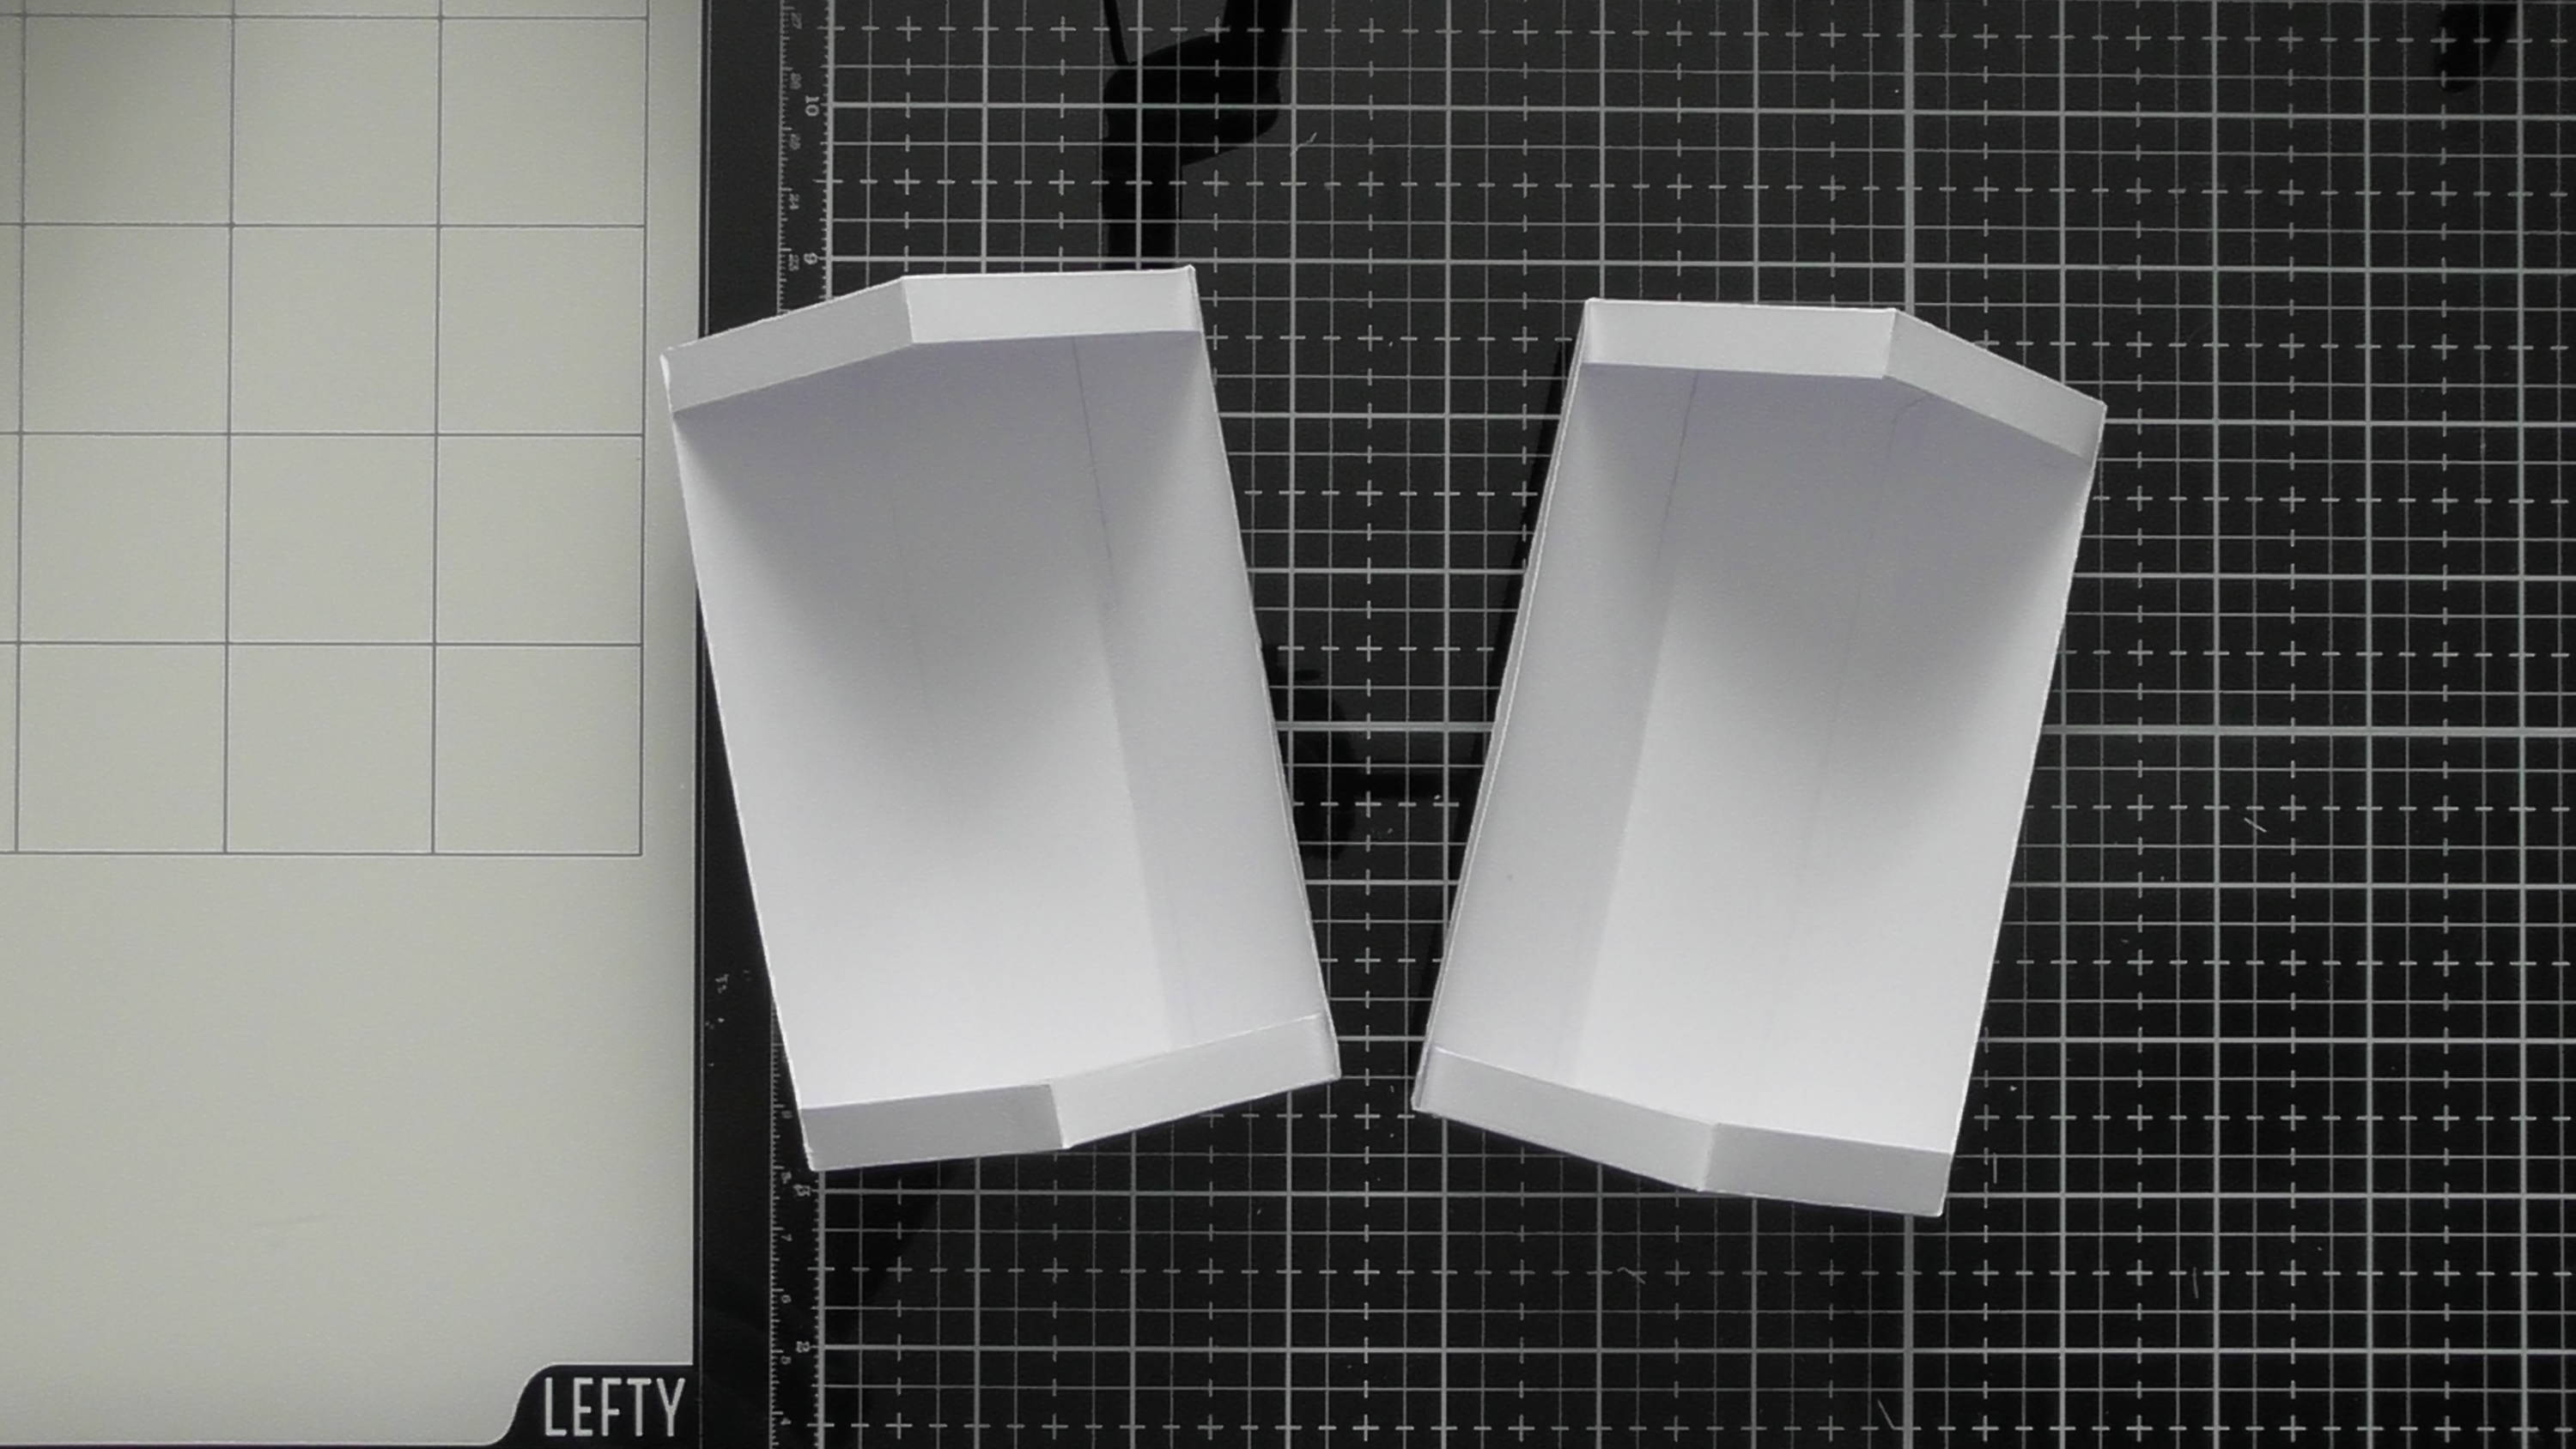
Repeat Step 1-4, so you have 2.
Step 6
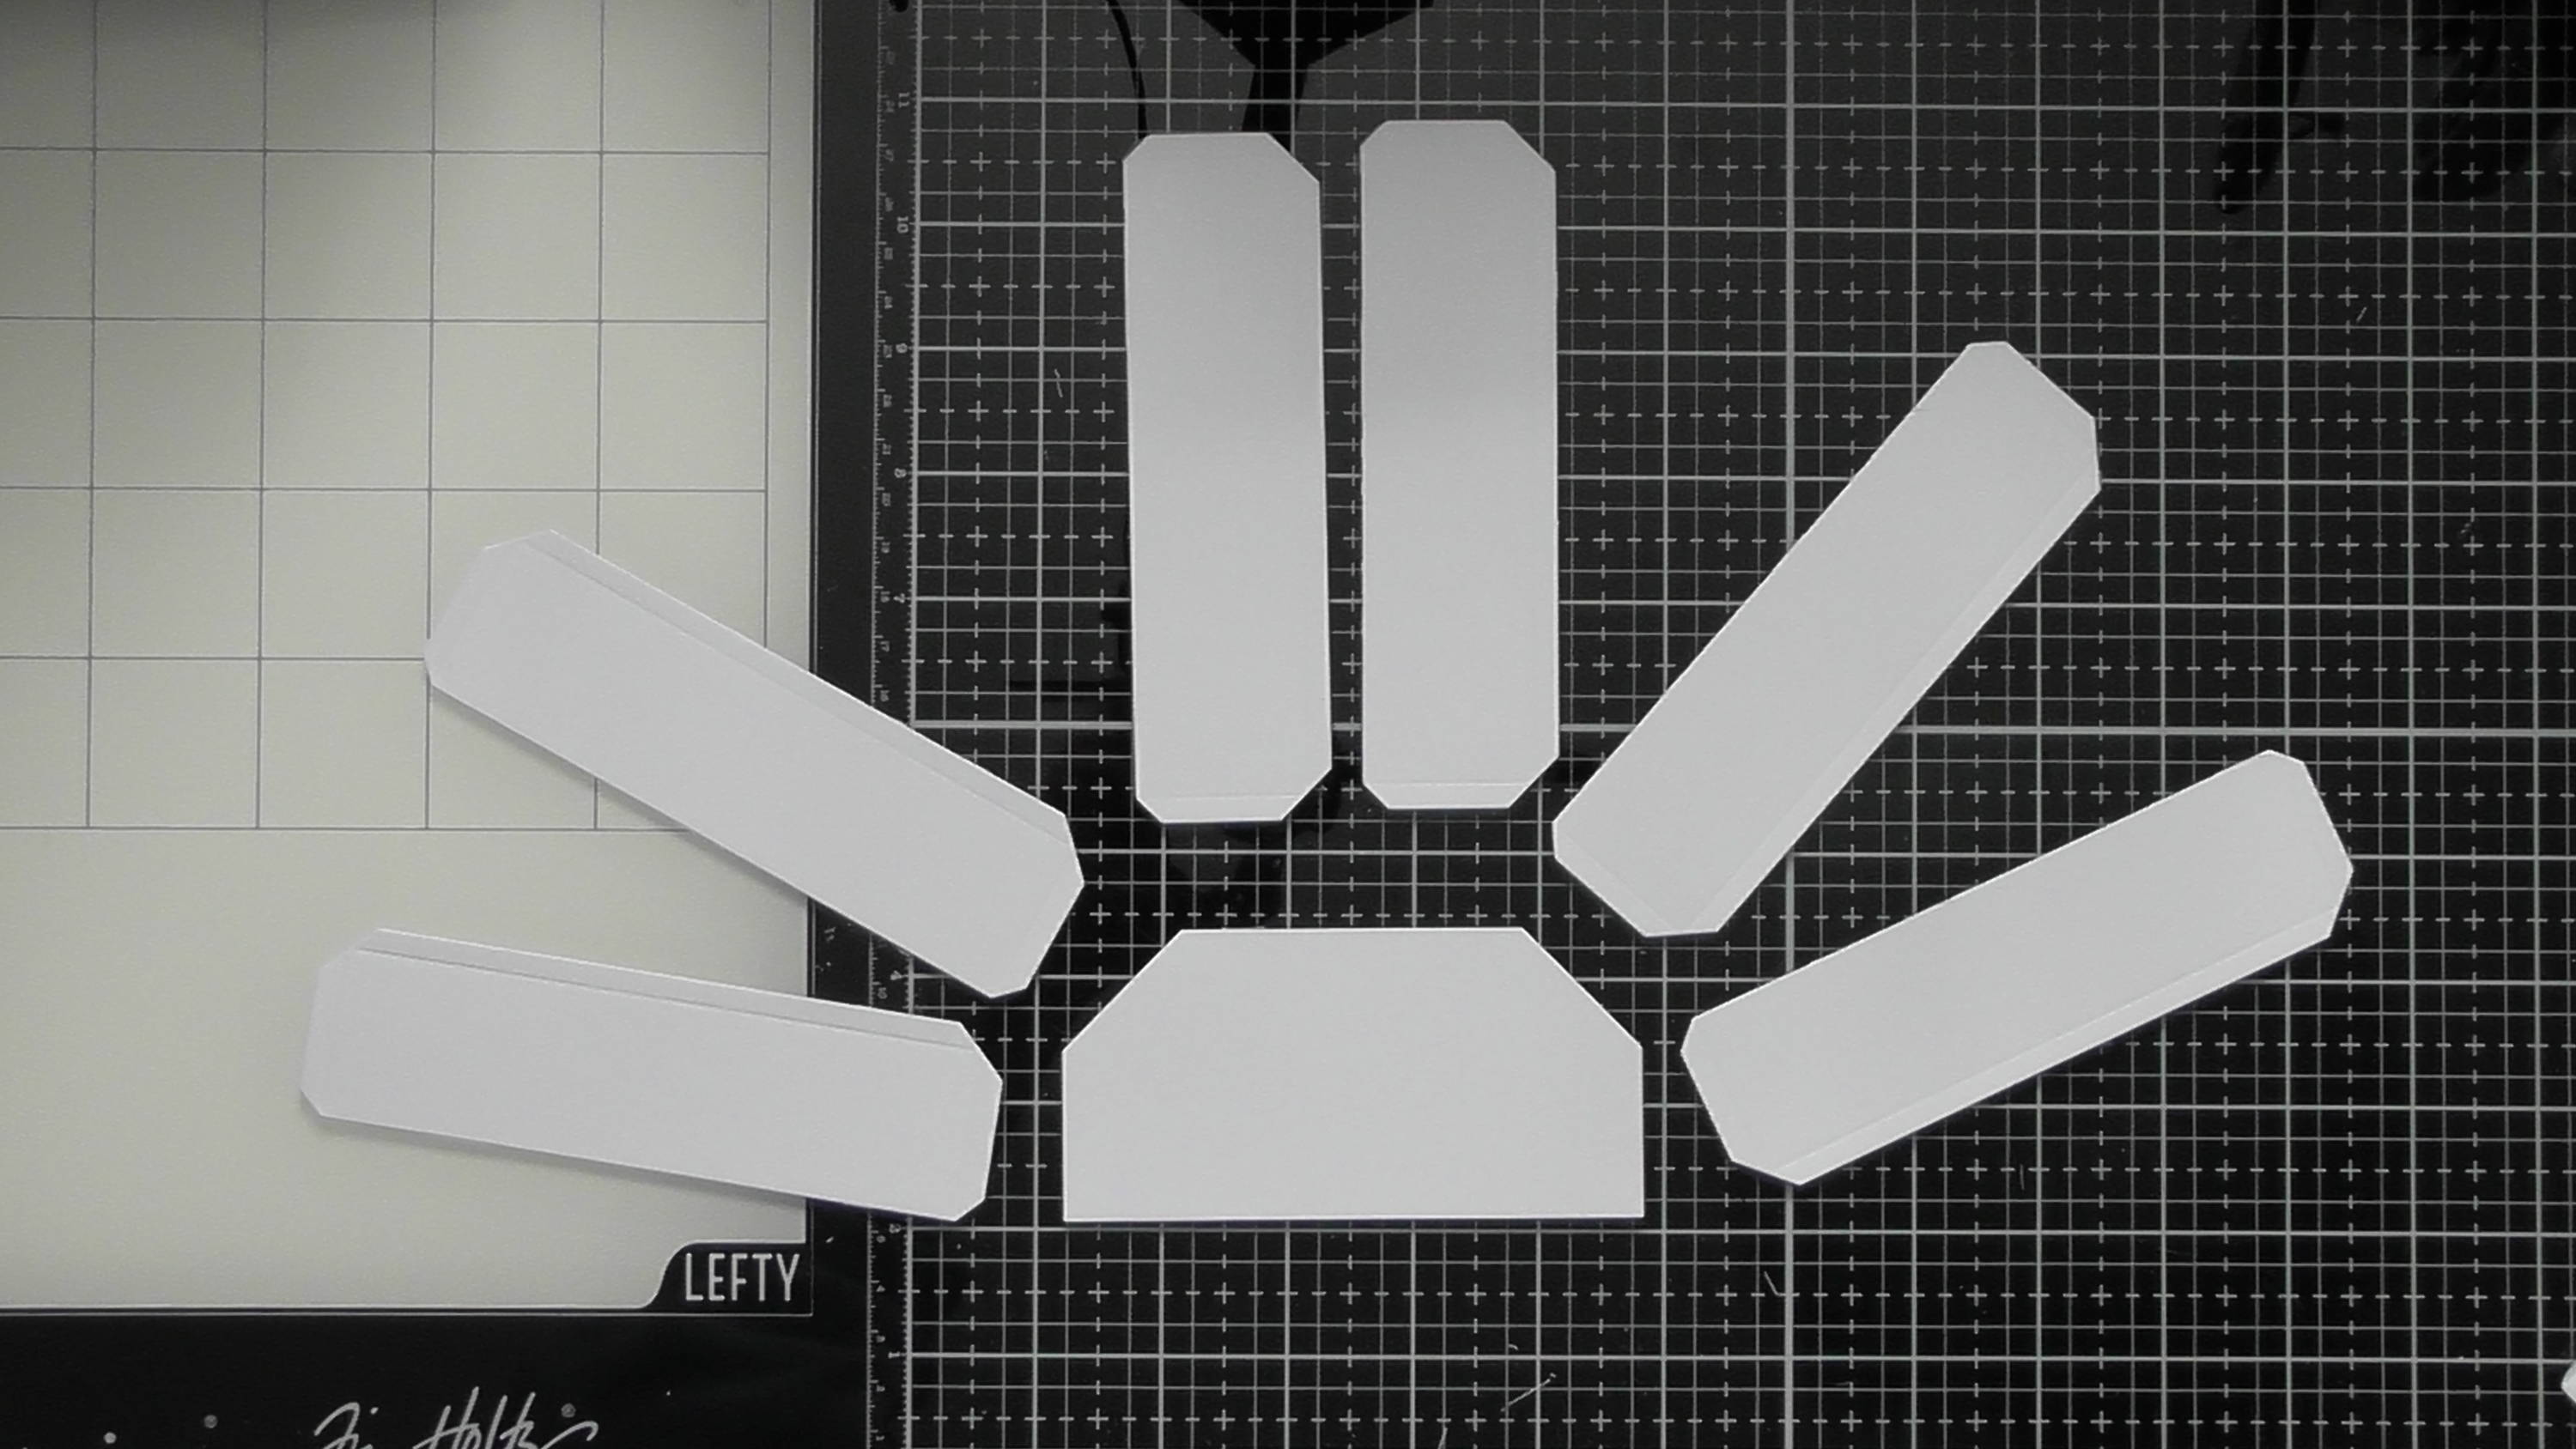
For the back portion of the music box, die-cut 6 side panels, and one of the half octagons.
Step 7
Use your trimmer to cut off one of the glue tabs from one of the side pieces.
Step 8
Adhere them together as shown, adding the side panel with the missing glue tab on the bottom left side.
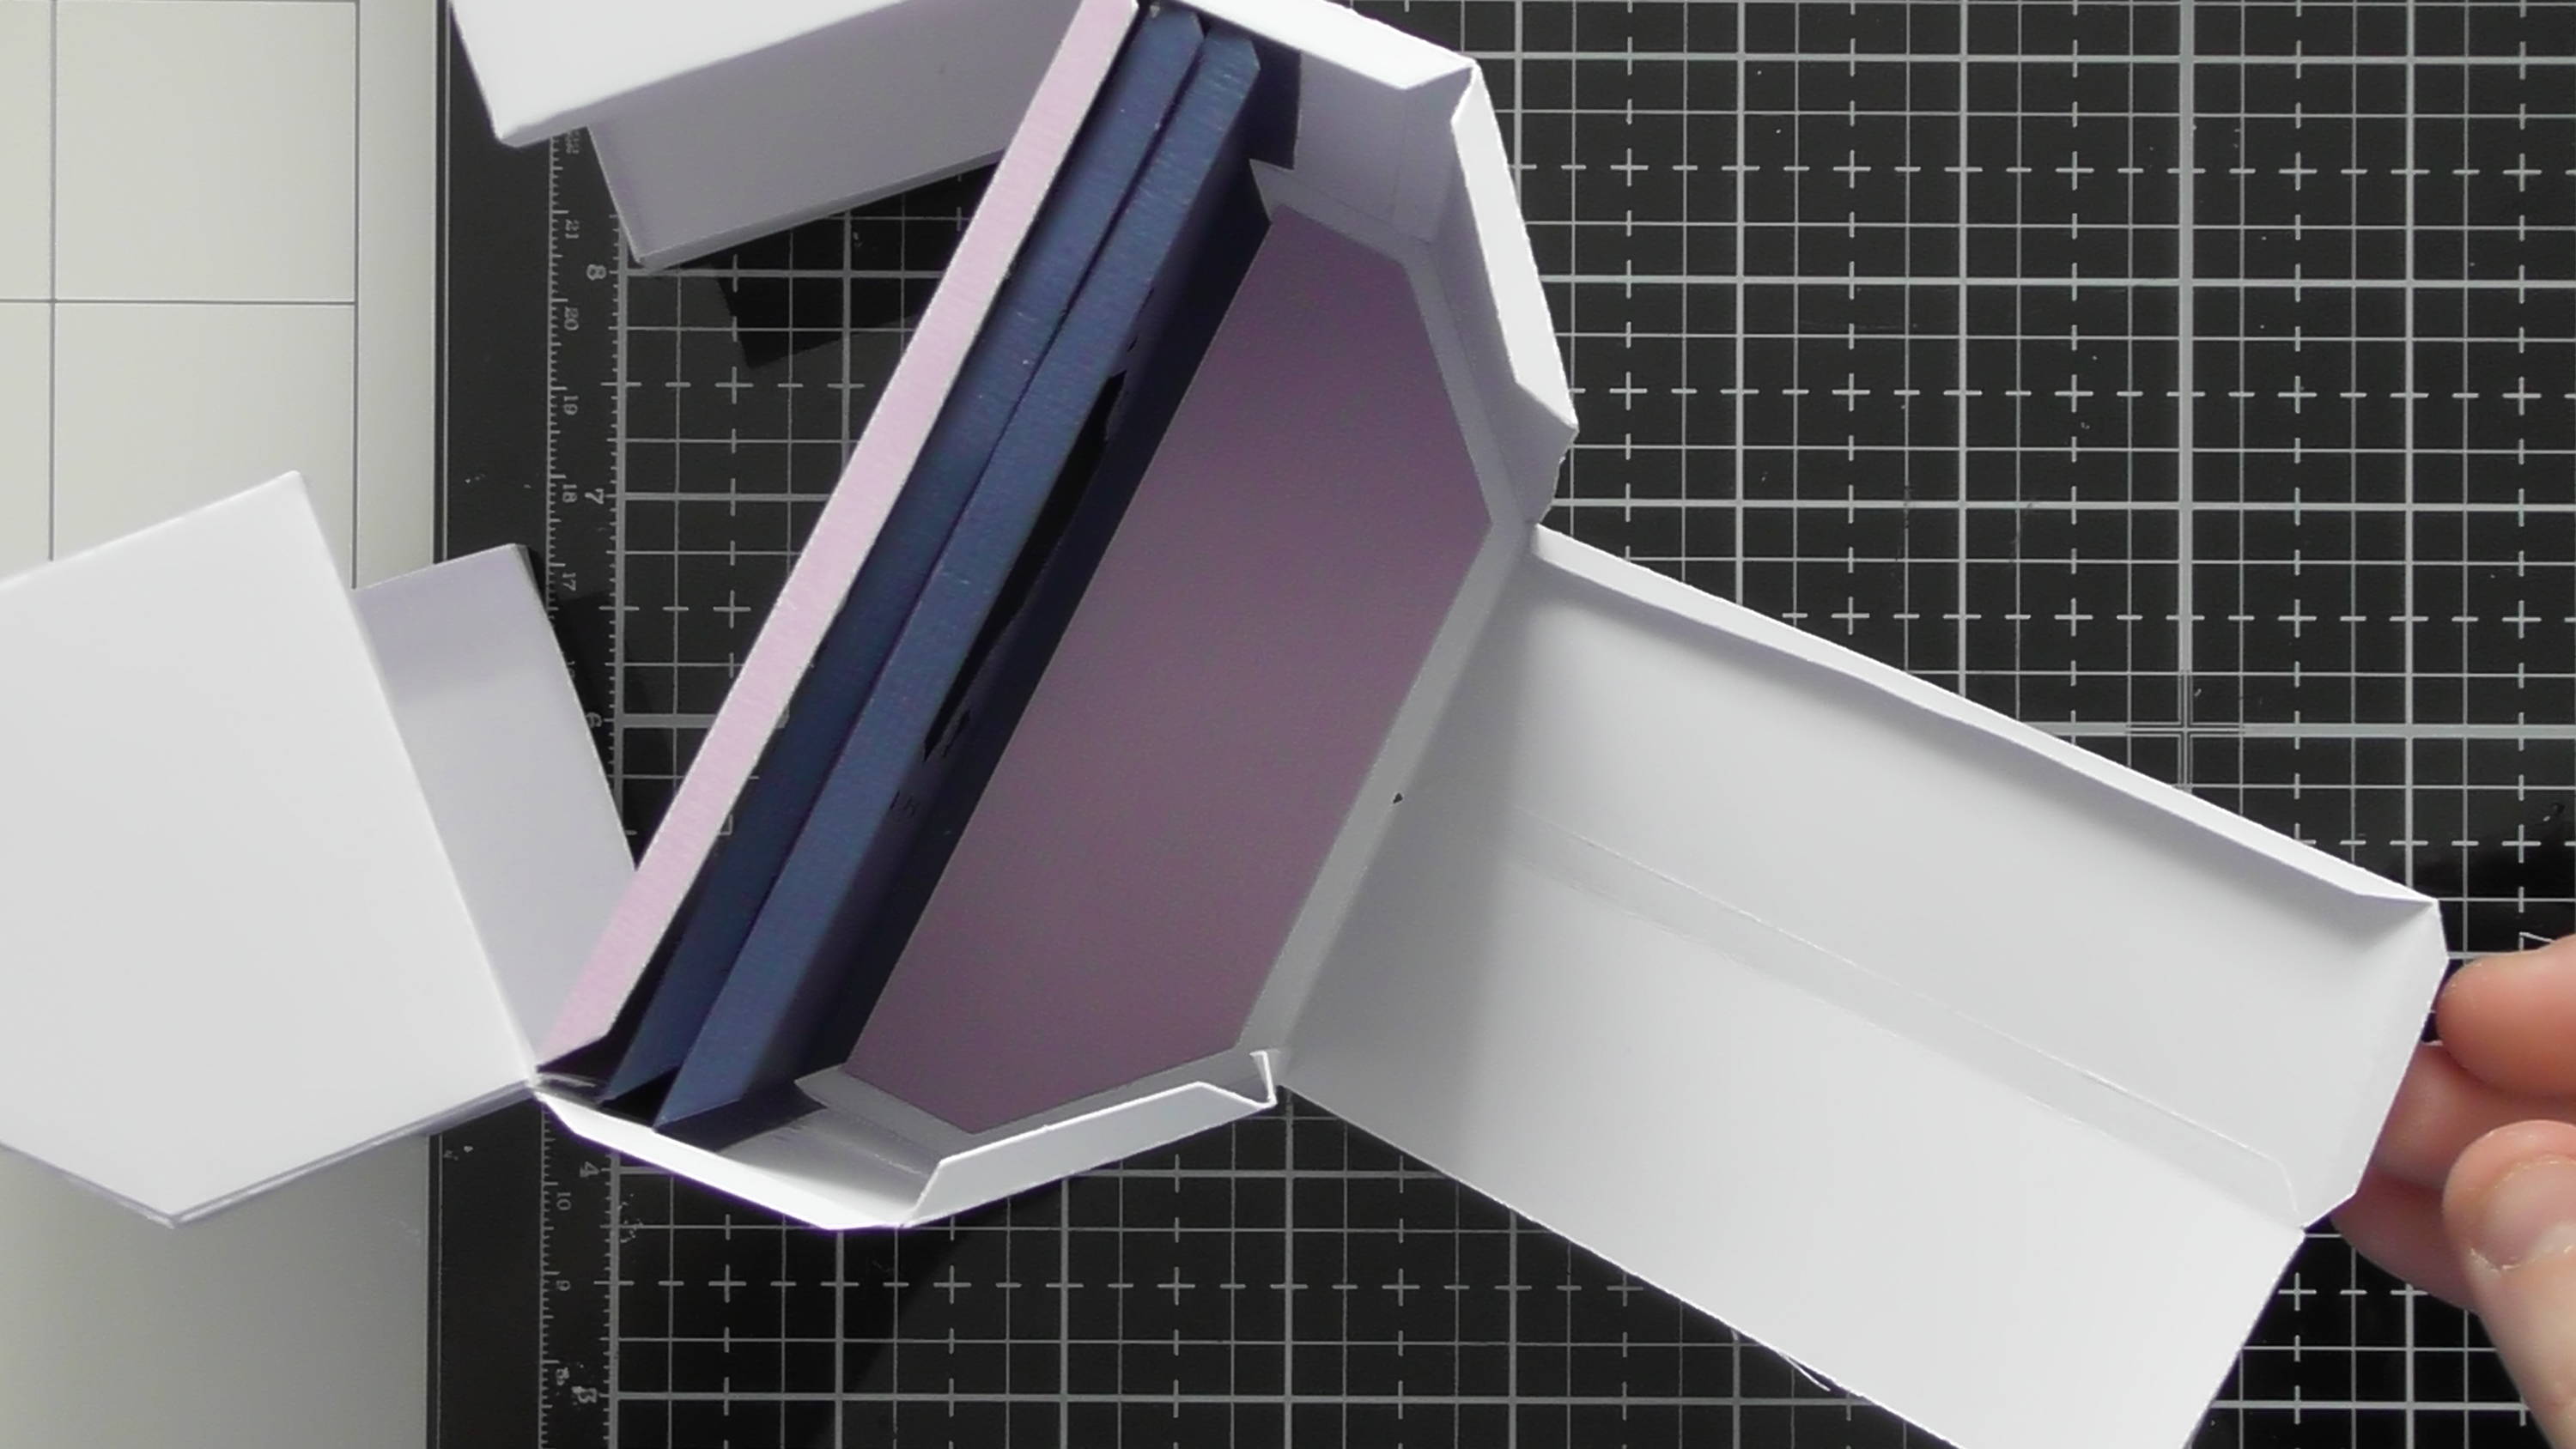
Step 9

You now need to attach the 2 side portions to the back, using the remaining glue tab from one of the side panels, make sure this joining bends nicely, as these pieces will open and close.
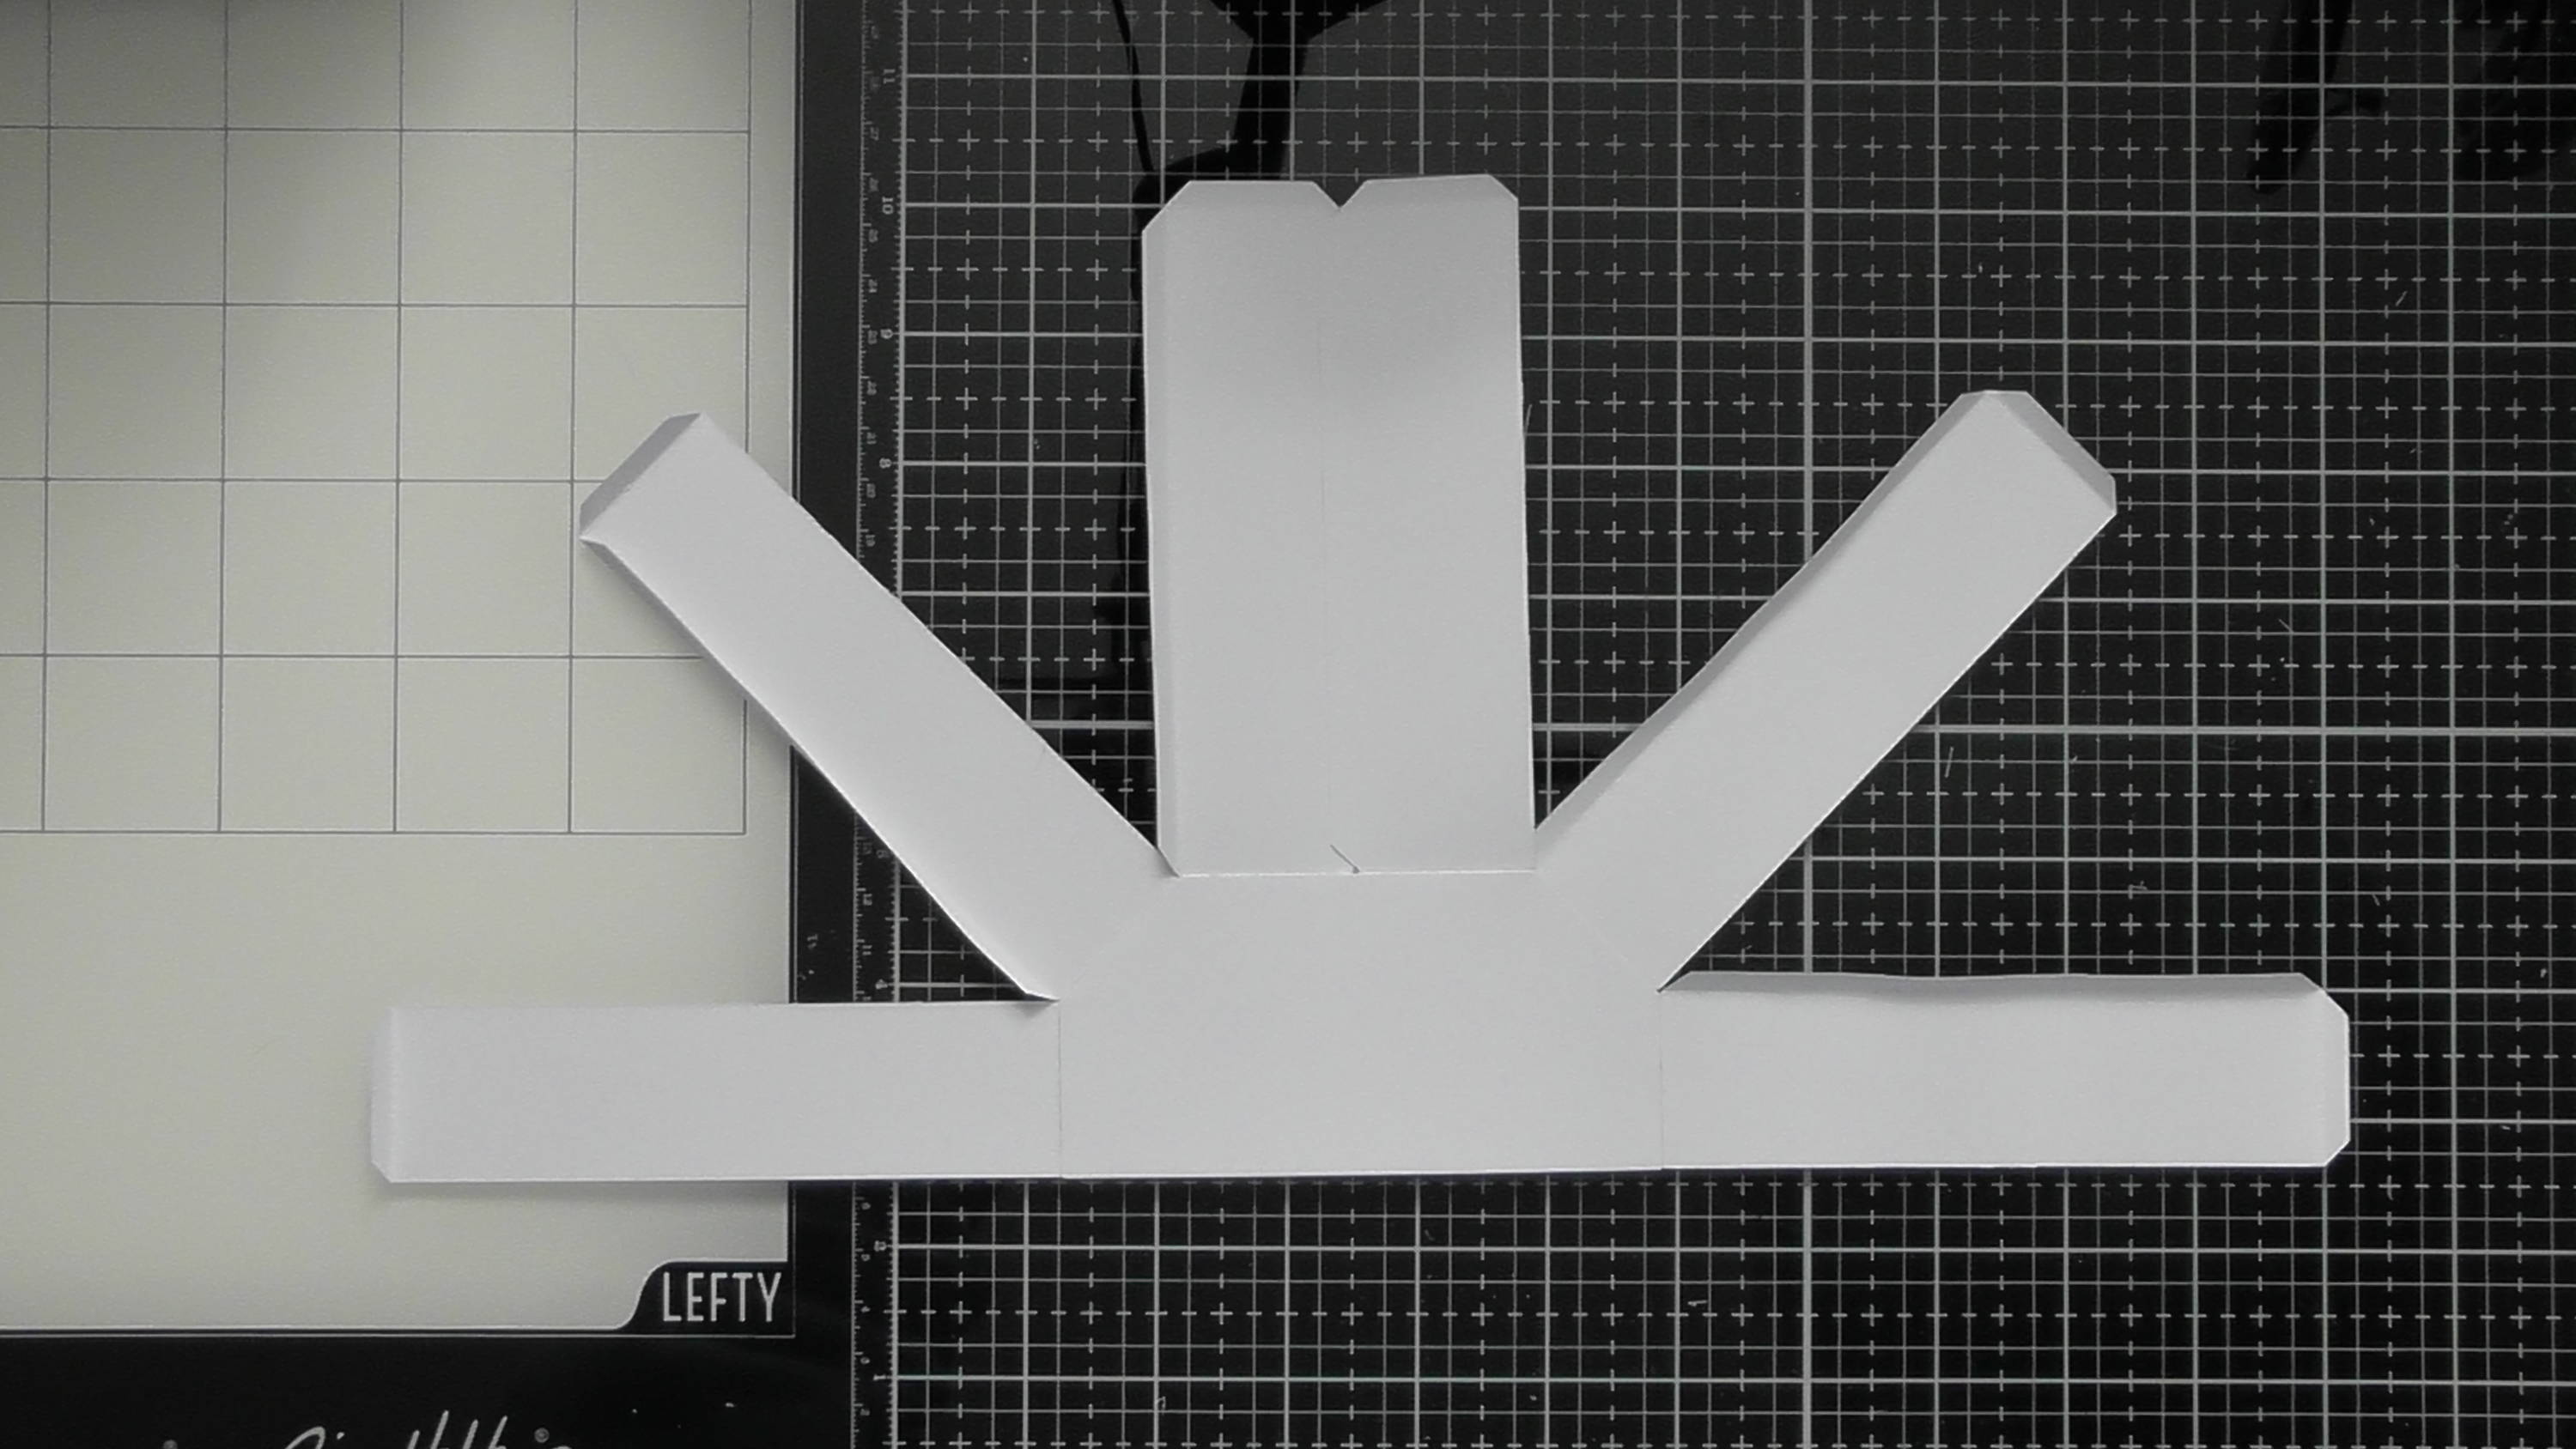
Step 10
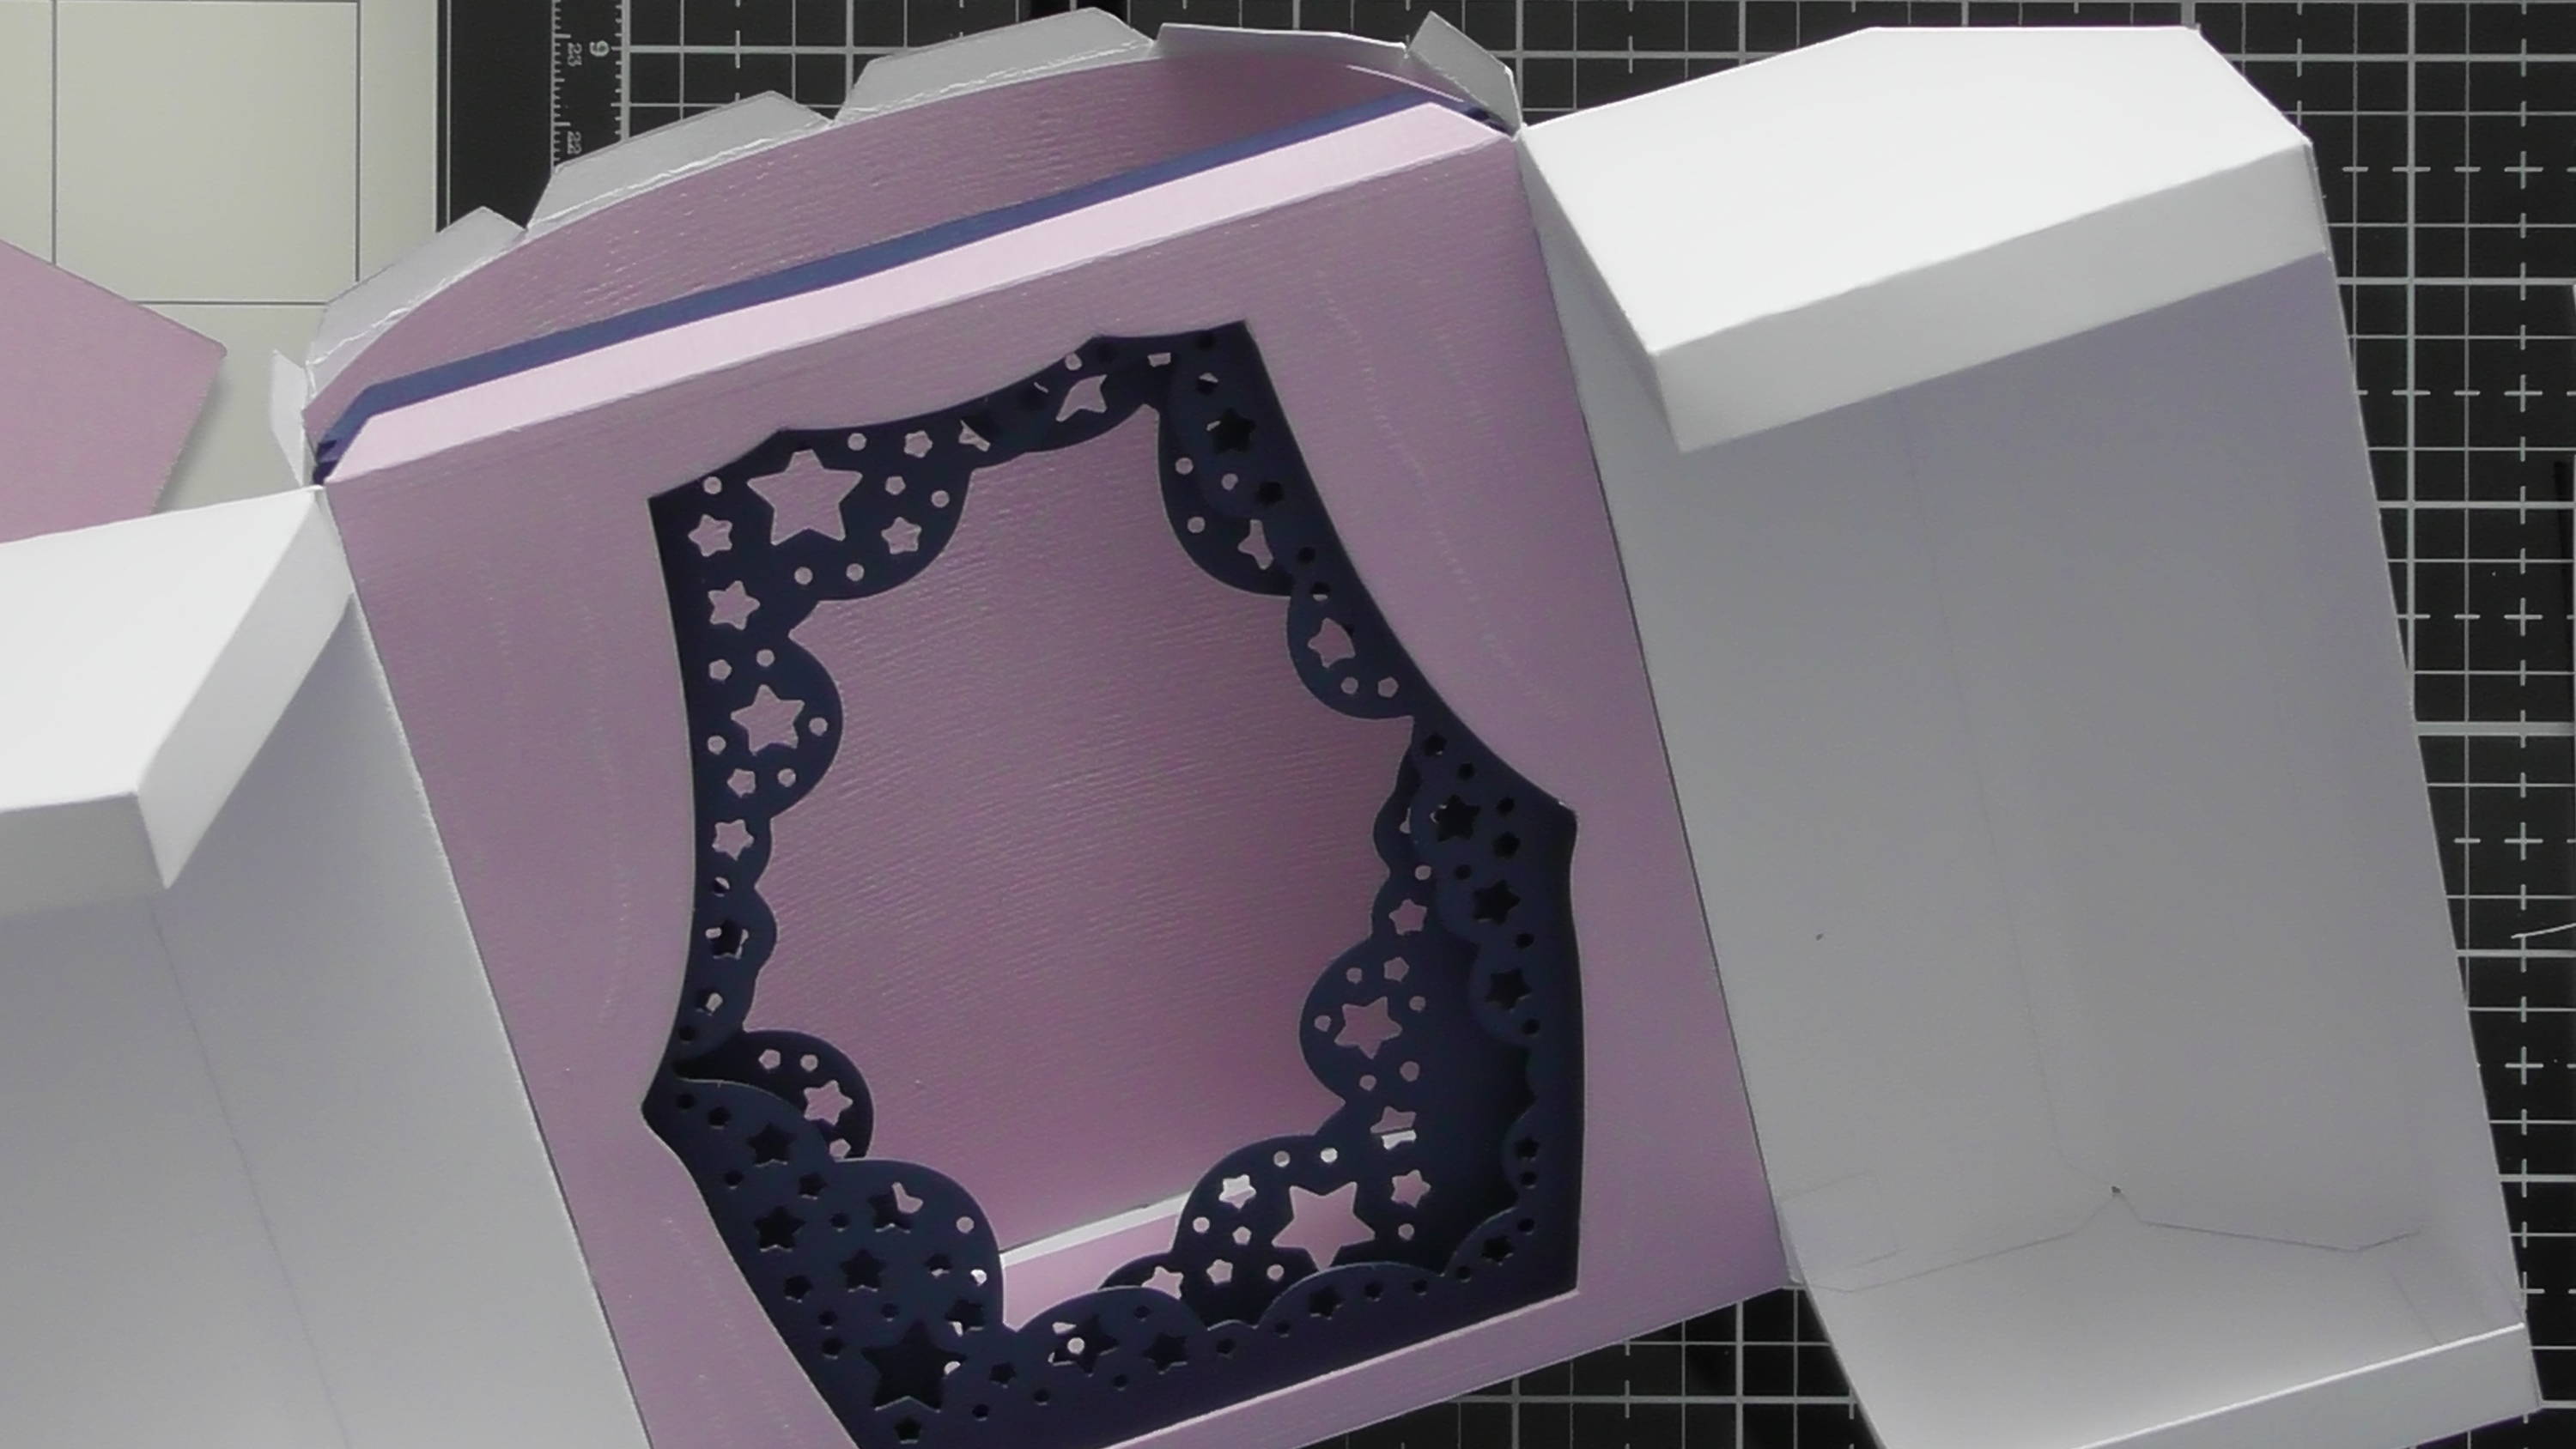
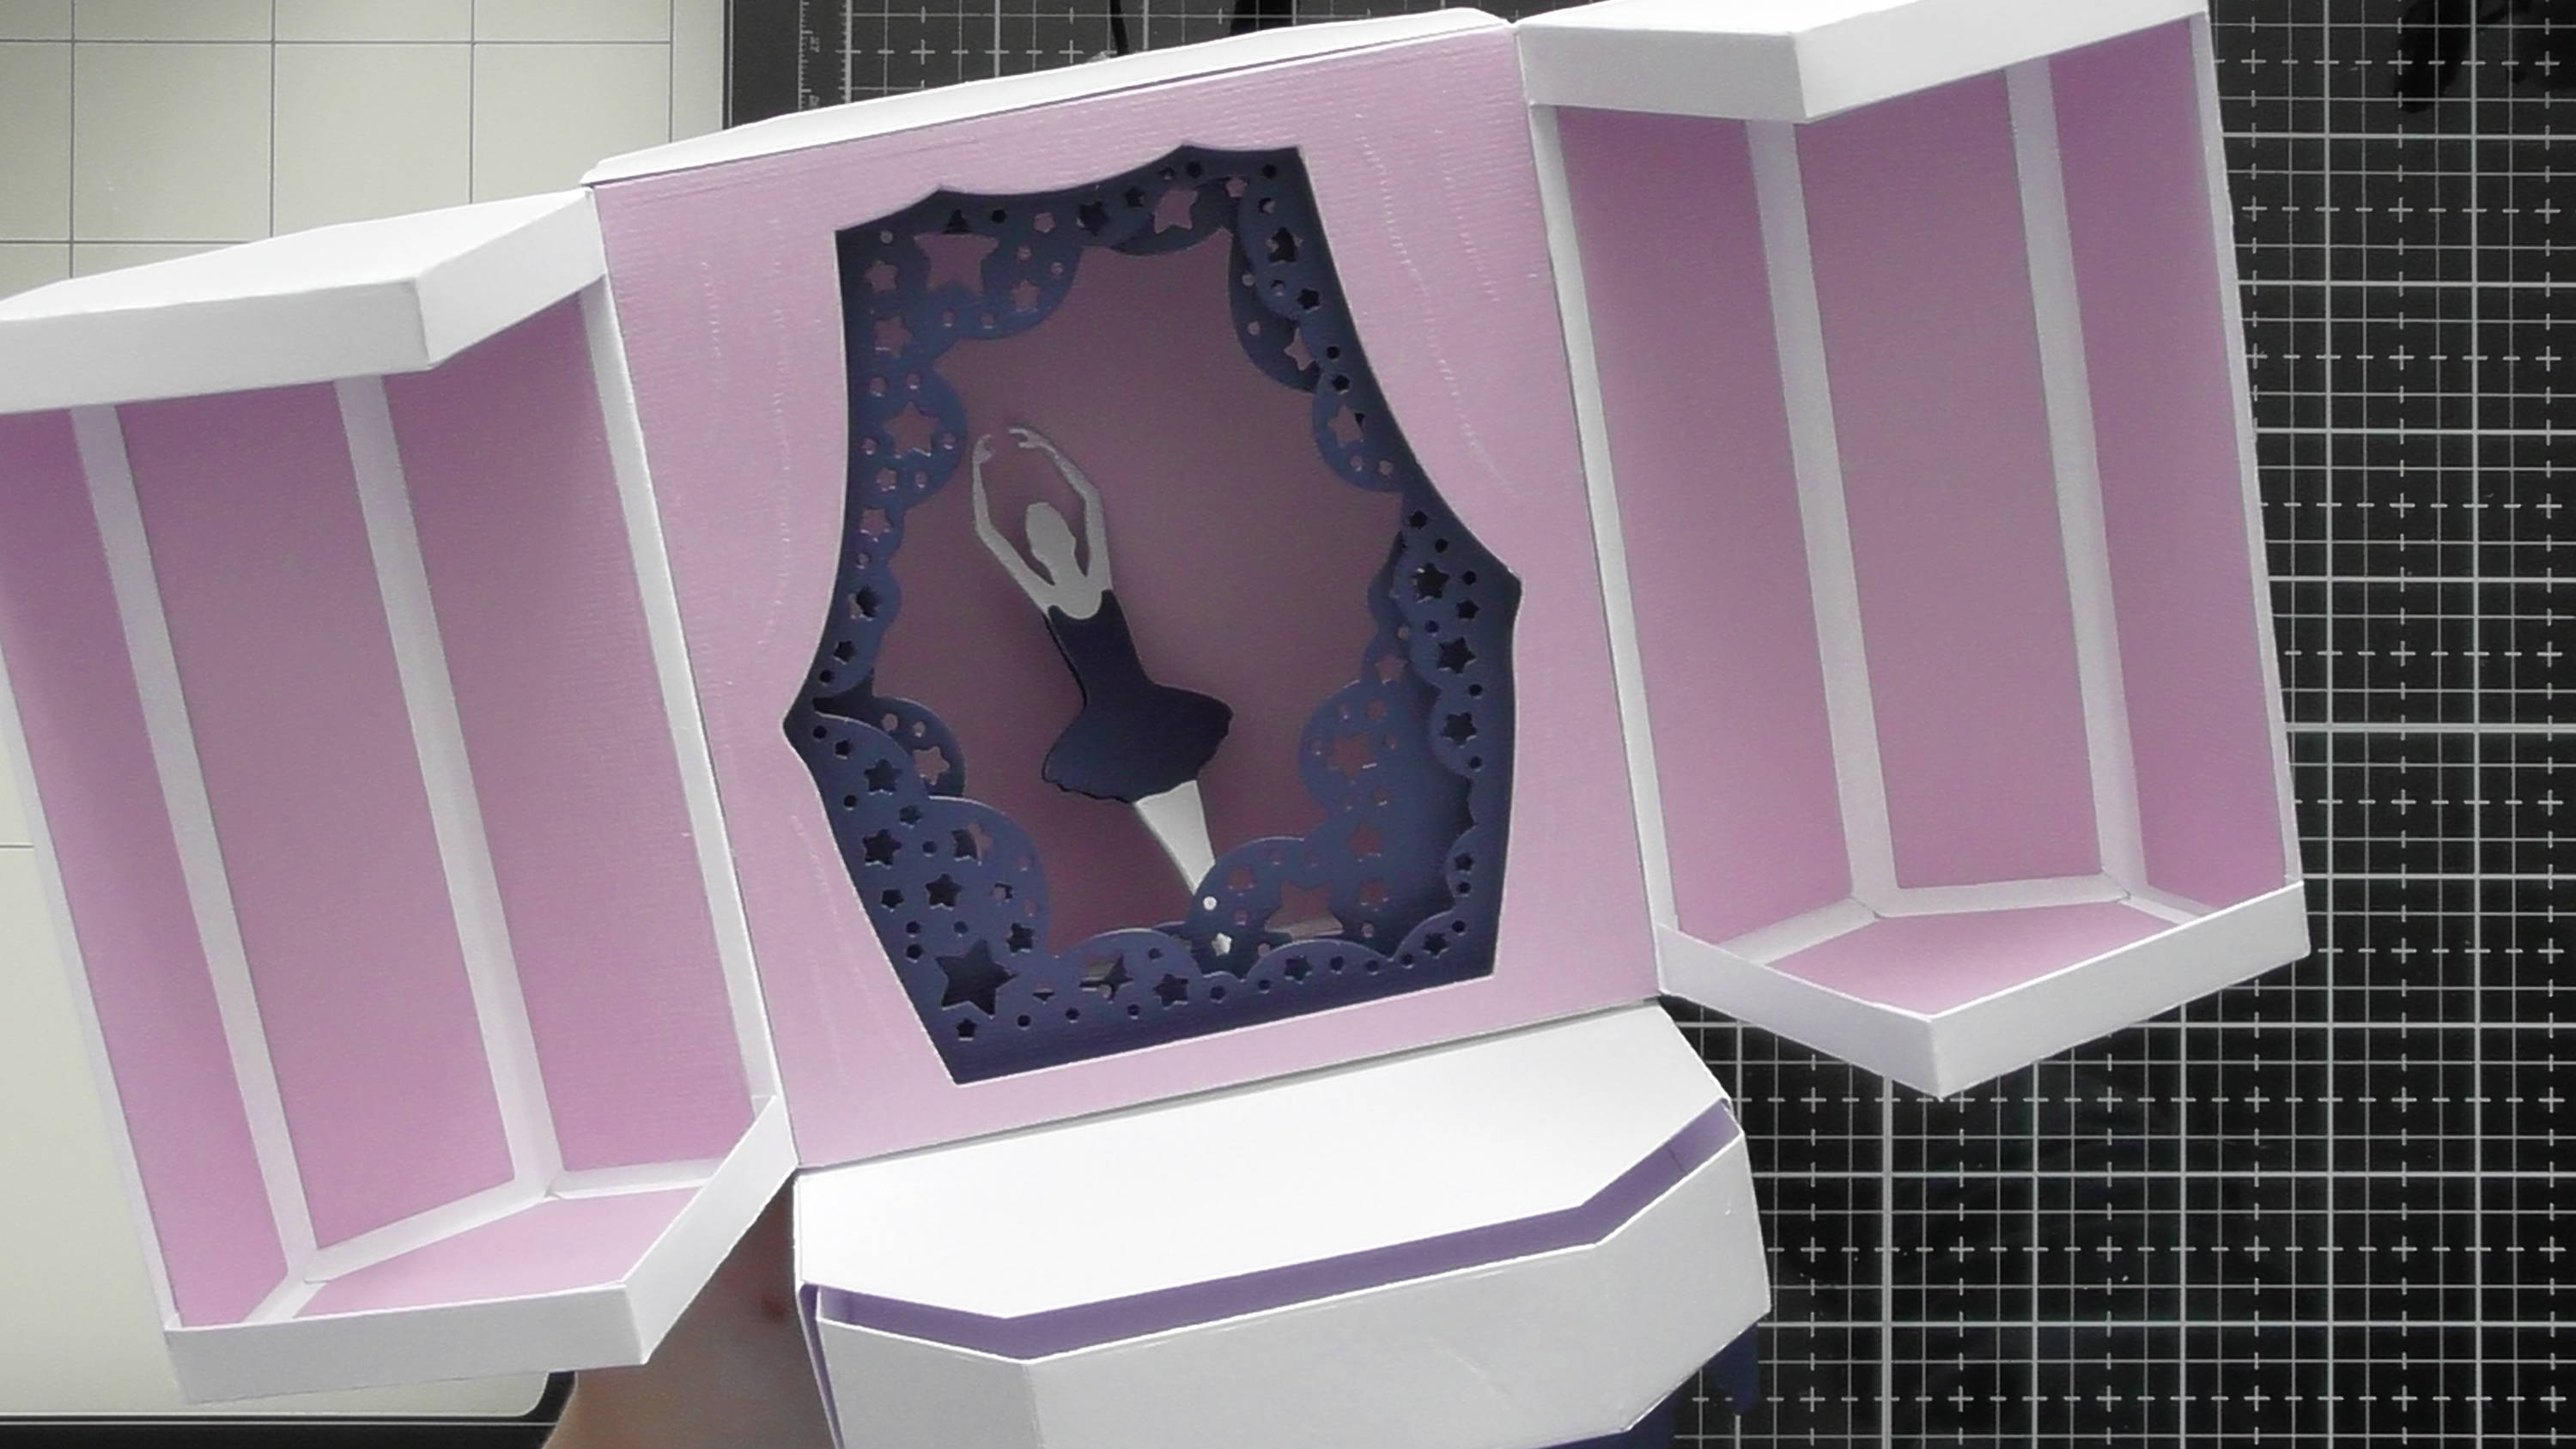
For the stage section, use the outside rectangle with the glue tabs on all sides along with the curtains to cut one panel, and with the stars to cut 2 panels.
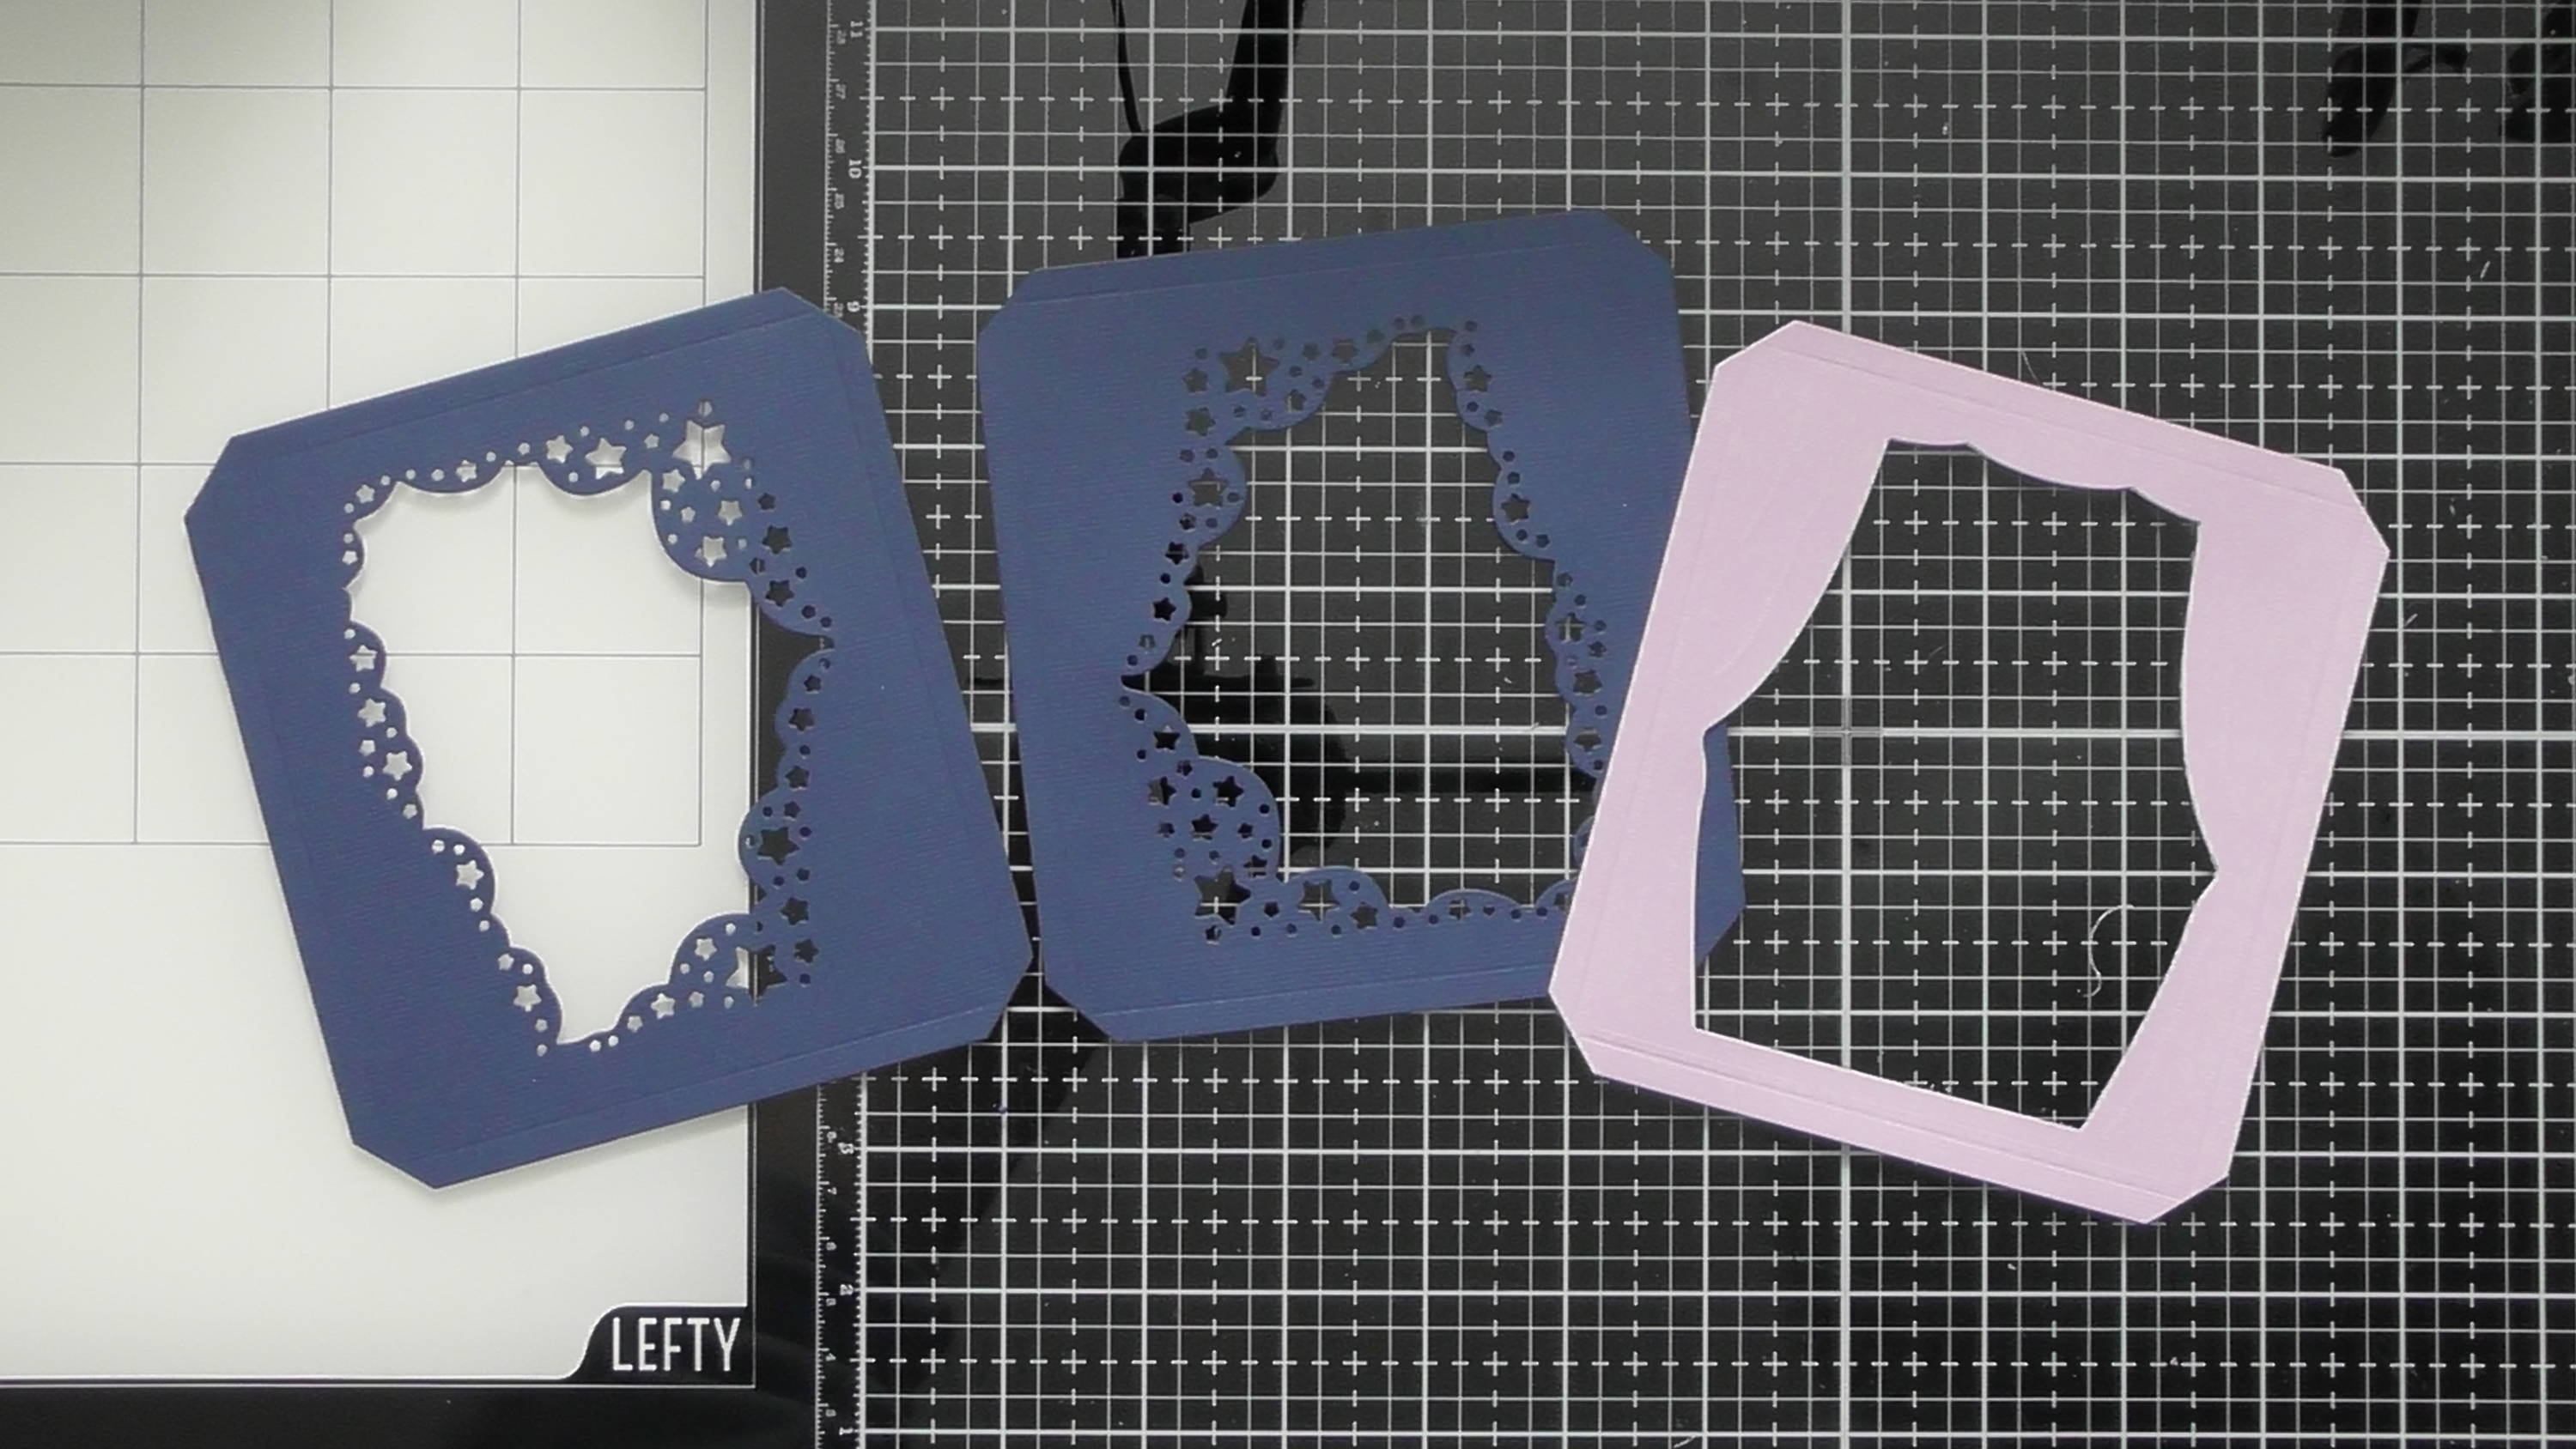
Step 11

Take your curtain panel and adhere the bottom glue tab first, in the position shown, then glue the sides too.
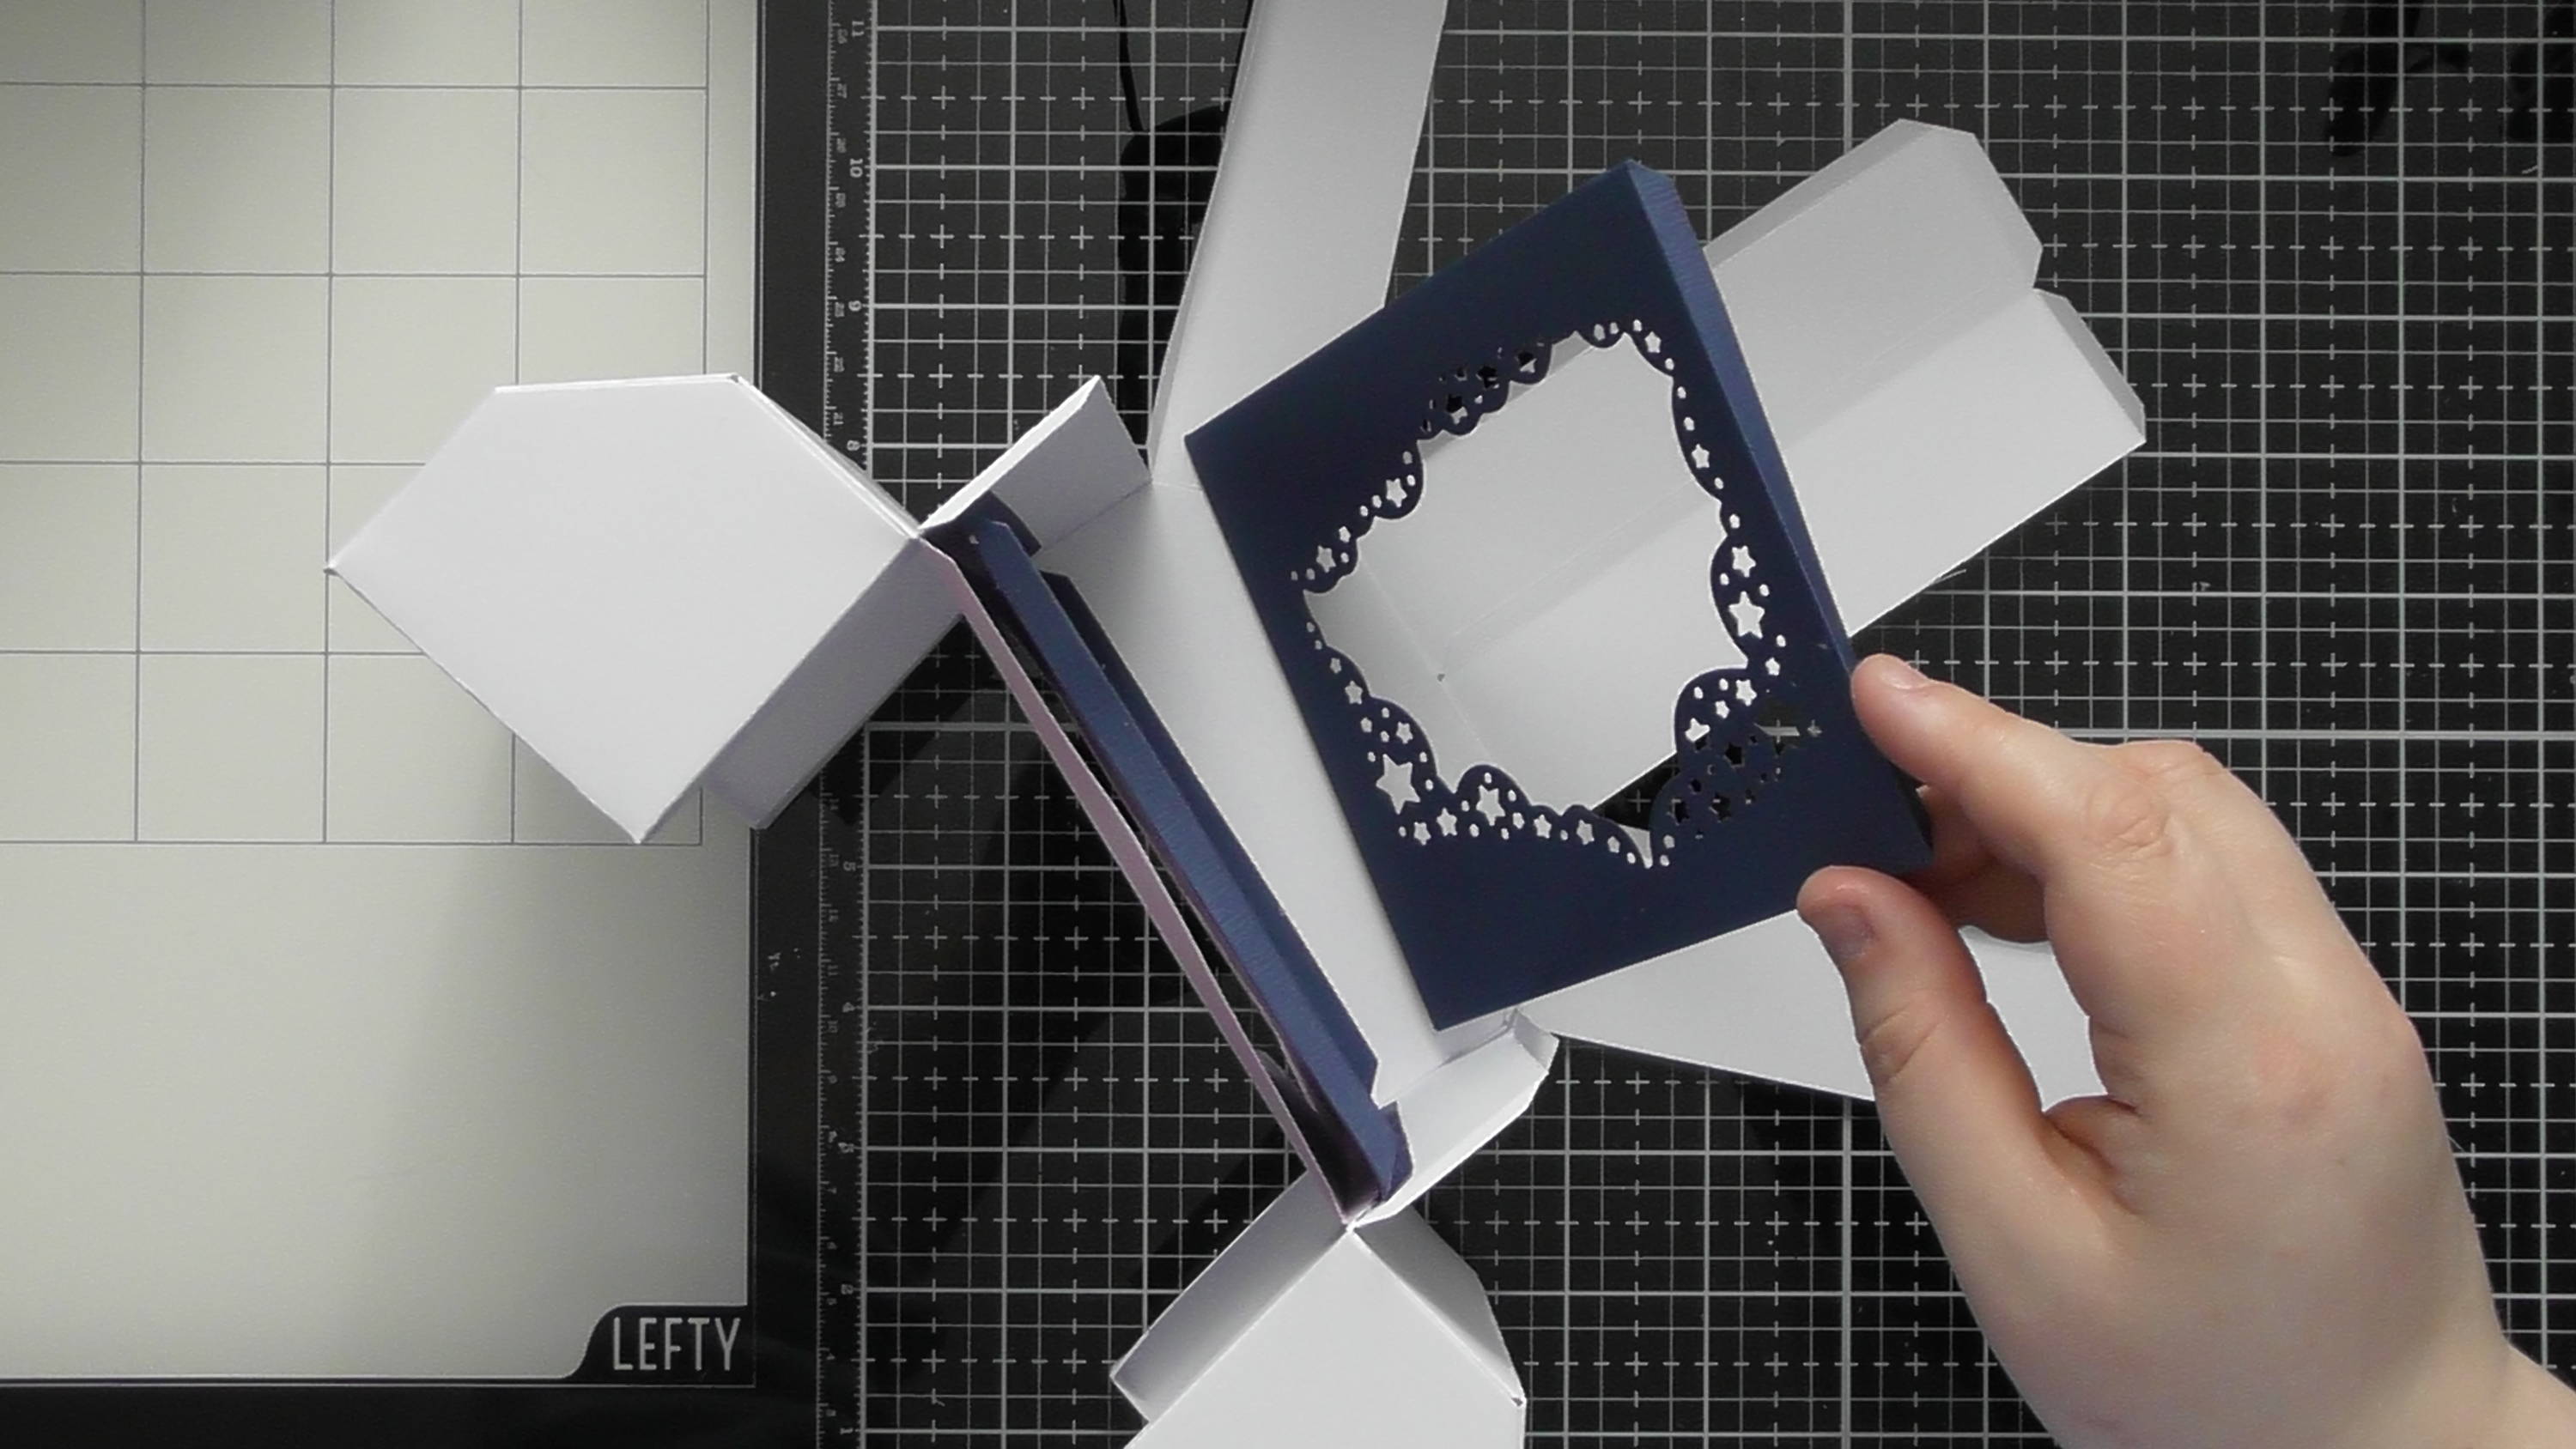
Step 12

Add your star panels behind the curtains, using the glue tabs from the curtains as a spacer for the distance…
Step 13
Flip the second star panel over and add this one behind, again using the previous ones glue tabs as a spacer.
Step 14
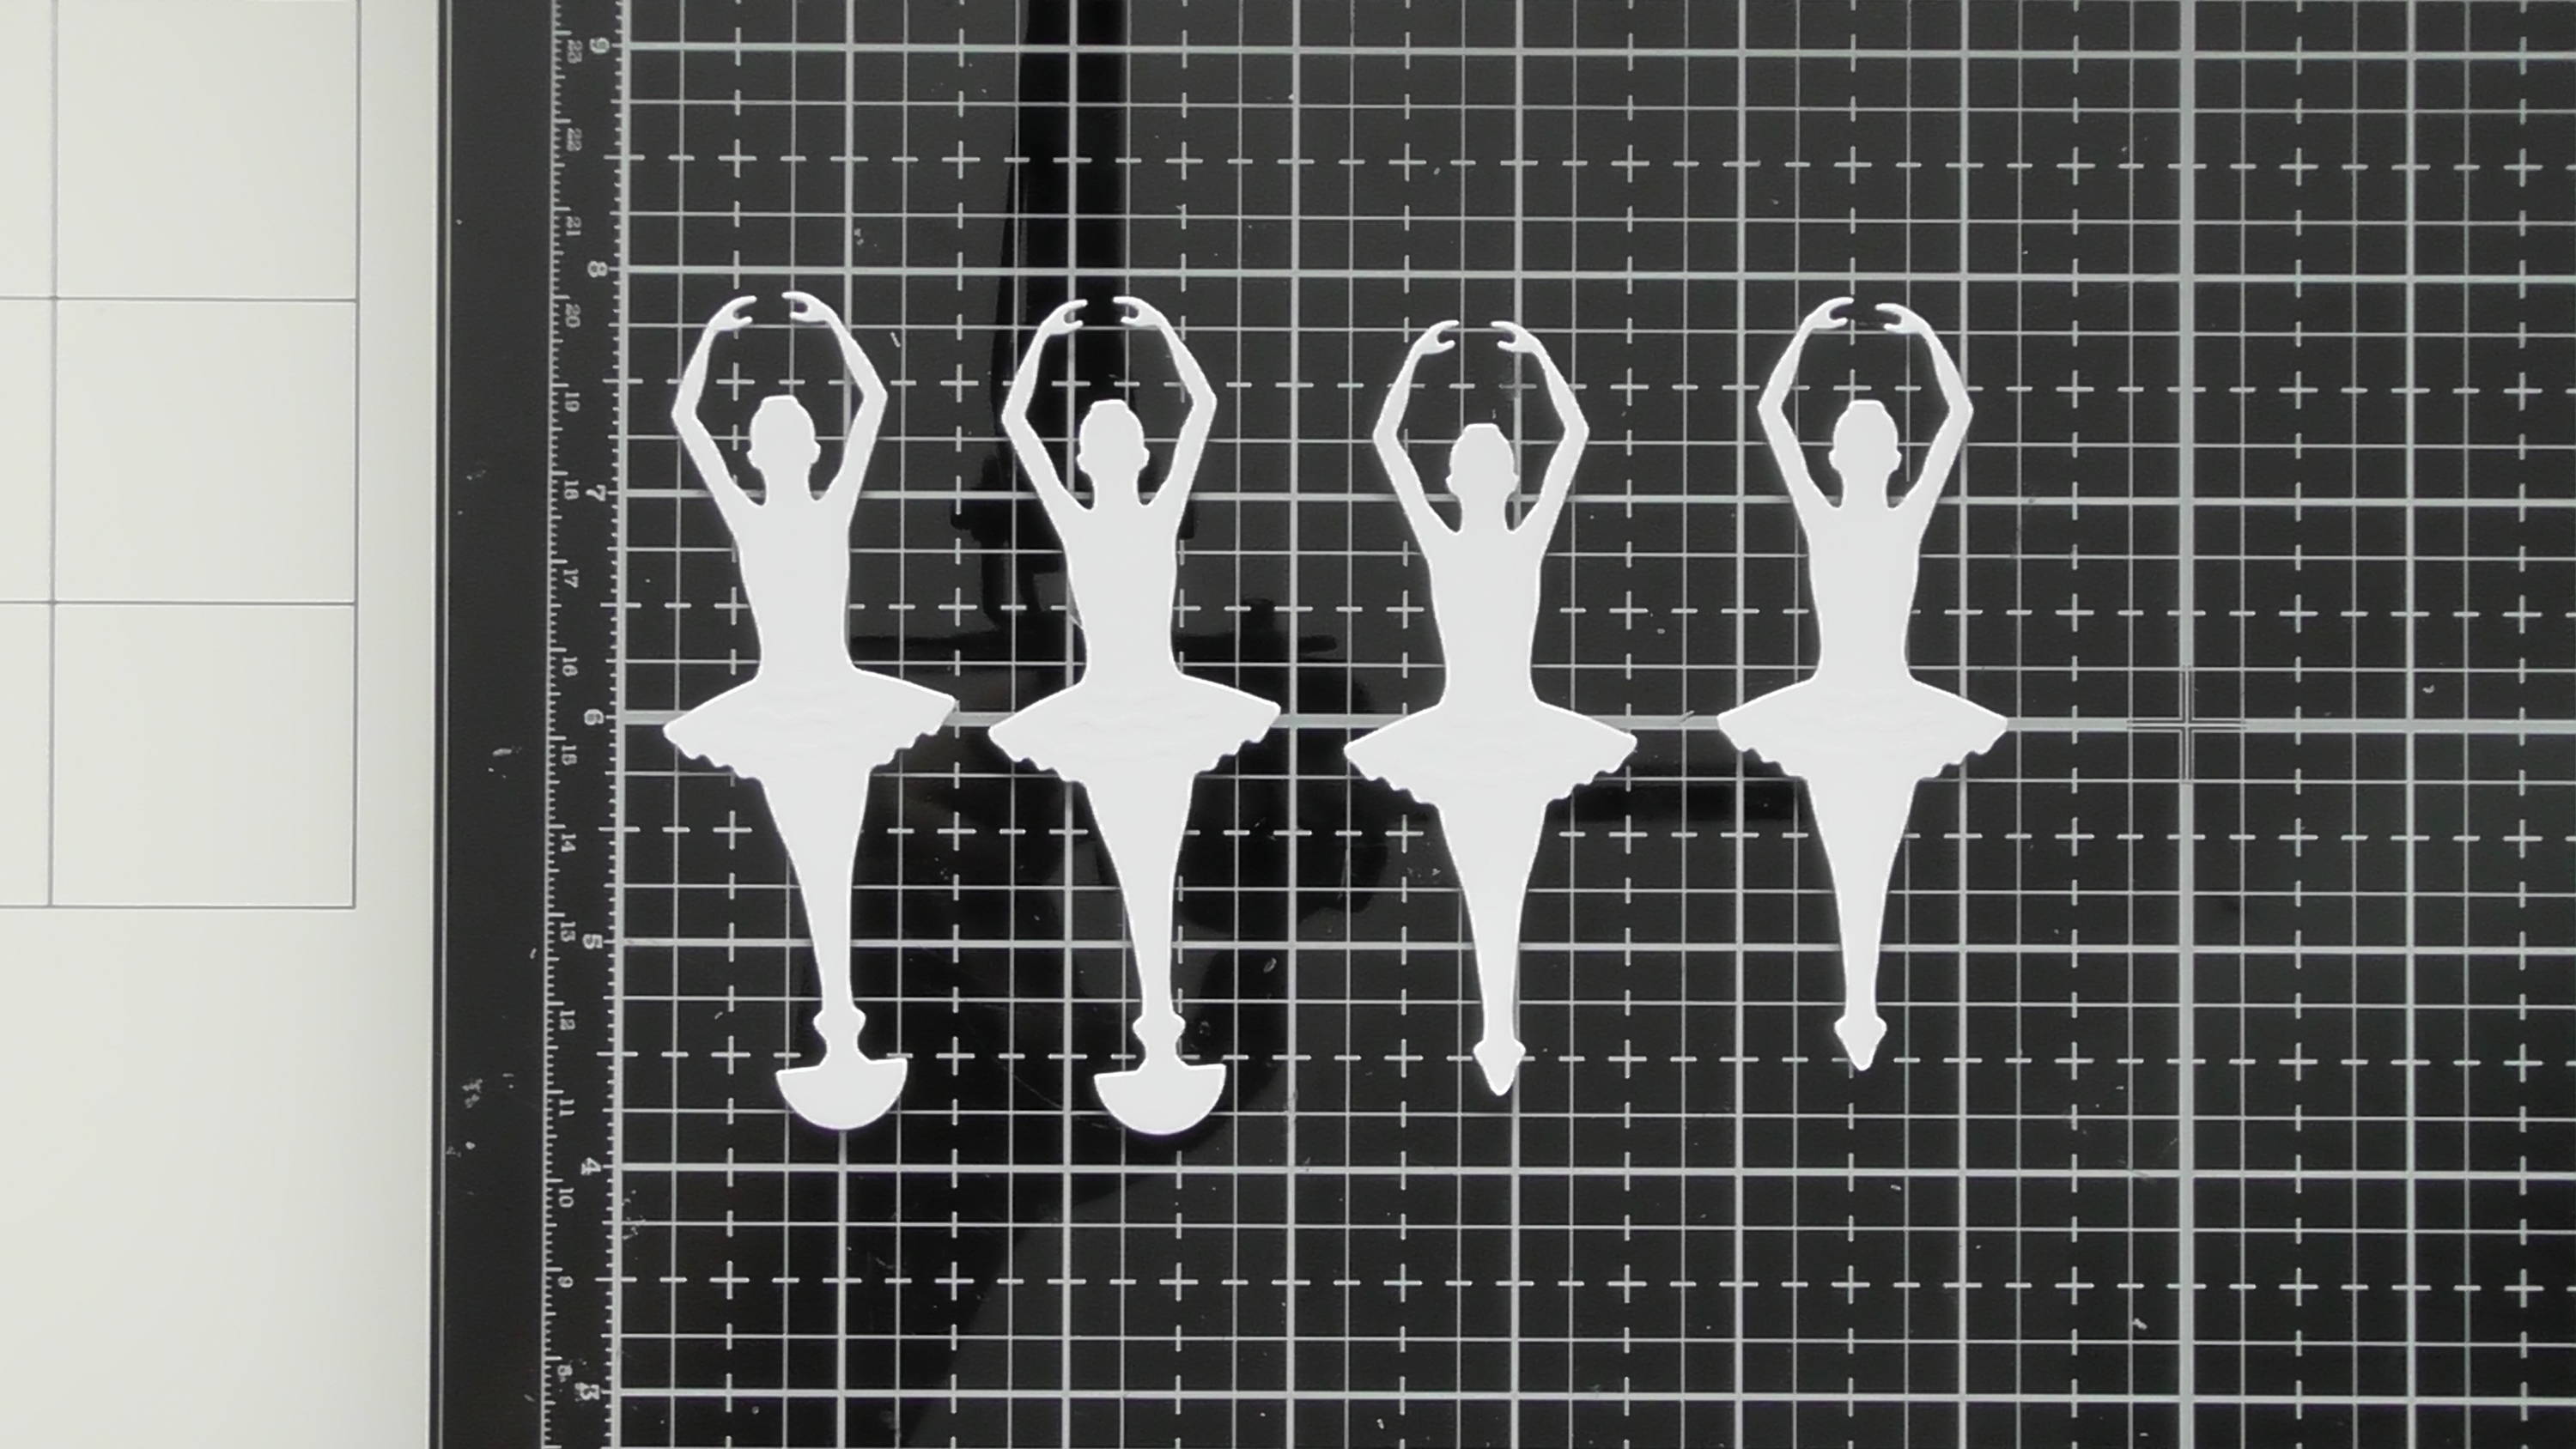
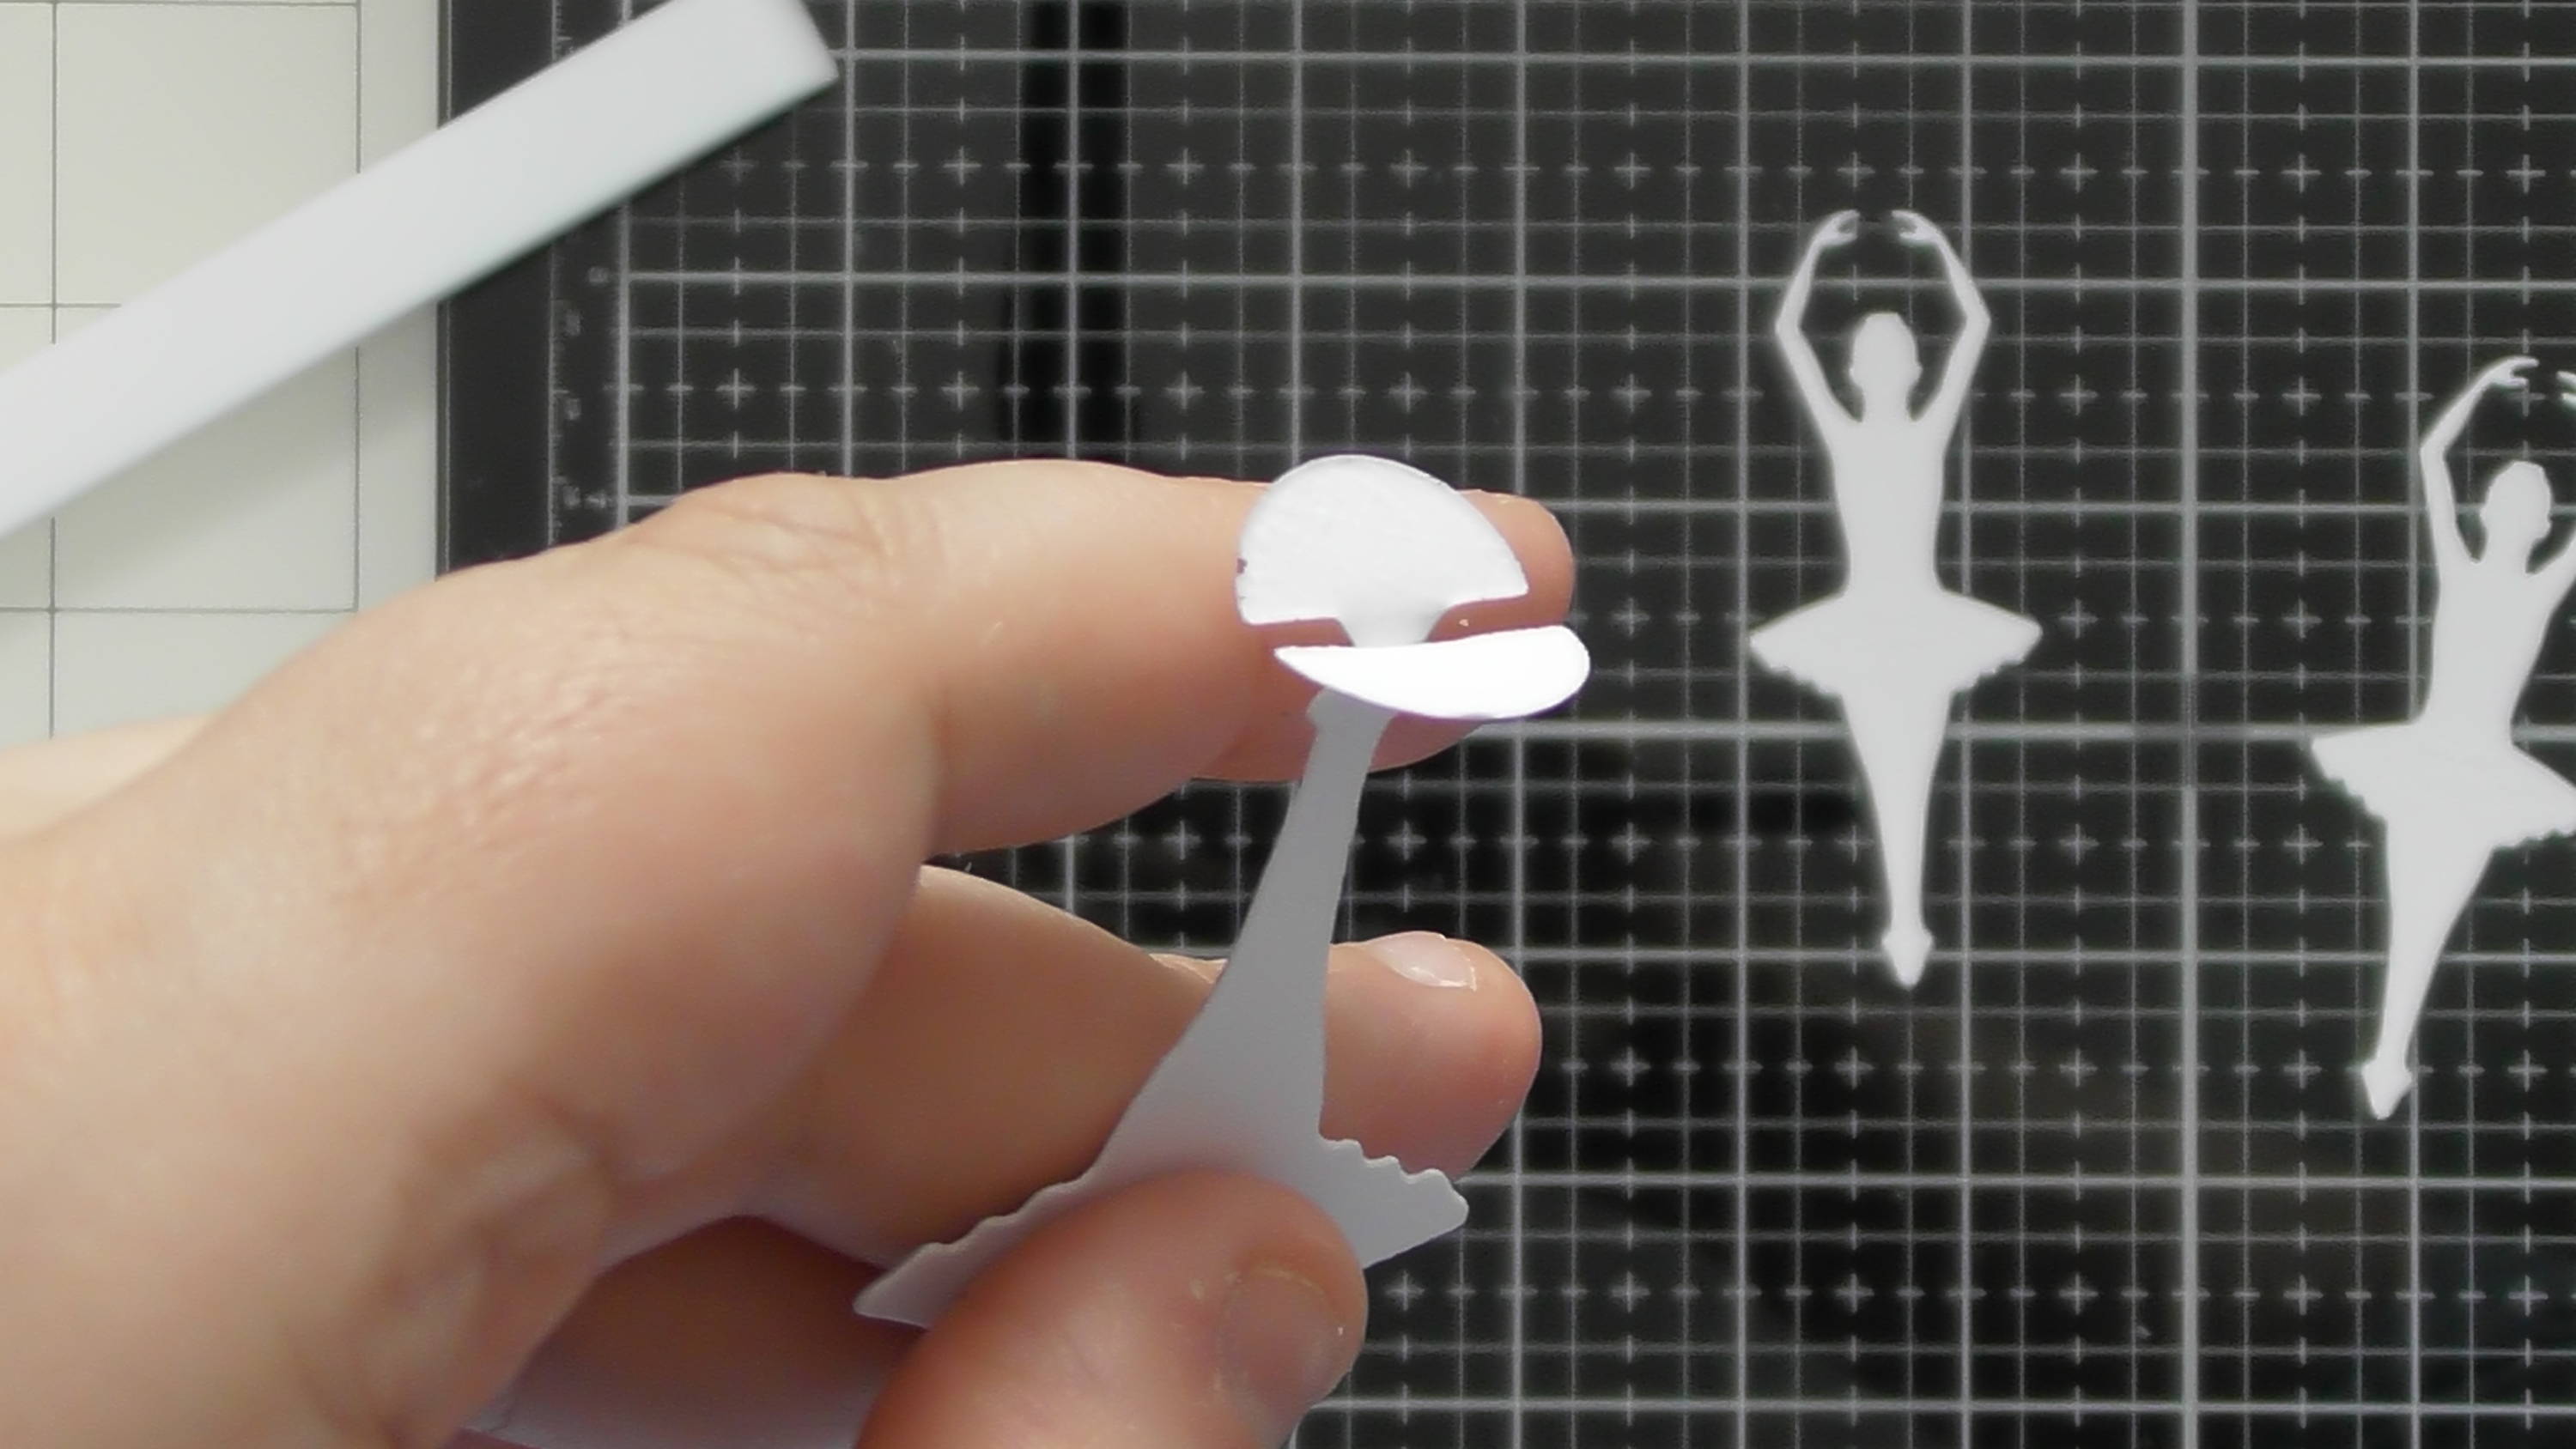
For the ballerina, die-cut 4, keep 2 intact, and remove the feet from too.
Step 15
Stick the whole ones back to back and splay out the feet, then use the other 2, one on either side to make her sturdier, or to add colour depending what you cut her out of.
Step 16
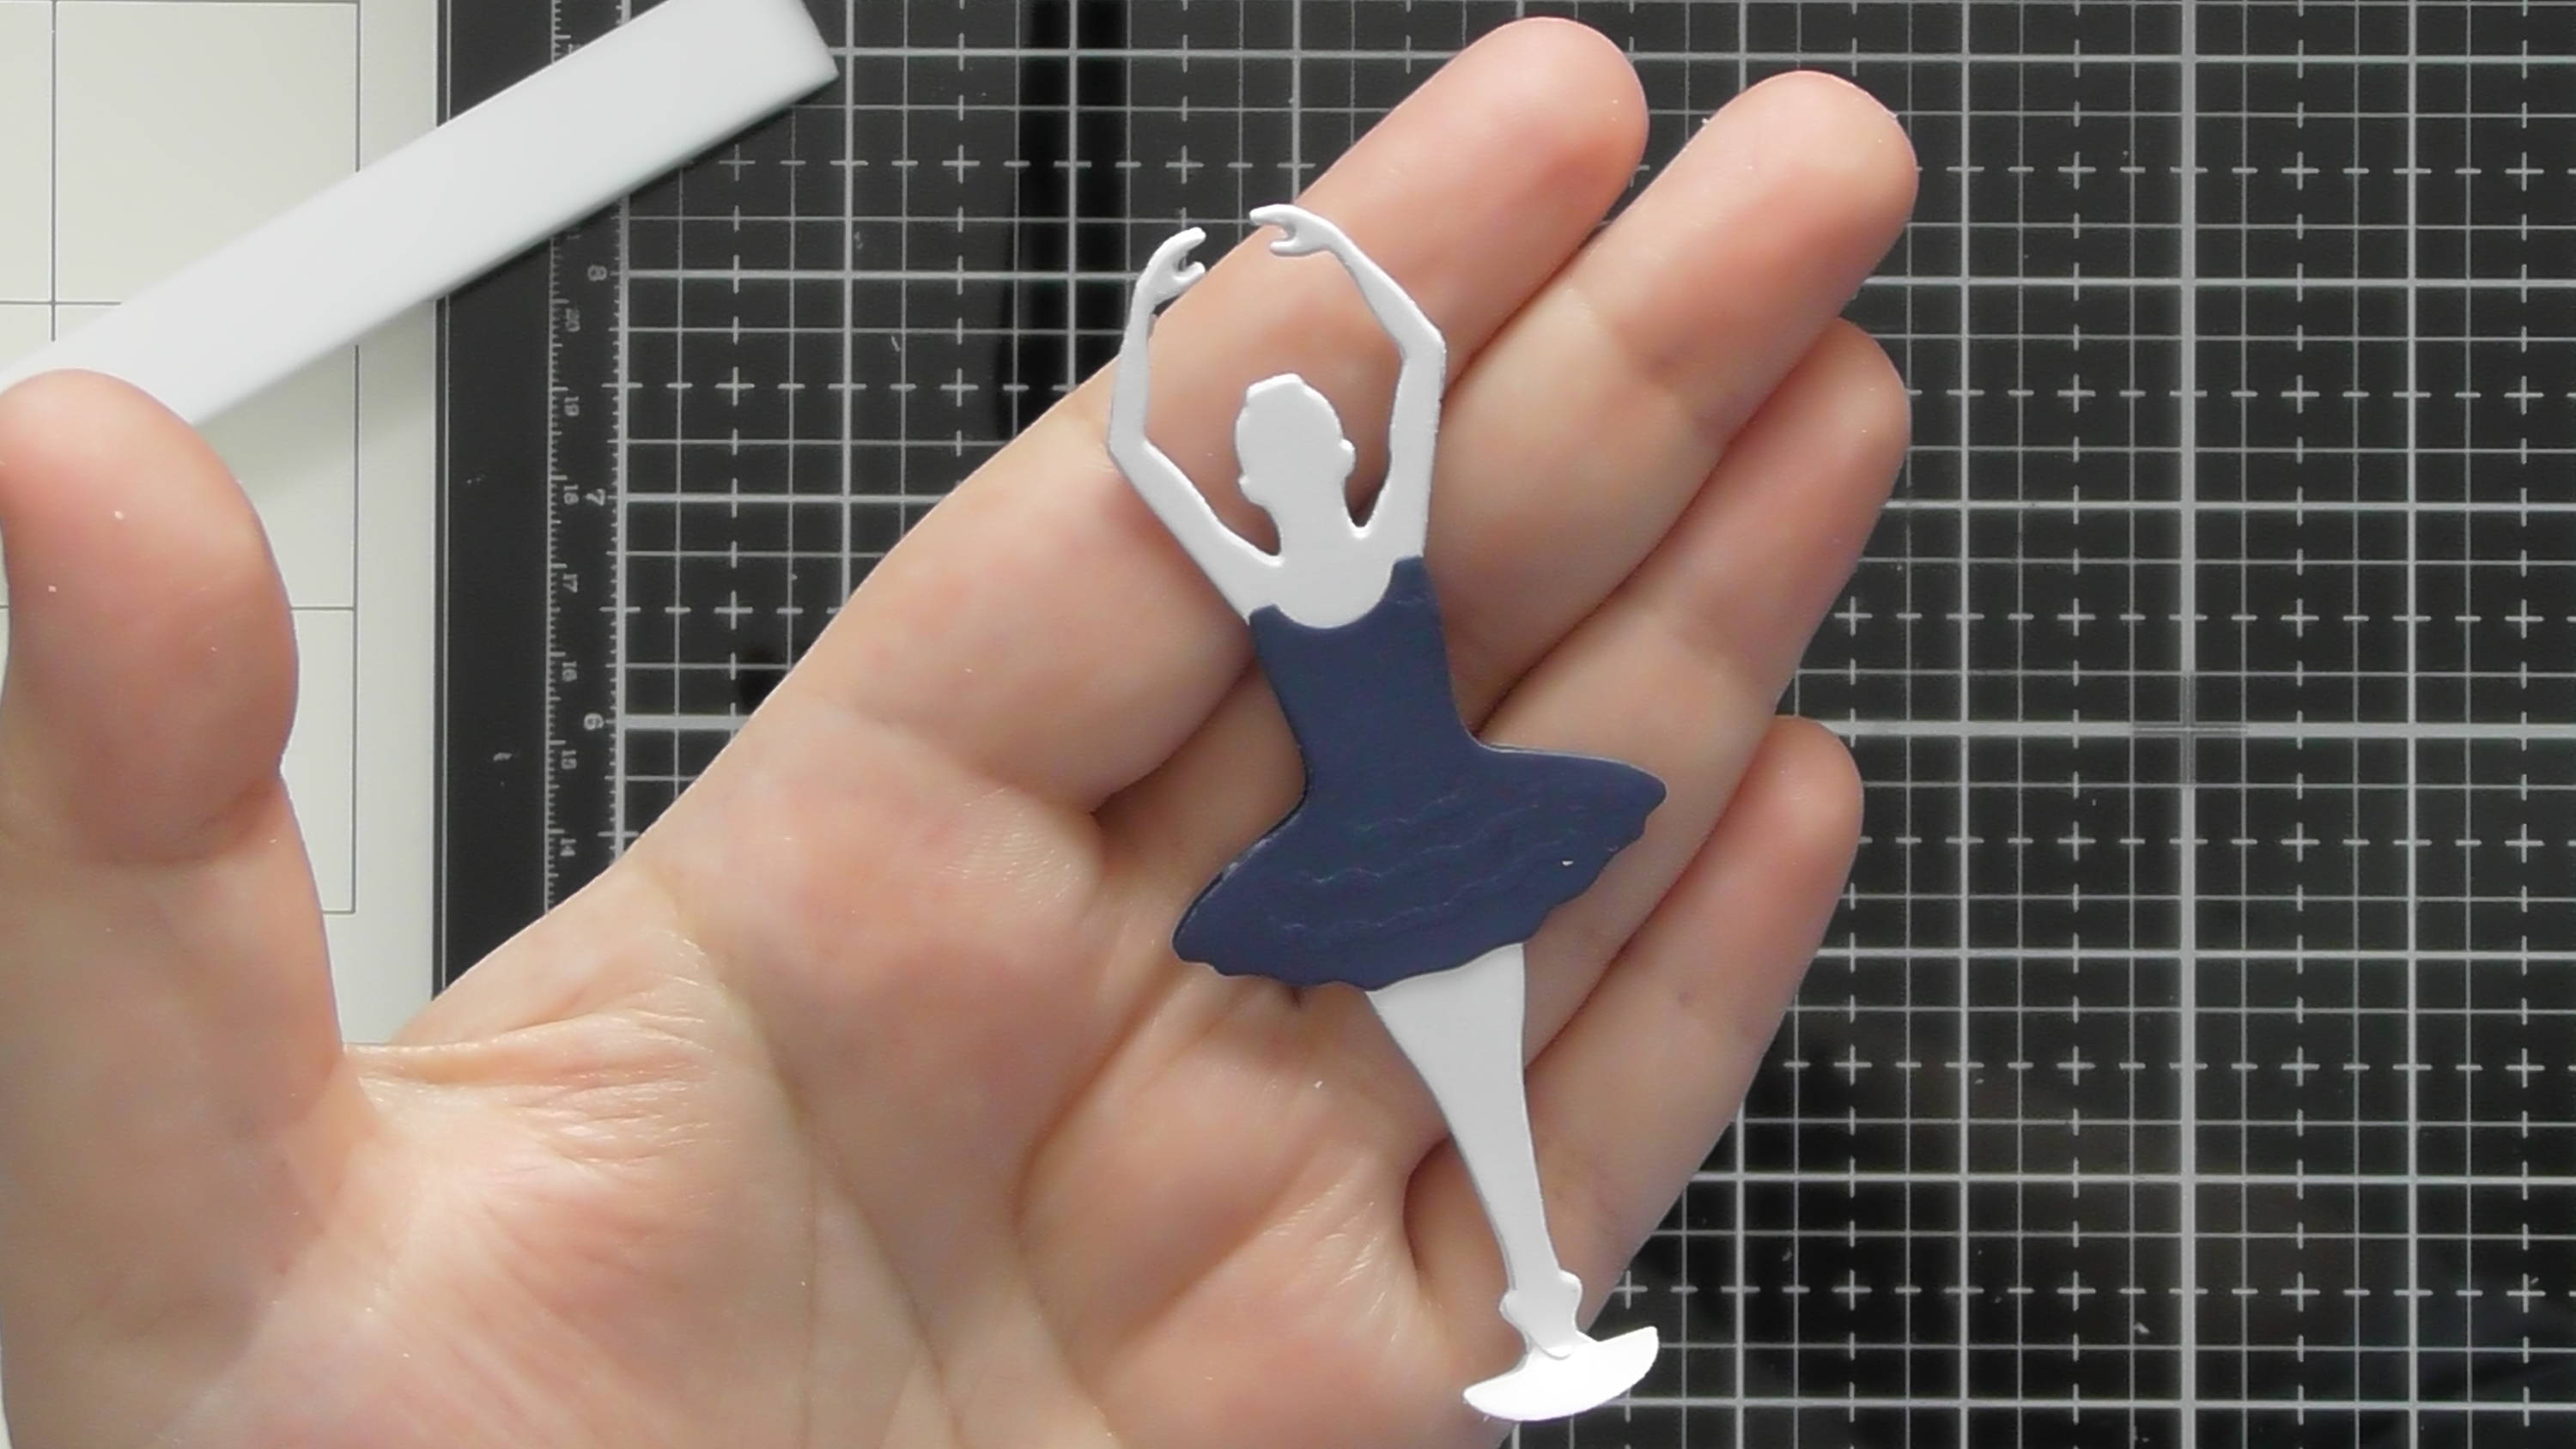
Add your chosen dress to each side of the ballerina.
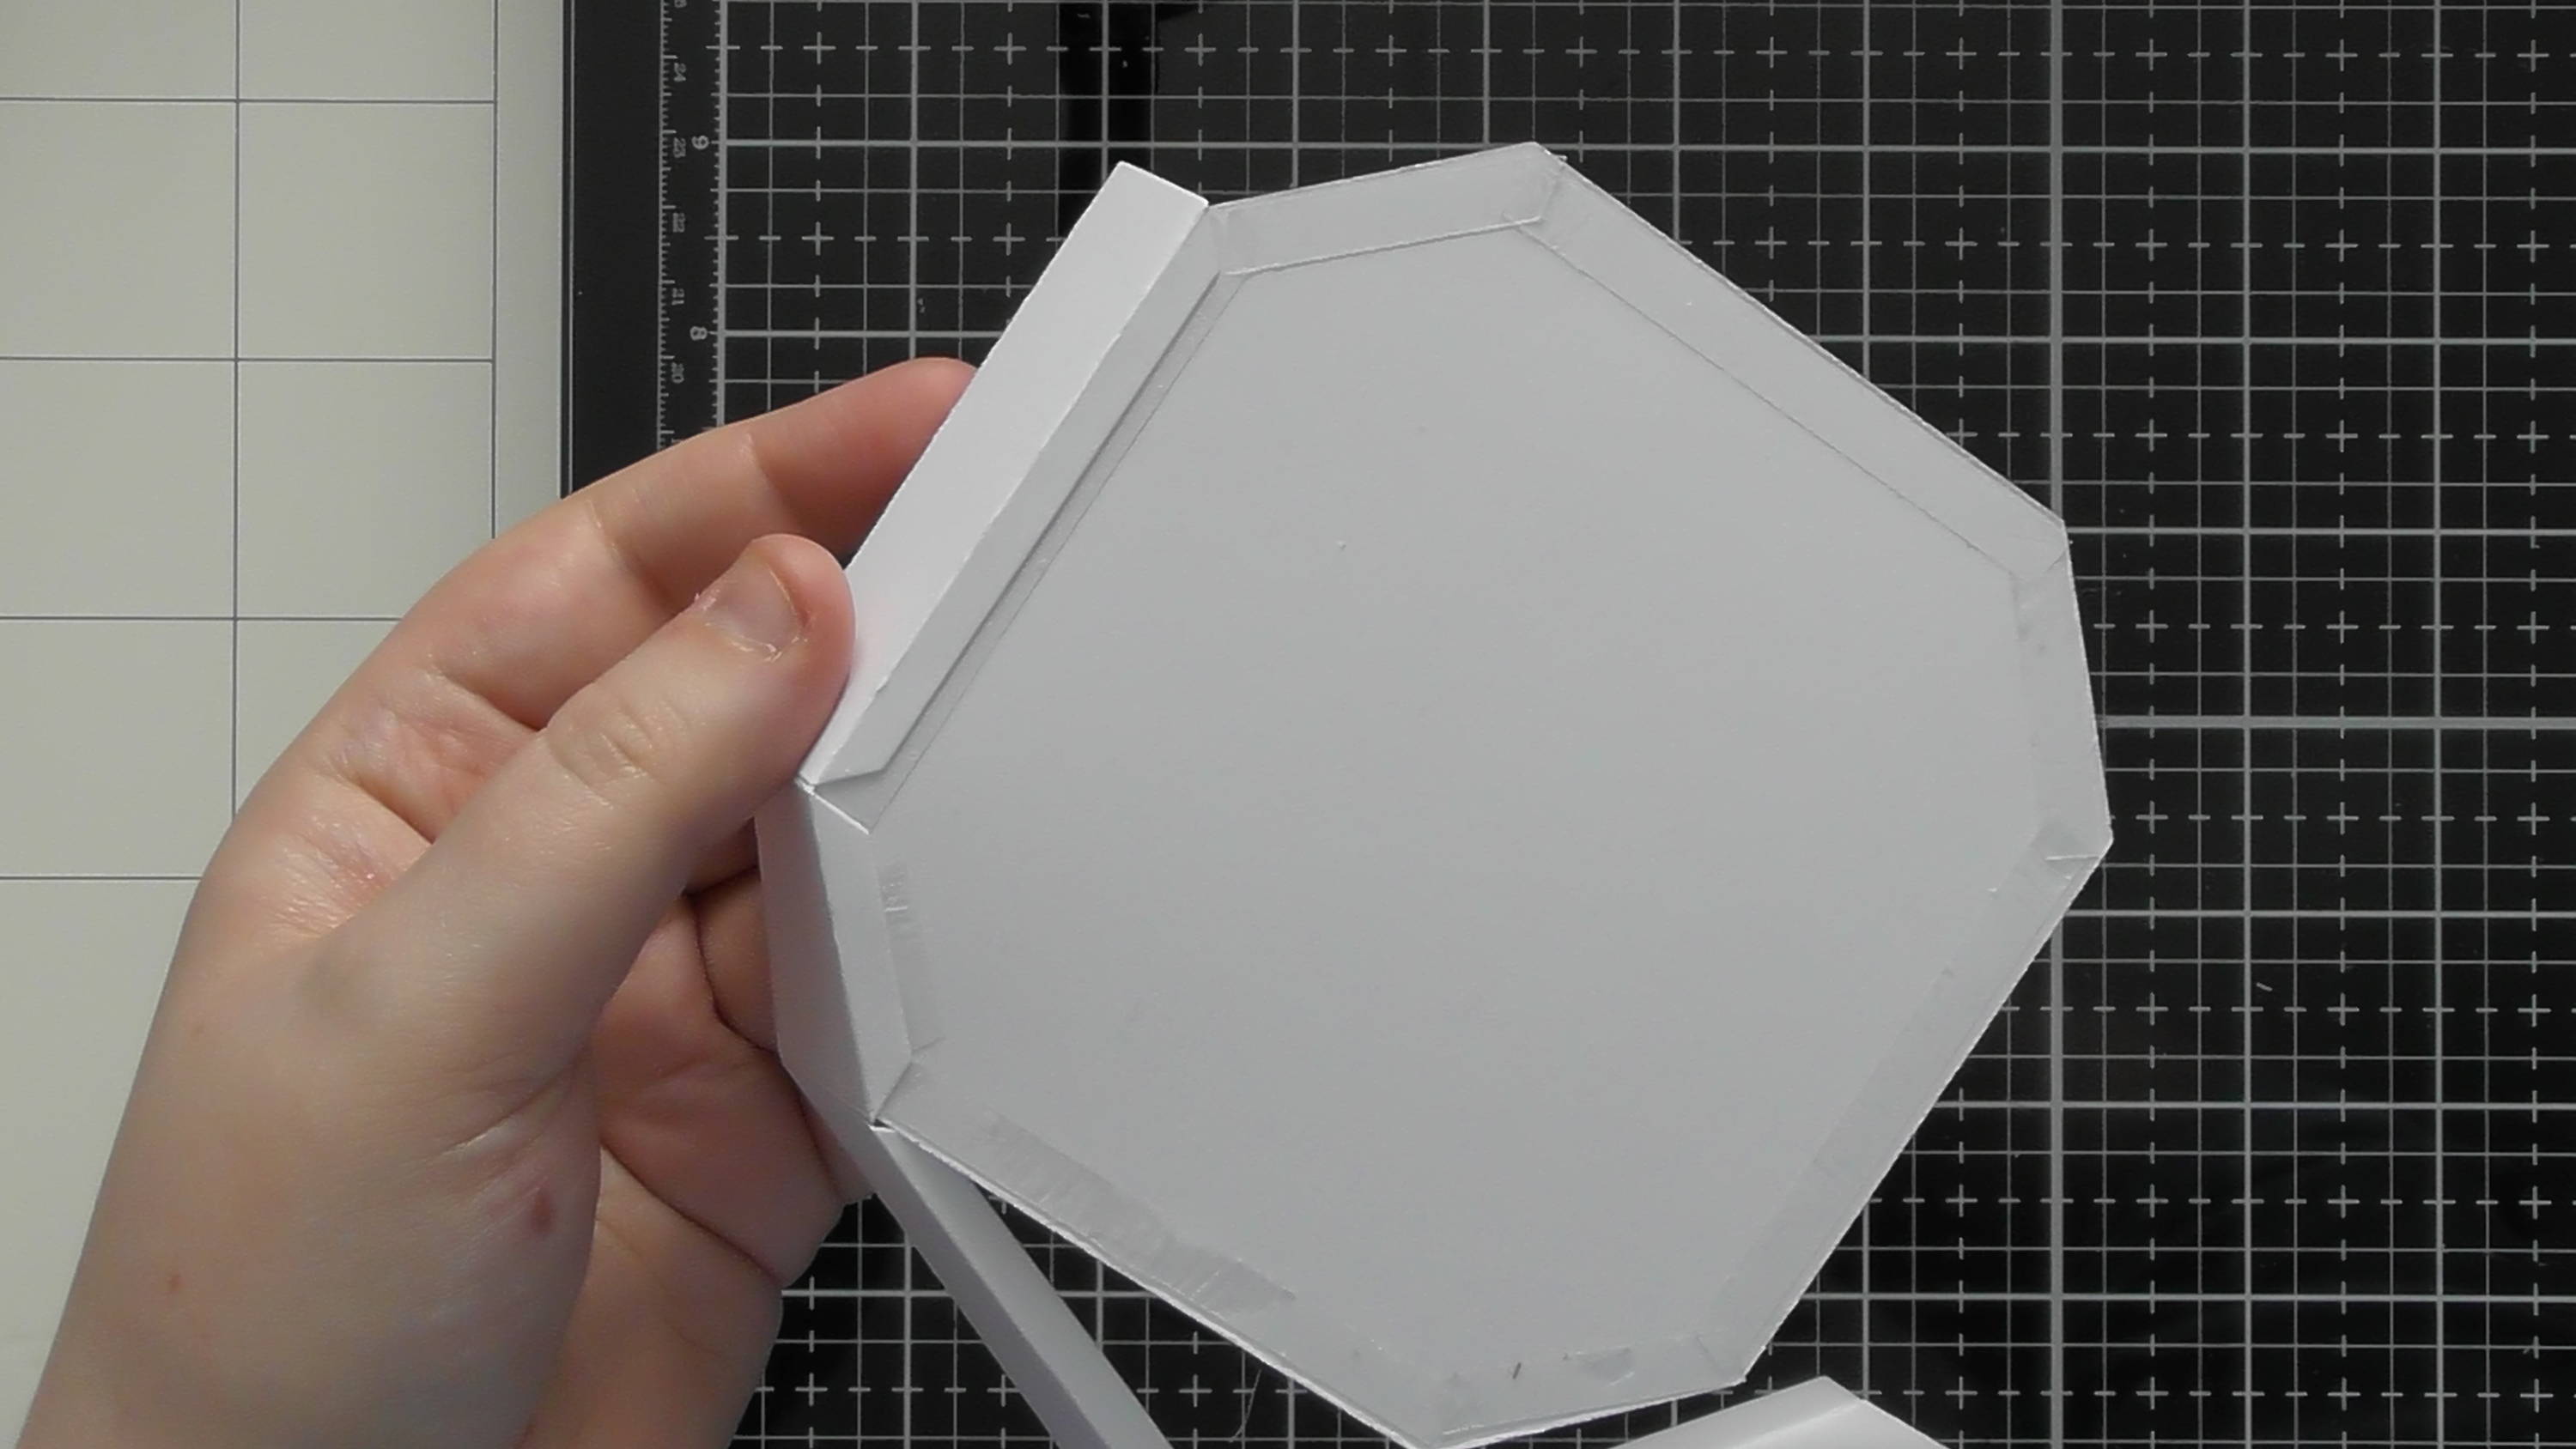
Step 17
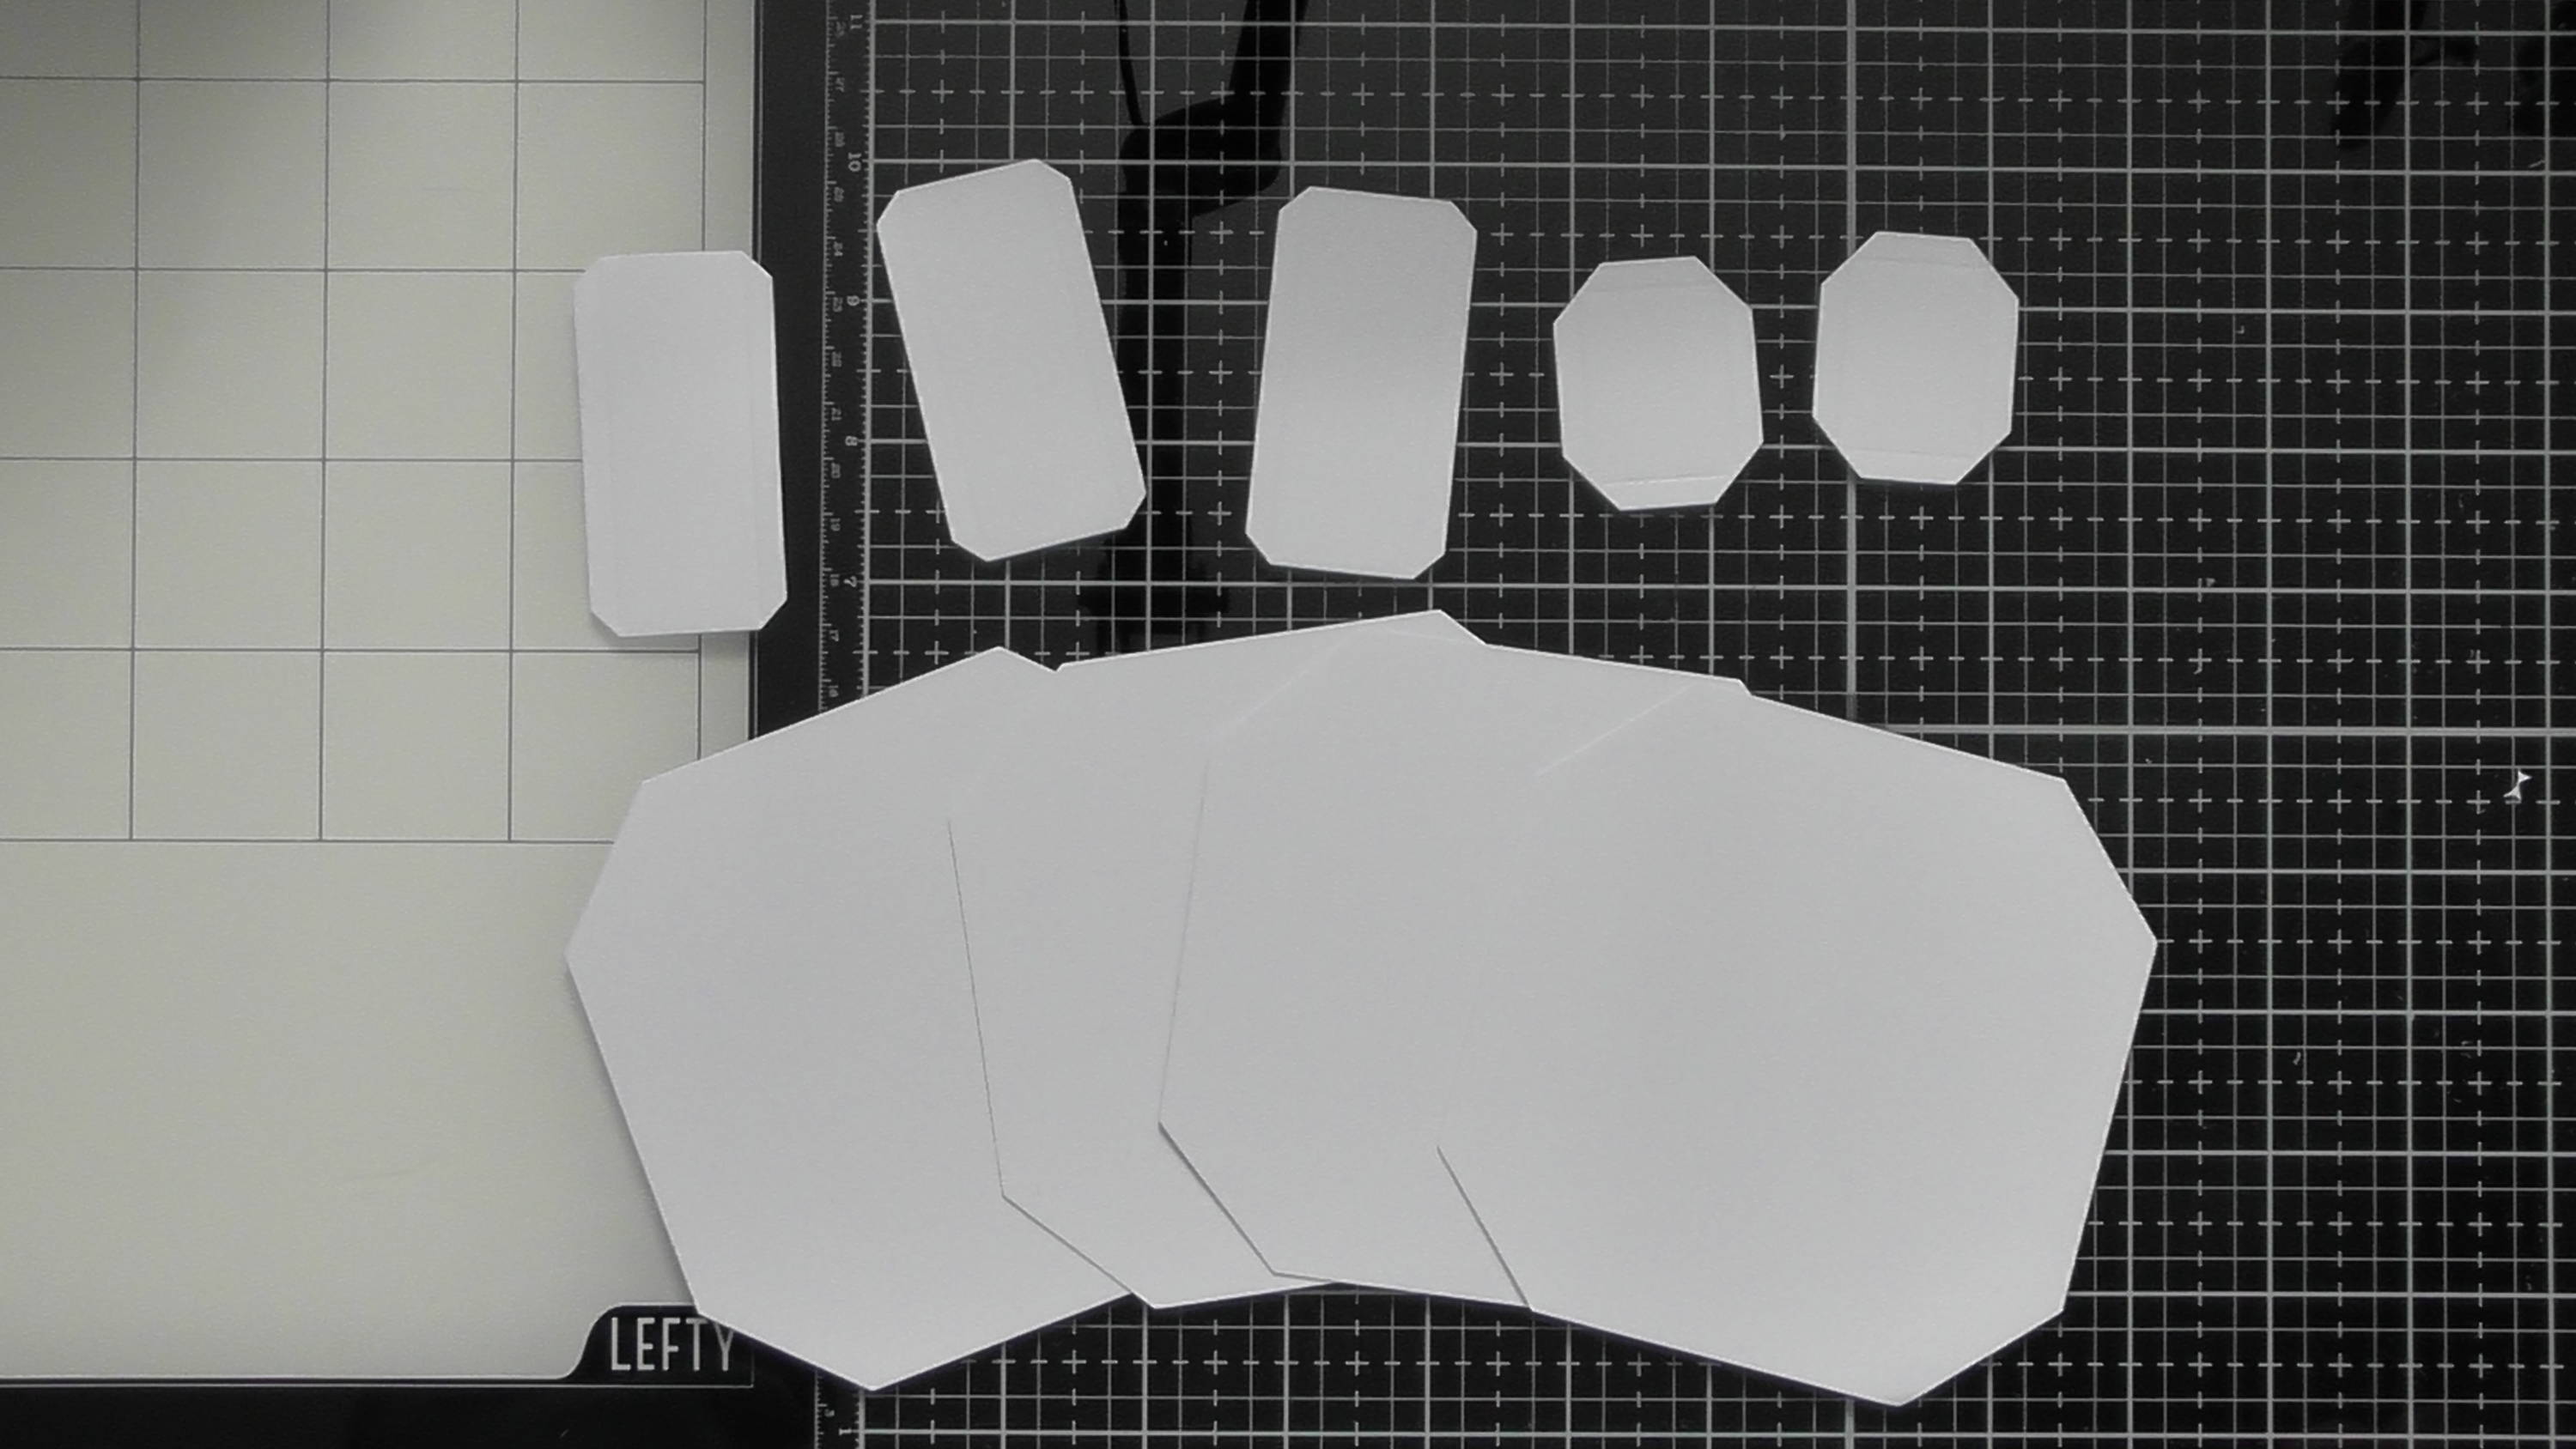
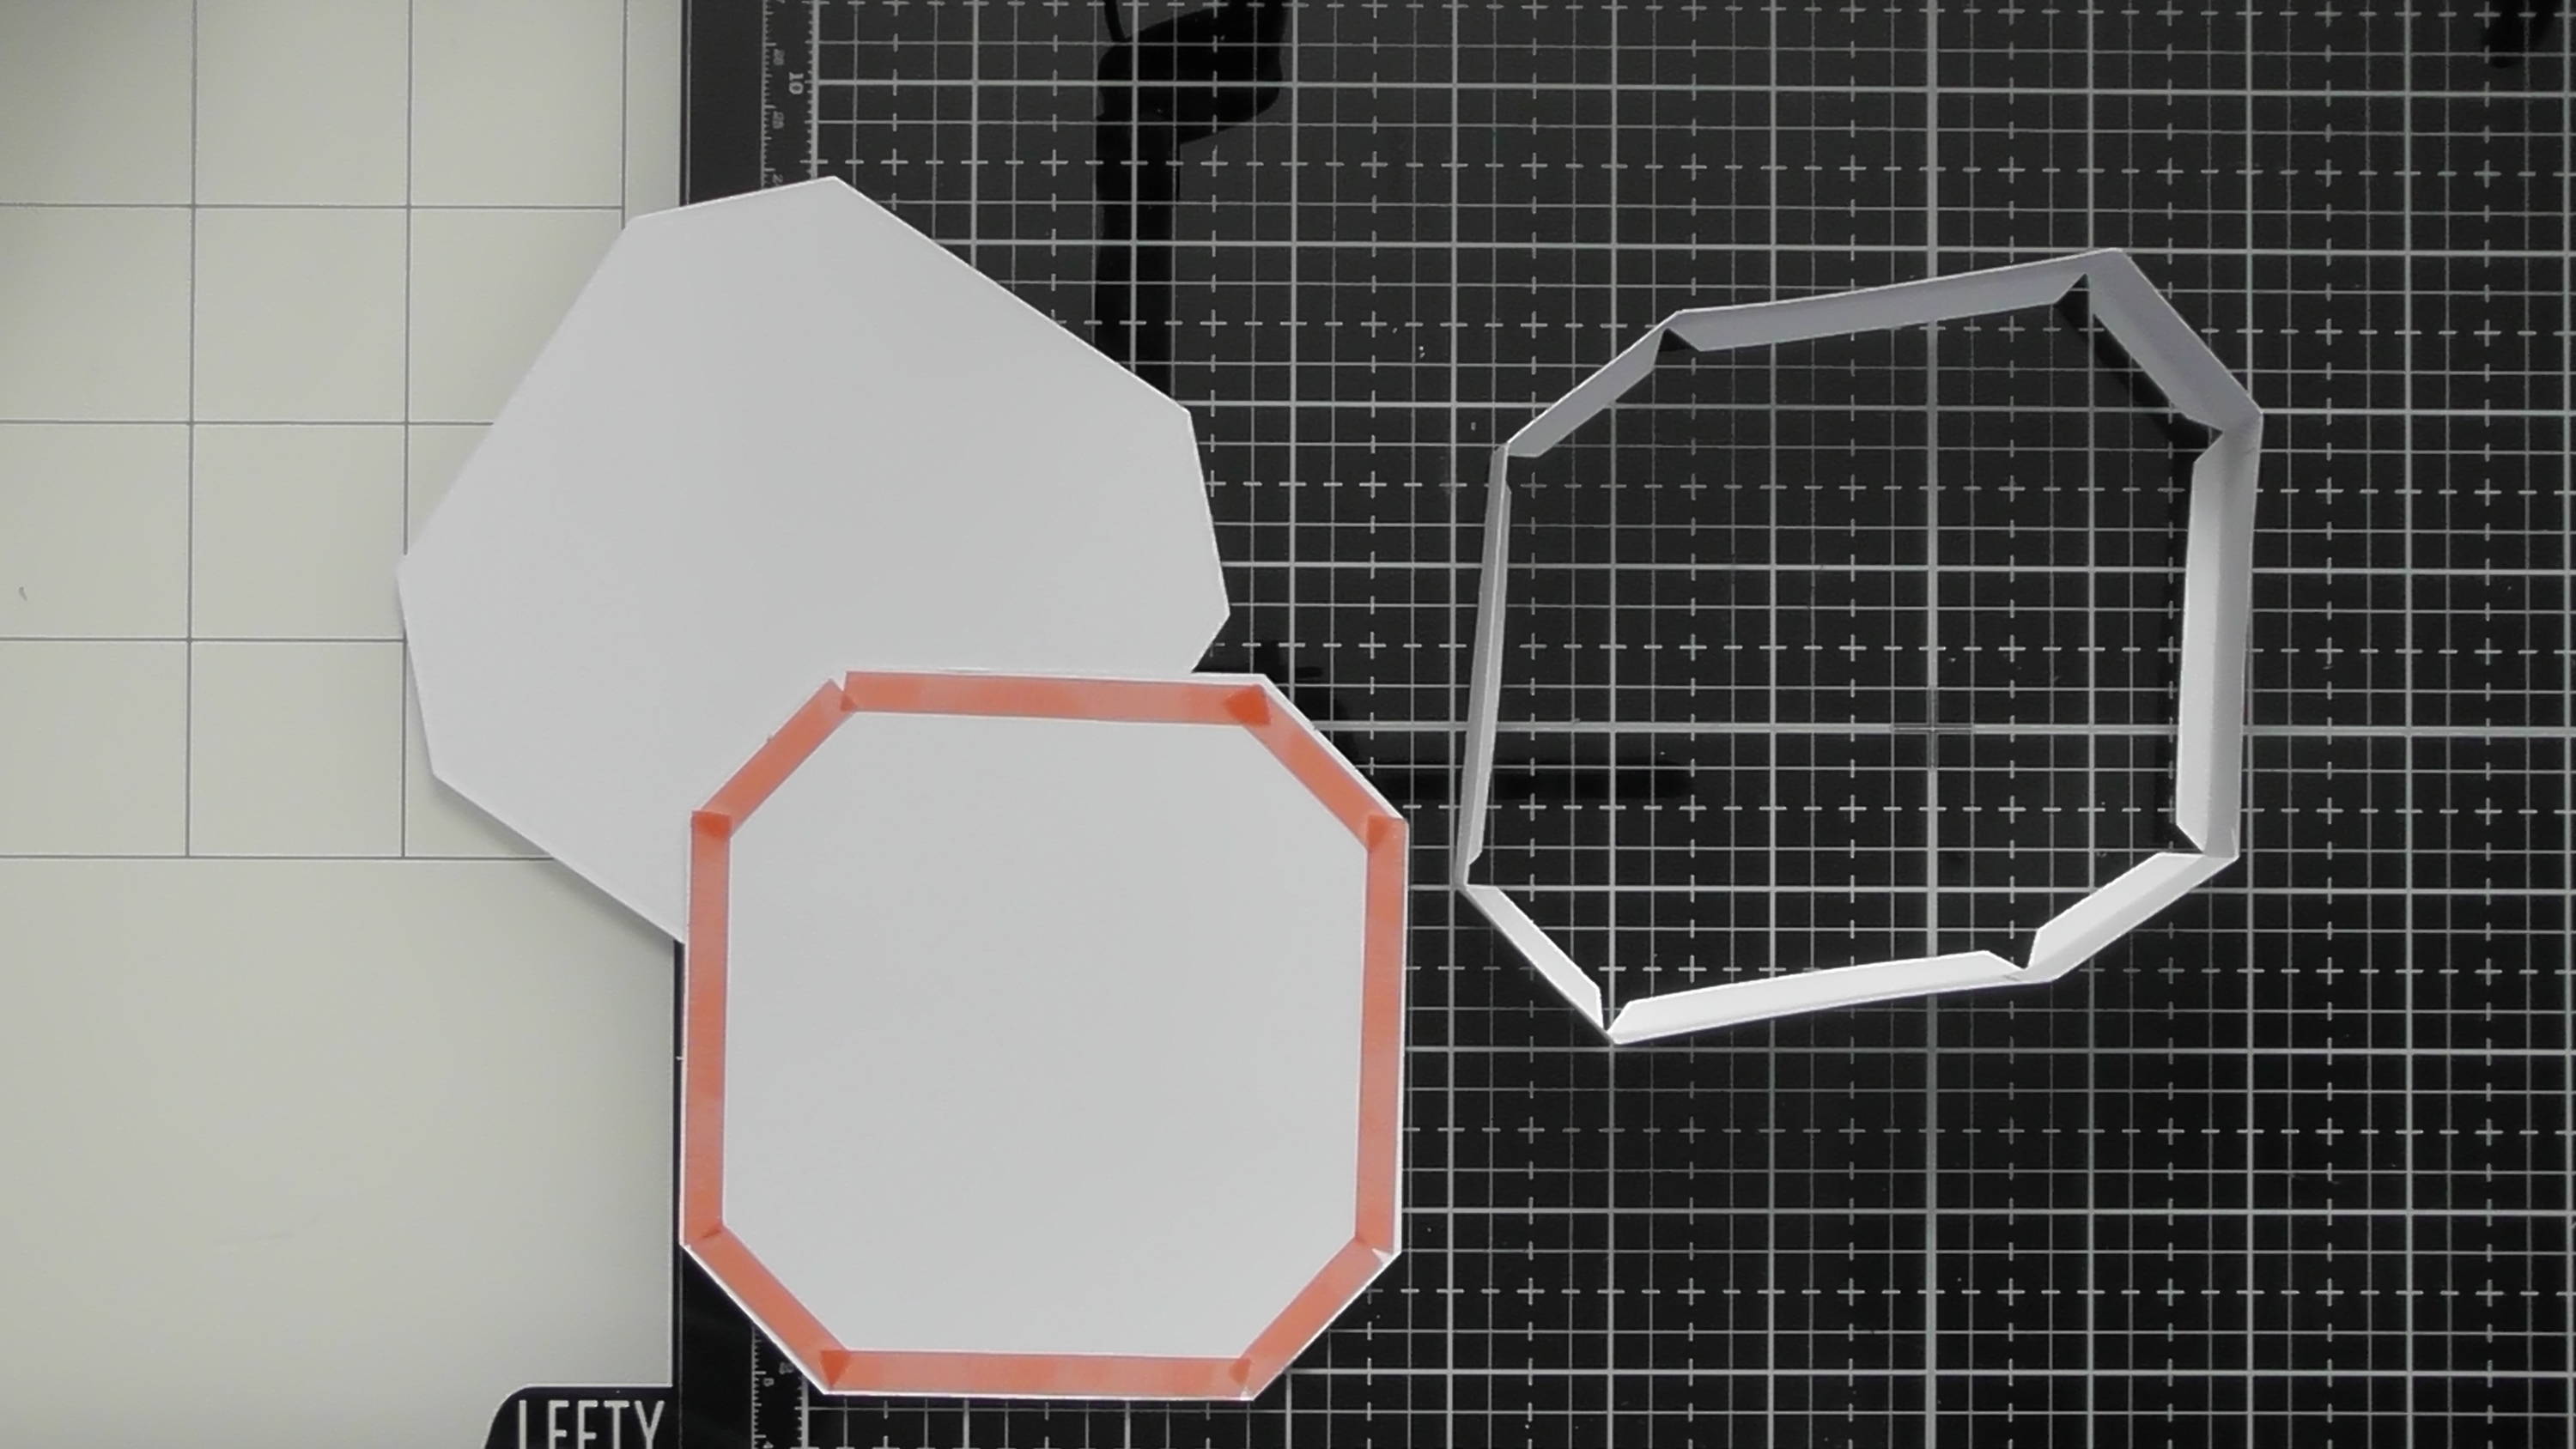
For the base, take 4 of the largest octagon die-cuts, three long side panels (with the glue tabs top and bottom) and 2 short side panels (again the ones with the glue tabs top and bottom)
Step 18

Adhere the sides together alternating long and short panels, then add red liner tape around the perimeter of the octagon.
Step 19
Adhere the sides to the base as shown.
Step 20
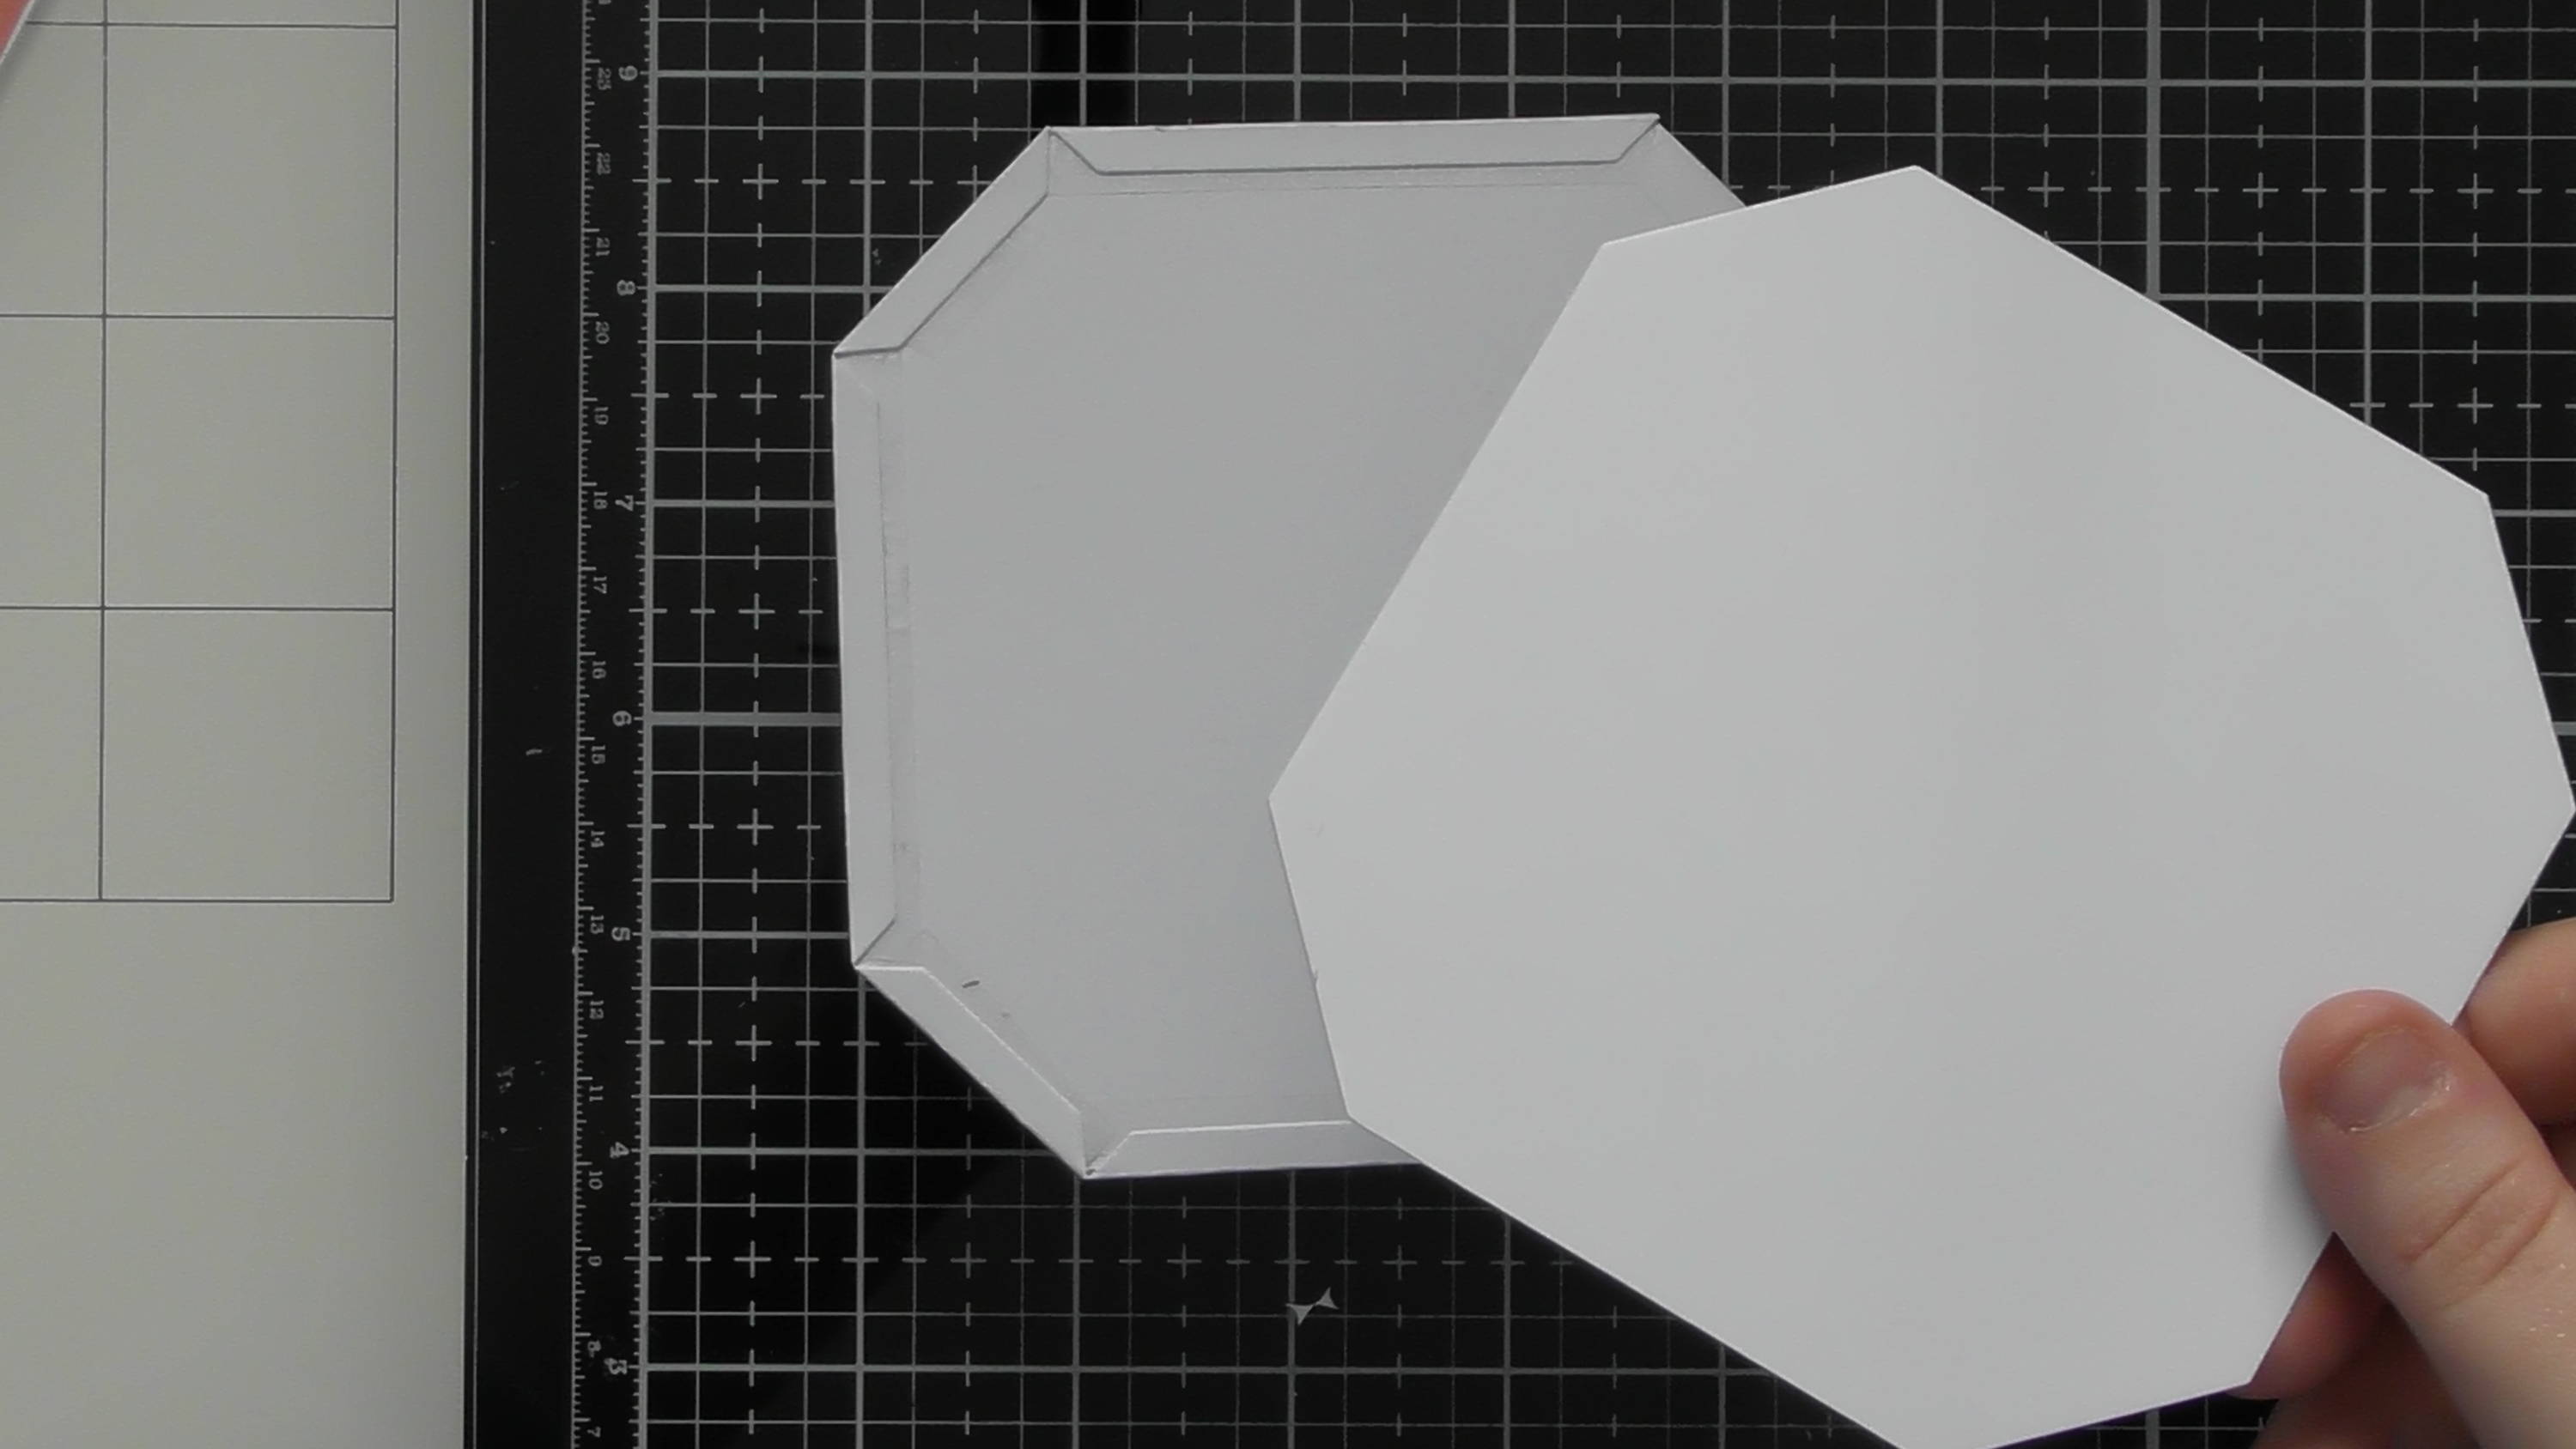
Then add a second one over the top to sandwich in those glue tabs. Repeat this with to the top of the platform too.
Step 21
You’ll now have your drawer outer piece, and we can add our feet.
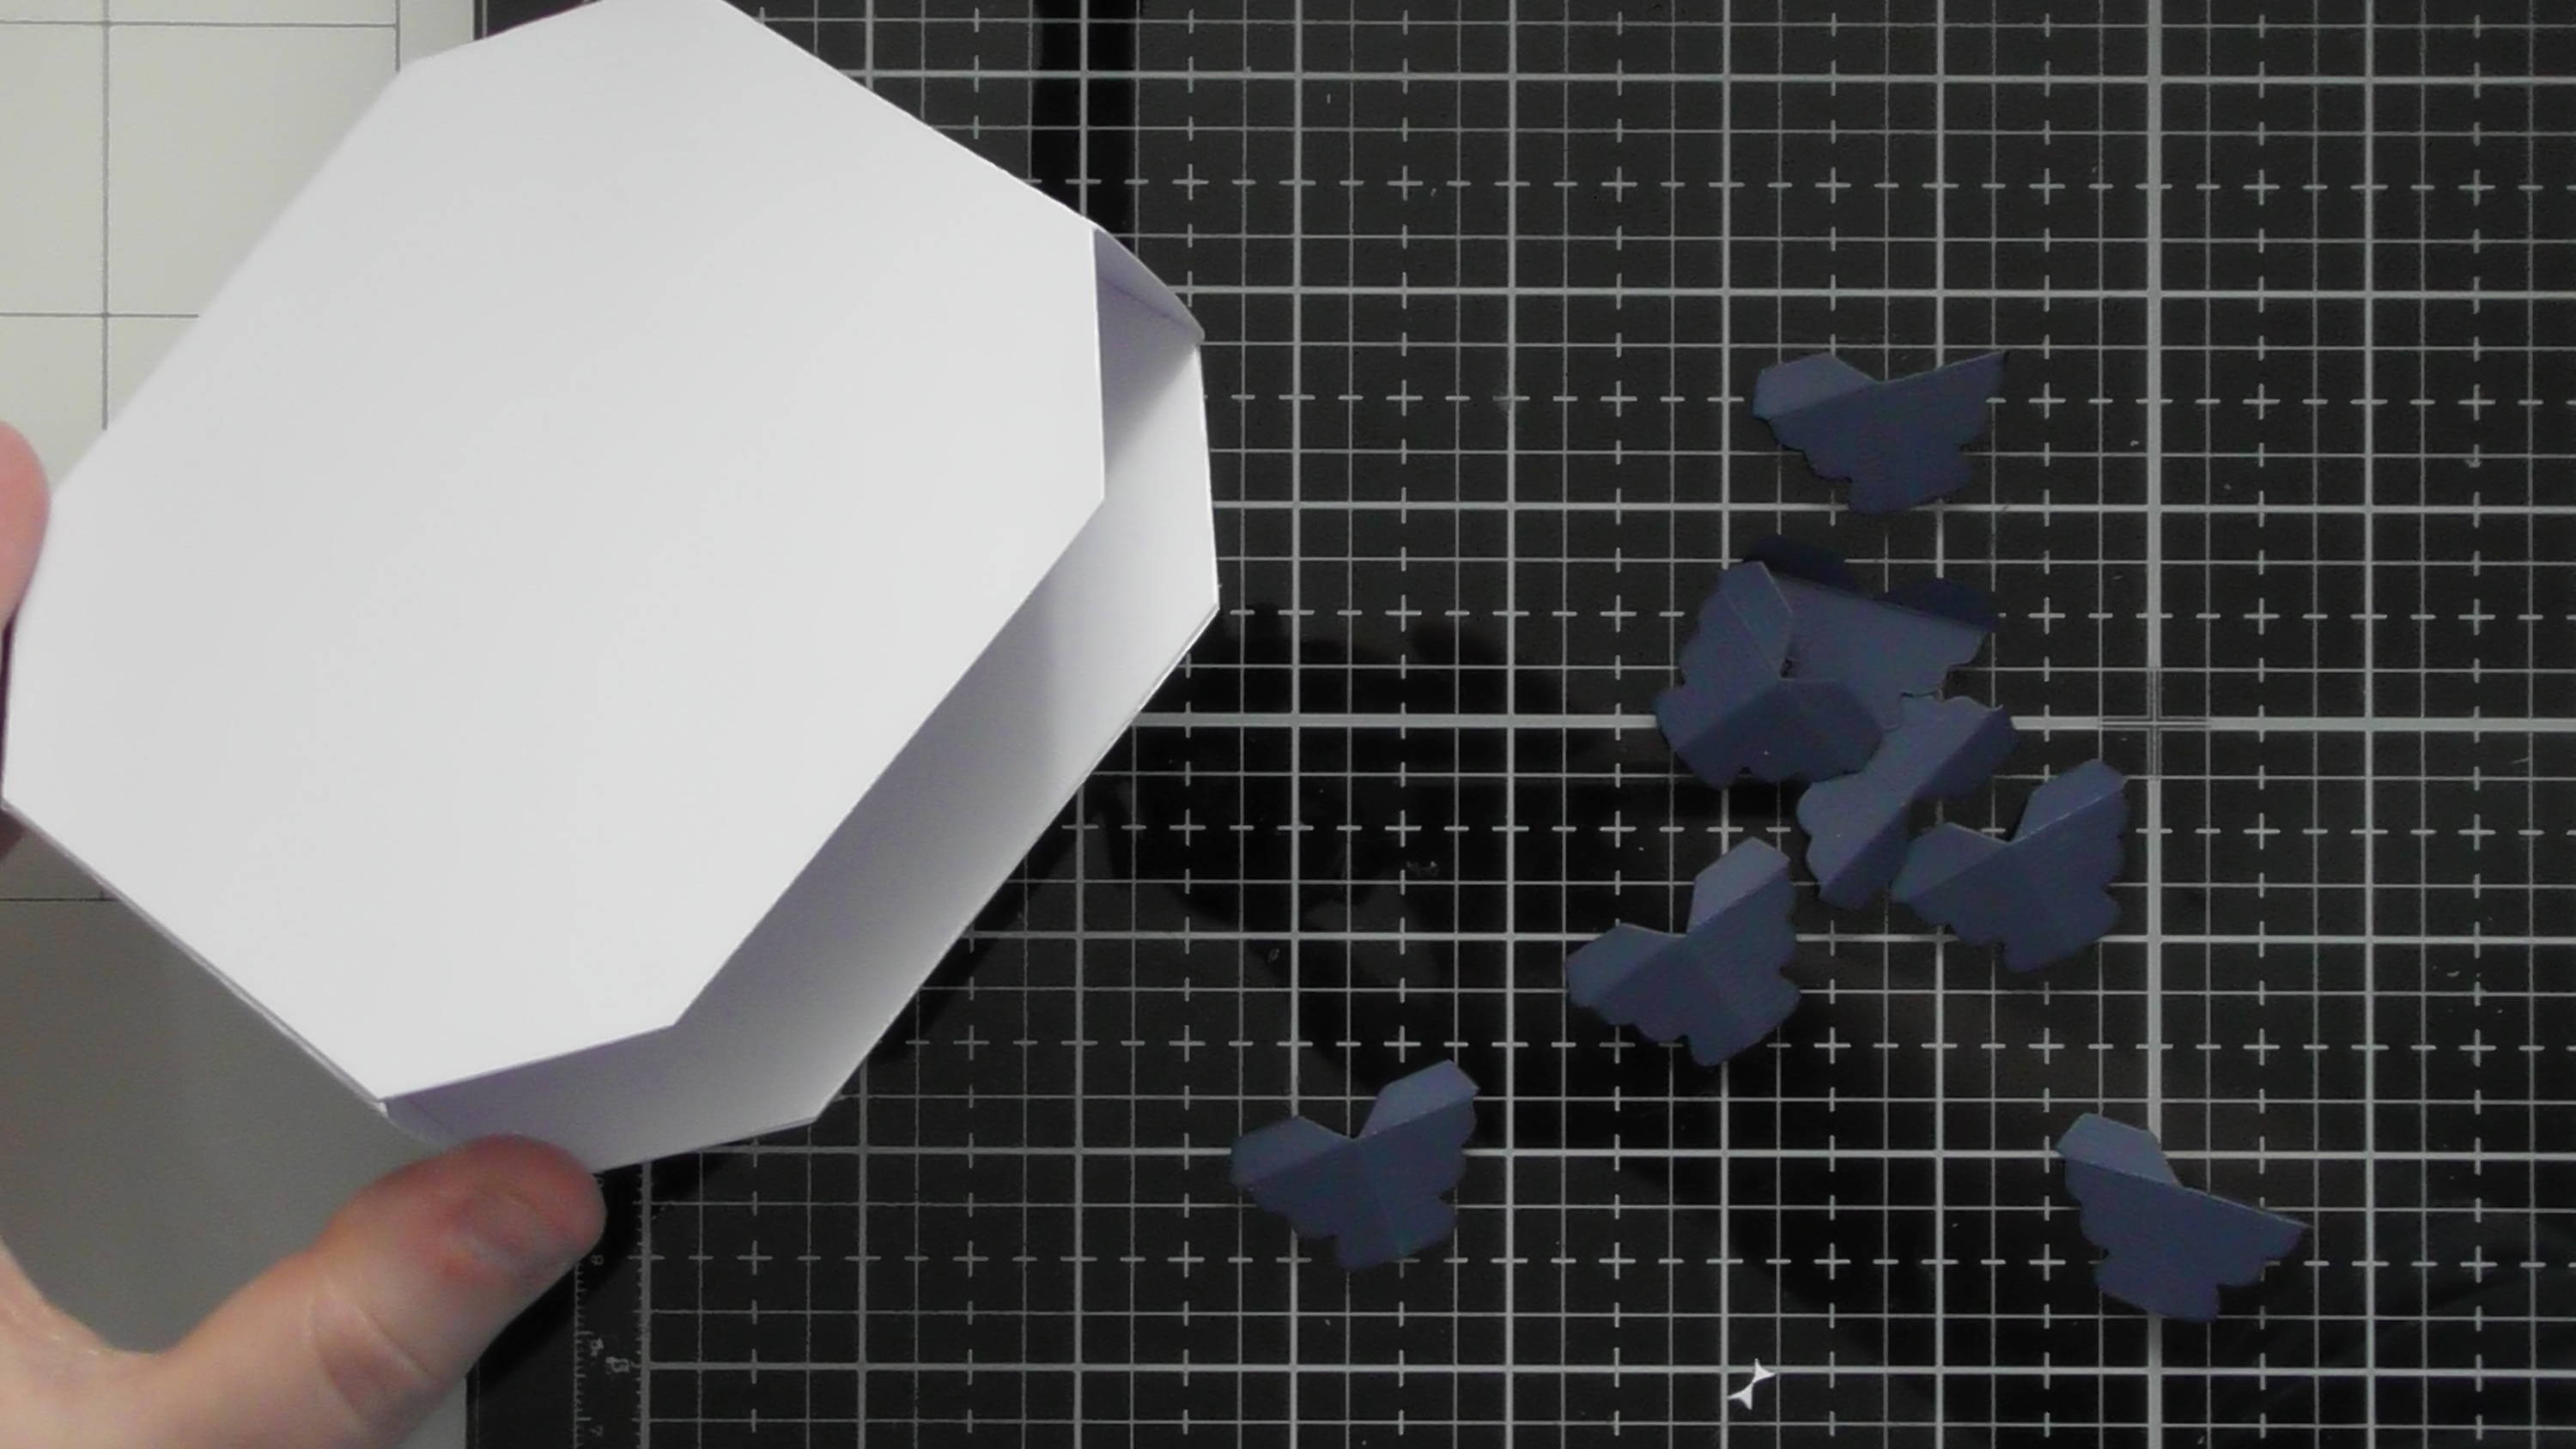
Step 22
Add your feet to all 8 corners, and to really secure them/hide the glue tabs, add an extra smaller octagon to the base.
Step 23
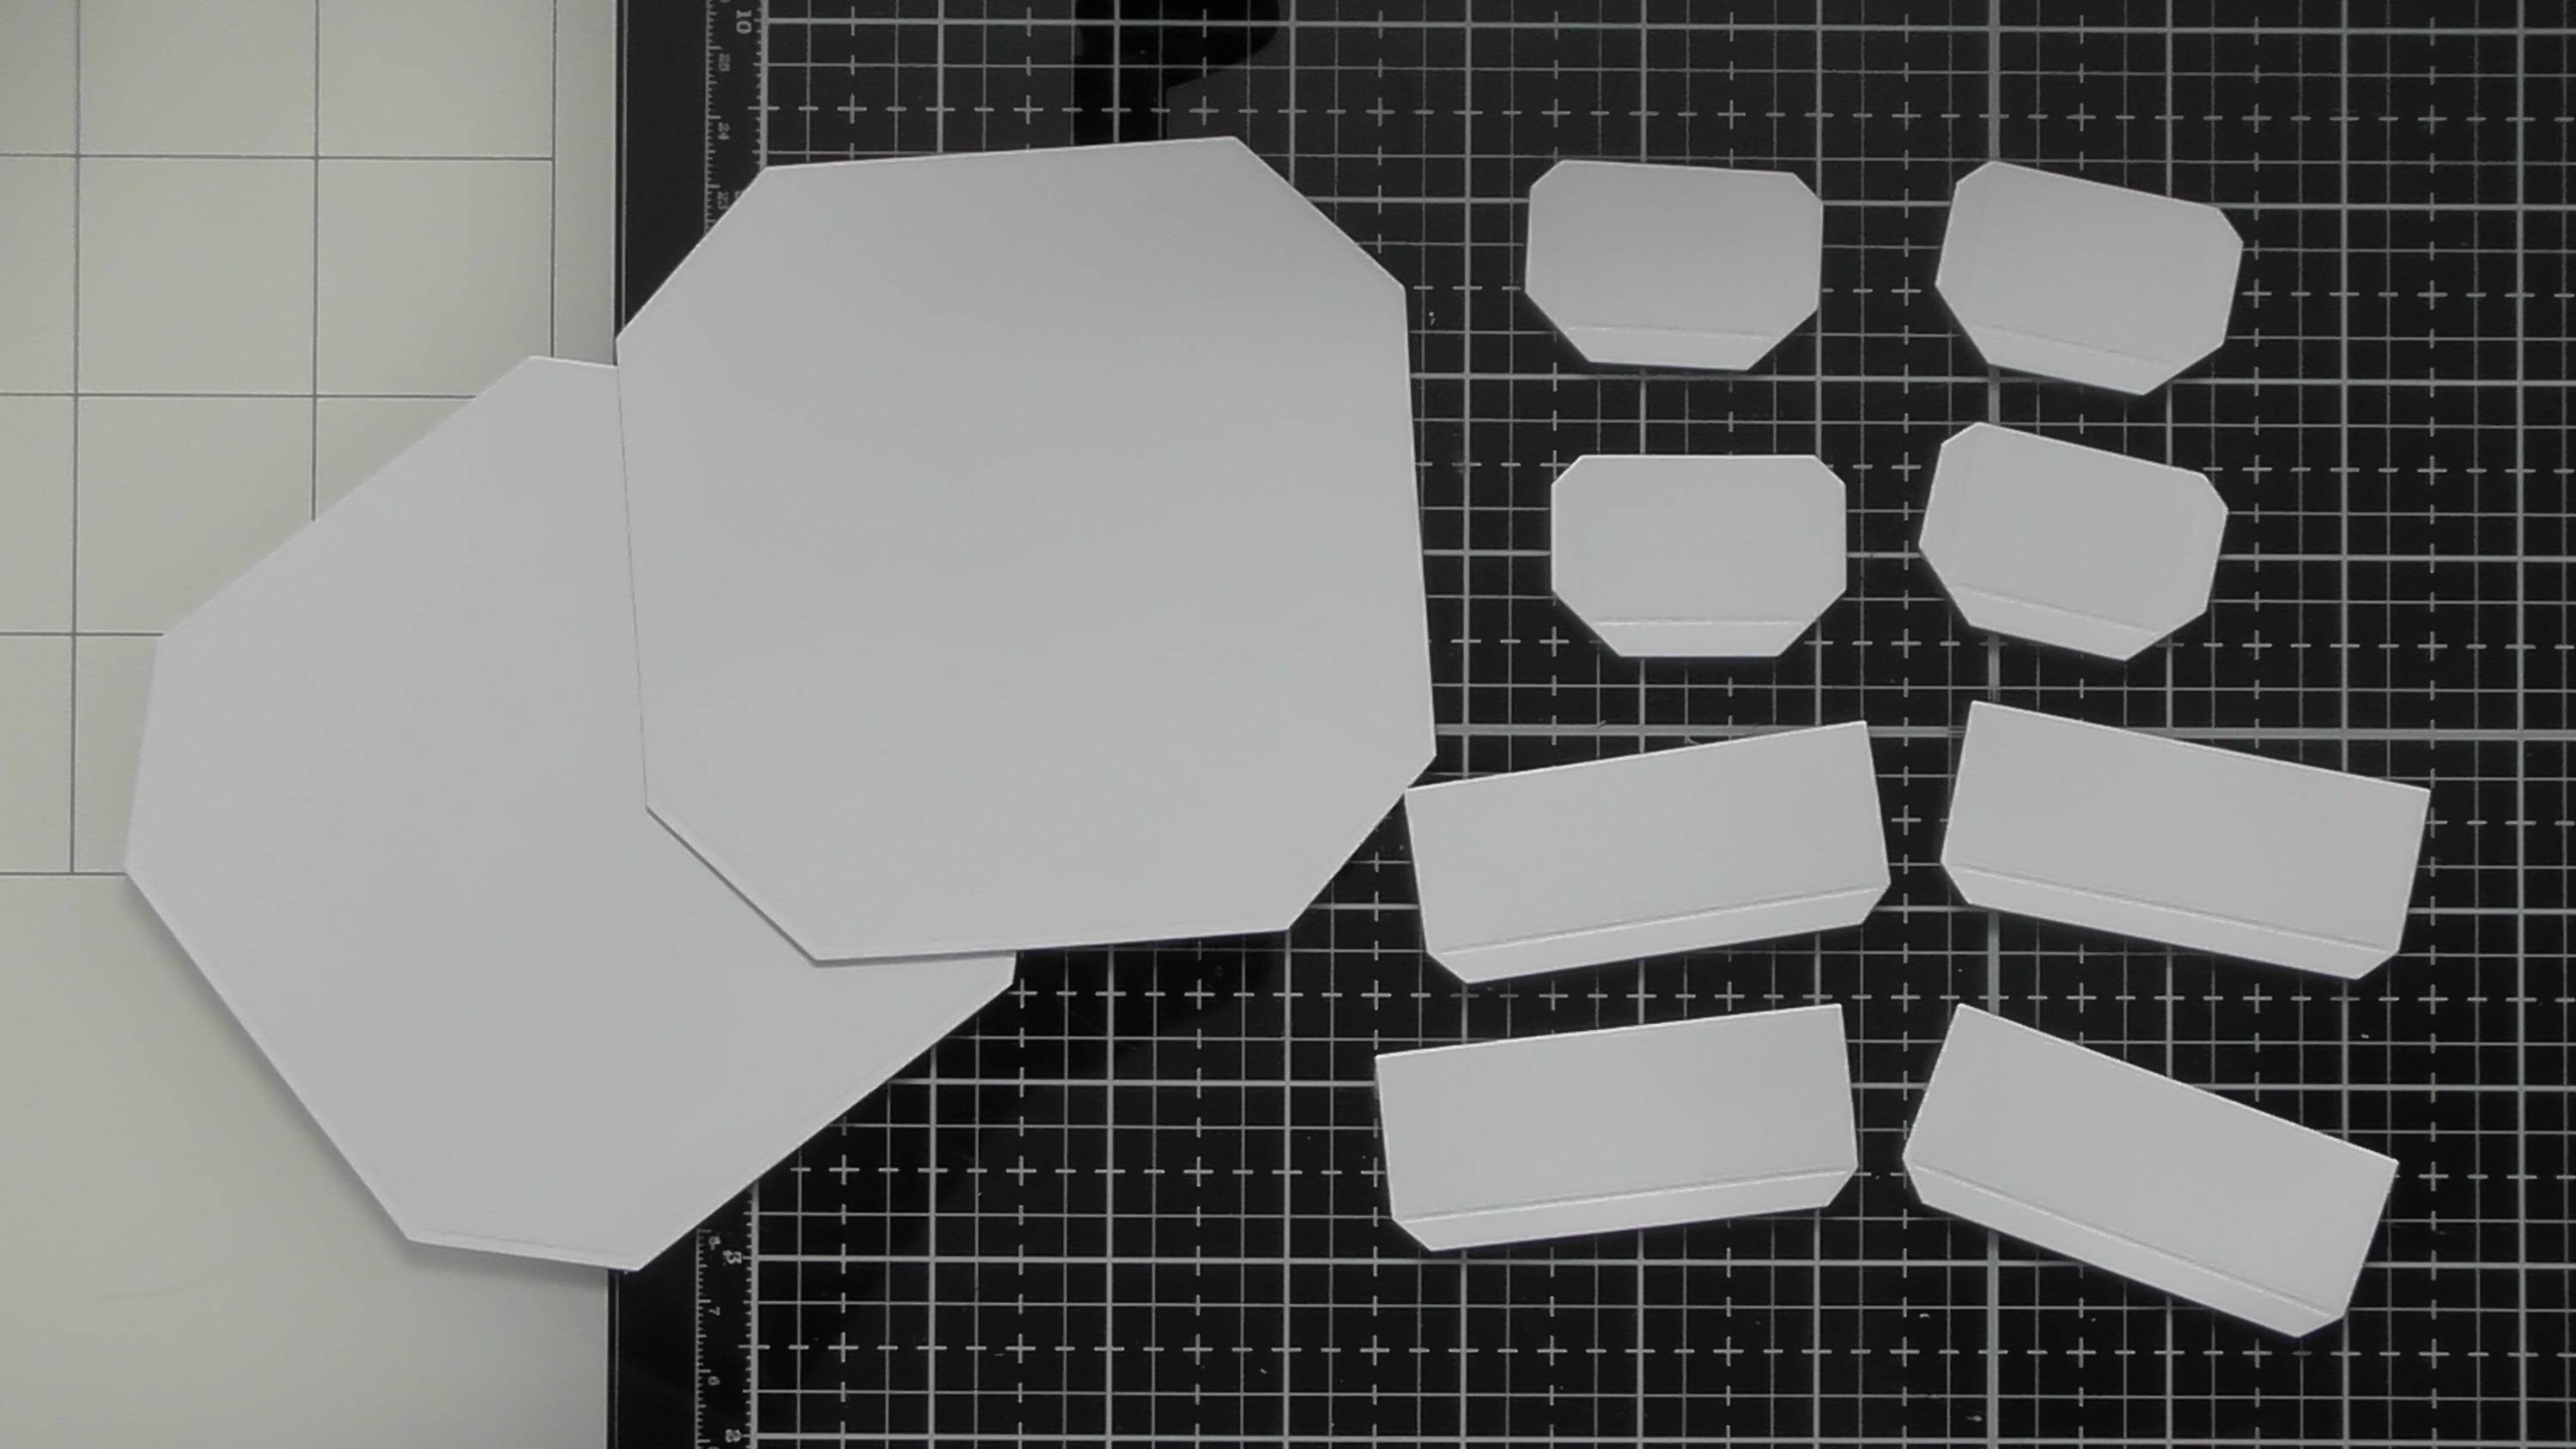
For the drawer itself, die-cut 2 of the smaller octagons, and 4 long sides and 4 short sides (these are the ones with the tabs on only one side)
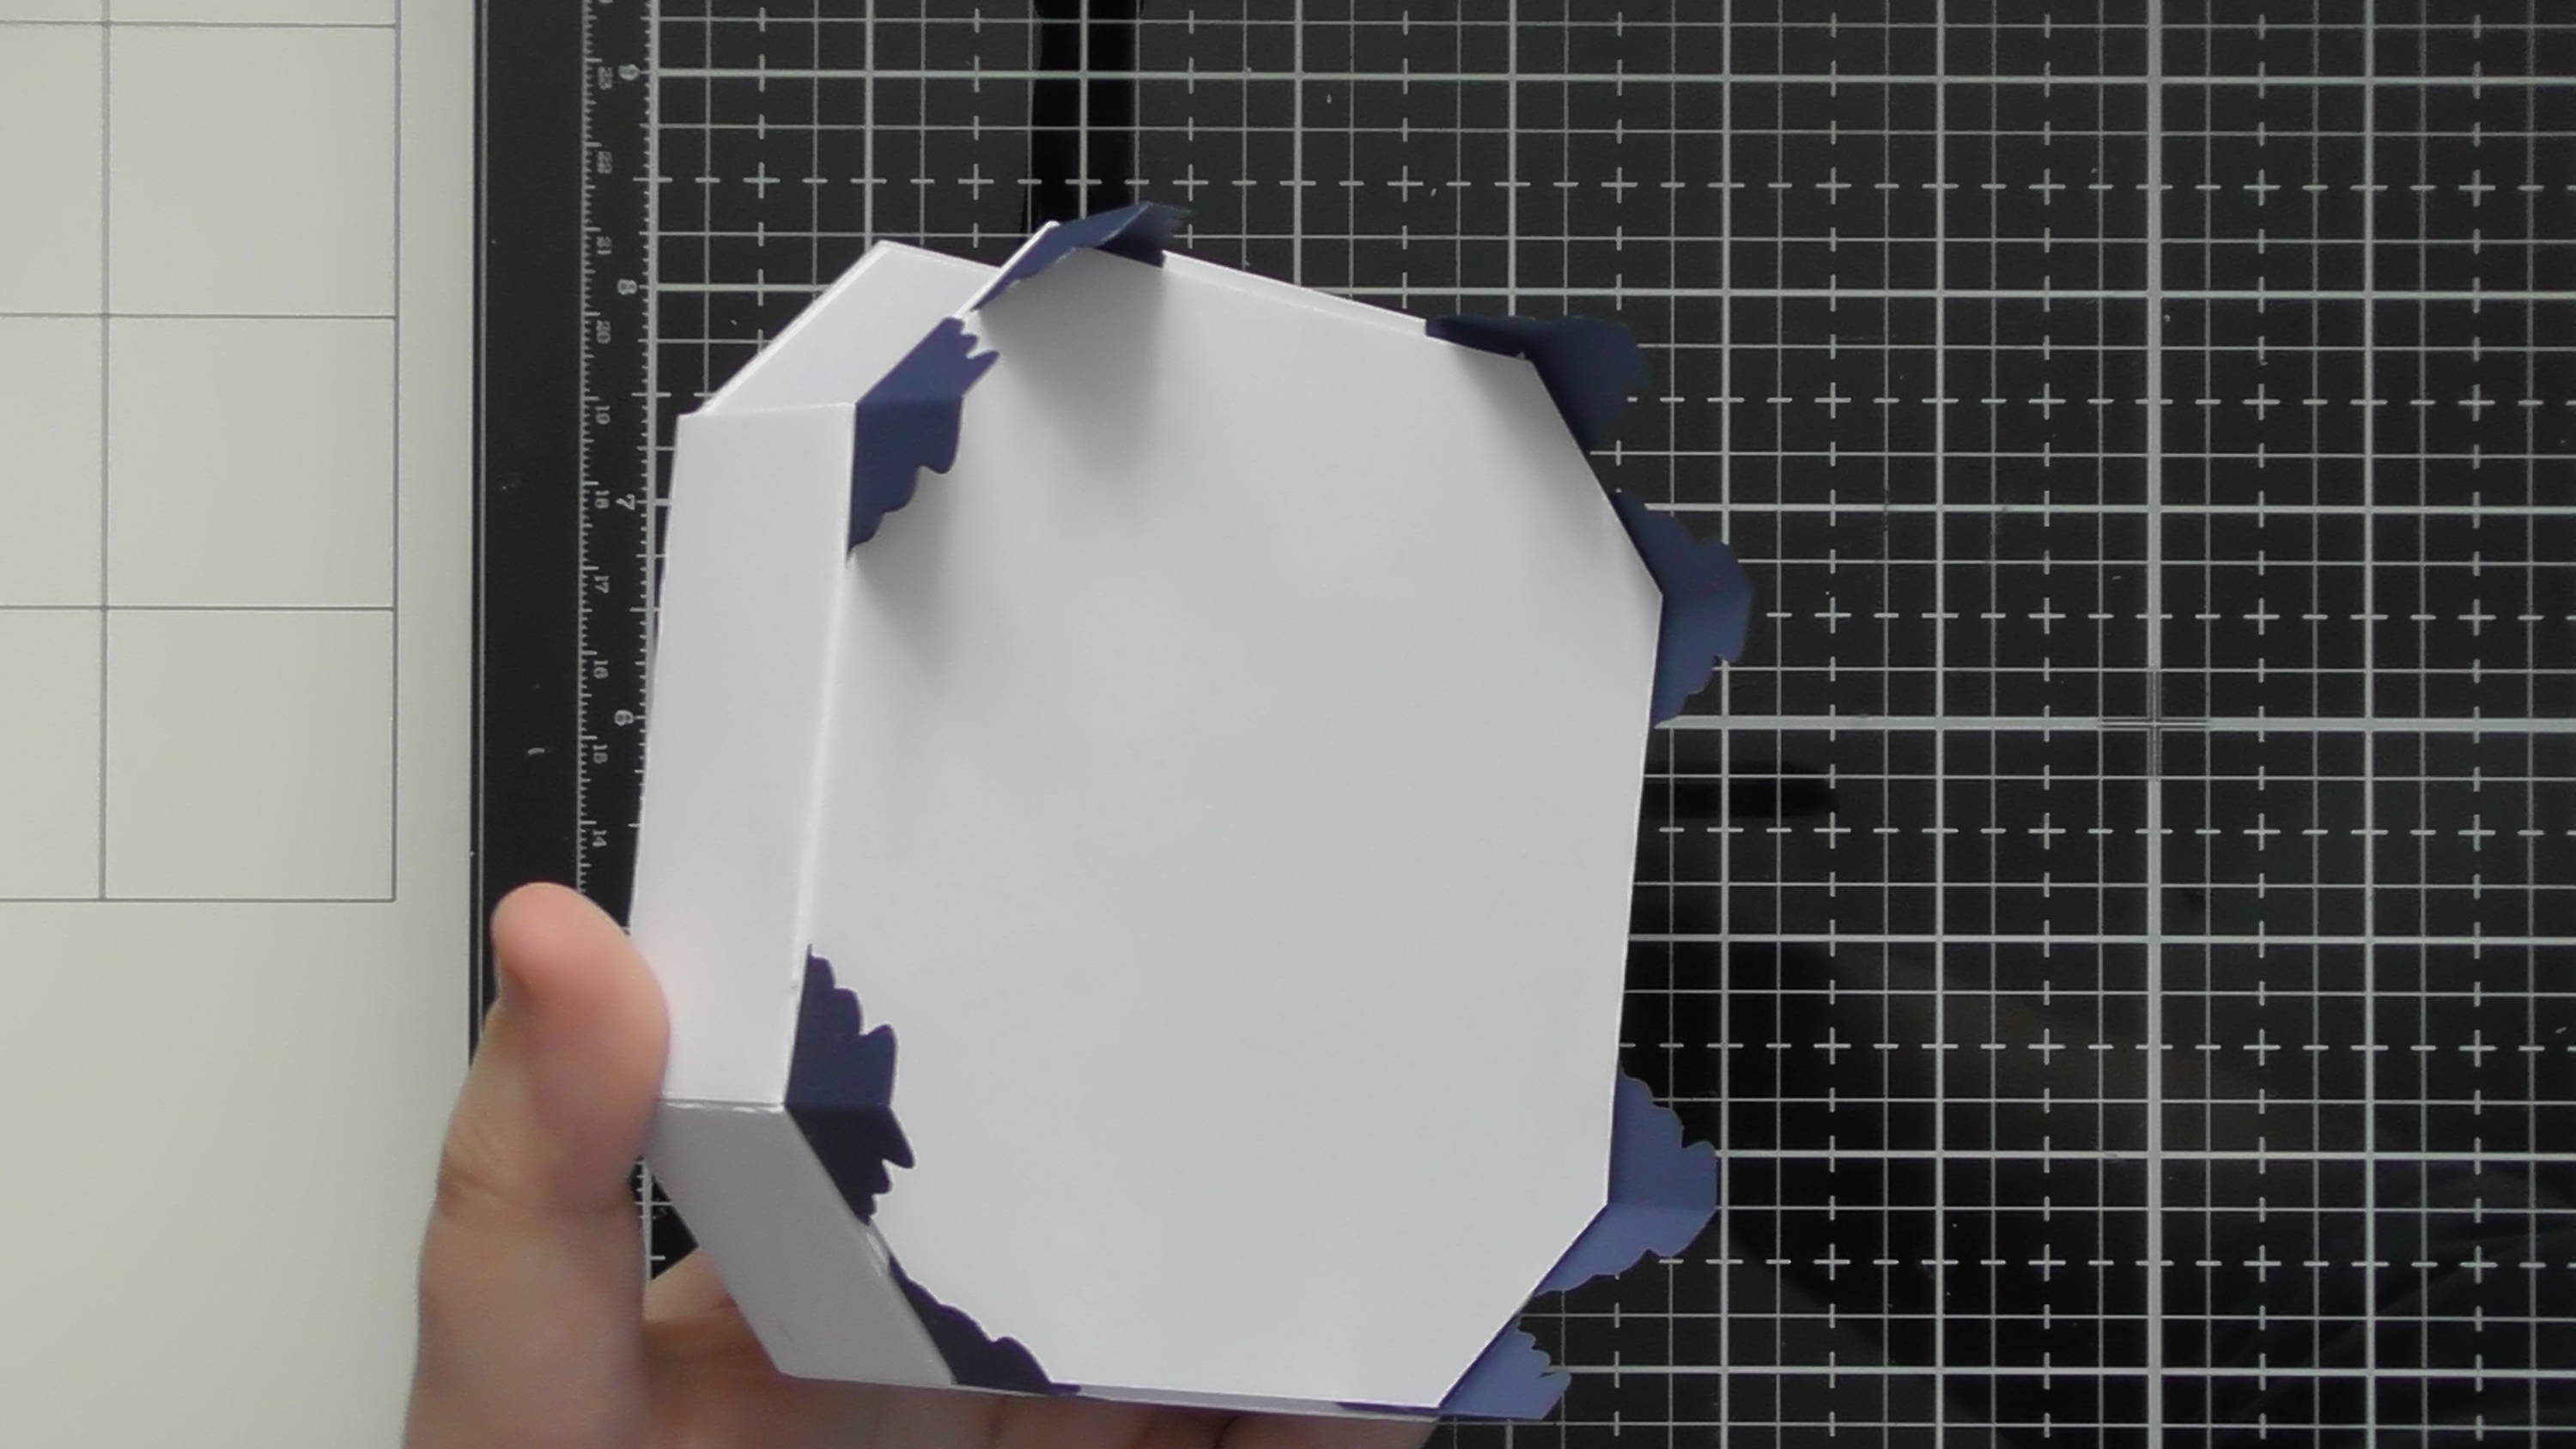
Step 24
Adhere all the sides together alternating long and short to give a ring as shown, then add red liner tape to the perimeter of one of the octagons.
Step 25
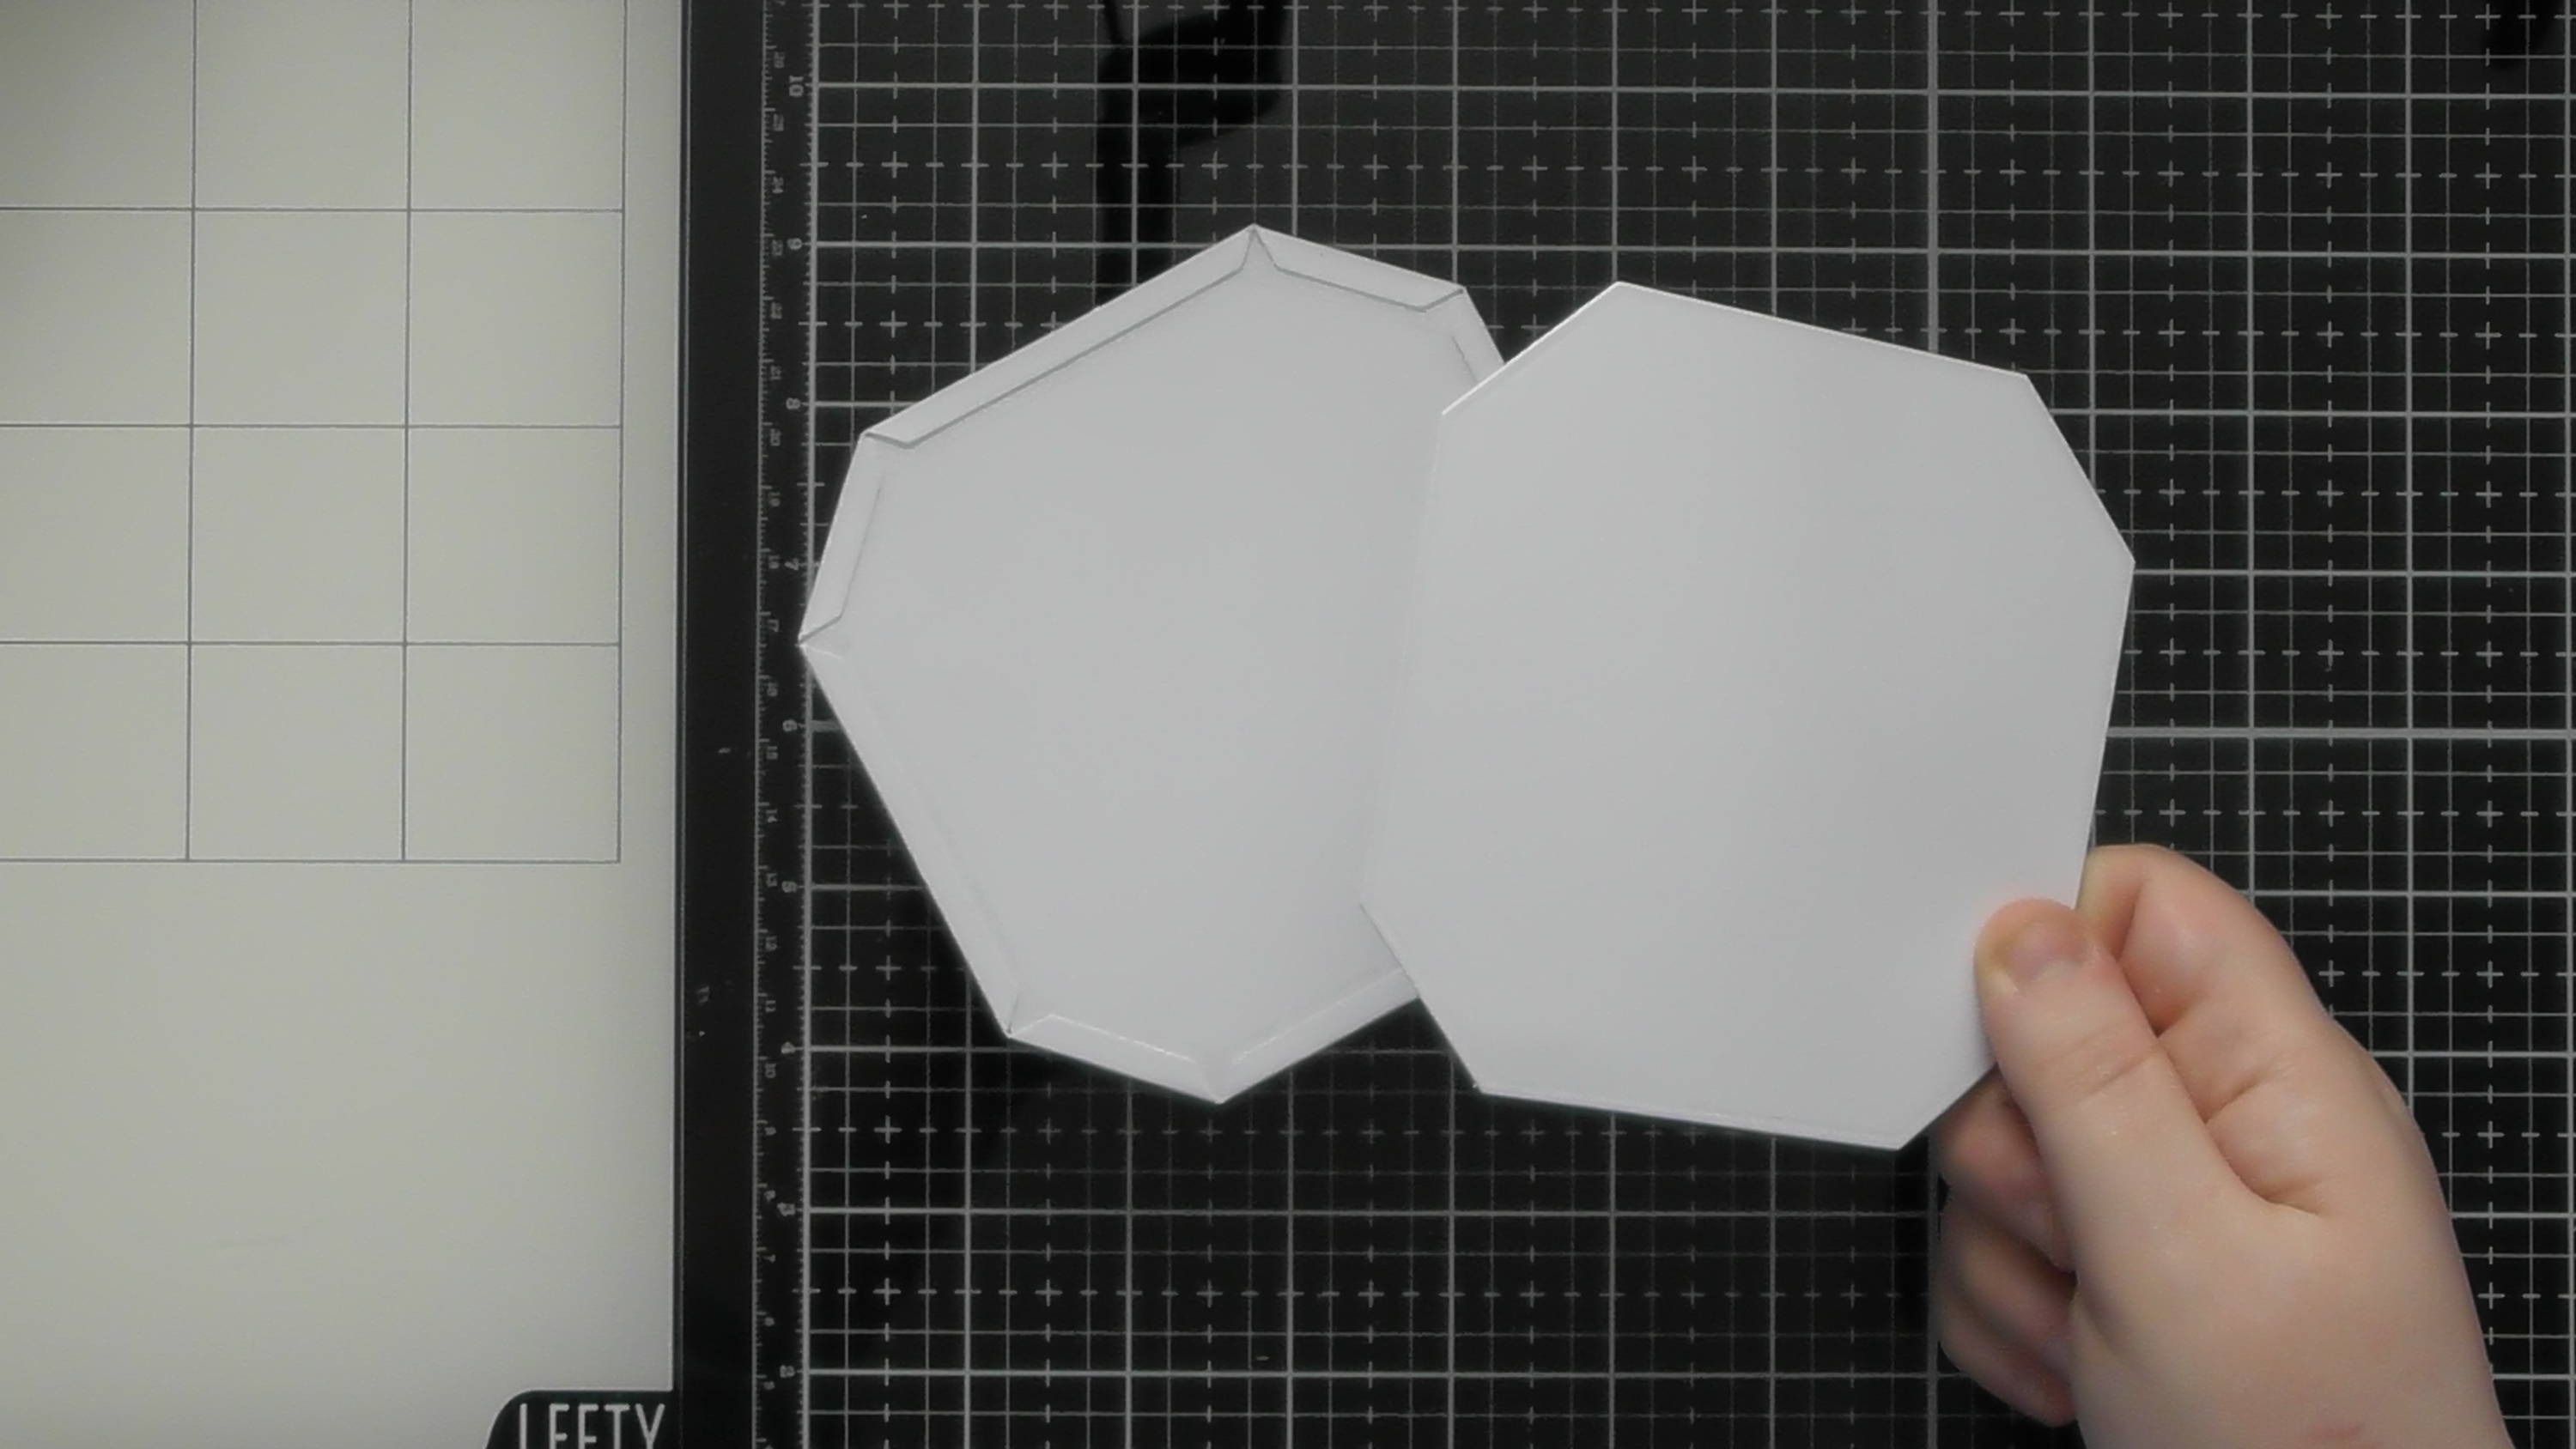
Add the octagon inside the ring and remove the red liner tape to attach the glue tabs. Then finish with the second small octagon die-cut.
Step 26
You’ll now have your drawer that fits inside the base, and you can make as many of these as you want, this could even be the whole project too.
Step 27
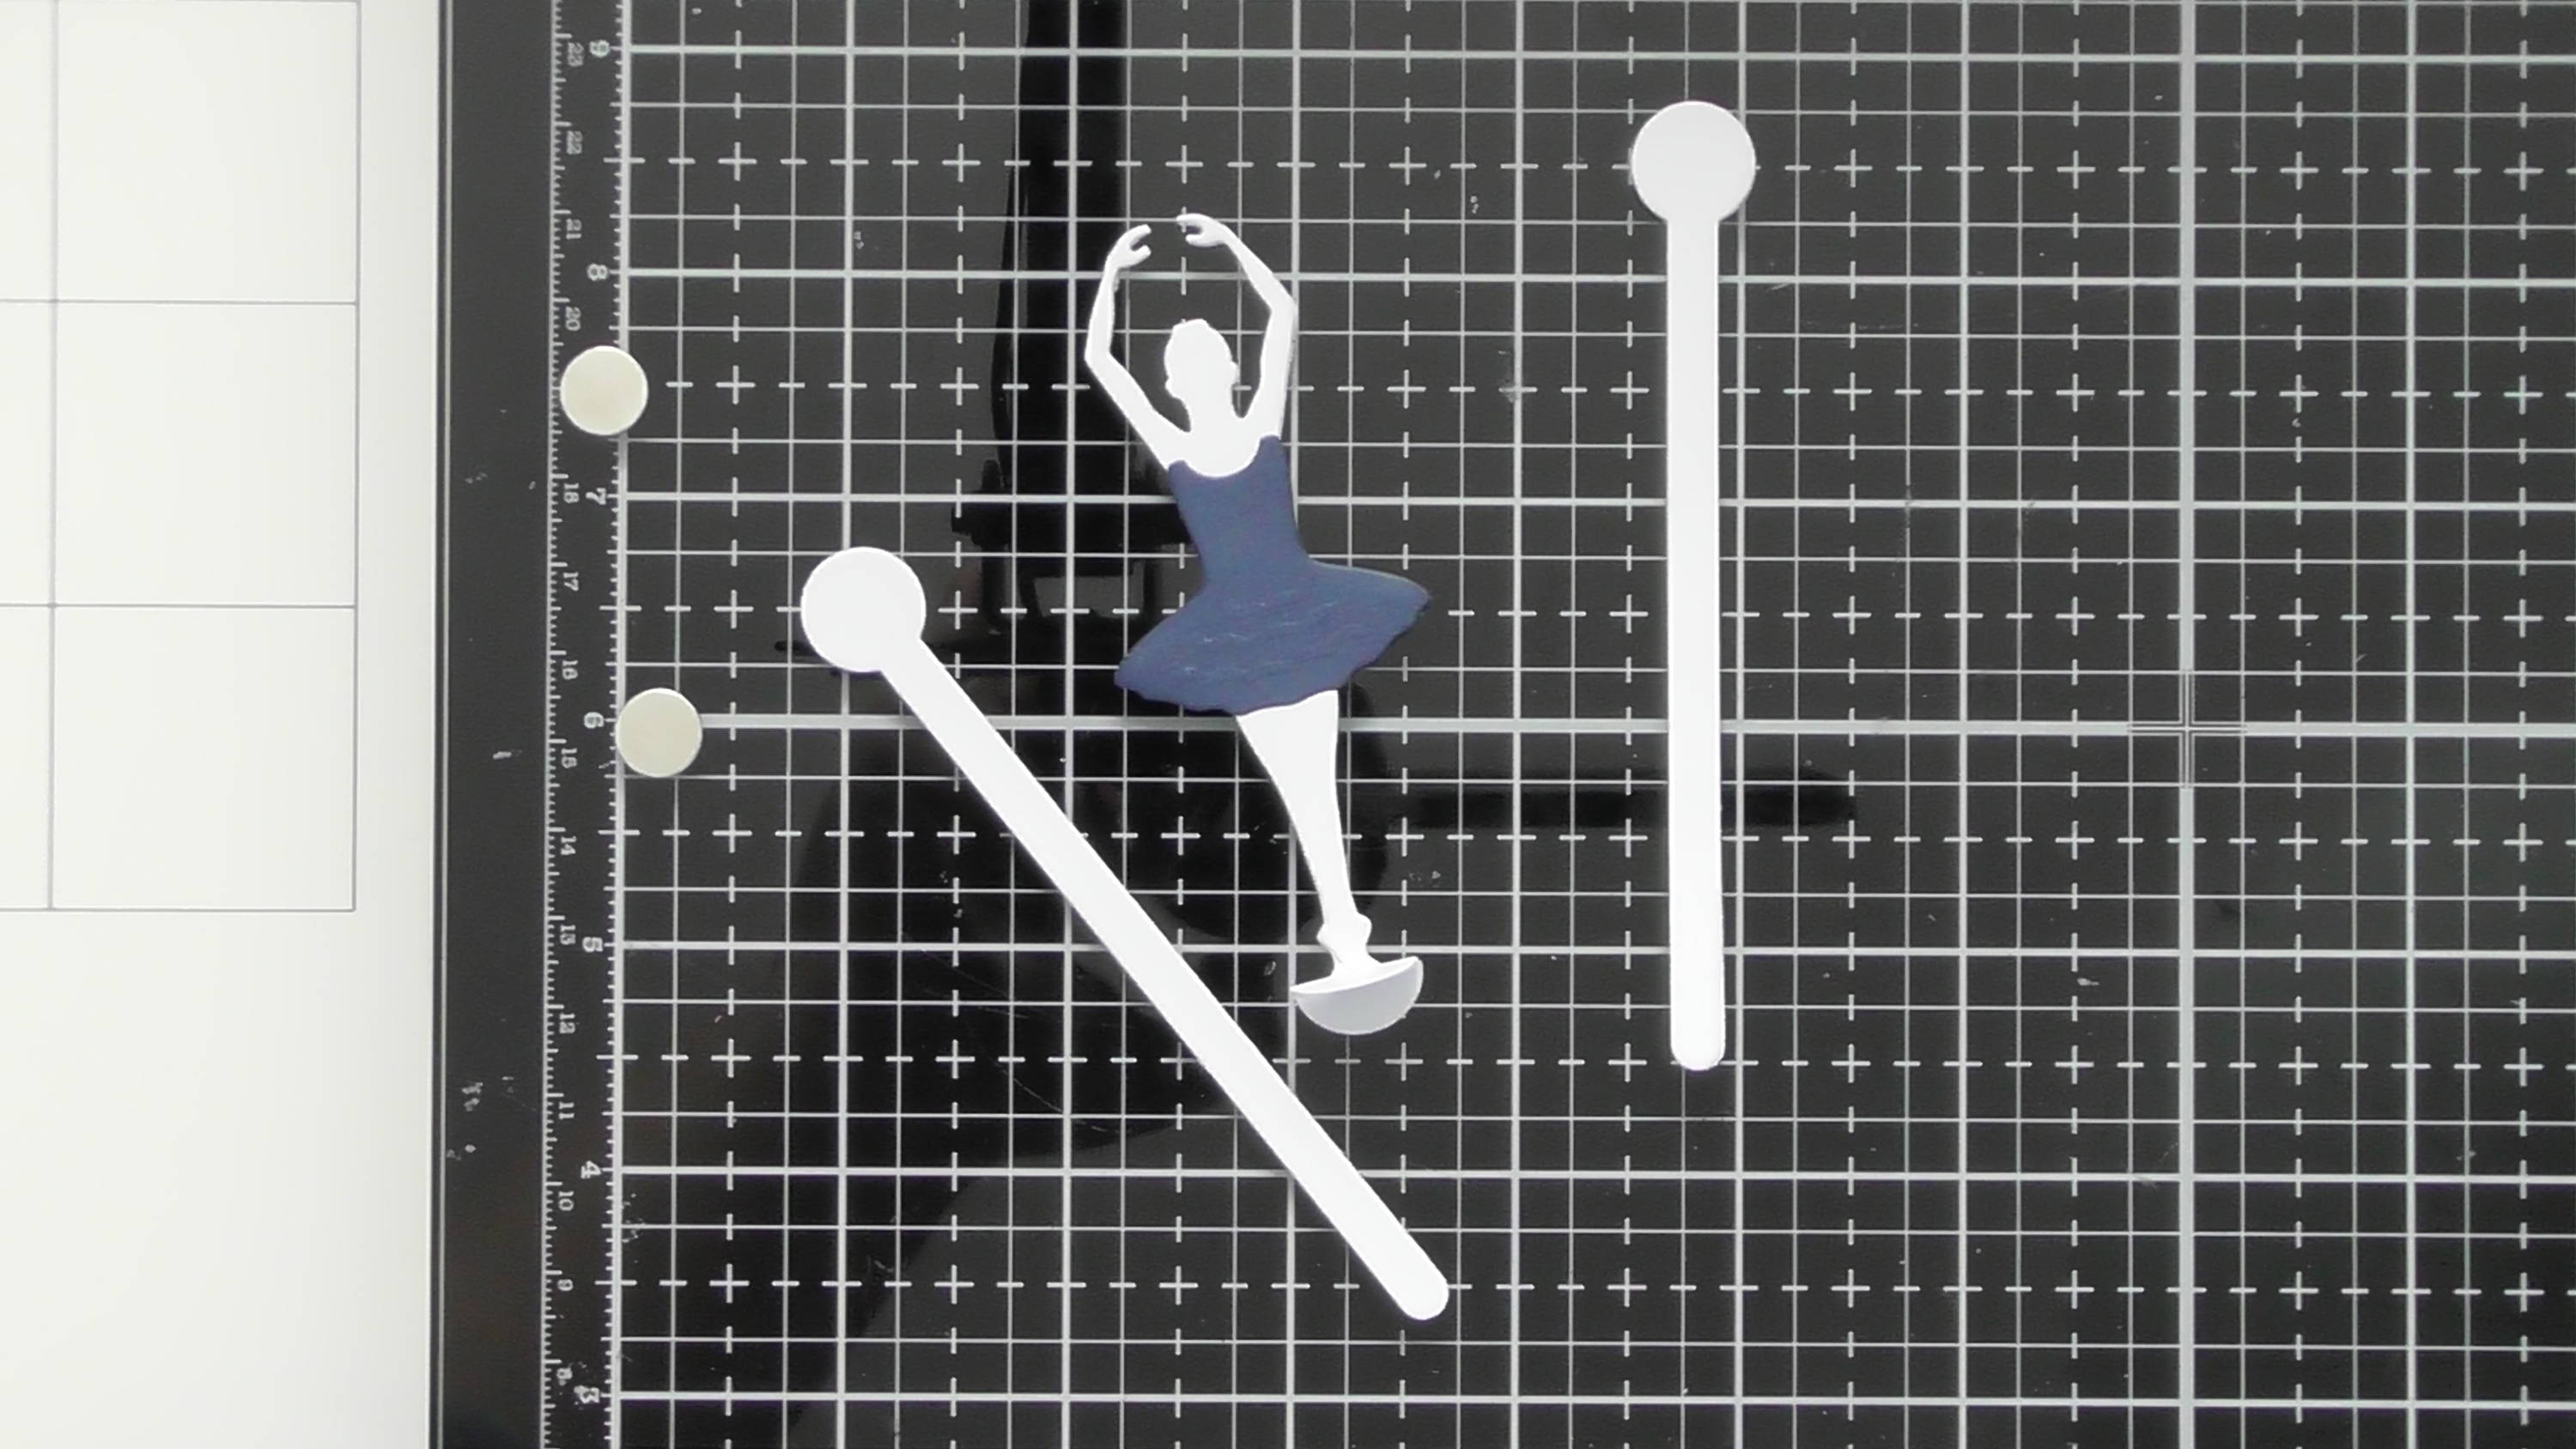
For the magnetic ballerina, die-cut to of the handle pieces, and get two 10mm magnets.
Step 28
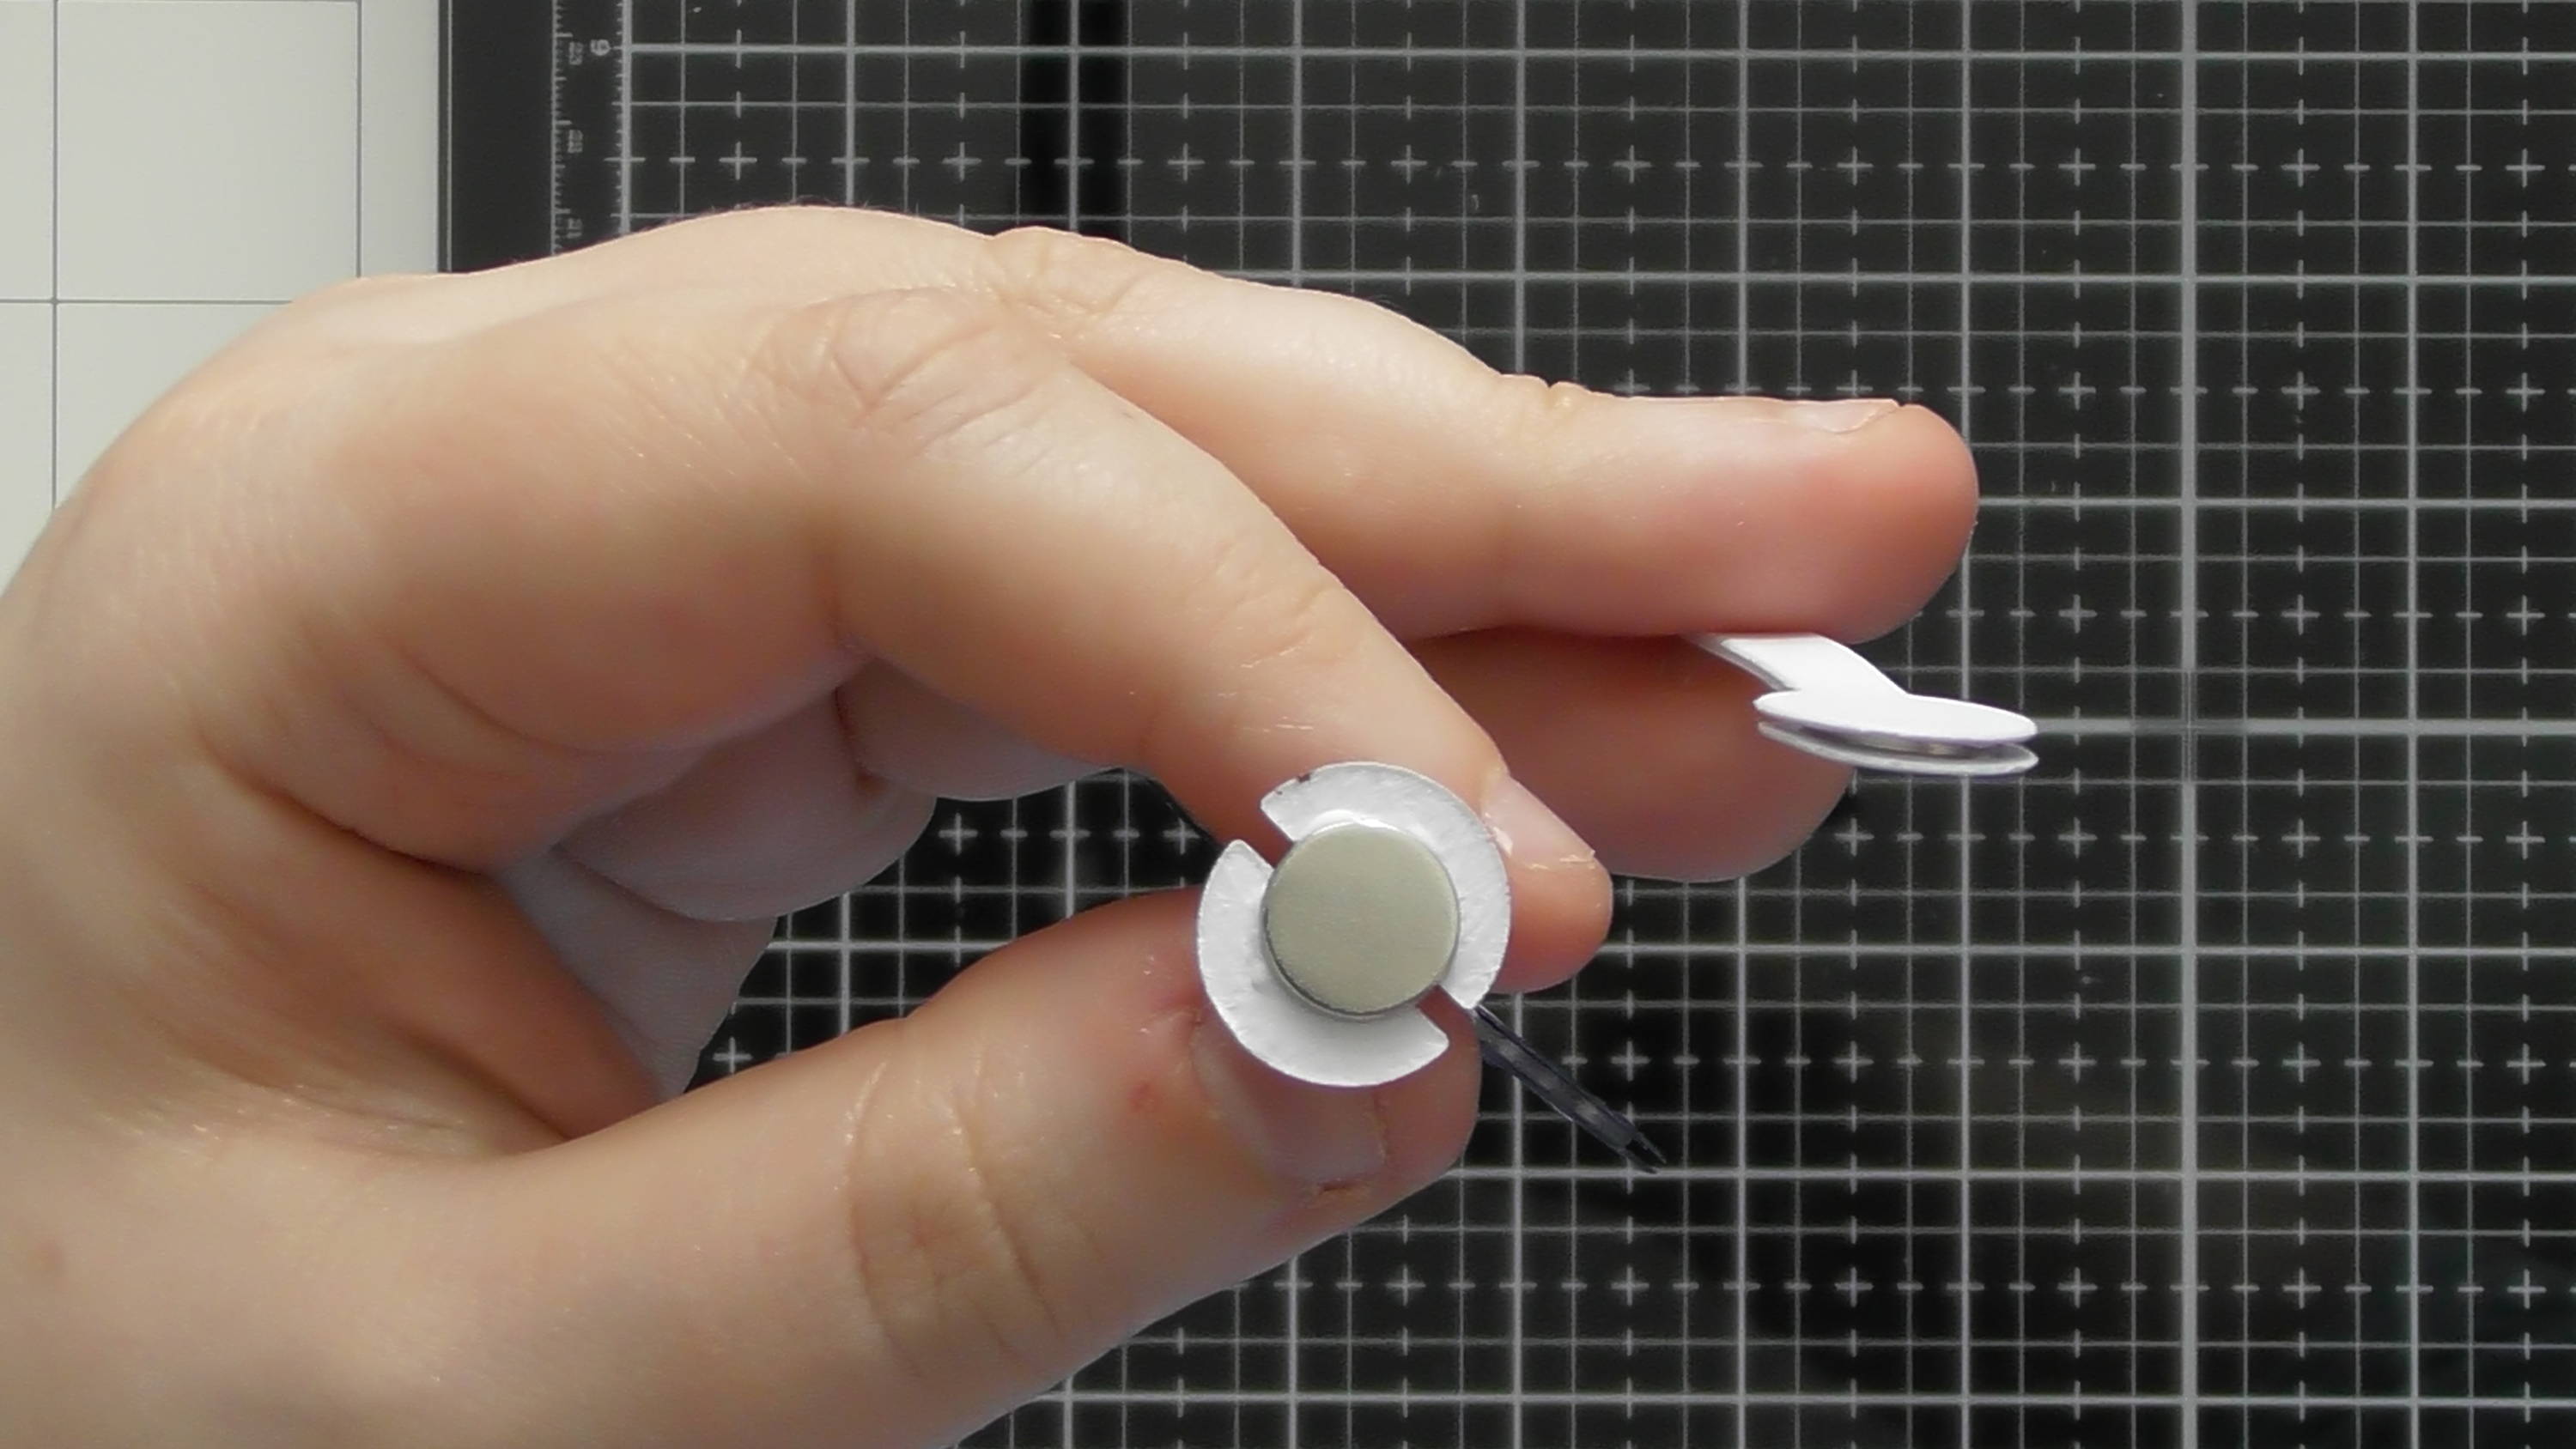
Adhere one magnet to the splayed out feet of the ballerina, and sandwich one between the 2 handle die-cuts.
Step 29
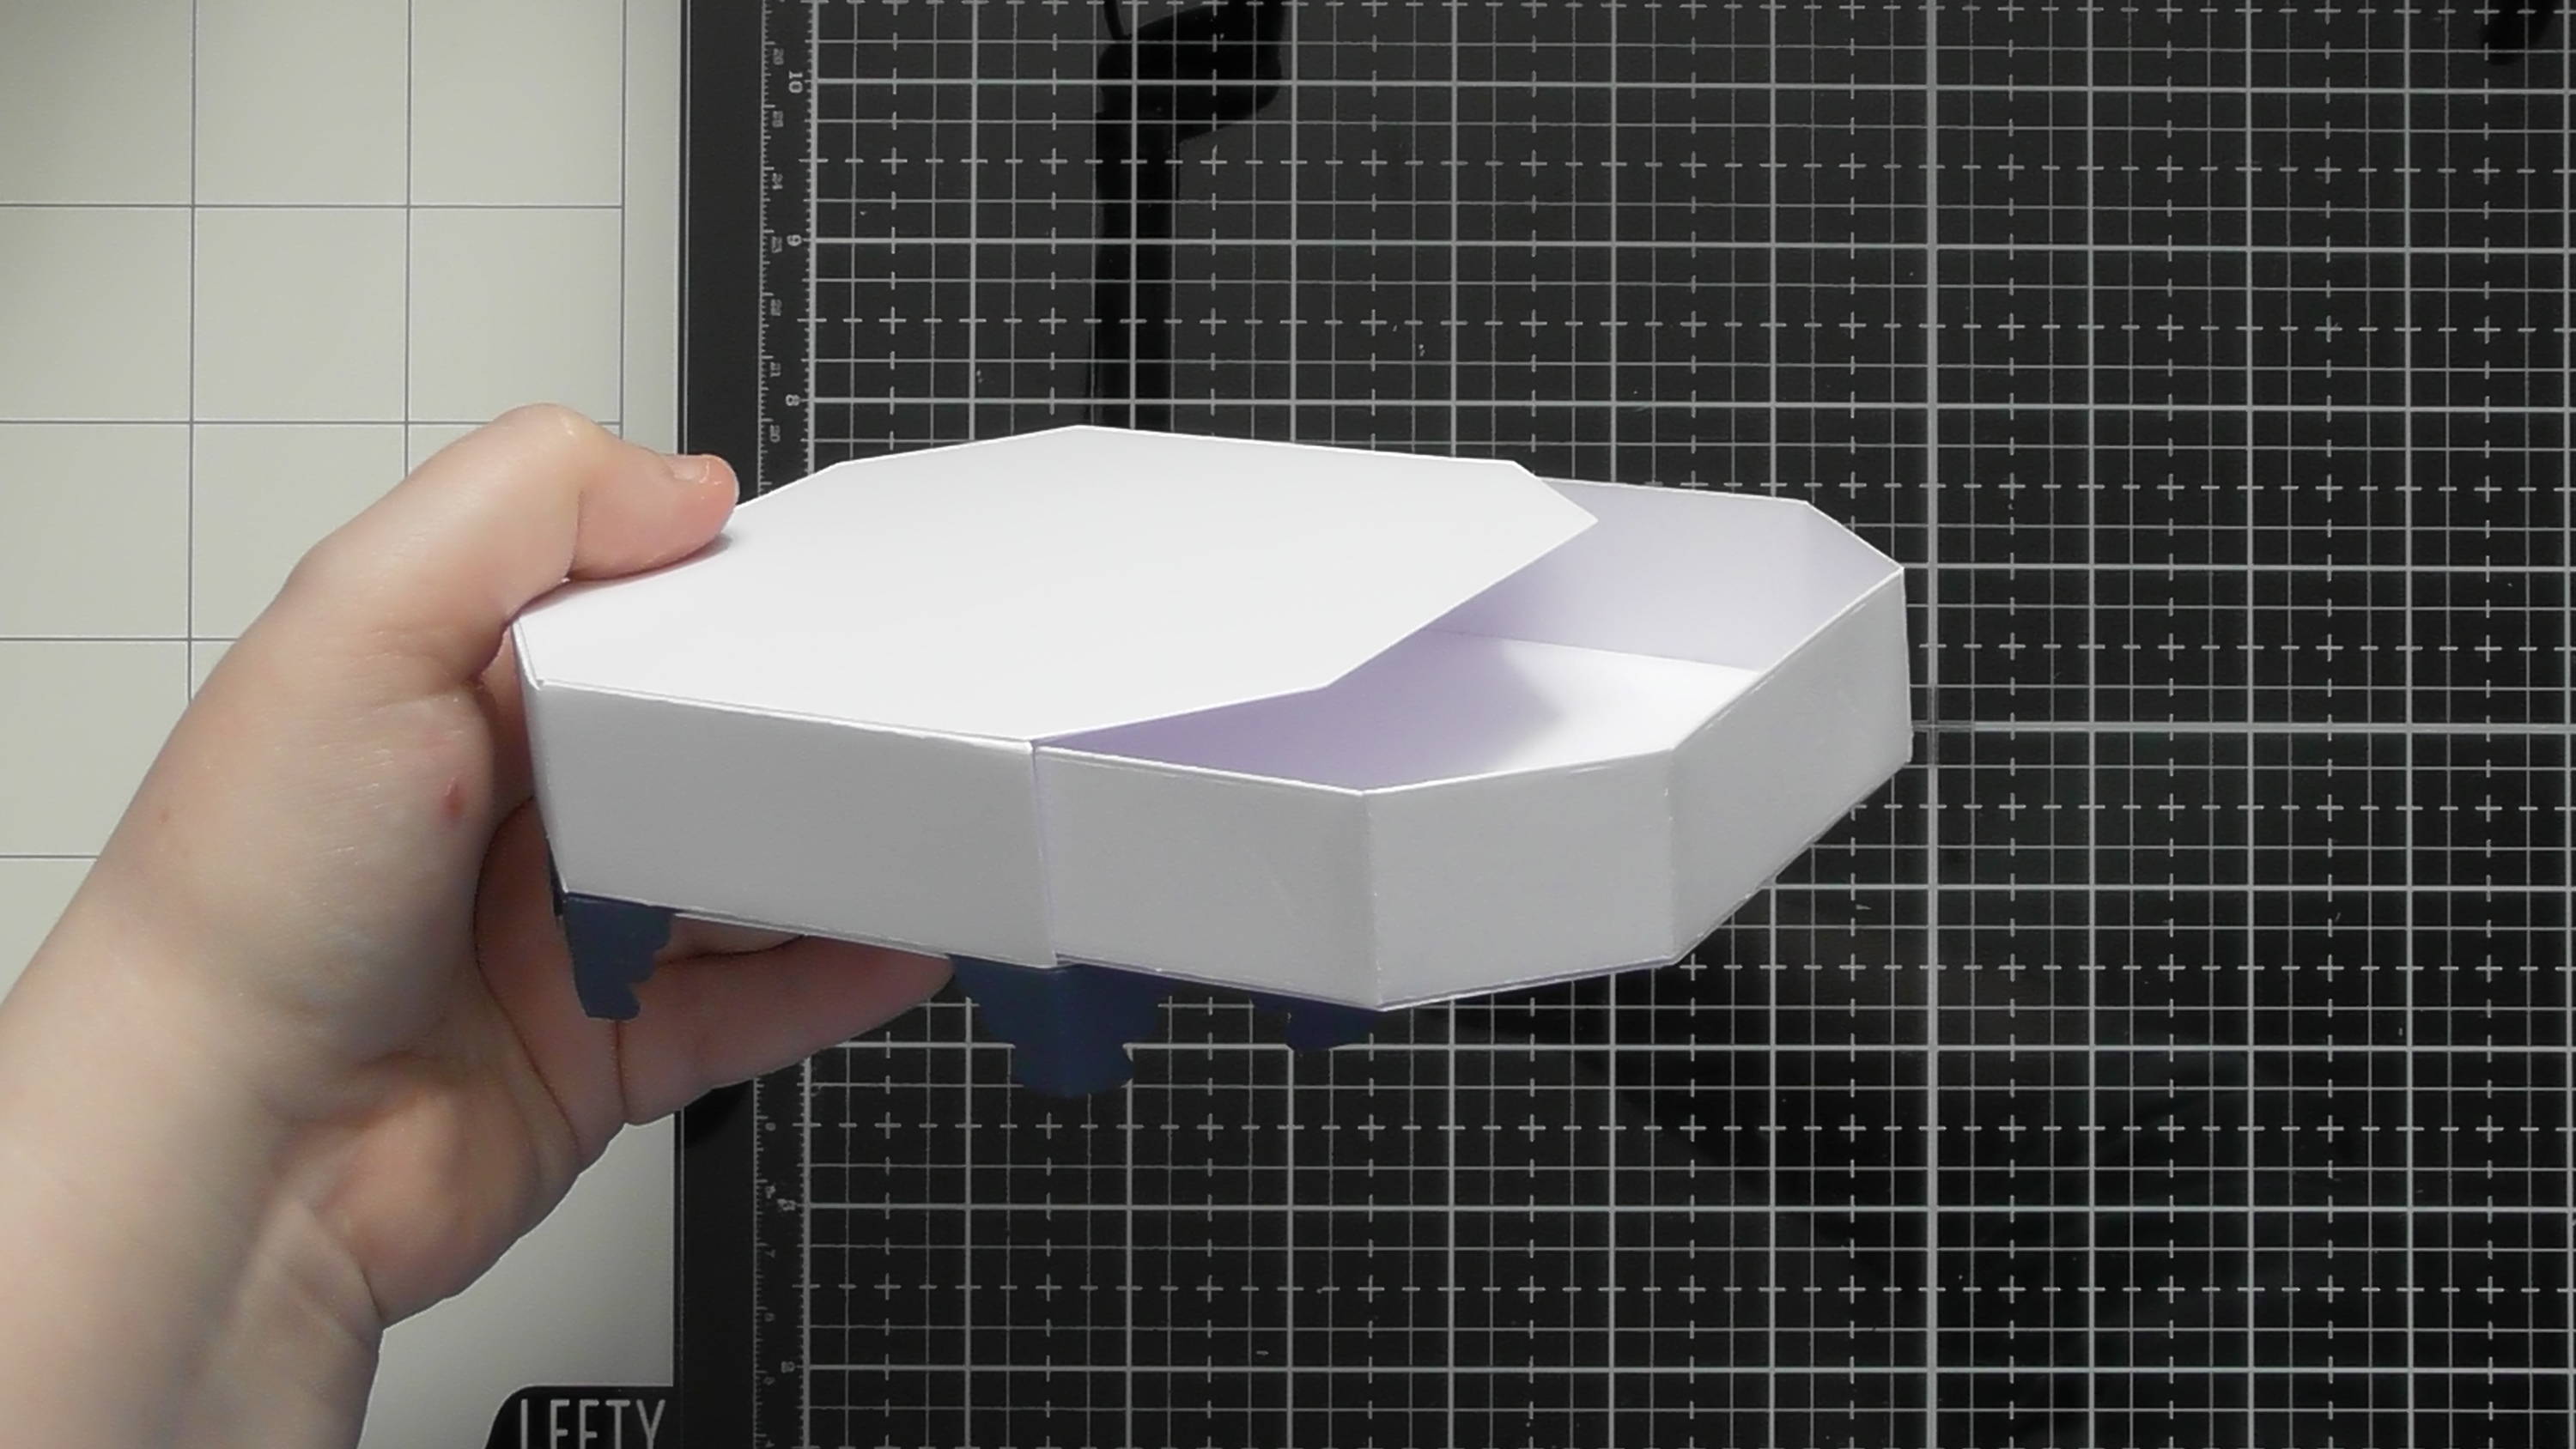
While the glue dries, we can finish assembling the music box, adhere the long side panels together with their glue tabs, as shown.
Step 30
For the inside behind the stage, trim a piece of card to size and add it in a curved fashion to give a nice solid background, this could also be a scene, photograph or patterned paper too.
Step 31

To add the magnetic ballerina to the music box, we need to add the handle in between 2 of the pieces, so first of all, check the poles of the magnet, and then one that matches the ballerina, make that face up in the position photographed above. Then add foam tape in the places shown in the photo on the base of the music box…
Step 32
Adhere the 2 pieces together to give your finished base music box…
Step 33
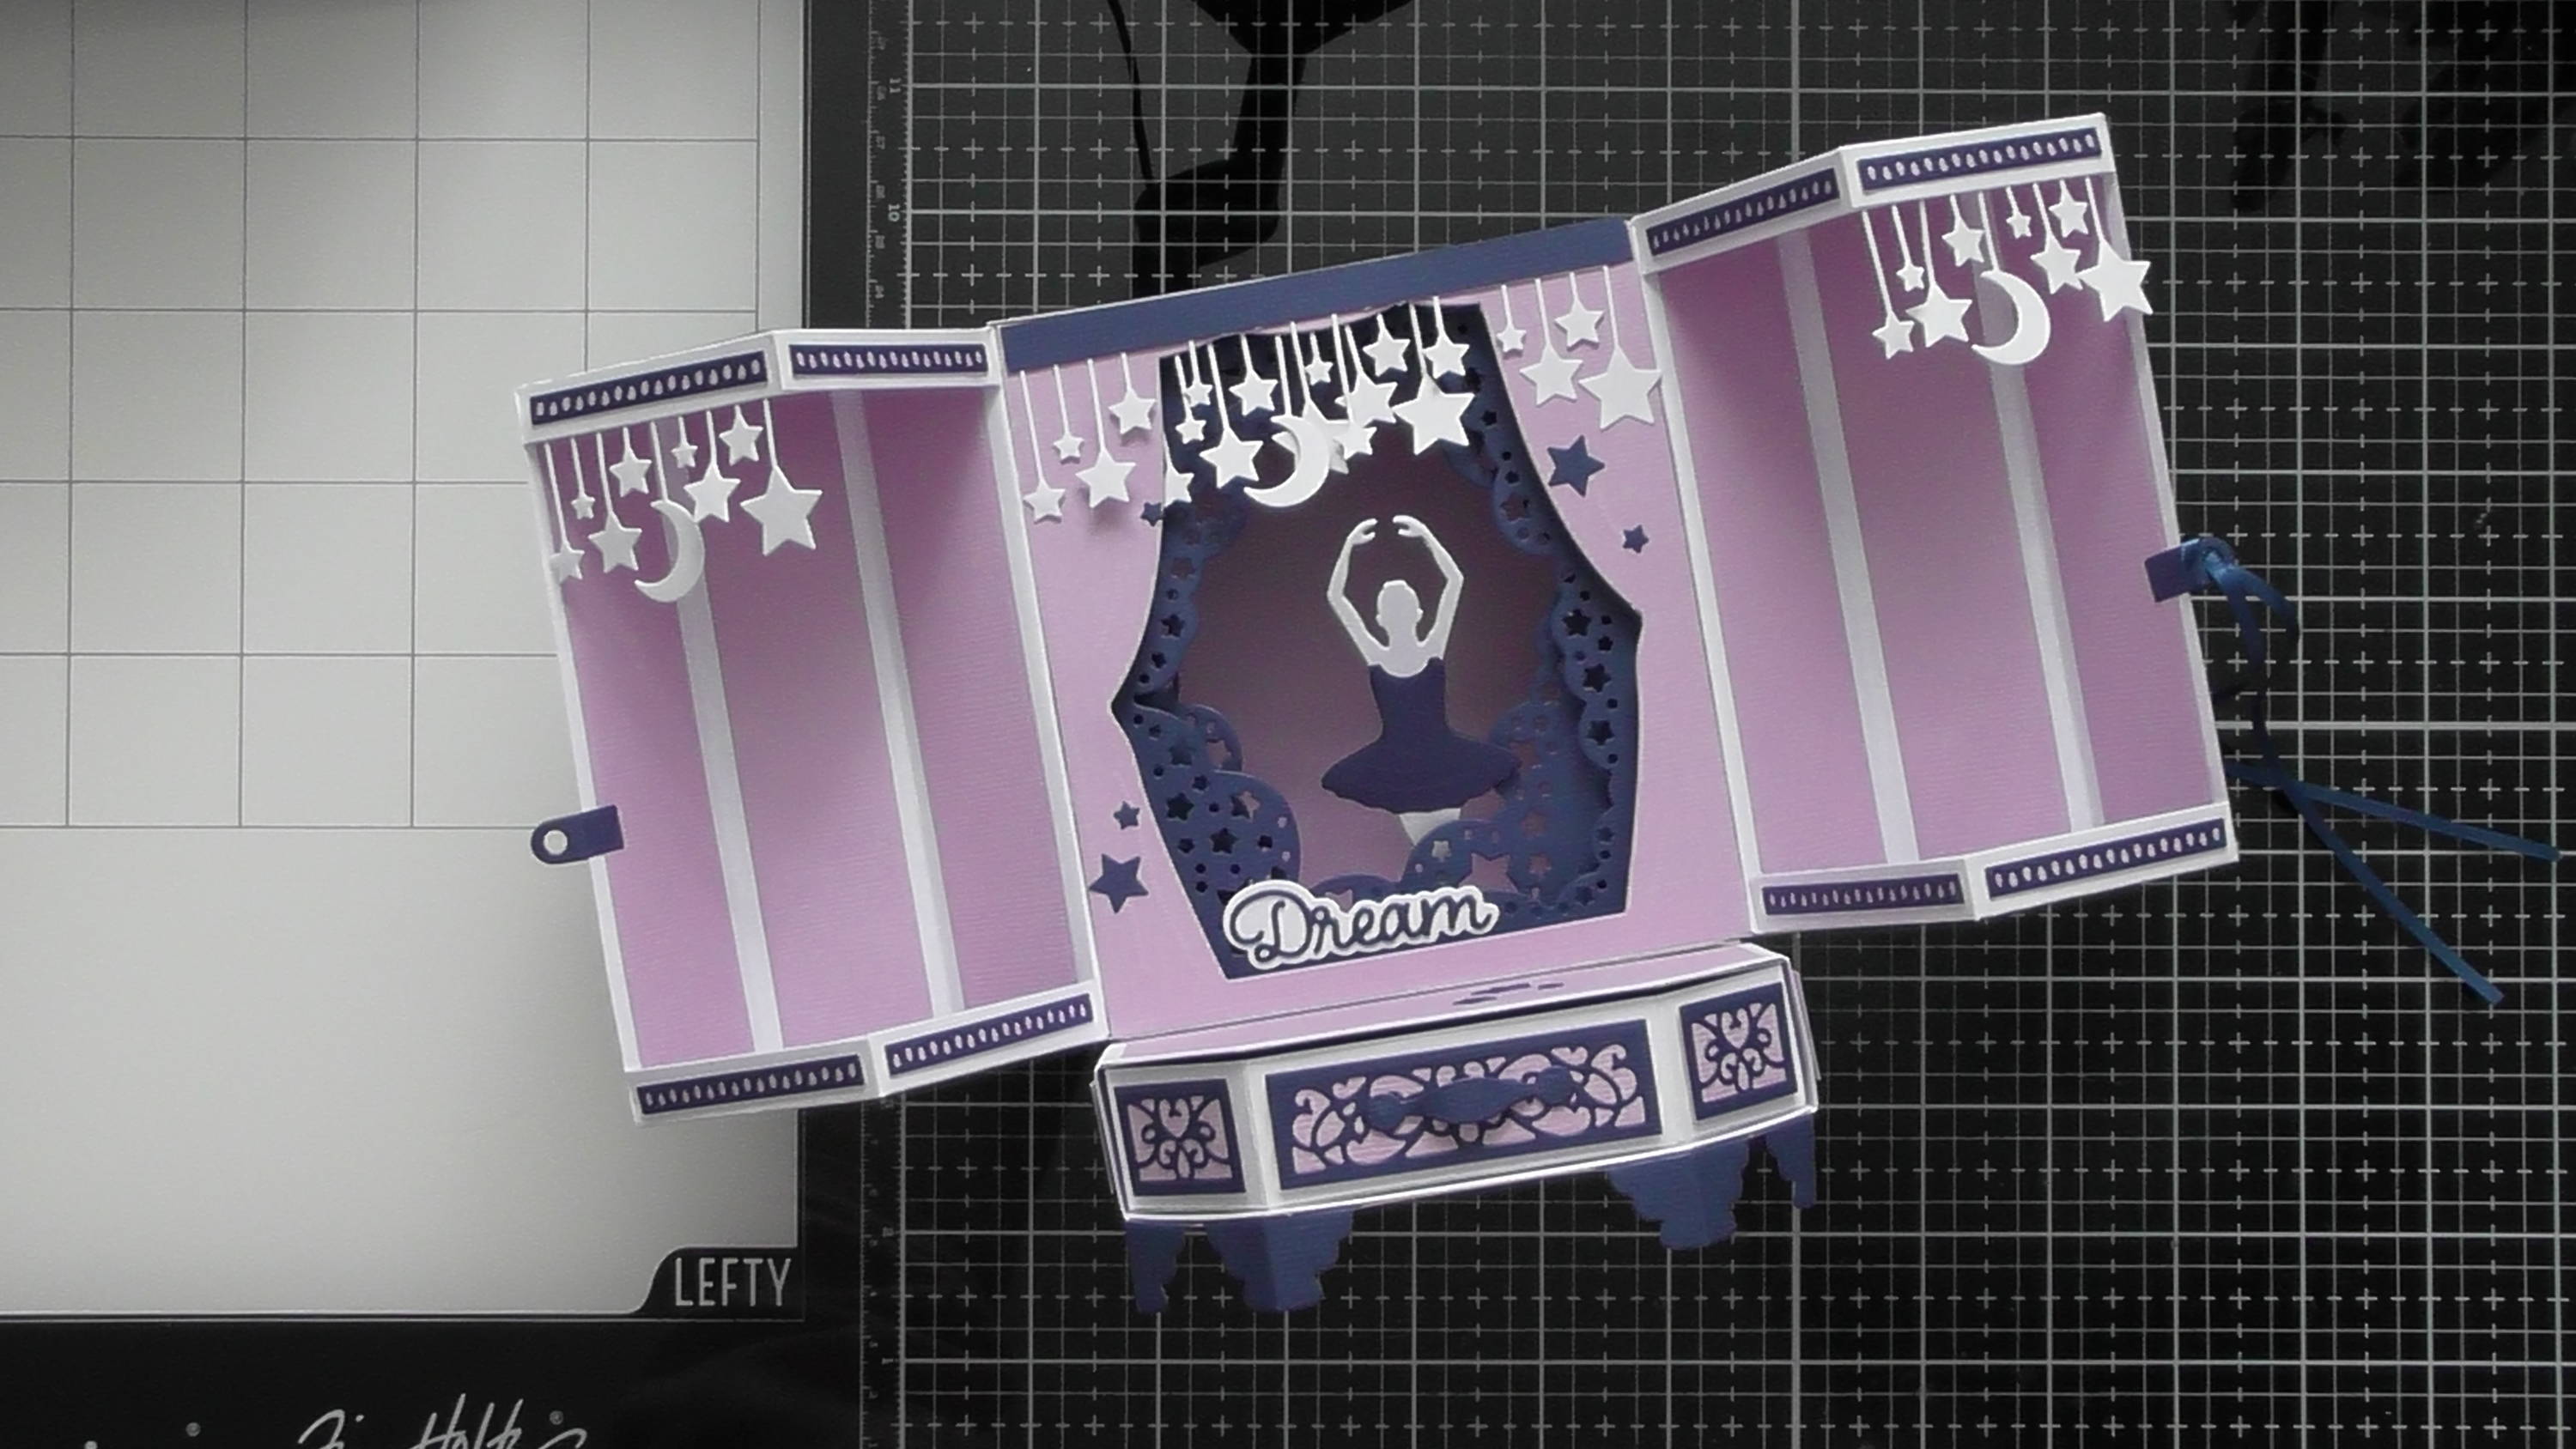
Then go to town with your decoration, keeping it as simple as you like, or making it as elaborate as you want
Buy The Craft Project
