


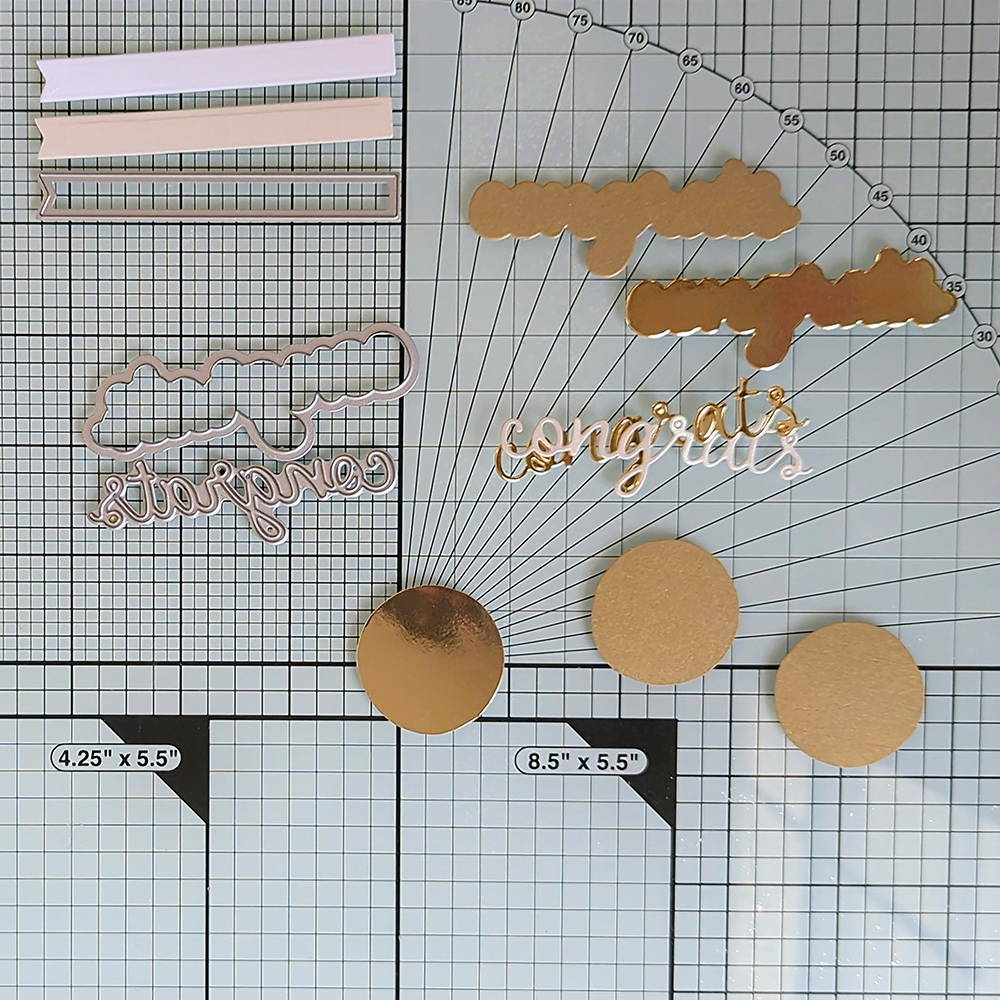
What you will need

Step 1

First we will go ahead and cut out the sentiments we will be using. Die cut using the small banner on the ivory white smooth card and the snowbound specialty card.
Then, cut one each in snowbound and Venetian gold using the congrats word die. Lastly, cut one each in the majestic gold and Venetian cards using the congrats background die.
Step 2

To create the 3 circles, you can hand draw 3 circles or trace the bottom of a Nuvo bottle since they come in many sizes of circles. Choose one to the size of your liking. I used the bottom of a Nuvo embossing powder bottle and traced two circles on a scrap piece of majestic gold, and one circle on the back of the Venetian gold.
Step 3
Carefully cut out all 3 circles.
Step 4


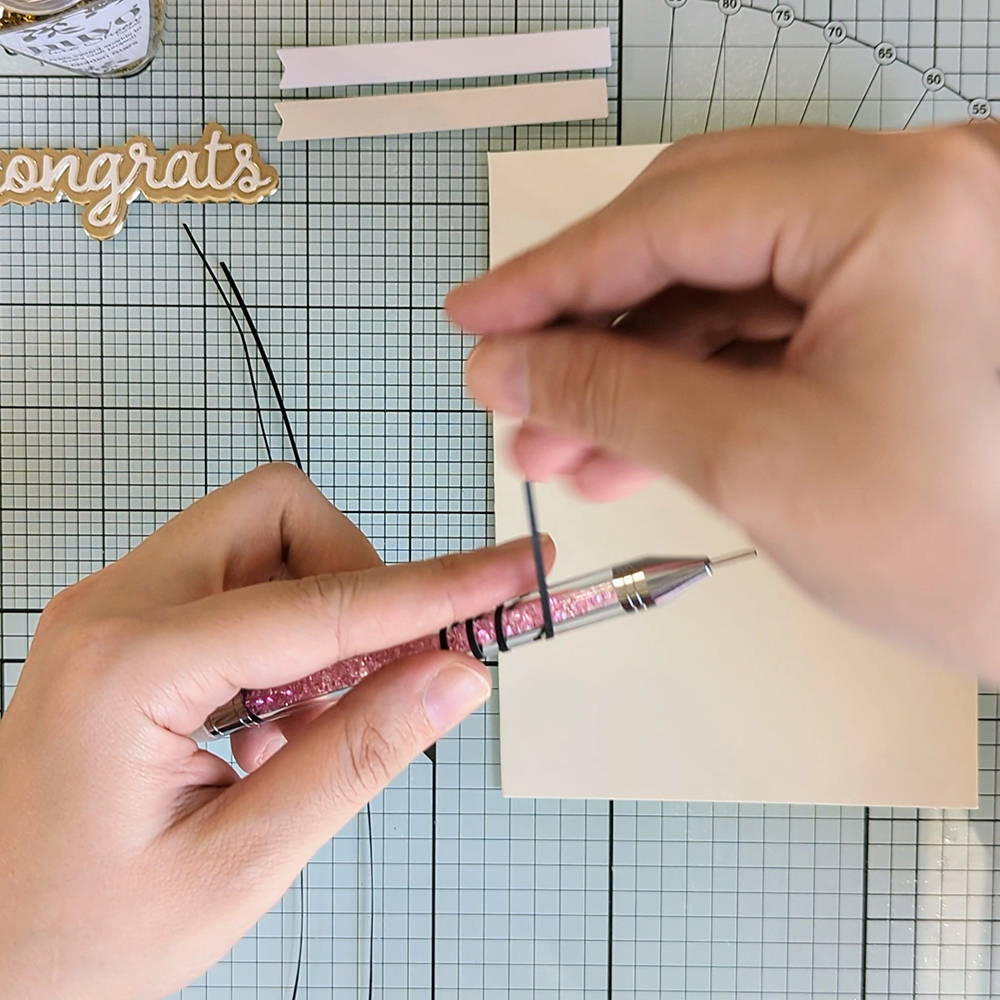
Grab your jet black card and a guillotine to cut the paper balloon strings. Place it so that there is just a little bit of the black hanging past the blade. How thin you want it will depend on placement. Then carefully cut the paper to reveal the thin paper strings. Repeat until you have 3 pieces complete.
Step 5

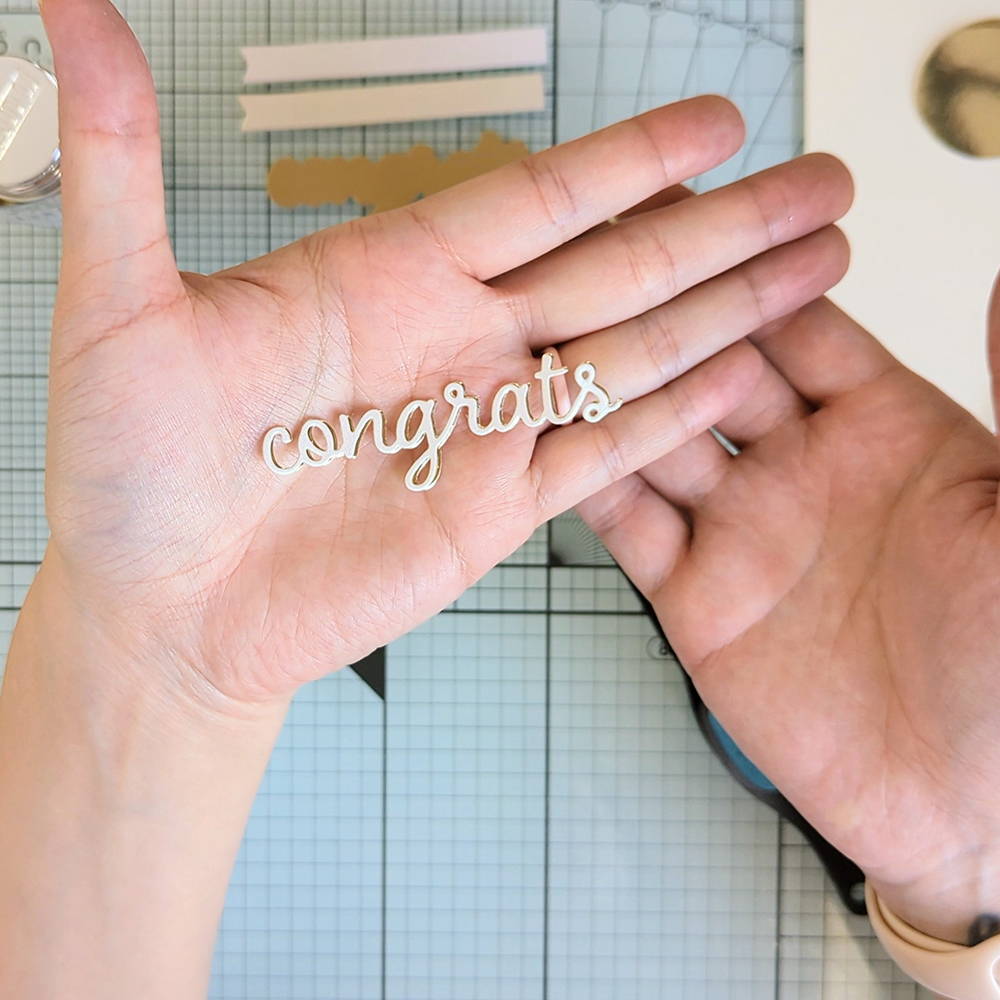
Go ahead and grab your precut congrats dies. Glue the backside of the snowbound and carefully put it onto the other one. You will want it to look as though the Venetian gold is a shadow. See the photo for reference.
Step 6

Repeat step 5 with the congrats background dies. Majestic gold on top with Venetian gold on the bottom.
Step 7

Now grab the congrats word dies and glue them to the background die. Set aside.
Step 8

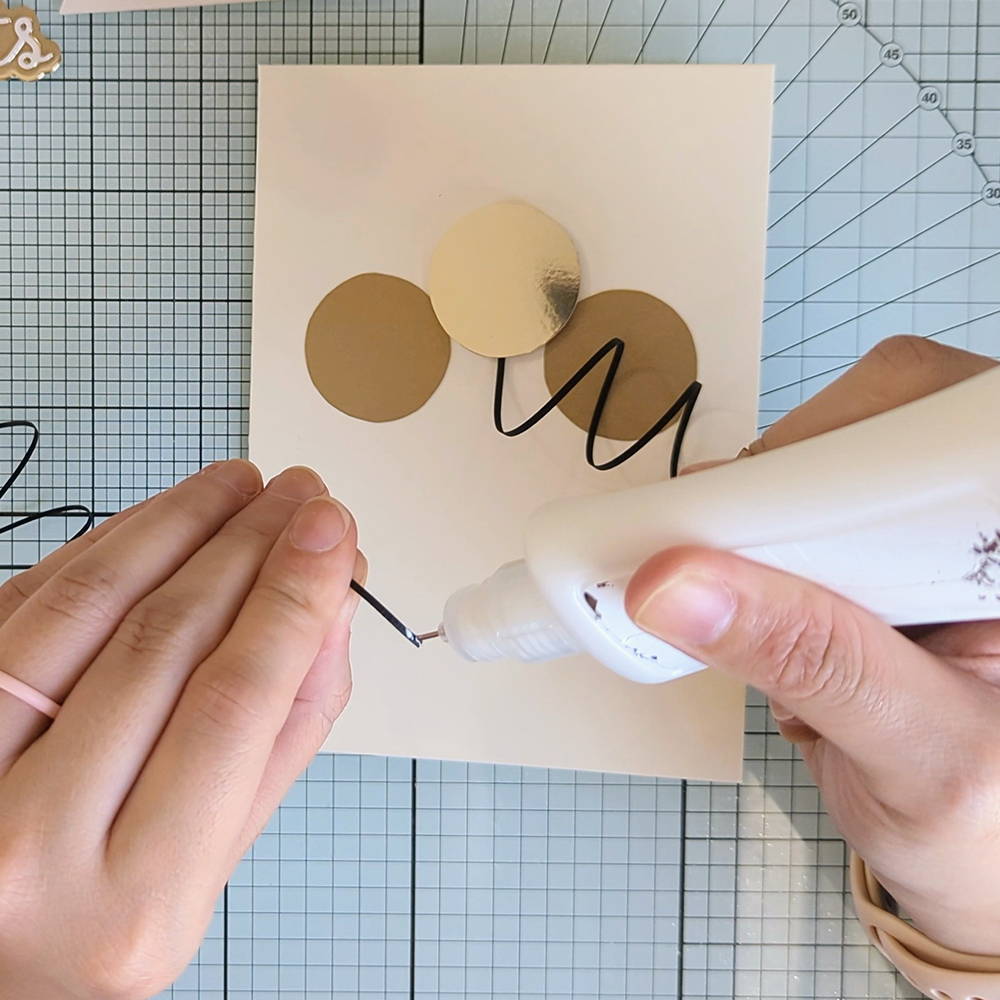
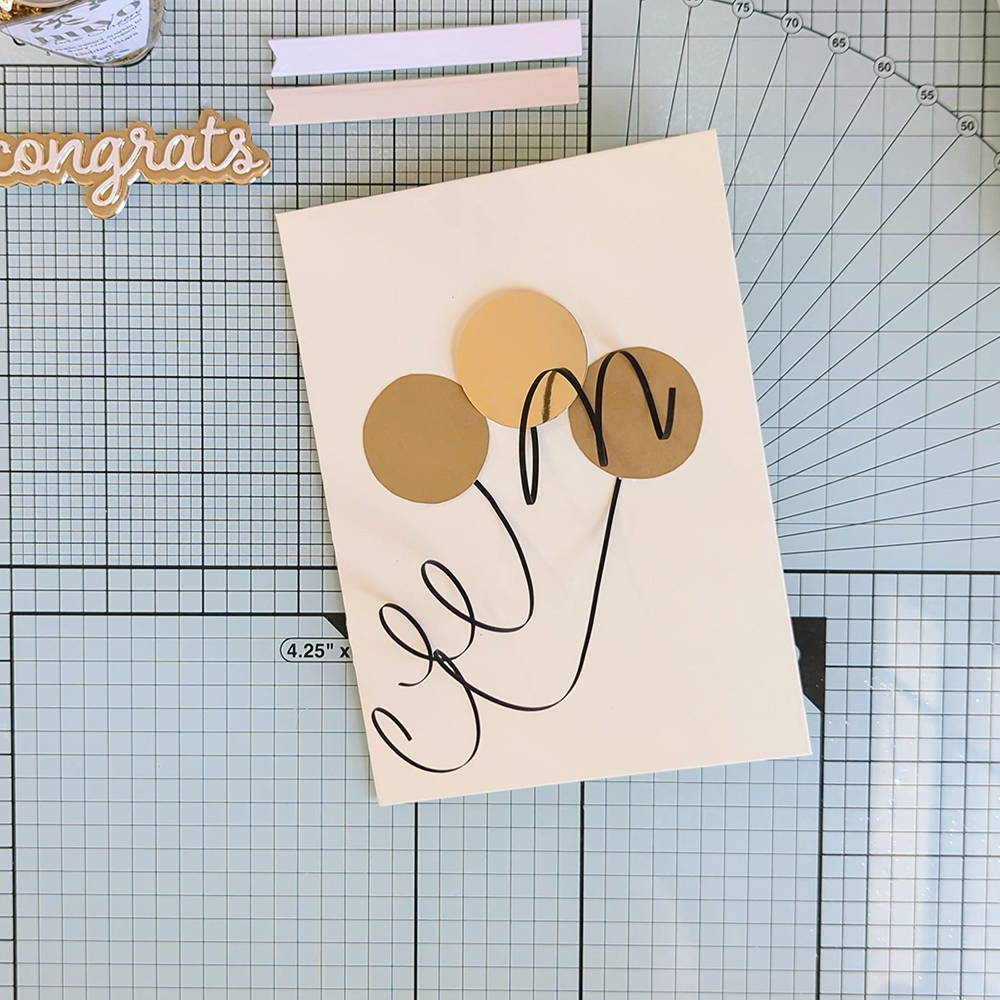
With the Venetian gold circle, place several foam tapes behind it and carefully center onto the card base about 1.5” from the top.
Step 9


With the other two circles, only place glue in the center of the circles and place one at the bottom left and right of the Venetian gold circle
Step 10

To curl the black paper strings. You will need a pen or something similar in width. Grab the end piece of the paper string and hold the shaft of the pen. I hold it with my left hand, then use my right hand to grab the rest of the string and carefully wrap the paper around the pen
Step 11

When the paper is all on the pen. Carefully slide the ends together to get rid of the
gaps between the paper.
Step 12

Now you can carefully slide the paper off the pen to reveal a spring like paper piece.
Step 13


Hold both end pieces and gently pull to make it a long string piece. Repeat with the remaining two strings.
Step 14


Grab one of the strings and put a small bit of glue on the end piece of the paper. Carefully slide under the middle balloon and attach it to the back of the balloon. You can gently press down or use tweezers to help grip.
Step 15
Pick up your second string at the end. Place a small amount of glue on the top and bottom and carefully slide under the left balloon. Since the glue was just in the center, the ends should lift up just enough to slide the string under and attach.
Step 16
Repeat with the right side balloon and string.
Step 17


About half an inch under the balloon, you can place a glue drop on the curl that touches the paper. It will help separate the string and also help keep the shape. Do this to each string.
Step 18

Before gluing the rest of the string bottoms, grab your congrats sentiment and place
several foam tops underneath.
Step 19
Carefully put the strings together and about halfway between the balloons and the bottom of the paper, place the congrats right on top of the strings.
Step 20

Now you can finish gluing the rest of the string bottoms with small glue in curl spots to hold the curl in place.
Step 21

Grab the snowbound banner piece and the ivory white banner piece. In my video, I did this step backward so I will do it correctly in the instructions. Write in pencil on the ivory white banner, Happy Christening. Depending on how much of the words and banner you want to show will determine if you will be cutting any of it or not.
Step 22

Retrace with a black pen and erase pencil marks.
Step 23

You can now measure onto the card by placing in the bottom right placing the last word just before the end of the paper (it's ok if the rest of the banner hangs off) This will show you how long you need the next banner to be on the card.
Step 24

Now that you know how long you would like the banner, you may glue it to the bottom right corner of the card leaving a small space between the banner and the bottom of the card.
Step 25
Next, glue the bottom of the happy christening banner and place a little on top of the snowbound banner piece.
Step 26

Trim off any excess paper pieces from the card edges.
Step 27
We can begin decorating the card with the sequins. Grab your glue and spread some of the sequins onto paper or a little tray. This will help separate the tiny pieces for easier grabbing and also a quicker cleanup. At the top inch of the card, this will be the most clustered area for the sequins, so place all dots closer together leaving some space between. Reference the photo at any time to help with this step and the next few.
Tip: Do about 6 drops at a time to keep the glue from drying as your trying to put the sequins on.
Step 28

The 2nd inch of the card, you will begin to the place them further apart, don’t worry too much on perfect placement. All of this will be random.
Step 29

For the rest of the card, place the glue dots even further apart. It should look as if the sequins are starting to spread out.
Once all the sequins are on, you are done!
Buy The Craft Project
